I’m interrupting the regularly scheduled “Friday Five” series today because I am thrilled to be part of a “Behind the Blog” tour that Sabrina (Hands and Hustle) has organized this week. You may have seen other bloggers’ day-in-the-life contributions earlier in the week, and today Vanessa and I are ending the week with our behind-the-scenes look into our lives as bloggers.
Ready? Okay. Let’s go.
1. What time do you wake up and what’s a typical breakfast?
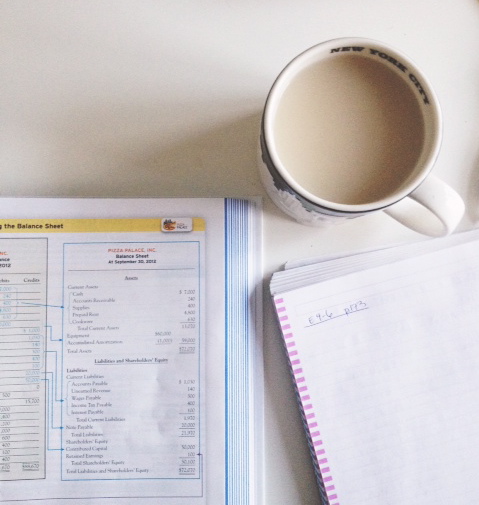
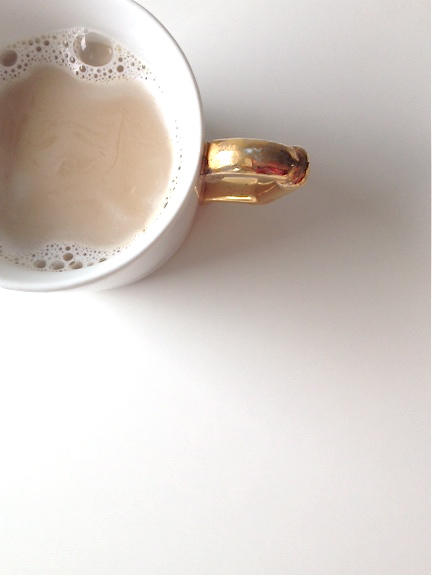
I wake up to my alarm clock at about 6:15am every weekday. I eat just about the same thing every day: toast with my parents’ homemade jam, berries or a fruit of some sort (I love fruit), a glass of water, and a latte.
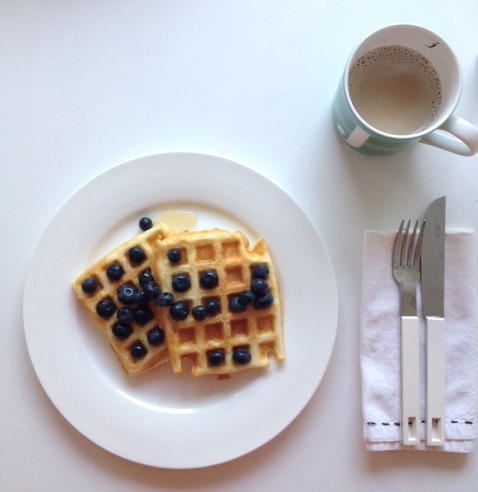
On the weekends, I often have a pain au chocolat from Golden Hearth Bakery after I’m done my grocery shopping at the Kitchener market. I also love making waffles (I use a recipe from Gourmet). Yum. I do love weekend breakfasts!

2. Do you have a day job? If so, what do you do? How do you find the balance between blogging and work? What are the pros and cons? If blogging is your full-time gig, explain how that came to be.
I sometimes tell people that blogging is my full-time job and being a professor is my part-time gig. In reality, it’s the other way around. I finished my PhD in Education last year (focused on language learning and teaching), and I currently teach academic writing at university. My students call me Doctor, but my blogging friends know me as the gal who is obsessed with white. My two worlds rarely collide, although I’m increasingly trying to make small connections between them.
Balancing blogging and work can definitely be a challenge. Giulia and I actually presented a session at BlogPodium 2013 about balancing a day job and a successful job. I’m not an expert, and I usually take on more than I should, but I also really love my down-time, so I make sure I have a good chunk of it in my weeks!
I treat my blog as a part-time job…a really fun, interesting, engaging, and rewarding part-time job. I don’t put pressure on myself, and I am content with allowing the blog to evolve organically. I try to remain professional, committed, educated, and approachable in my blogging life, just as I approach my academic work.
3. Where did you grow up (what city/town, do you have siblings, can you share any stories about your upbringing)? Where do you currently reside?
I was born in Toronto, but I spent the first five years of my life in Saudi Arabia (I know it’s a bit random). When I was five, my family moved back to Toronto. I have lived in Toronto, Kingston, London, and Waterloo (all in Ontario, btw), and I have spent quite a bit of time in France and Switzerland. I currently live in Waterloo, Ontario, and I really do love living here. I used to think I was a big-city girl, but I’m not really. I completely appreciate the ease of small-towns, and the people in Waterloo are so kind.
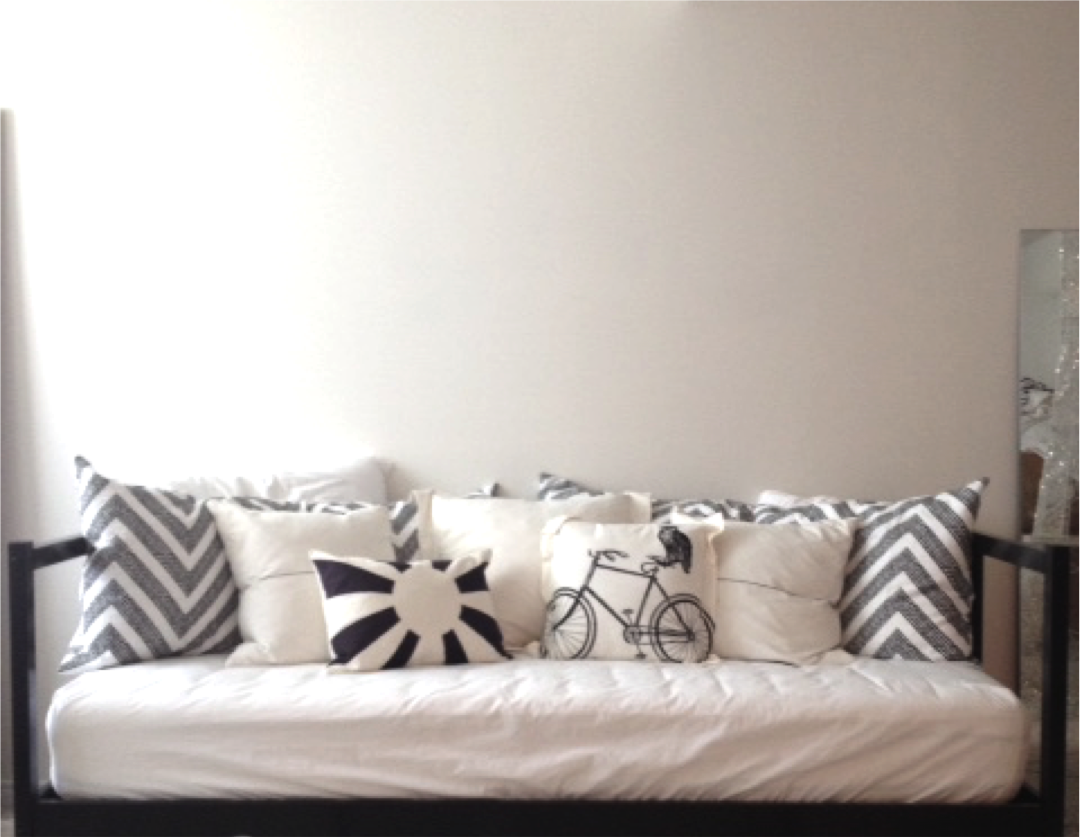
via Atmosphere
Some readers may already know that I have one older sister, Corie, who recently moved with her family from Manhattan to North Carolina. Many of our FaceTime conversations revolve around design trends, blog news, or our upcoming travel plans. I am certainly looking forward to spending time with the team soon.
4. Outline your average, typical day.
Typical? I’m not sure I have any really typical days, but I guess my weekdays generally go something like this:
– wake up early
– shower, get dressed
– eat breakfast, make lunch
– check in on Twitter and Instagram
– update/check White Cabana, read a blog or two, respond to a few emails
– walk to work, call family members for updates
– work all day (with a quick break for lunch at noonish)
– walk home from work (I love my walking commute!)
– make dinner, eat dinner
– do a blog/social media check/update, read my mail (hopefully a magazine, too)
– go to class (my MBA classes began in September) or do errands or hang out with friends or do homework or blog
– check in with friends/family via texts/social media/email/phone calls
– read blogs or a book
– fall asleep
While I do respond to blog-related emails and reader comments throughout the week, I spend weekend days drafting upcoming posts. Because my day job can be pretty hectic, I prefer to keep my blogging work flexible. I don’t use an editorial calendar, for example, because I don’t want to over-schedule my life.
5. What’s your dream job/career? How are you working towards that?
When I was young, my dream job was to be an architect. That didn’t work out. I think I didn’t actually know what path I needed to take to achieve this goal.
Then I thought computer science was for me. Although I began my undergraduate degree with a major in computer science, I realized that this wasn’t for me. Although I thought it was totally cool when I managed to make a “worm” move across the computer screen through the coding I had created, my computer science program didn’t seem to promote collaboration, and I felt pretty isolated.

via Hunting for George
I sort of always knew that teaching was for me. My concurrent education program (I completed my BA and BEd at the same time) was great. I learned a lot and I thought that teaching elementary school would be amazing. It was…until I needed a change.
I headed to grad school…just for a bit of a break, I thought…and after my Master’s degree, I went back to teaching elementary school.
I was a primary school teacher for a year after my Master’s, but I became quite frustrated with teaching. I had so many questions about education, and I didn’t have time to investigate any answers. So, I returned to my happy place…university. Five more years at university and I’m now Dr. Jordana. I (mostly) loved doing my doctoral work. Those five years were hard, rewarding, interesting, engaging, and fascinating. I was happy with every project I took on.
Now, I’m doing what I love. Teaching at a university is really rewarding. I learn as much from my students as they do from me, and I really do feel forever young. My work is energizing, interesting, and fun. Working in higher-education is fascinating and the learning never stops.
Speaking of learning, I didn’t stay away from courses for too long after my PhD. I am now pursuing an MBA degree on a part-time basis, and I’m loving it (well, mostly loving it – who knew accounting could be so tough?). I’ve been asked the “How long are you going to be a professional student?” questions so many times. I think my family has finally figured out that they should stop asking.
I’m very happy where I am now in life and work. That said, I probably wouldn’t say no to an academic job in, let’s say, Paris!
6. What would be your dream dinner-party guest list? Explain why you chose each person.
Oh, man, this is hard and requires much thought! I love meeting people who have diverse interests, so I would want my dinner guests to have diverse work and life experiences. For a celebrity-focused dinner party with people who are dead or alive, I’d like to dine with the following group, and I might ask them the following questions:
Audrey Hepburn: Who is your favourite shopping partner?
Seth Godin: What book do you think everyone must read?
Martha Stewart (this would be risky; she would certainly judge my food): What is the one collection you’d never give away?
Sophie Kinsella: What’s in your handbag?
Leonardo DiCaprio – Do you ever sing the Growing Pains theme song?
Gwyneth Paltrow: What’s coming up next? A GOOP store?
JD Salinger: Have you taken a ride on the Central Park merry-go-round?
Audrey Tatou: Would you ever really travel with a gnome?
Kristin Wiig: Who makes you laugh?
Ina Garten: What does Jeffrey cook for you when you’re off cooking duty?
Matt Damon: Do you want to come to my next dinner party?
I’m not so sure how this mix of people would get along in real life, but it would be neat to ask these celebrities some questions.
7. What’s one thing you’d like to start, one thing you’d like to stop, and one thing you’d like to continue?
Start: my basement renovation
Stop: complaining about things not worth complaining about (e.g., vacuuming)
Continue: to make travel plans
8. What’s your current obsession?
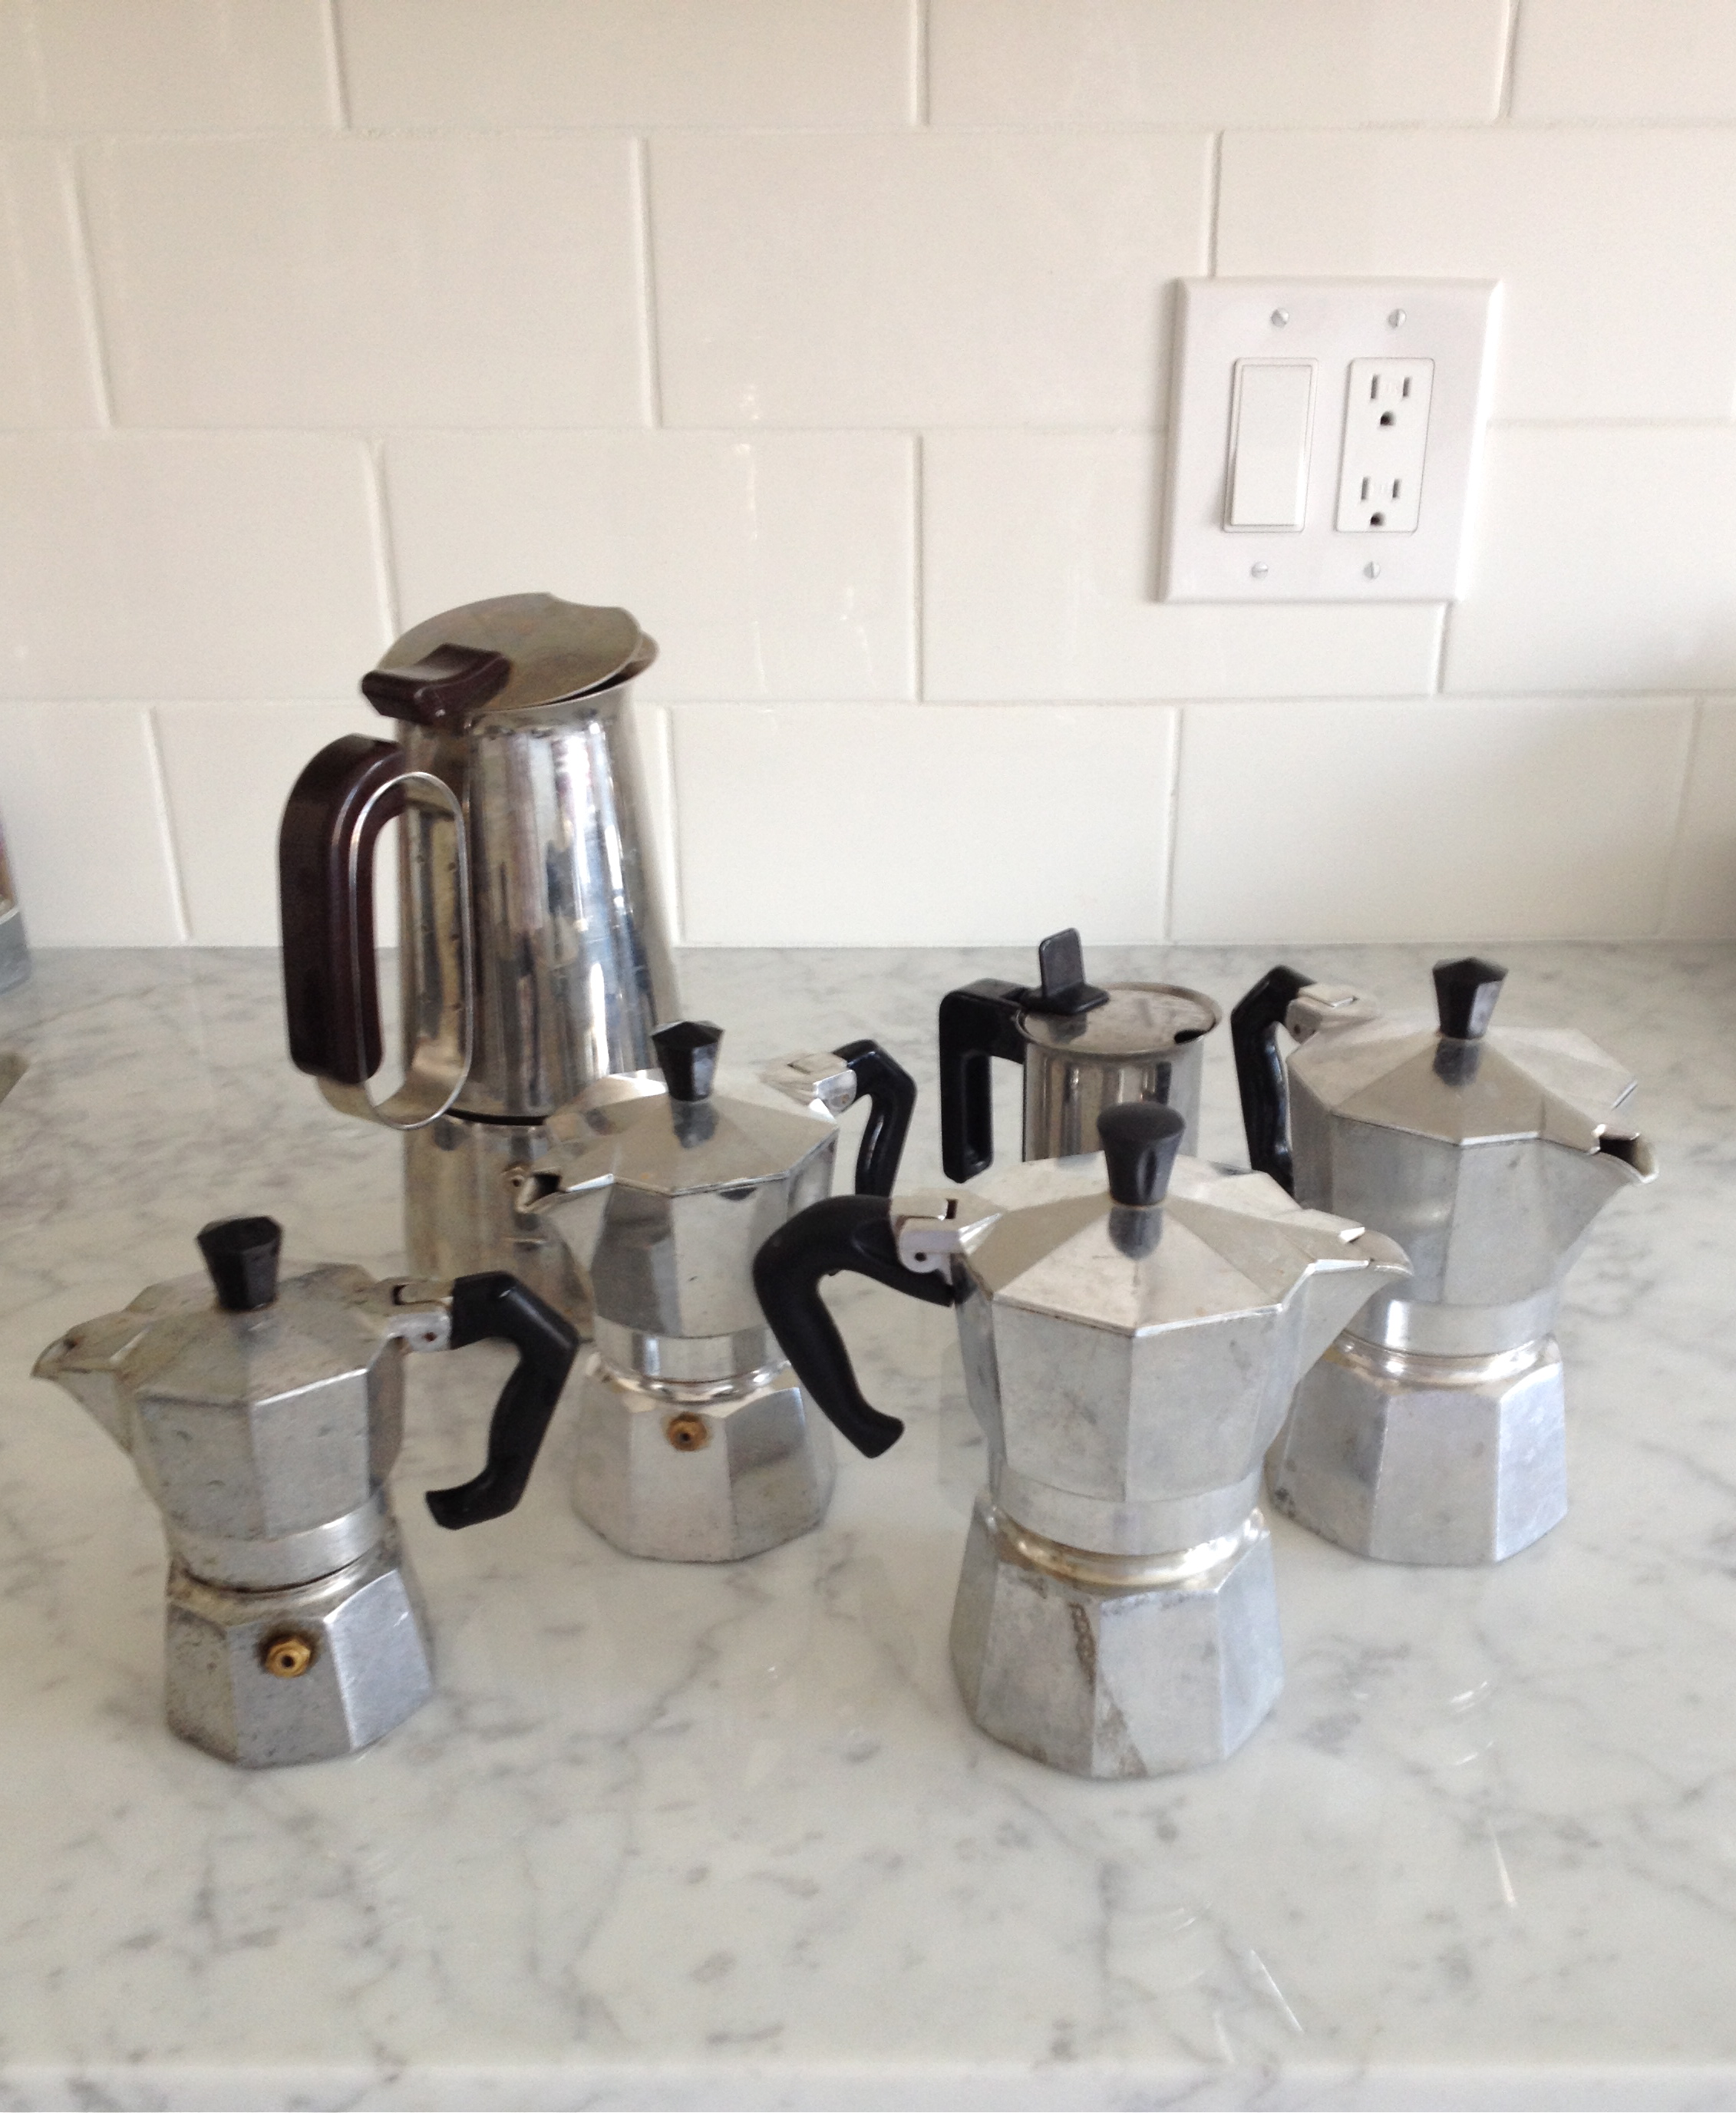
Design: I have been obsessed with Alessi for quite a while now.
People: I love spending time with my high-energy nephews and niece (even though they wear me out).
Food: Pizza. I could live on it.
Celebrity news: Prince William & Duchess Kate Middleton.
9. Link to 5 websites/blogs you can’t go a week without.
This is such a hard question for someone like me who reads a lot of blogs! Six of my frequent reads are:
Lark & Linen – Jacquelyn’s photos are beautiful and I love her “Scenes from my Weekend” series on Mondays (which is now going to shift to “Scenes from my Week” because of Jacquelyn’s new design venture).
Rambling Renovators – Jennifer is one hard-working lady, and she’s been a leader for many bloggers. I really look forward to her Friday Love List column.
Atlantic-Pacific – Blair Eadie’s style is top-notch. I want absolutely everything that she wears.
Love Taza – I think I actually have zero things in common with Naomi, but I keep coming back to her blog. I think it’s because I started reading her when my sister and her family were living in Manhattan. They sort of lived parallel lives.
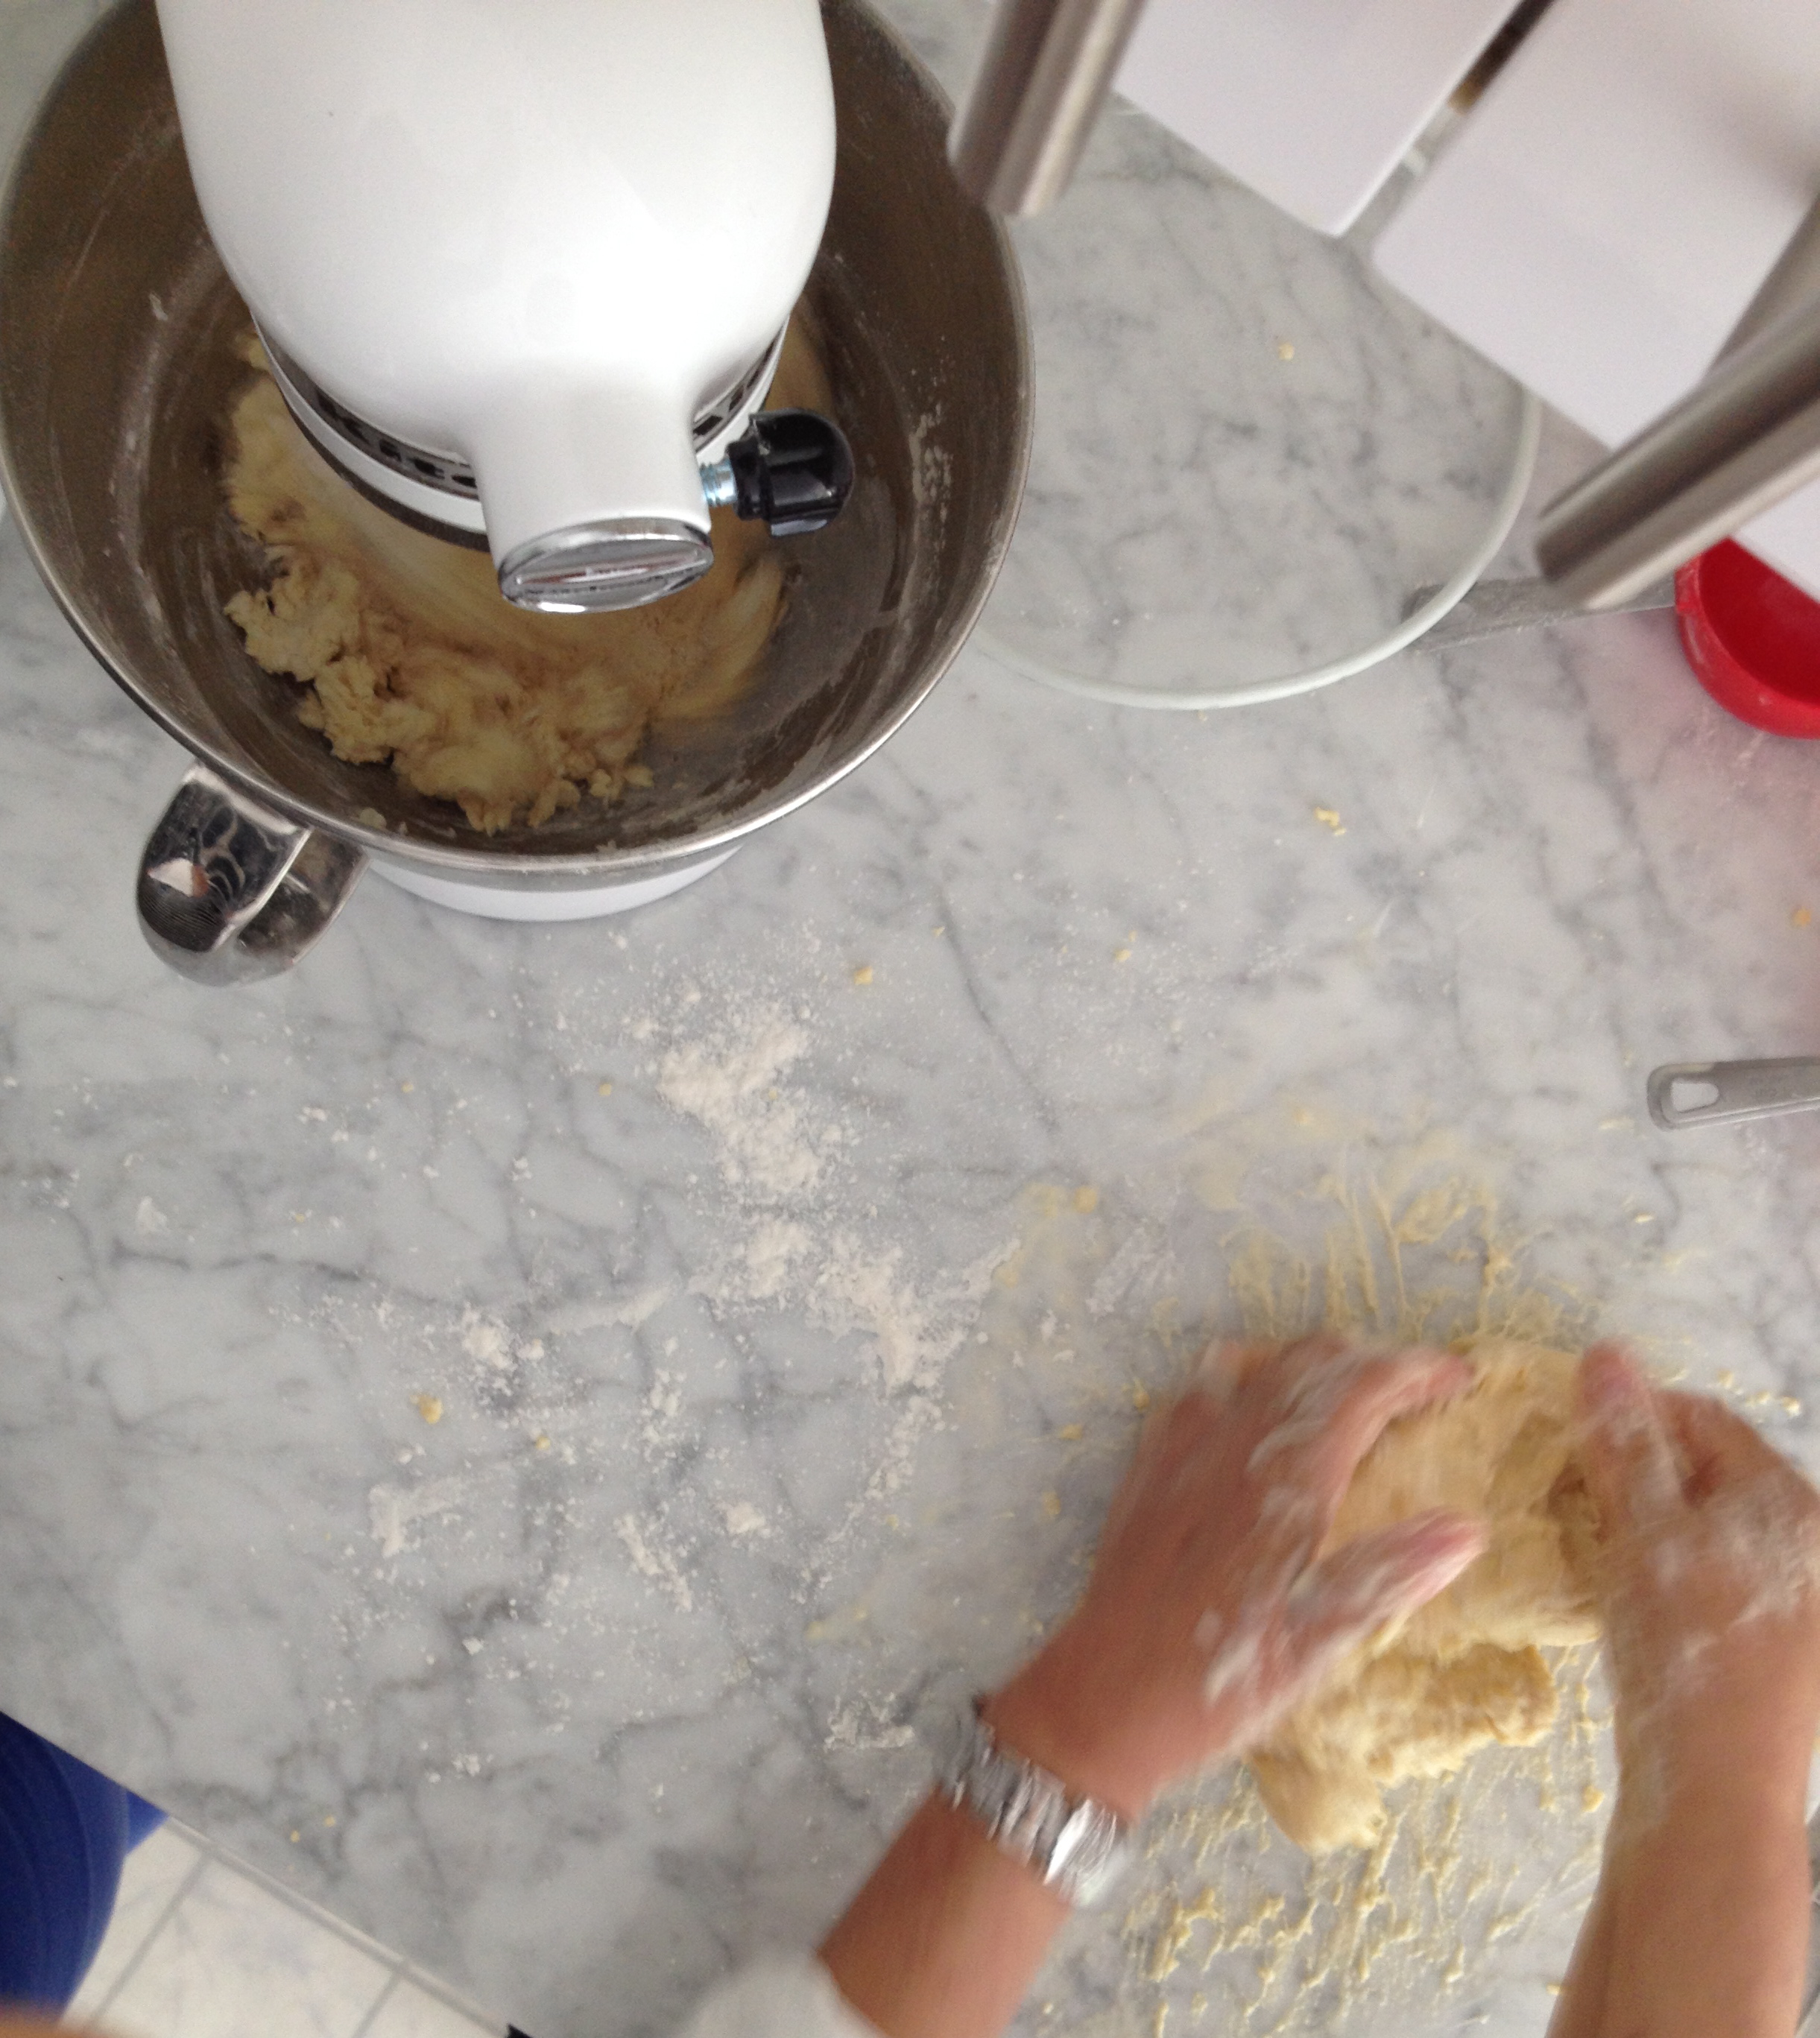
A Beautiful Mess – This blog documents the work of a whole team of talented and artistic people. They live a much more colourful life than me, that’s for darn sure. I’m mostly interested in the recipes. I’ve tried a few of them and they always work out.
Swiss Miss – Tina always posts something new-to-me and interesting. I really like her aesthetic.
10. Tag and mention 1 blogger who you’d like to partake in this feature.
I would love to know how Erica Cook manages her day. She’s uber-talented and seems so very nice.
***
Interested in learning about other bloggers involved in this Behind the Blog series? Check out the schedule:
Monday, September 29th
Sabrina Smelko – Hands and Hustle
Brittany Stager – My Daily Randomness
Tuesday, September 30th
Brittany – Gallery No. Eight
Kelly – Glitter Diaries
Wednesday, October 1st
The Party Girl
Renee – Renee M. LeBlanc
Thursday, October 2nd
Katie Rose – Wild Rose Buds
Hilary Ramsay – House of Her
Friday, October 3rd
Vanessa Francis
me!
Have a wonderful weekend, everyone!
 via Mark & Graham
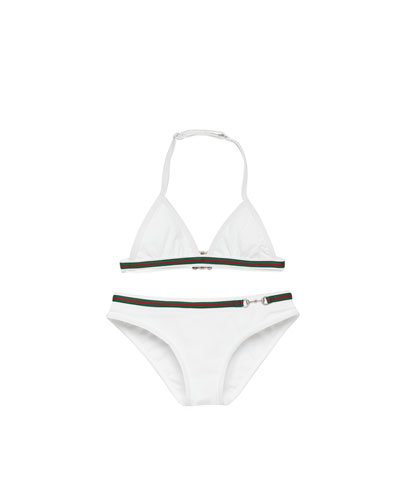 Gucci bikini, via Neiman Marcus
 via Havaianas
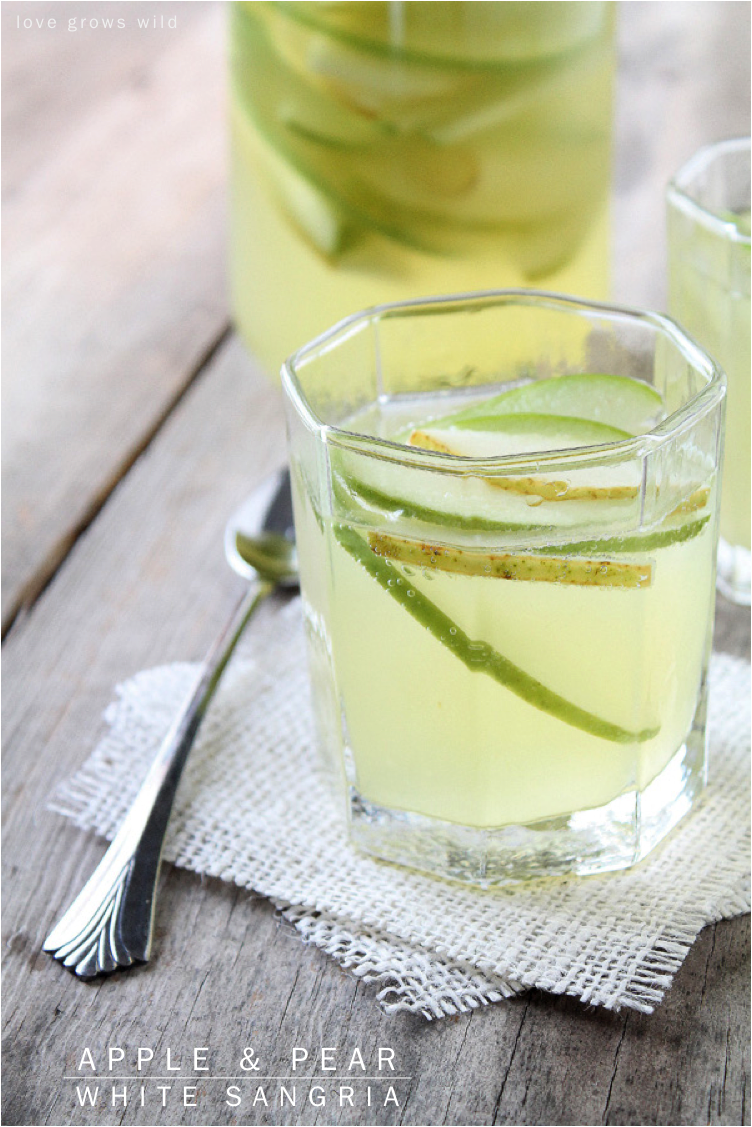 via Love Grows Wild
 via Magnum
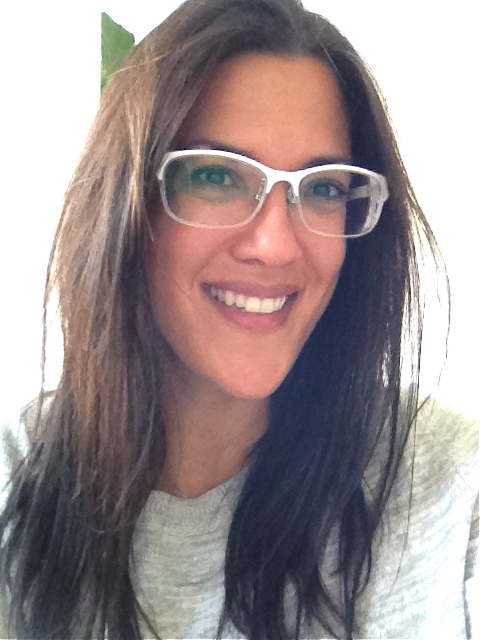
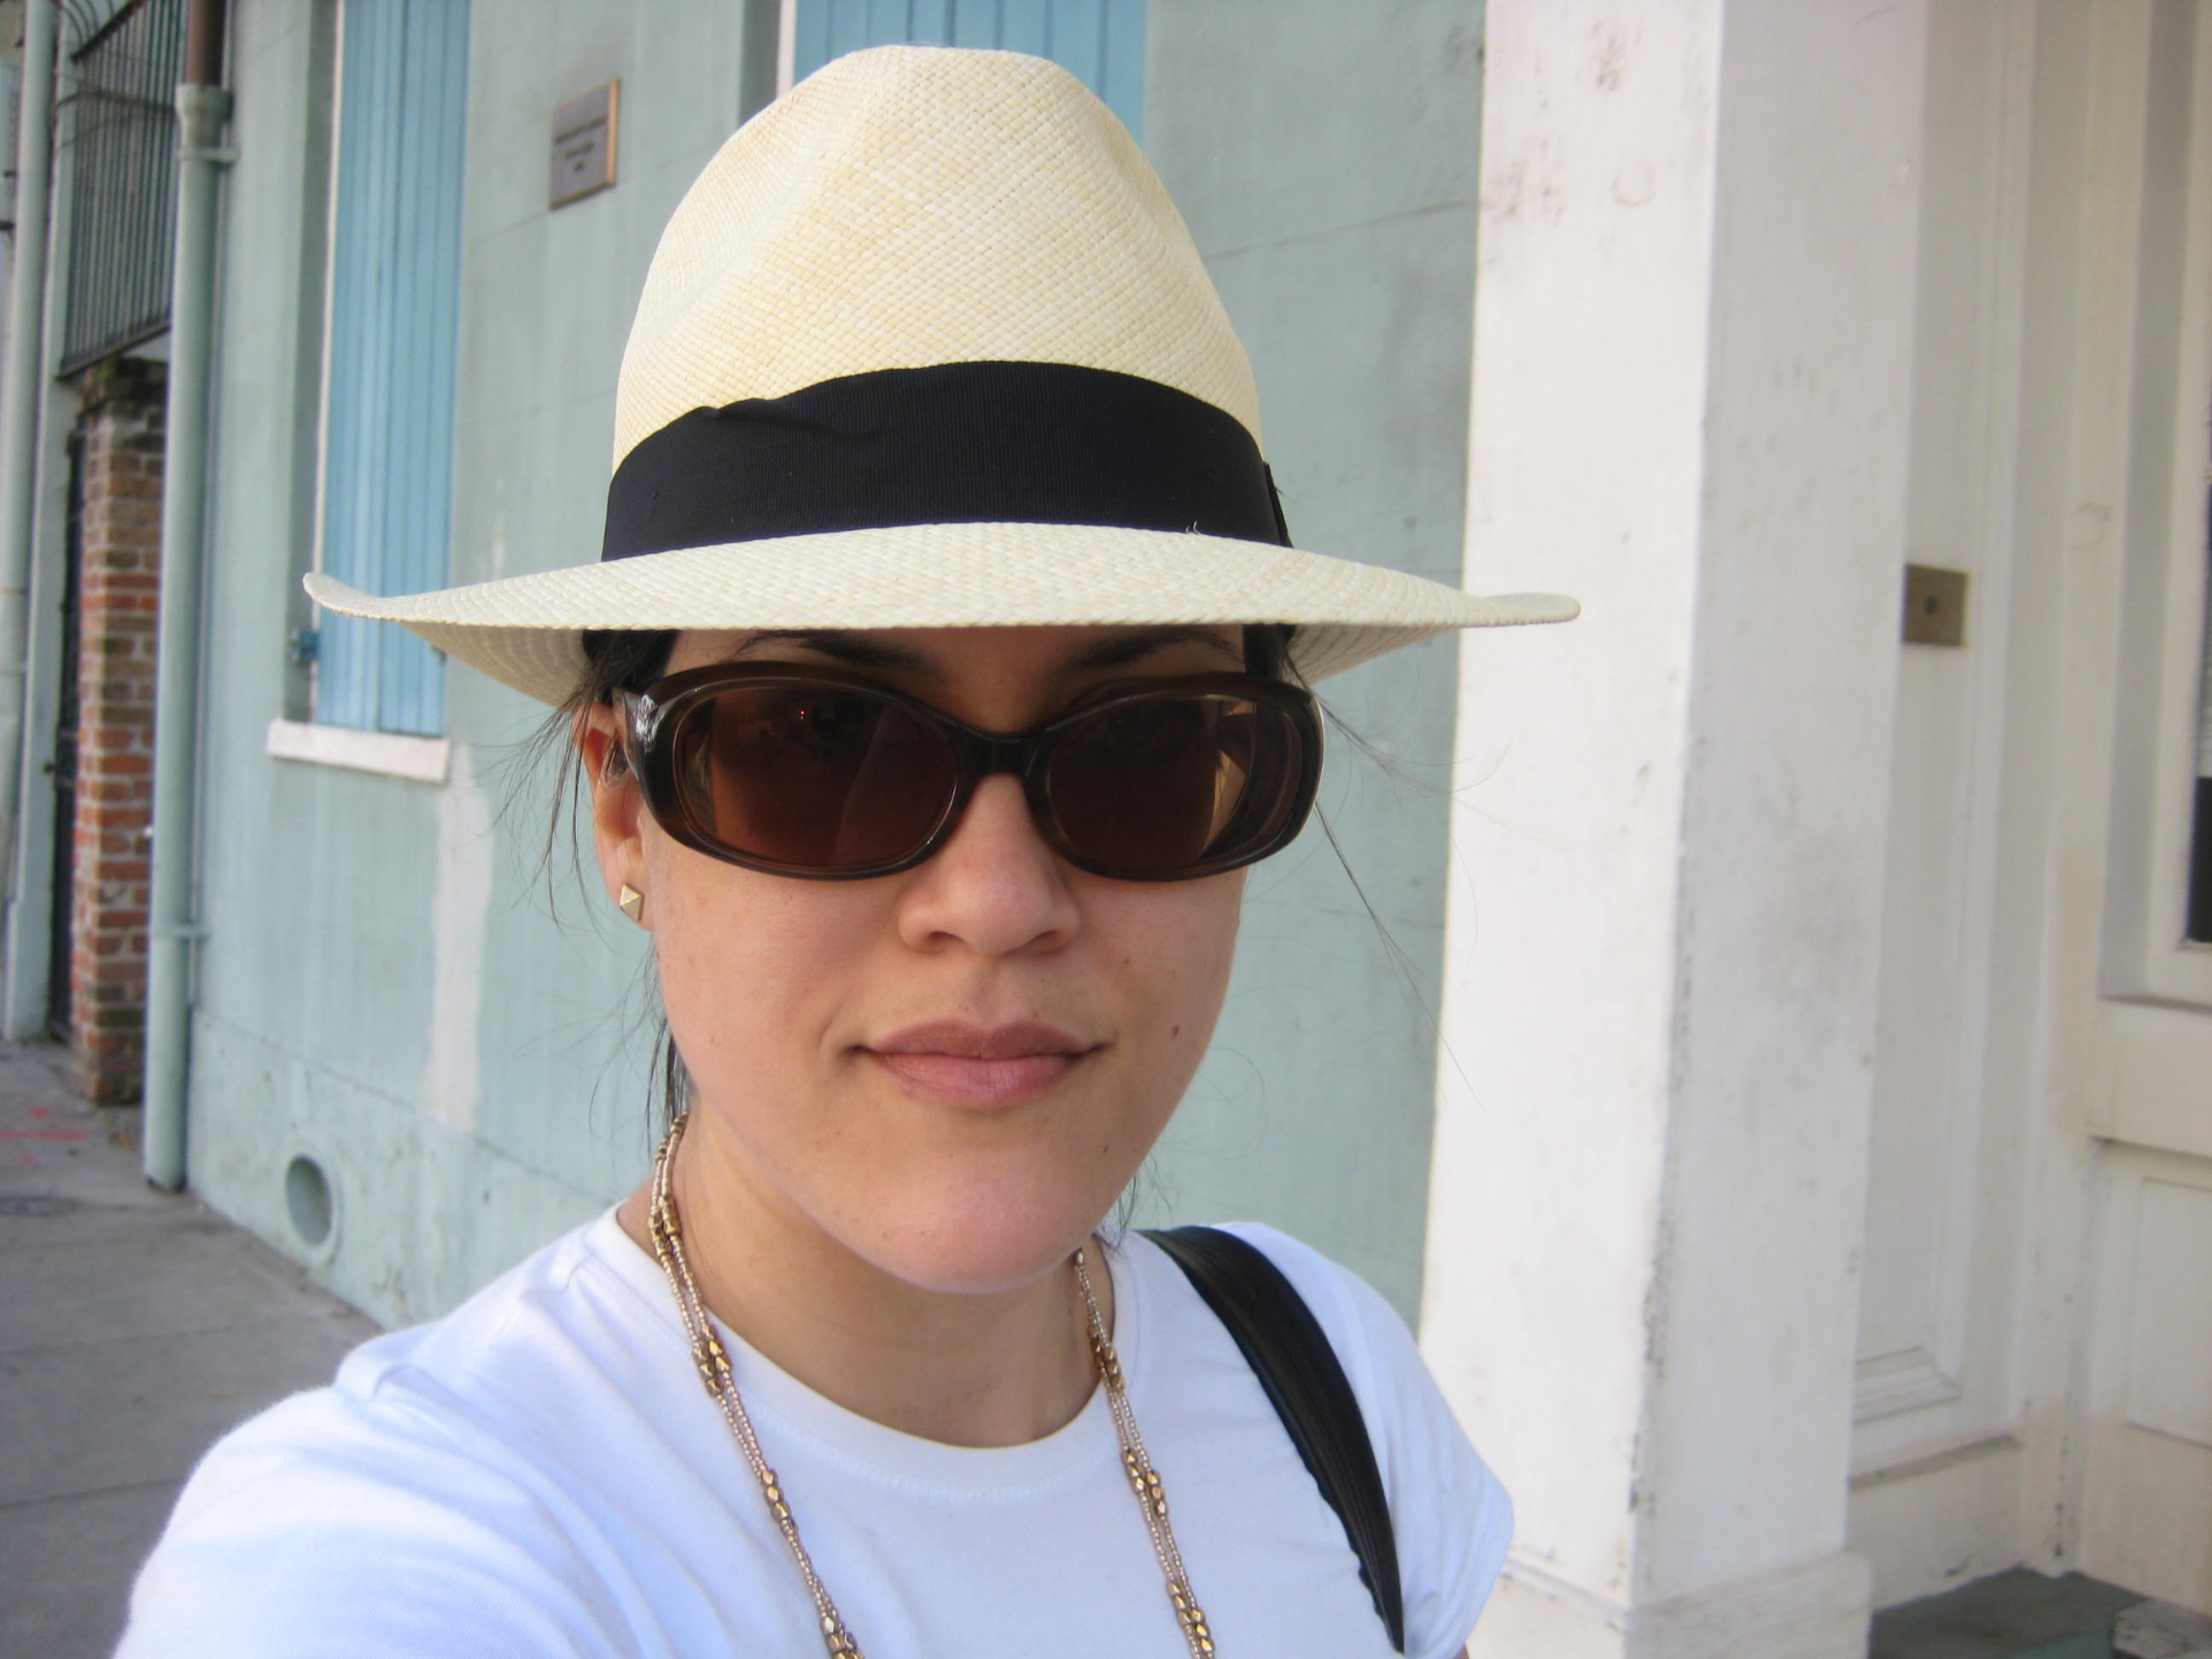 here’s a selfie from New Orleans
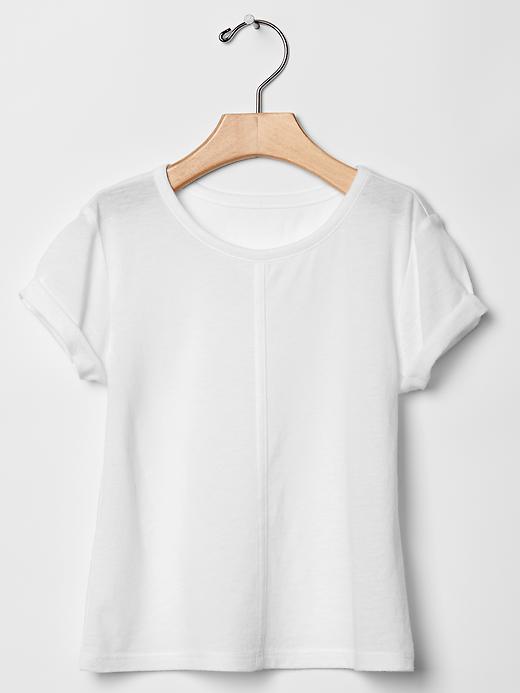 the Gap remains one of my favourite go-to tee shot
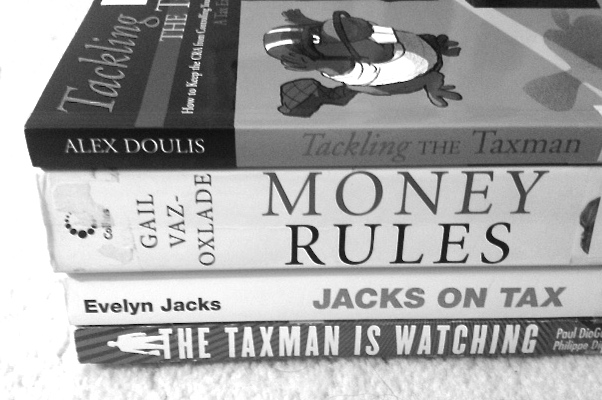
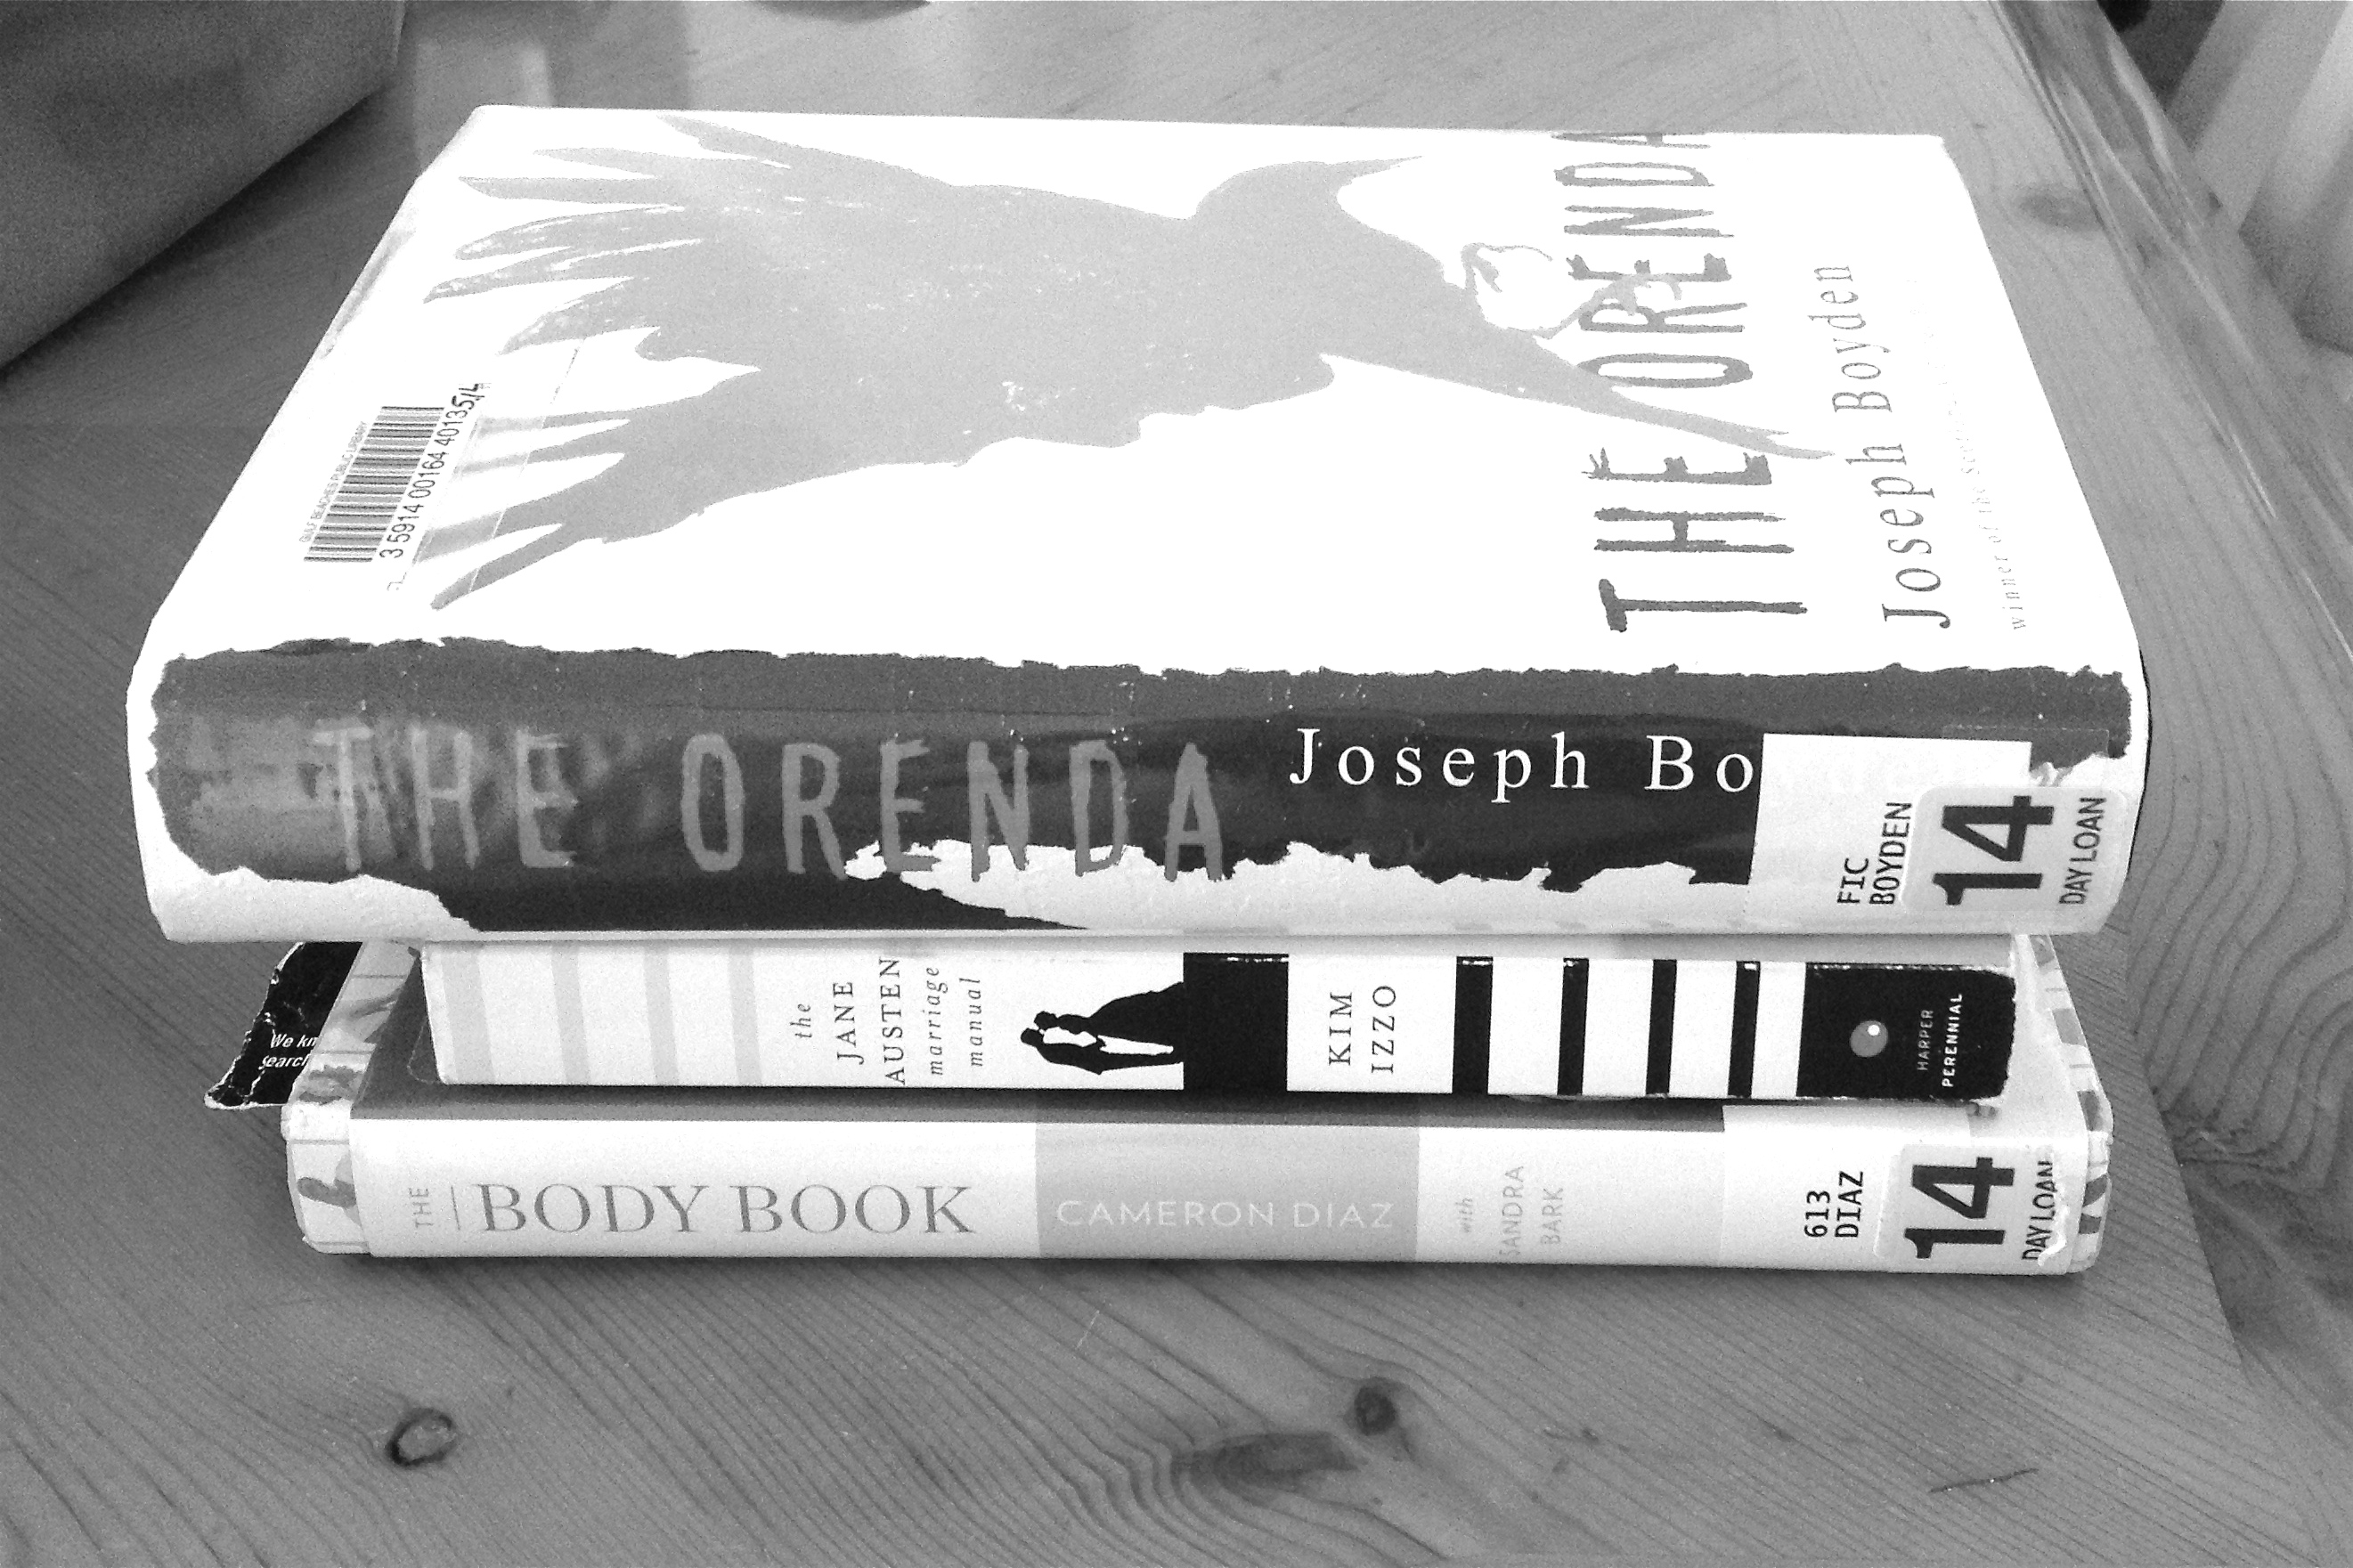
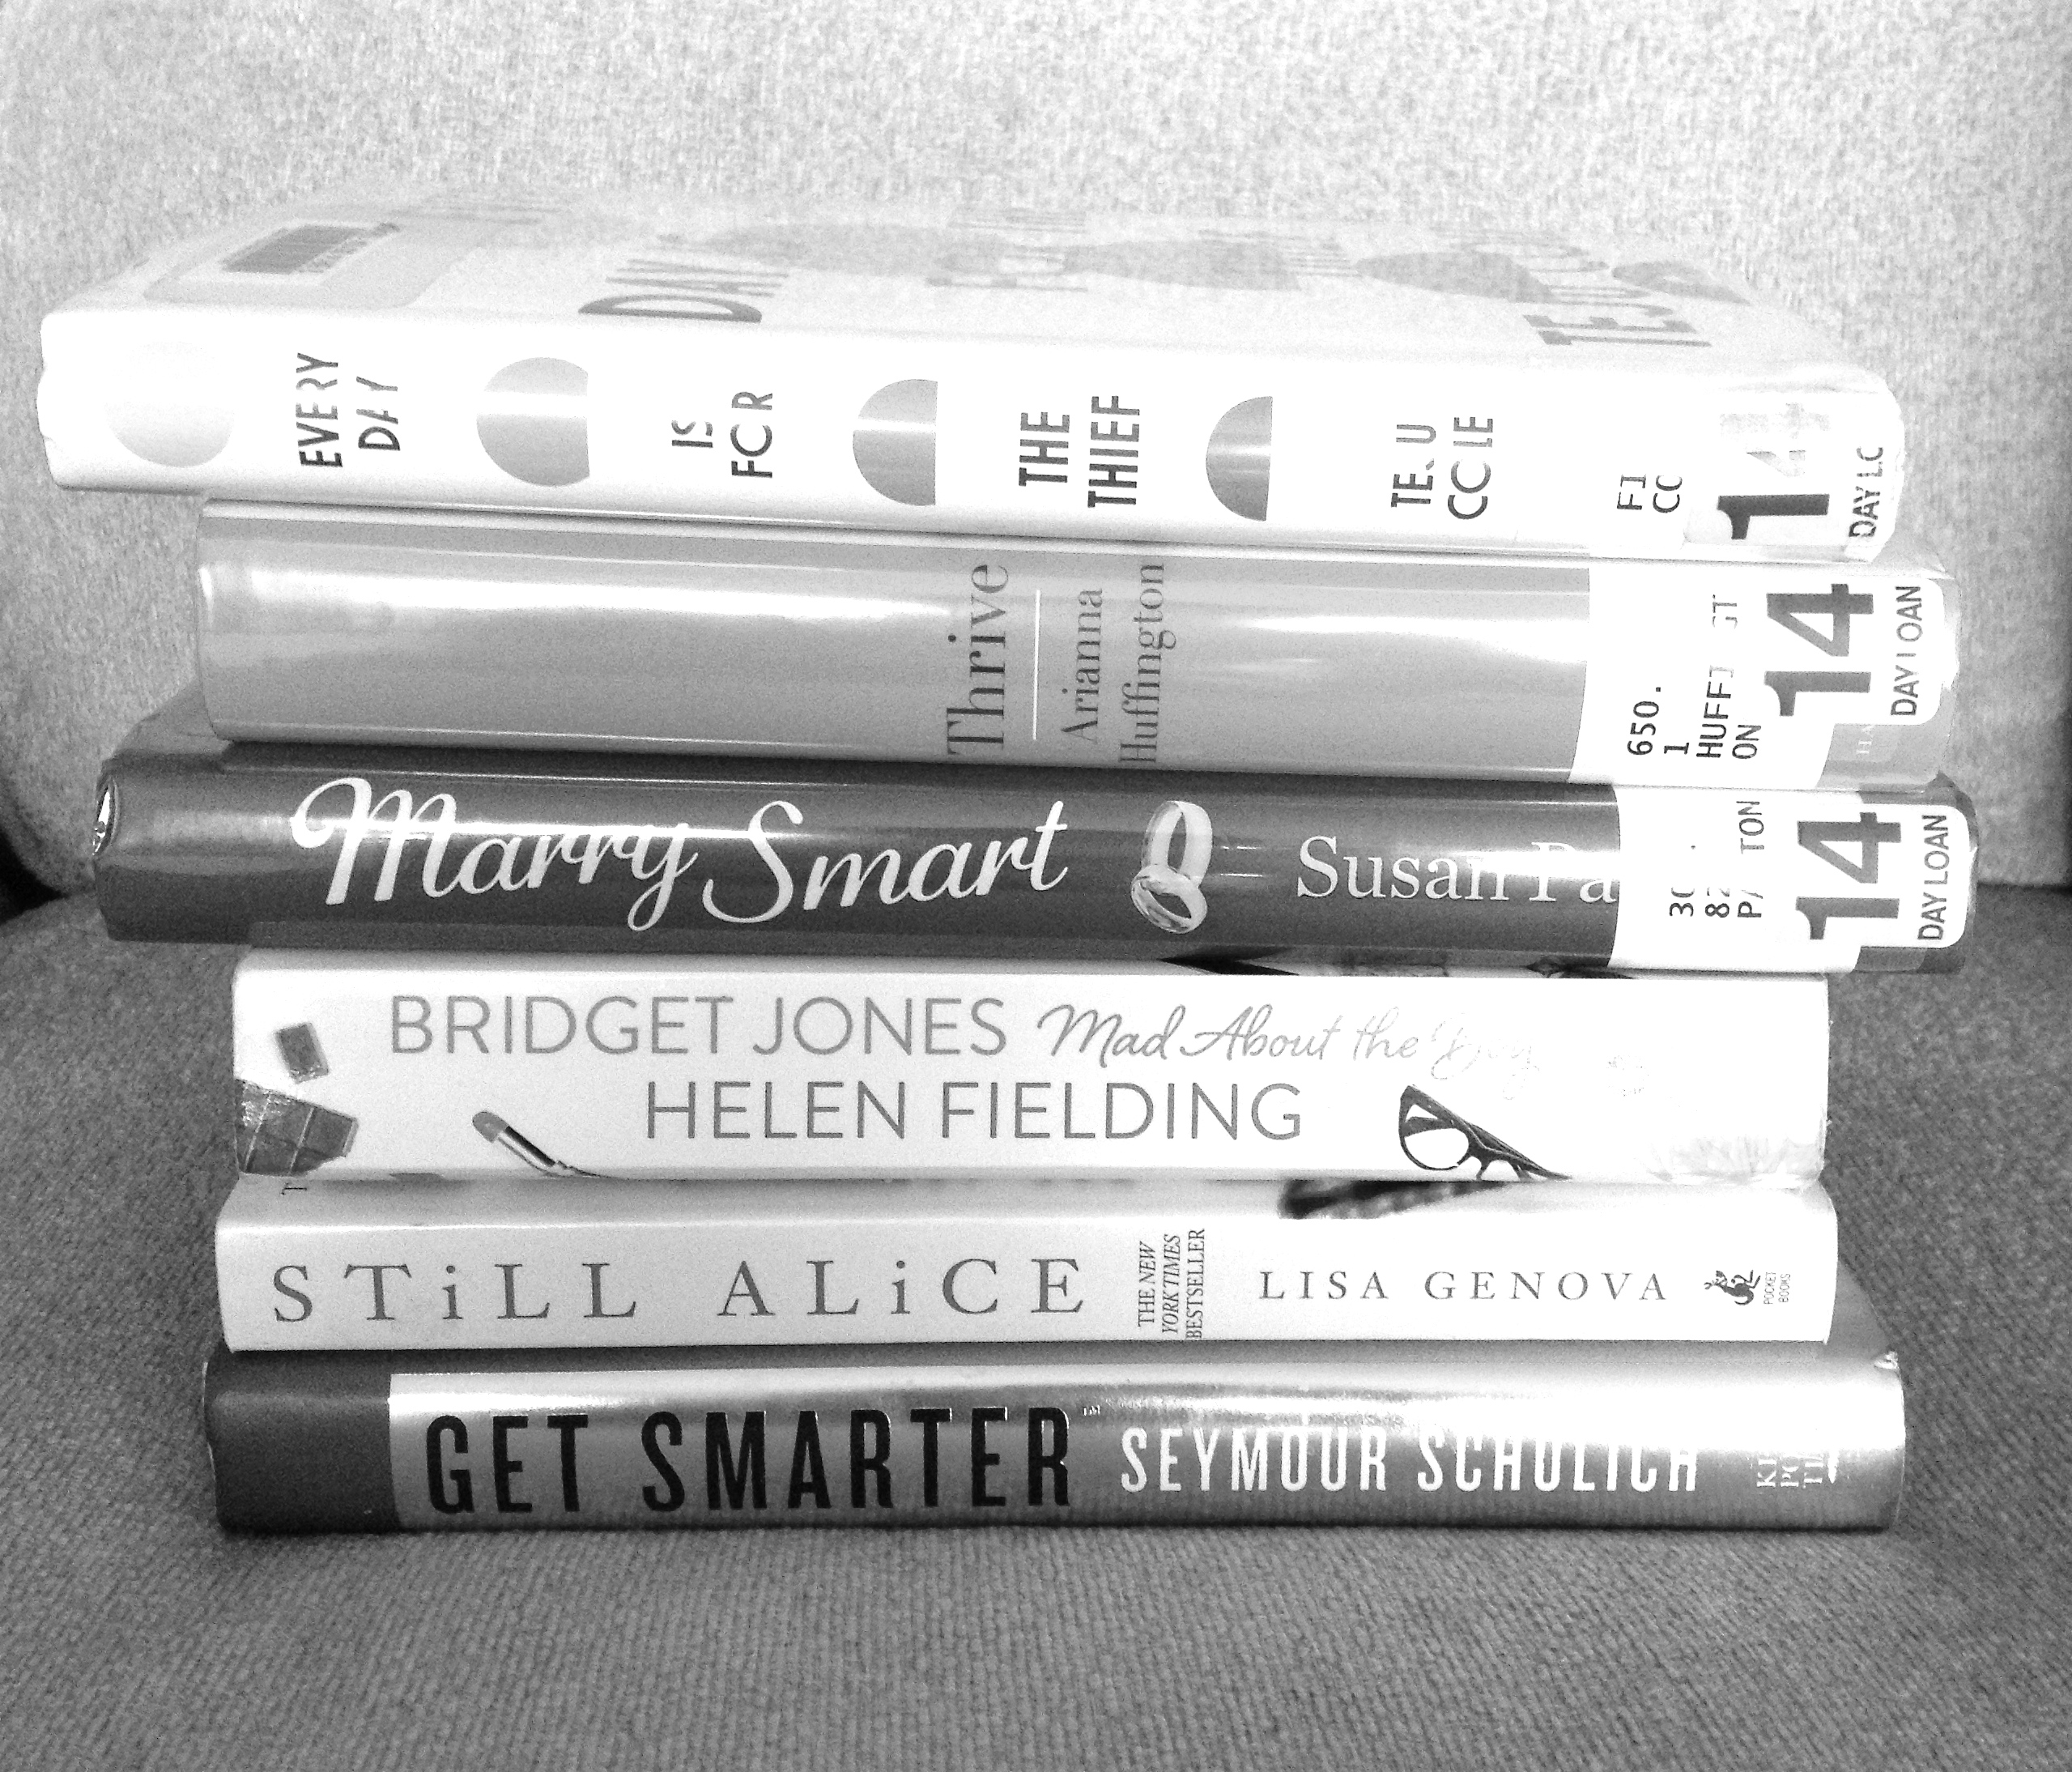
 11. Books. Stacks and stacks of reading material for at home and on vacation. I’ve been going to the library every week all winter long, and I’m planning on continuing this habit over the next few months/forever. The Waterloo Public Library is fantastic.
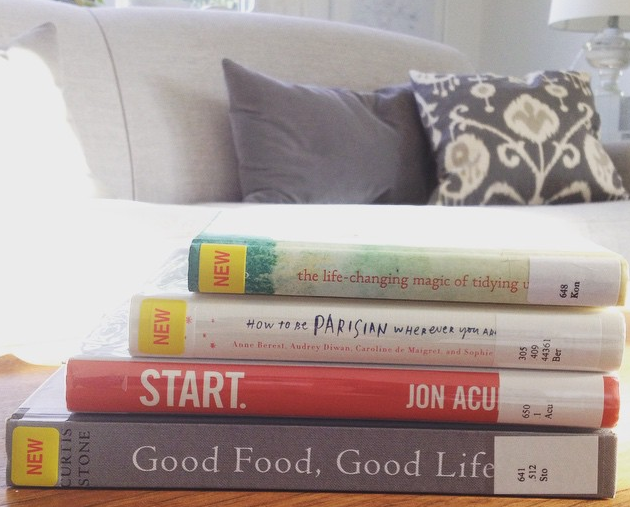
 via Local Lemons
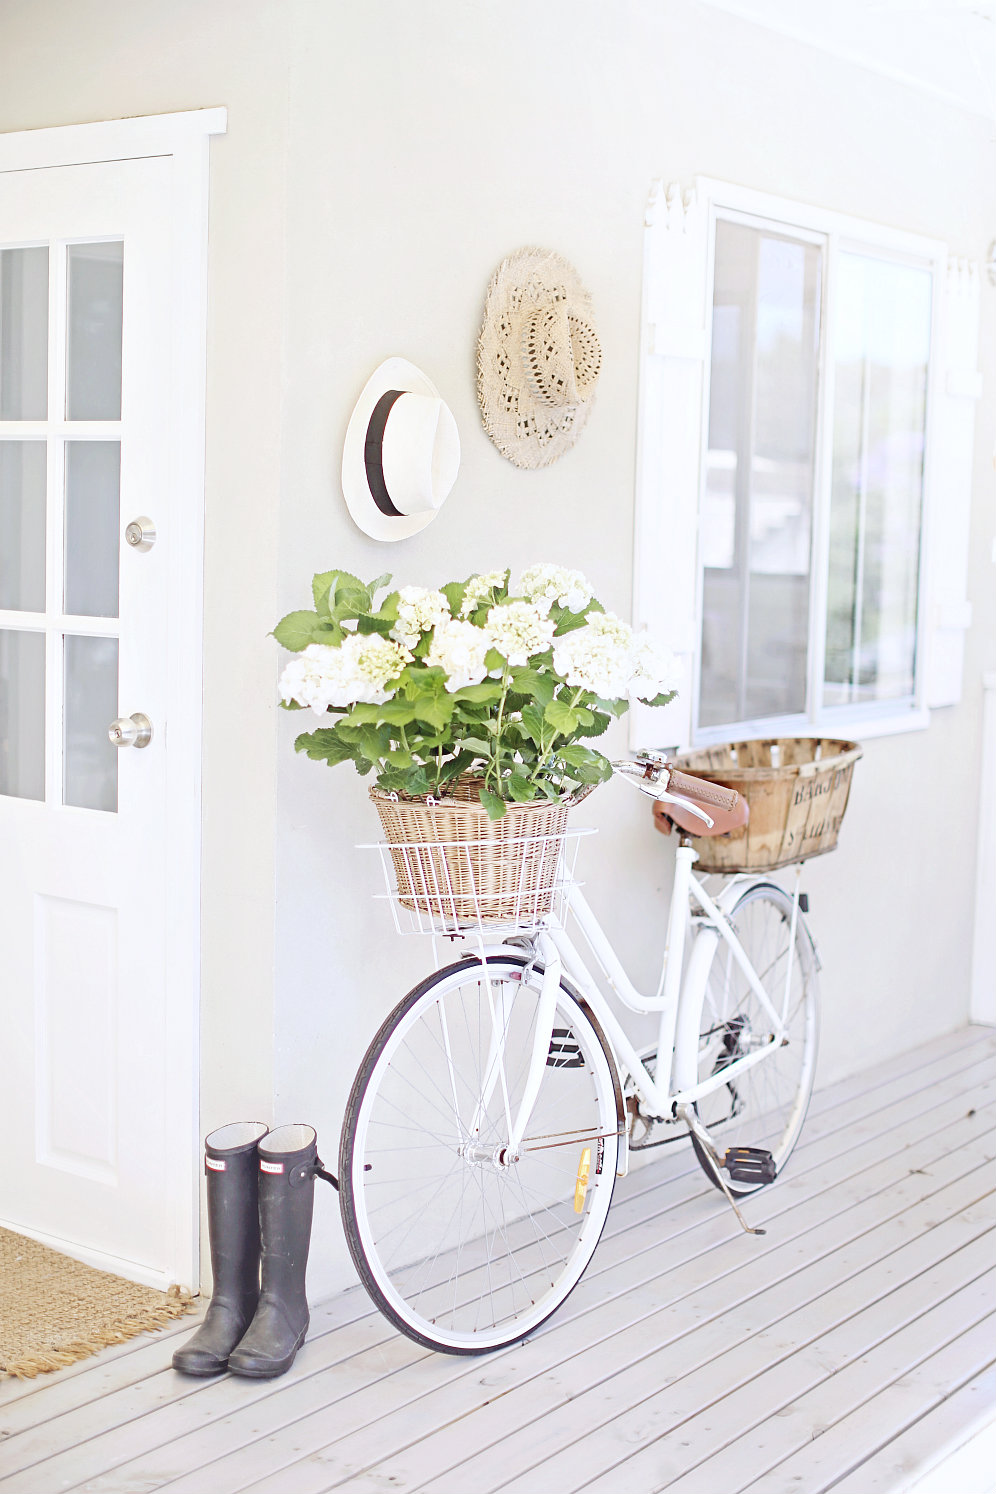 via A Beach Cottage


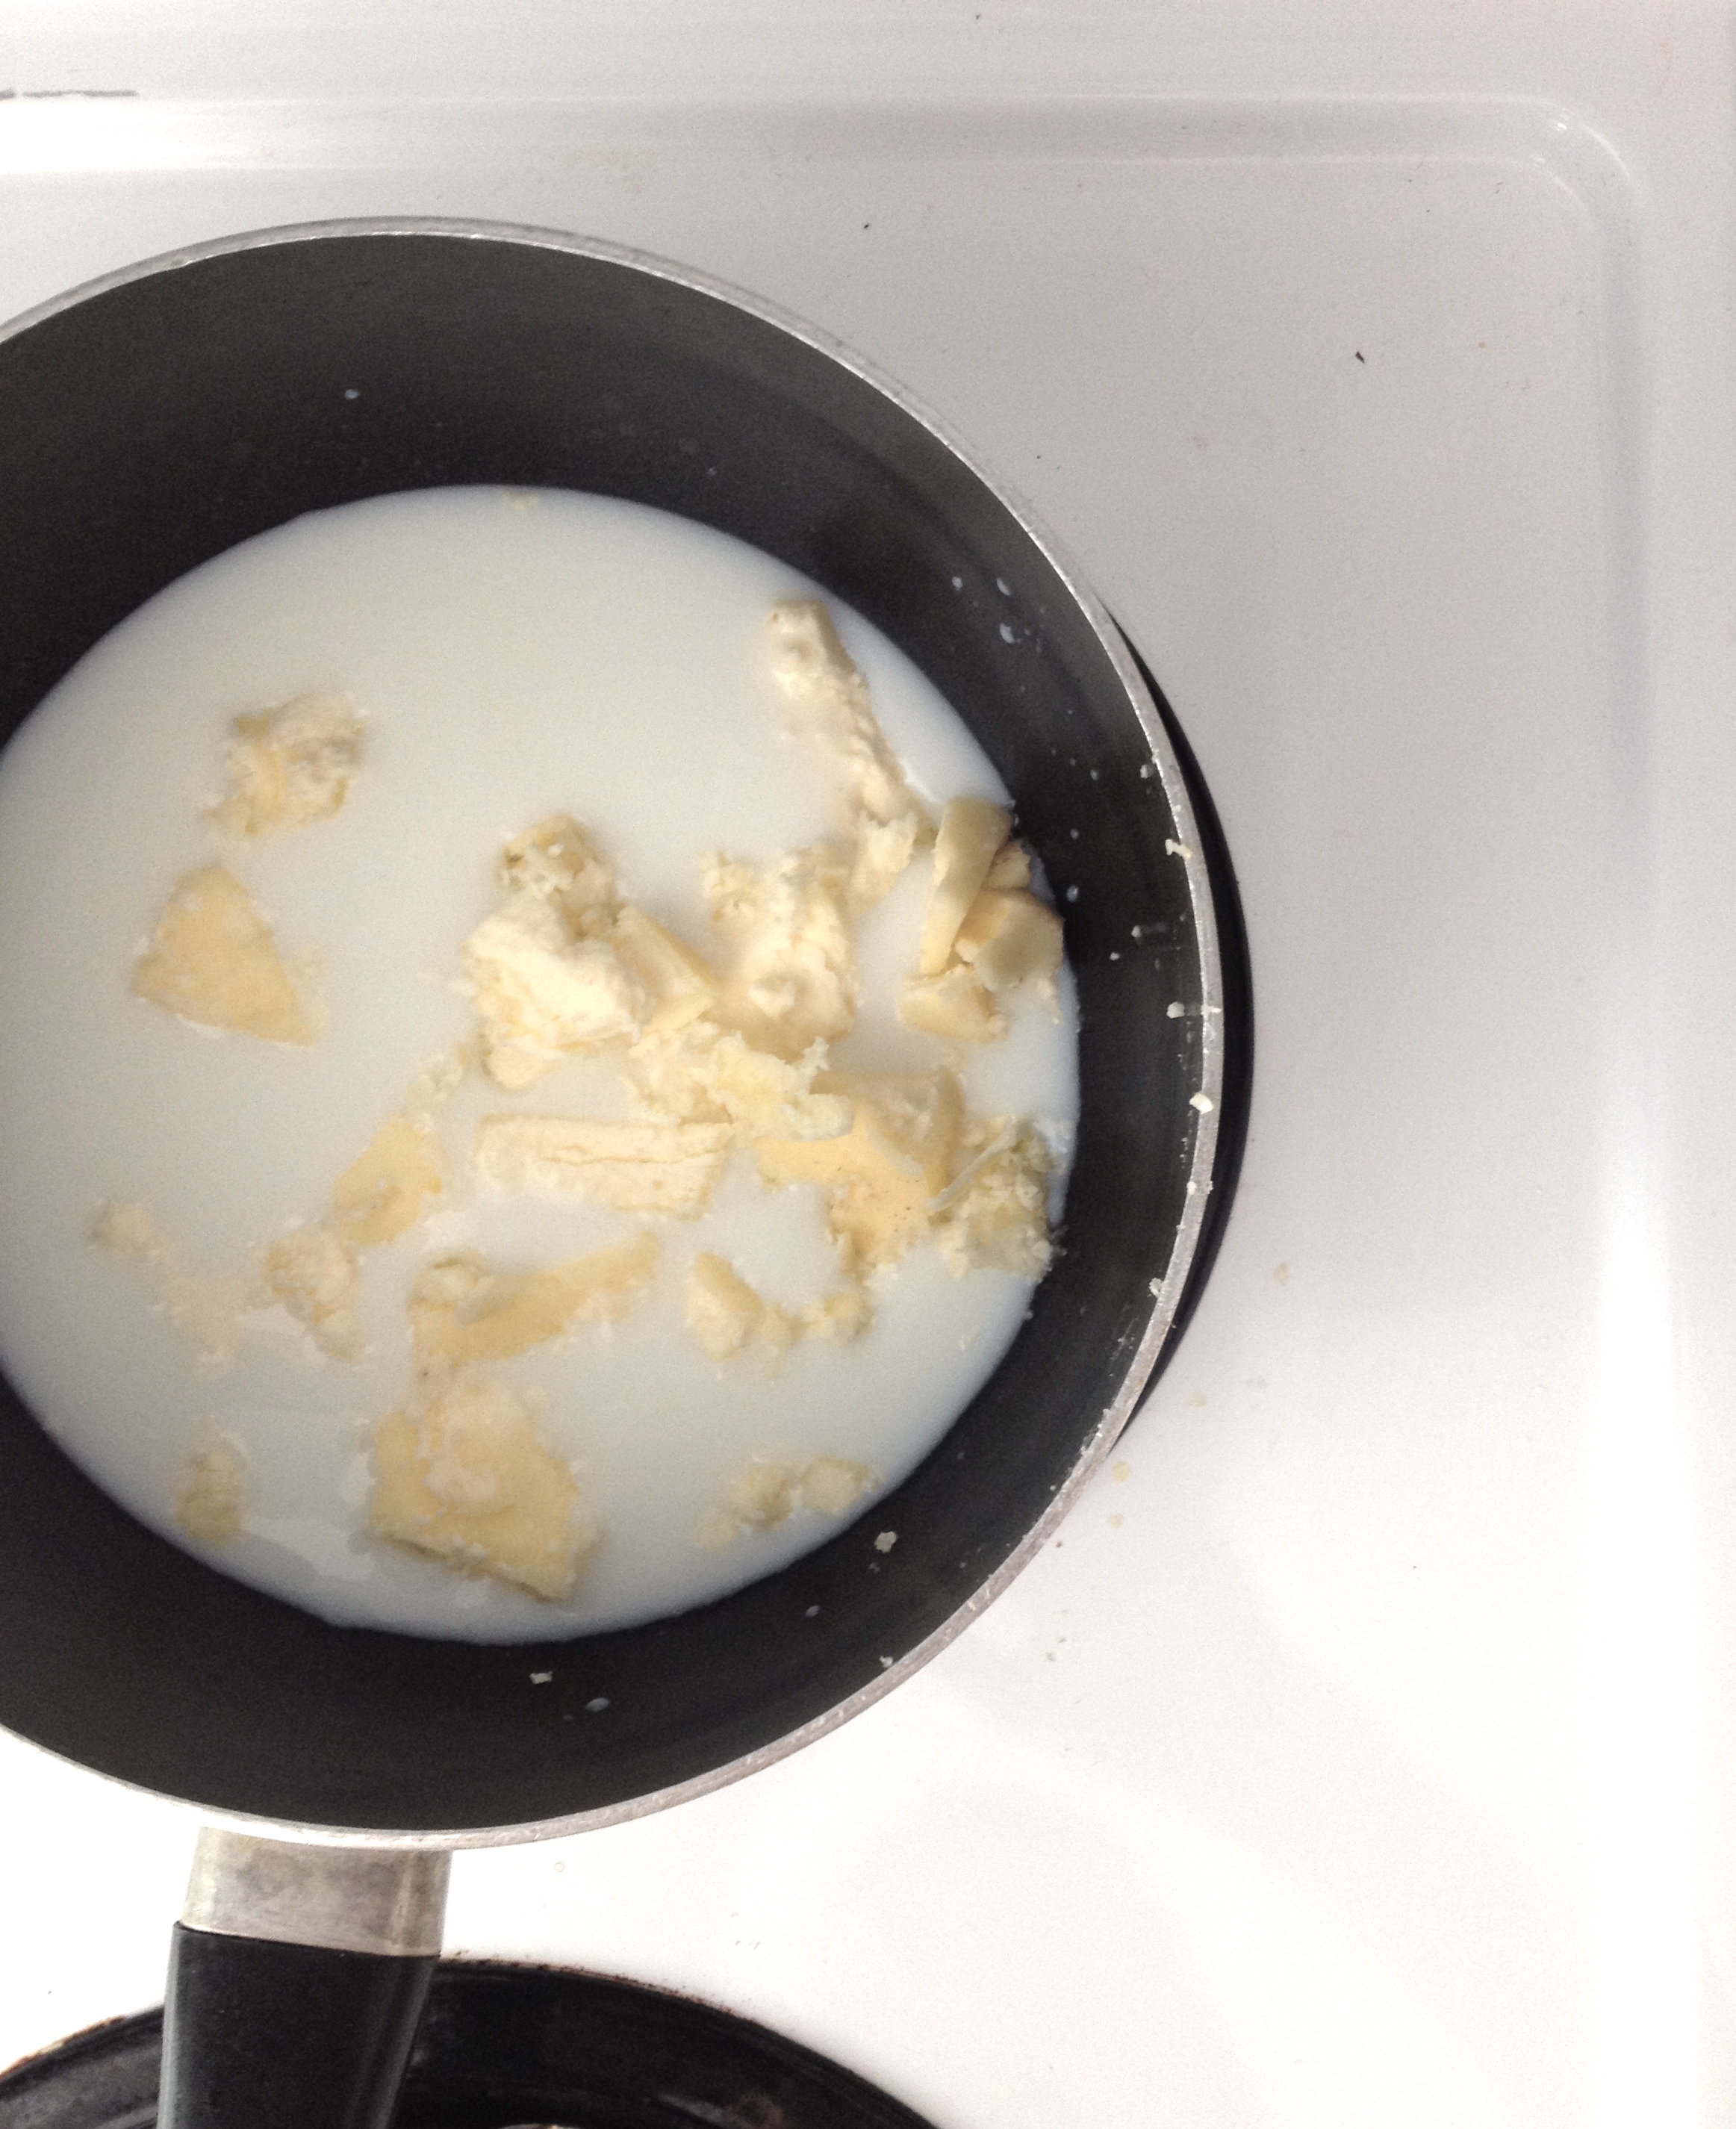


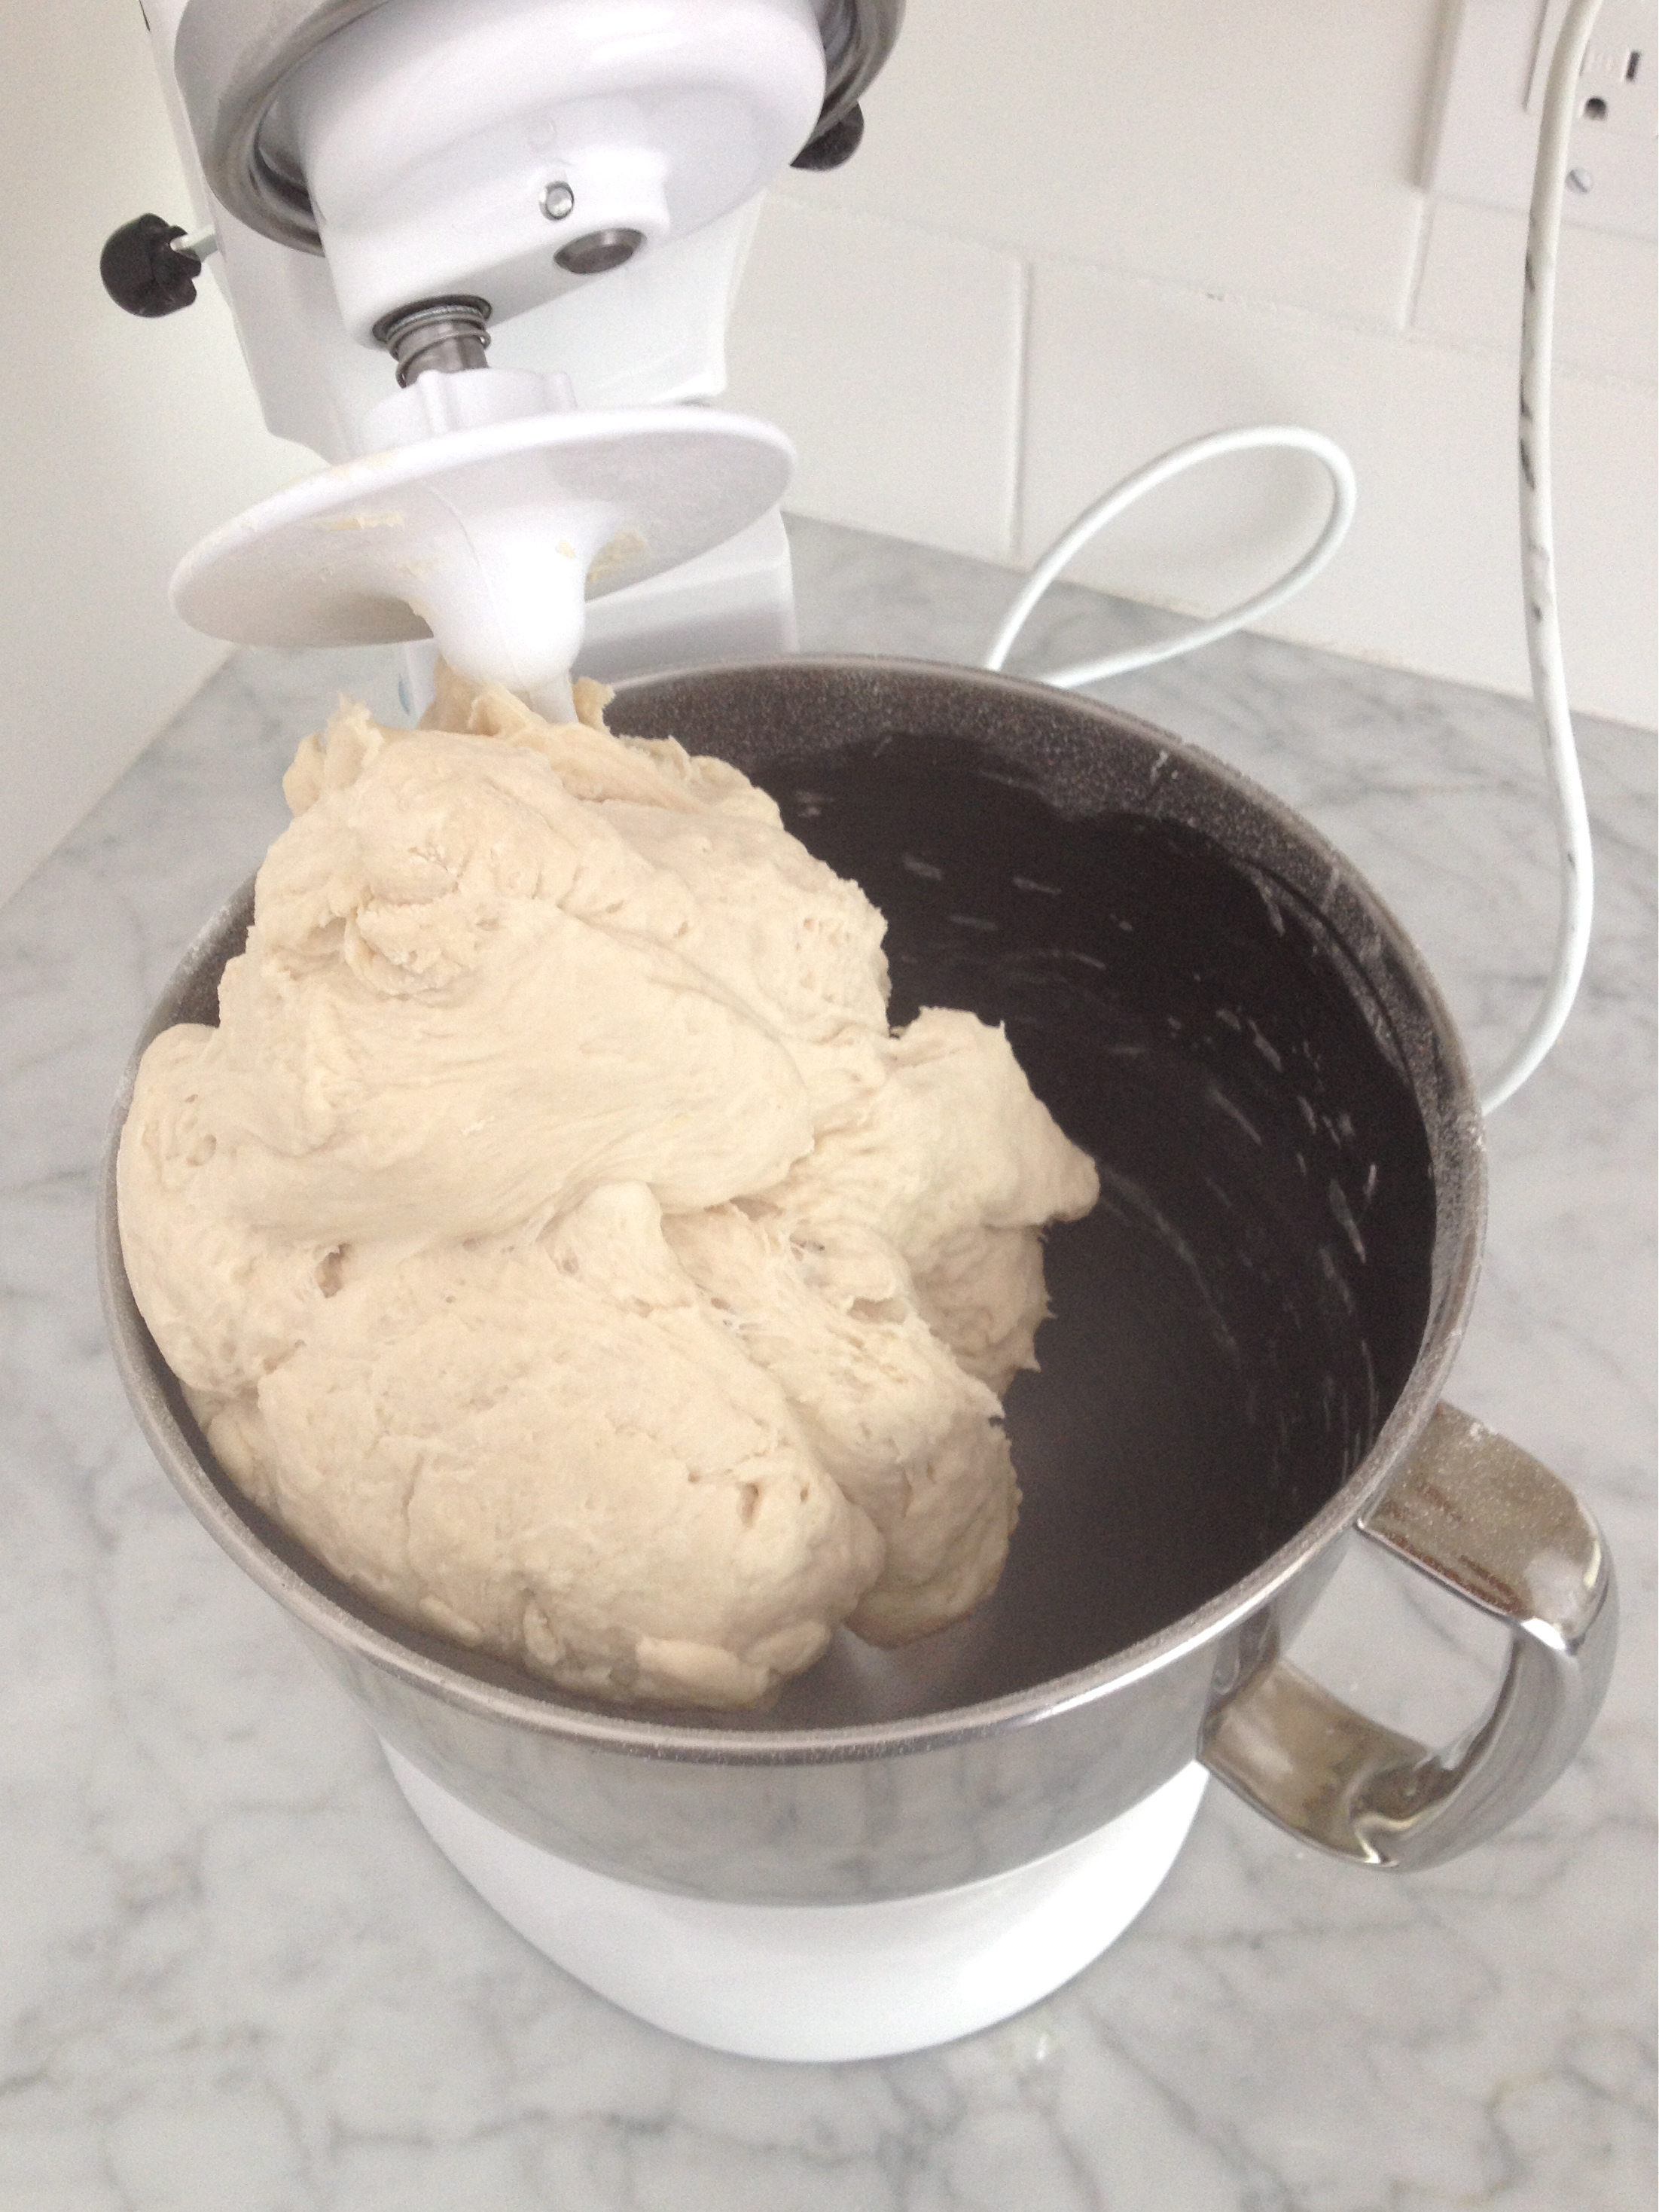

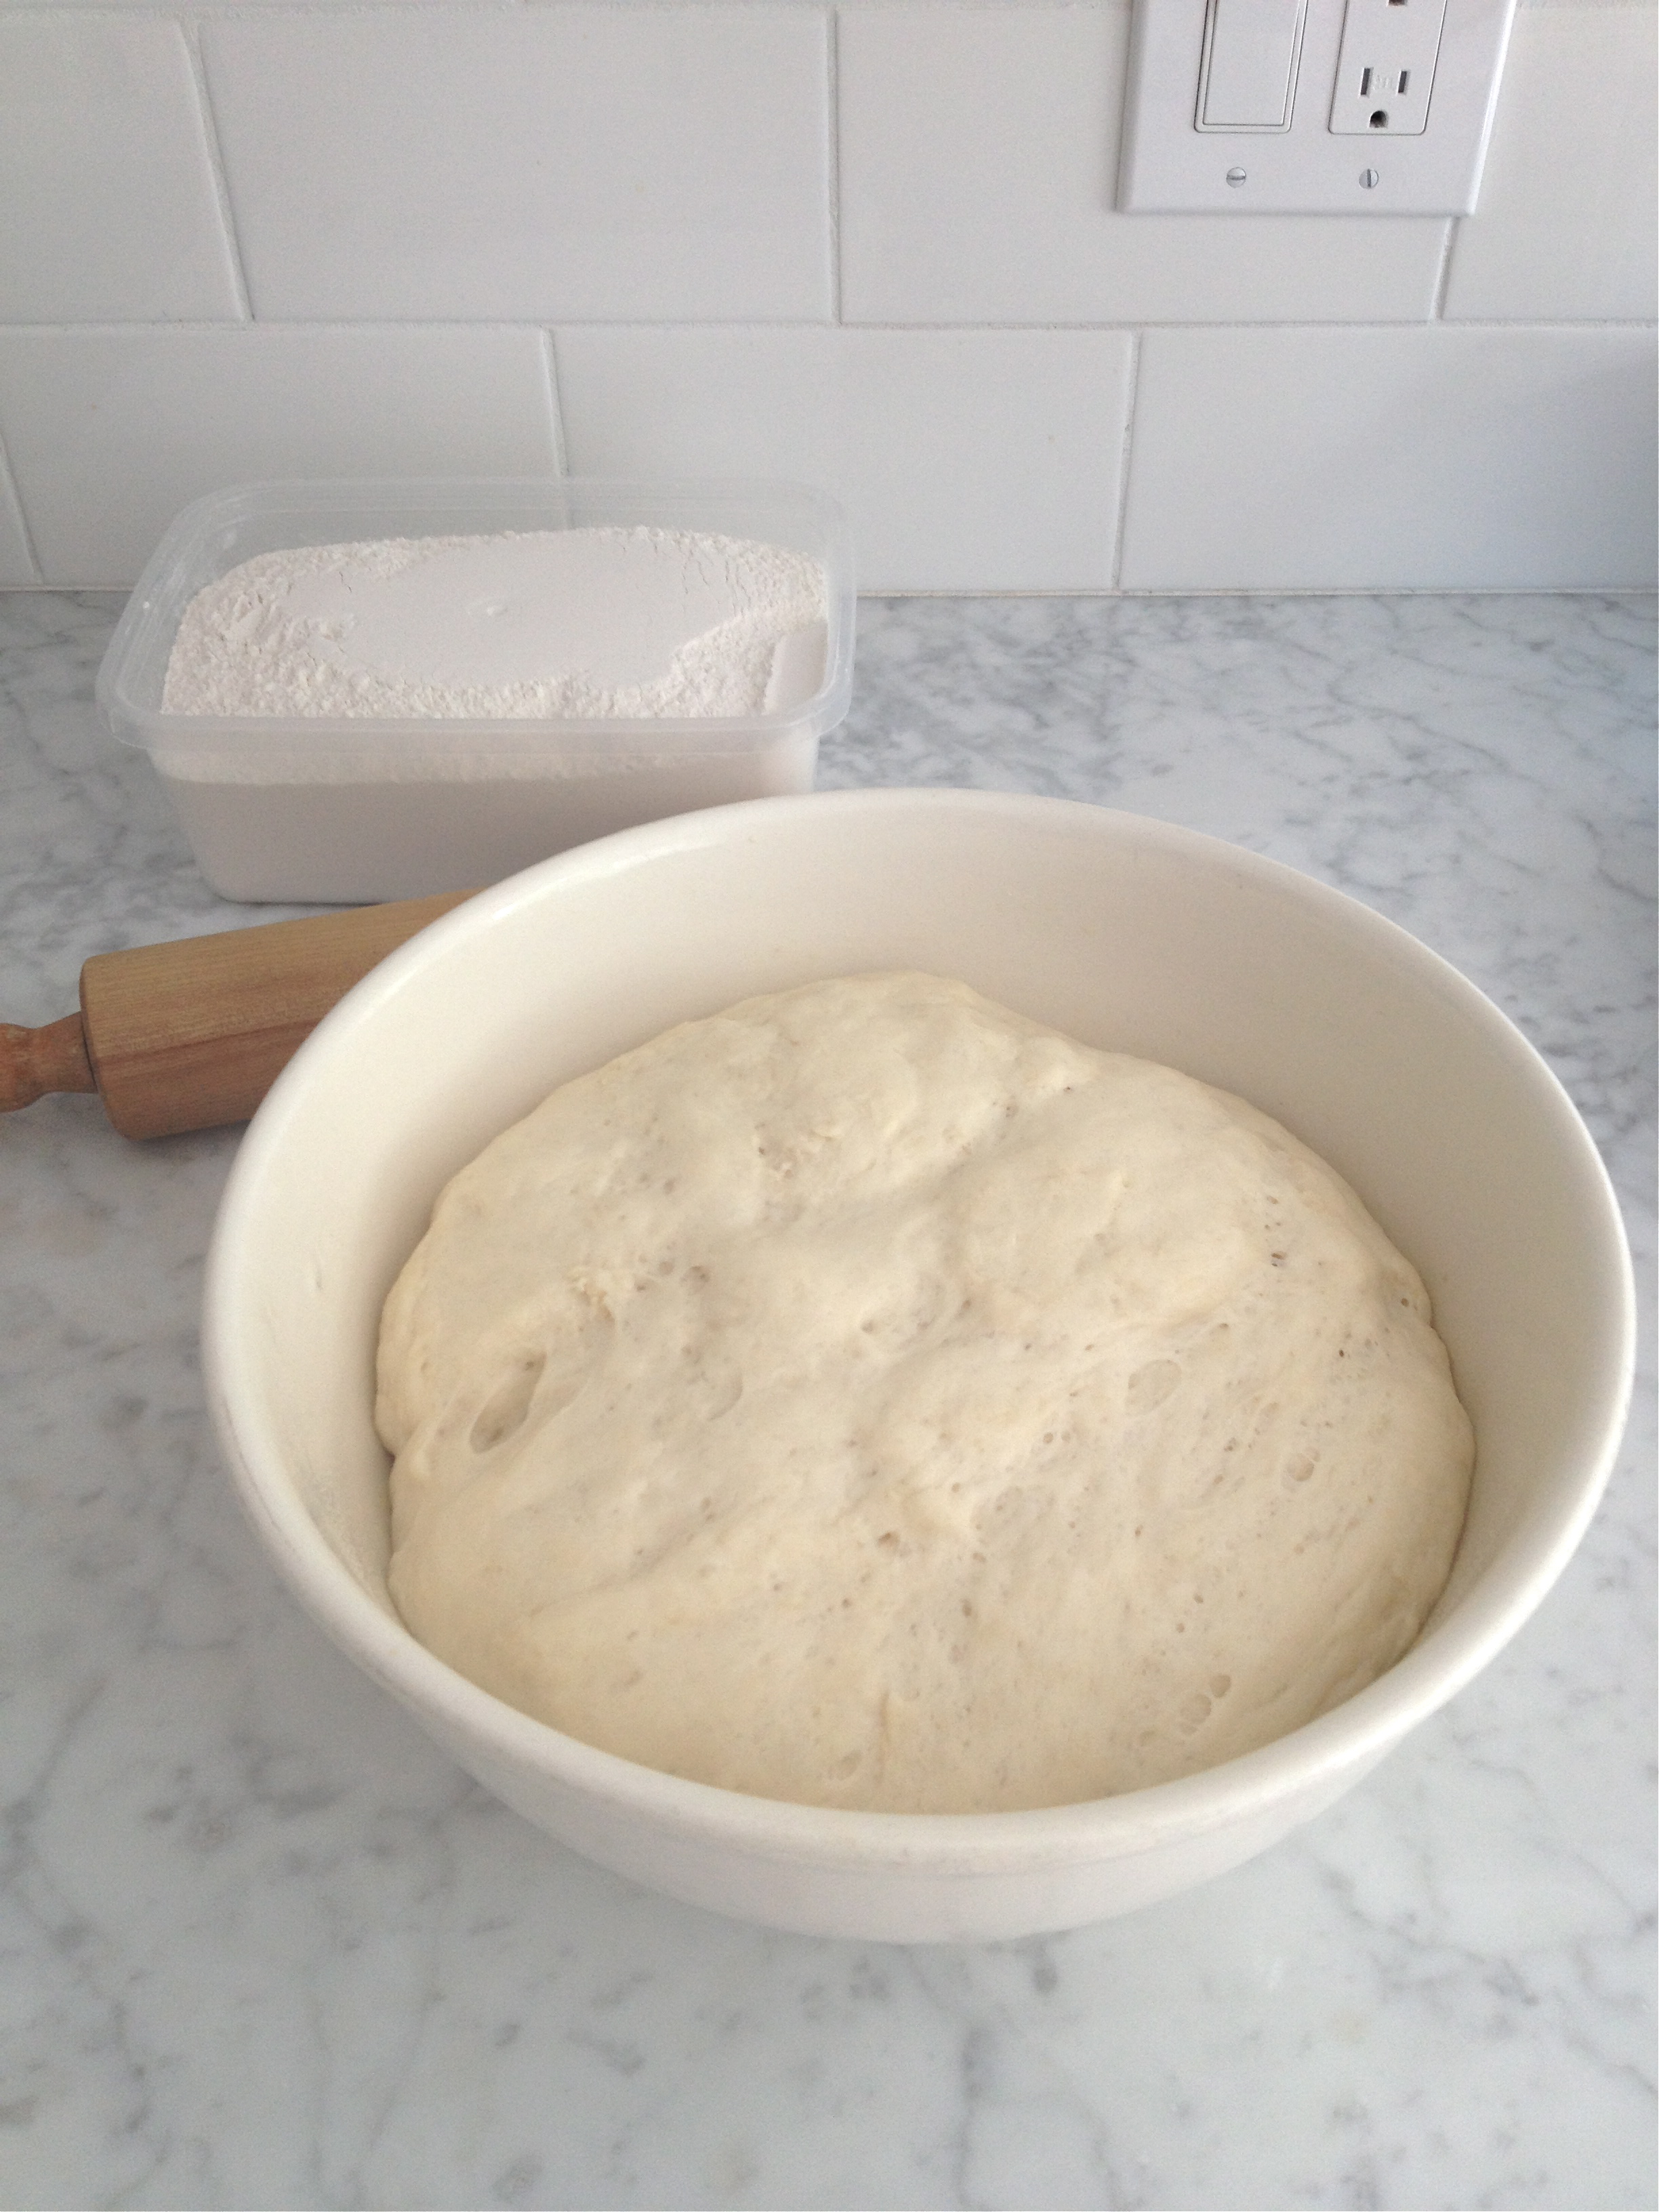

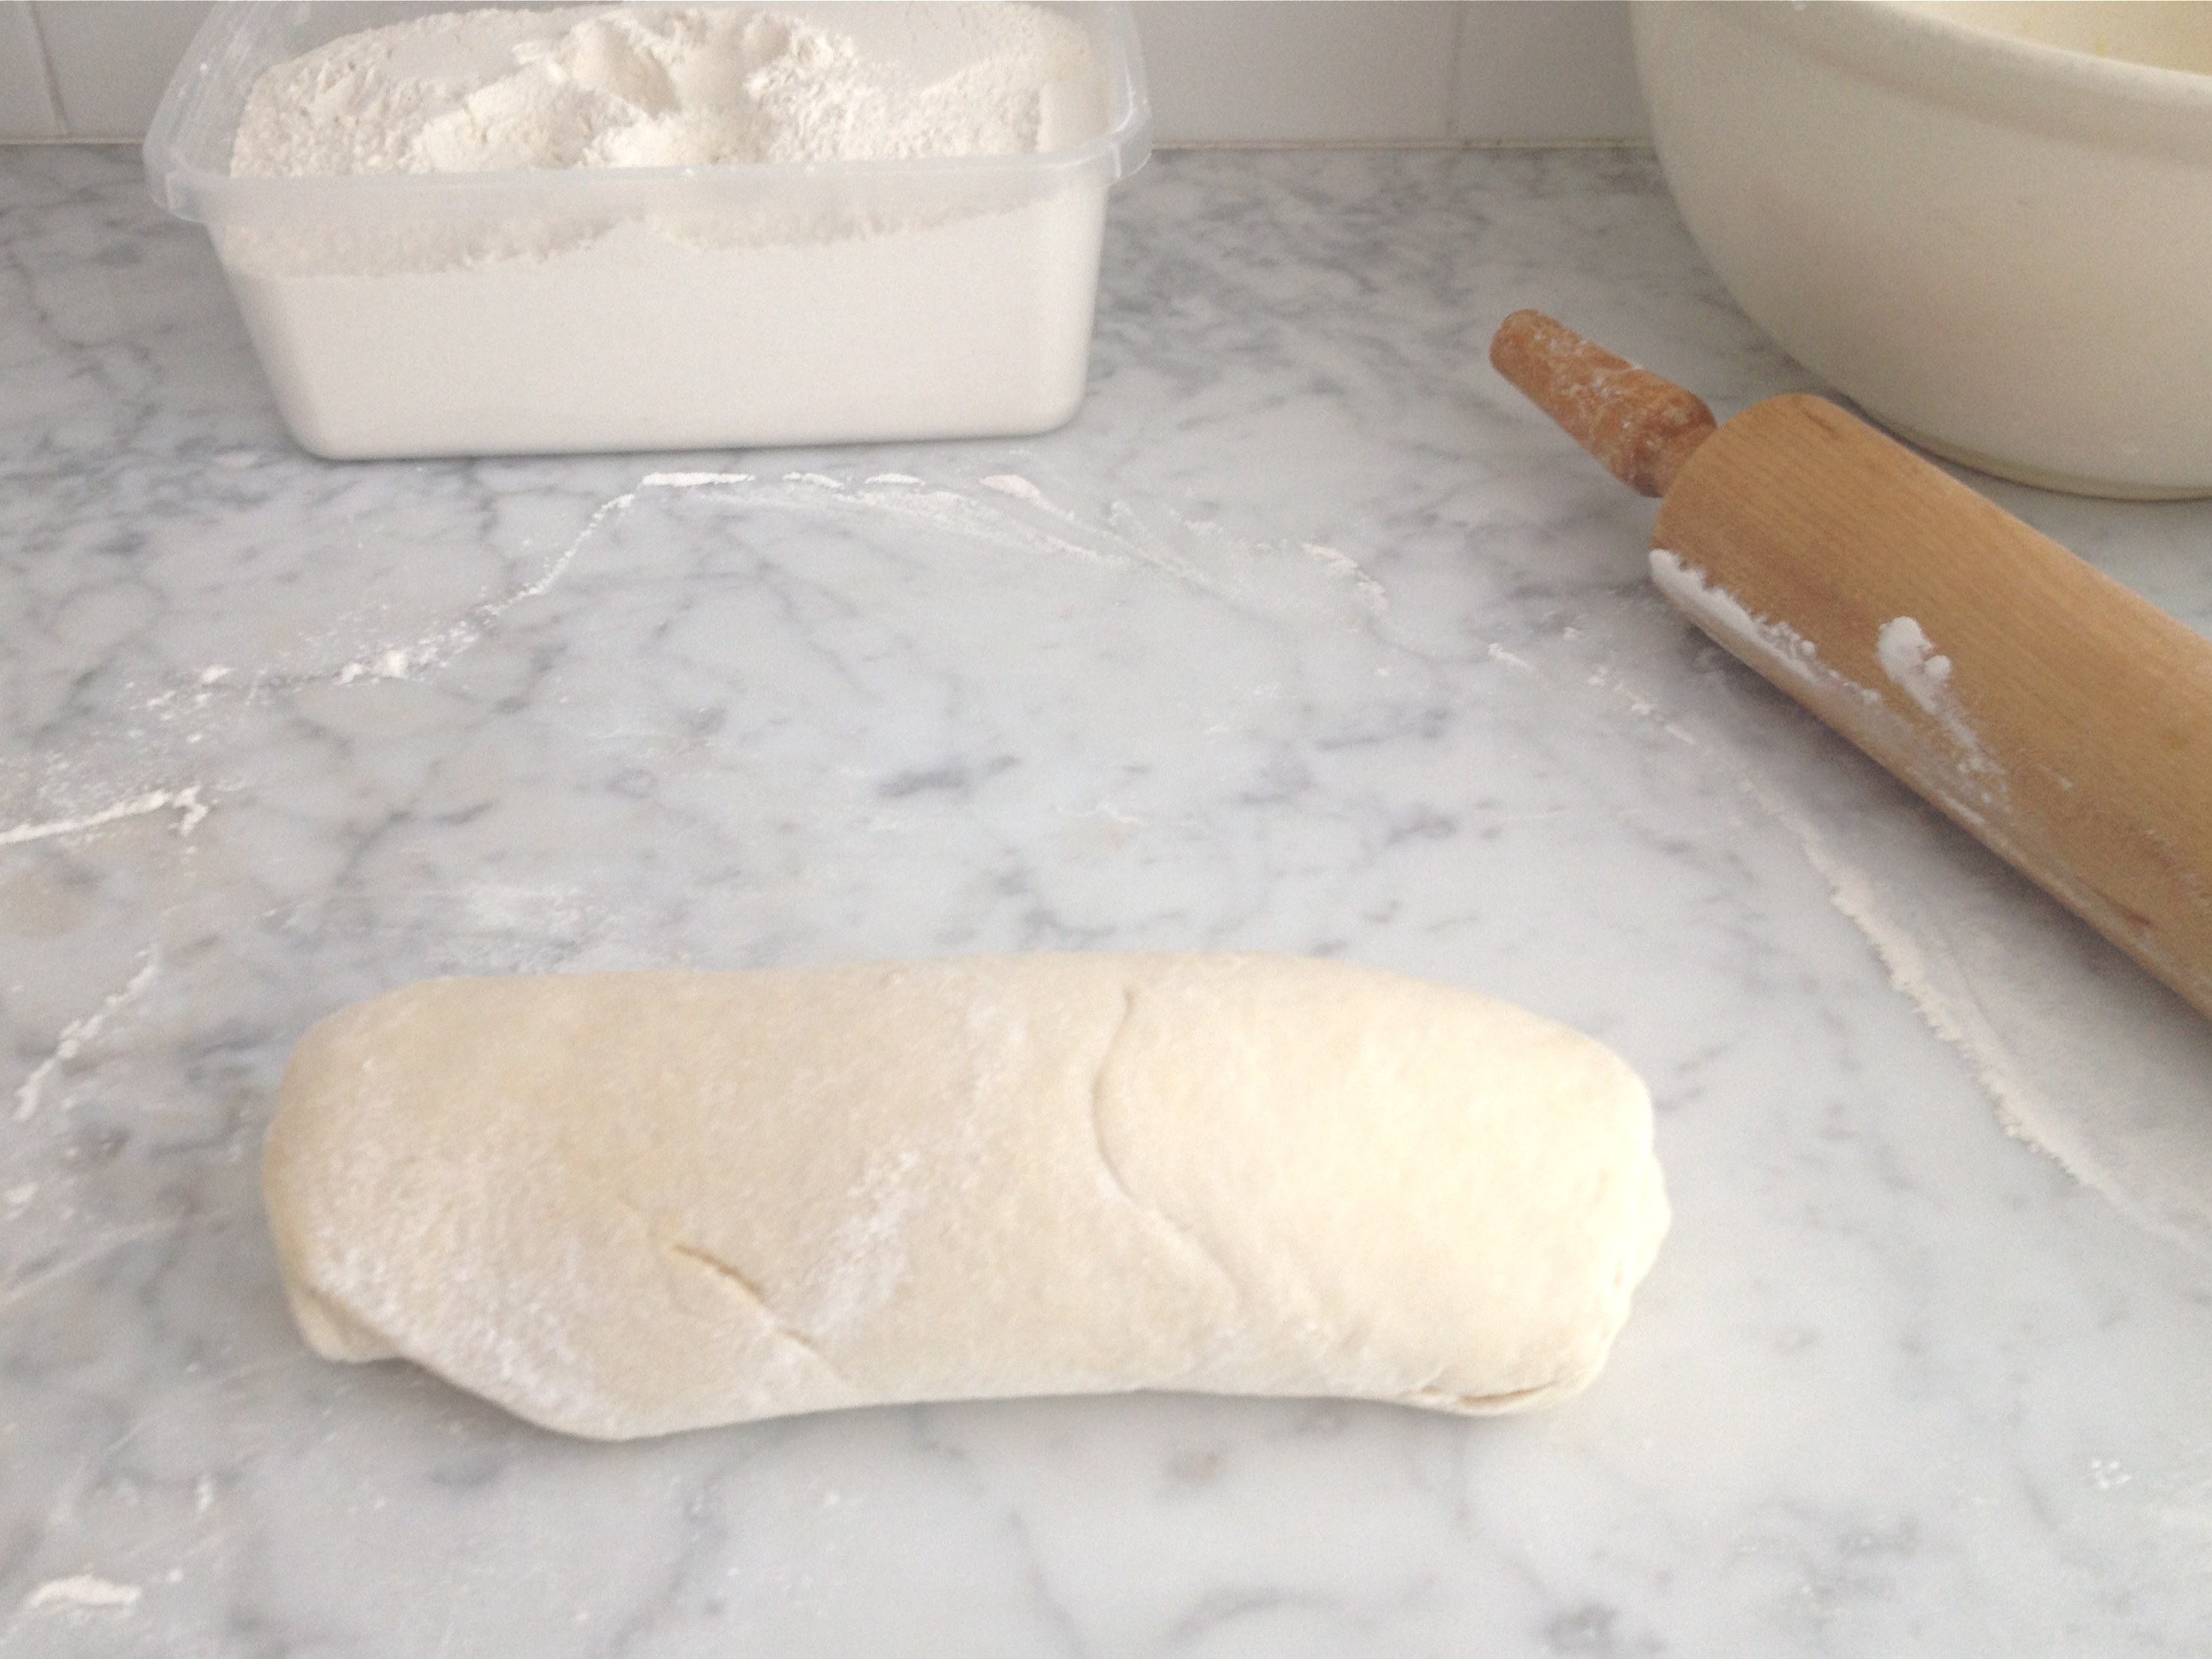

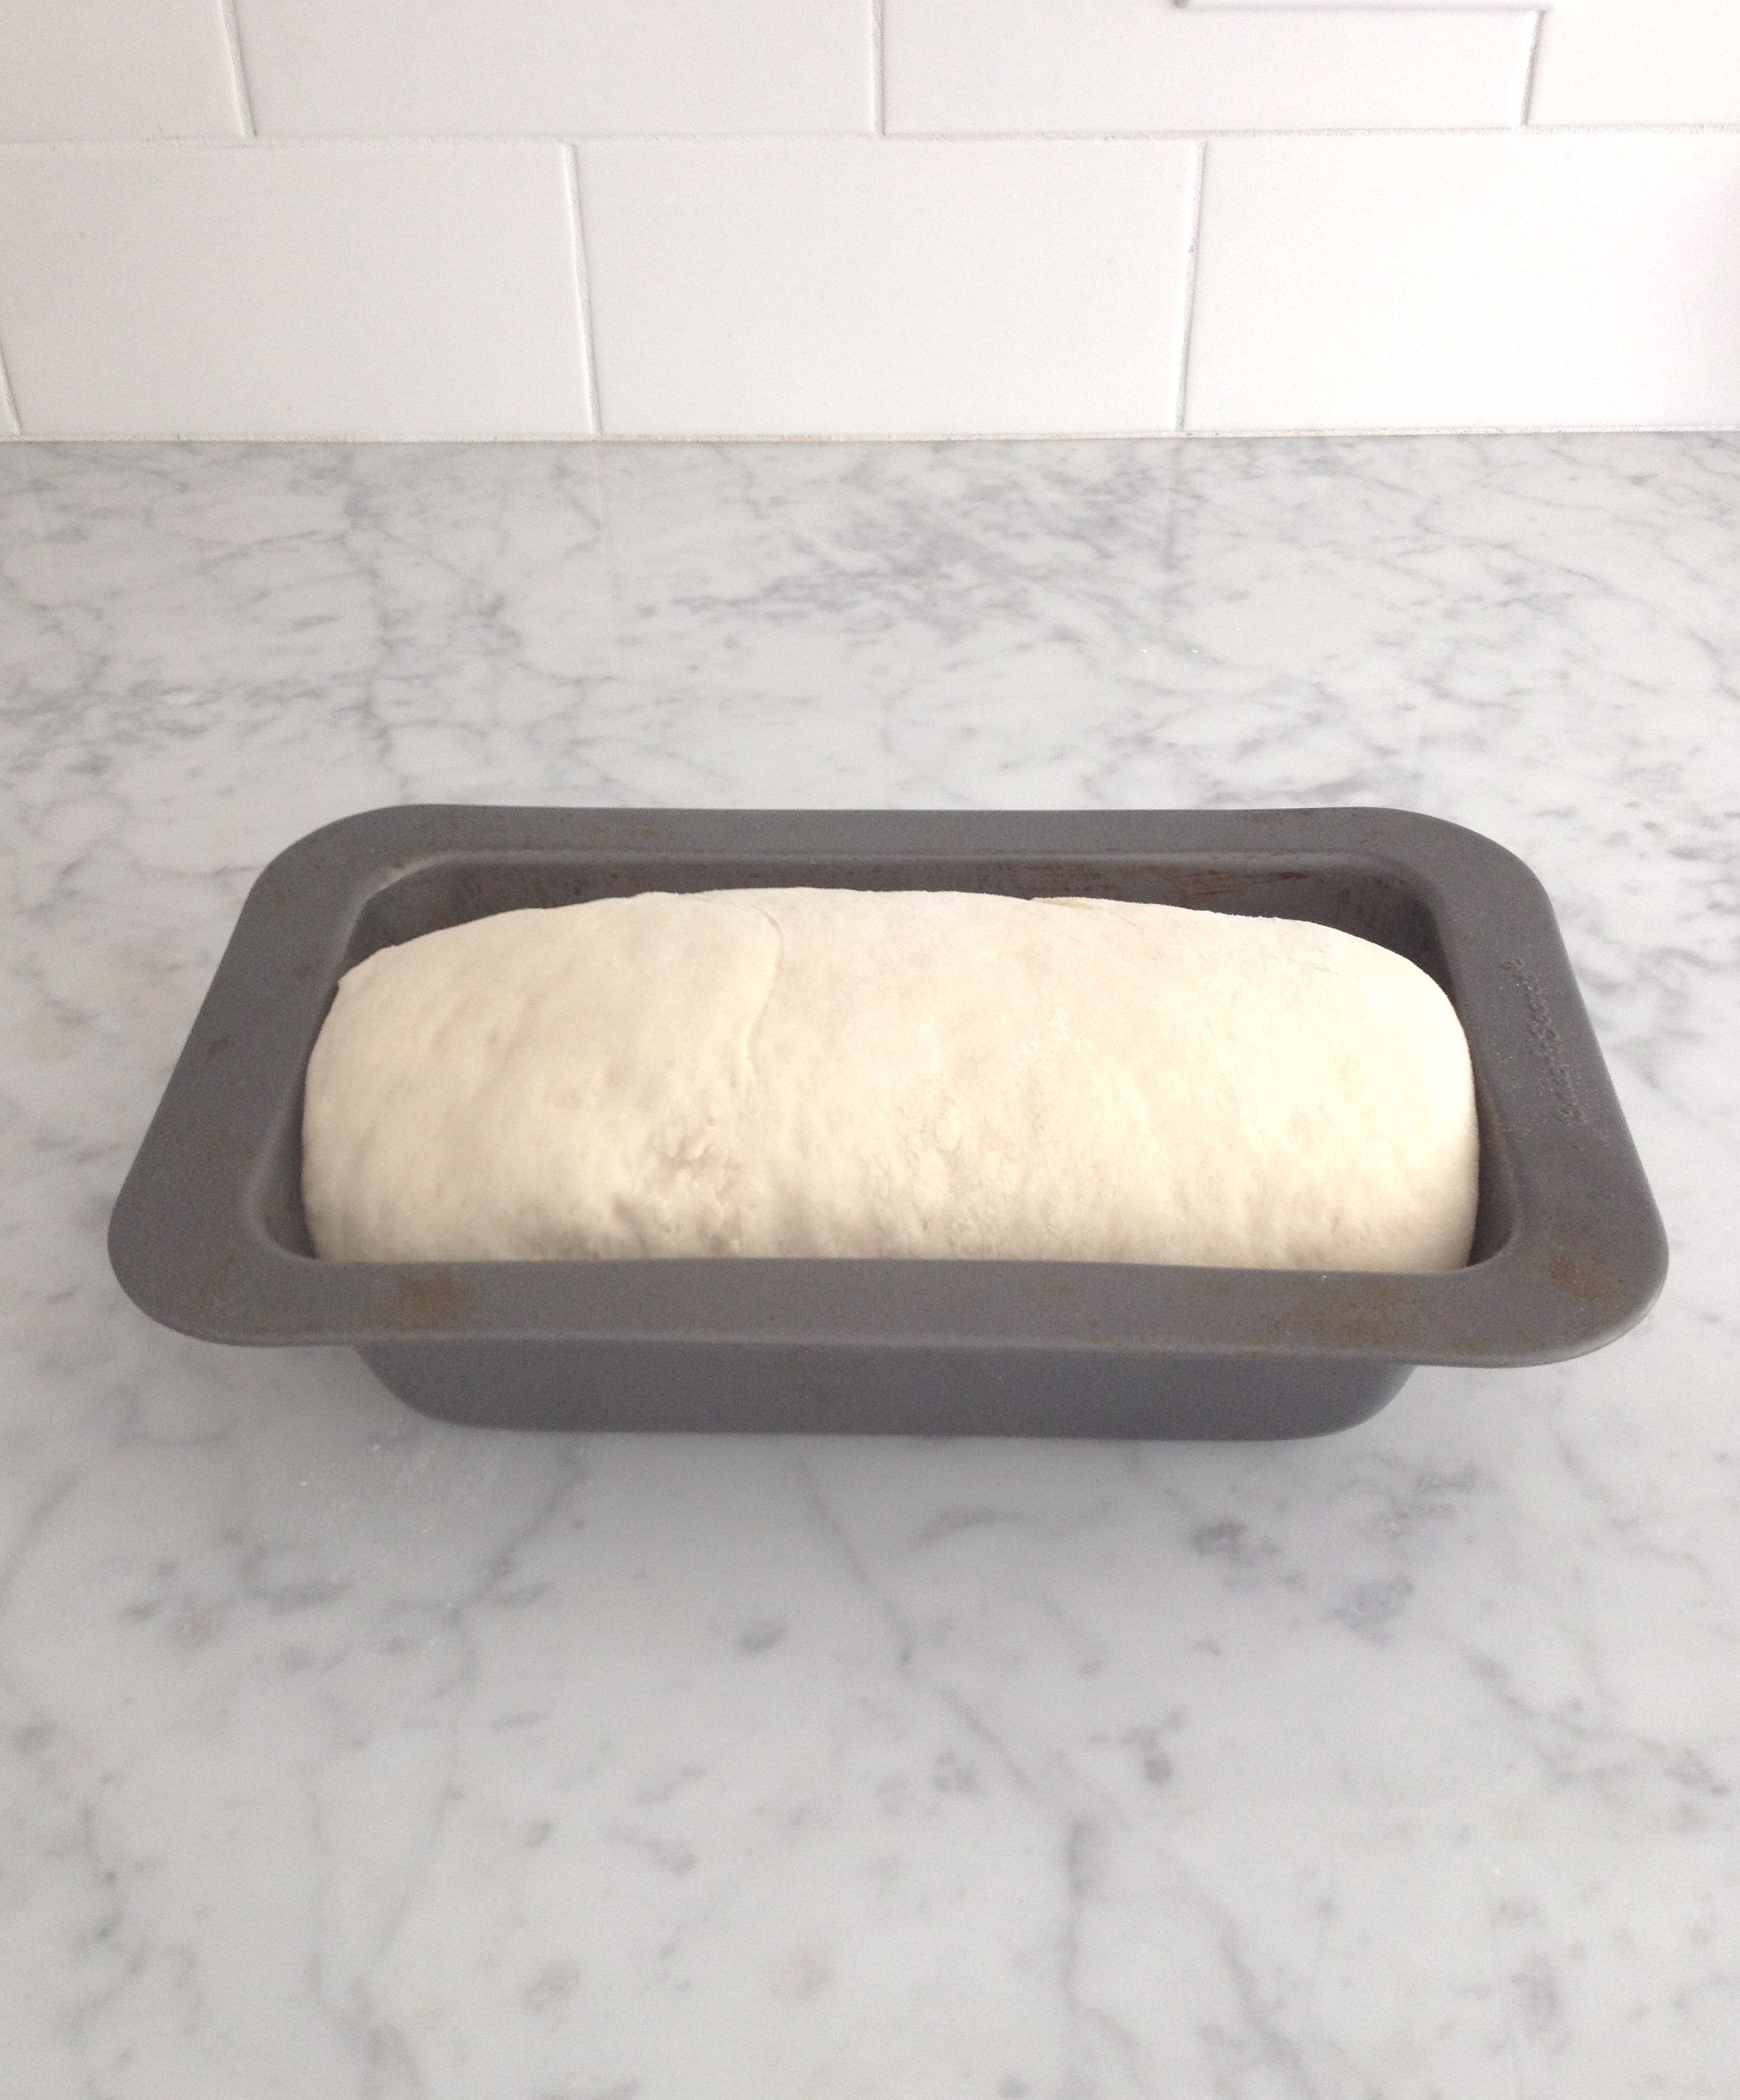
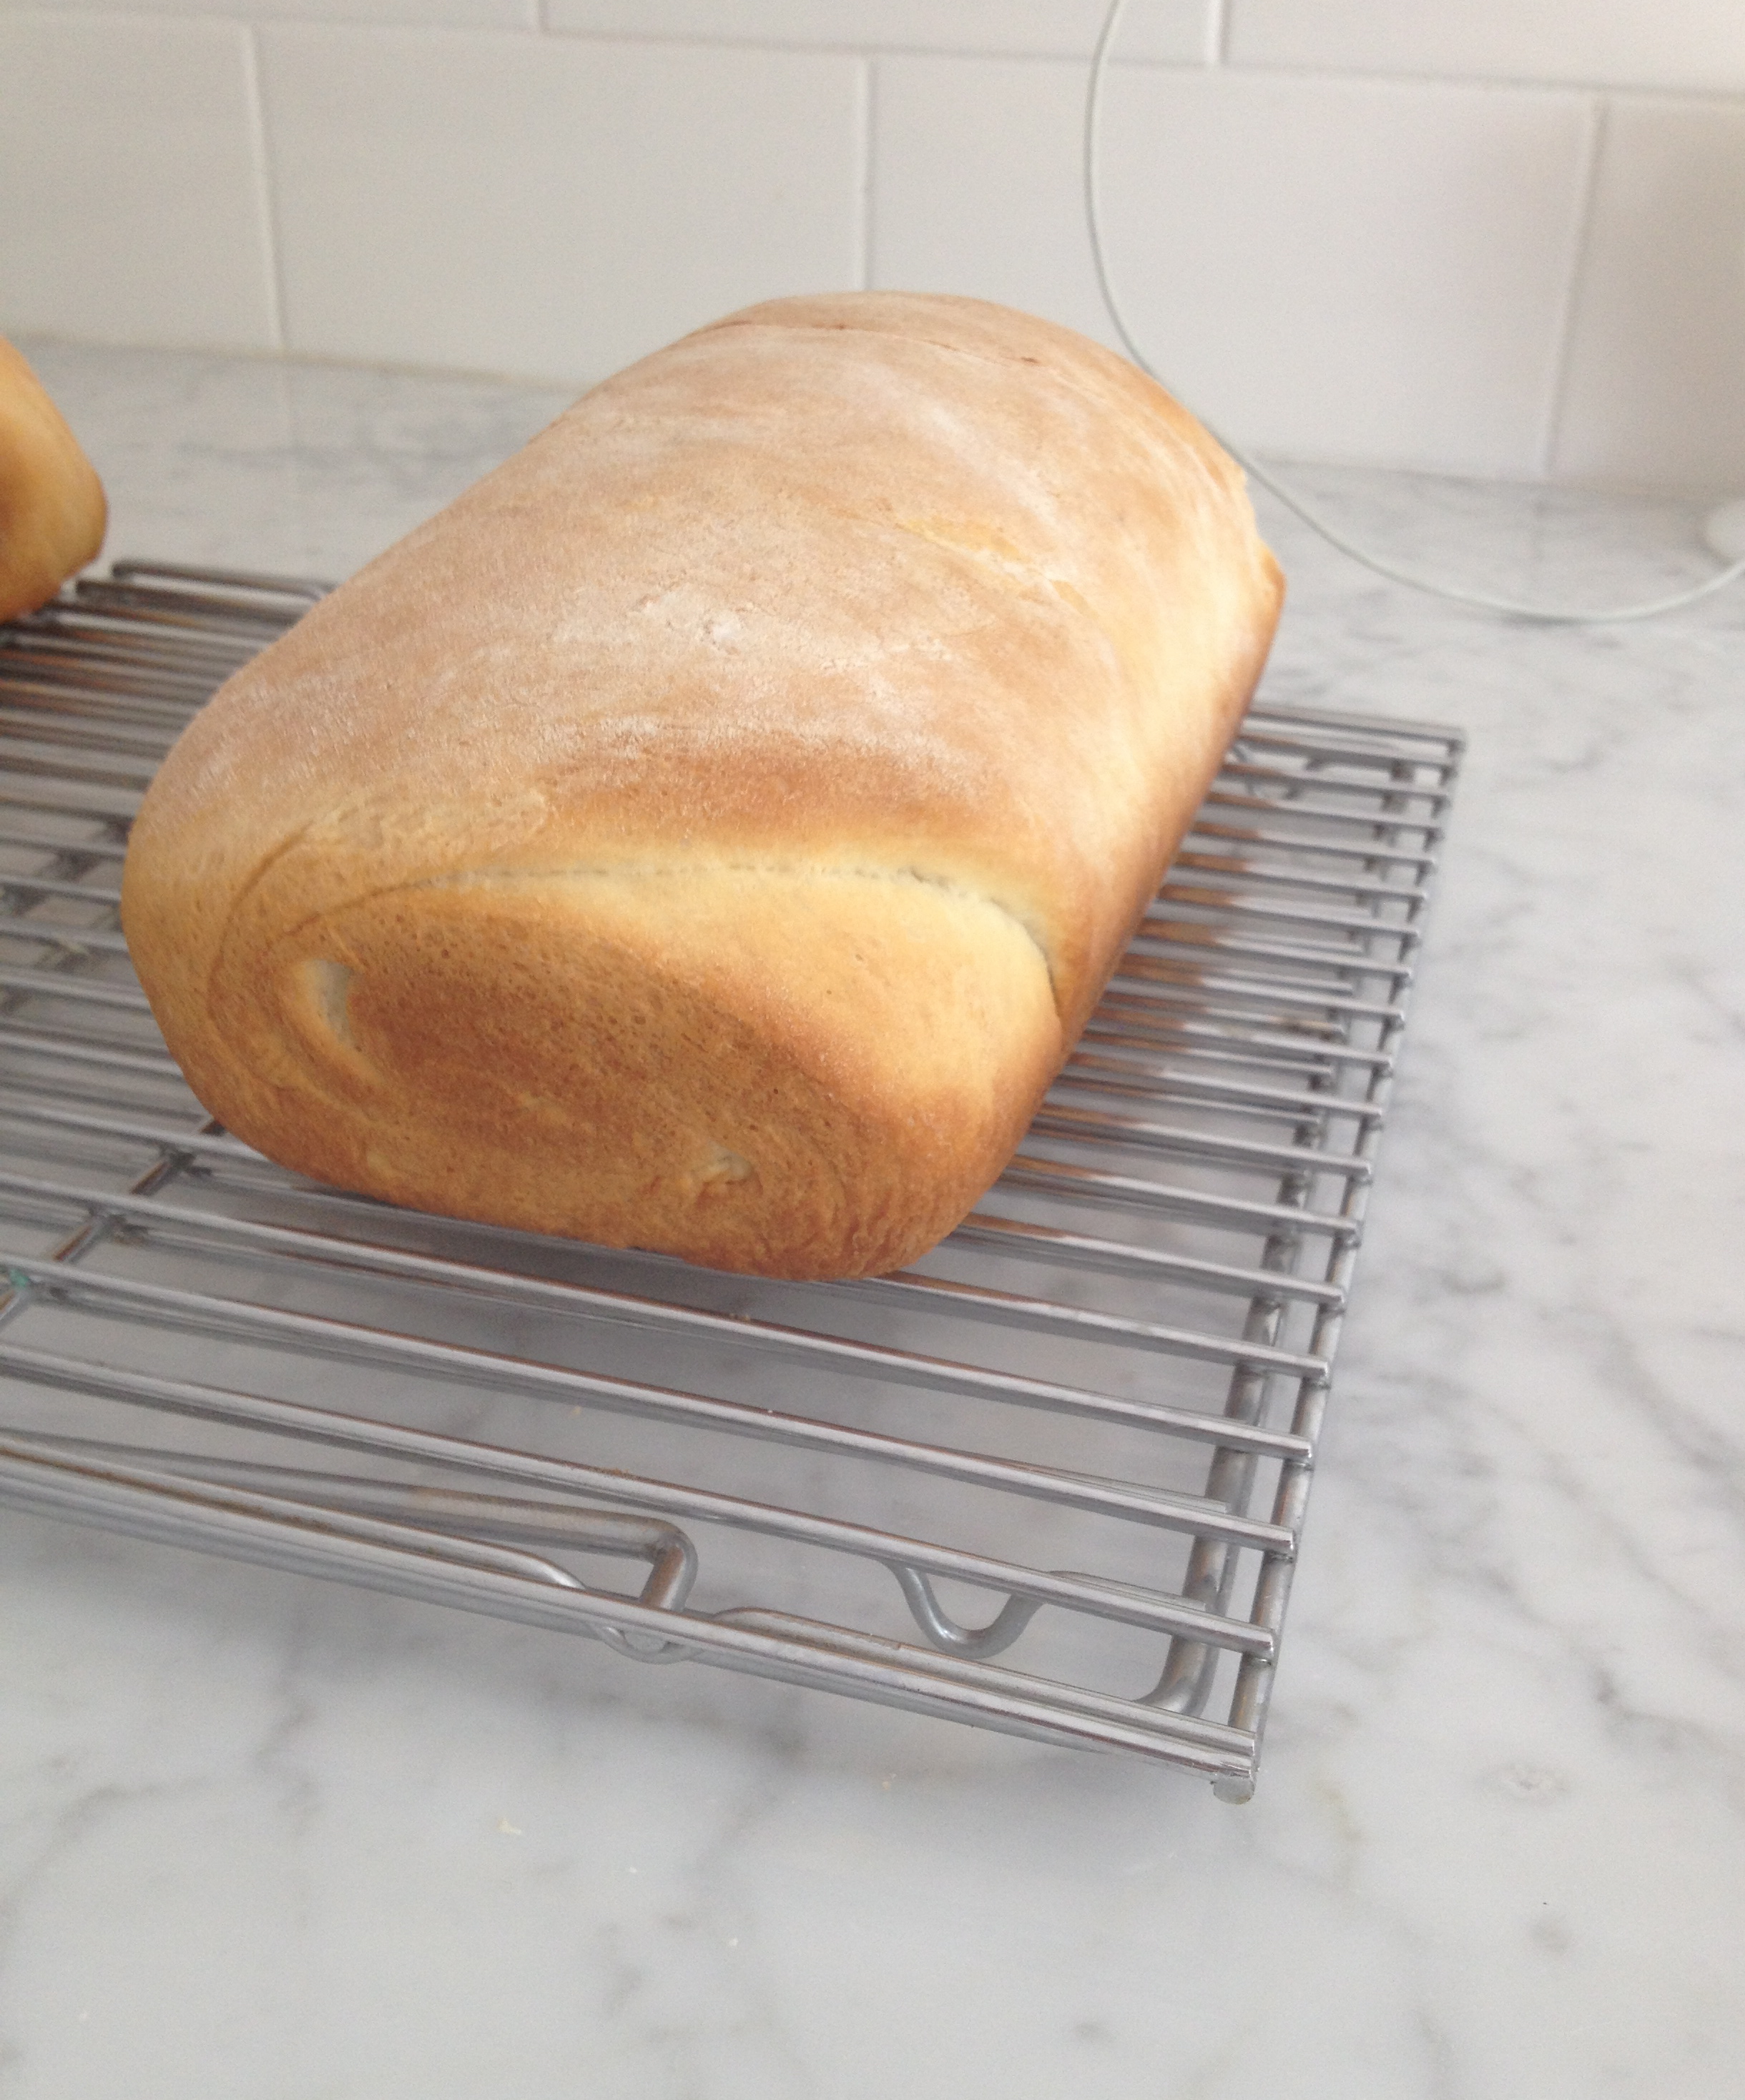
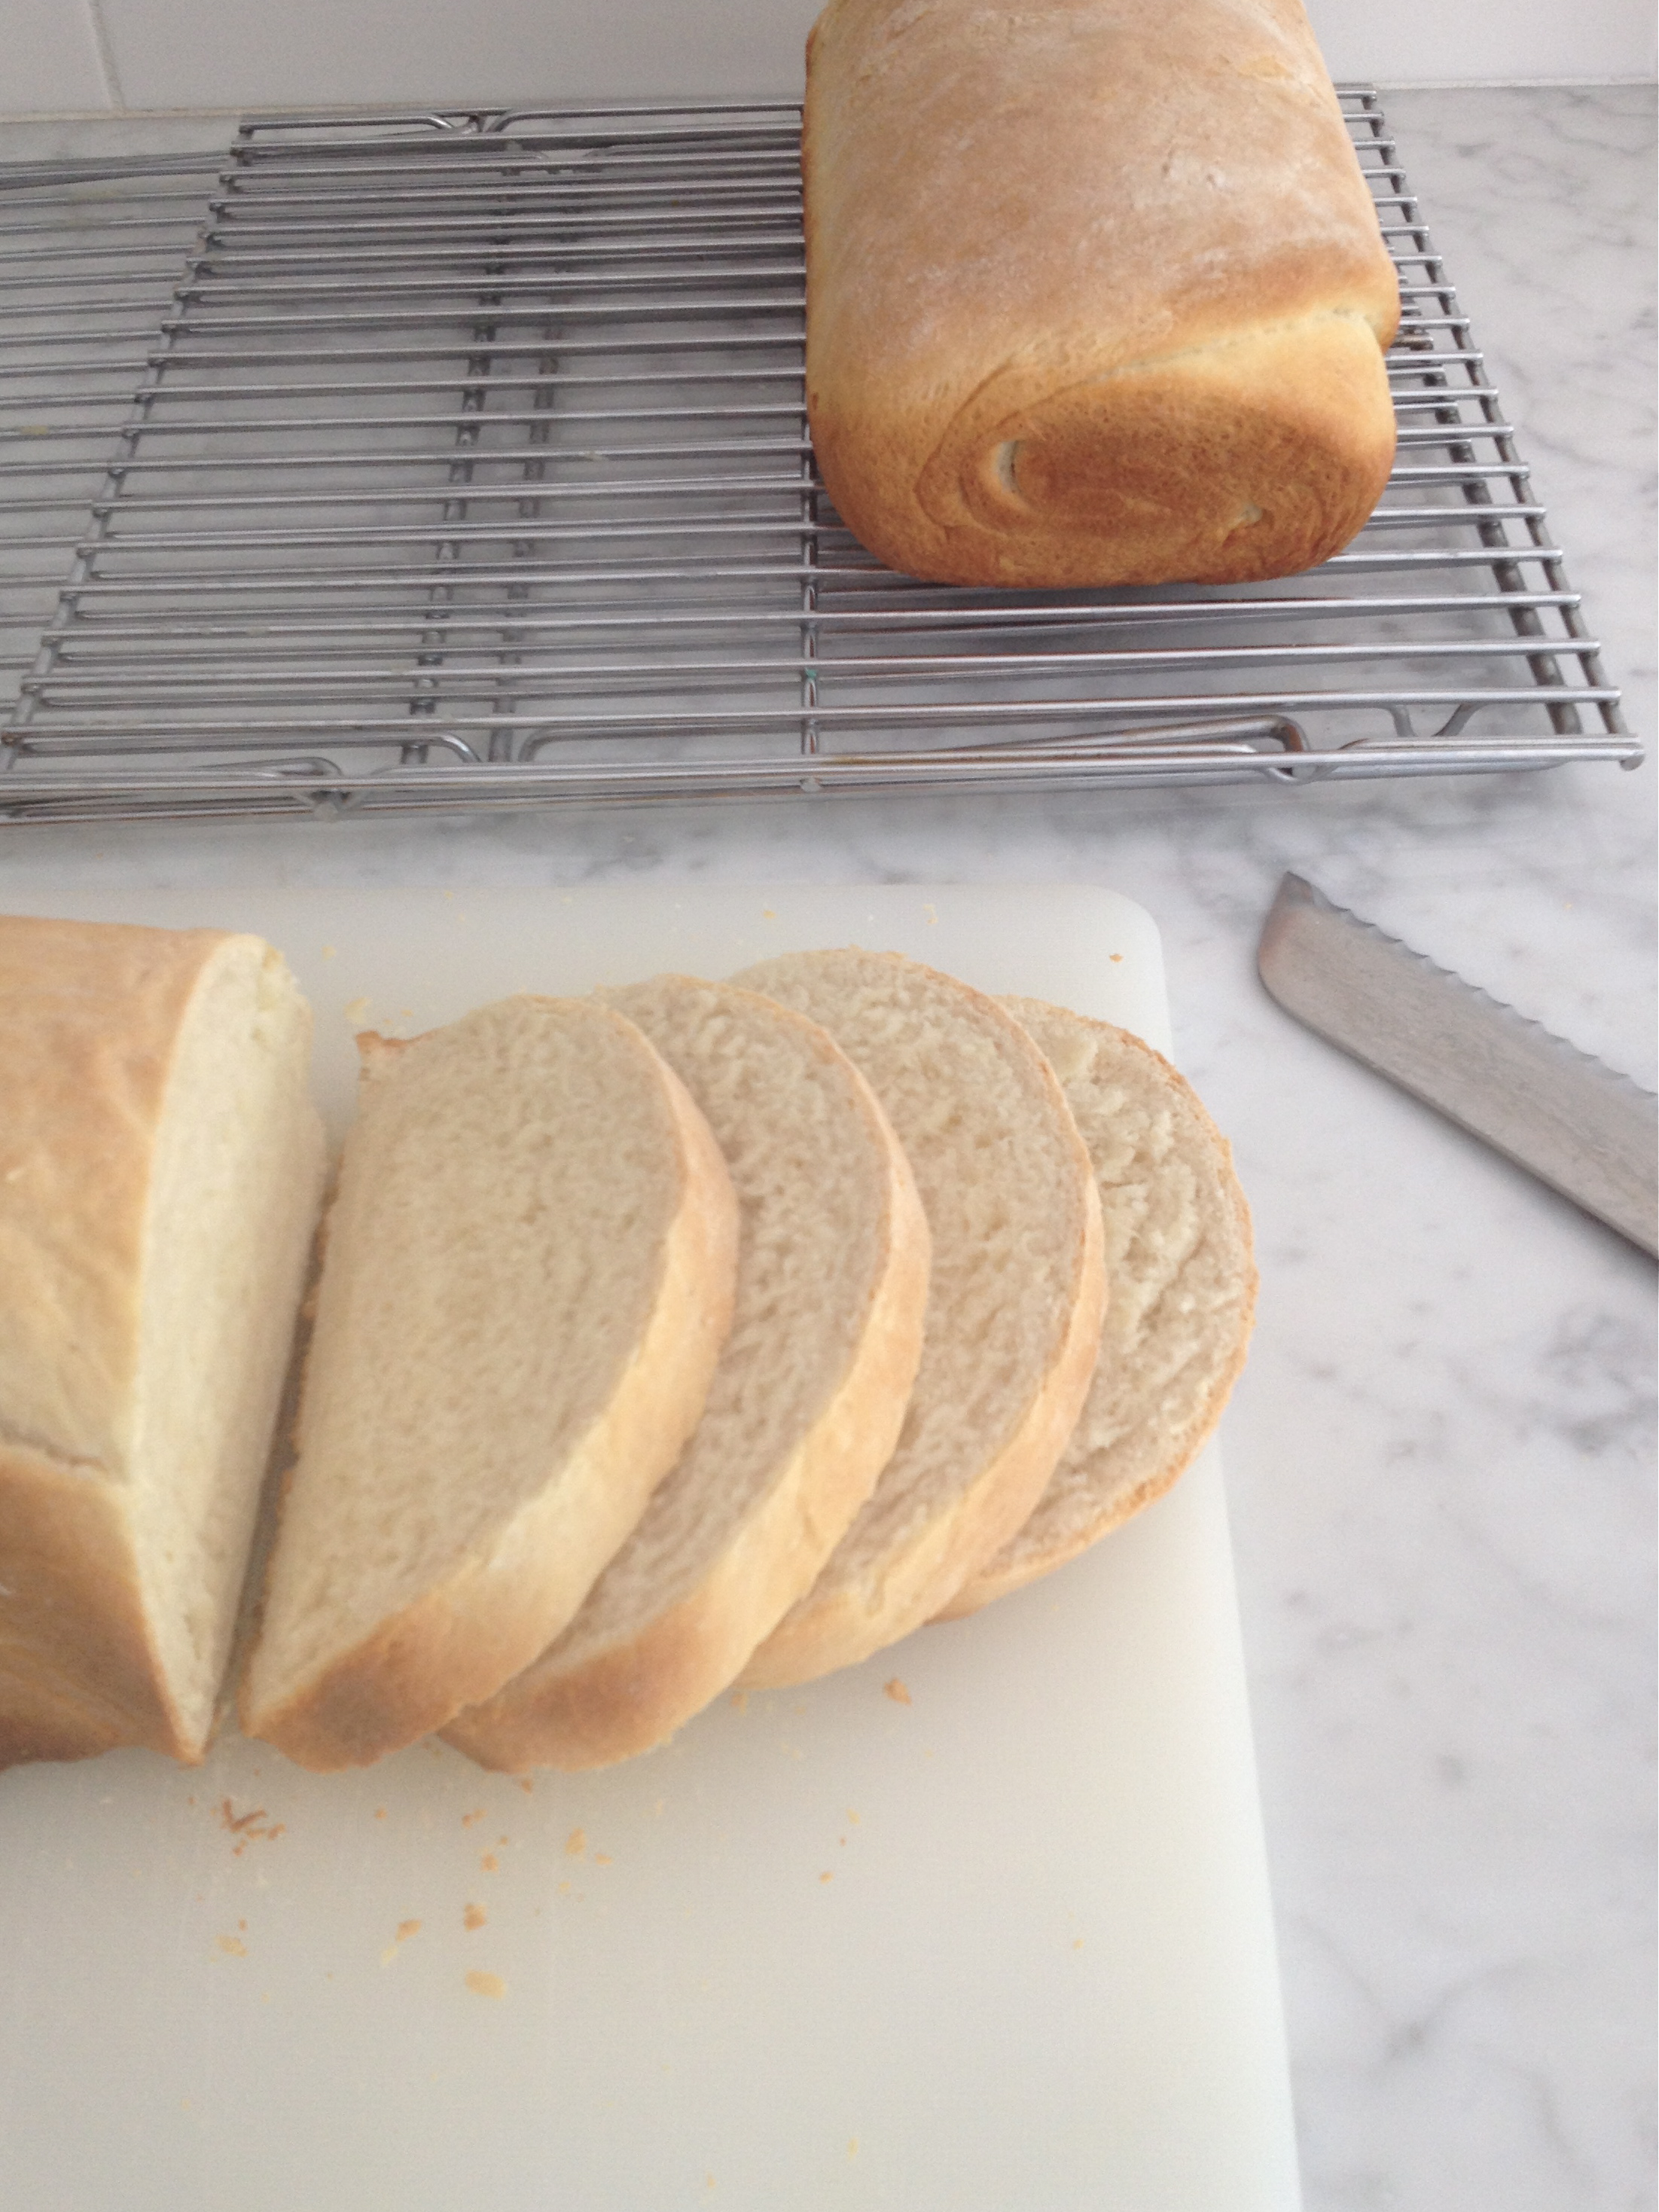


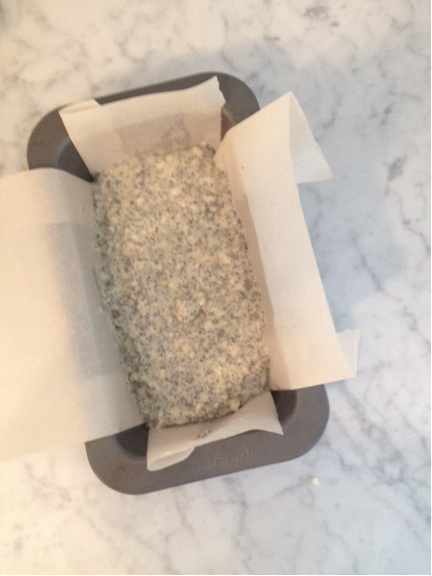
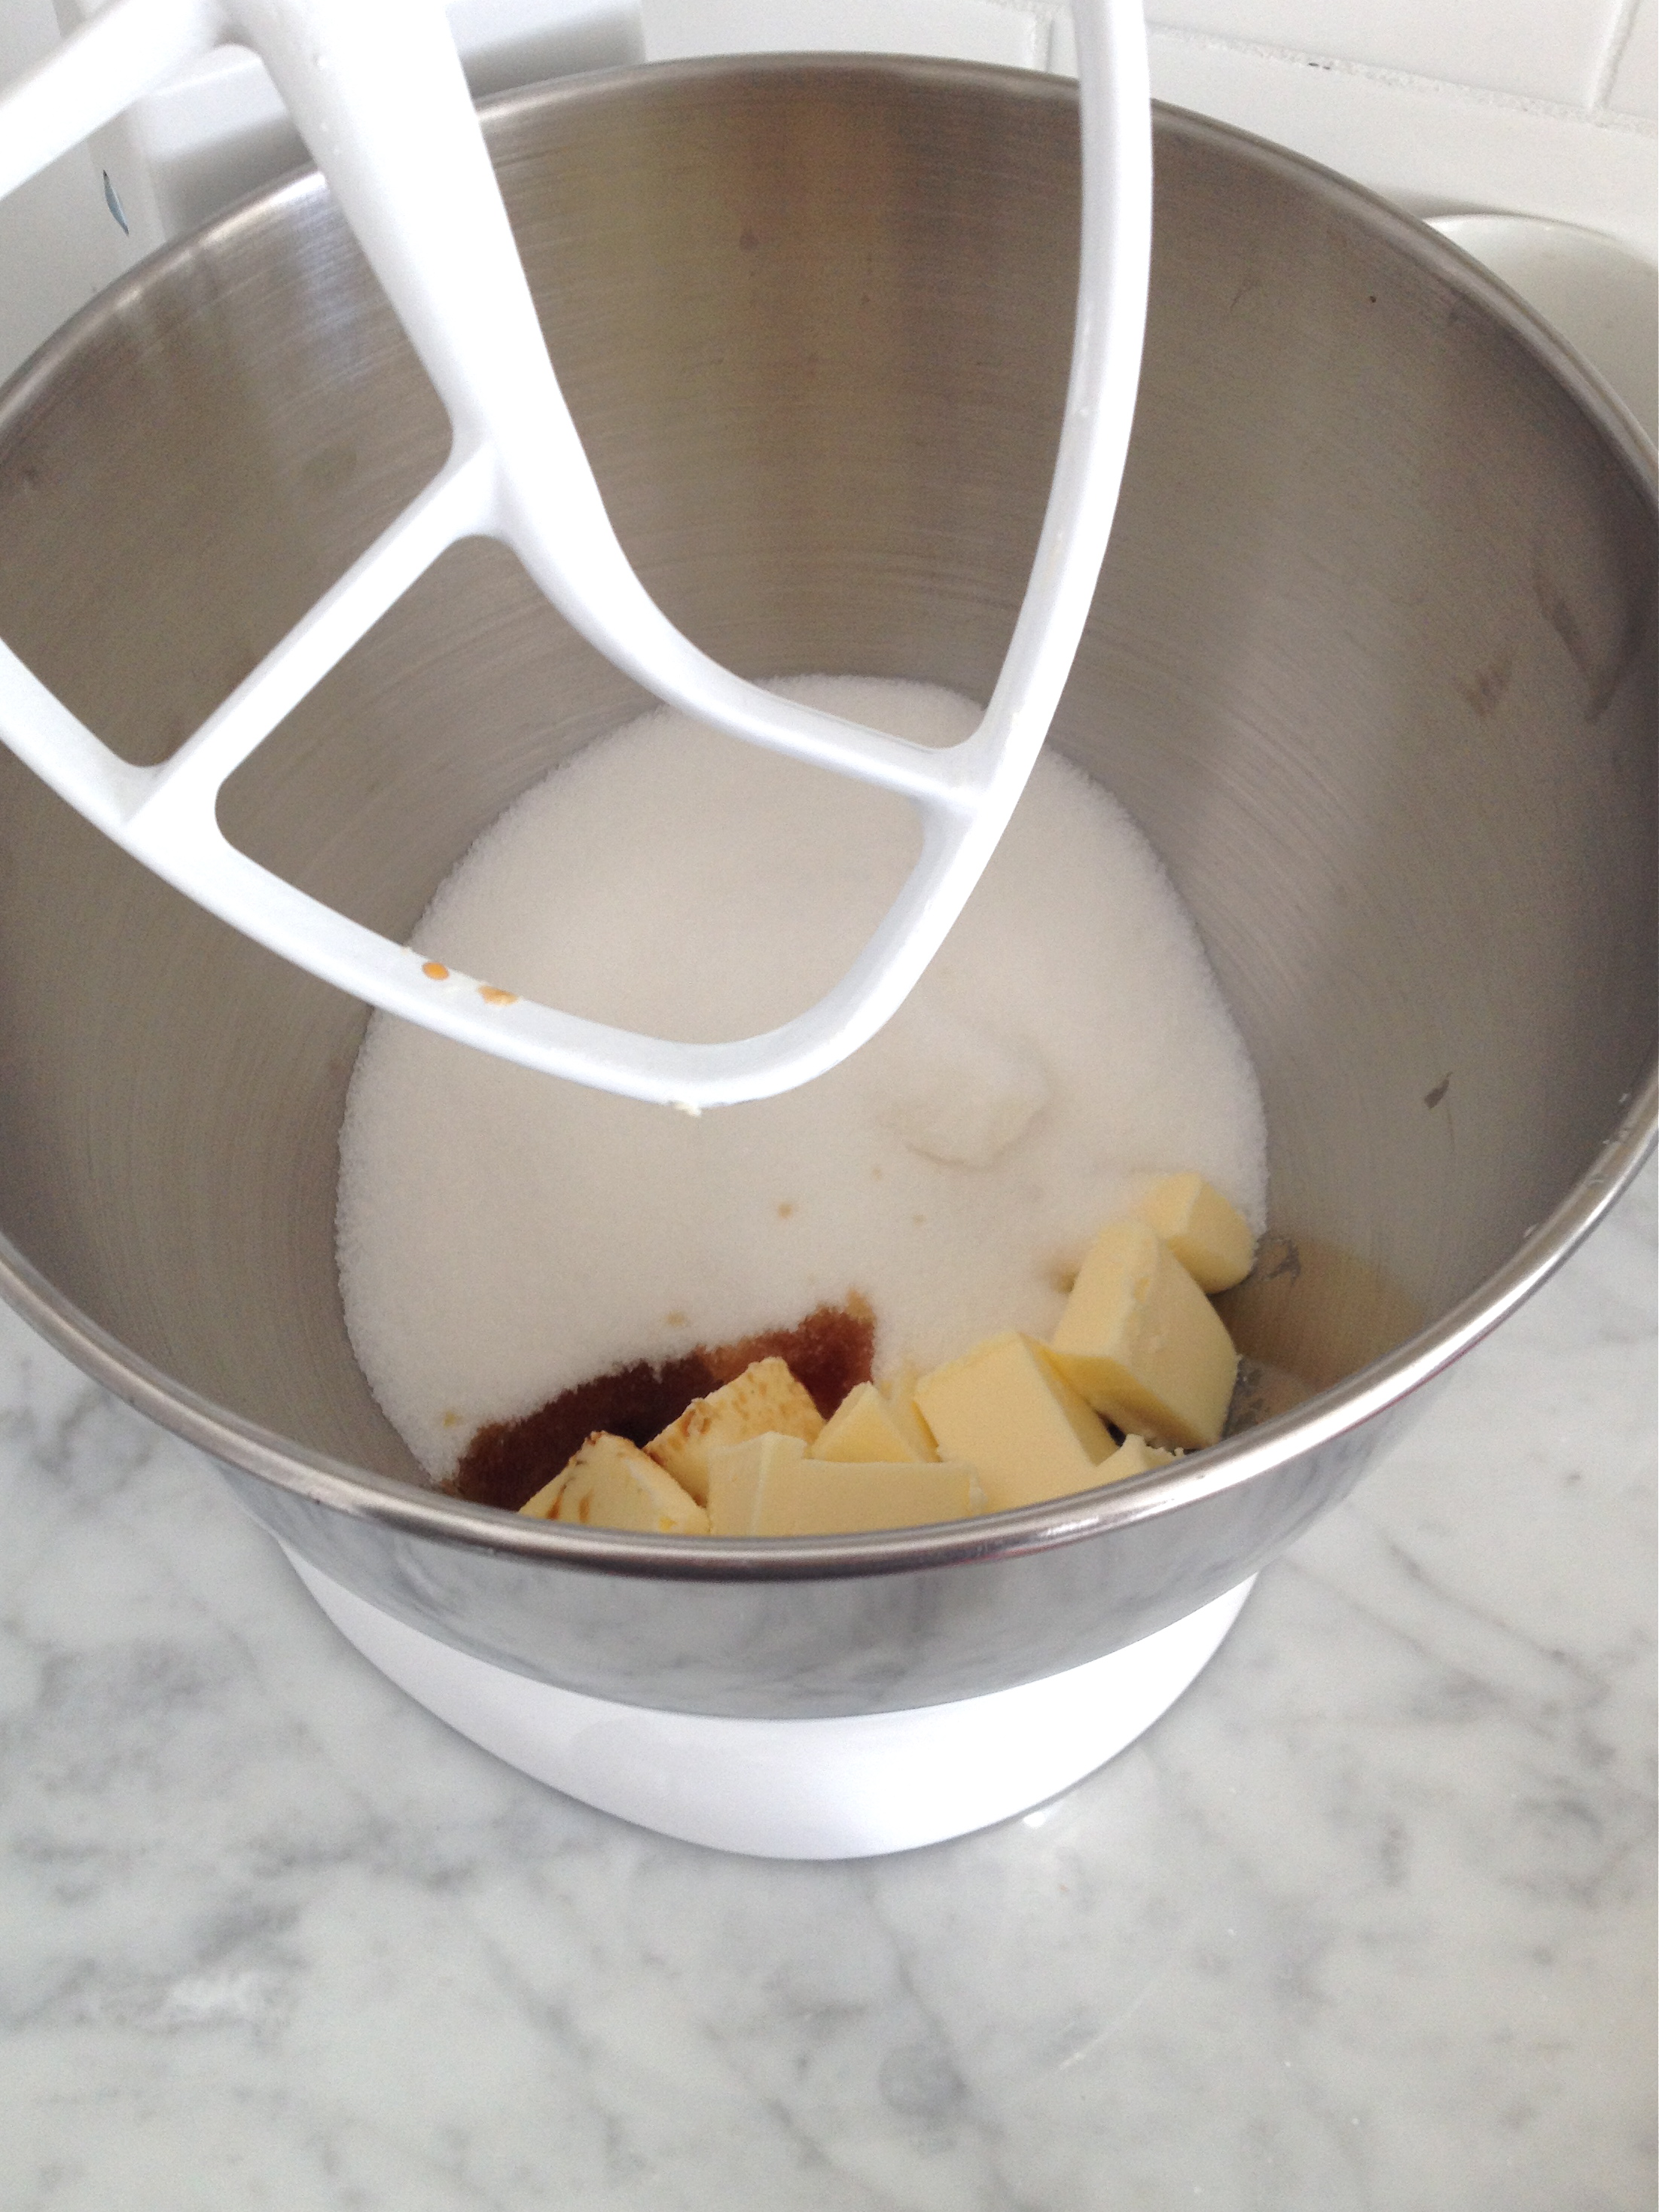
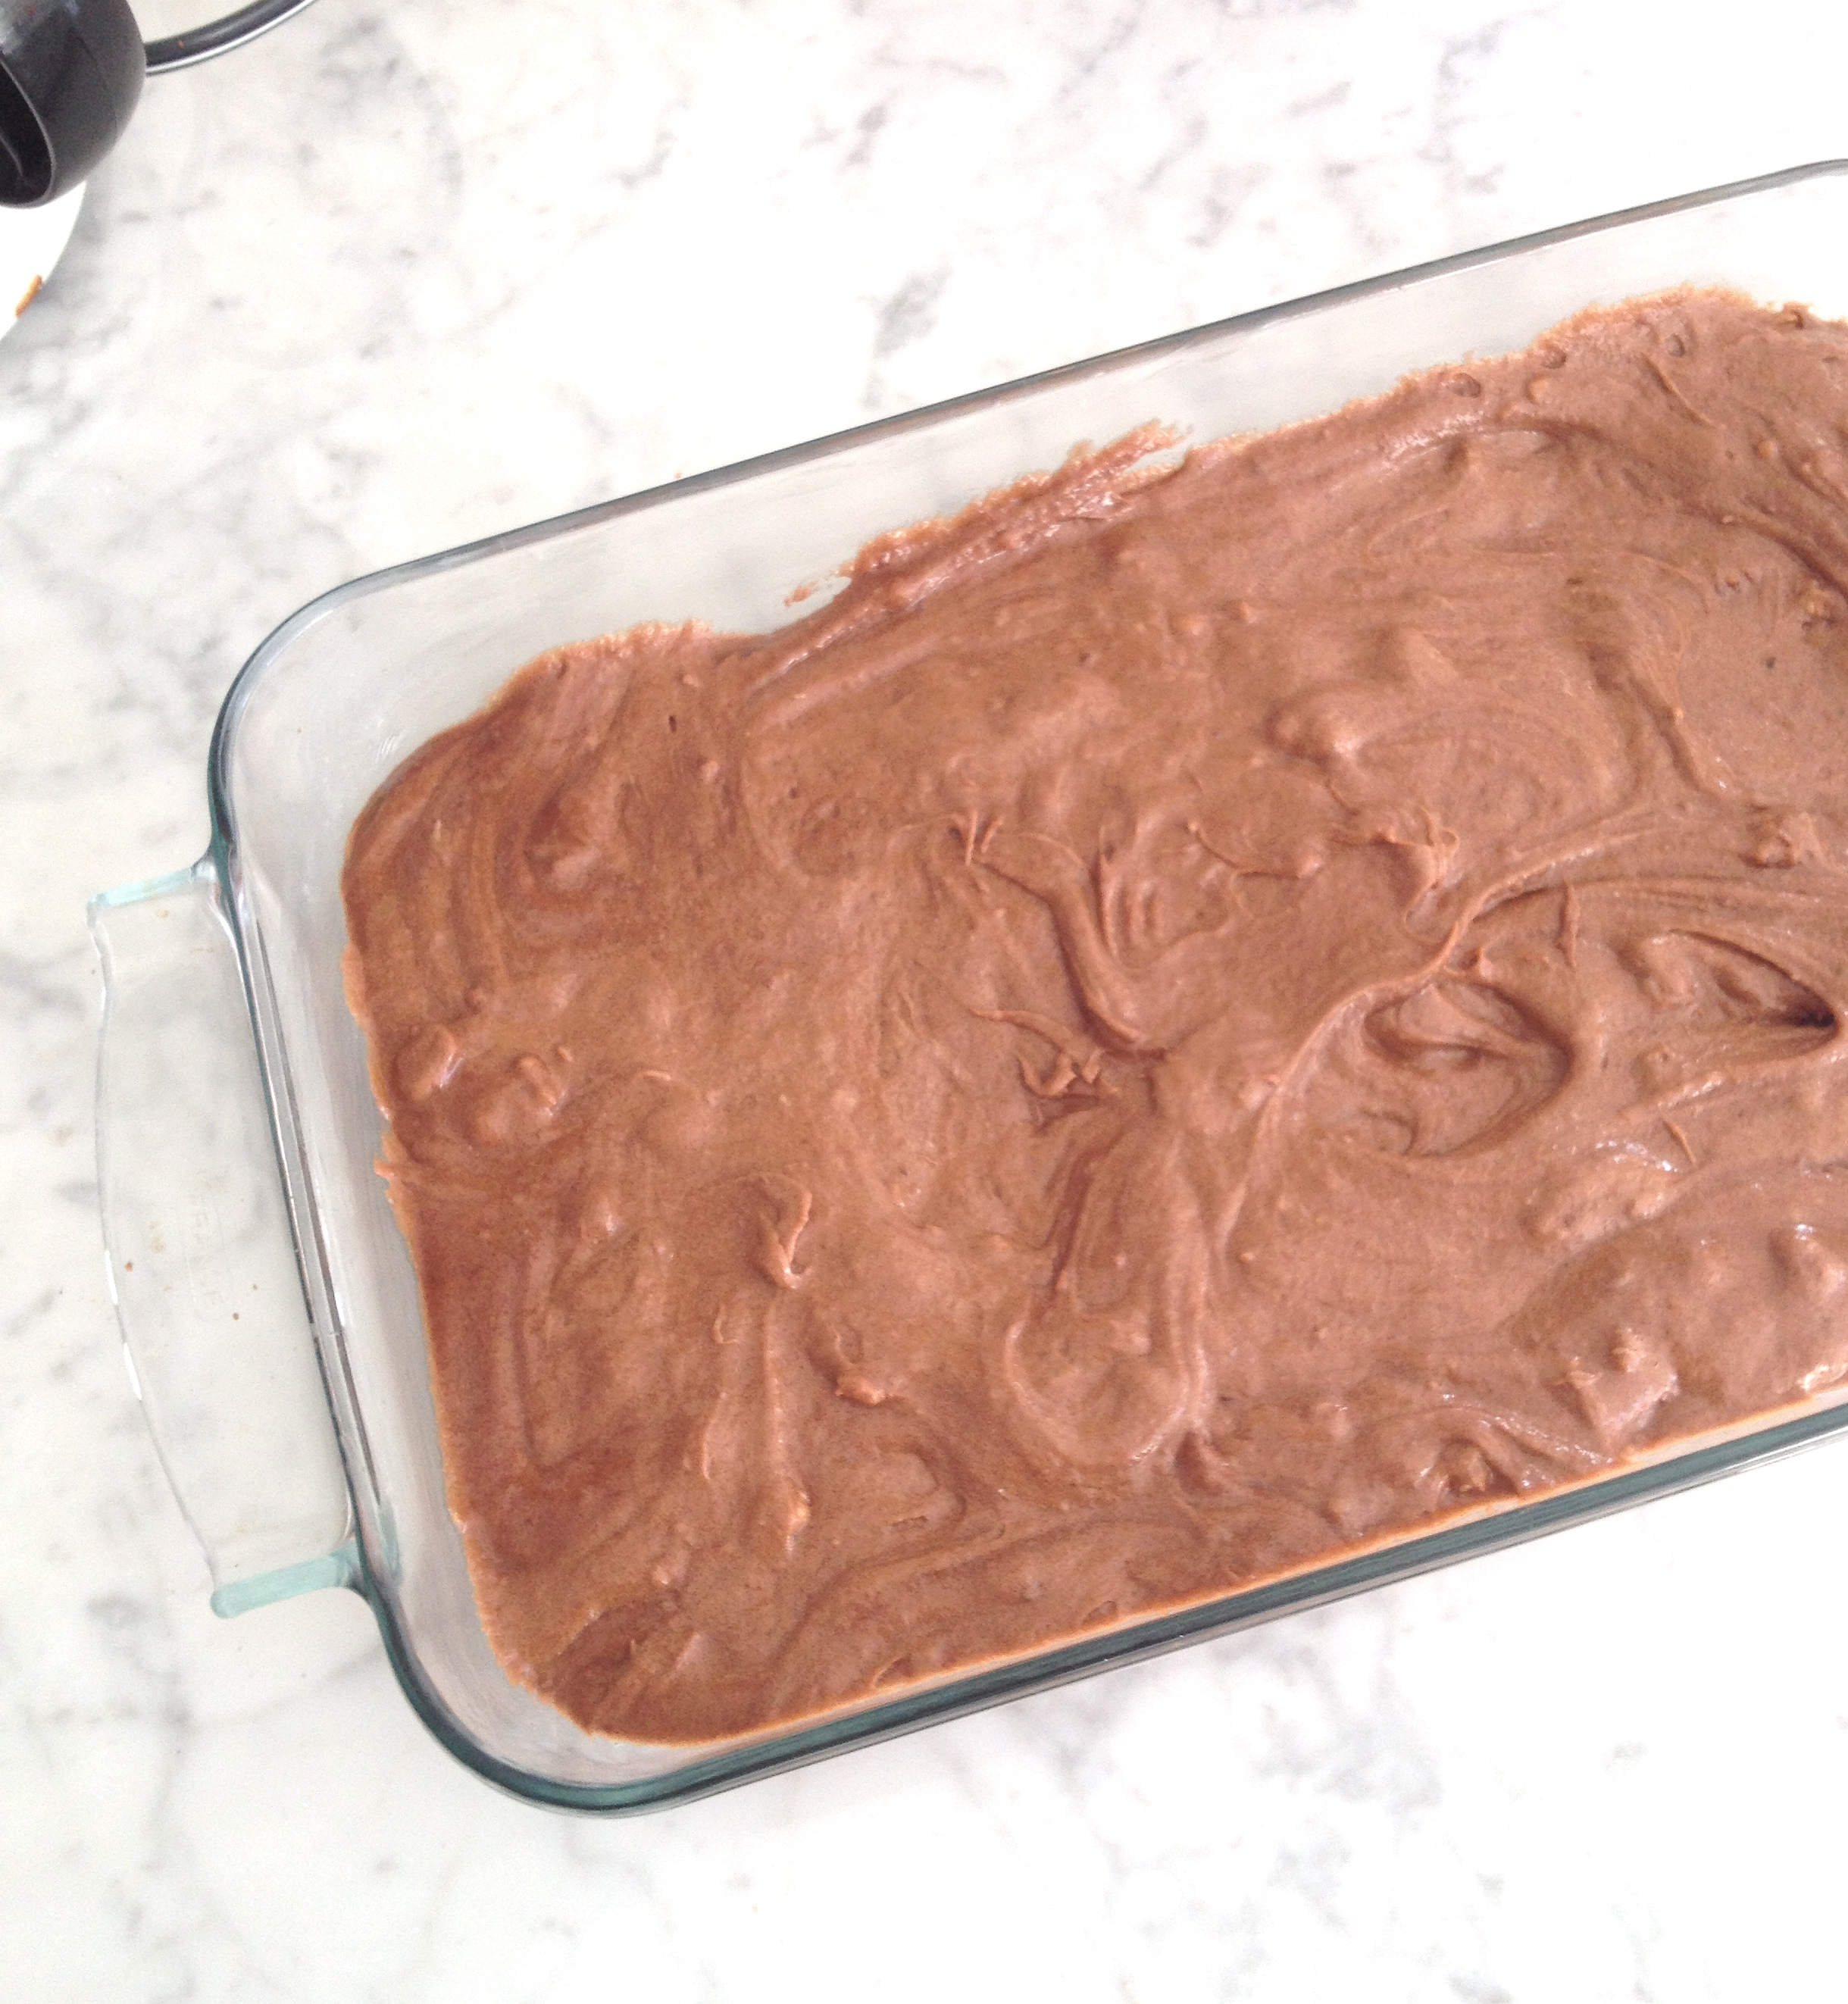
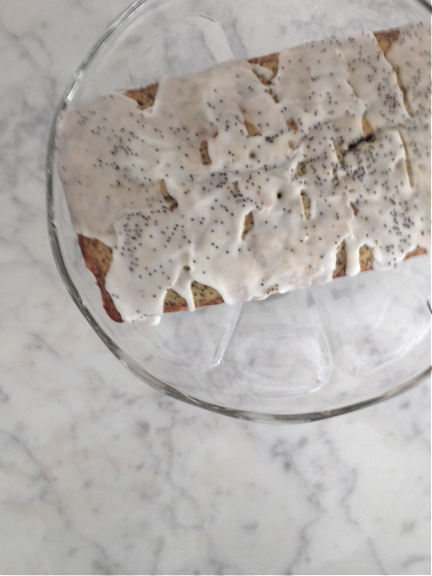
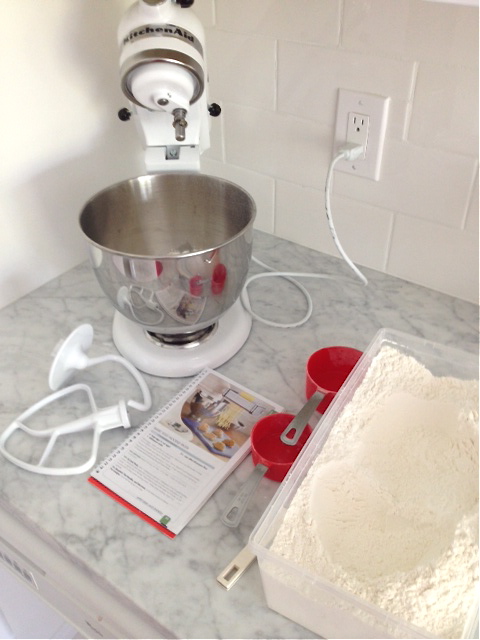
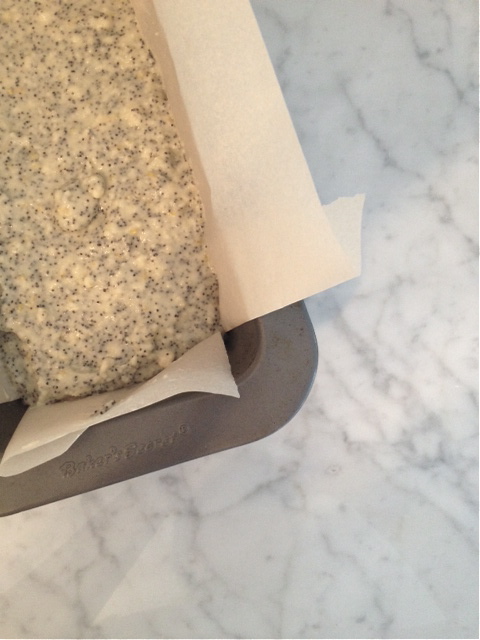 the dough is poured into a buttered & parchment lined loaf tin
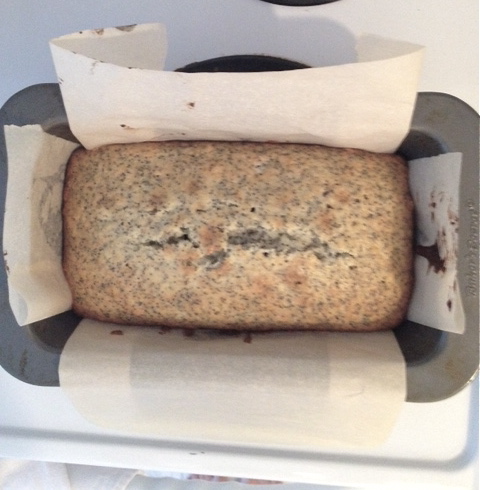
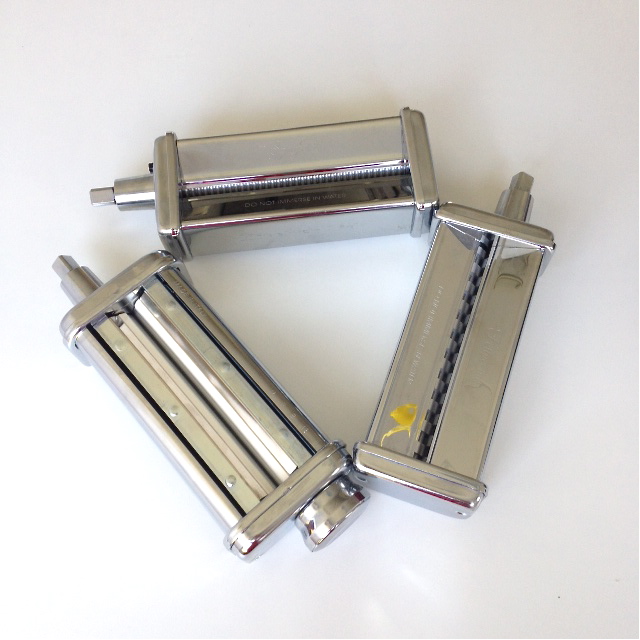

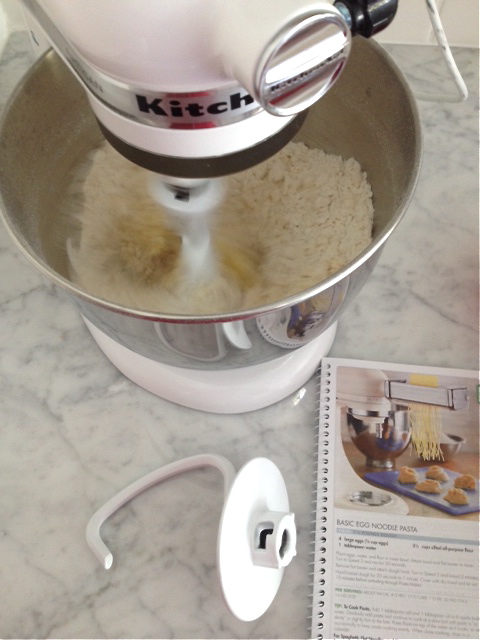

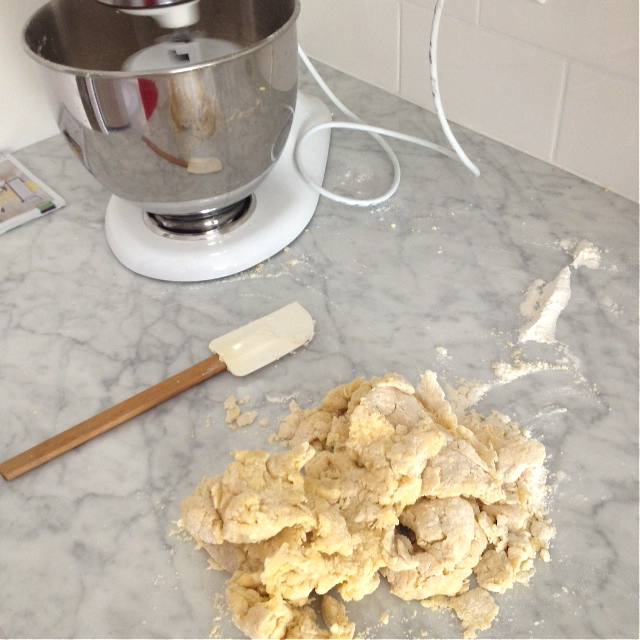
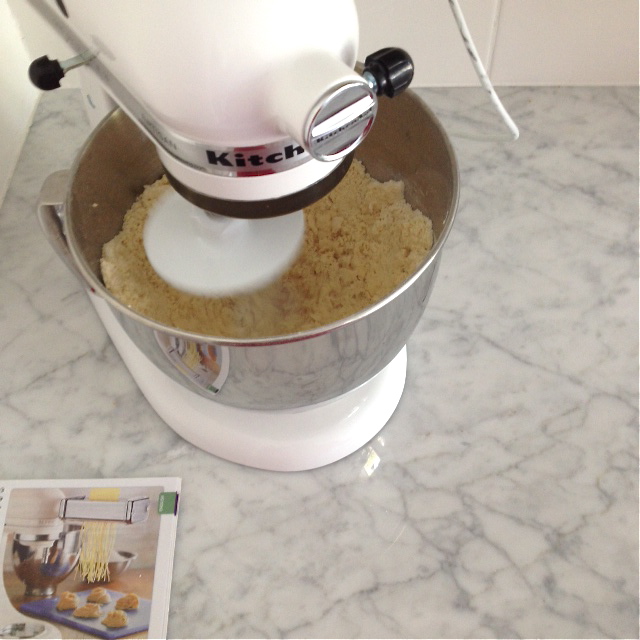
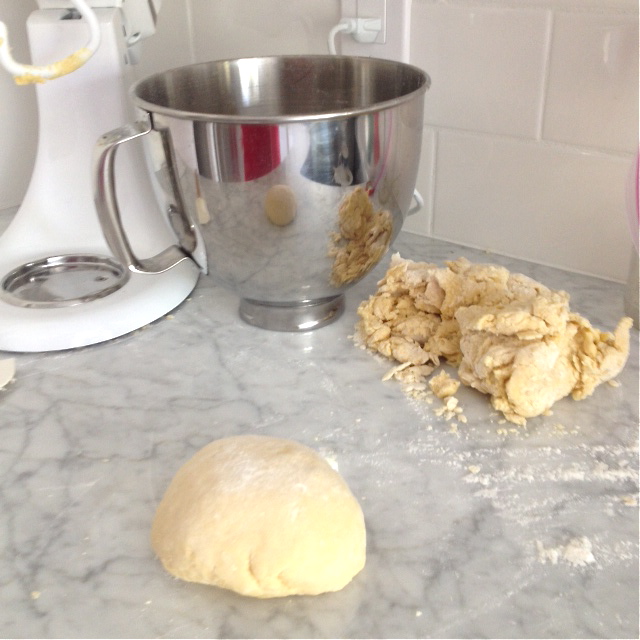
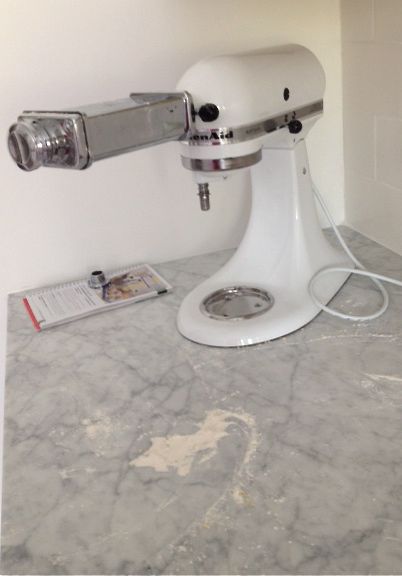
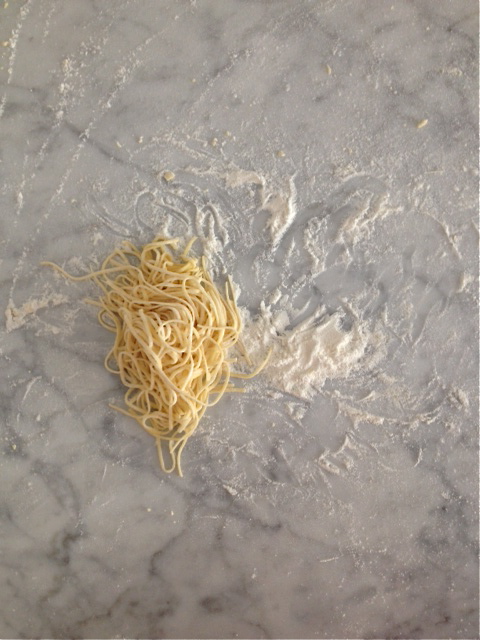
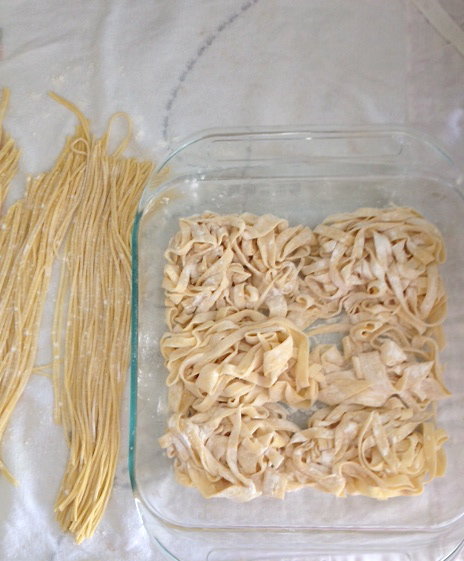
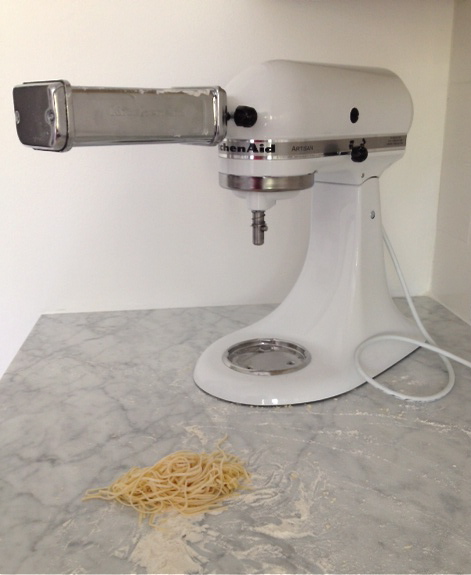
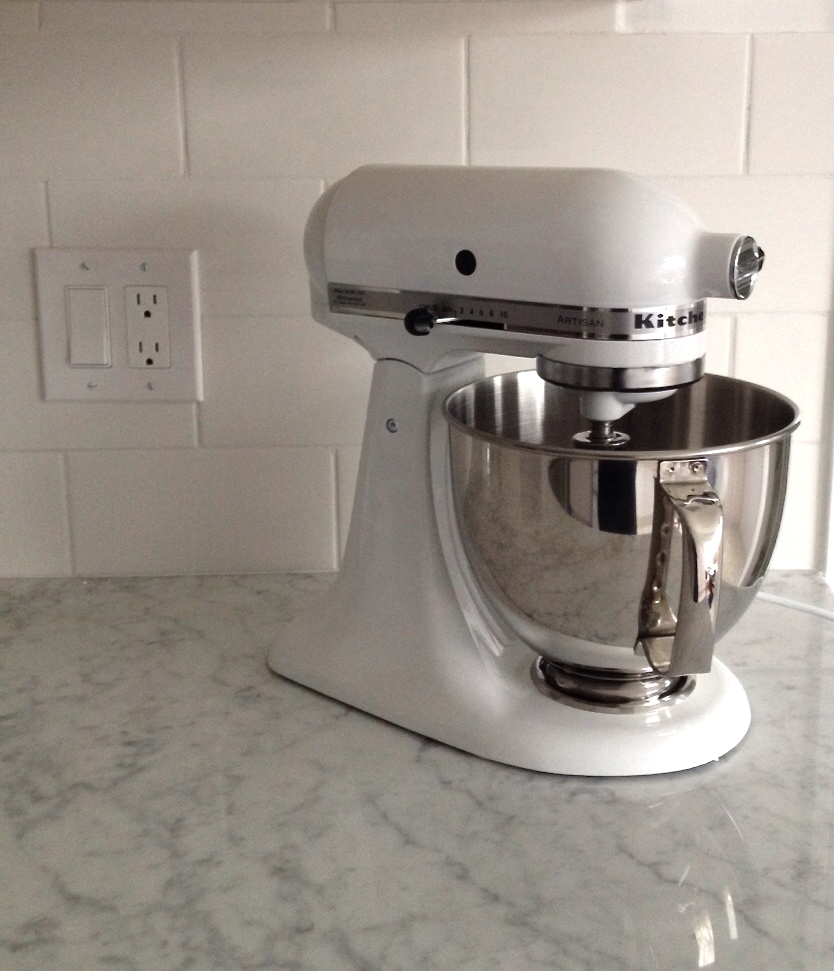
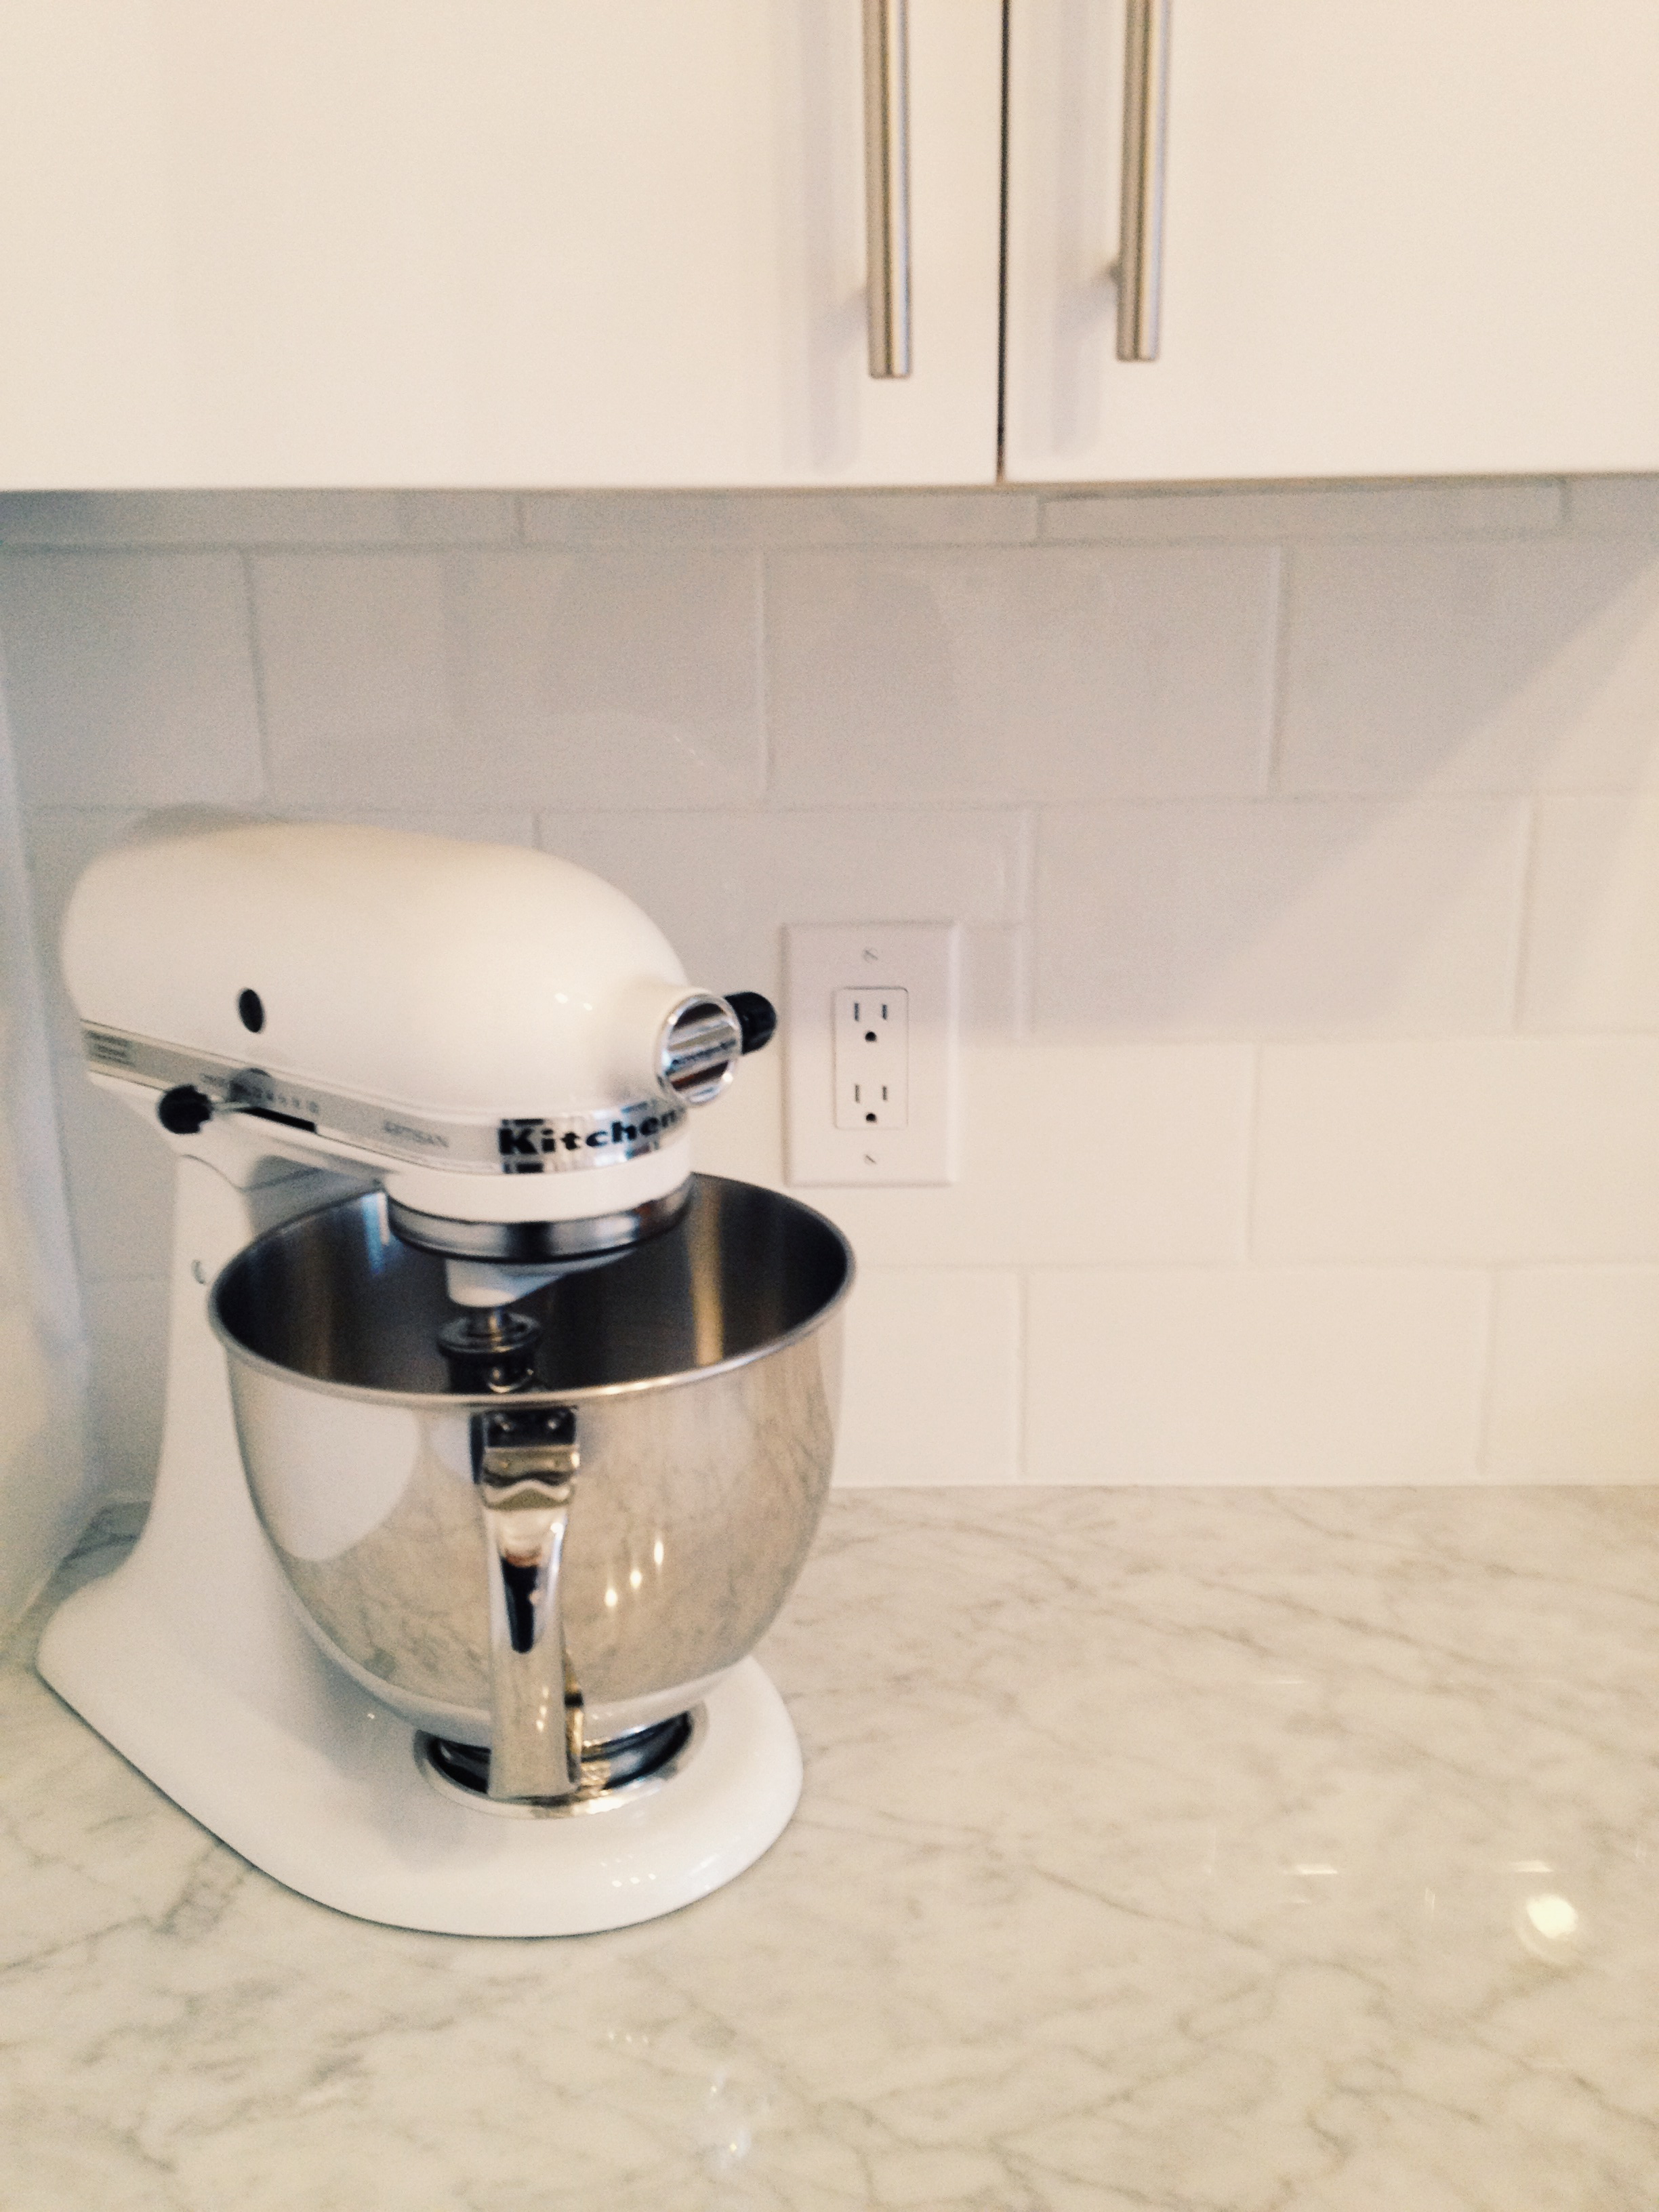
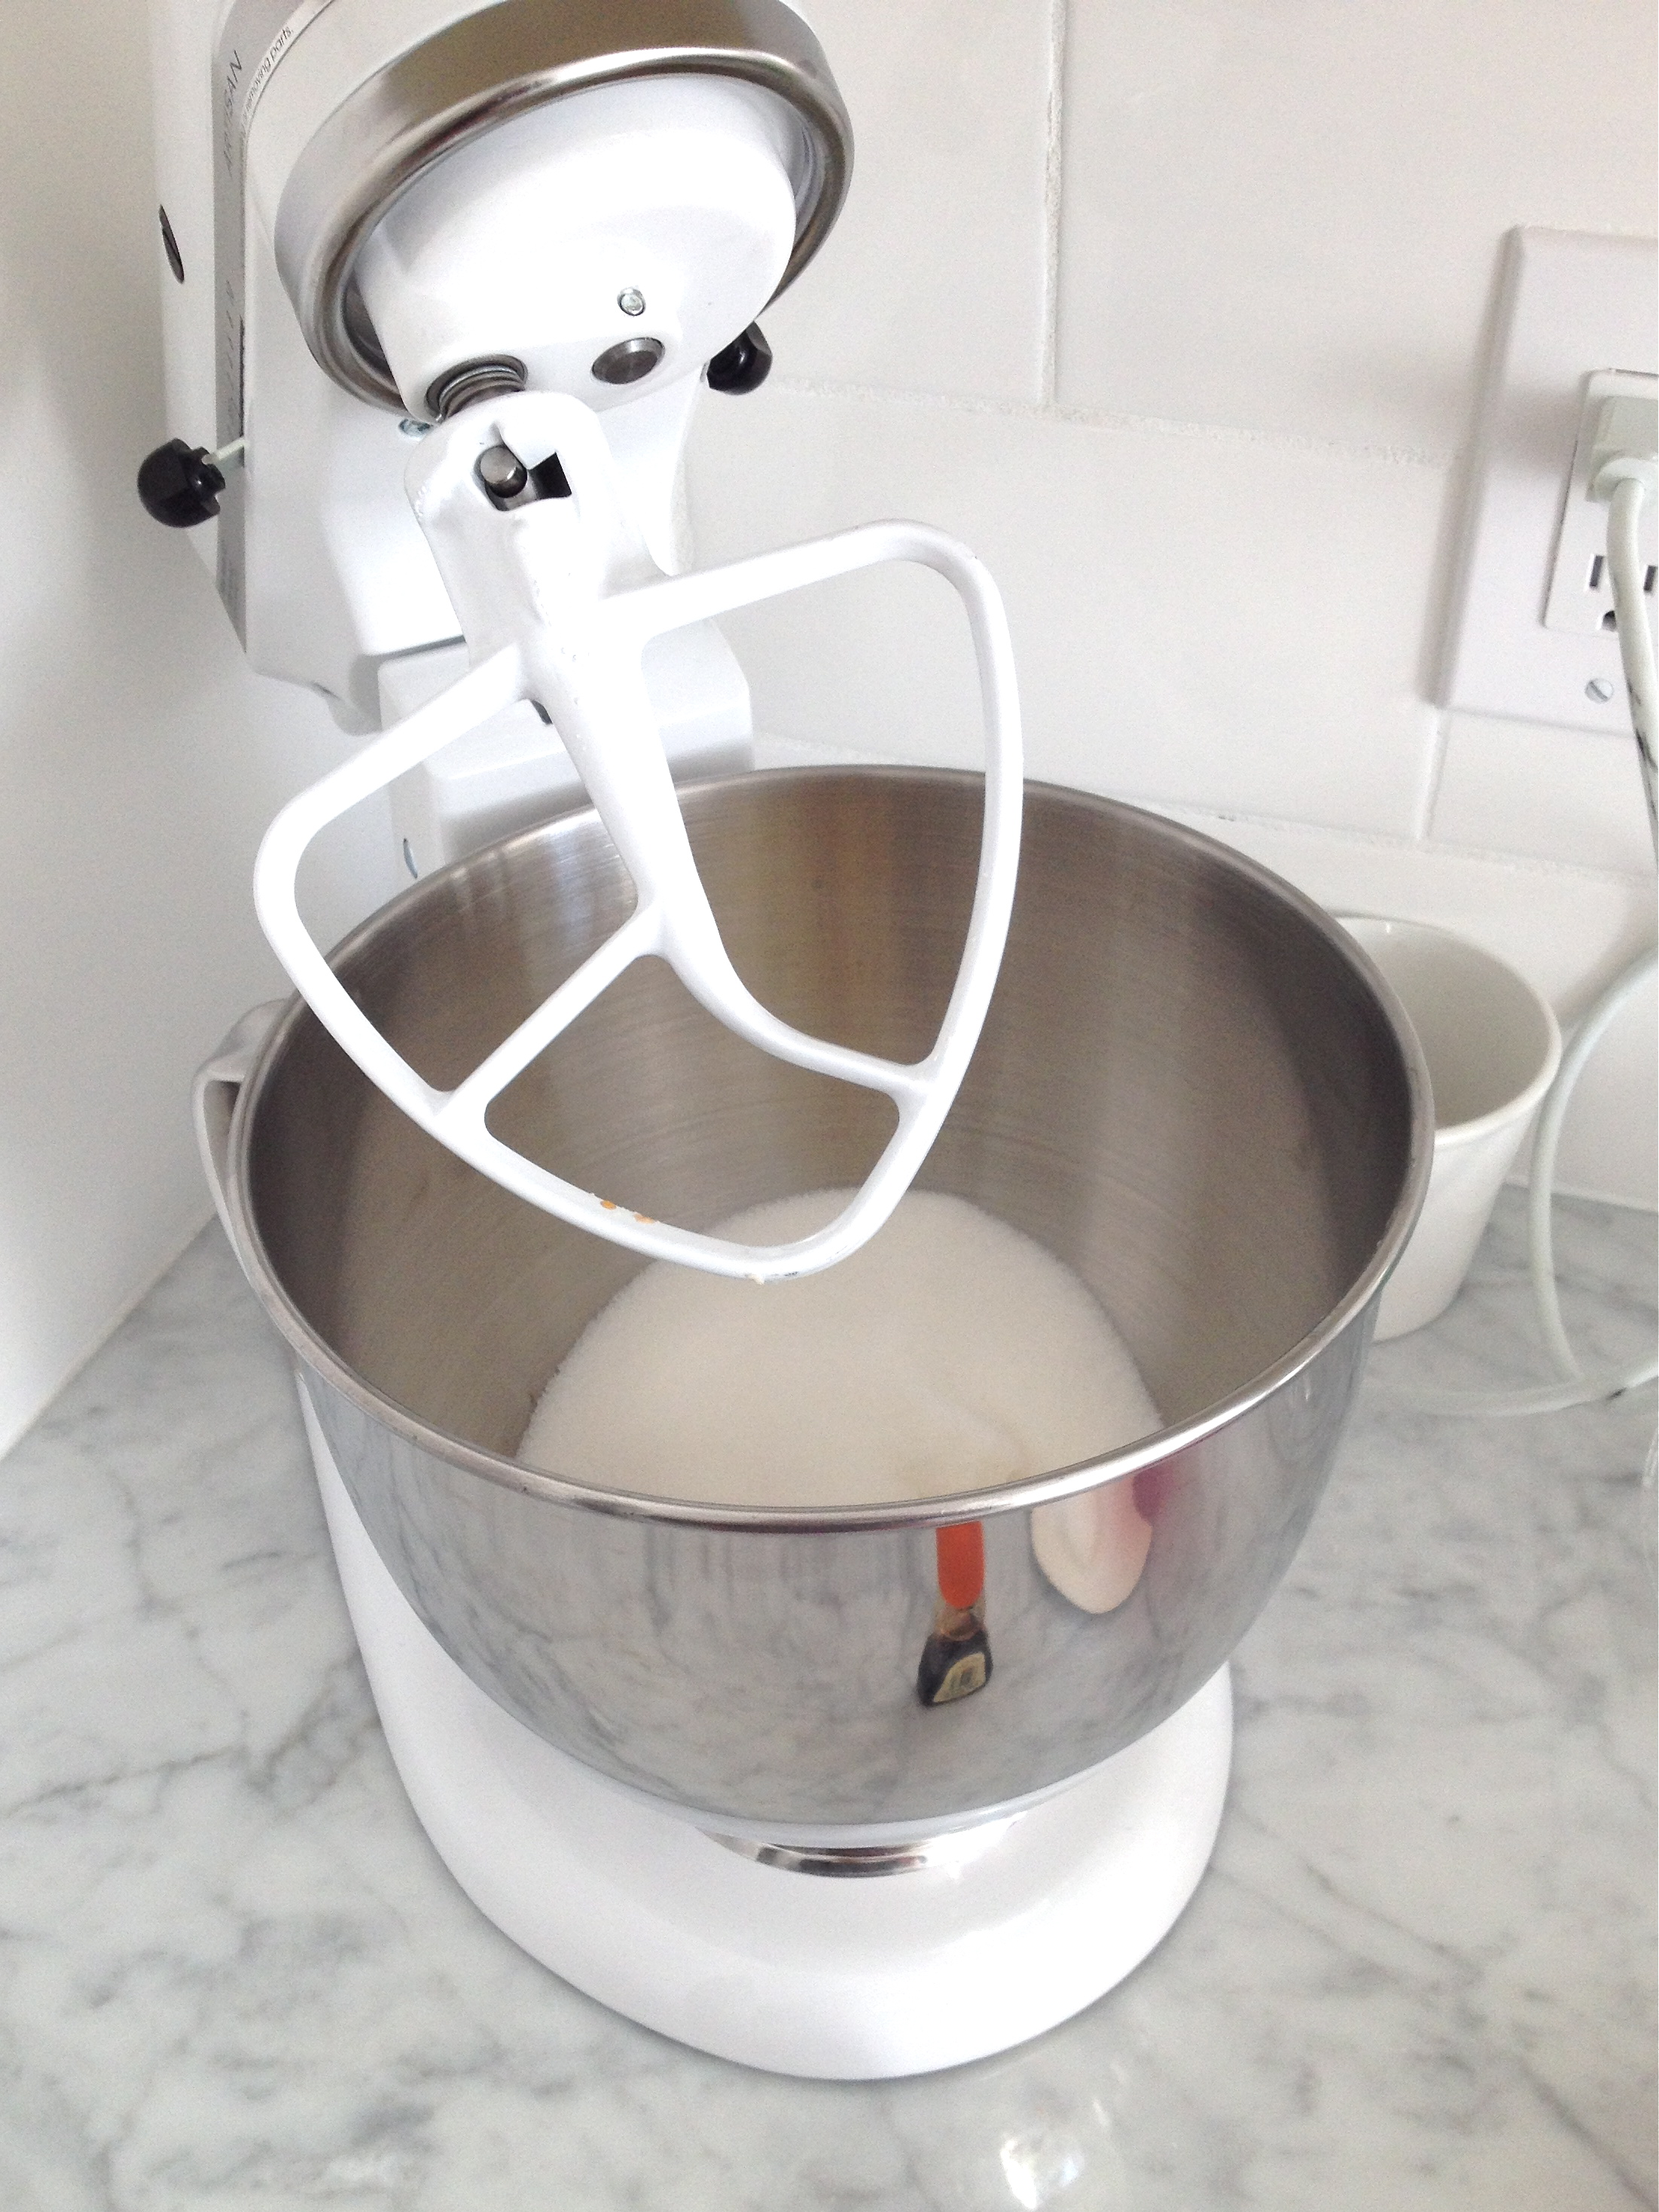
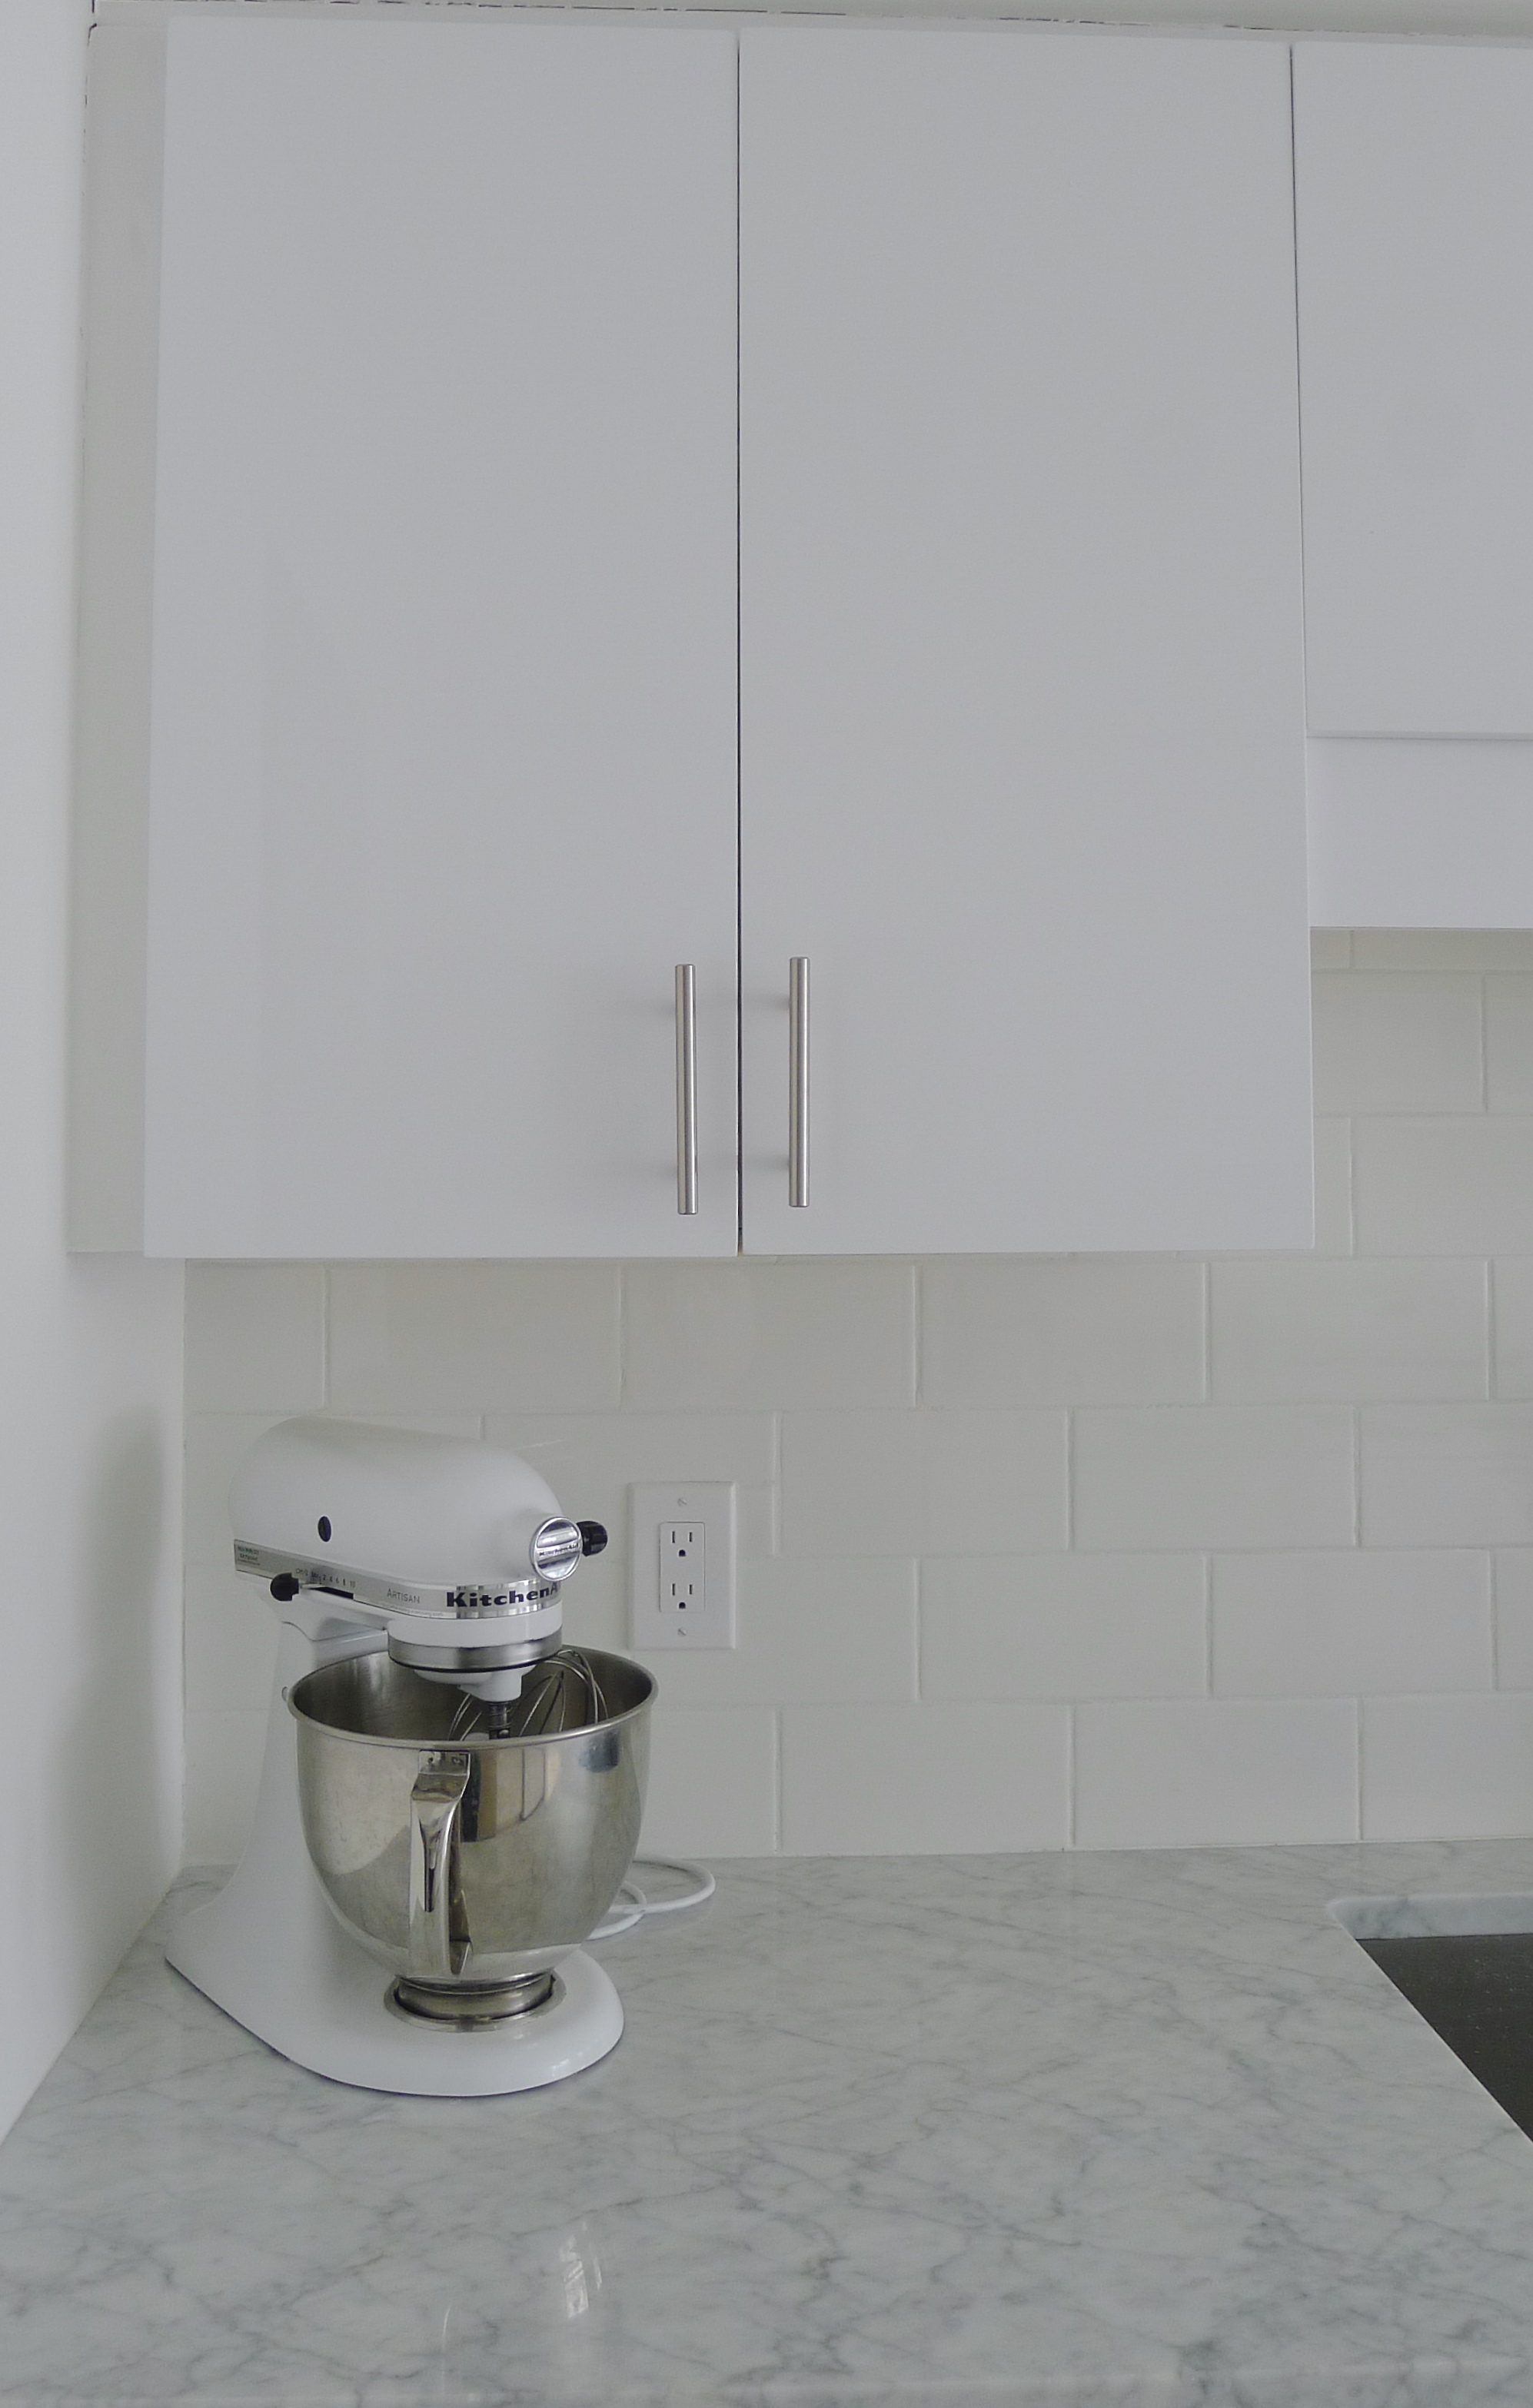
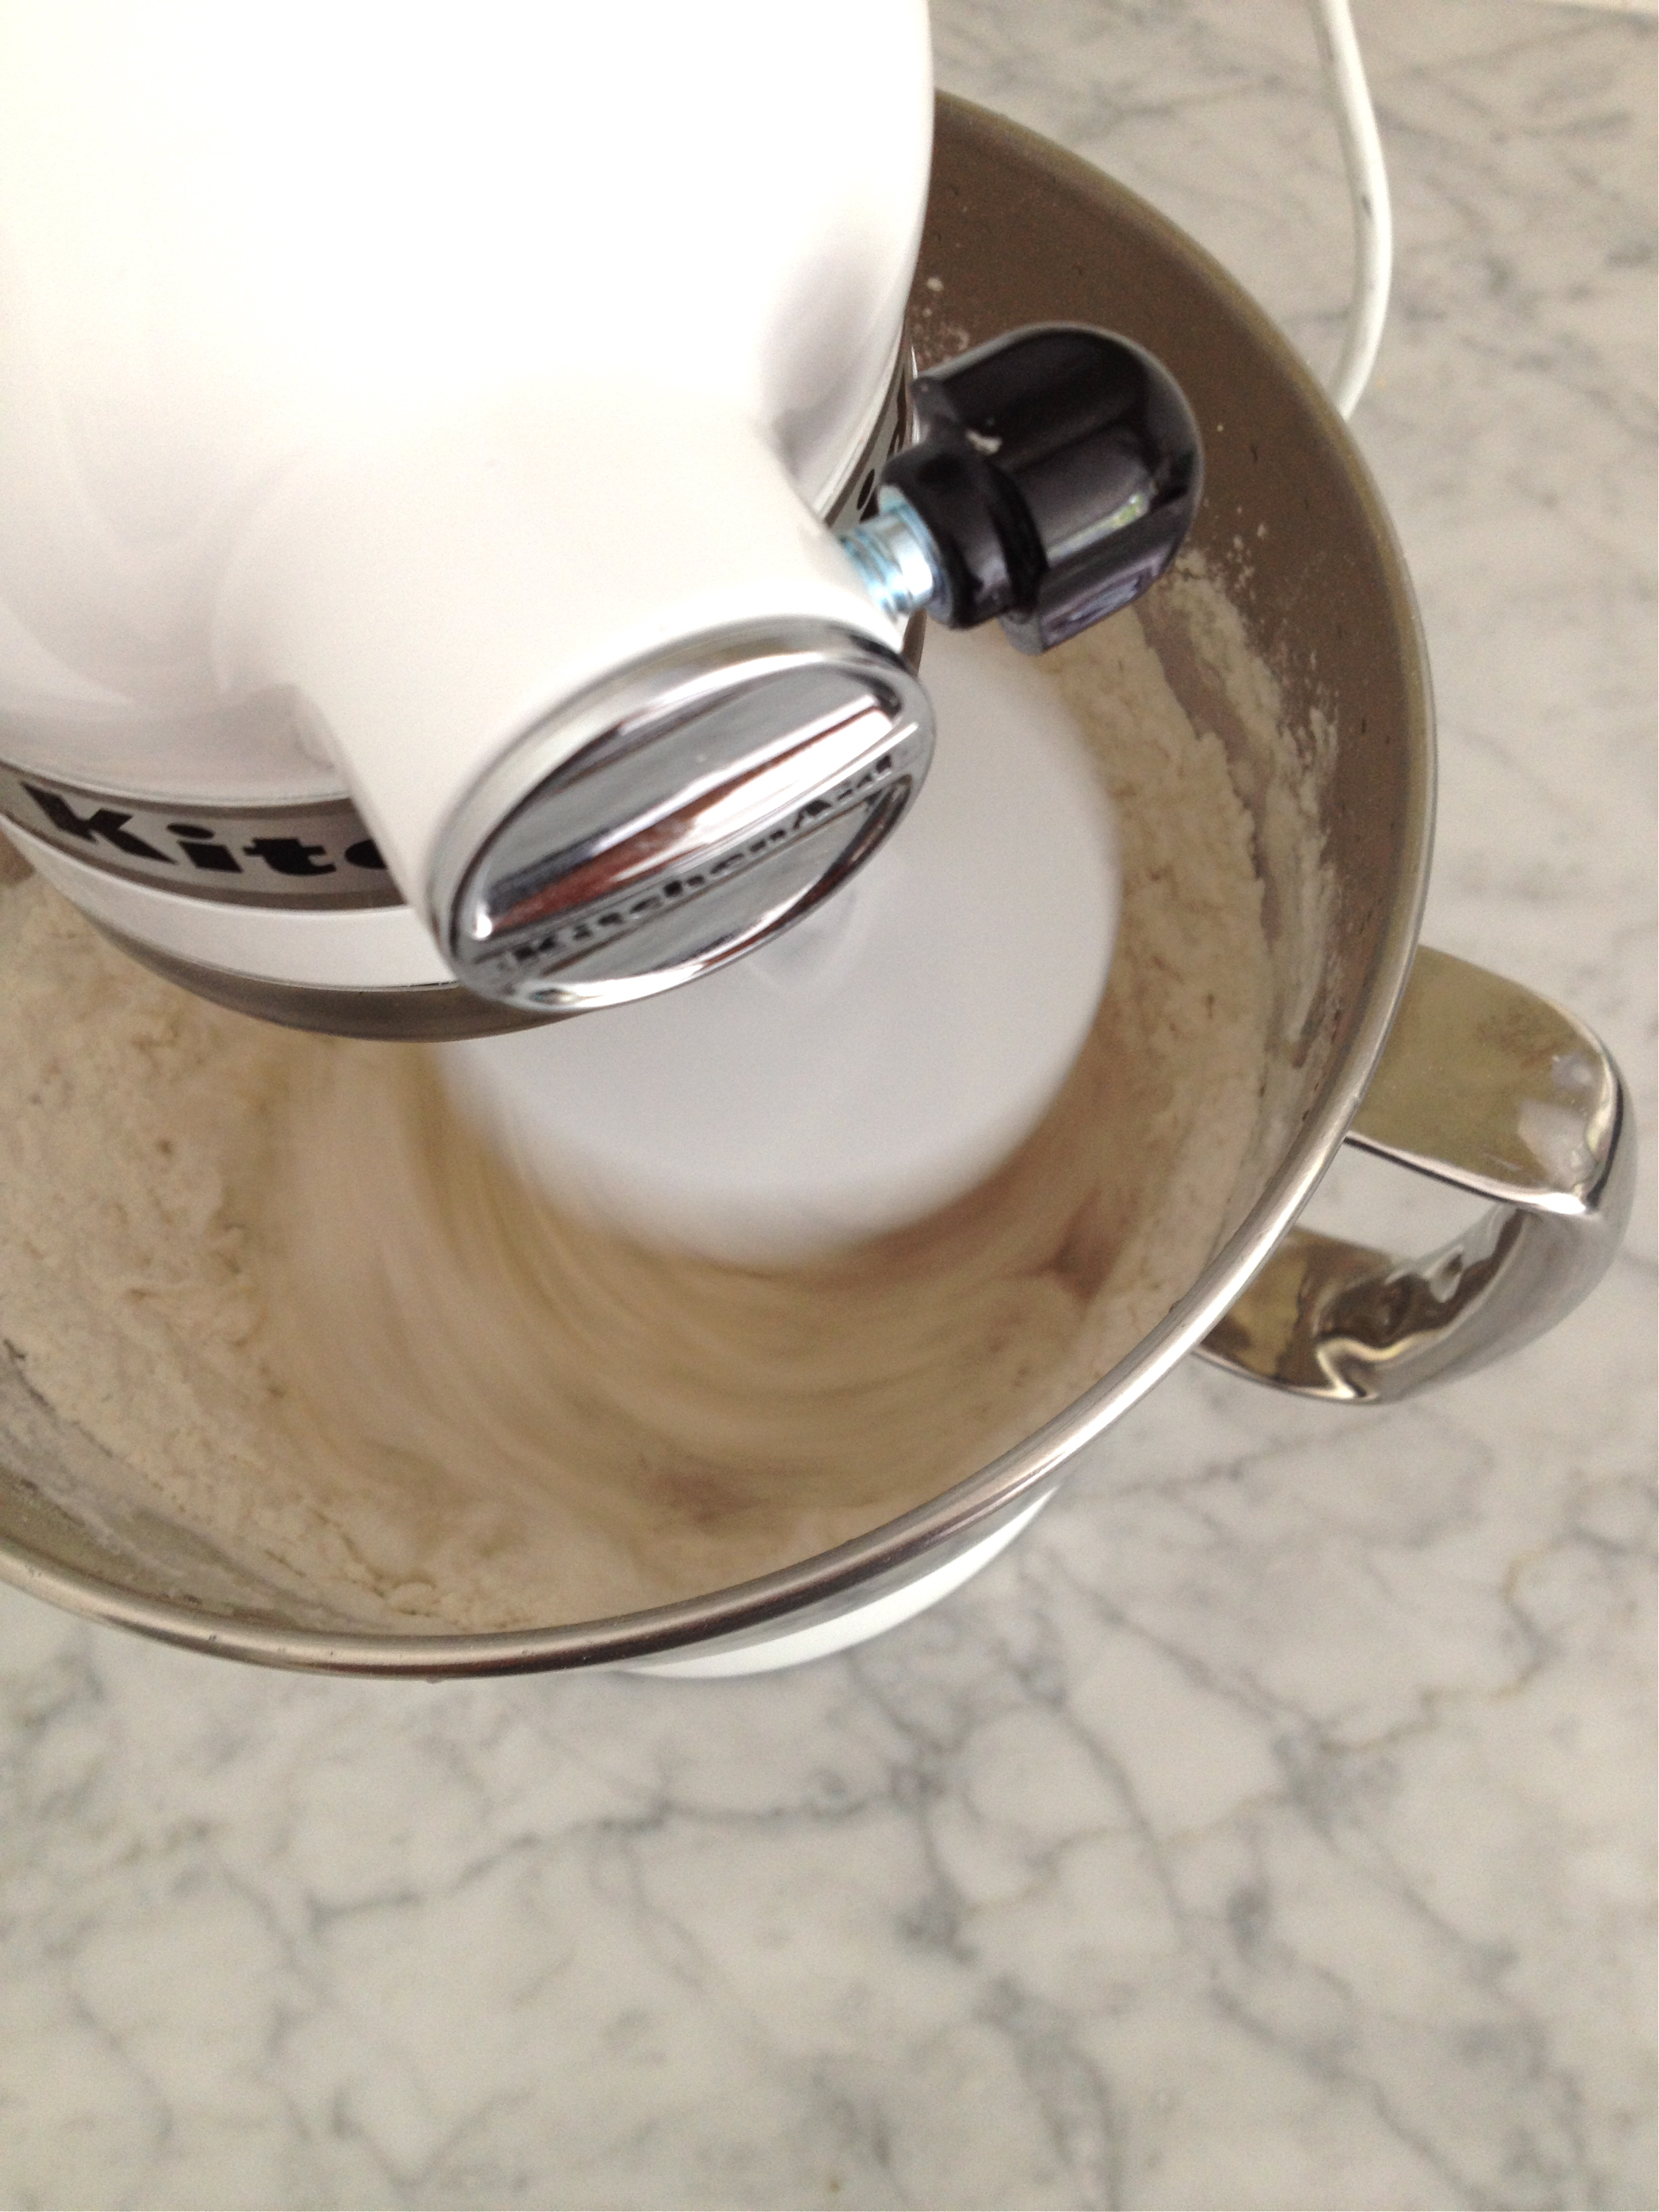
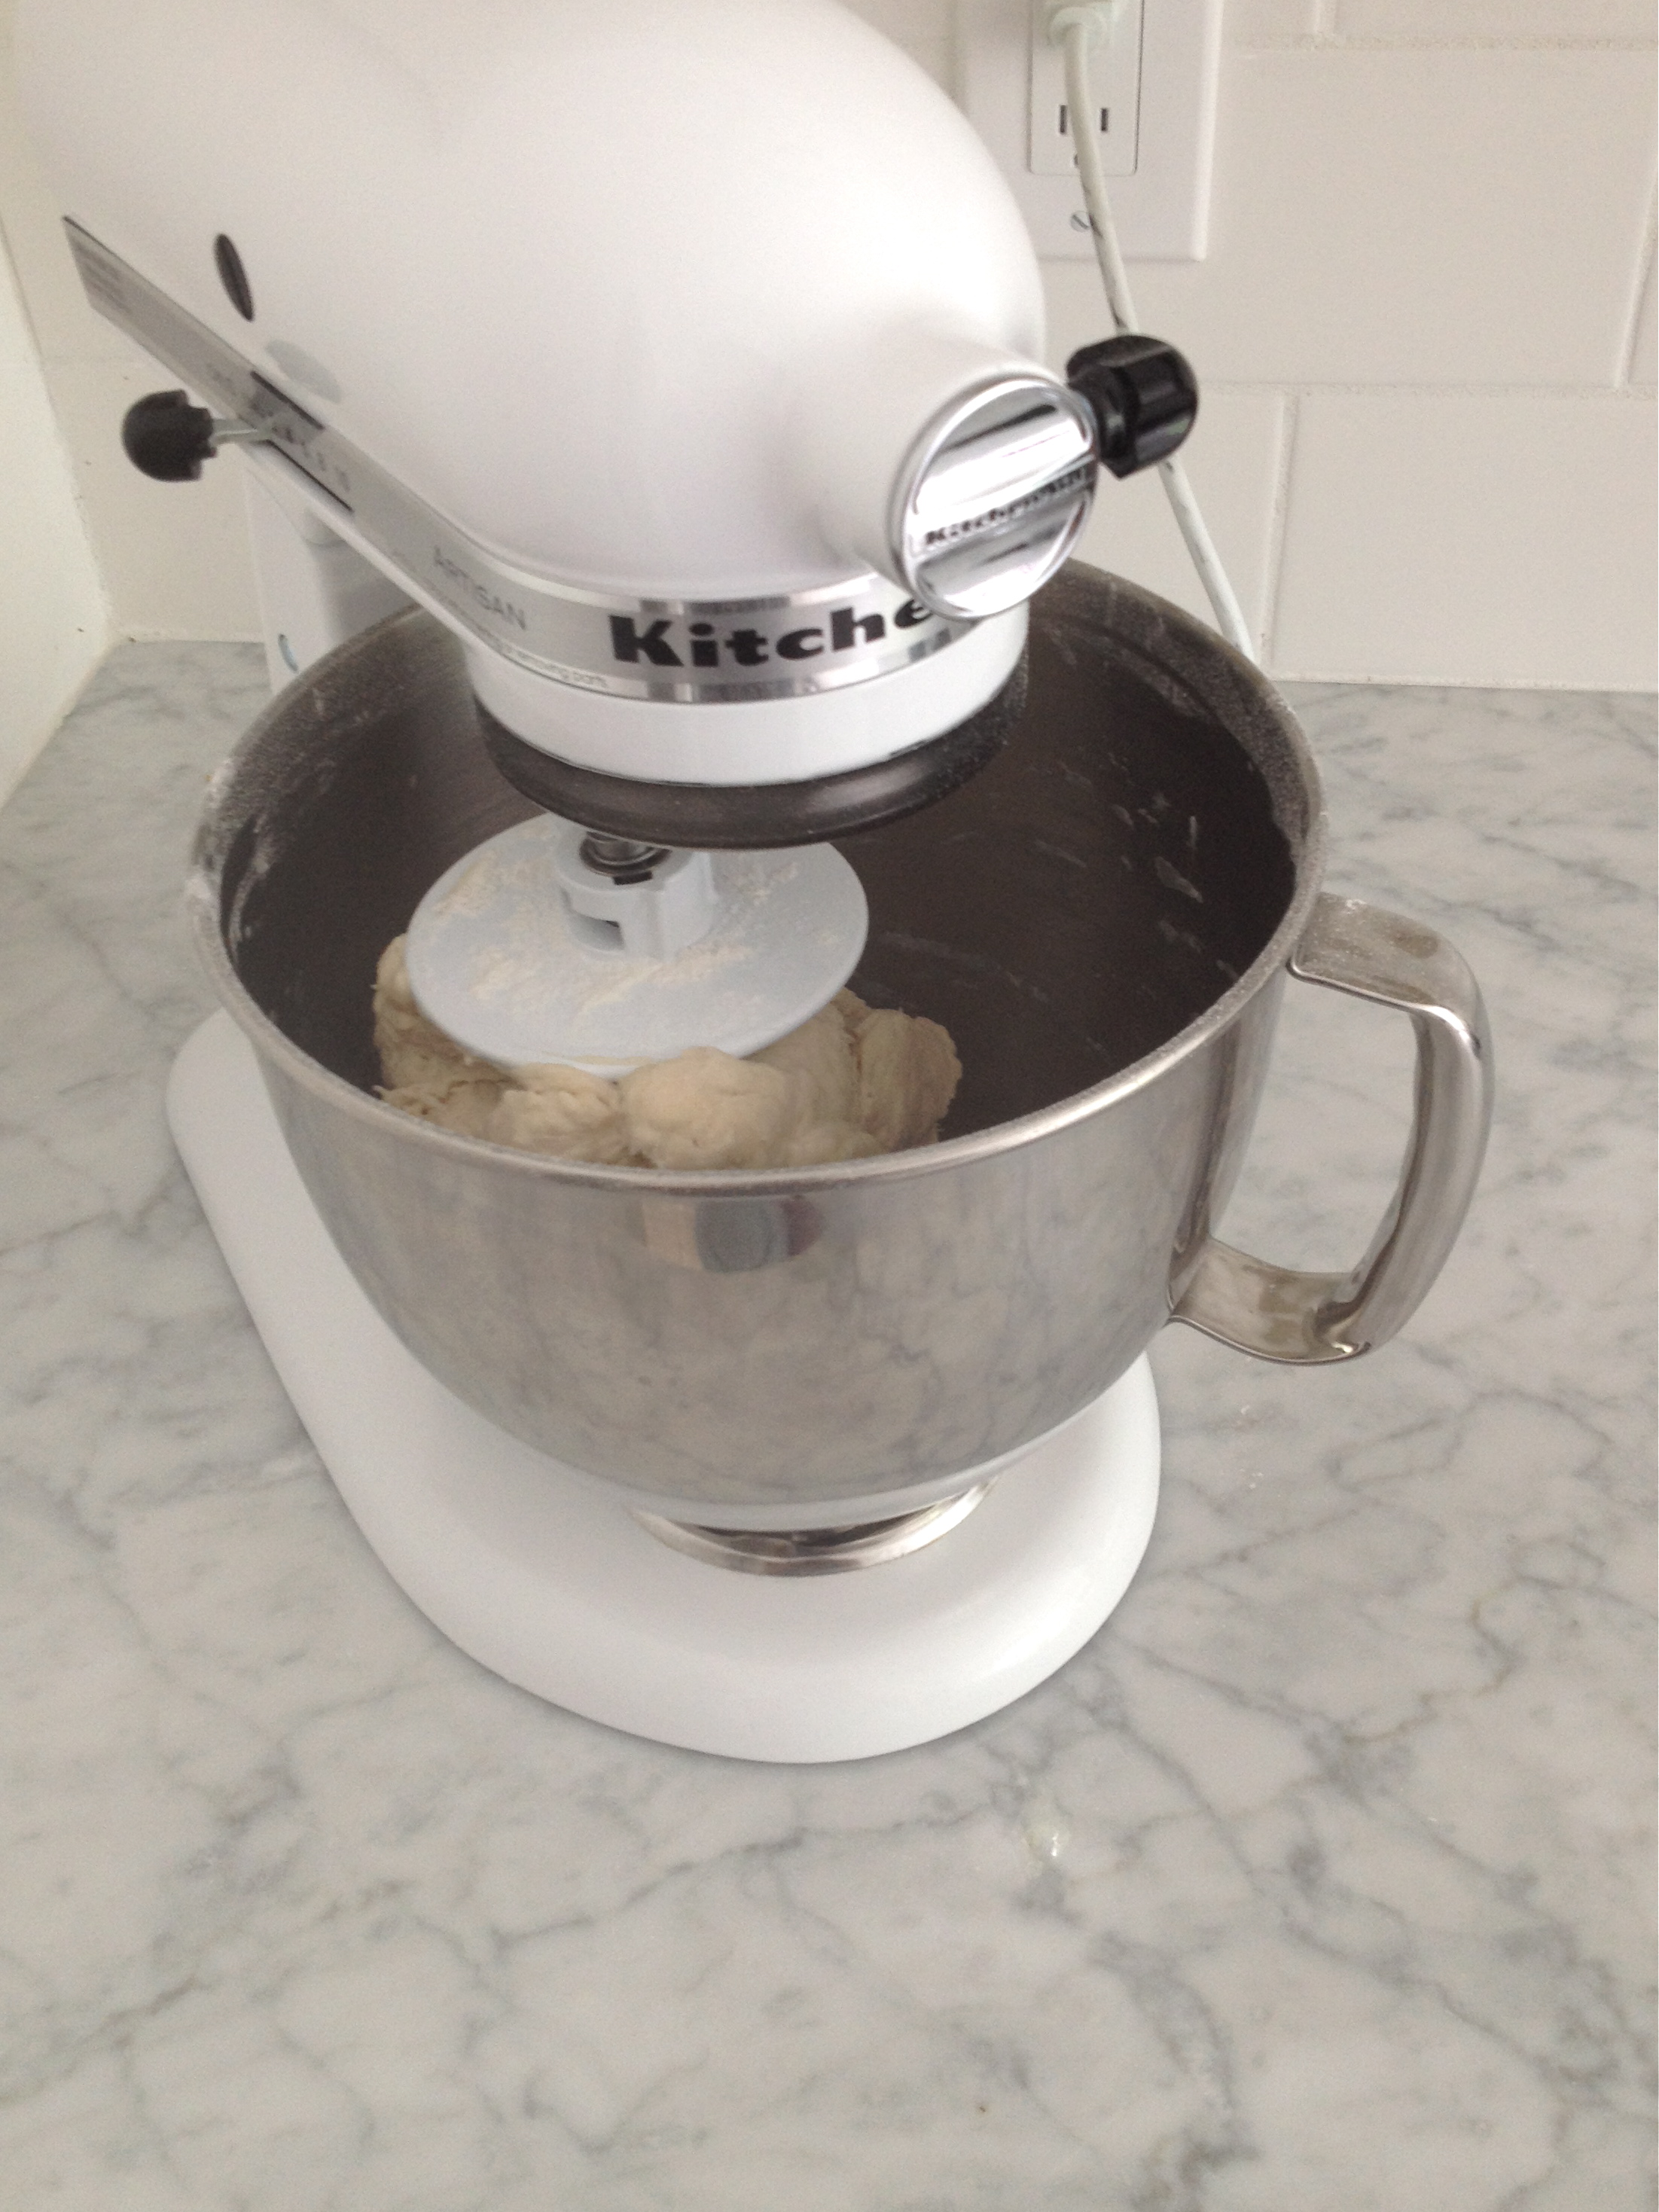
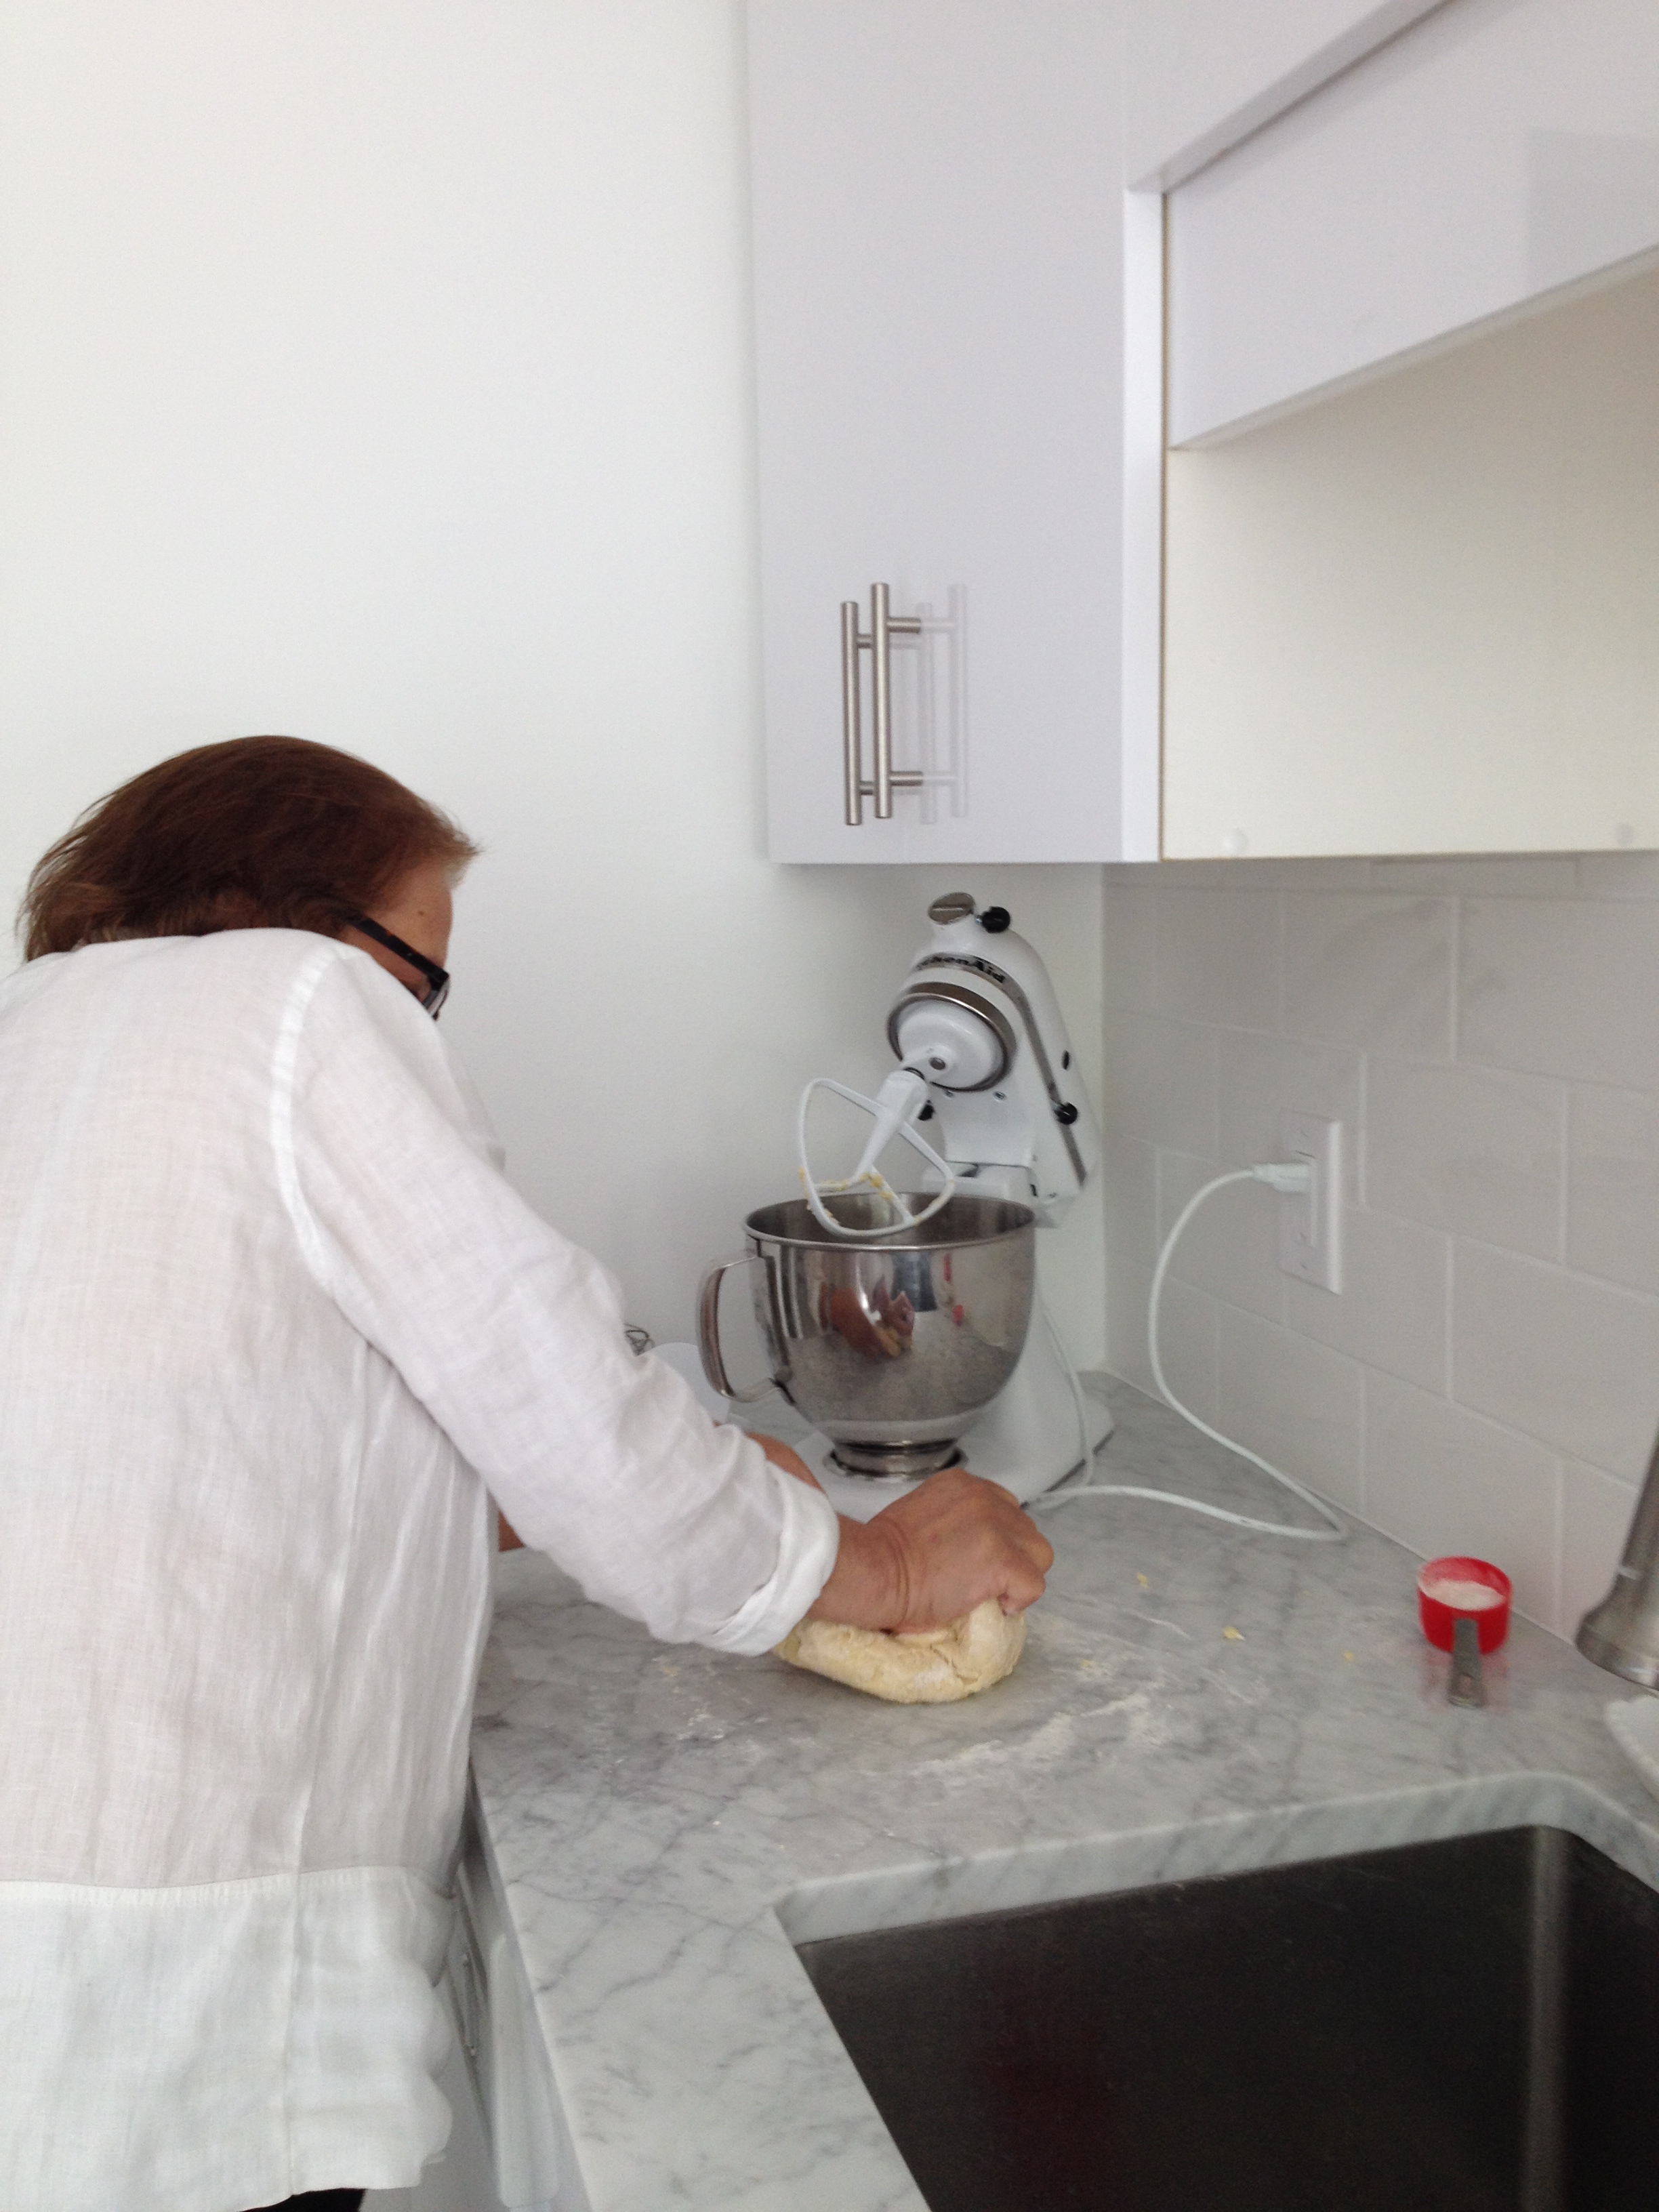
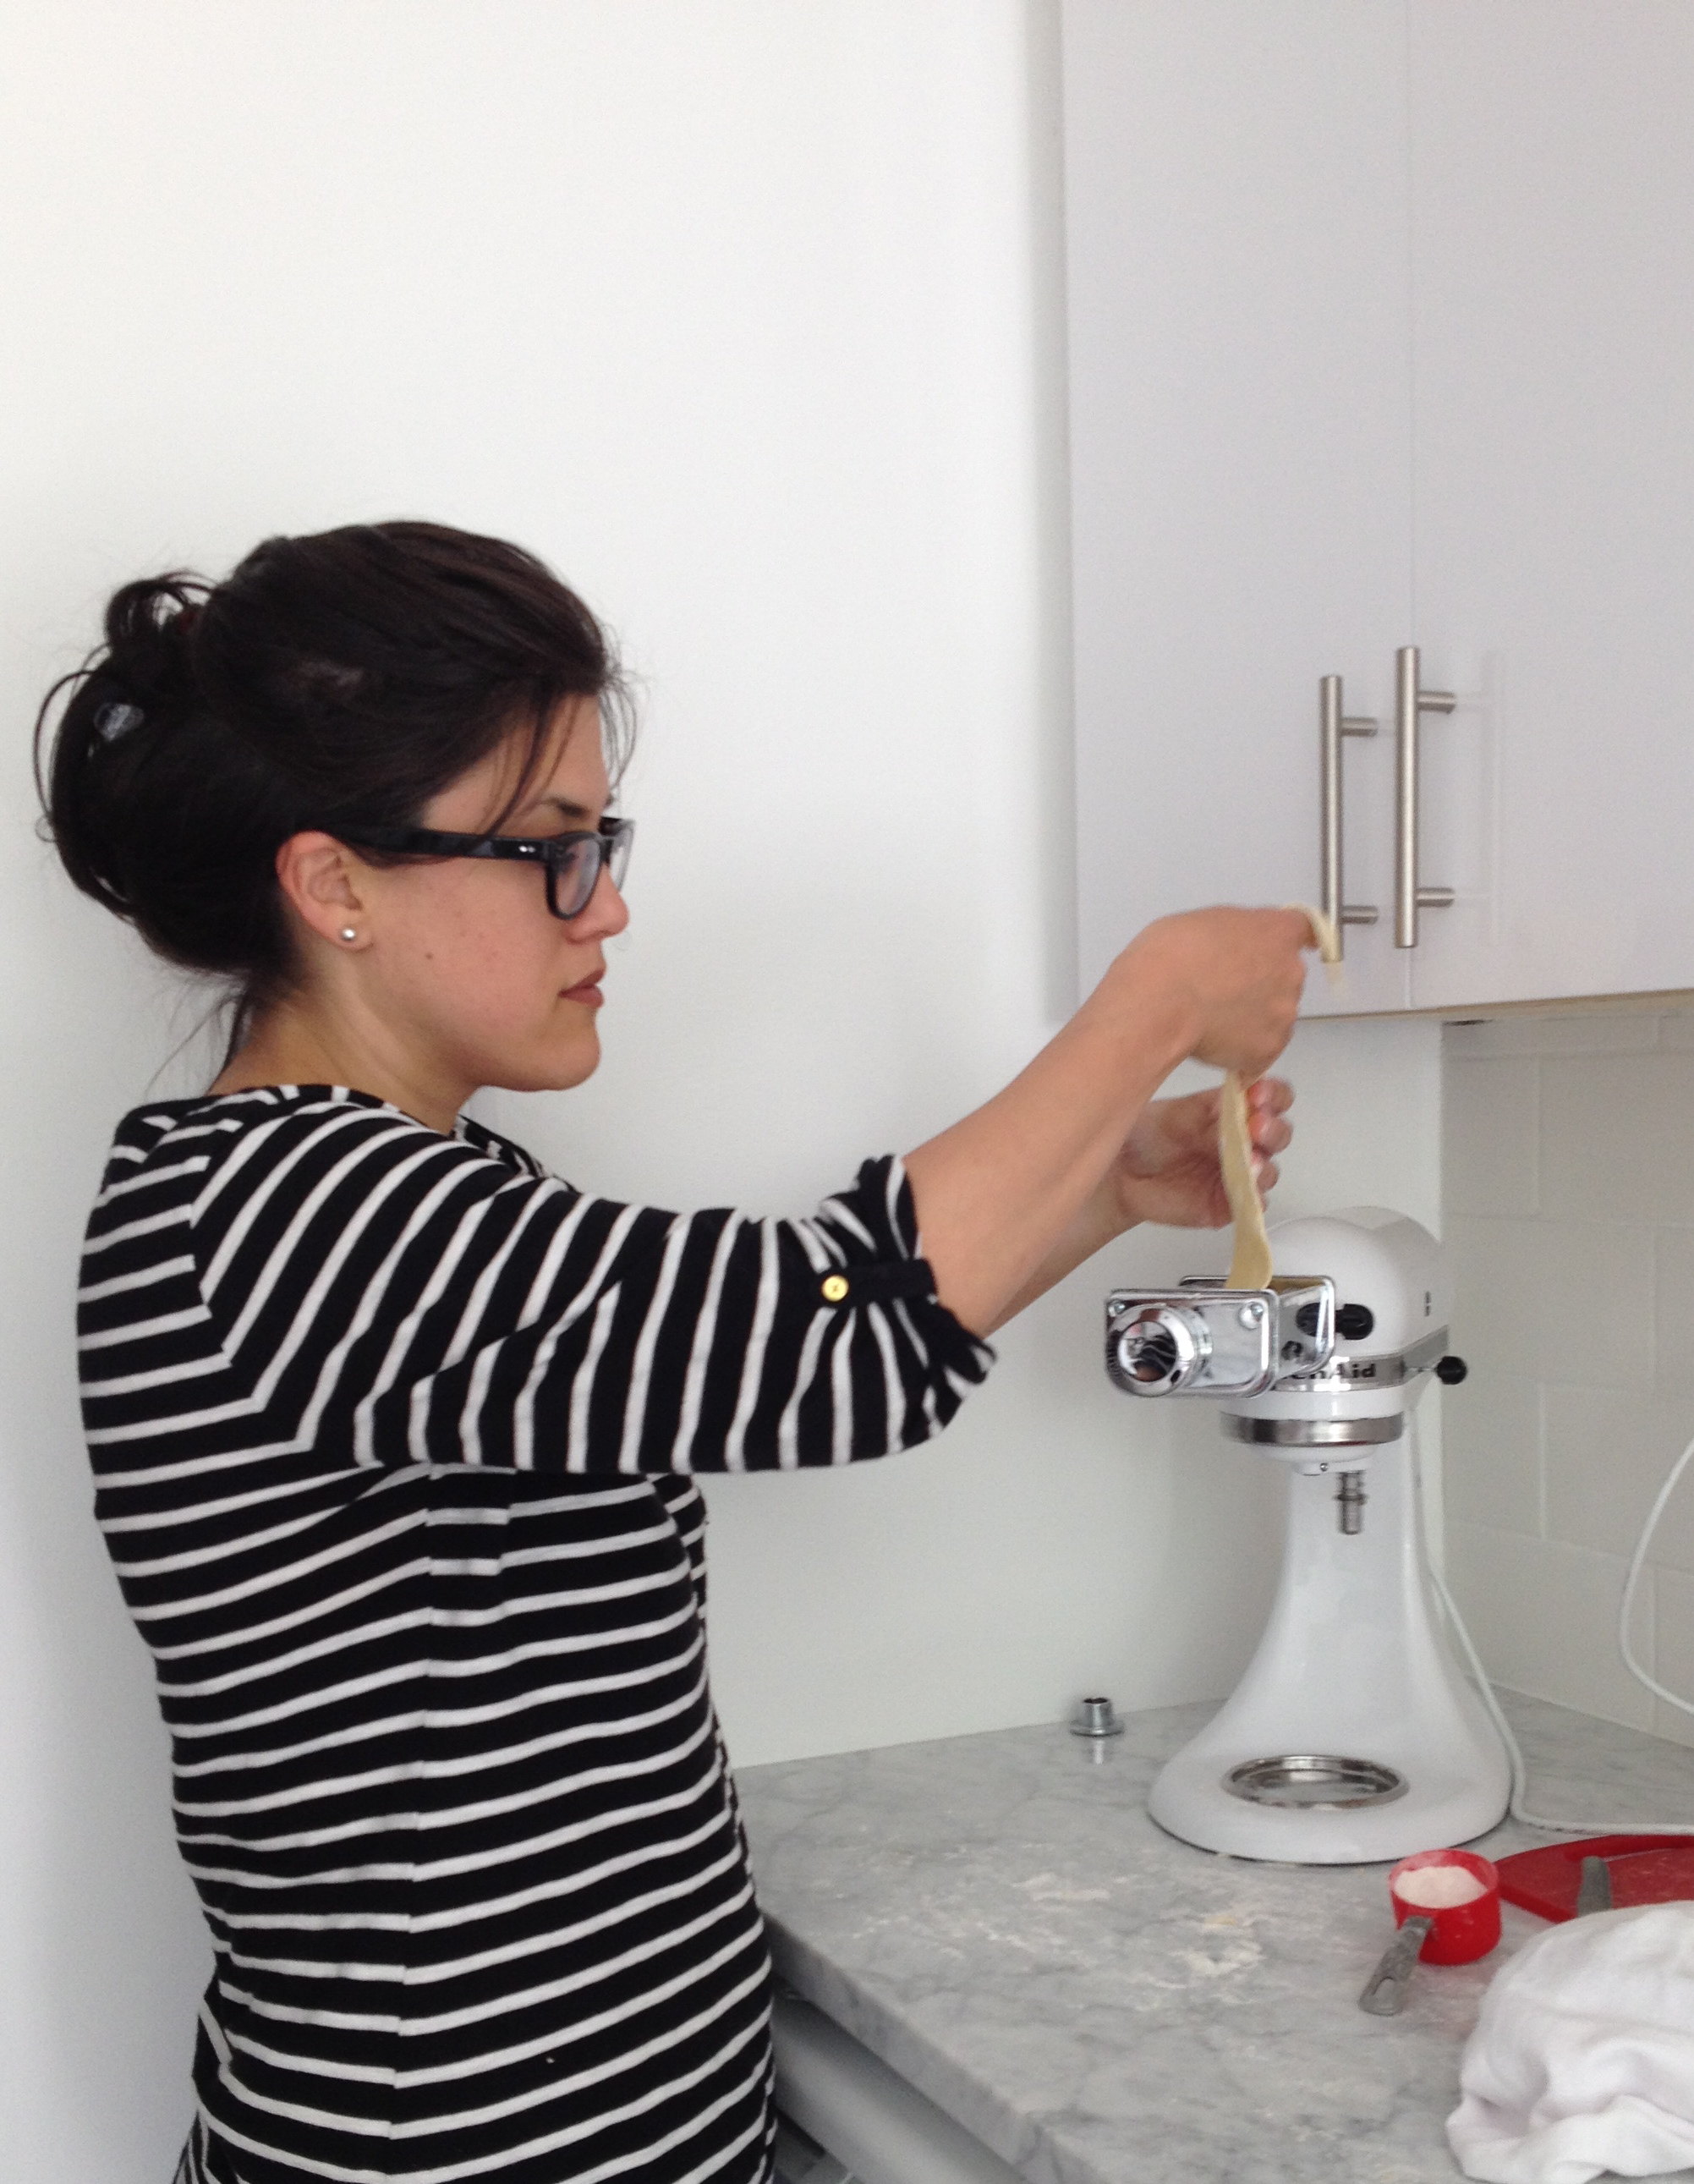
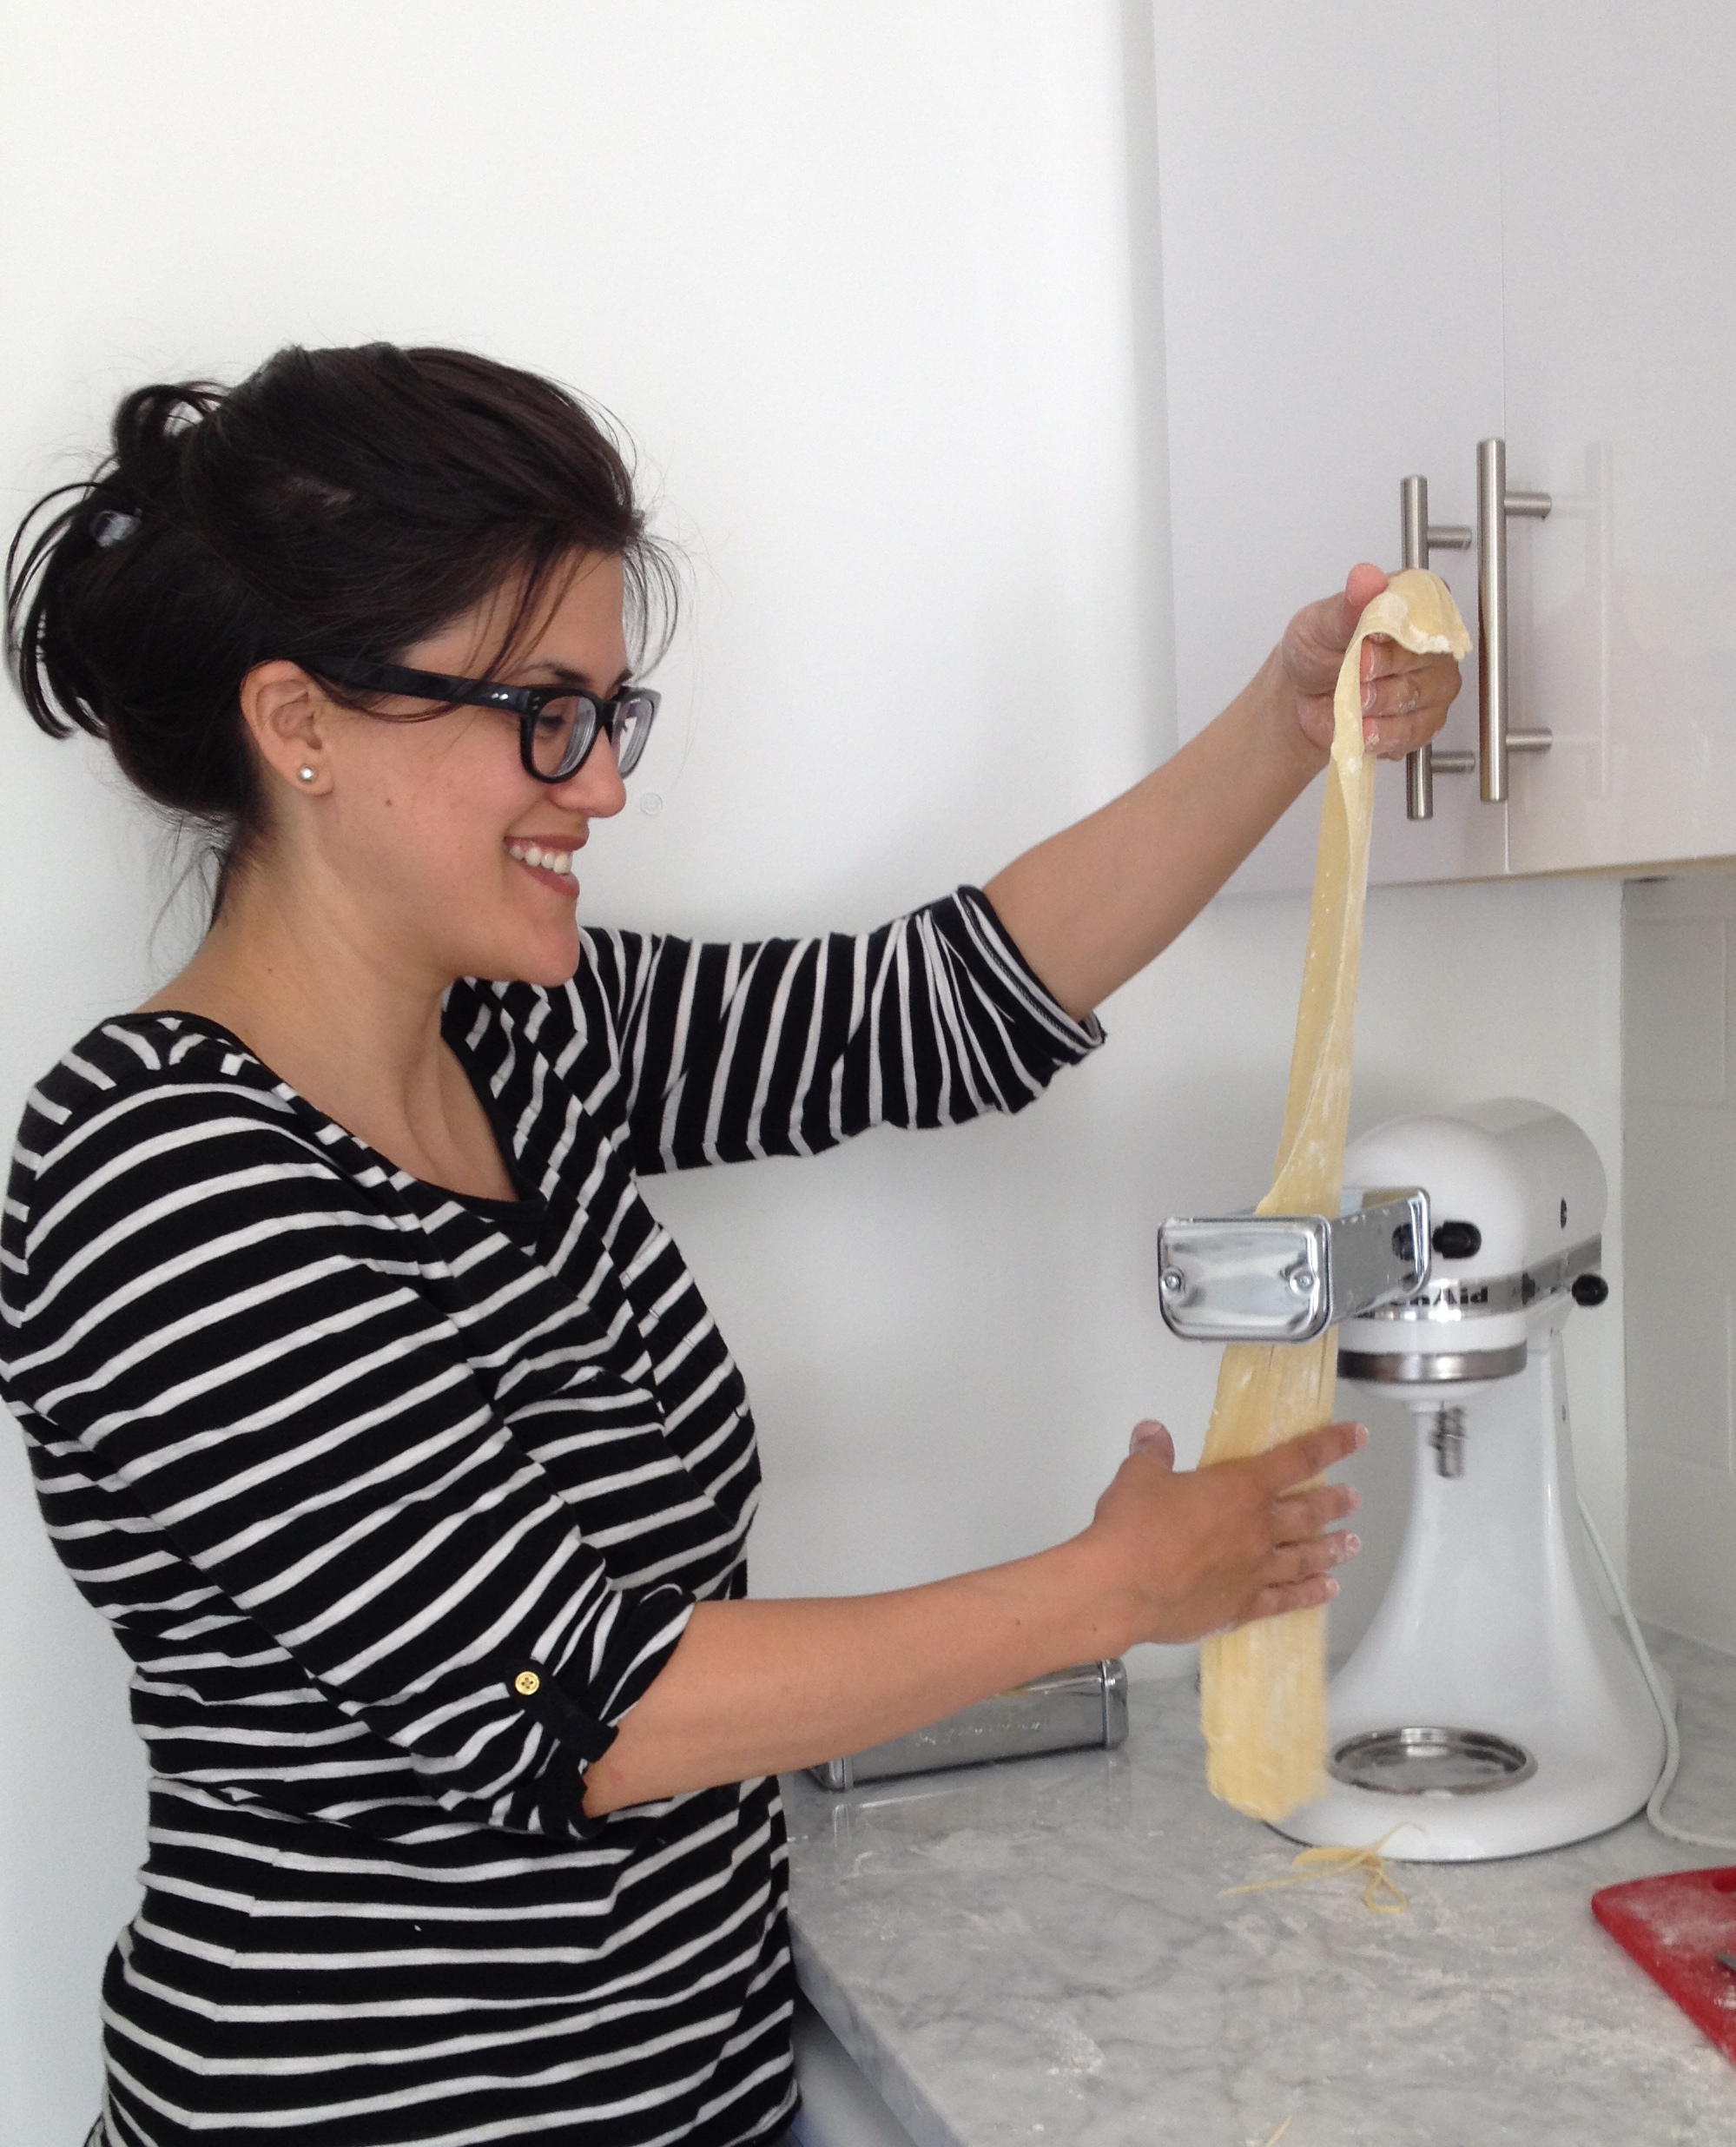
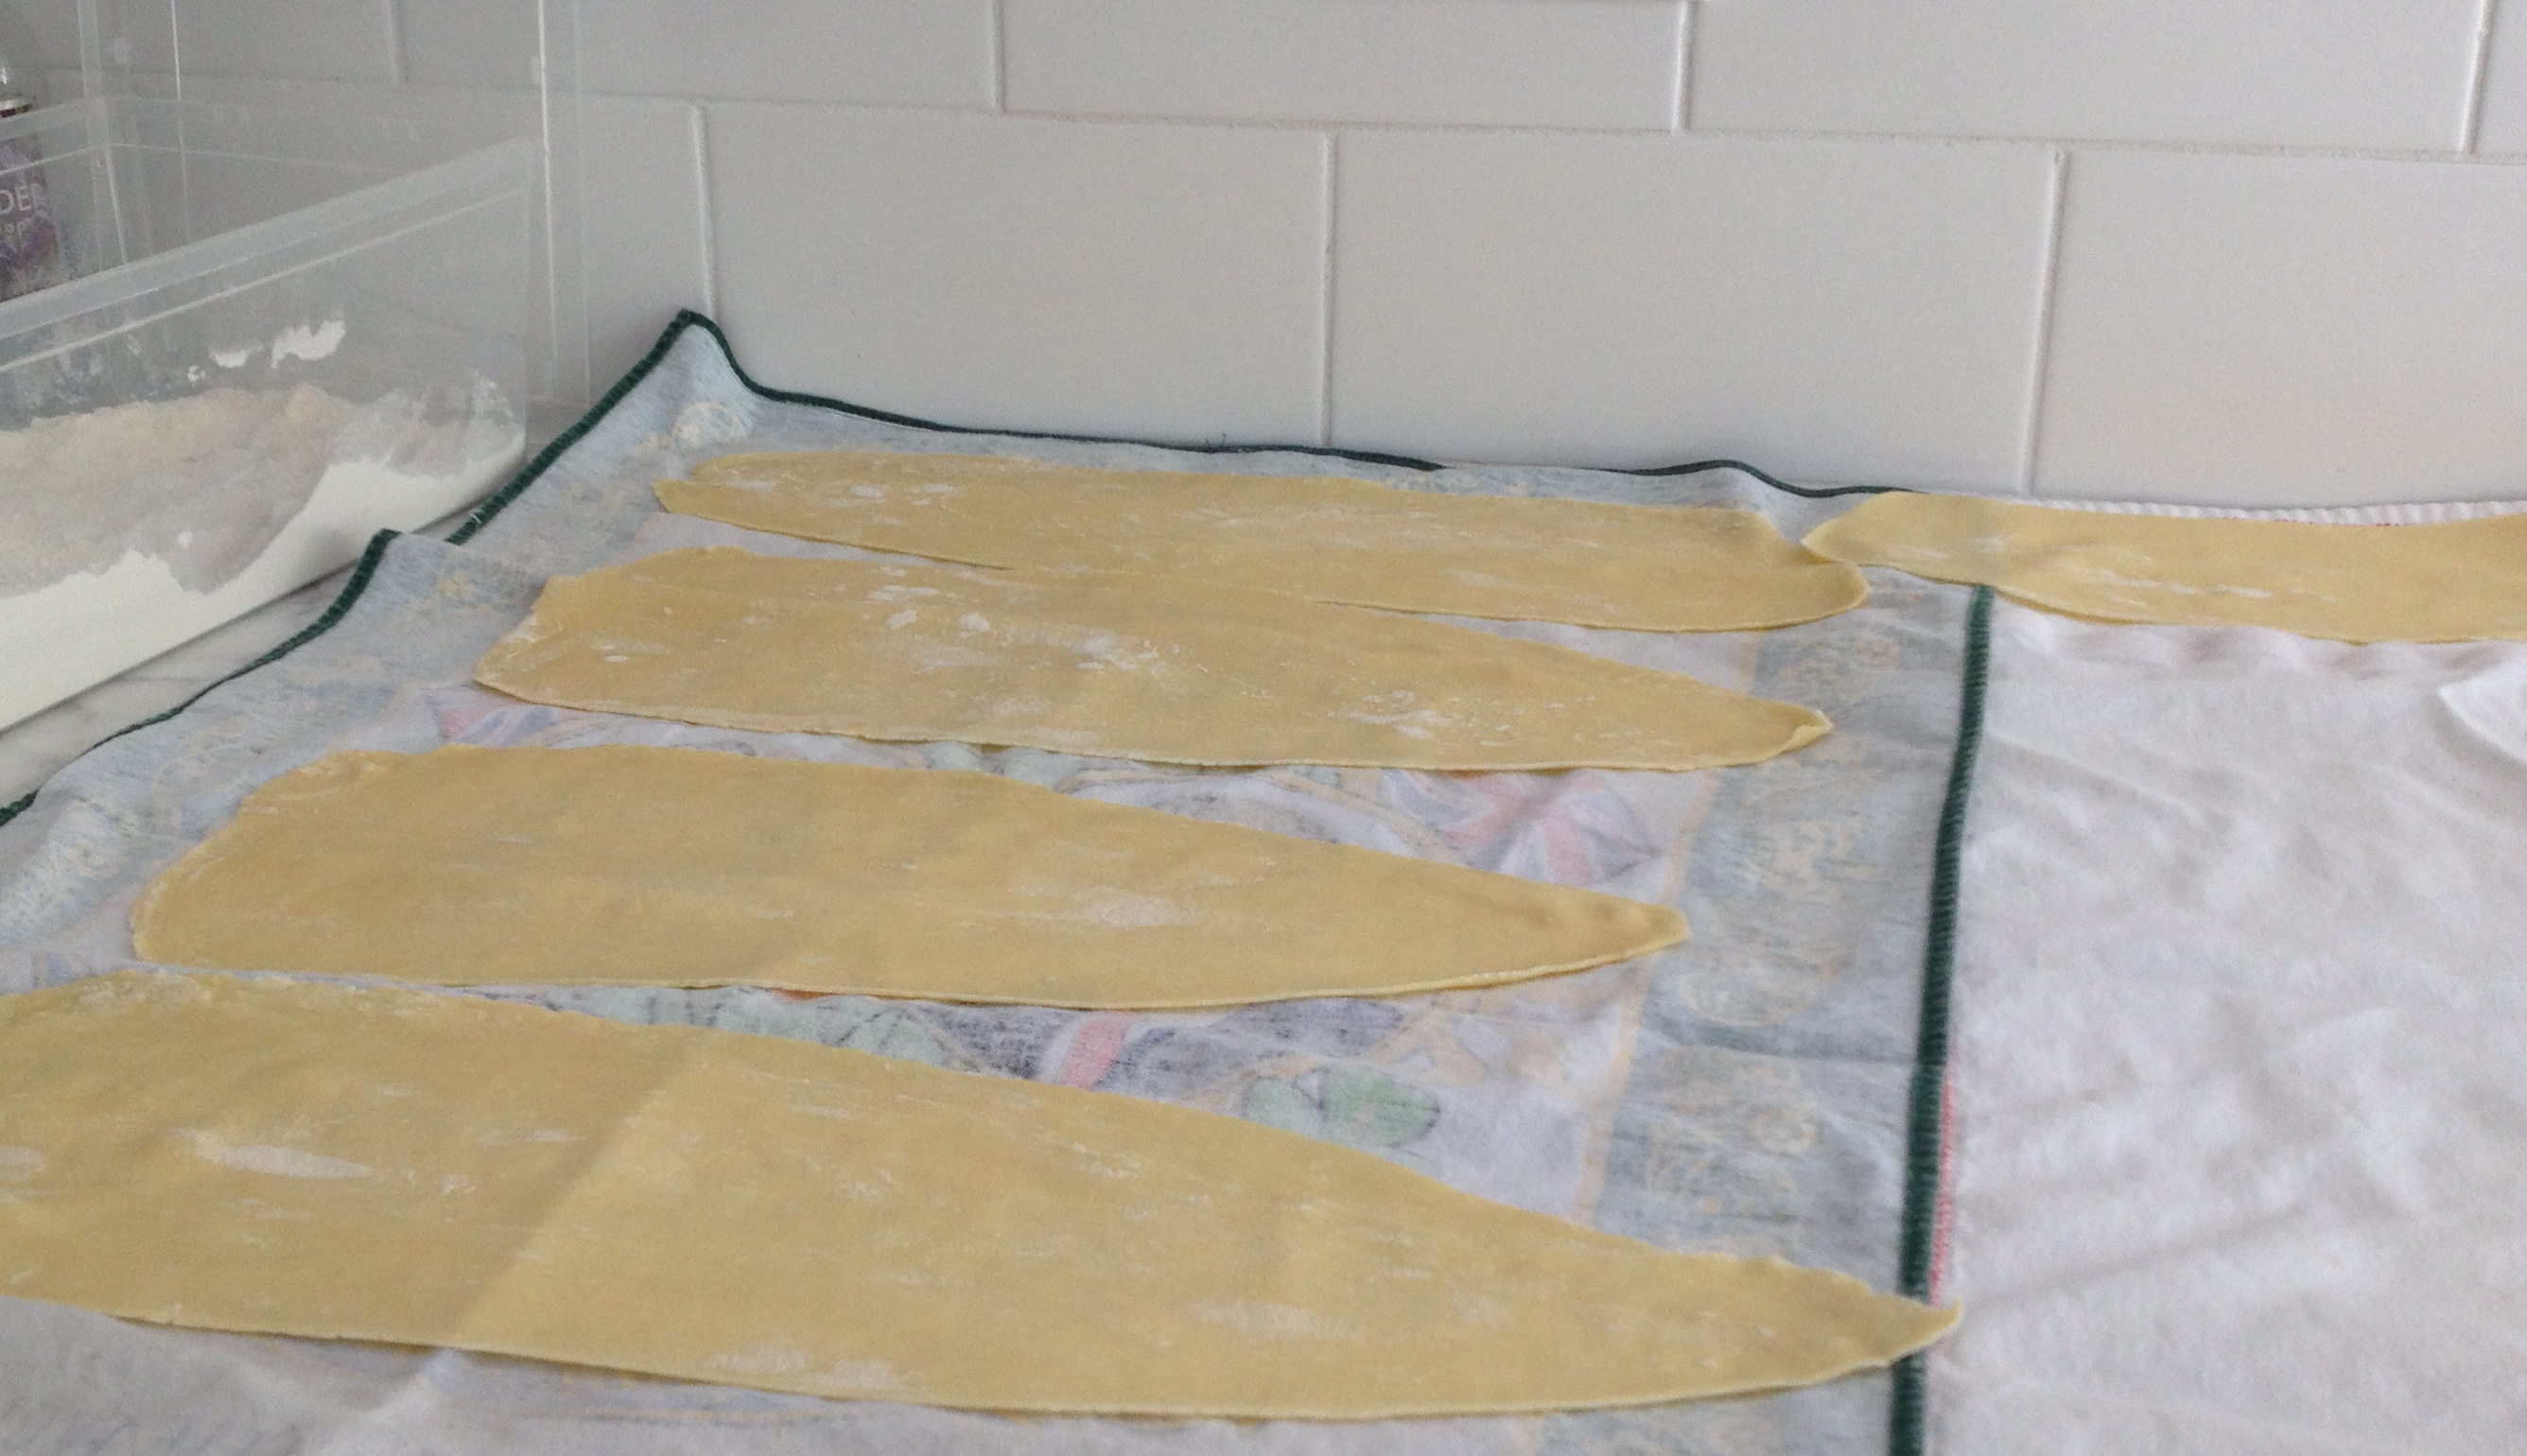
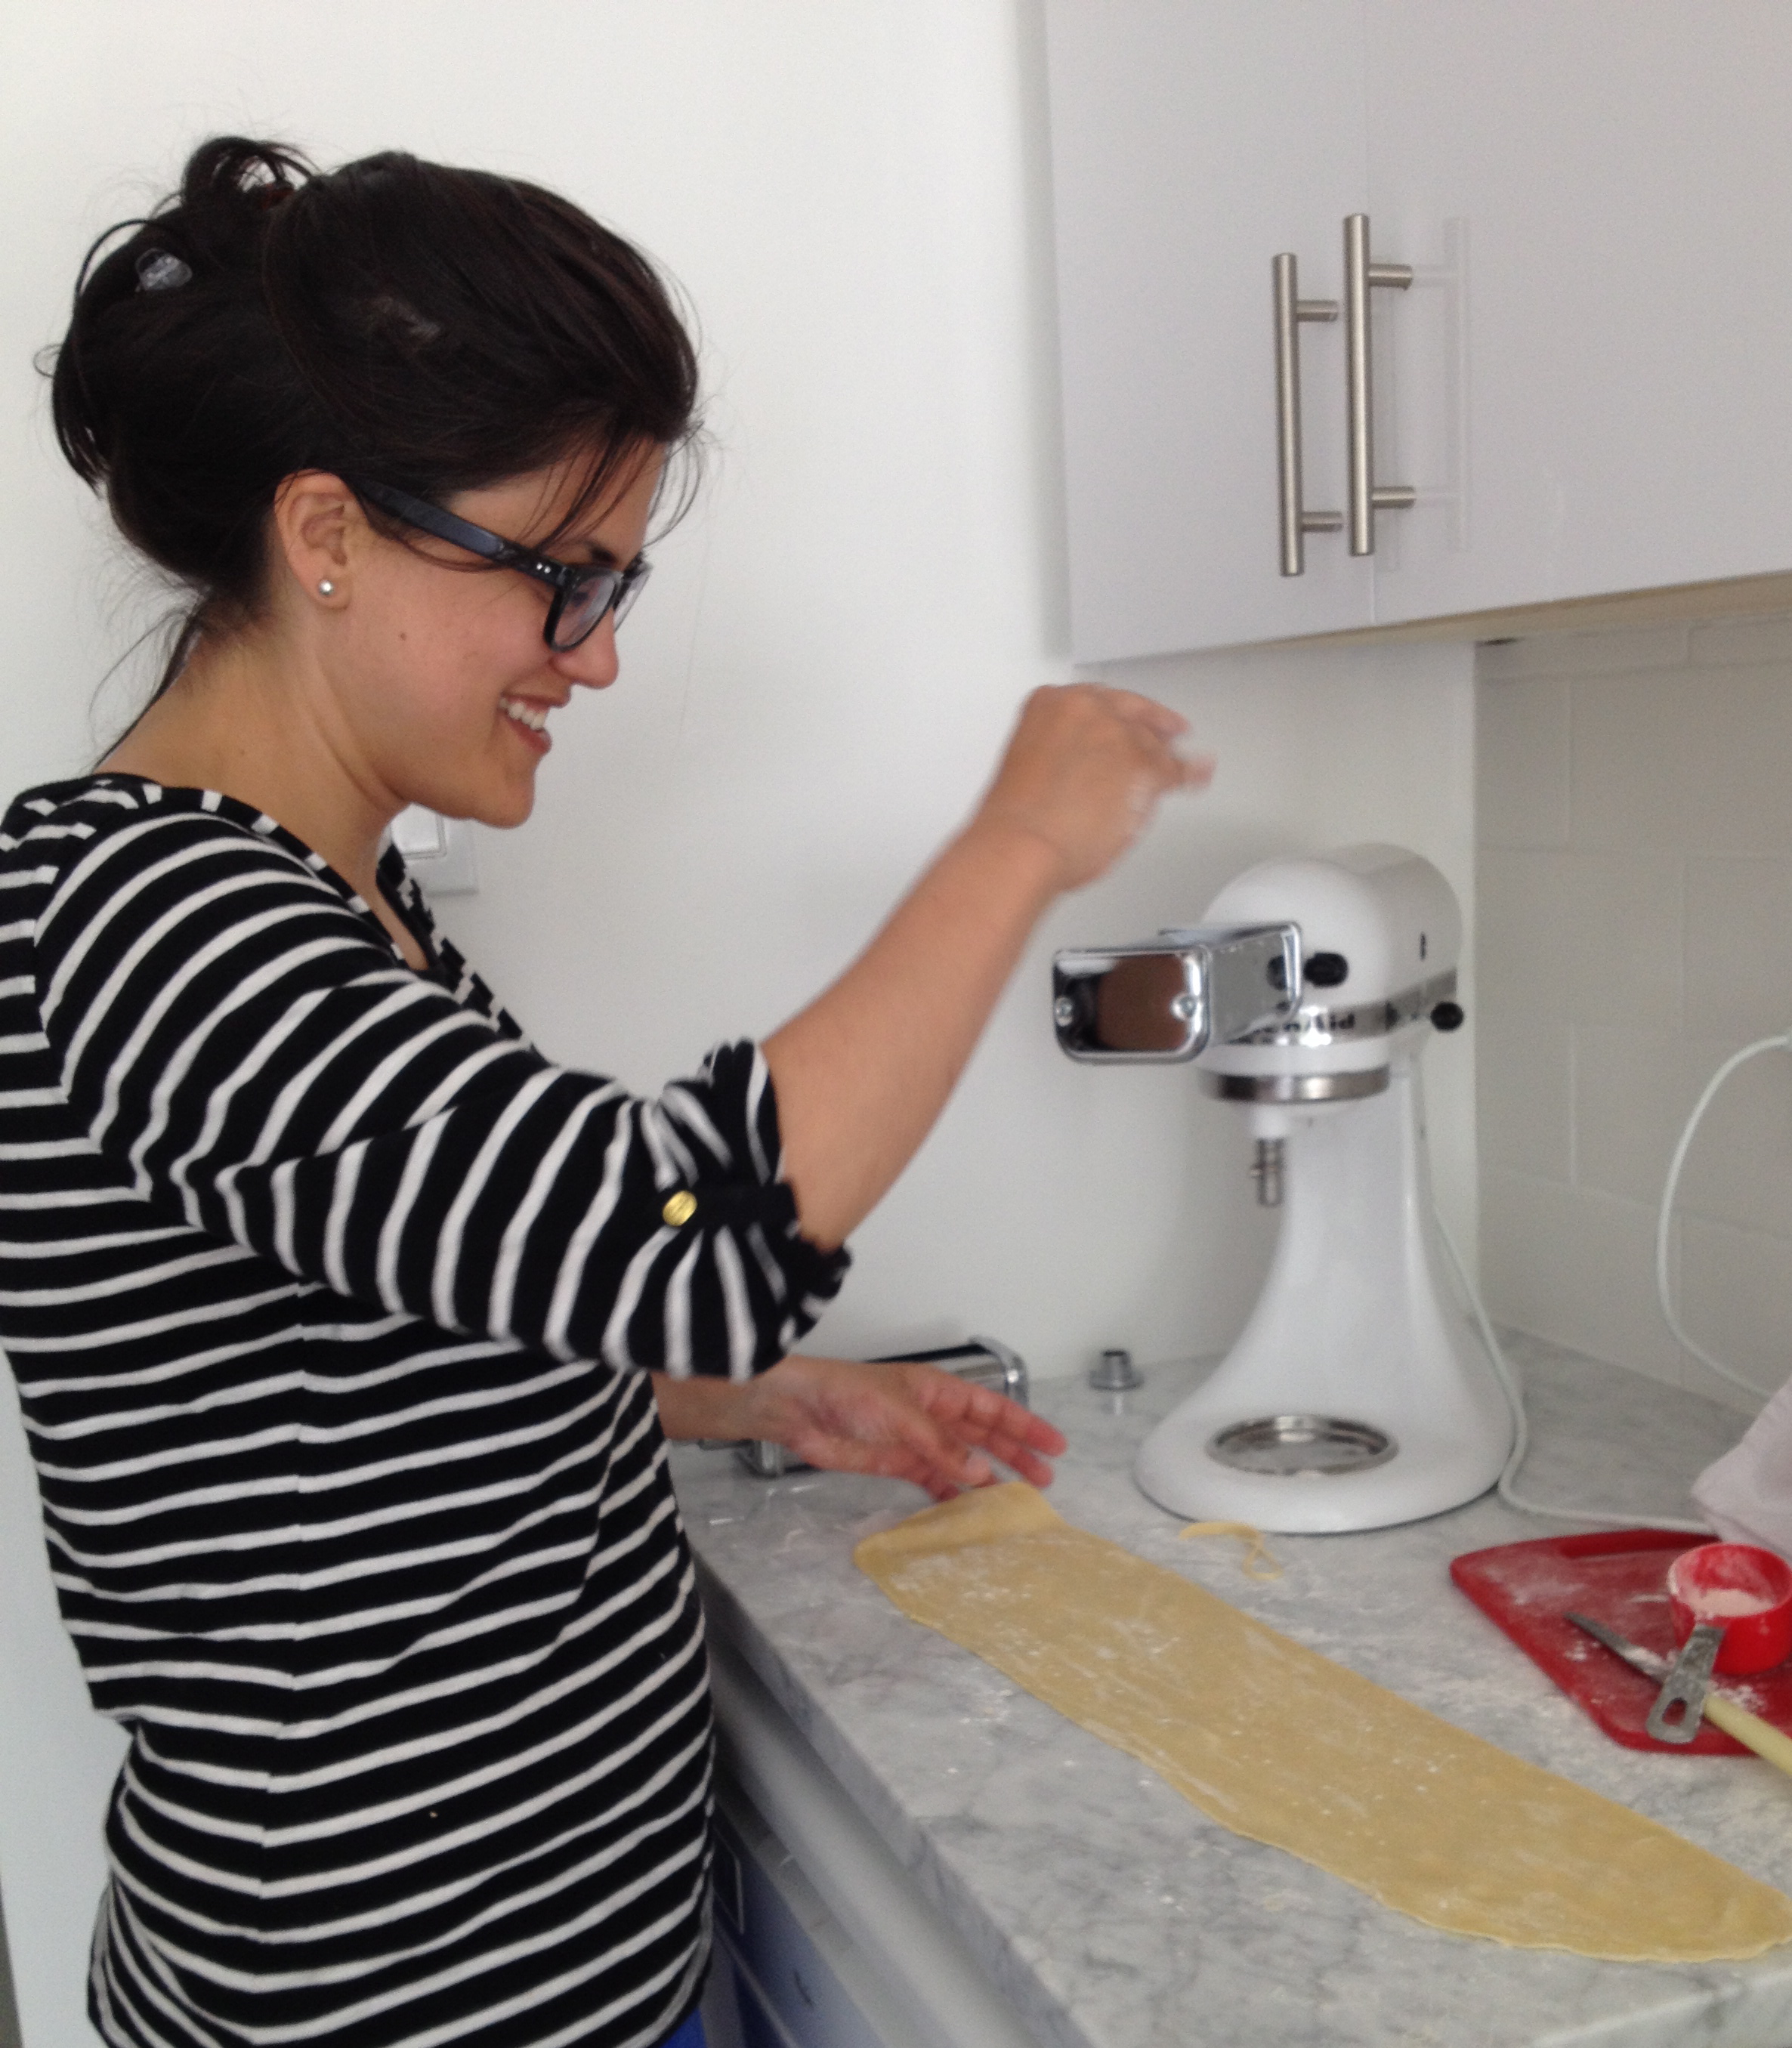
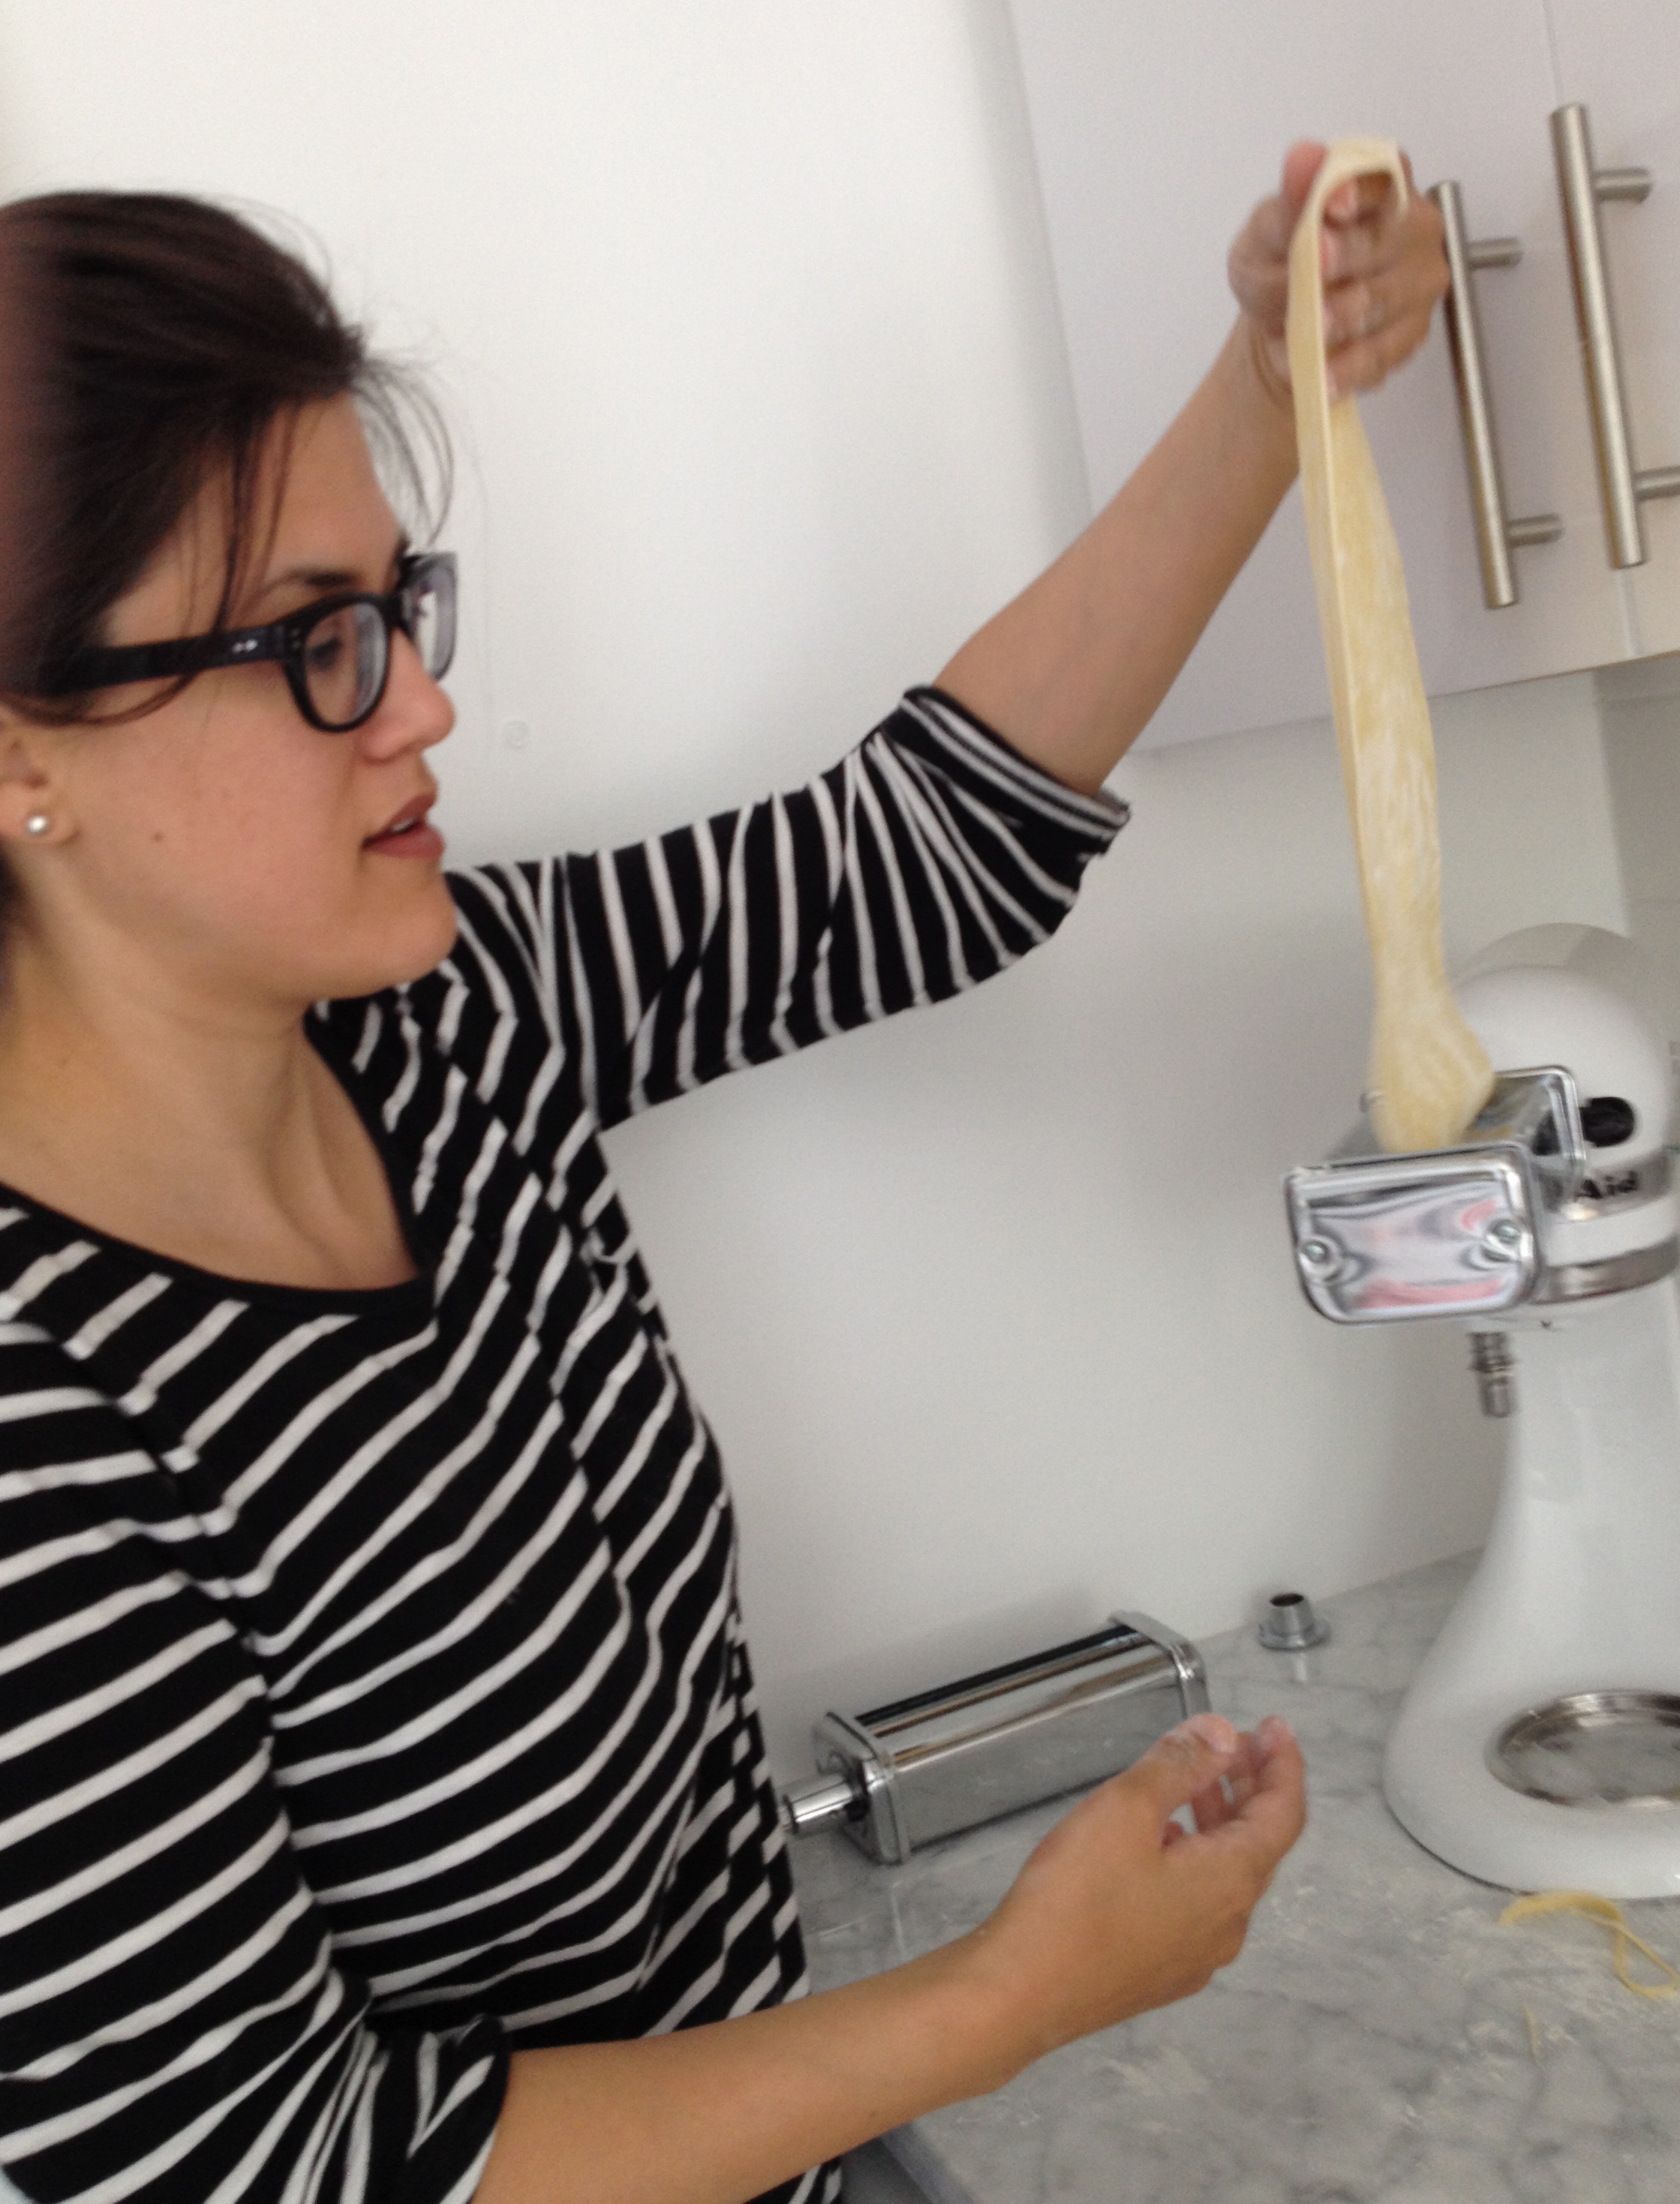
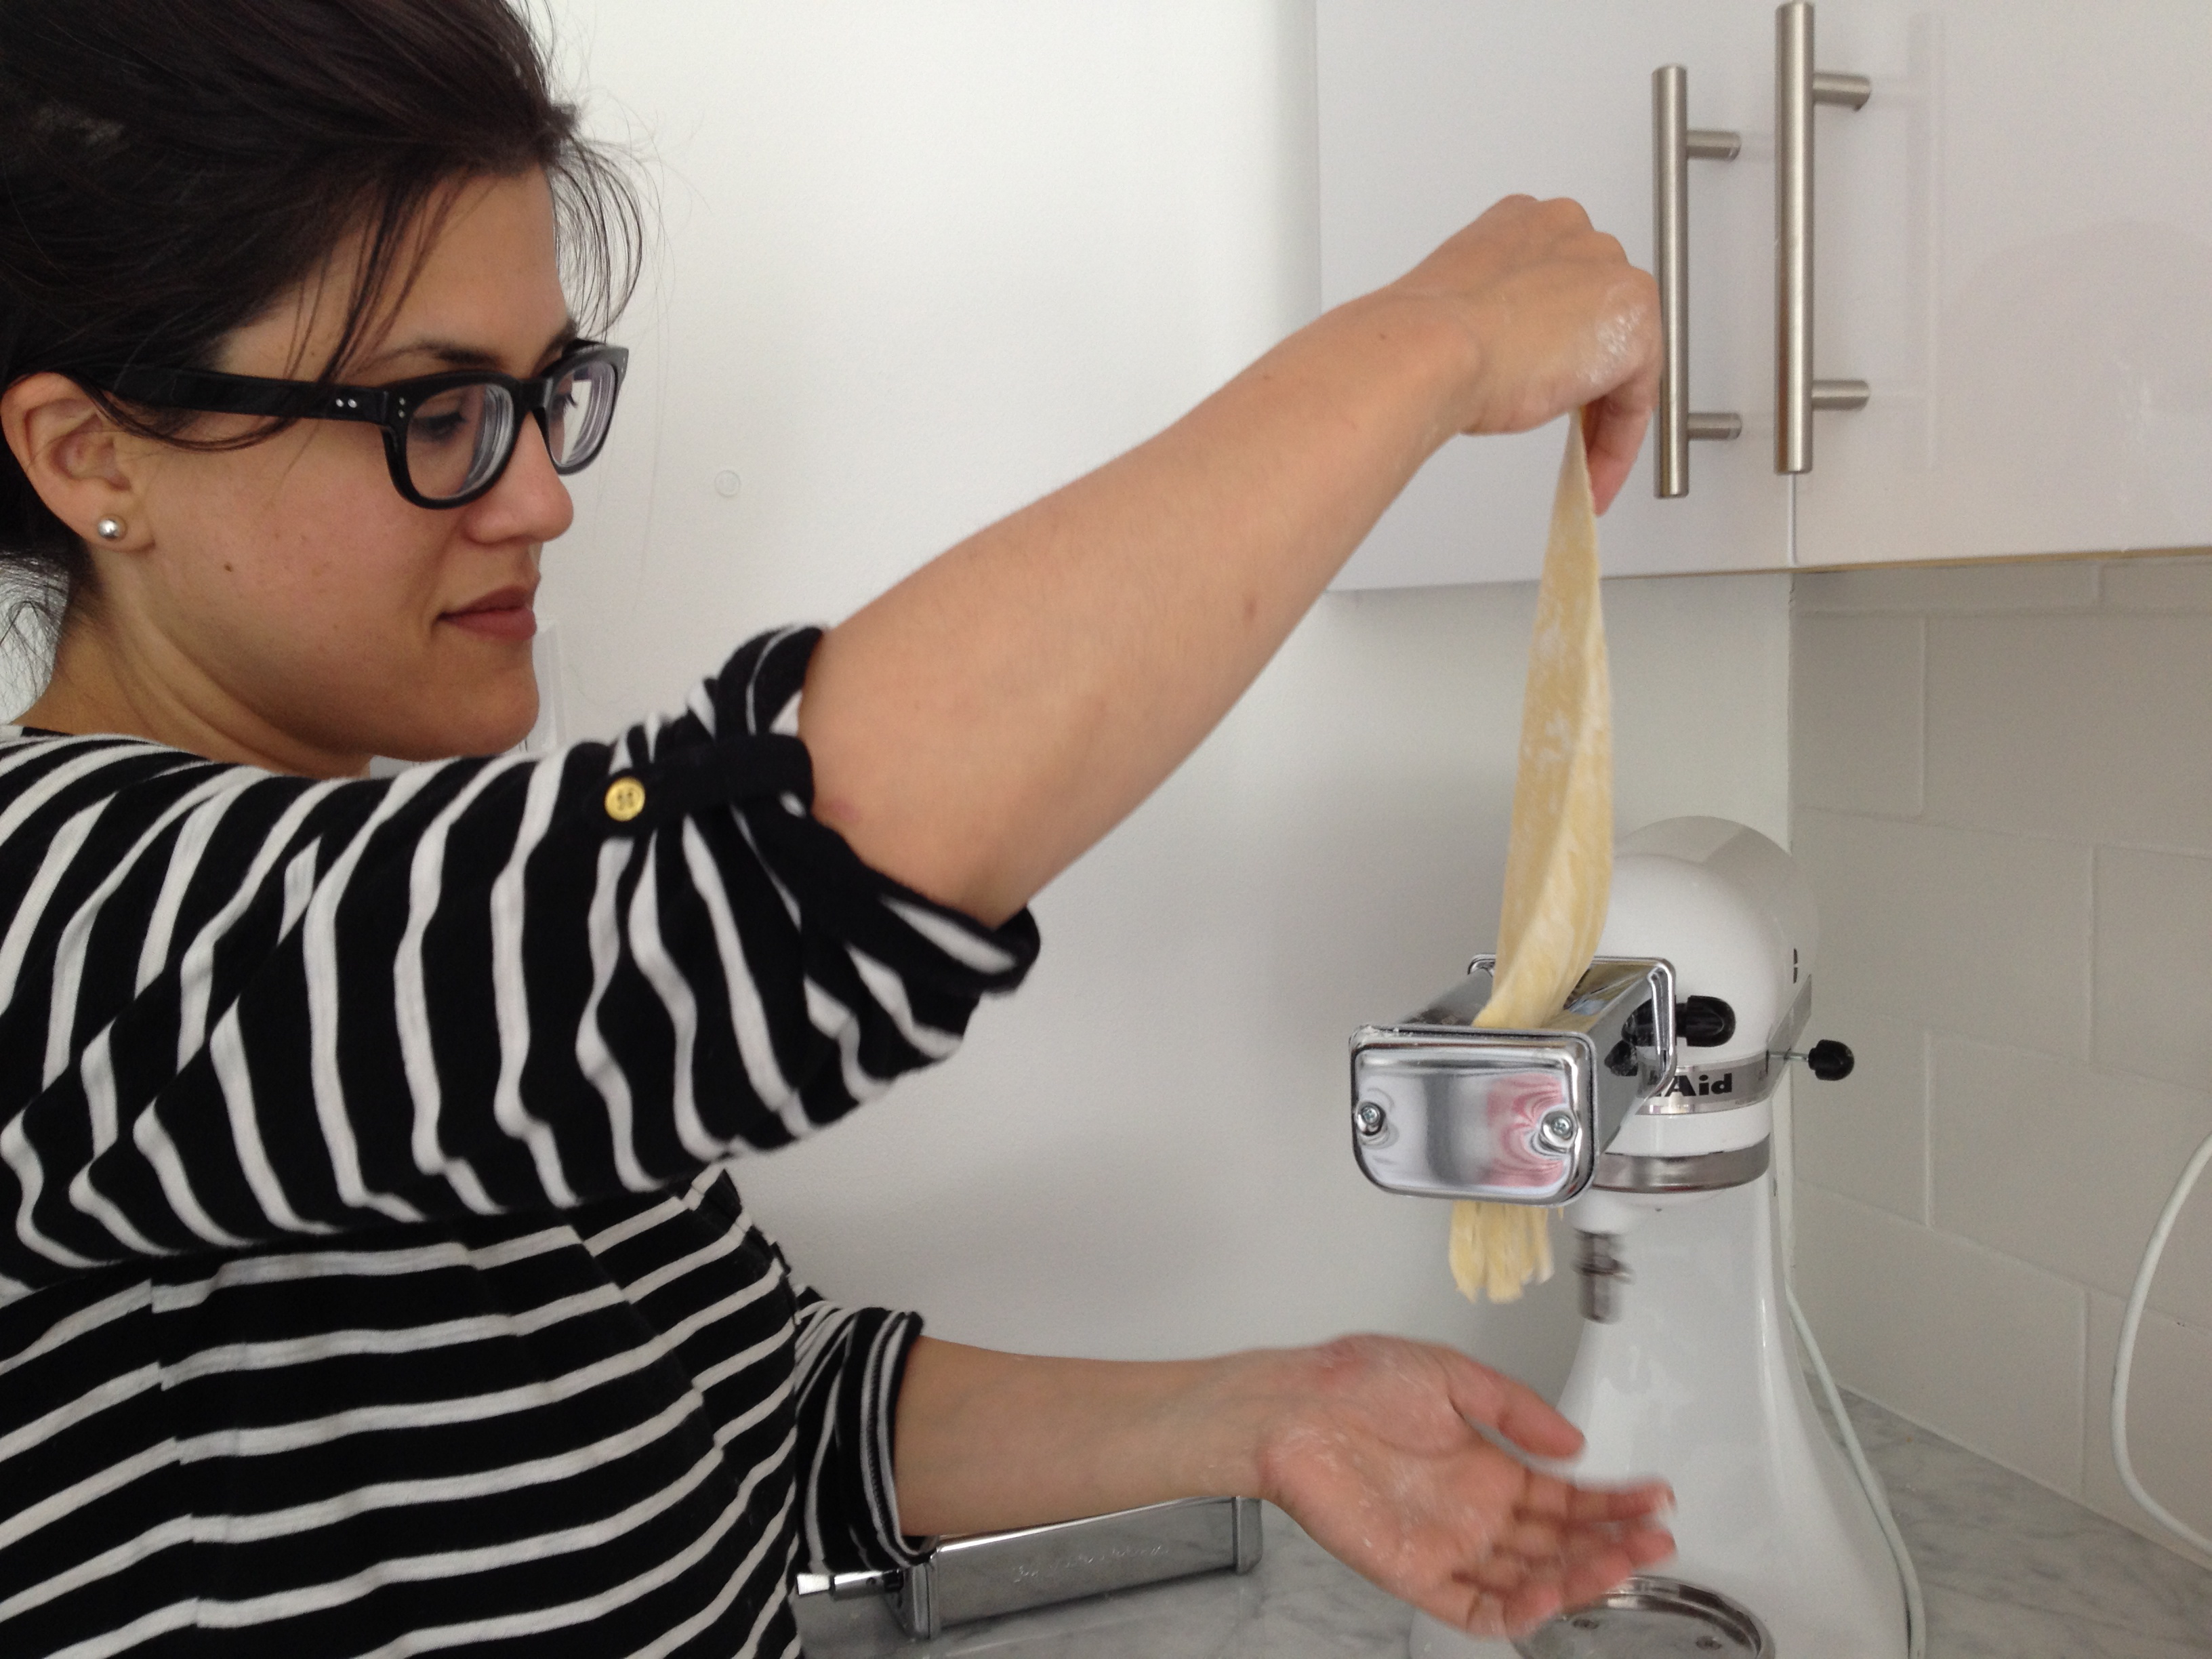
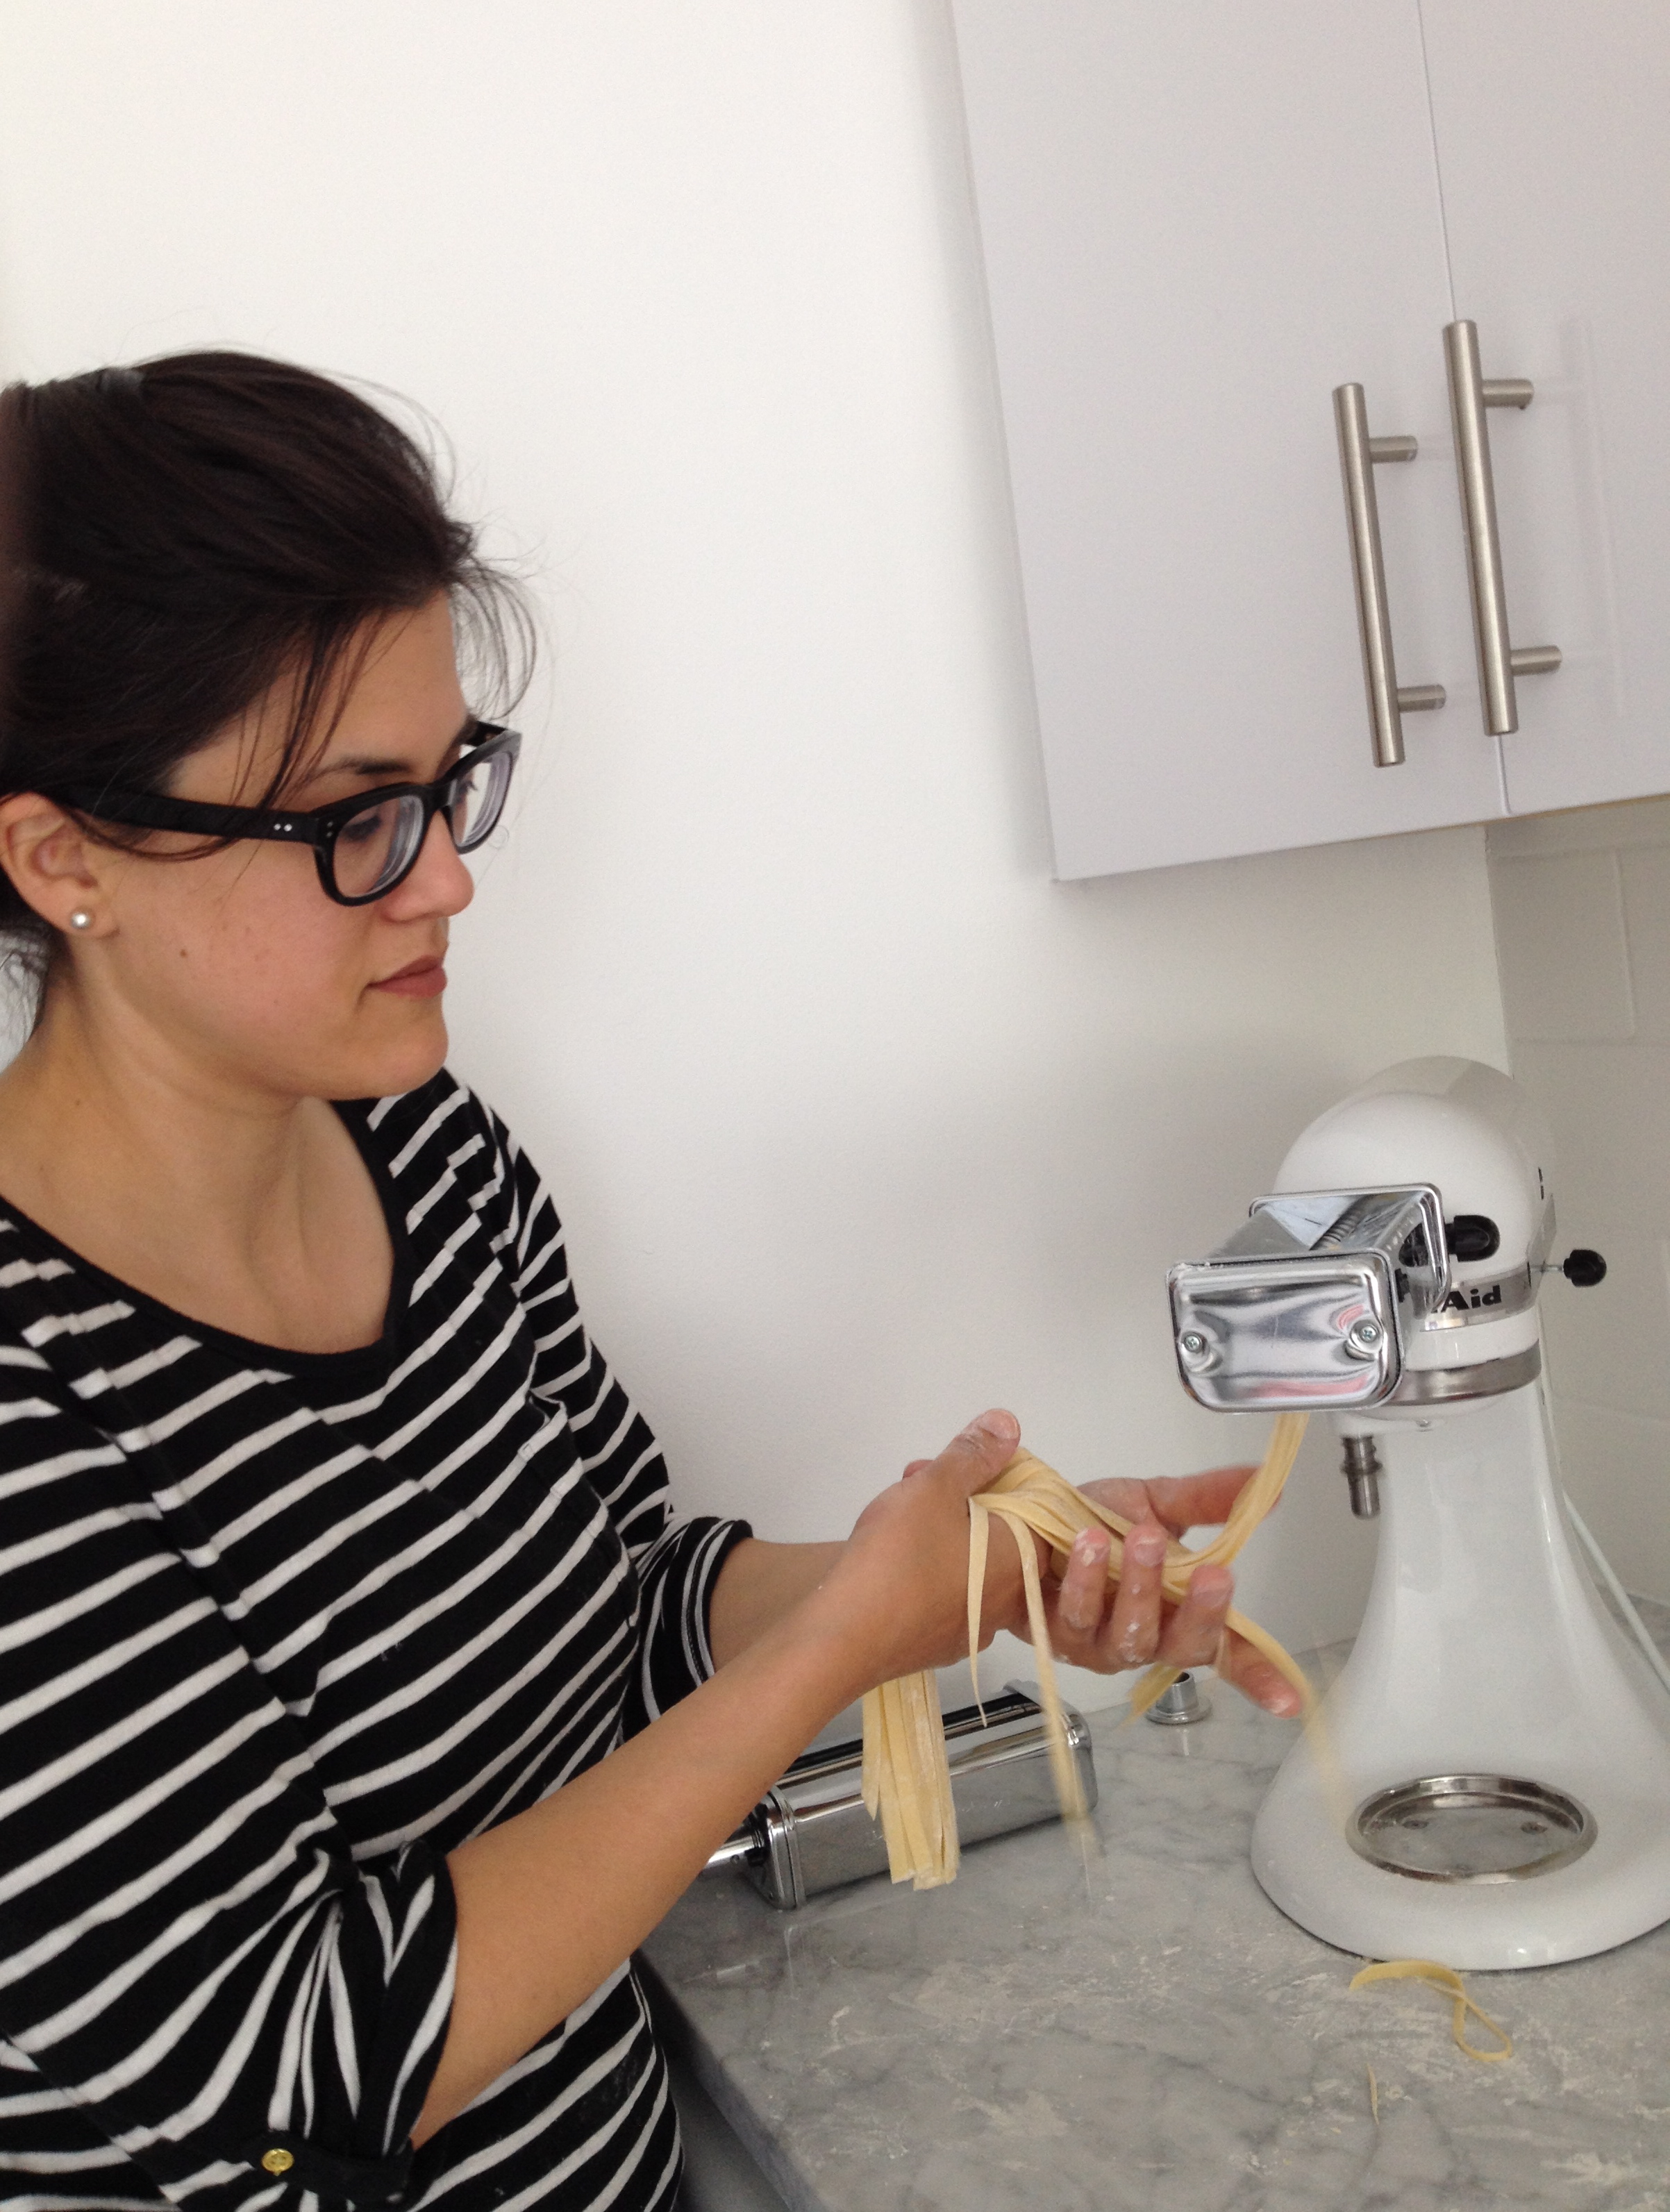
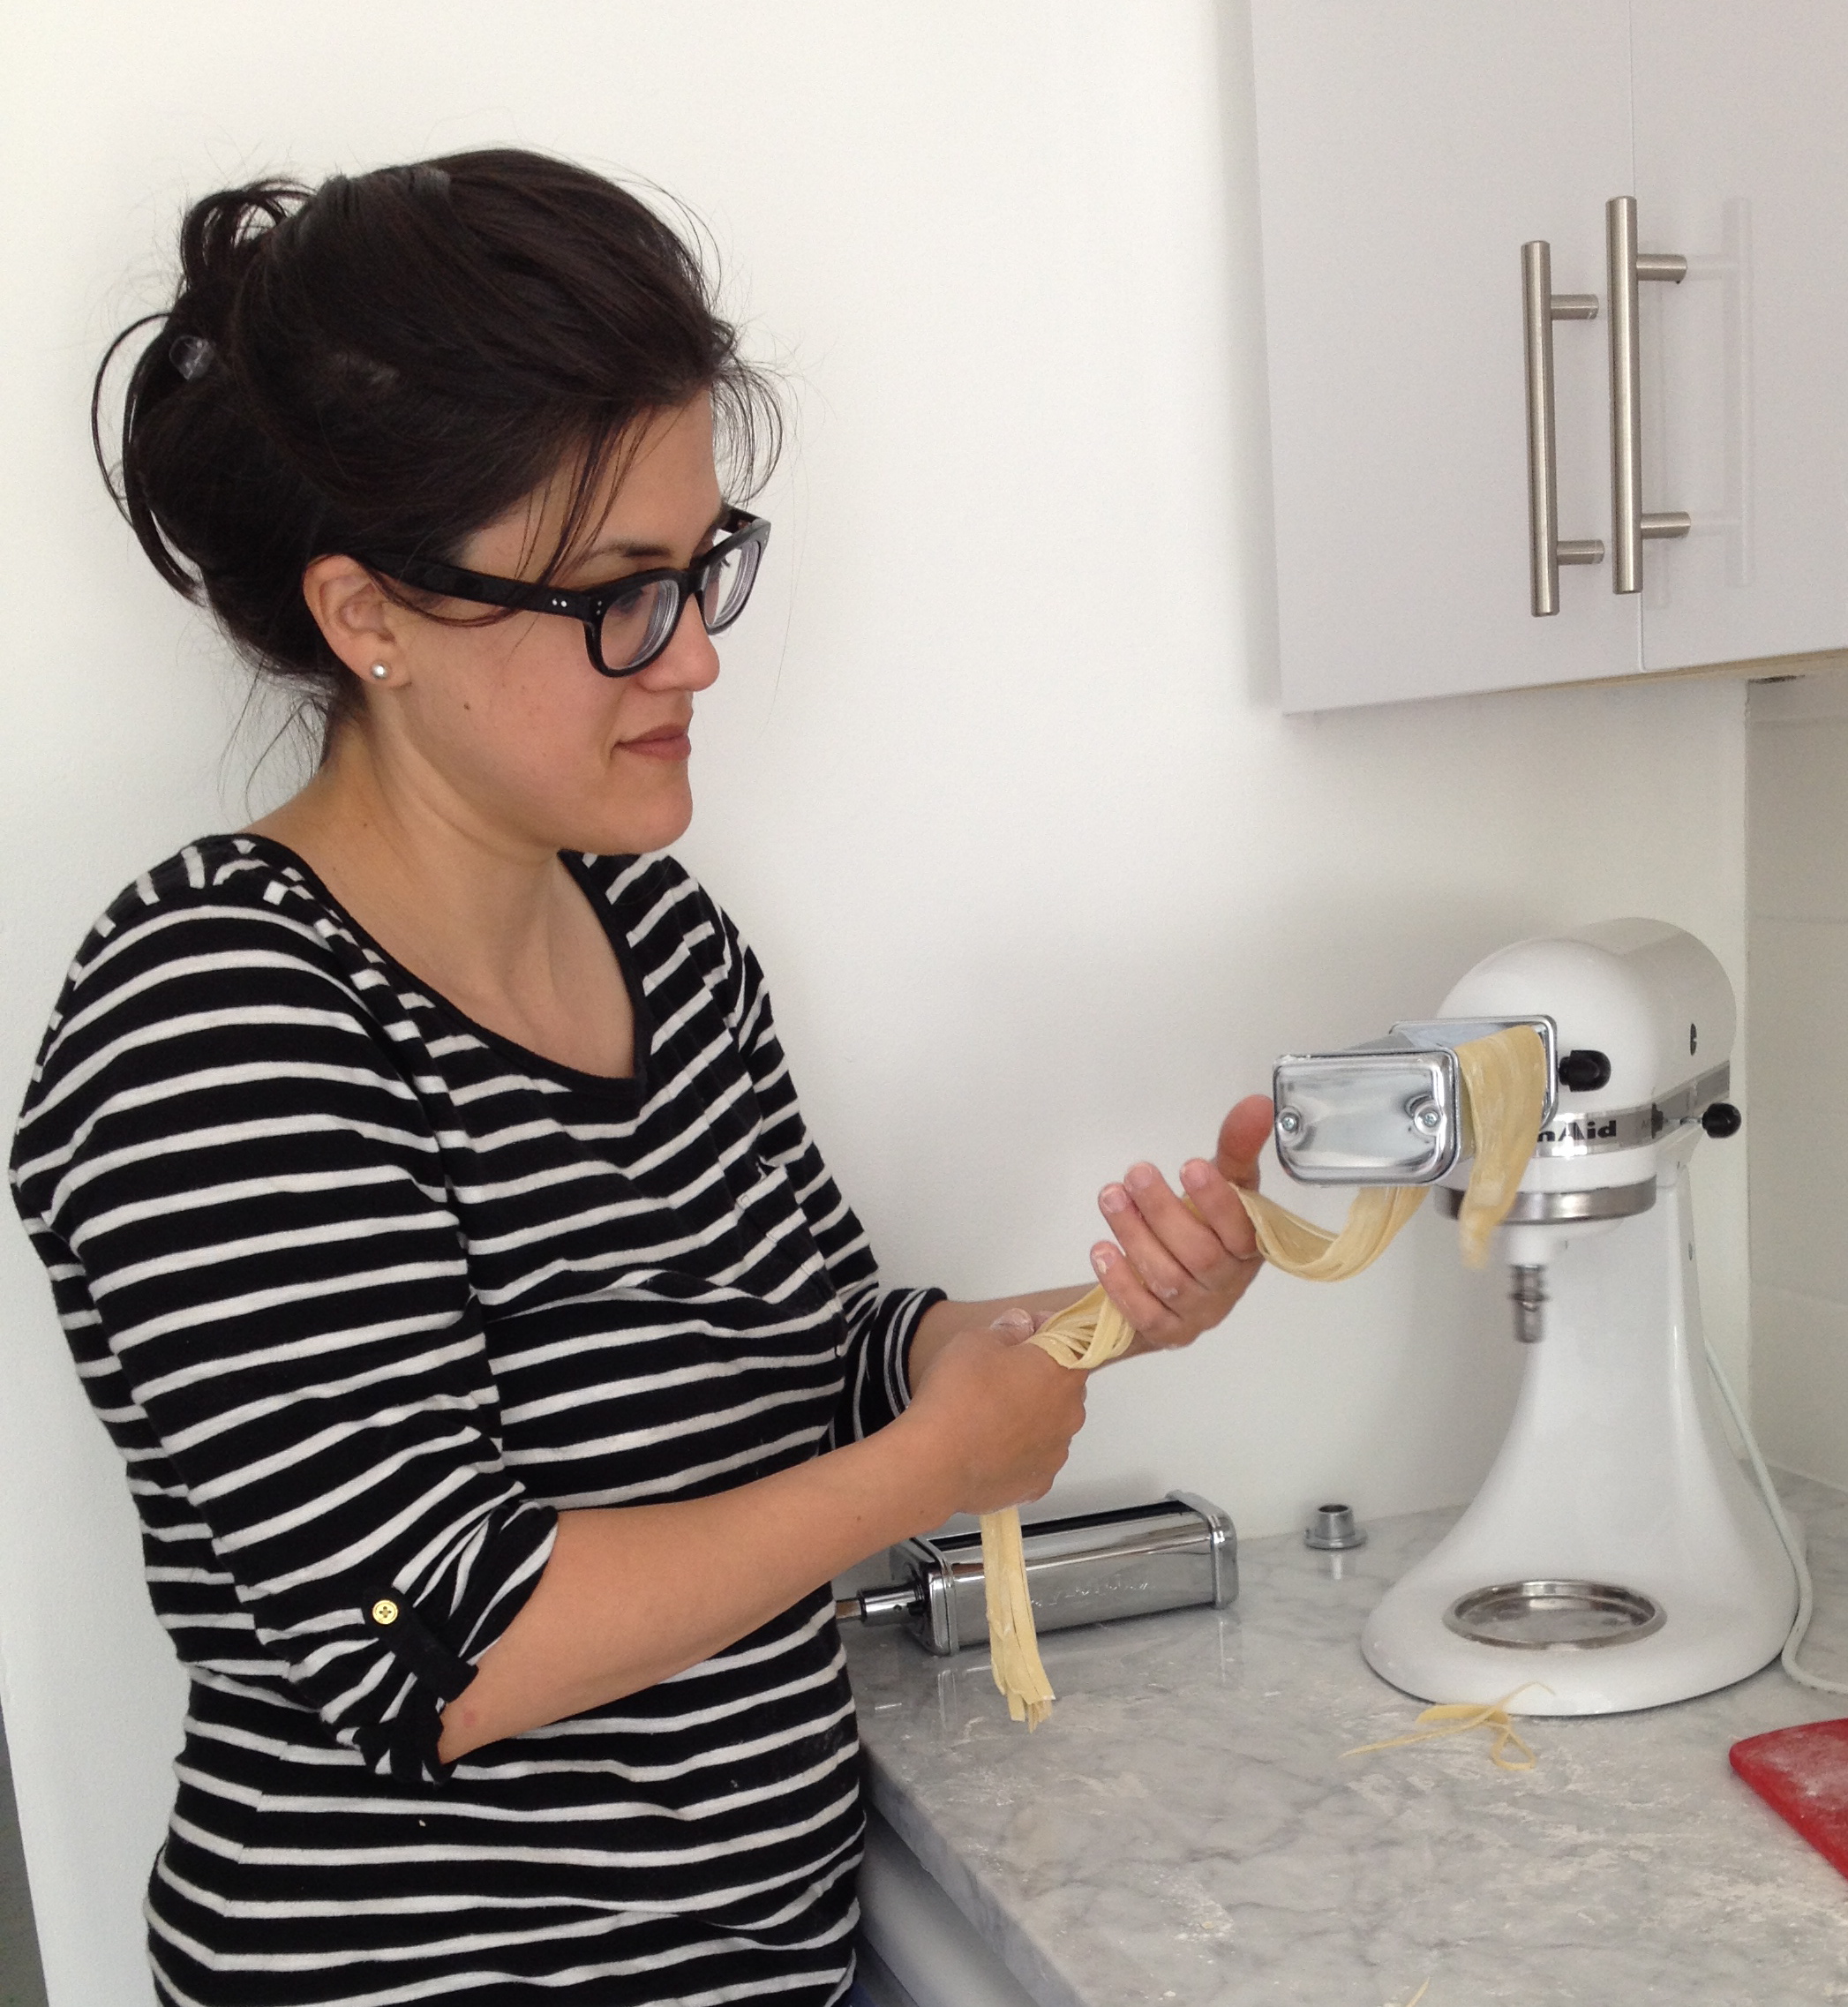
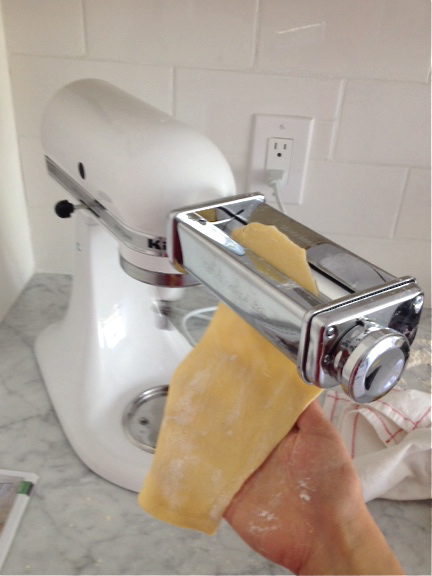 Next, I switched attachments to make spaghetti and fettucini. I floured everything up so that nothing would stick.