I’ve said it before and I’ll say it again – blogging has an amazing ways of bringing people together. I recently had the opportunity to interview Charlotte Cosby, Head of Creative at the elegant and classic Farrow & Ball. (Amazing, I know!)

While I did try to focus my questions to Charlotte about how she uses white in interior design, I couldn’t help but ask her about what she loves most about her job (I’m nosey like that). Head of Creative – isn’t that an awesome job title? Are you curious about Charlotte’s day job? If so, read on…
***
Jordana: How did you come to the position of Head of Creative at Farrow & Ball?
Charlotte: It was really just a case of being in the right place and the right time, although a love of design, interiors and colour certainly helps as well!
J: What is the best part of your work day?
C: I like to be on the go so always enjoy it when I’m working on something new whether it’s experimenting with colour, drawing potential new wallpaper patterns or having ‘the idea’ with my team.
J: What is the most challenging part of your job?
C: Because the output and end product of my job is so subjective, this means that it’s often quite hard try to get something that everyone is happy with. However, I’m very lucky in that I’ve worked closely with my team for a number of years, meaning that we’ve been able to develop a style that everyone agrees on. It’s just getting agreement on each individual piece that can be harder!
J: Now, let’s talk about colour! At the risk of sounding childish, what’s your favourite colour? Why?
C: My favourite colour changes every week! Currently I’m really loving lush vibrant greens like Breakfast Room Green, Calke Green, and Studio Green as they remind me of tropical holidays and treks through the jungle! When mixed with a navy, like Stiffkey Blue, these colours can look extremely deep and mysterious.
J: What is/are your go-to colour(s) for your own home design projects?
C: I was obsessed with one of our new 2013 colours, Stiffkey Blue, for a long time as used on the walls, it really brings the whole room to life and makes all the furniture look amazing. I also really like the current trend of using copper and natural wood together as they go together brilliantly.
J: Now, at the risk of sounding selfish, let’s talk about my favourite colour – white! What are your thoughts about white?
C: I love white – it’s the one colour that allows you to be most creative. To me, white represents potential – it’s a blank canvas ready to be filled with colourful ideas!
J: What Farrow & Ball white would you recommend for the white enthusiast?
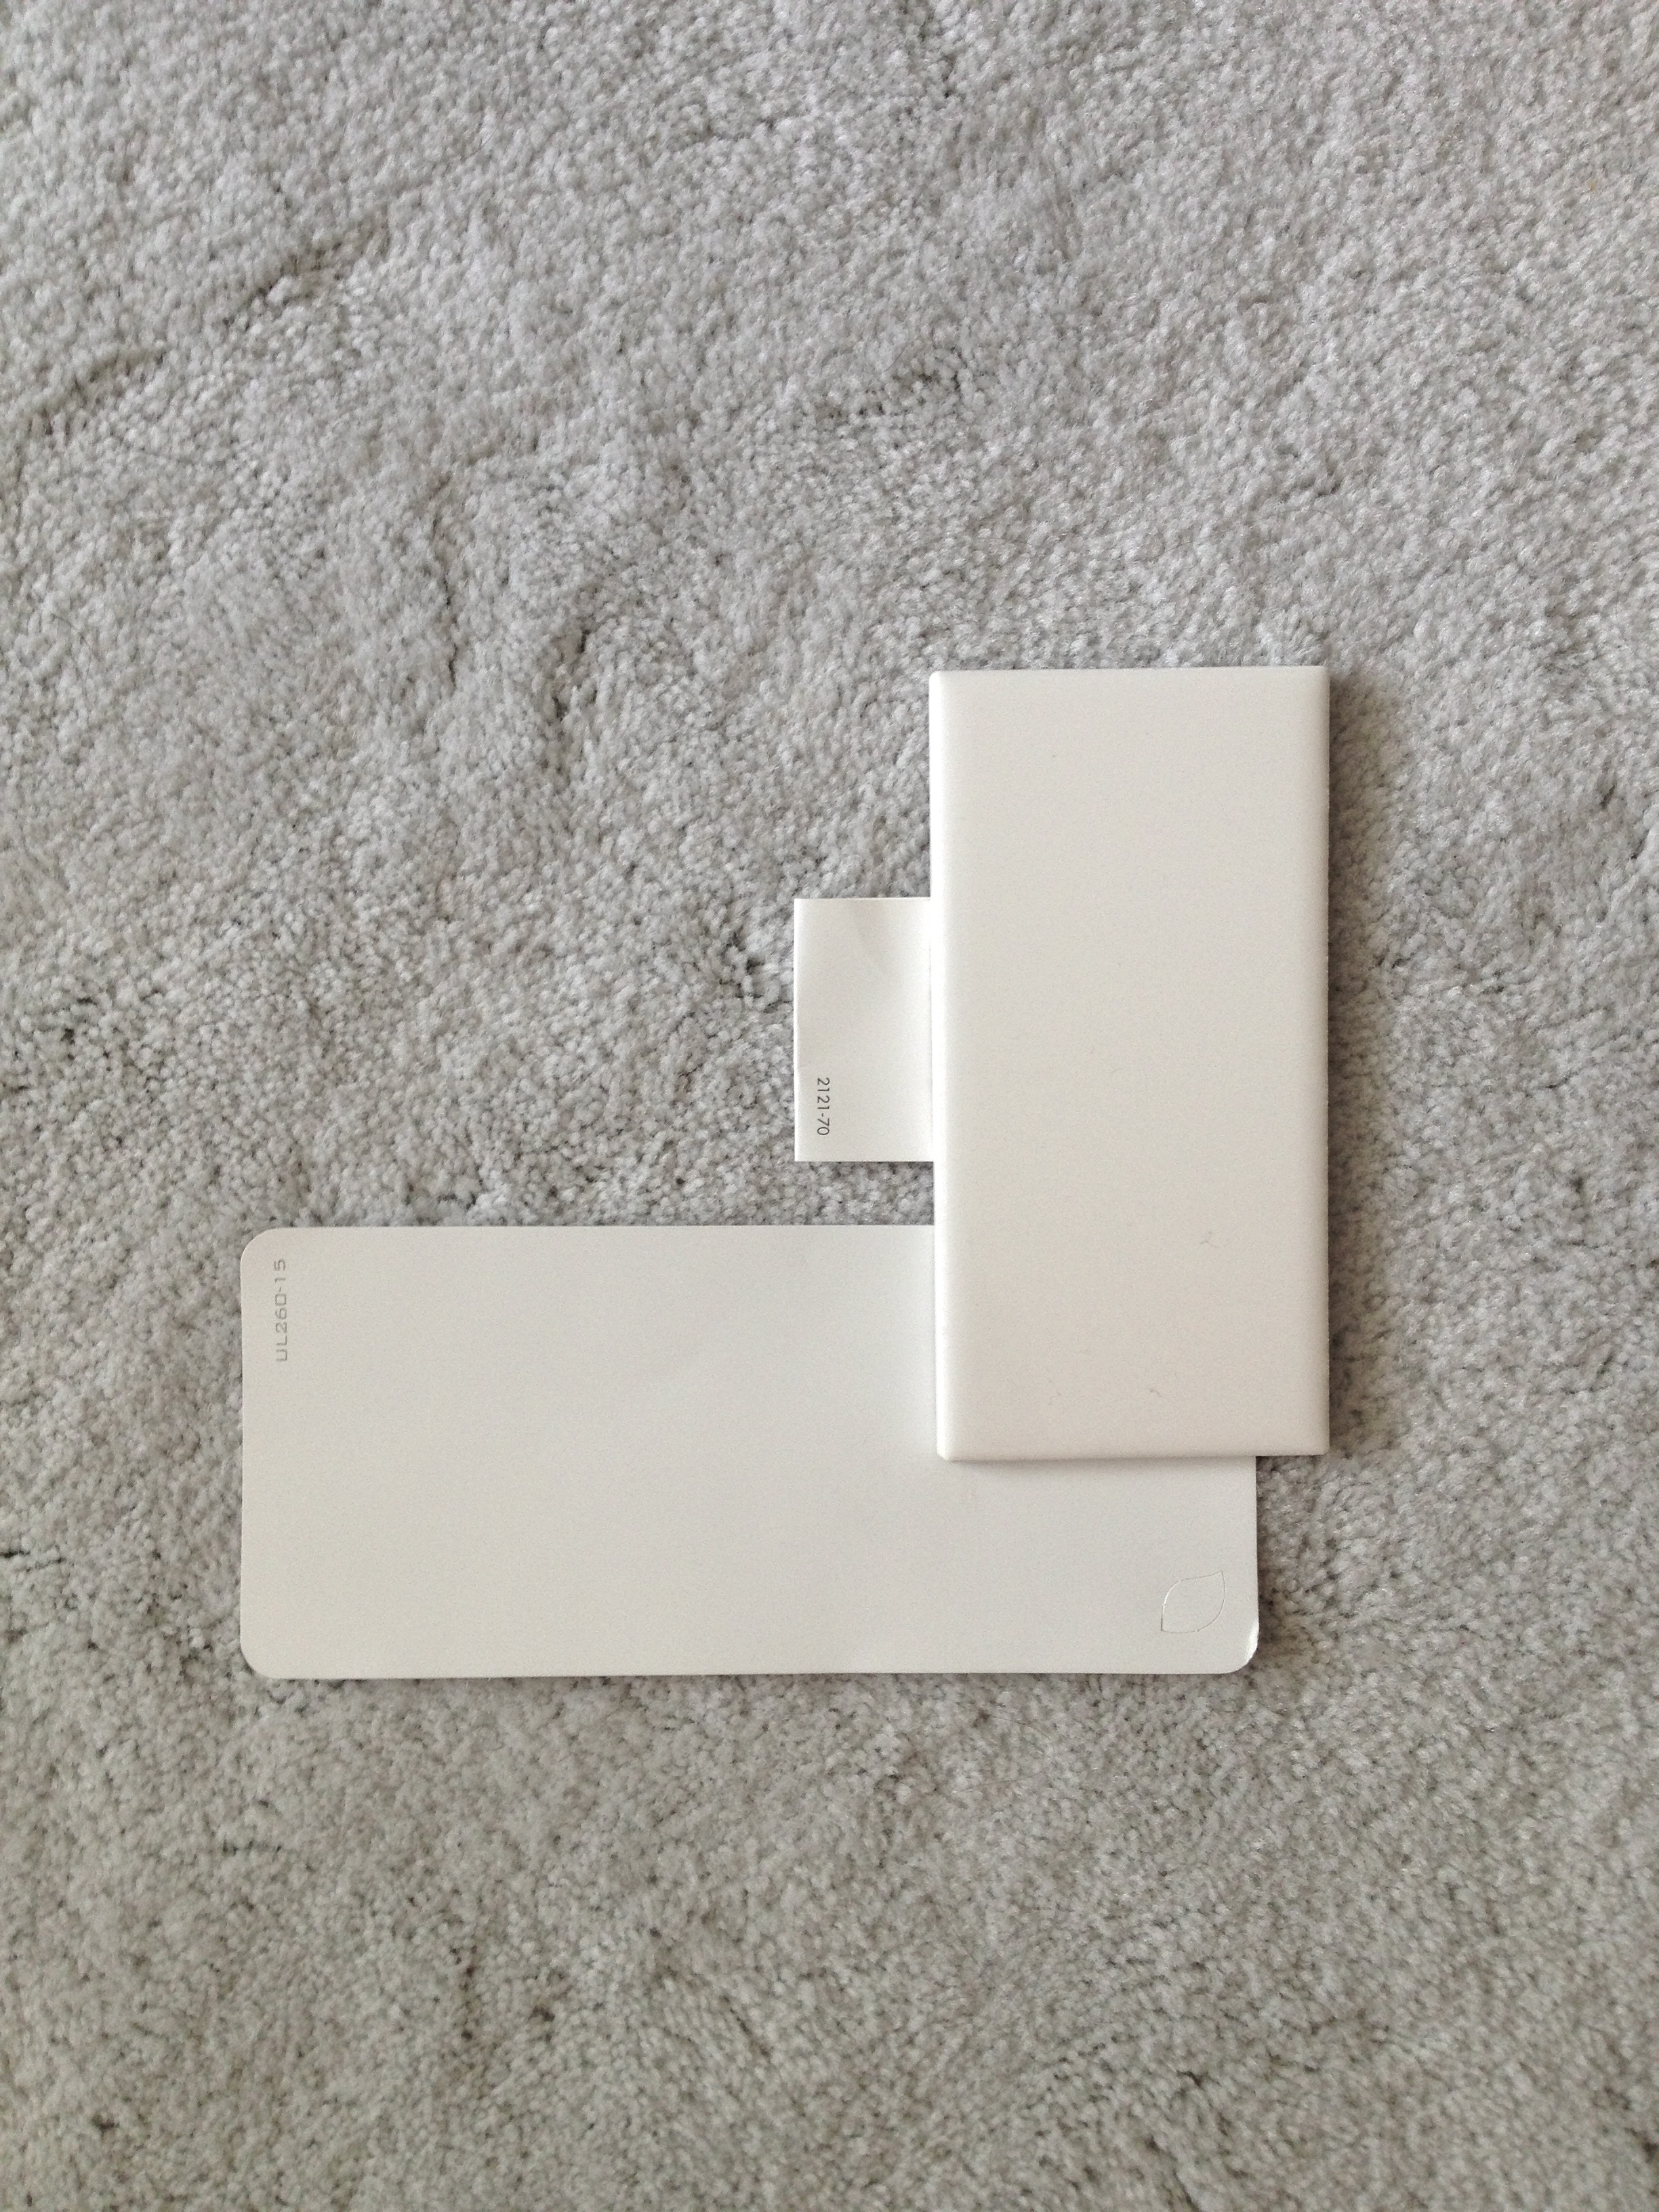
C: We really do have a white for every occasion! Currently, my favourite it Wevet – a delicate but extremely versatile white. One of our most popular whites is Wimborne White which works with absolutely everything! However, to be able to see the subtleties between them, you really need to have a reference point. For example, by putting both of these colours against All White, our cleanest and whitest white, you’ll be able to notice the very slight hint of colour that makes them so special and completely unique.
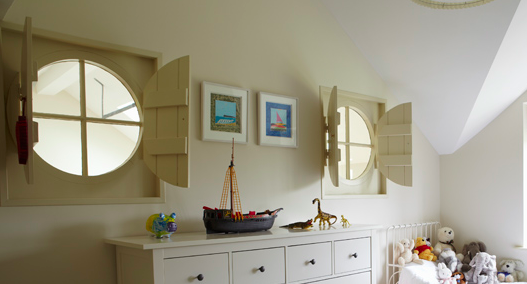
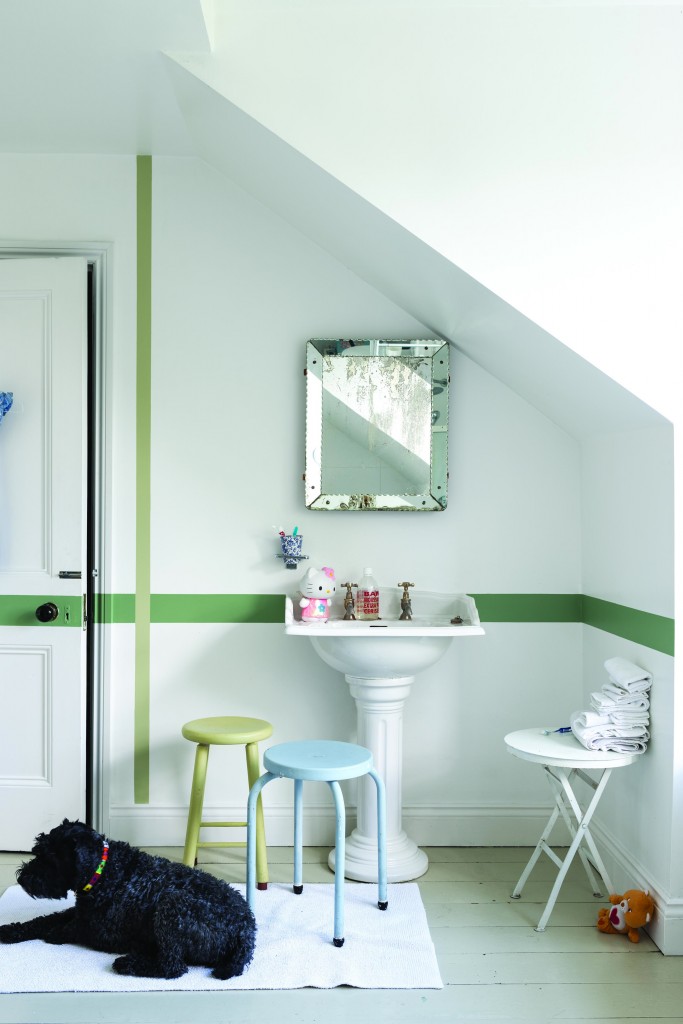
J: White can be used in every room in a home – even in children’s rooms. What do you think about using white in childrens’ bedrooms, playrooms, or bathrooms?
C: Children are among the most creative beings in the world so using white in a children’s bedrooms and playrooms would be a great way to encourage creative thought.
Not only would white be a great backdrop for the host of multi-coloured toys, it also means that if you did want to use a small amount of brighter colours, like our vibrant St Giles Blue, Yellowcake or Charlotte’s Locks, throughout the room – on furniture, woodwork or even in cupboards or shelving, using white on the walls and ceiling will really help to make these colours pop!
From a more practical point of view, white will also stand the test of time as they’re growing up.
J: What advice would you give parents who are hesitant to incorporate white (walls, furniture, toys, etc.) into their children’s spaces?
C: It’s easy to see why parents might feel hesitant to use white in their children’s rooms as children are well-known for being attracted to muddy places.
By using either of our Modern Emulsion, Full Gloss or Estate Eggshell finishes on the wall of your child’s room will allow for wiping away wandering hand and finger prints. These finishes are also more resilient and hardwearing meaning that the walls are less likely to scuff.
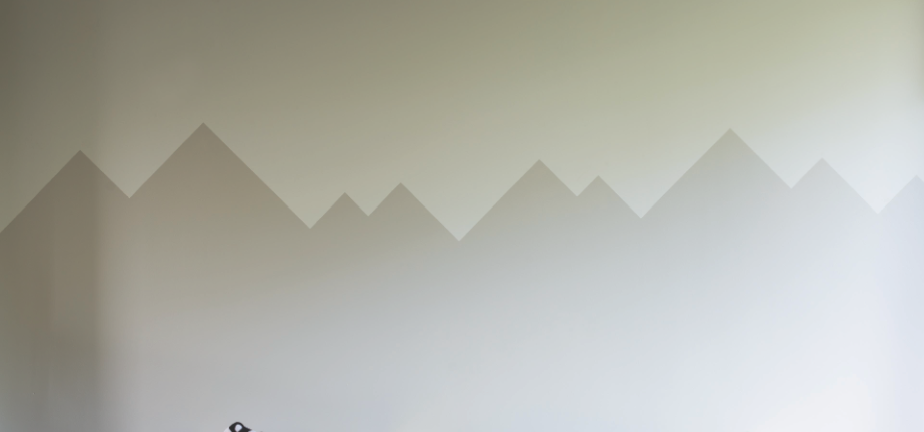
White rooms needn’t be boring and by adding a simple feature like a stripe, will instantly add fun to a plain white room. Another technique is to layer different whites on the walls which will help to add a real depth and softness to the room. You can get creative with this techniques, like we have here by painting a simple mountain scene onto the wall.
J: Thank you, Charlotte, for taking the time to speak with me about white!
***
So, how about that? Colour expert Charlotte Cosby loves white! I love that she thinks white is timeless, is a great backdrop for kids’ rooms, and represents potential. Amazing. Let the creativity shine on!
Here are the Farrow & Ball whites that Charlotte made reference to:

Wevet

Wimborne White (there’s a sample there, I swear!)

All White (another sample image, honest!)
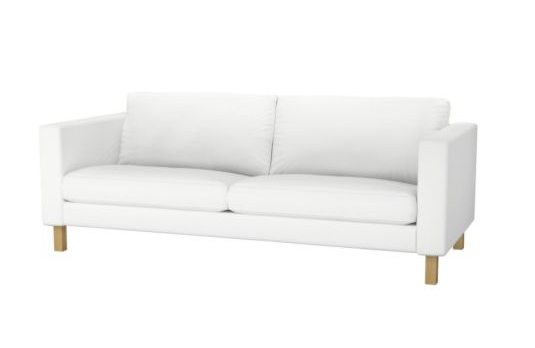
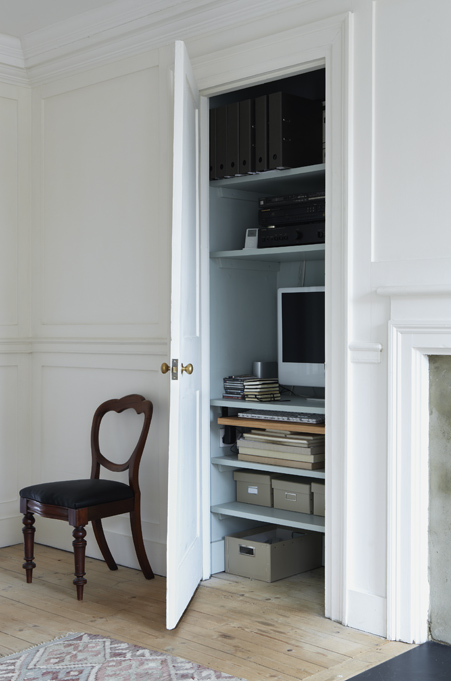
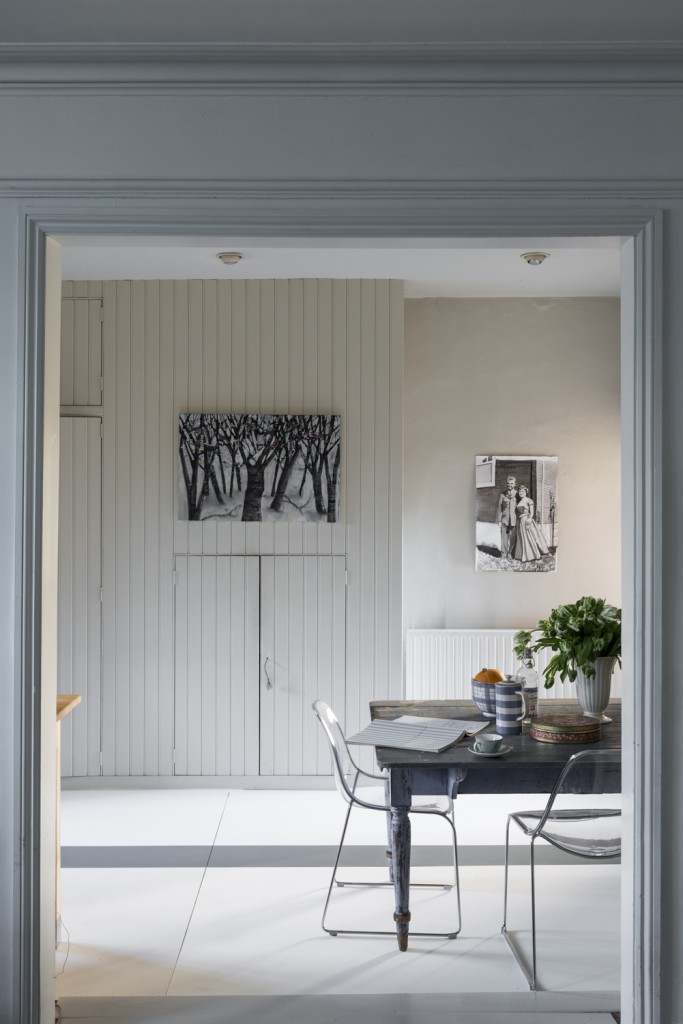
And here are a variety of rooms – not just for children – featuring gorgeous Farrow & Ball paints.
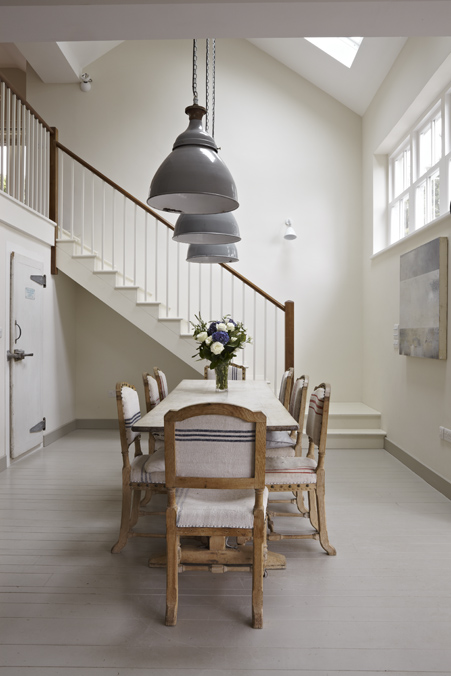

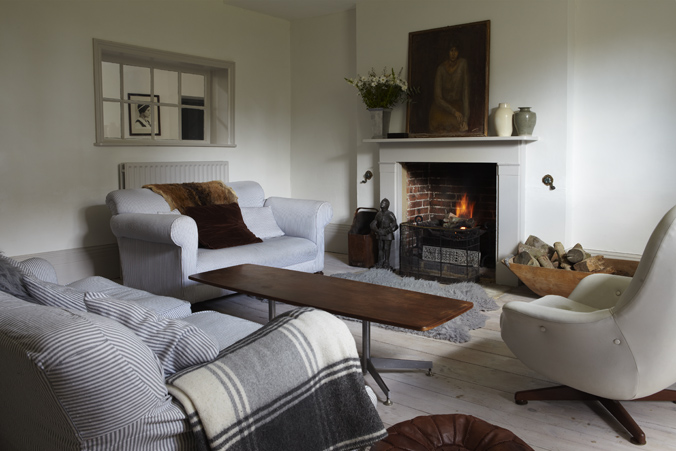
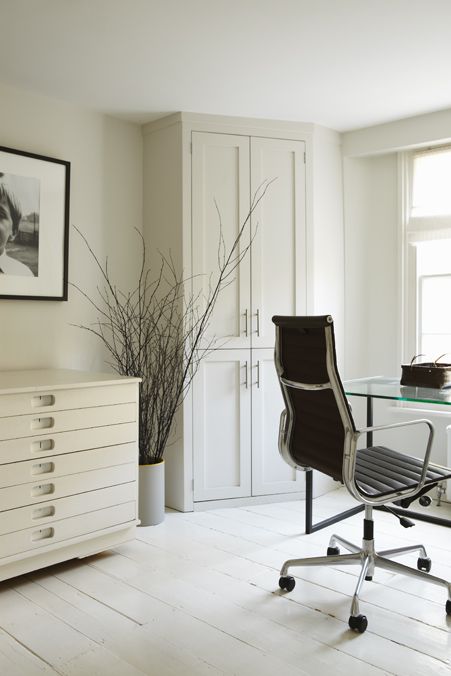
Naturally, I gravitate toward that sunny white office with wood plank floors! Isn’t it lovely?
What do you think? Would you paint your children’s room – or other rooms – fully white?
Thanks to Rebecca M. at Farrow & Ball for arranging this interview.
 CIL Smart3 Triple Weather Protection Doors and Trim
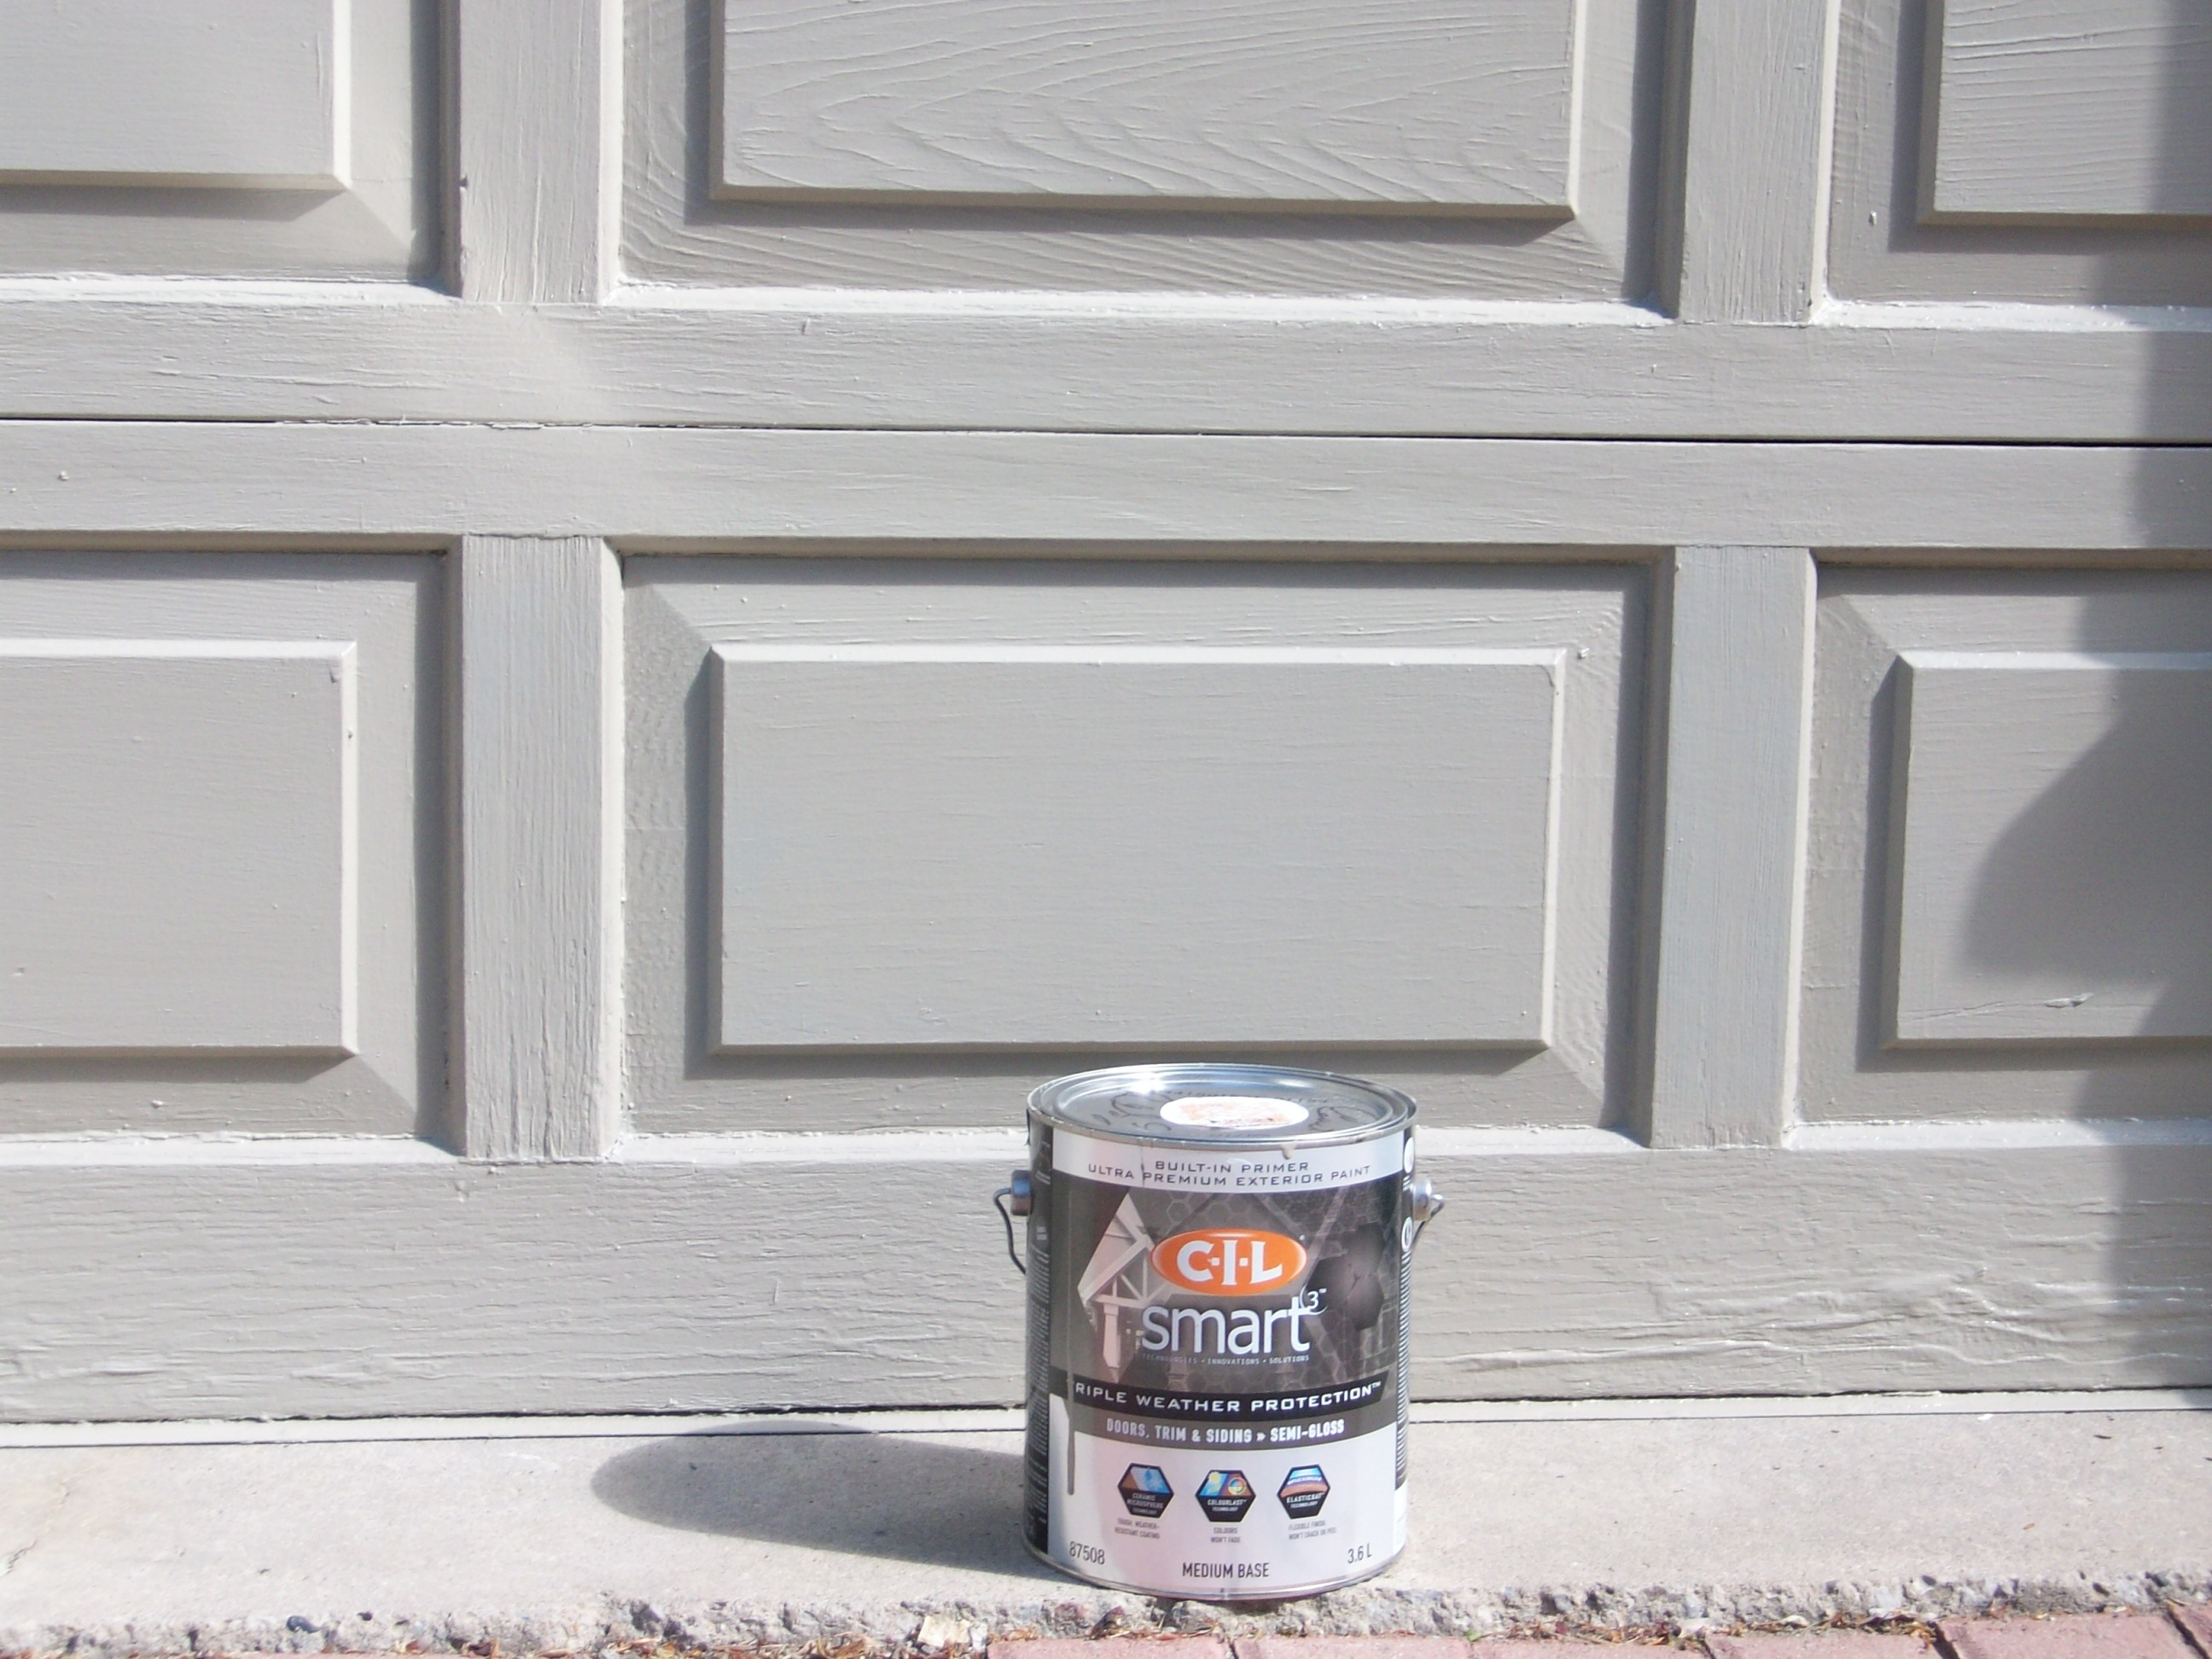
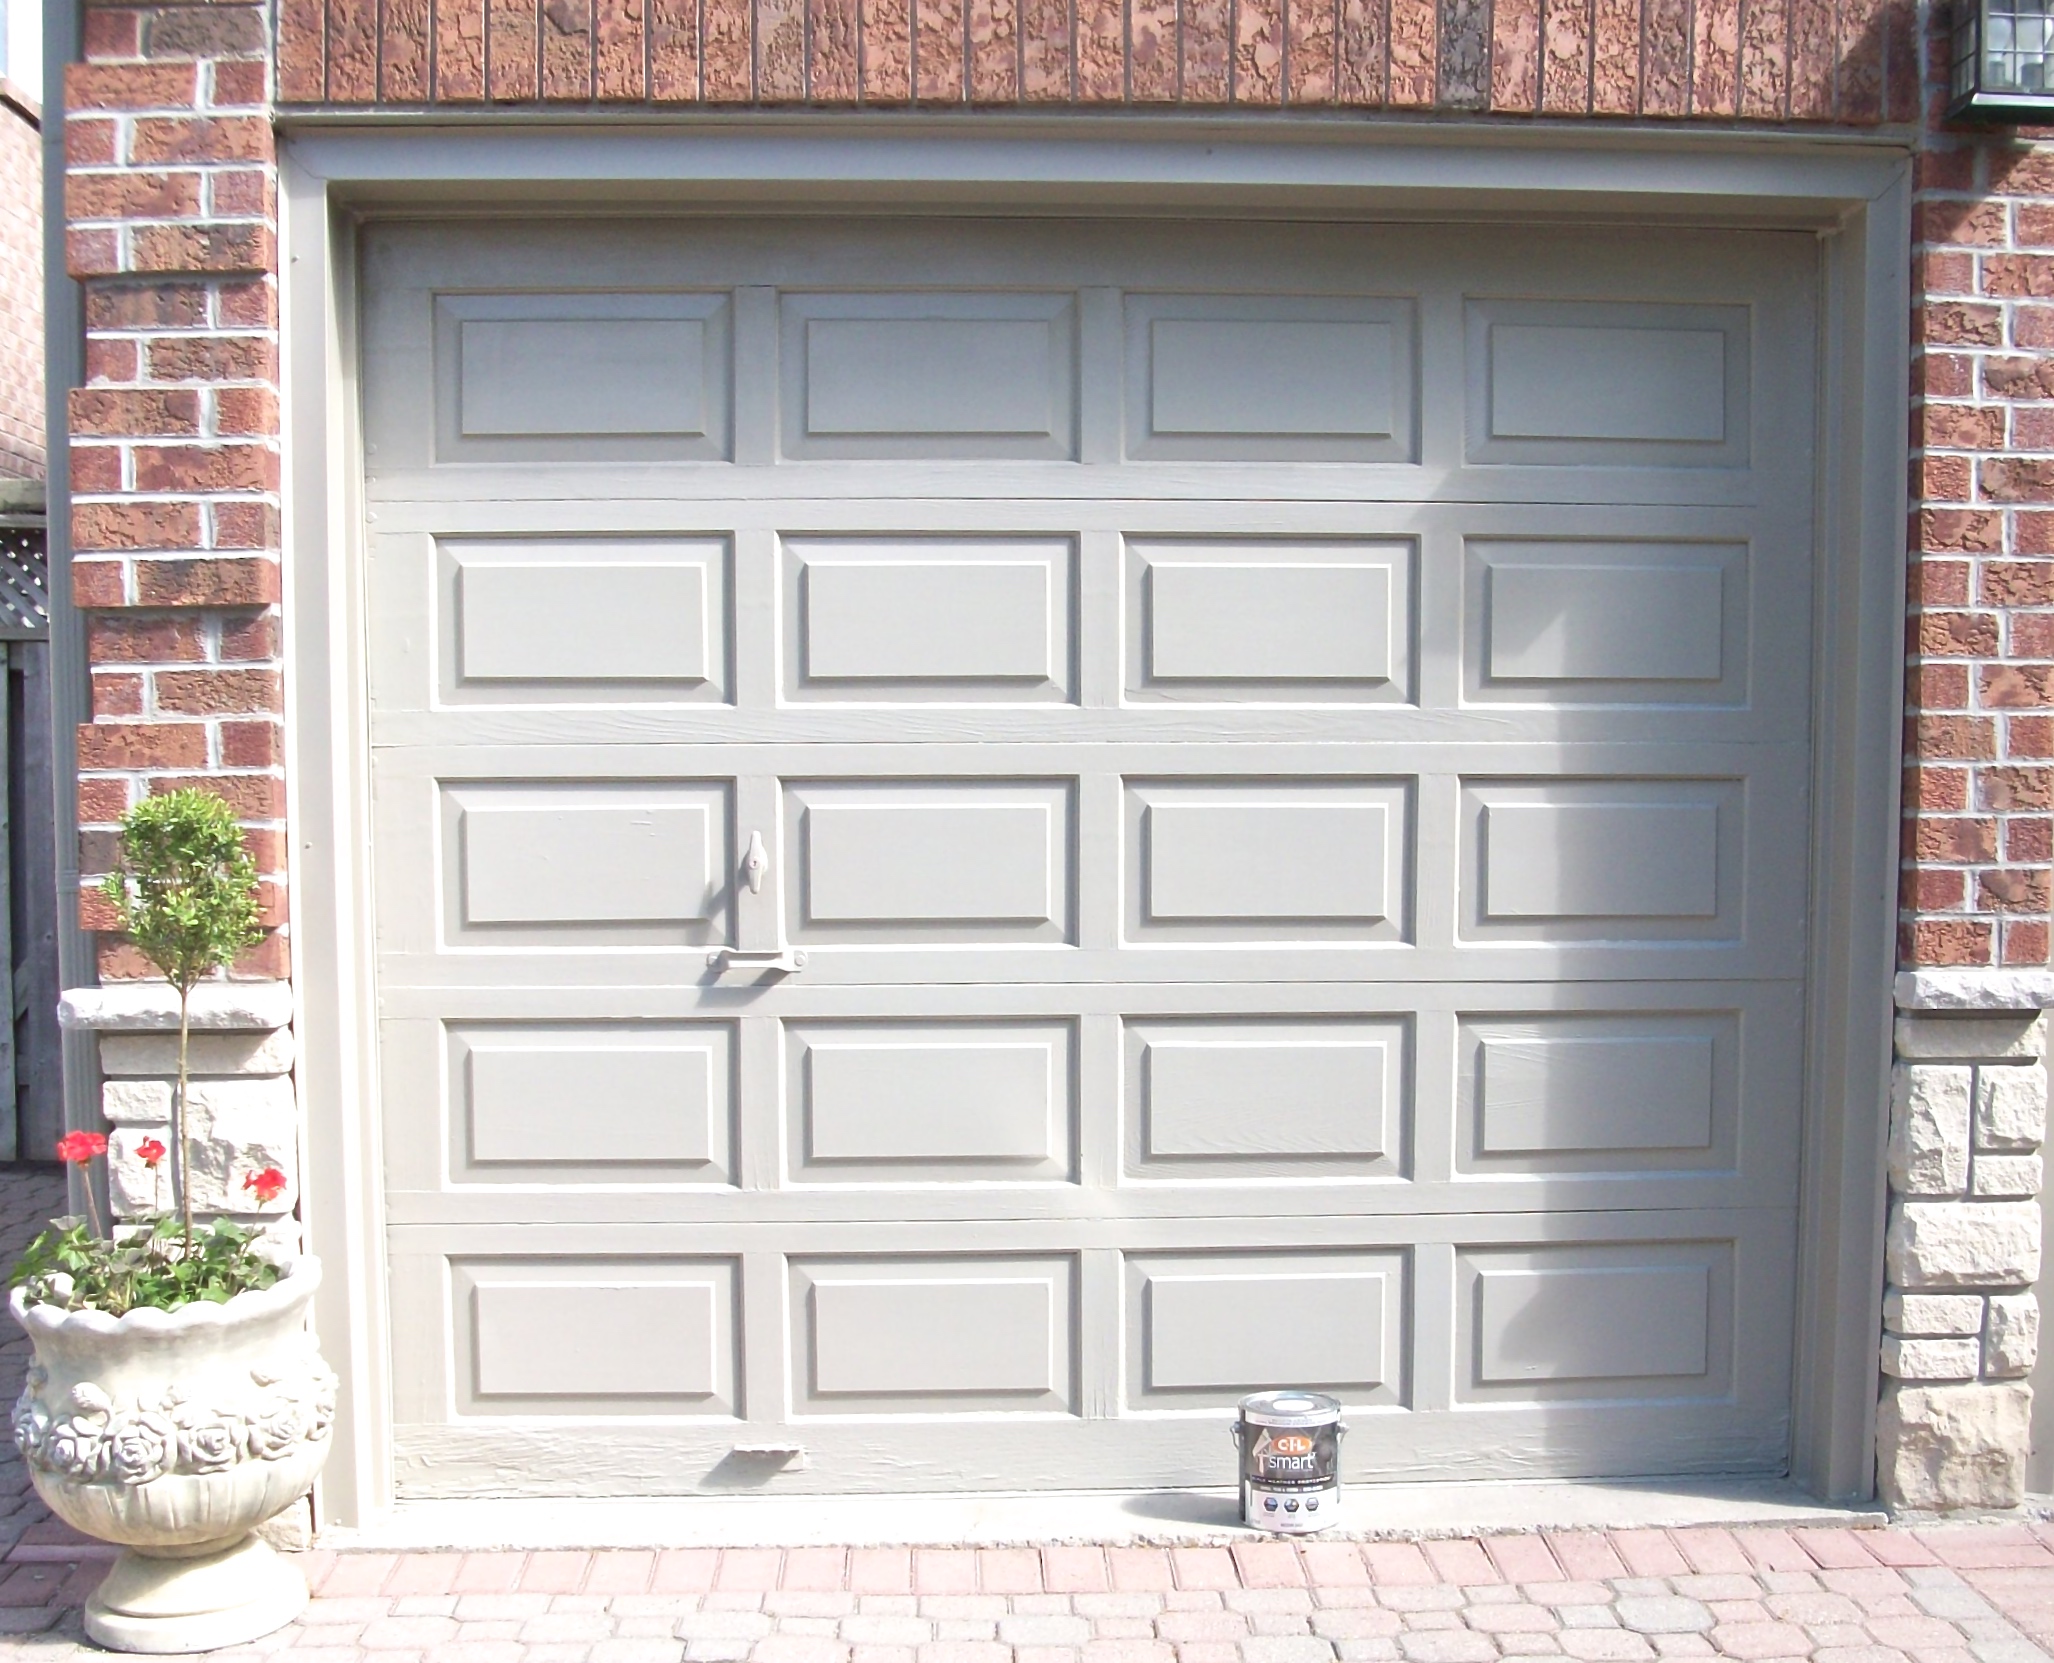 The garage door is a taupe-grey-stone colour that is a perfect match to the eaves and trim. The colours of the whole house are now much more cohesive. It was an easy weekend project that made a big impact to the home’s exterior.