I have always liked to have plants around my home. I like having to take care of them, and I definitely like watching them grow and take shape. Yes, science also tells me that having plants improves air quality and people’s mental health. Bonus!
I do my best to place my plants in appropriately sunny spots and keep to a good watering schedule, so that they thrive. The plants that I currently have are doing quite well, which makes me smile each day.
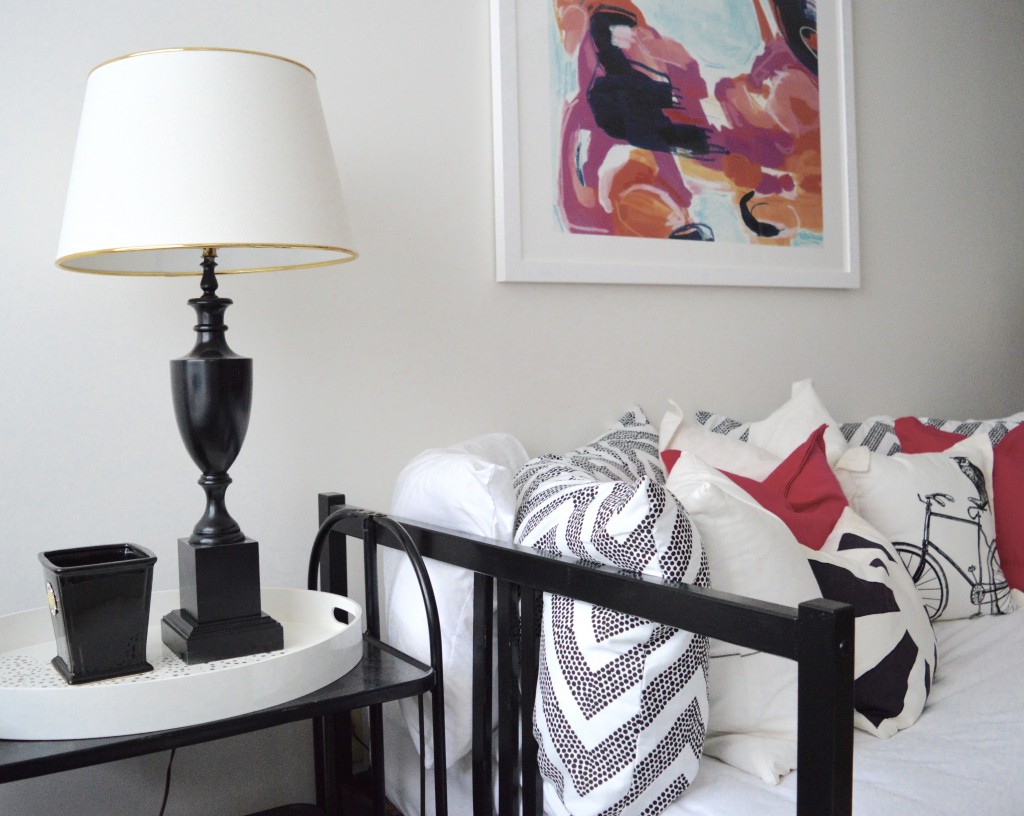
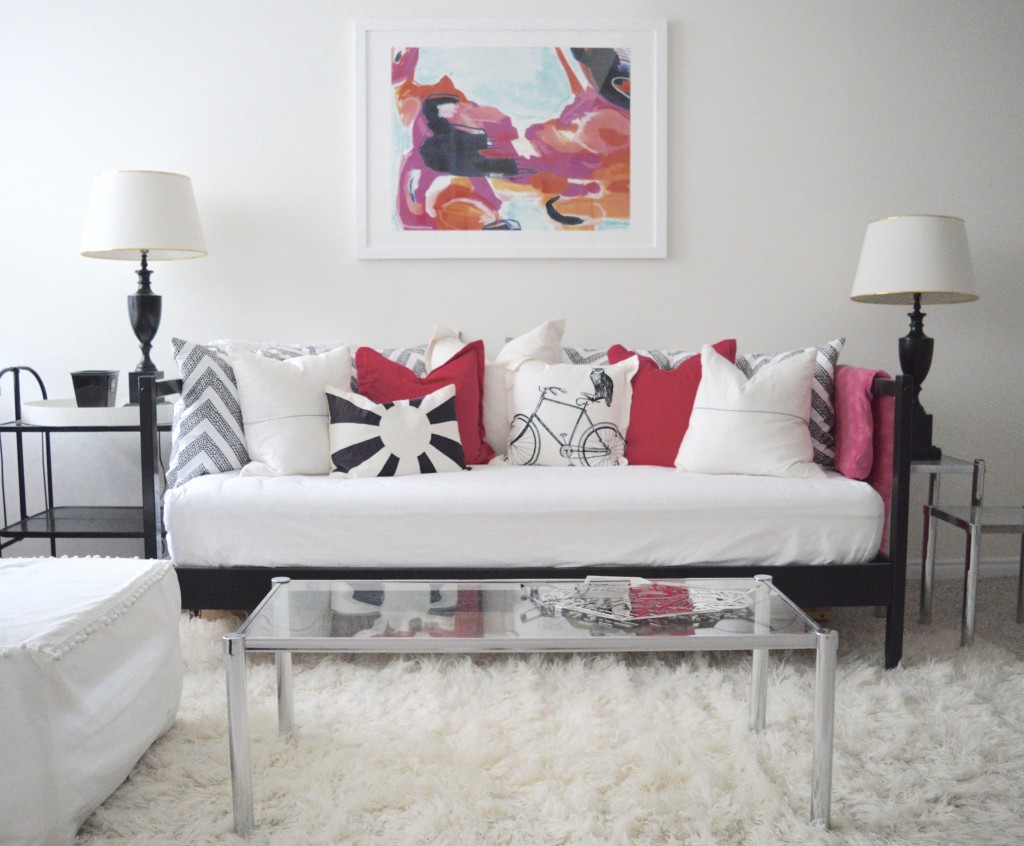
Want to peek inside my home and see what’s growing?
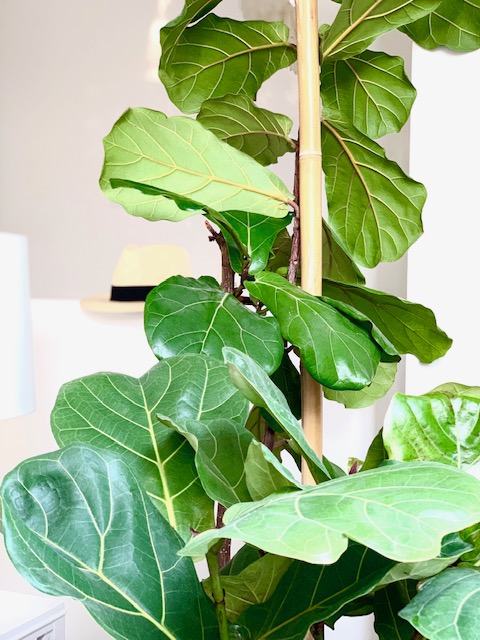
I have two fiddle leaf fig trees growing in my living room. I bought the tall one six years ago when I moved into my home. It has changed shape over time because I have had to cut it back and get rid of dead branches. It’s growing like a champ now! I bought the shorter one at Ikea just a few months ago.
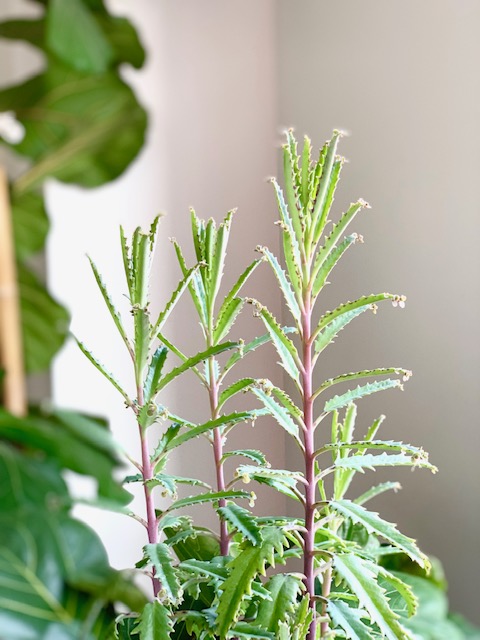
My mom and I each picked up one of these at the beginning of summer. I don’t know what it is, but it does love to be in the sun.
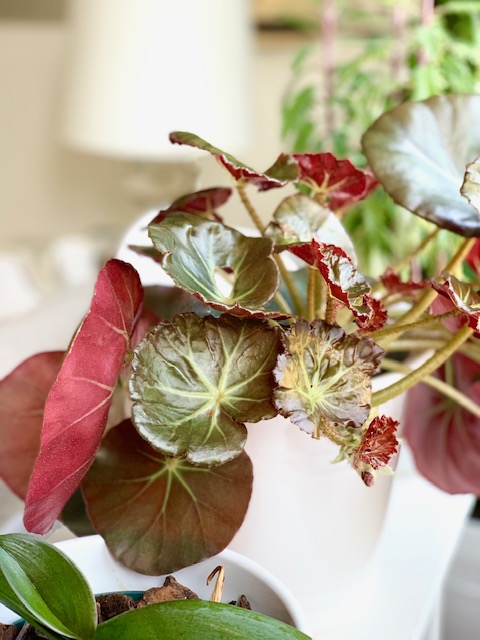
My mom bought me this begonia, and it’s growing wildly. I love it so much! The leaves are huge, and each day, it seems like I see a new leaf bud. It’s the best! It’s in direct sunlight, and I’m not moving it from its home anytime soon because it’s doing very well here.
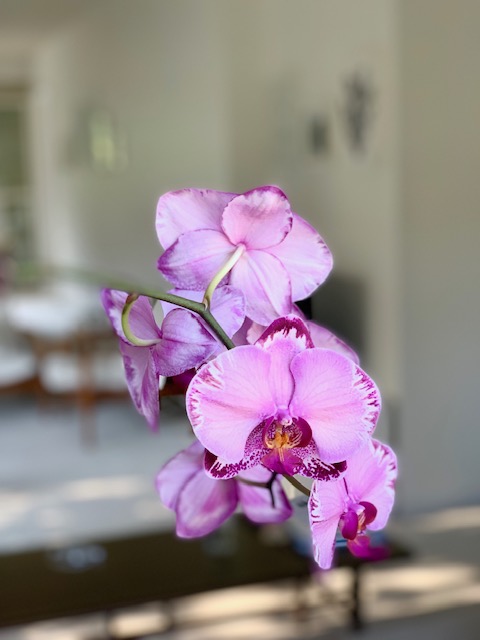
I have a collection of orchids that take turns blooming. At the moment, a purple one is in bloom. It’s from a few years ago, and it has bloomed regularly. I have to watch my watering routine carefully with my orchids. They only need a touch of water each week.
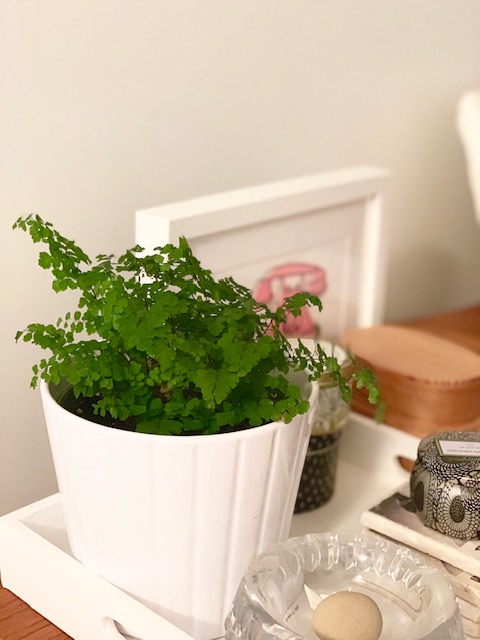
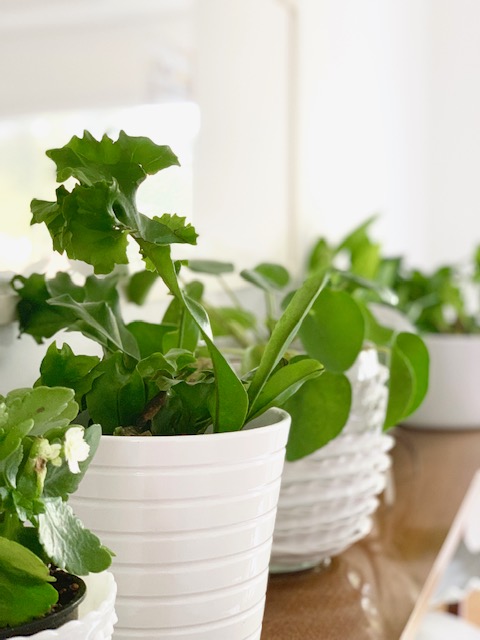
I have a few ferns in my current collection. This frilly one sits on one of my side tables just out of direct sunlight.
Here’s another frilly fern that is currently on my dining room side board. I’m still experimenting with putting it in different levels of sunlight, but I think it’s happy to be hanging out with a bunch of plant friends!
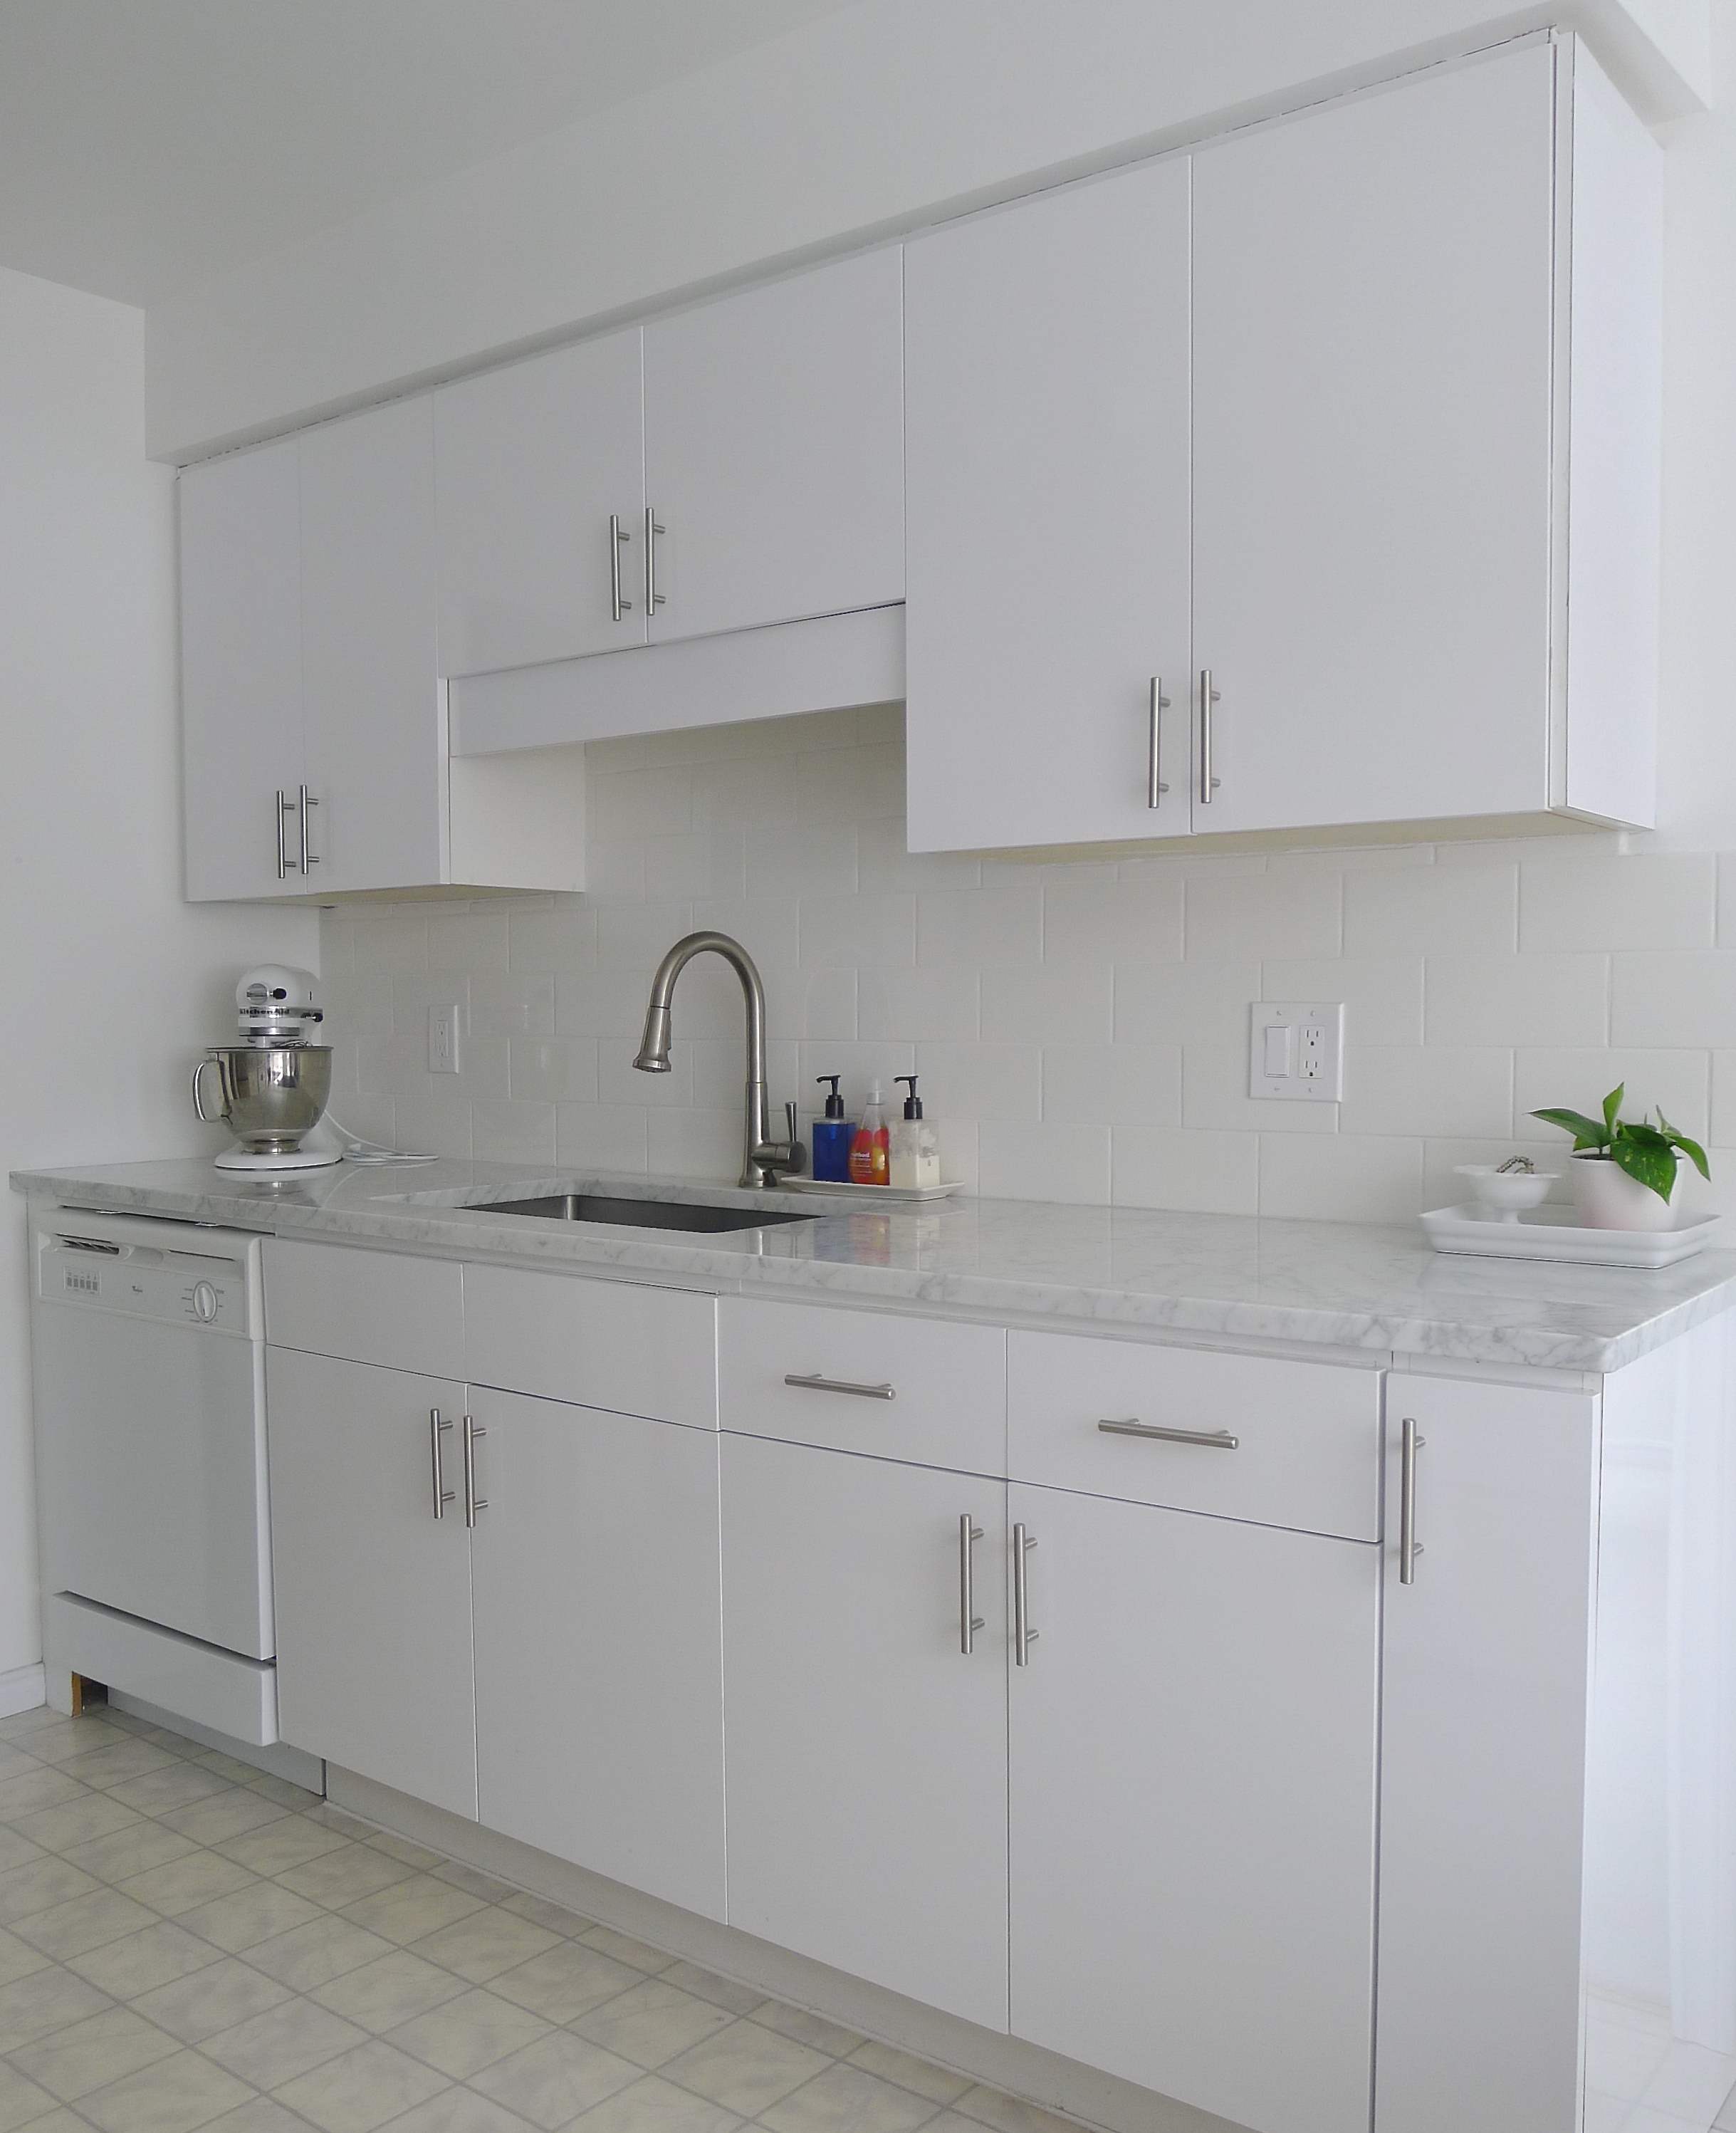
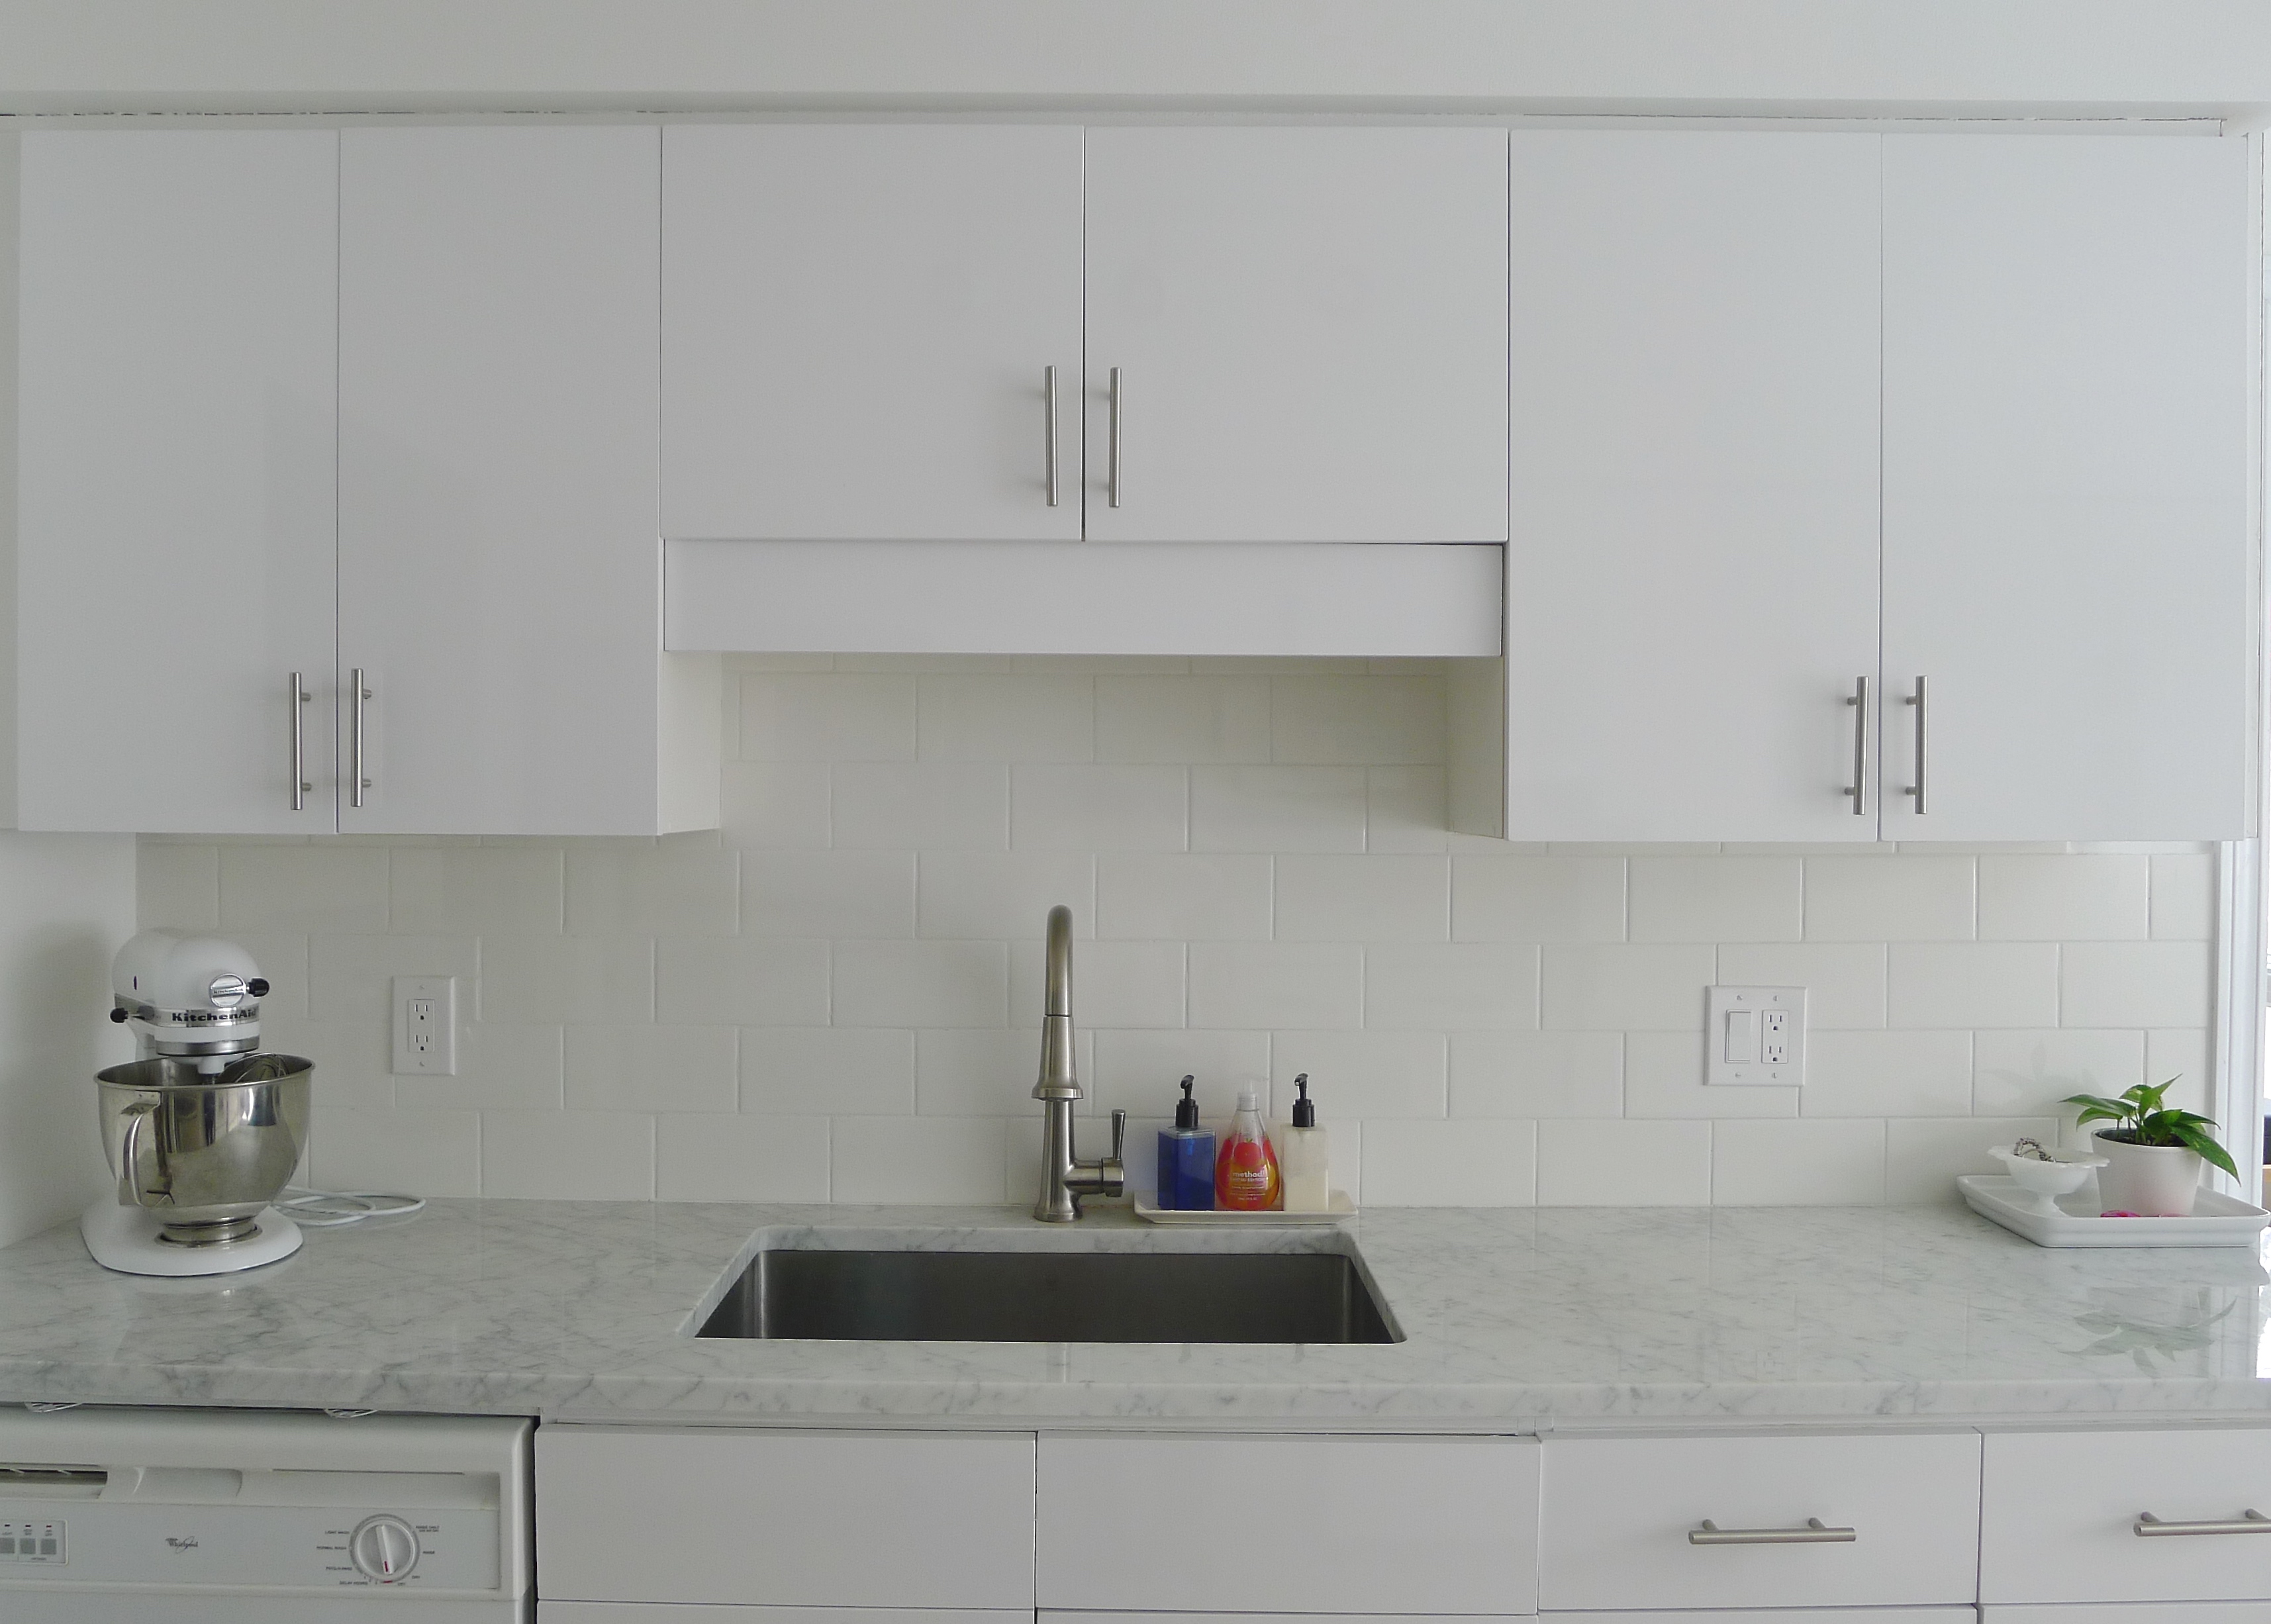
Beside the fern is a coin plant. I love the airy nature of this plant so much.
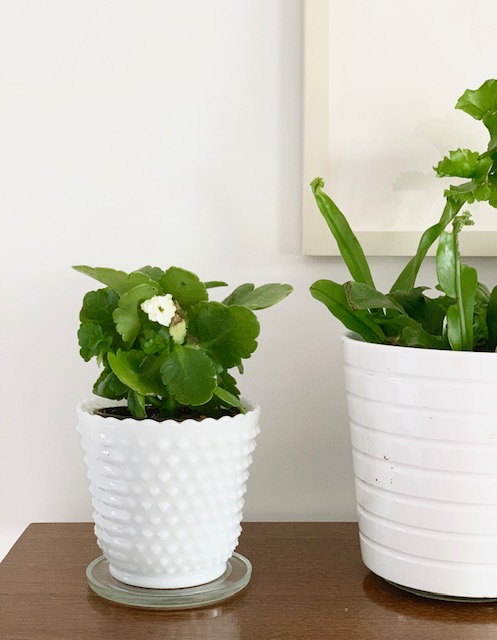
My kalanchoe is from May when I picked one up for me and my mom from the St. Jacob’s market. It’s bloomed a couple of times already. It currently has one bloom open, but others are on their way.
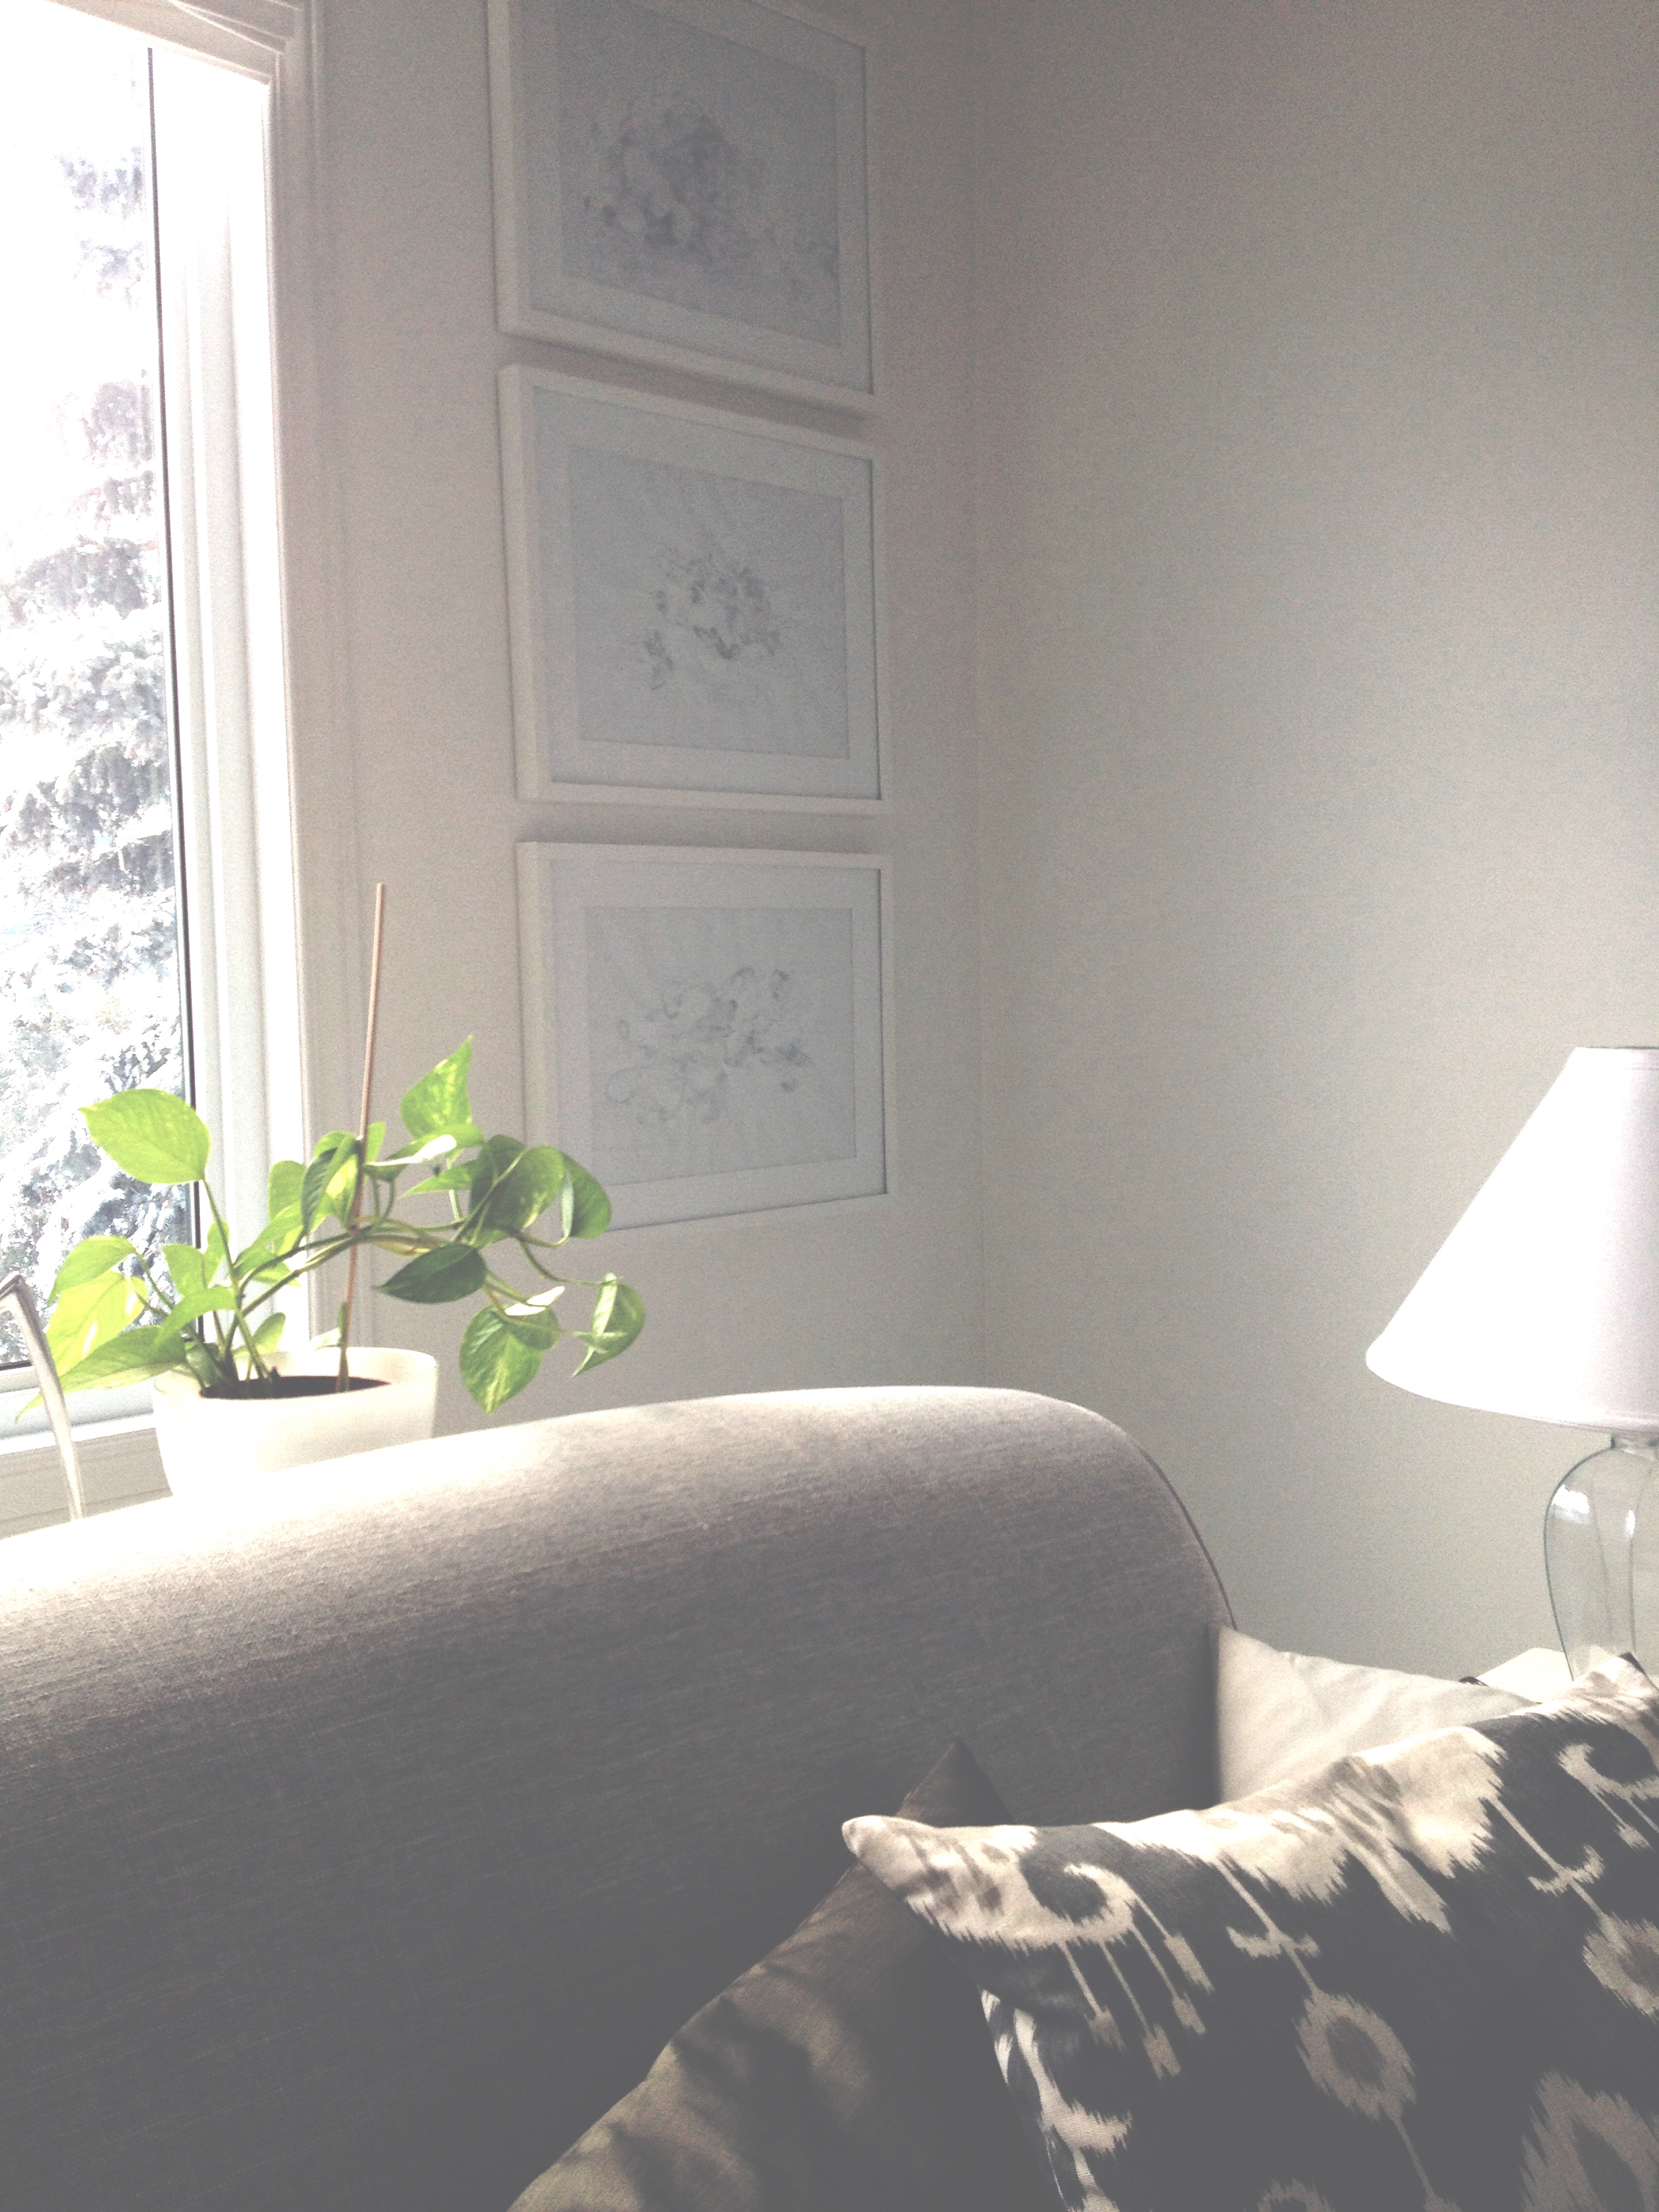
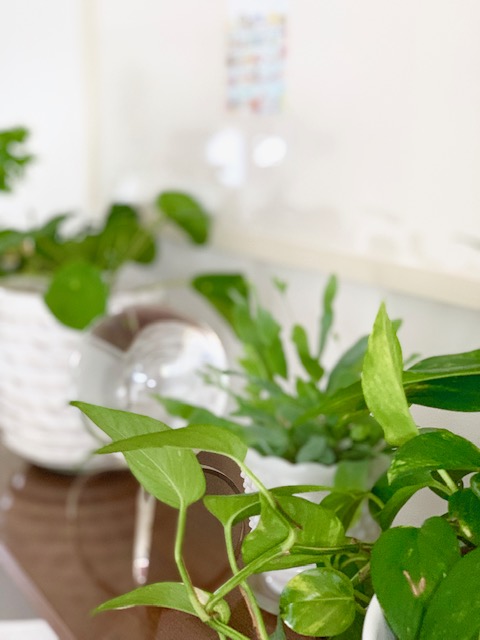
I have a bunch of Pothos plants that I gather together in one large white container. These plants are the easiest and fastest growing plants I think I have ever had. If you’re not sure if you have a green thumb, buy one of these. They never die. I cut them back a lot, root the cuttings, and then plant them once they’ve rooted.
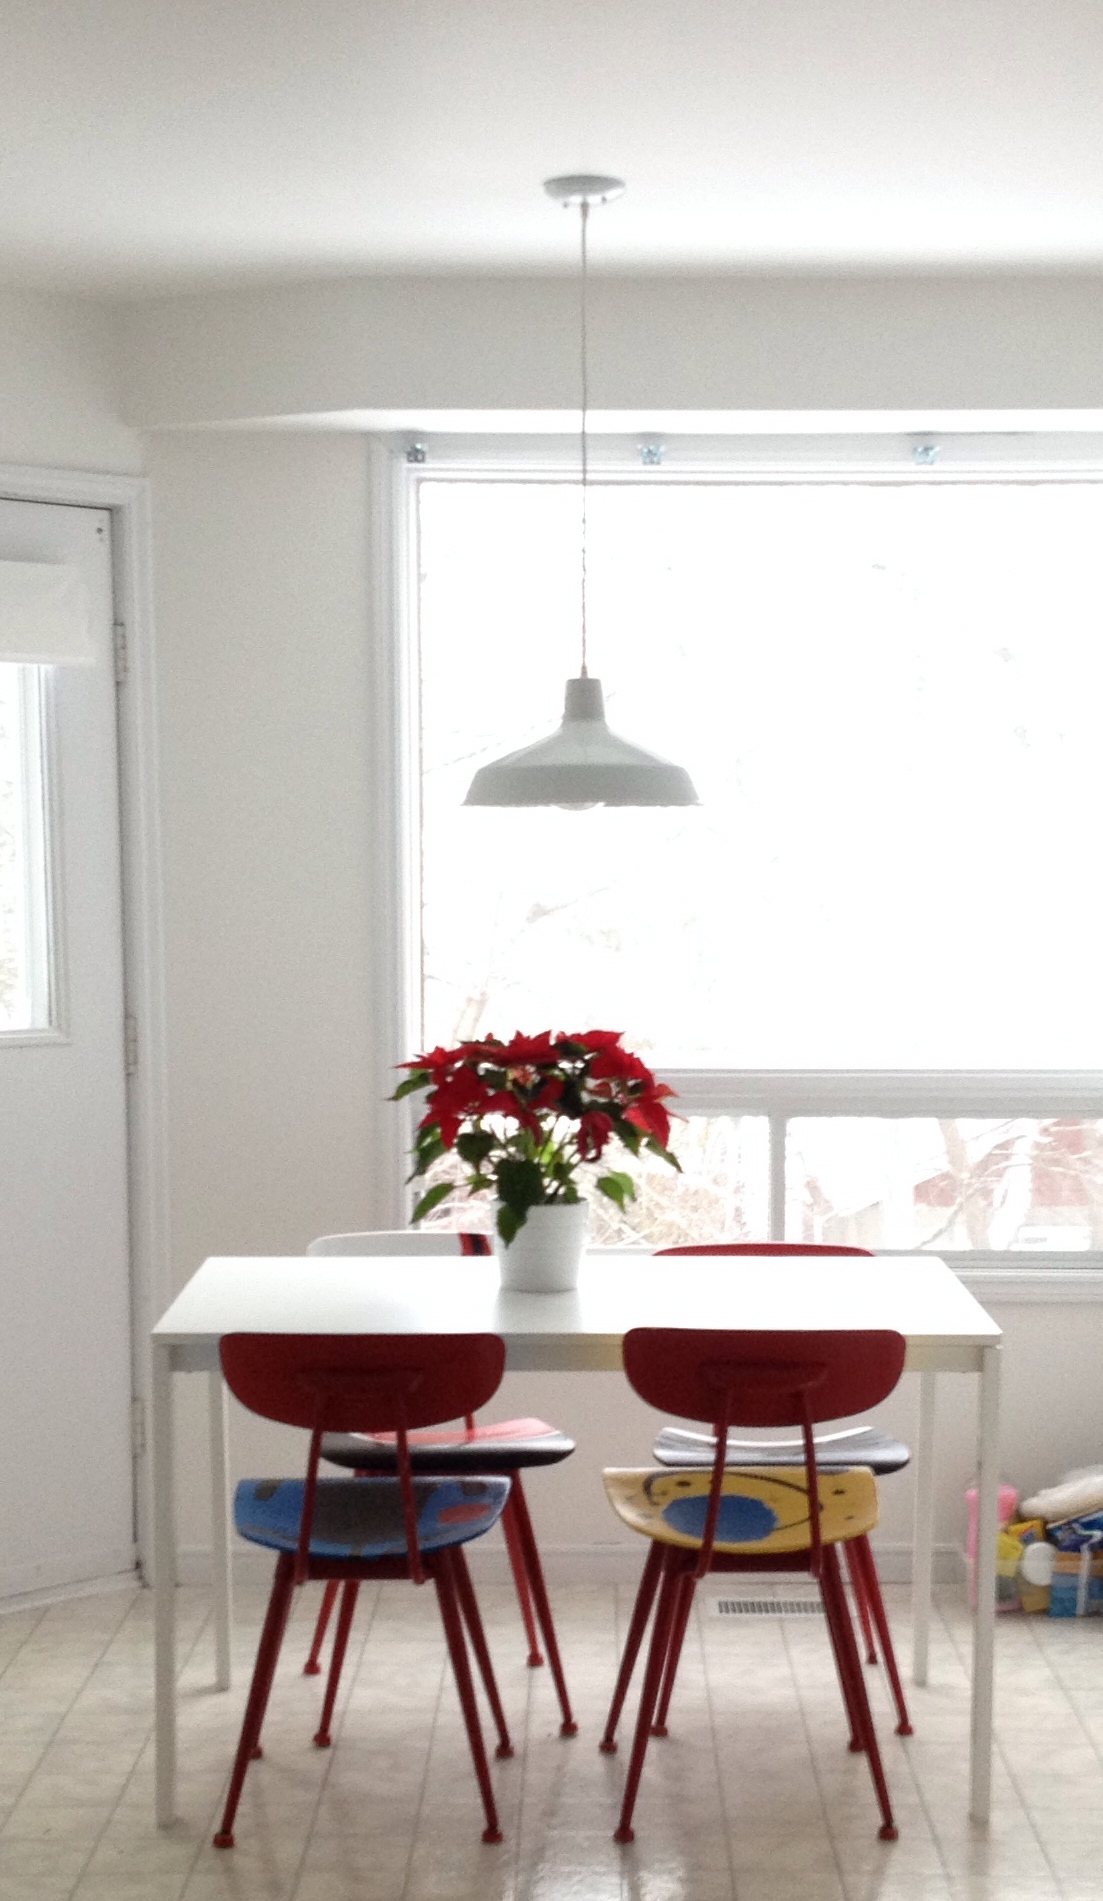
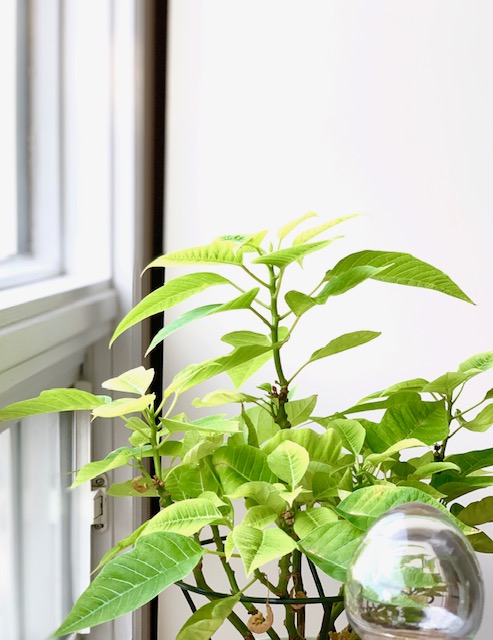
This next plant really puts a smile on my face. It’s a poinsettia that I bought last November. A poinsettia! It is nearly one year old, and it’s looking full and healthy. I’m not sure if it’ll turn white again.
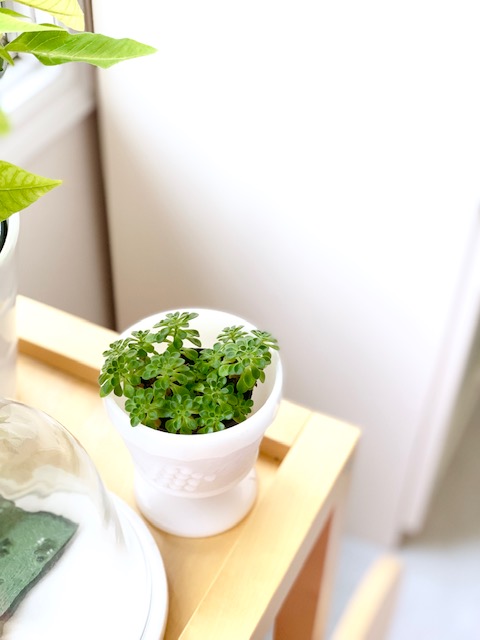
Finally, this little succulent (I think it’s a succulent) was an Ikea purchase from a few years ago. About one year ago, it wasn’t looking too great, so I chopped it way back and hoped for the best. It’s growing well now (very slowly), and I love it’s mini size.
That’s my Urban Jungle plant tour. I do have a few more, so maybe I’ll share them in a future post.


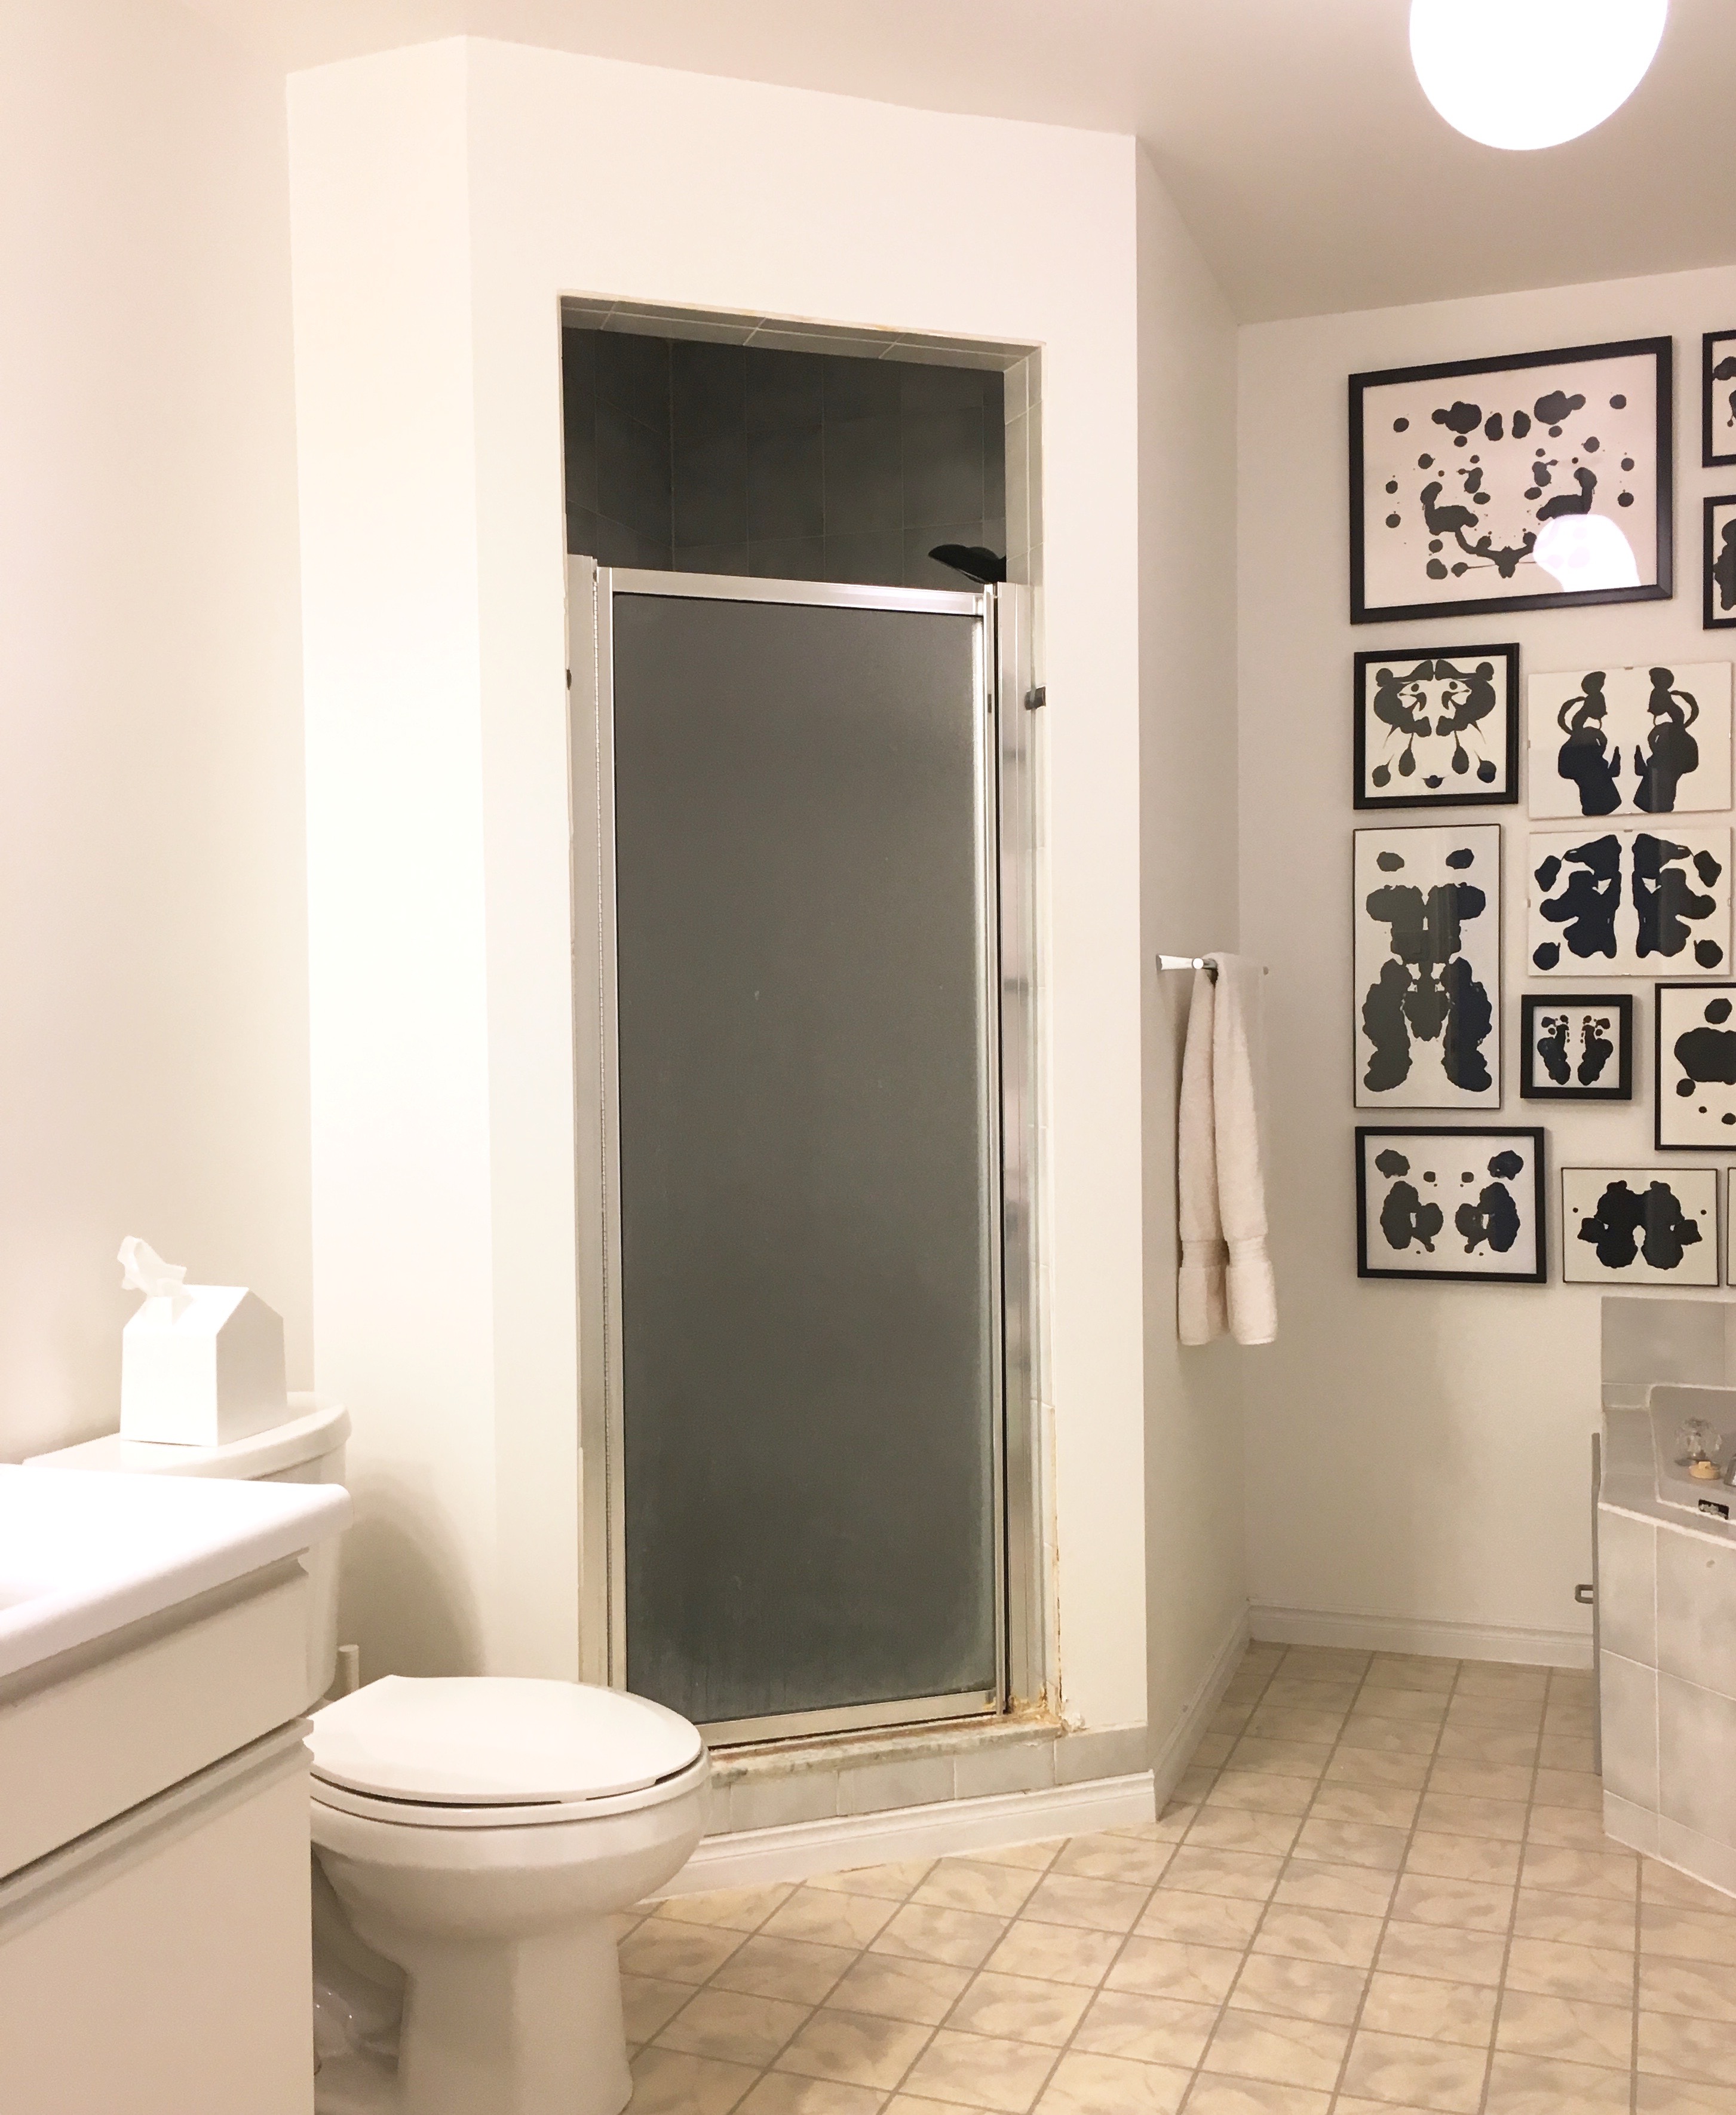
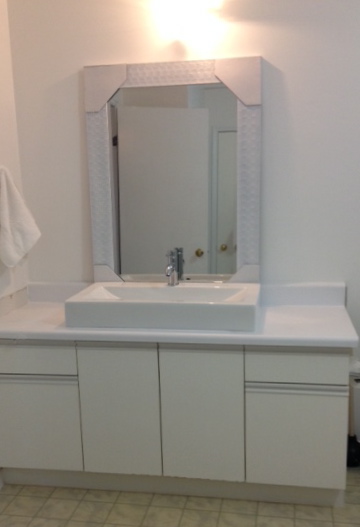
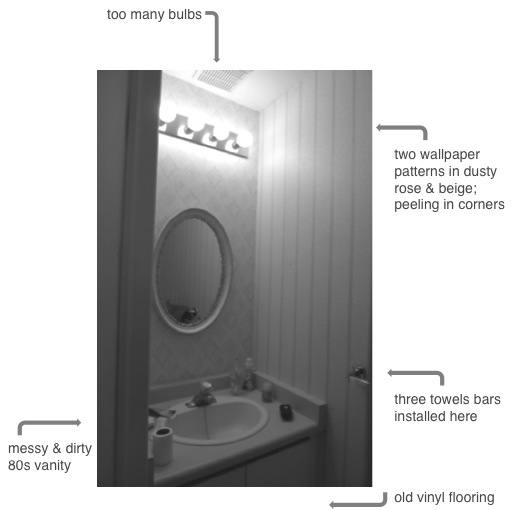
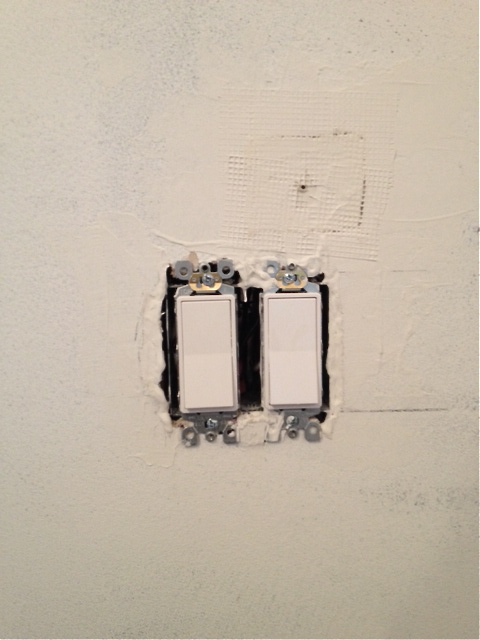
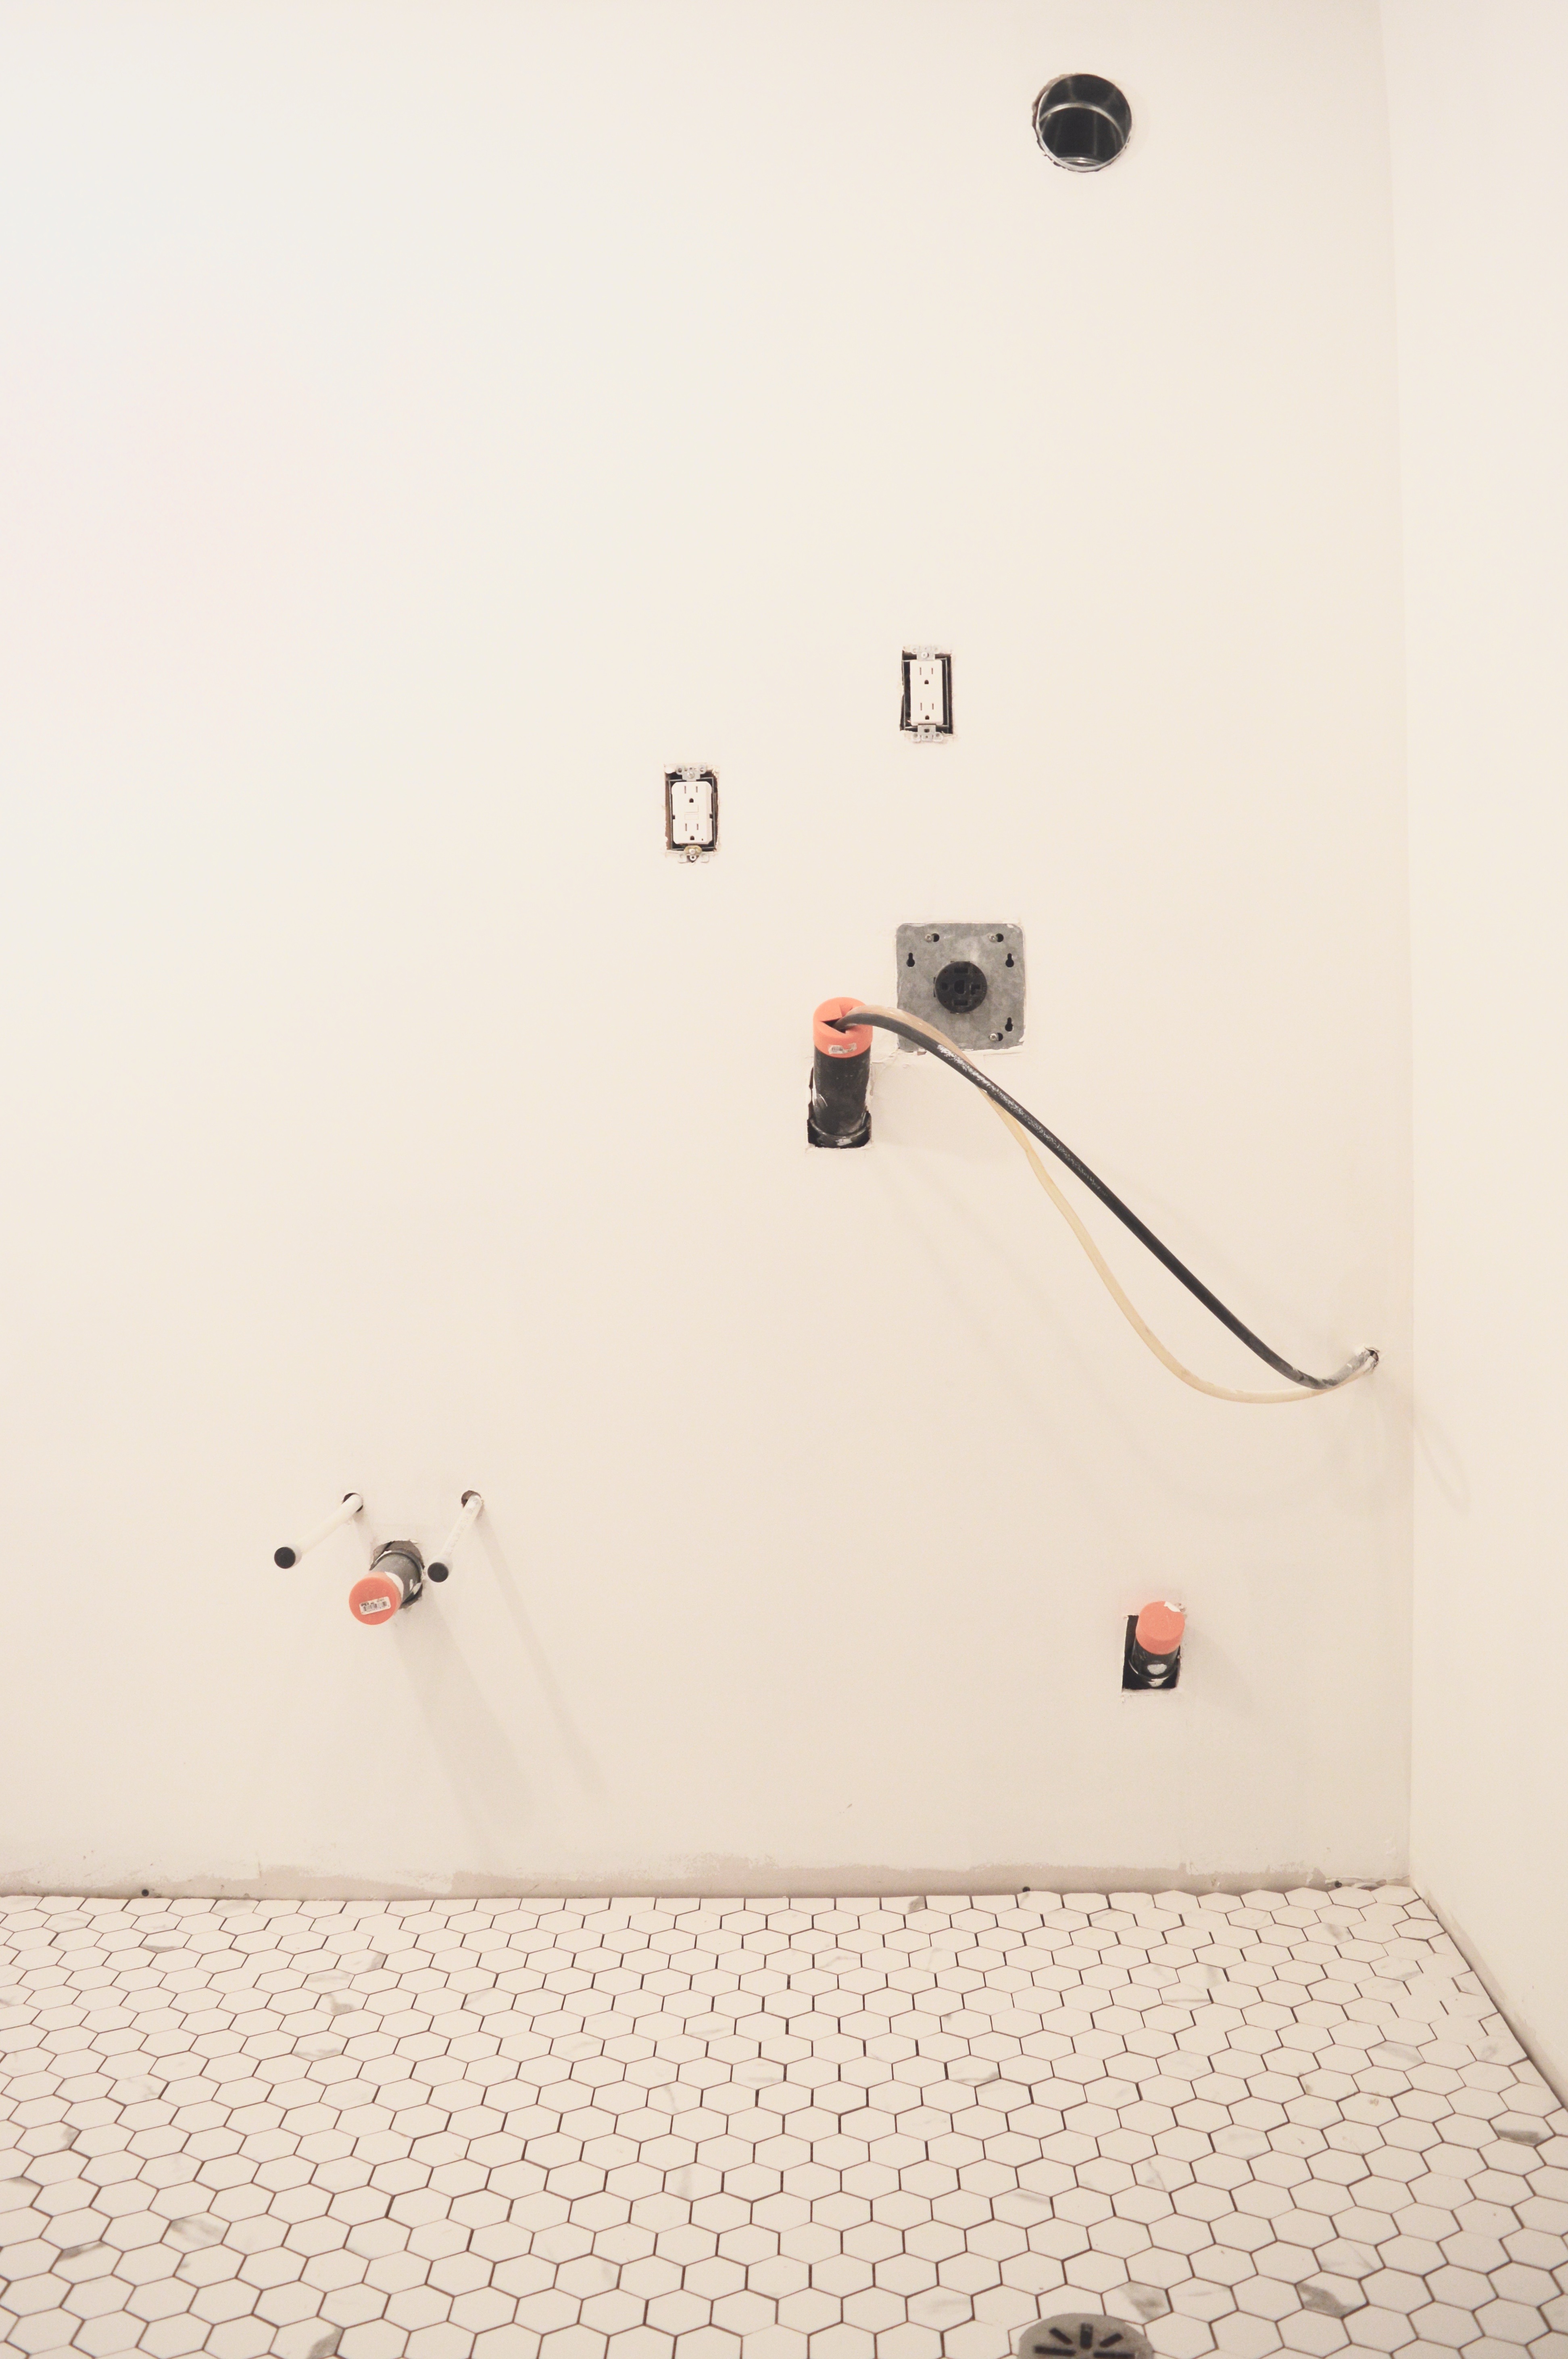
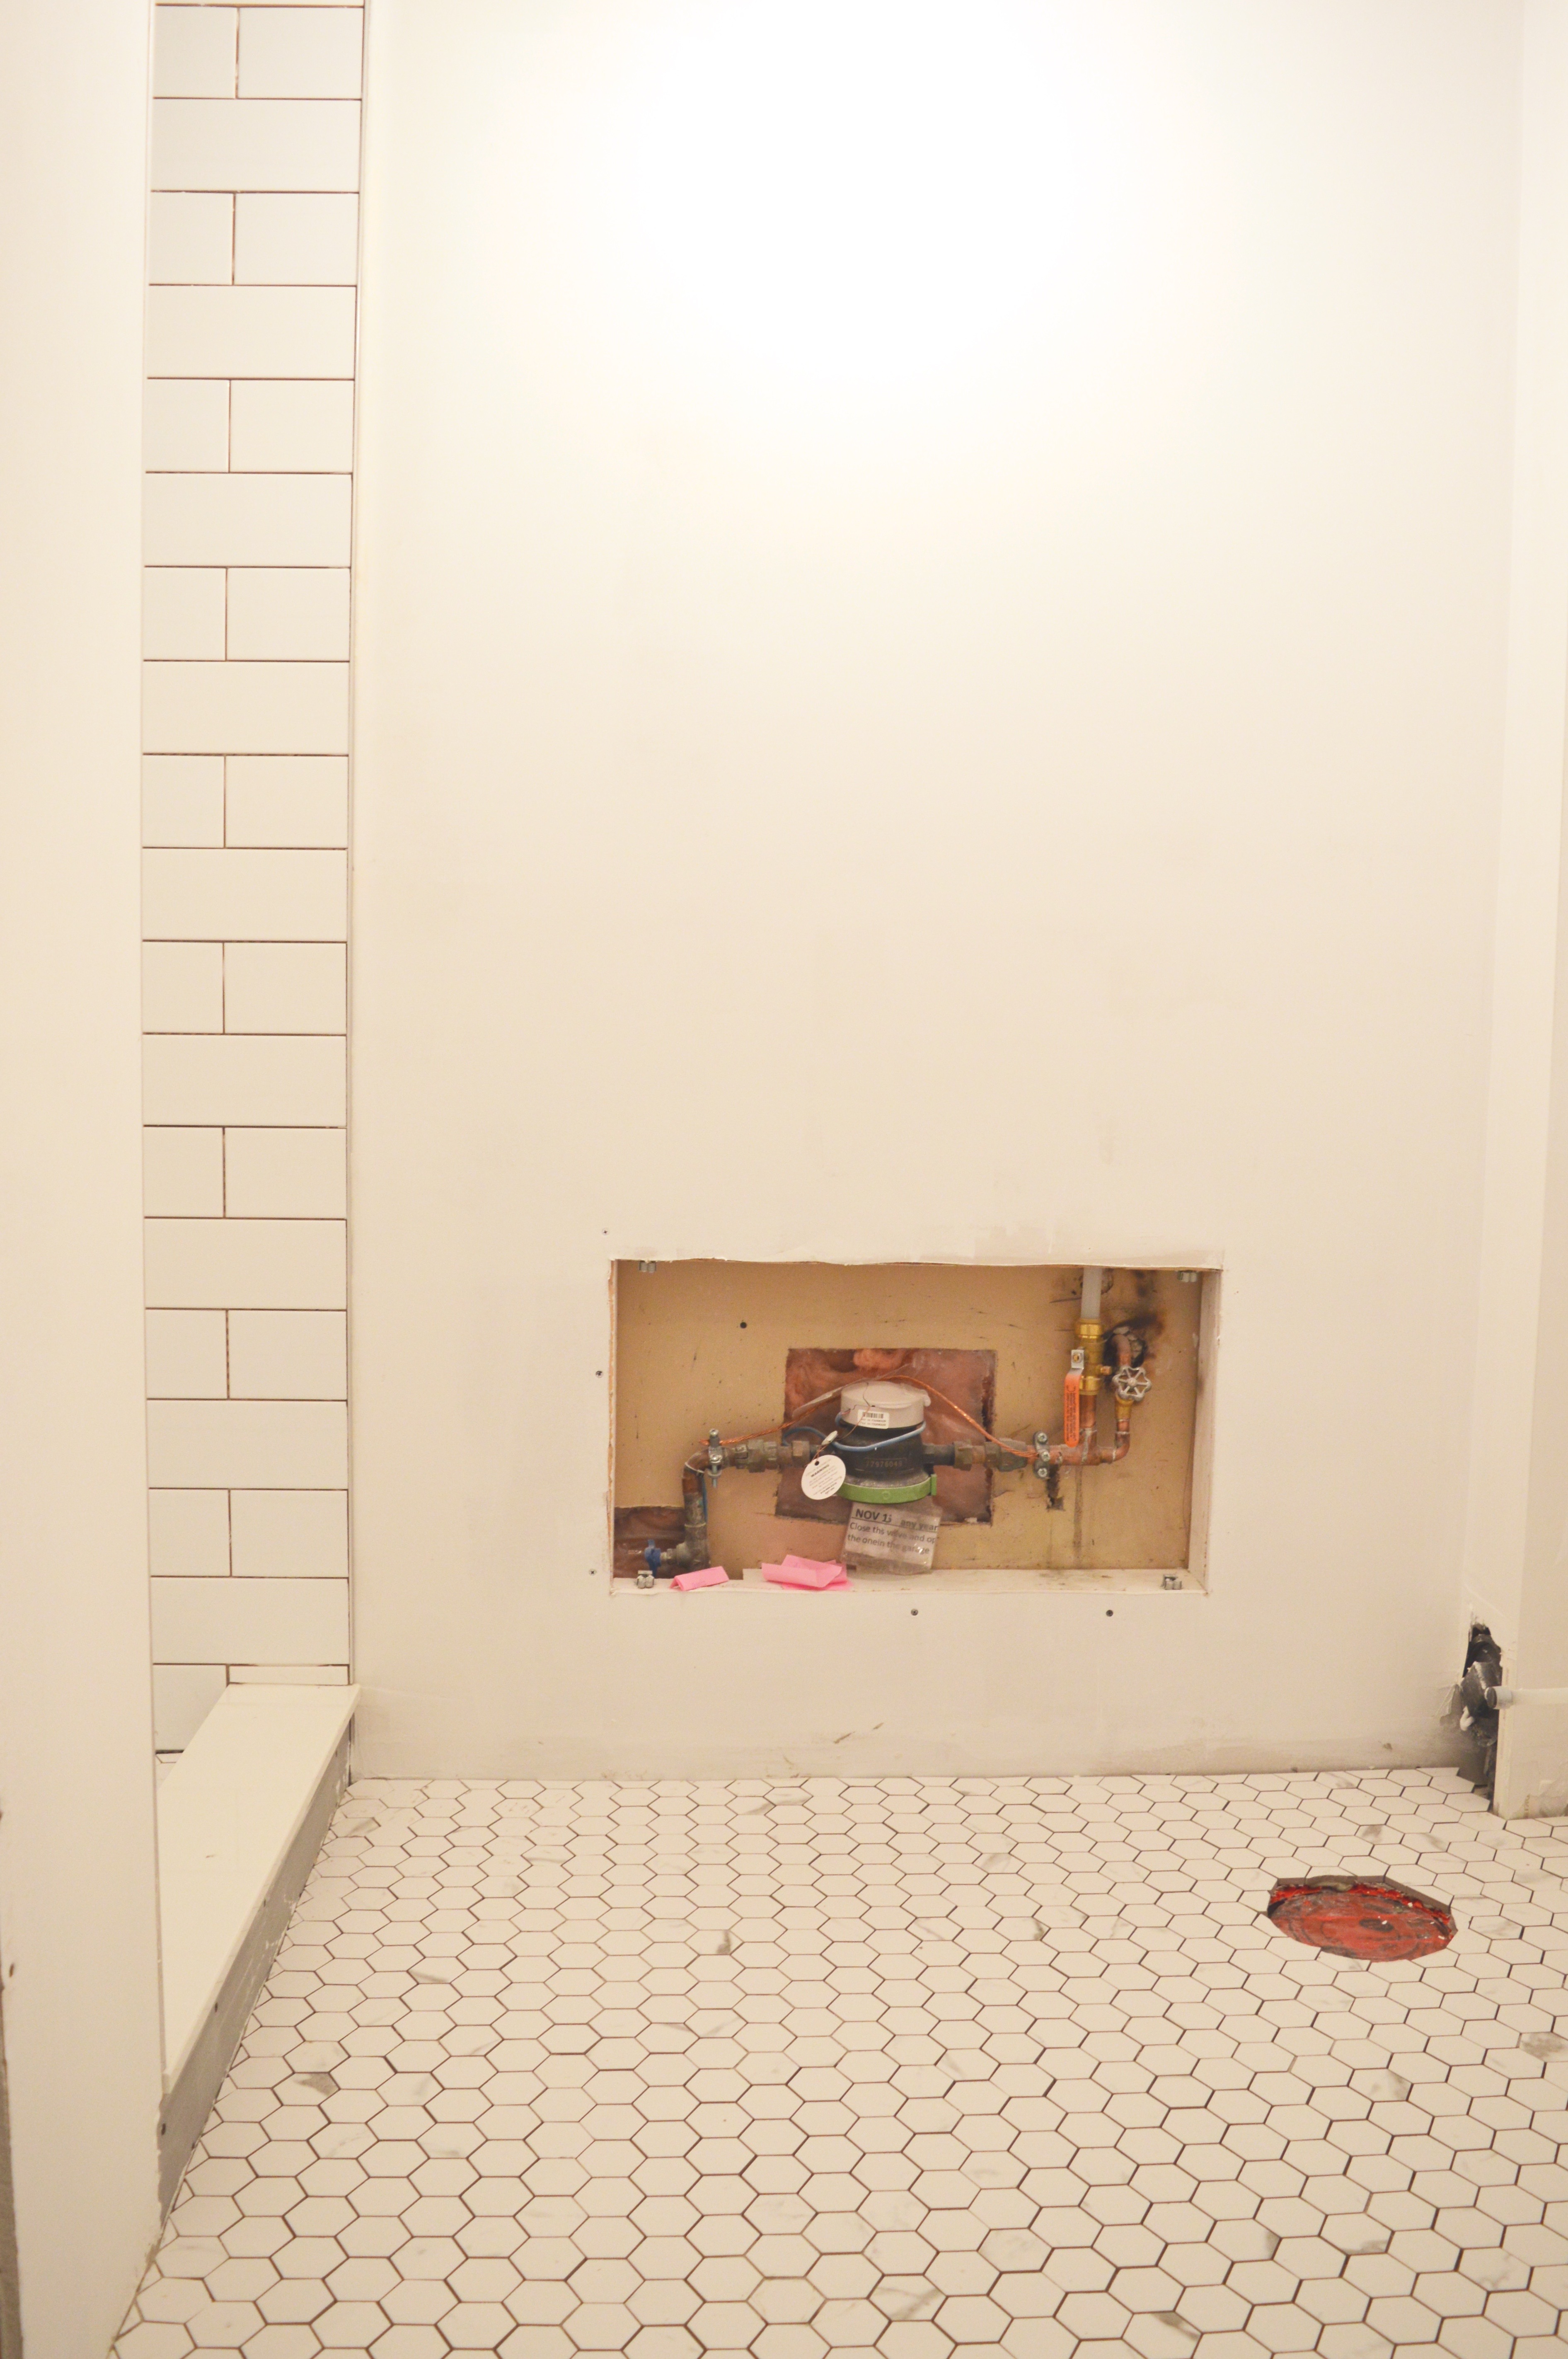
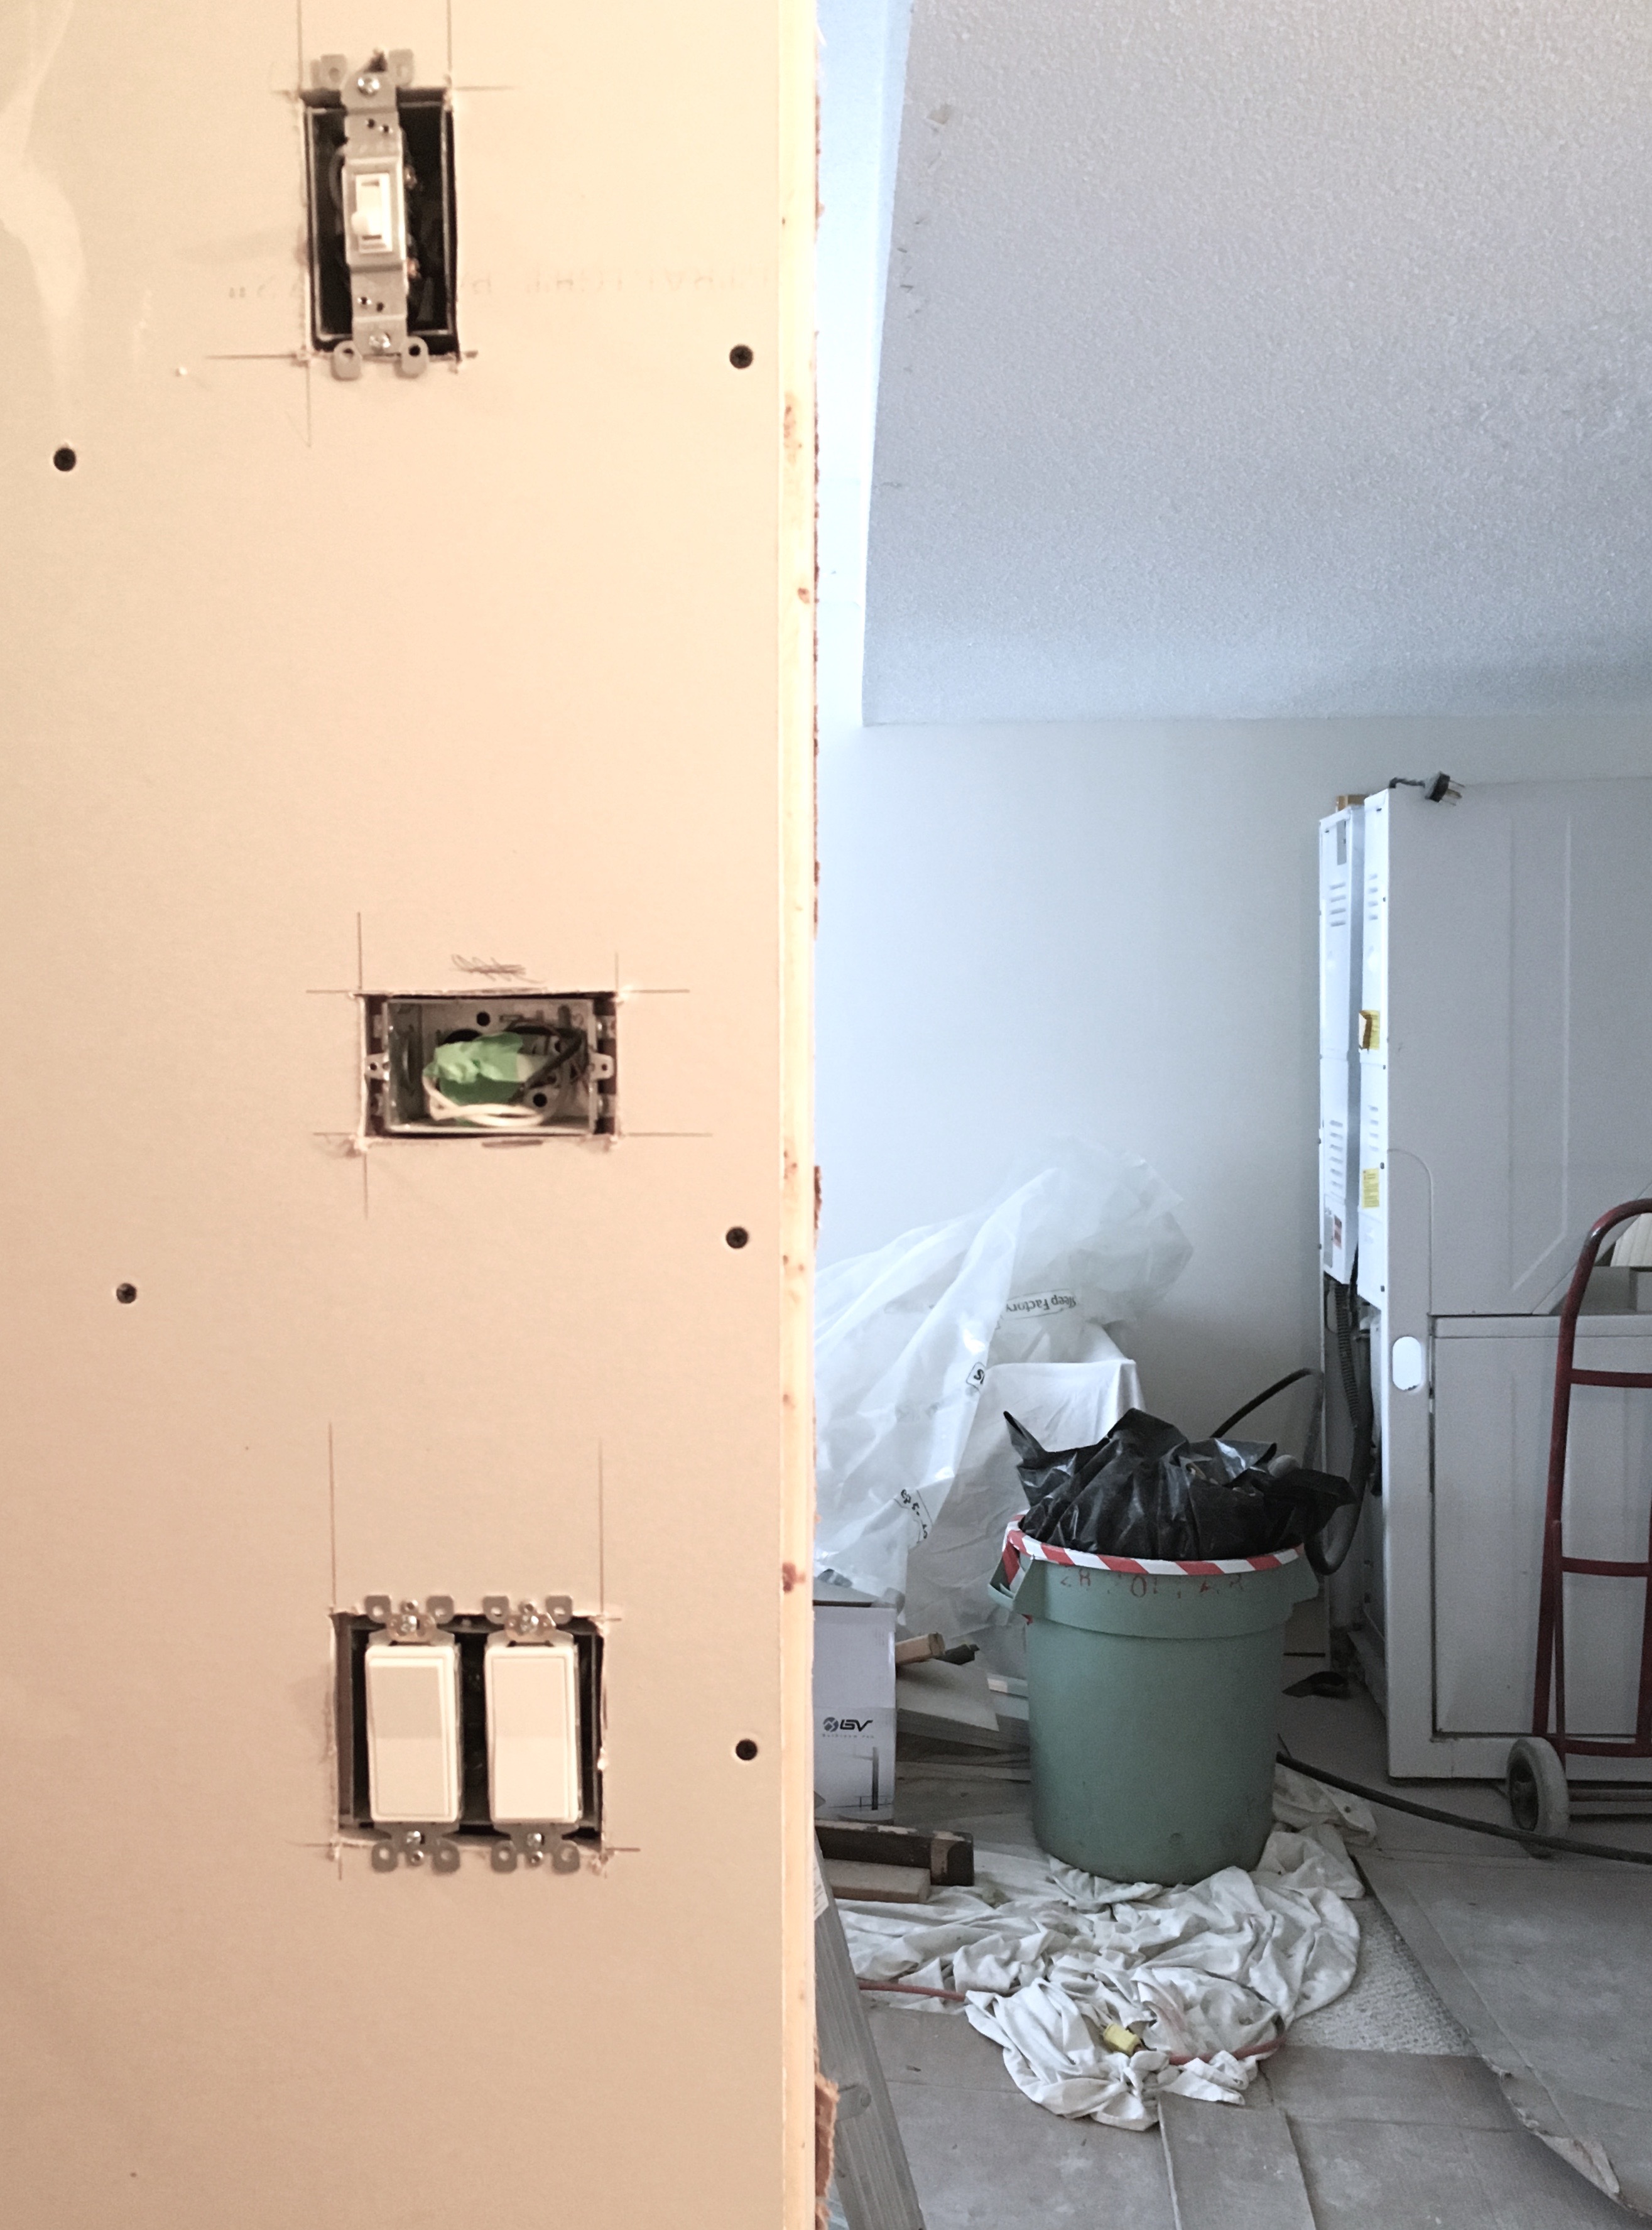
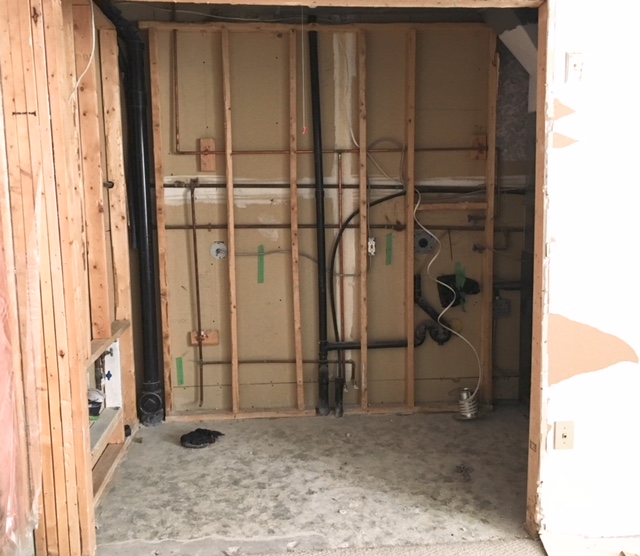
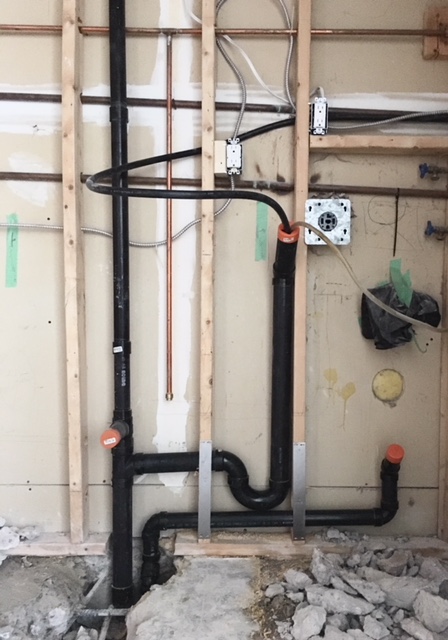
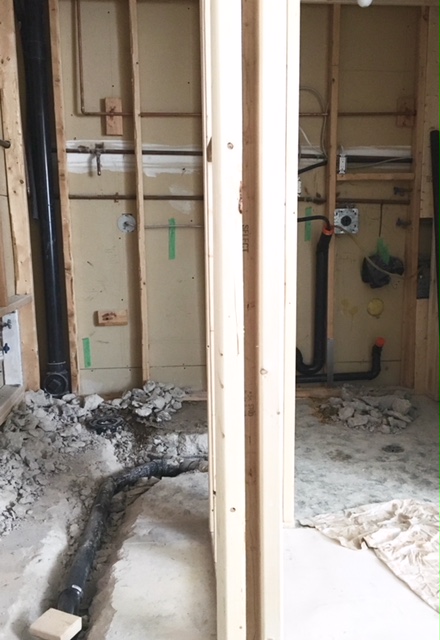
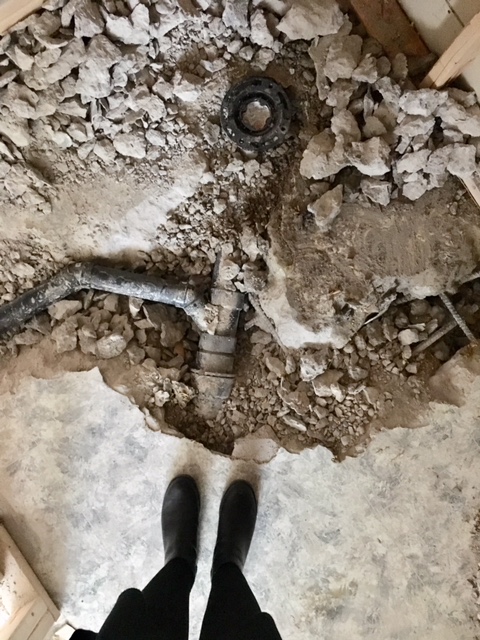
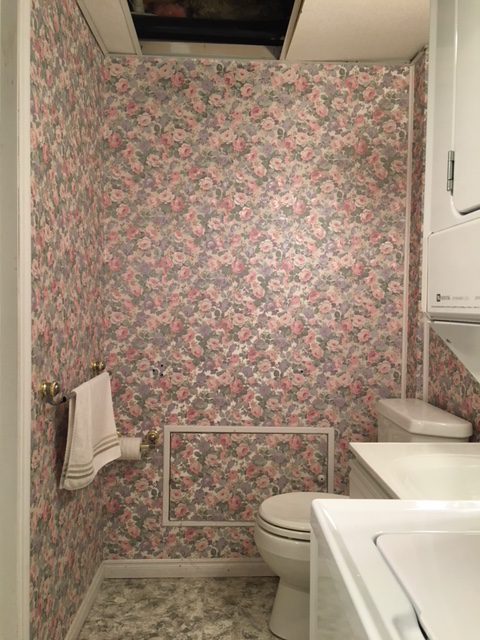
 The Before
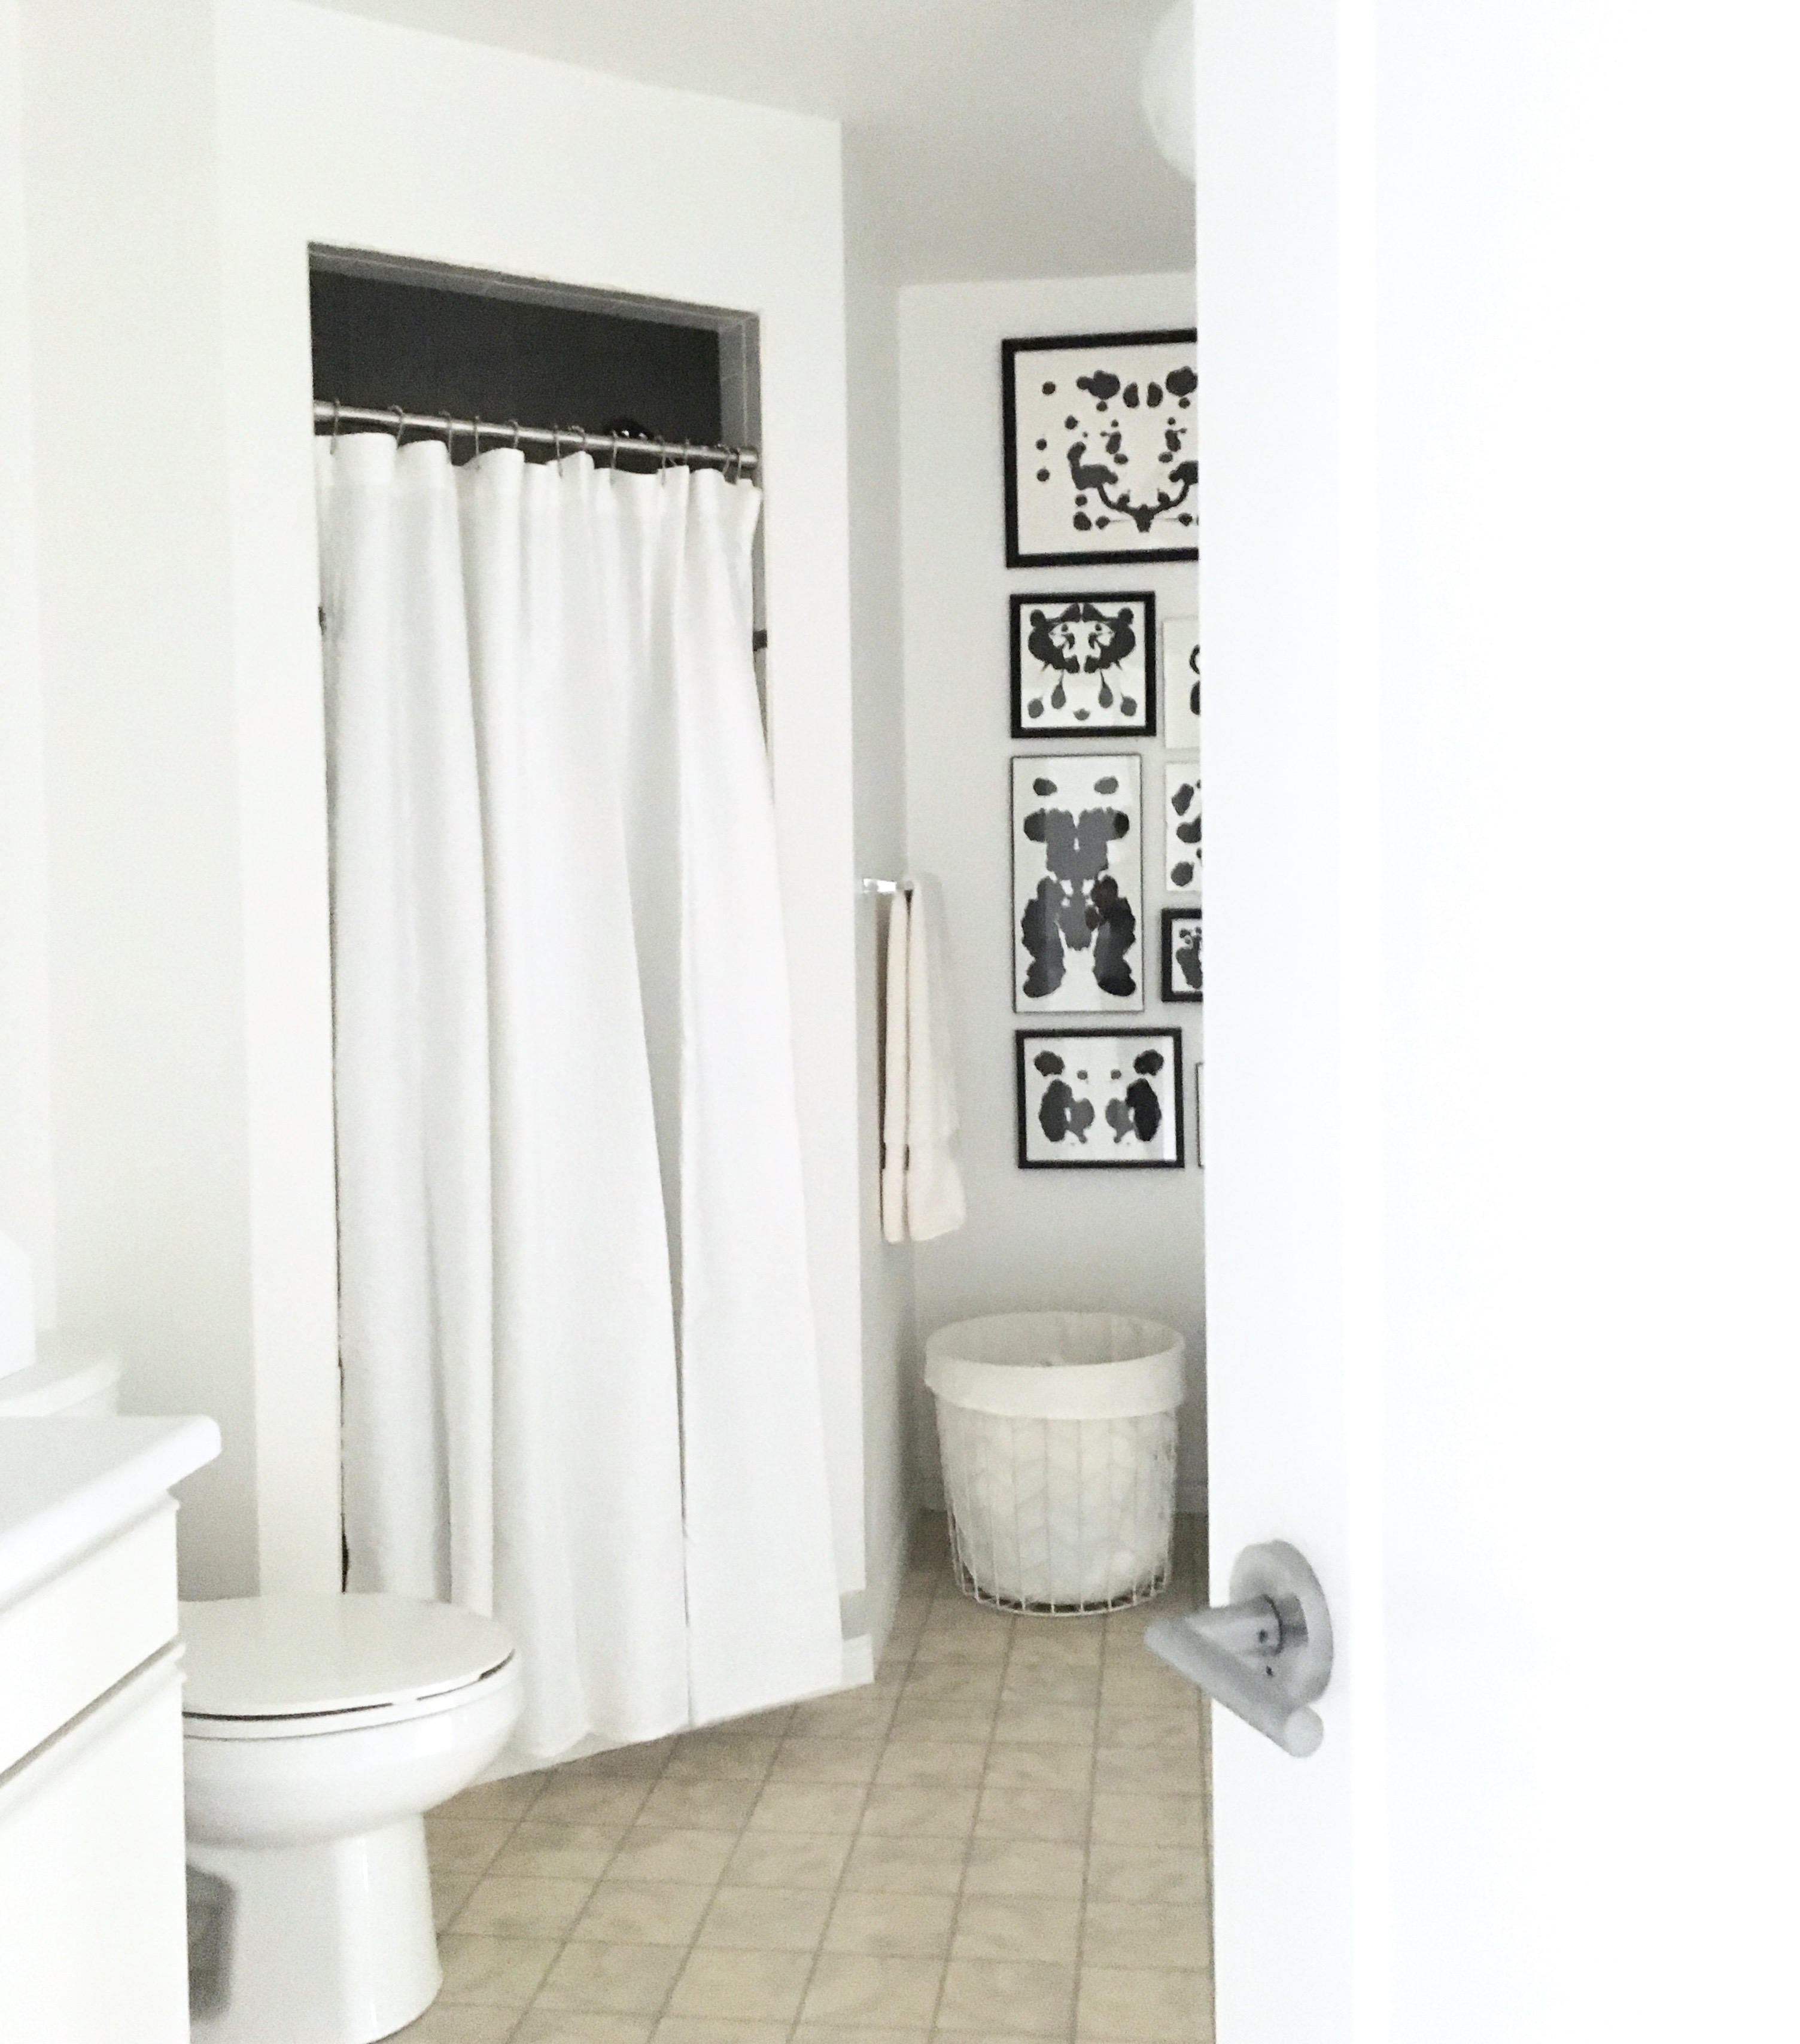
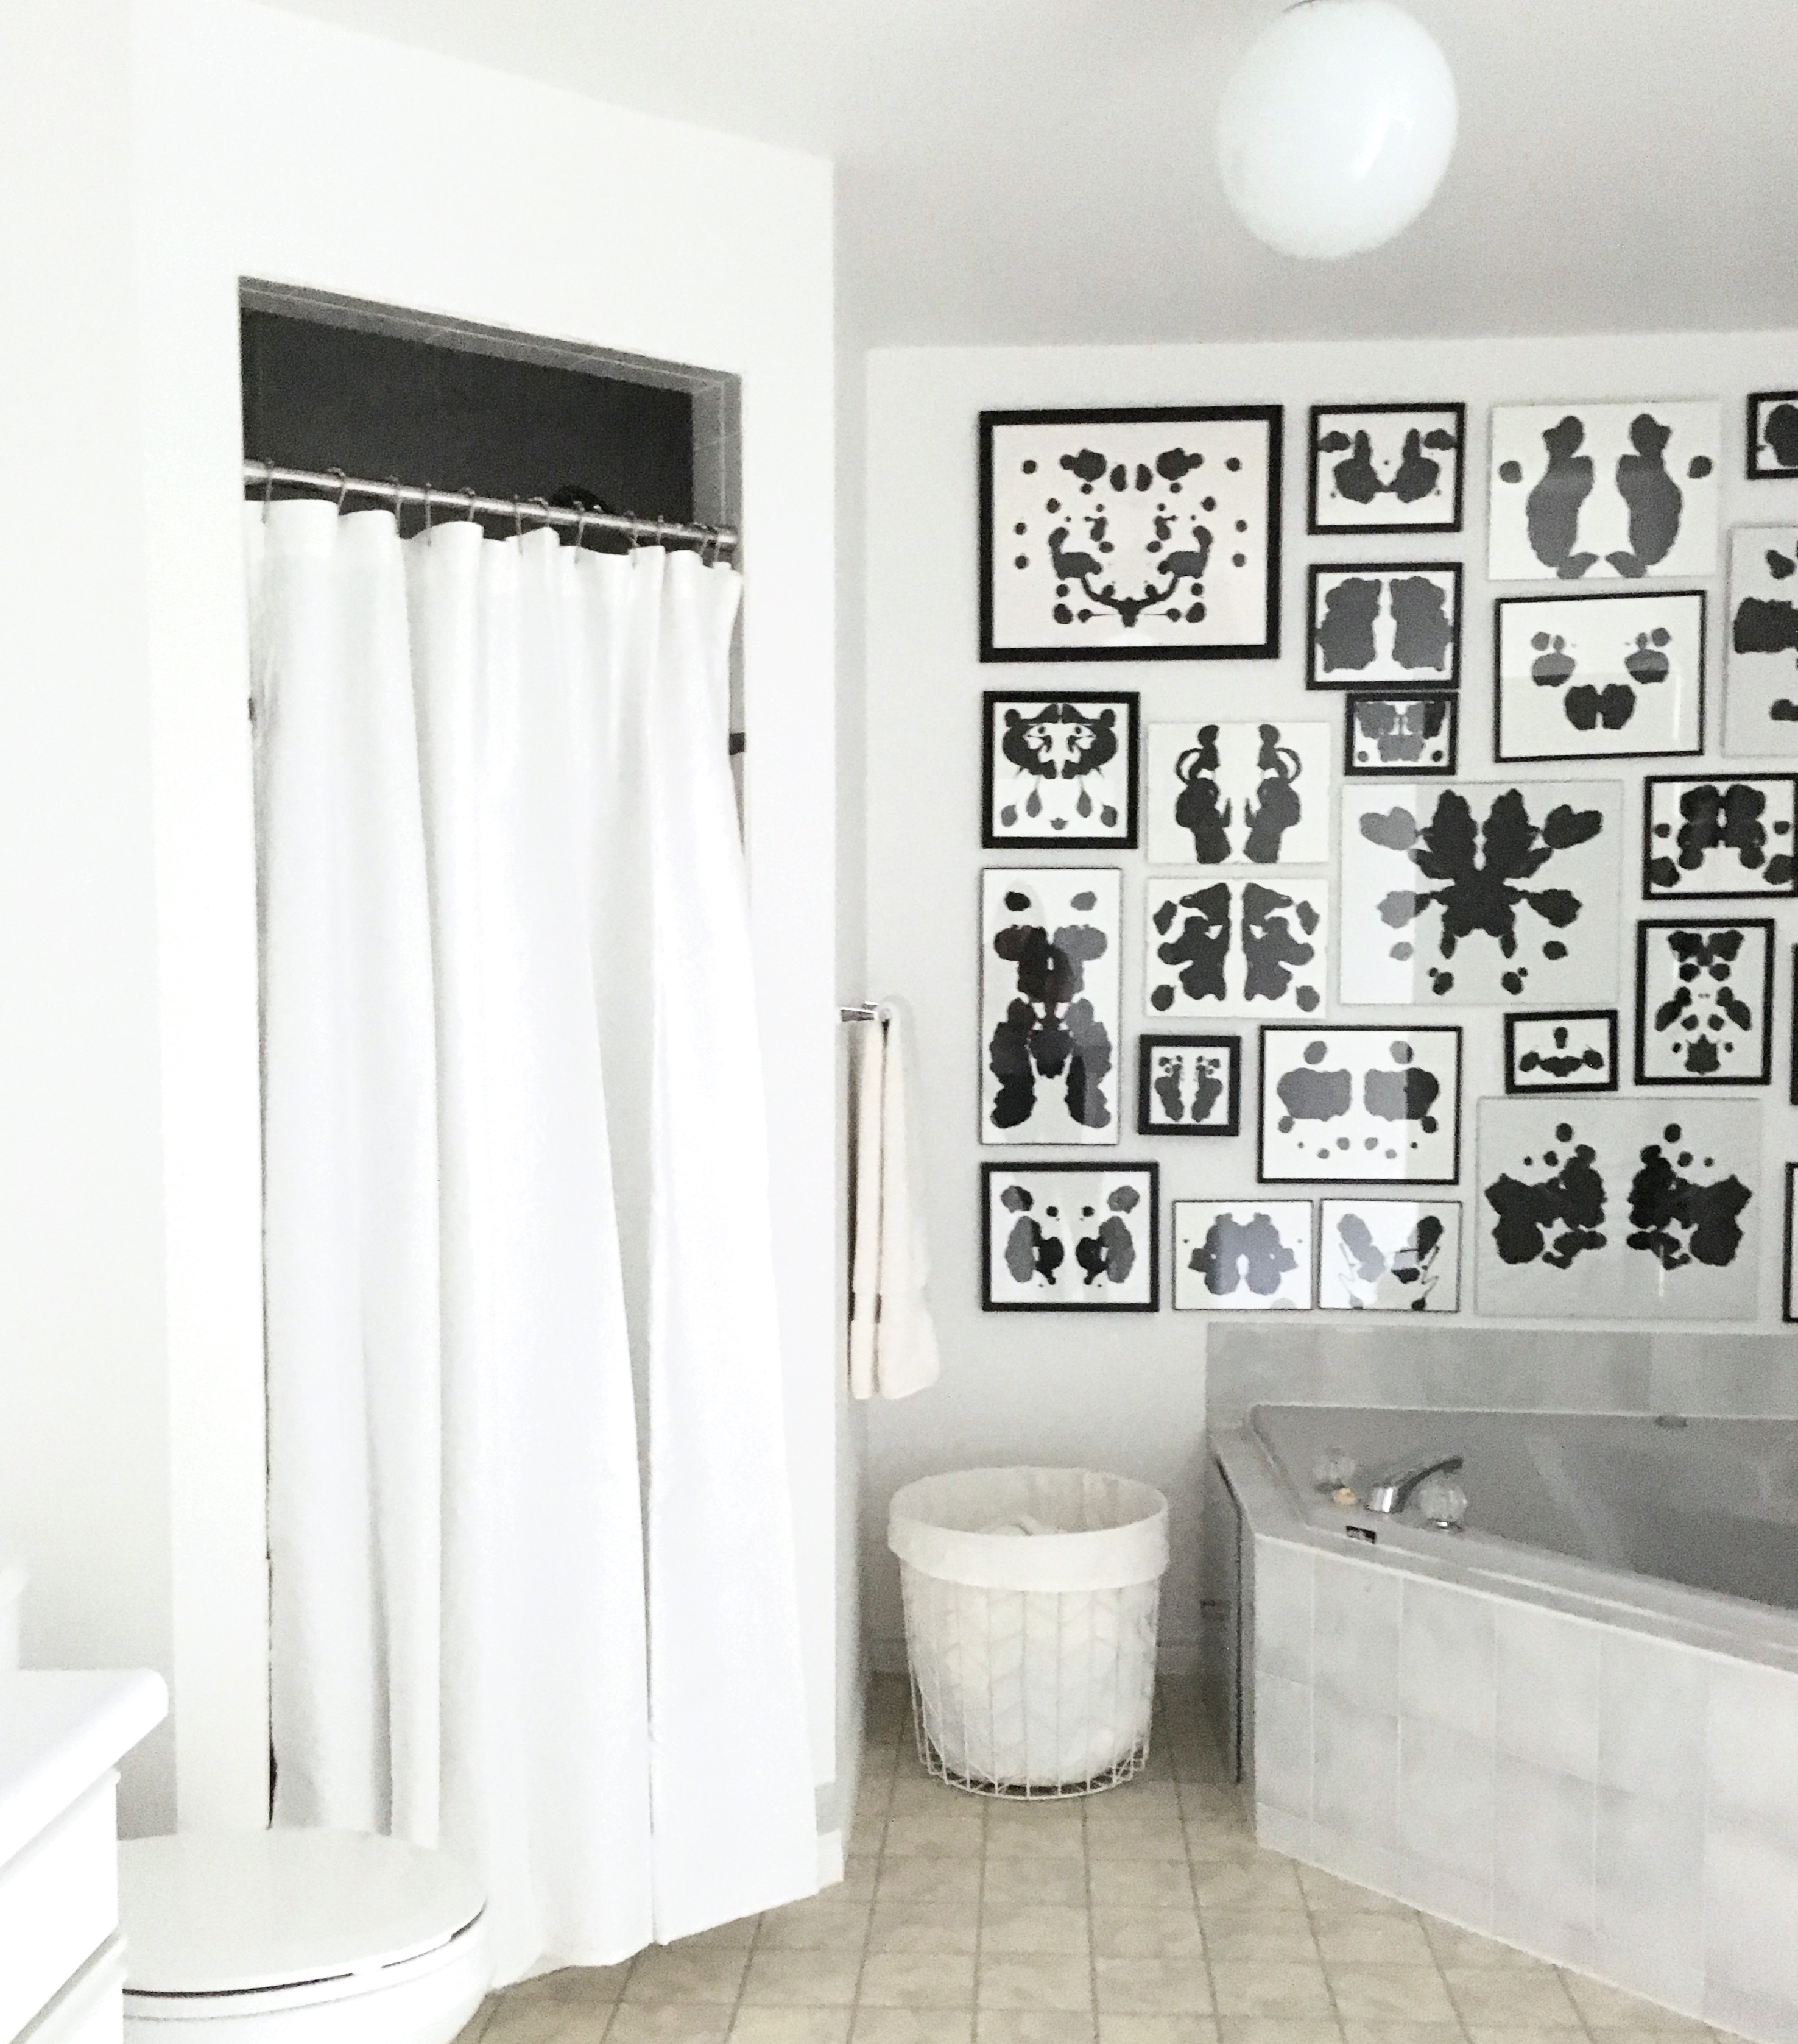

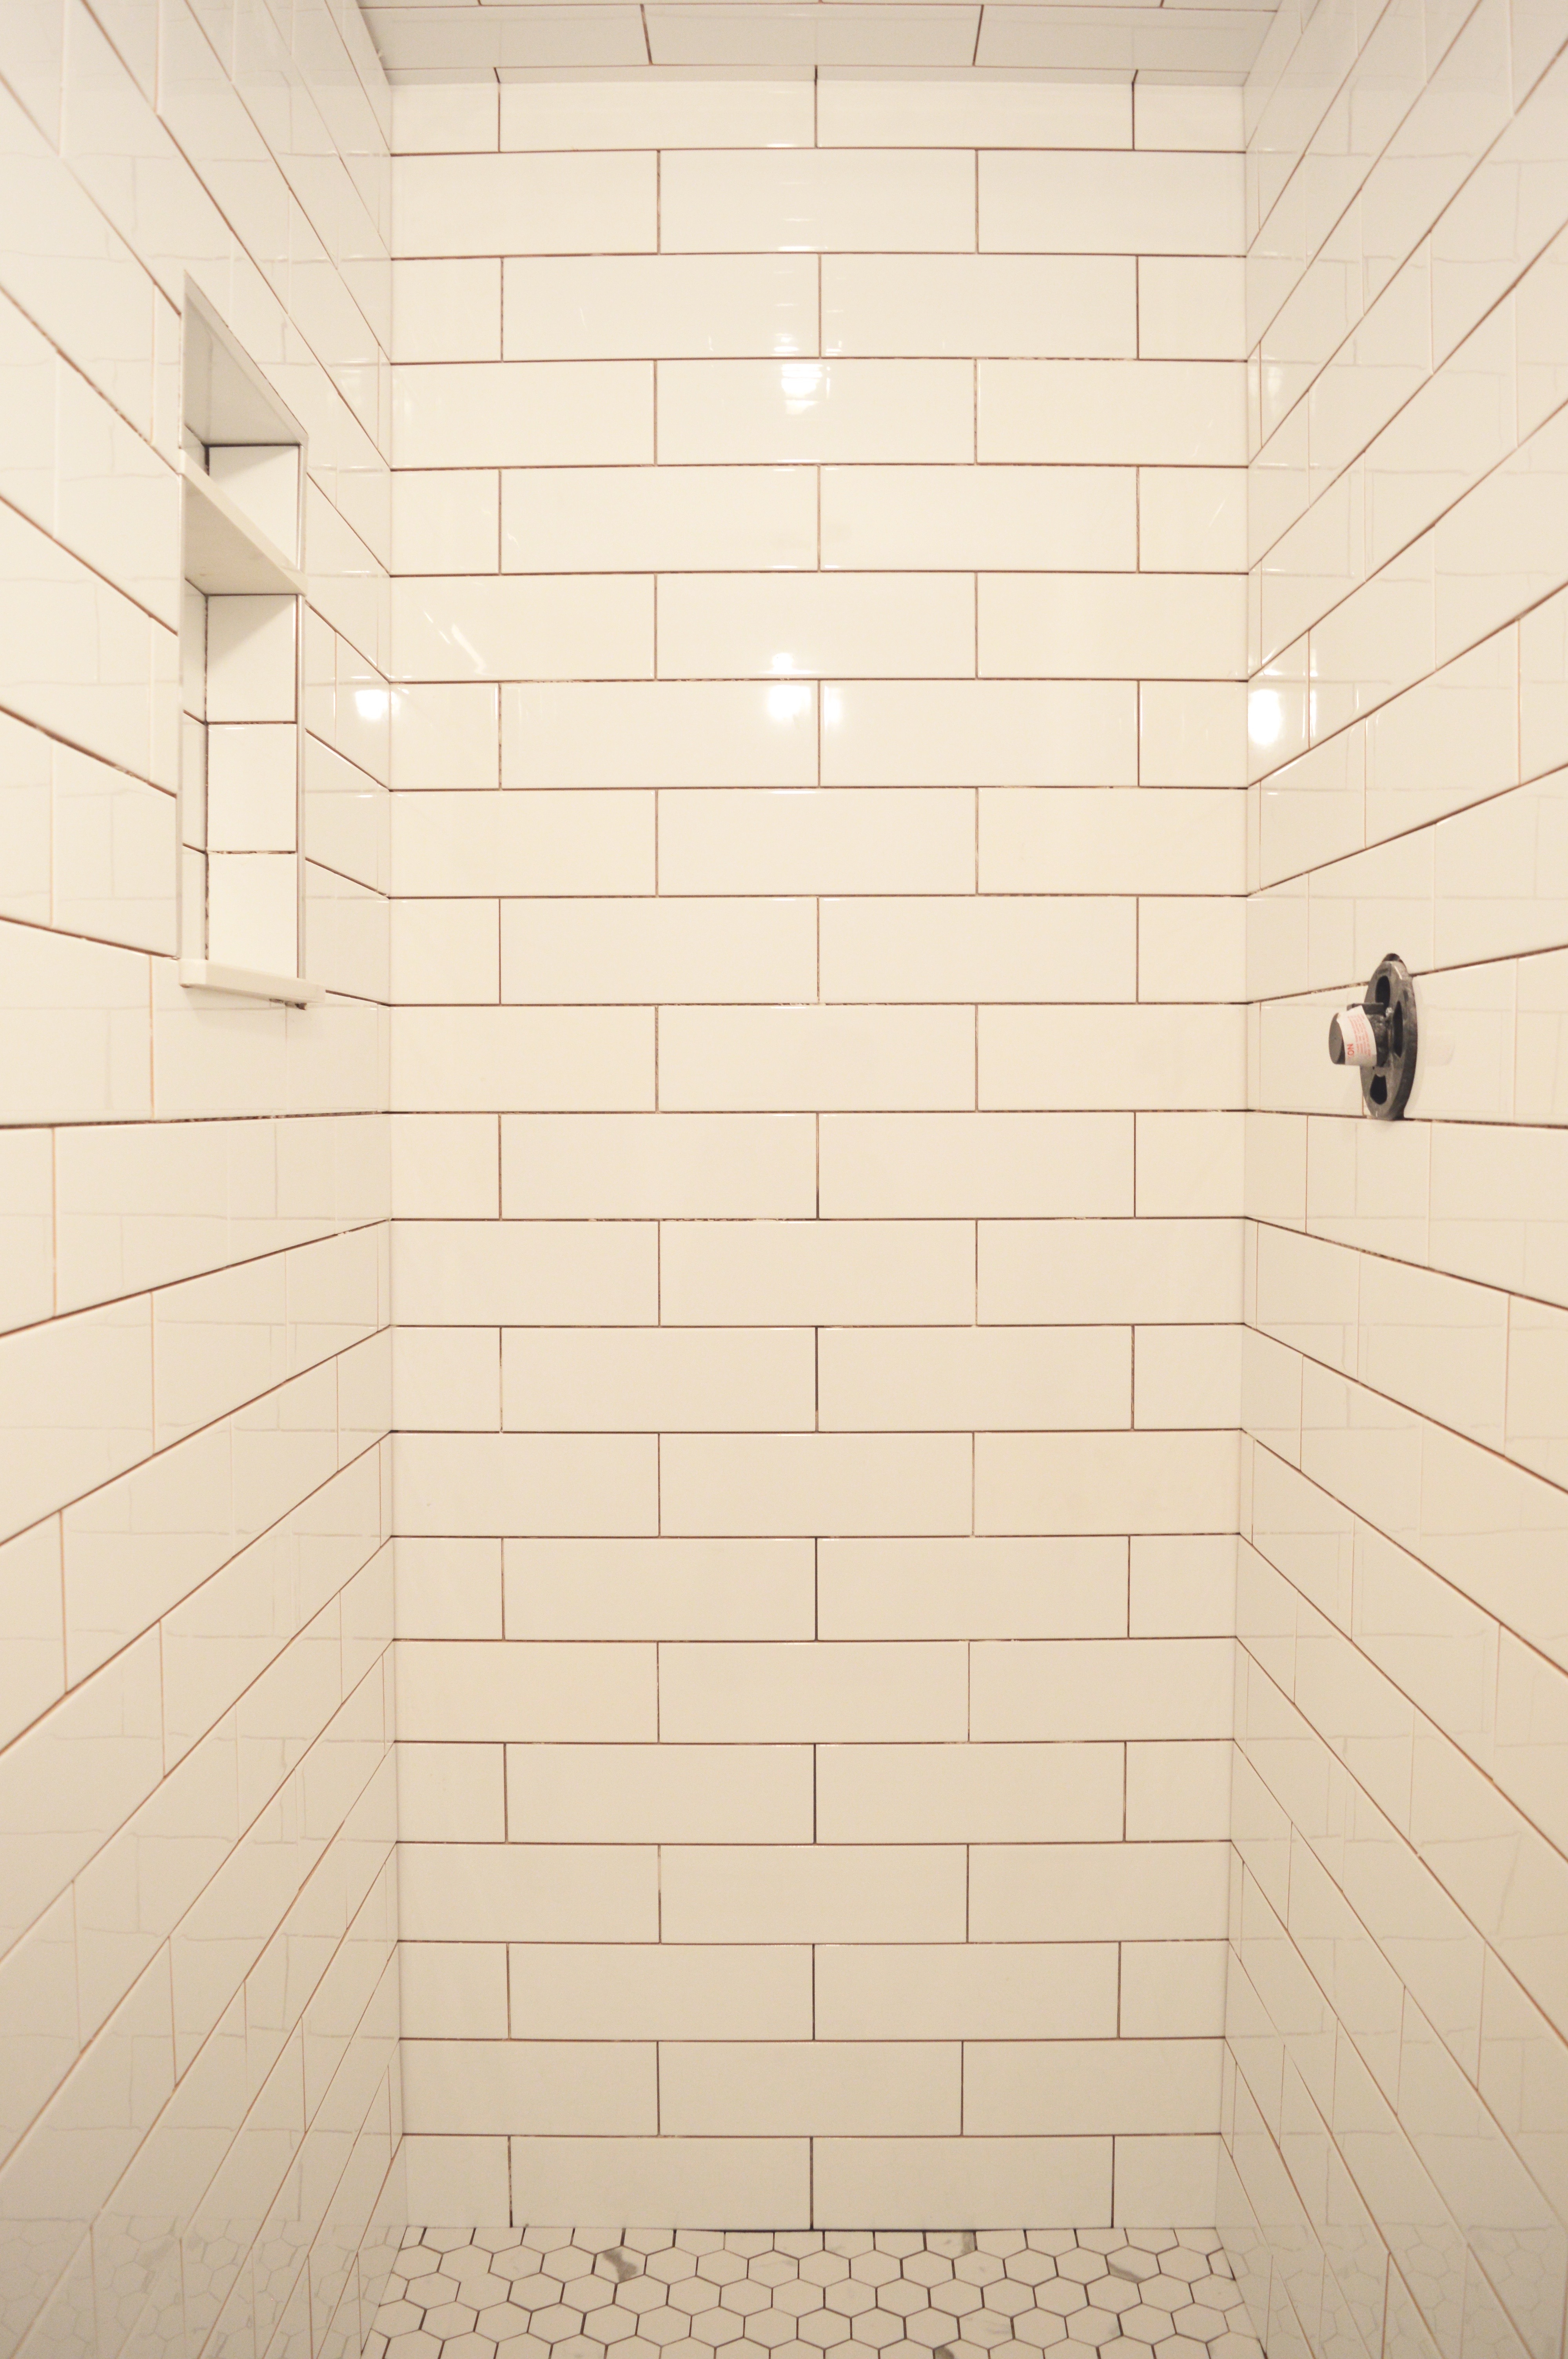
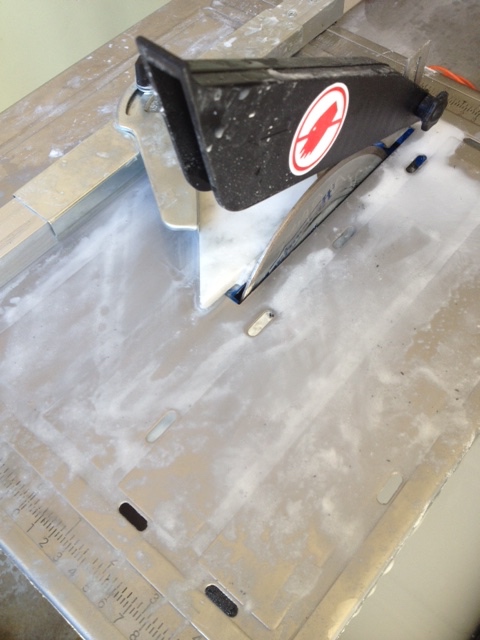
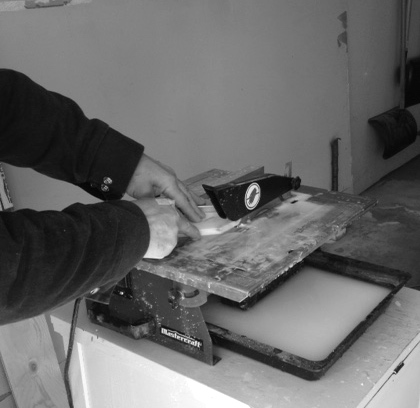
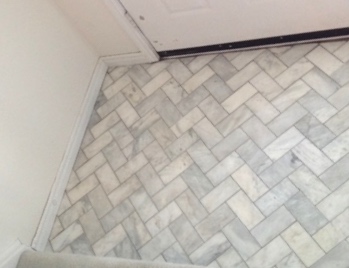
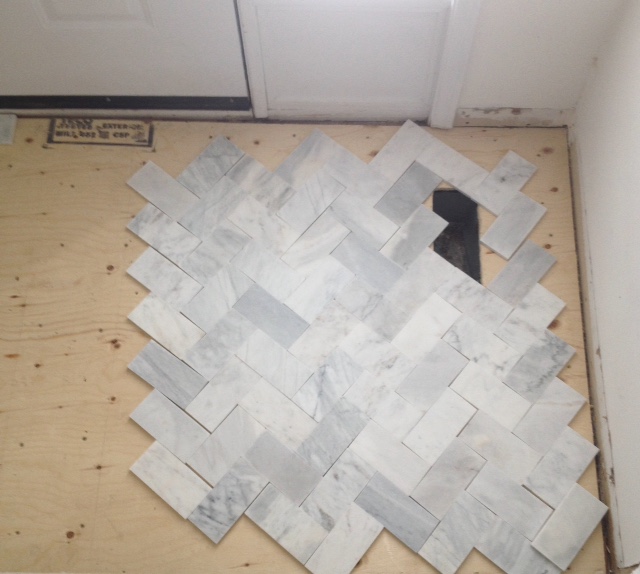
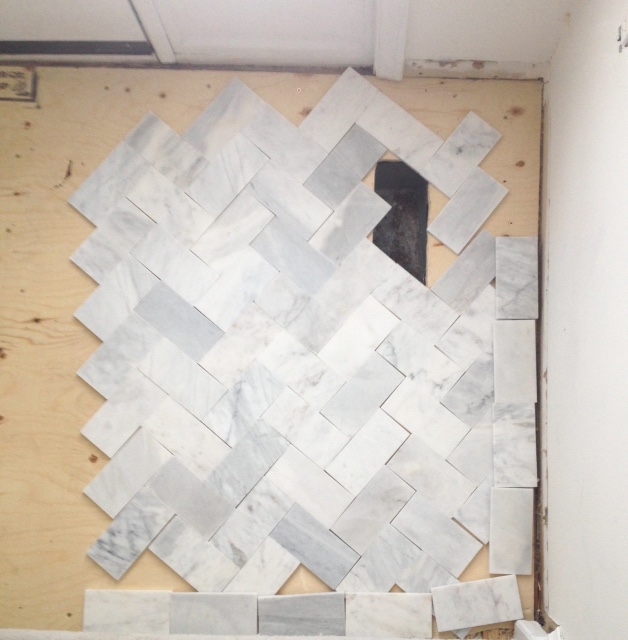
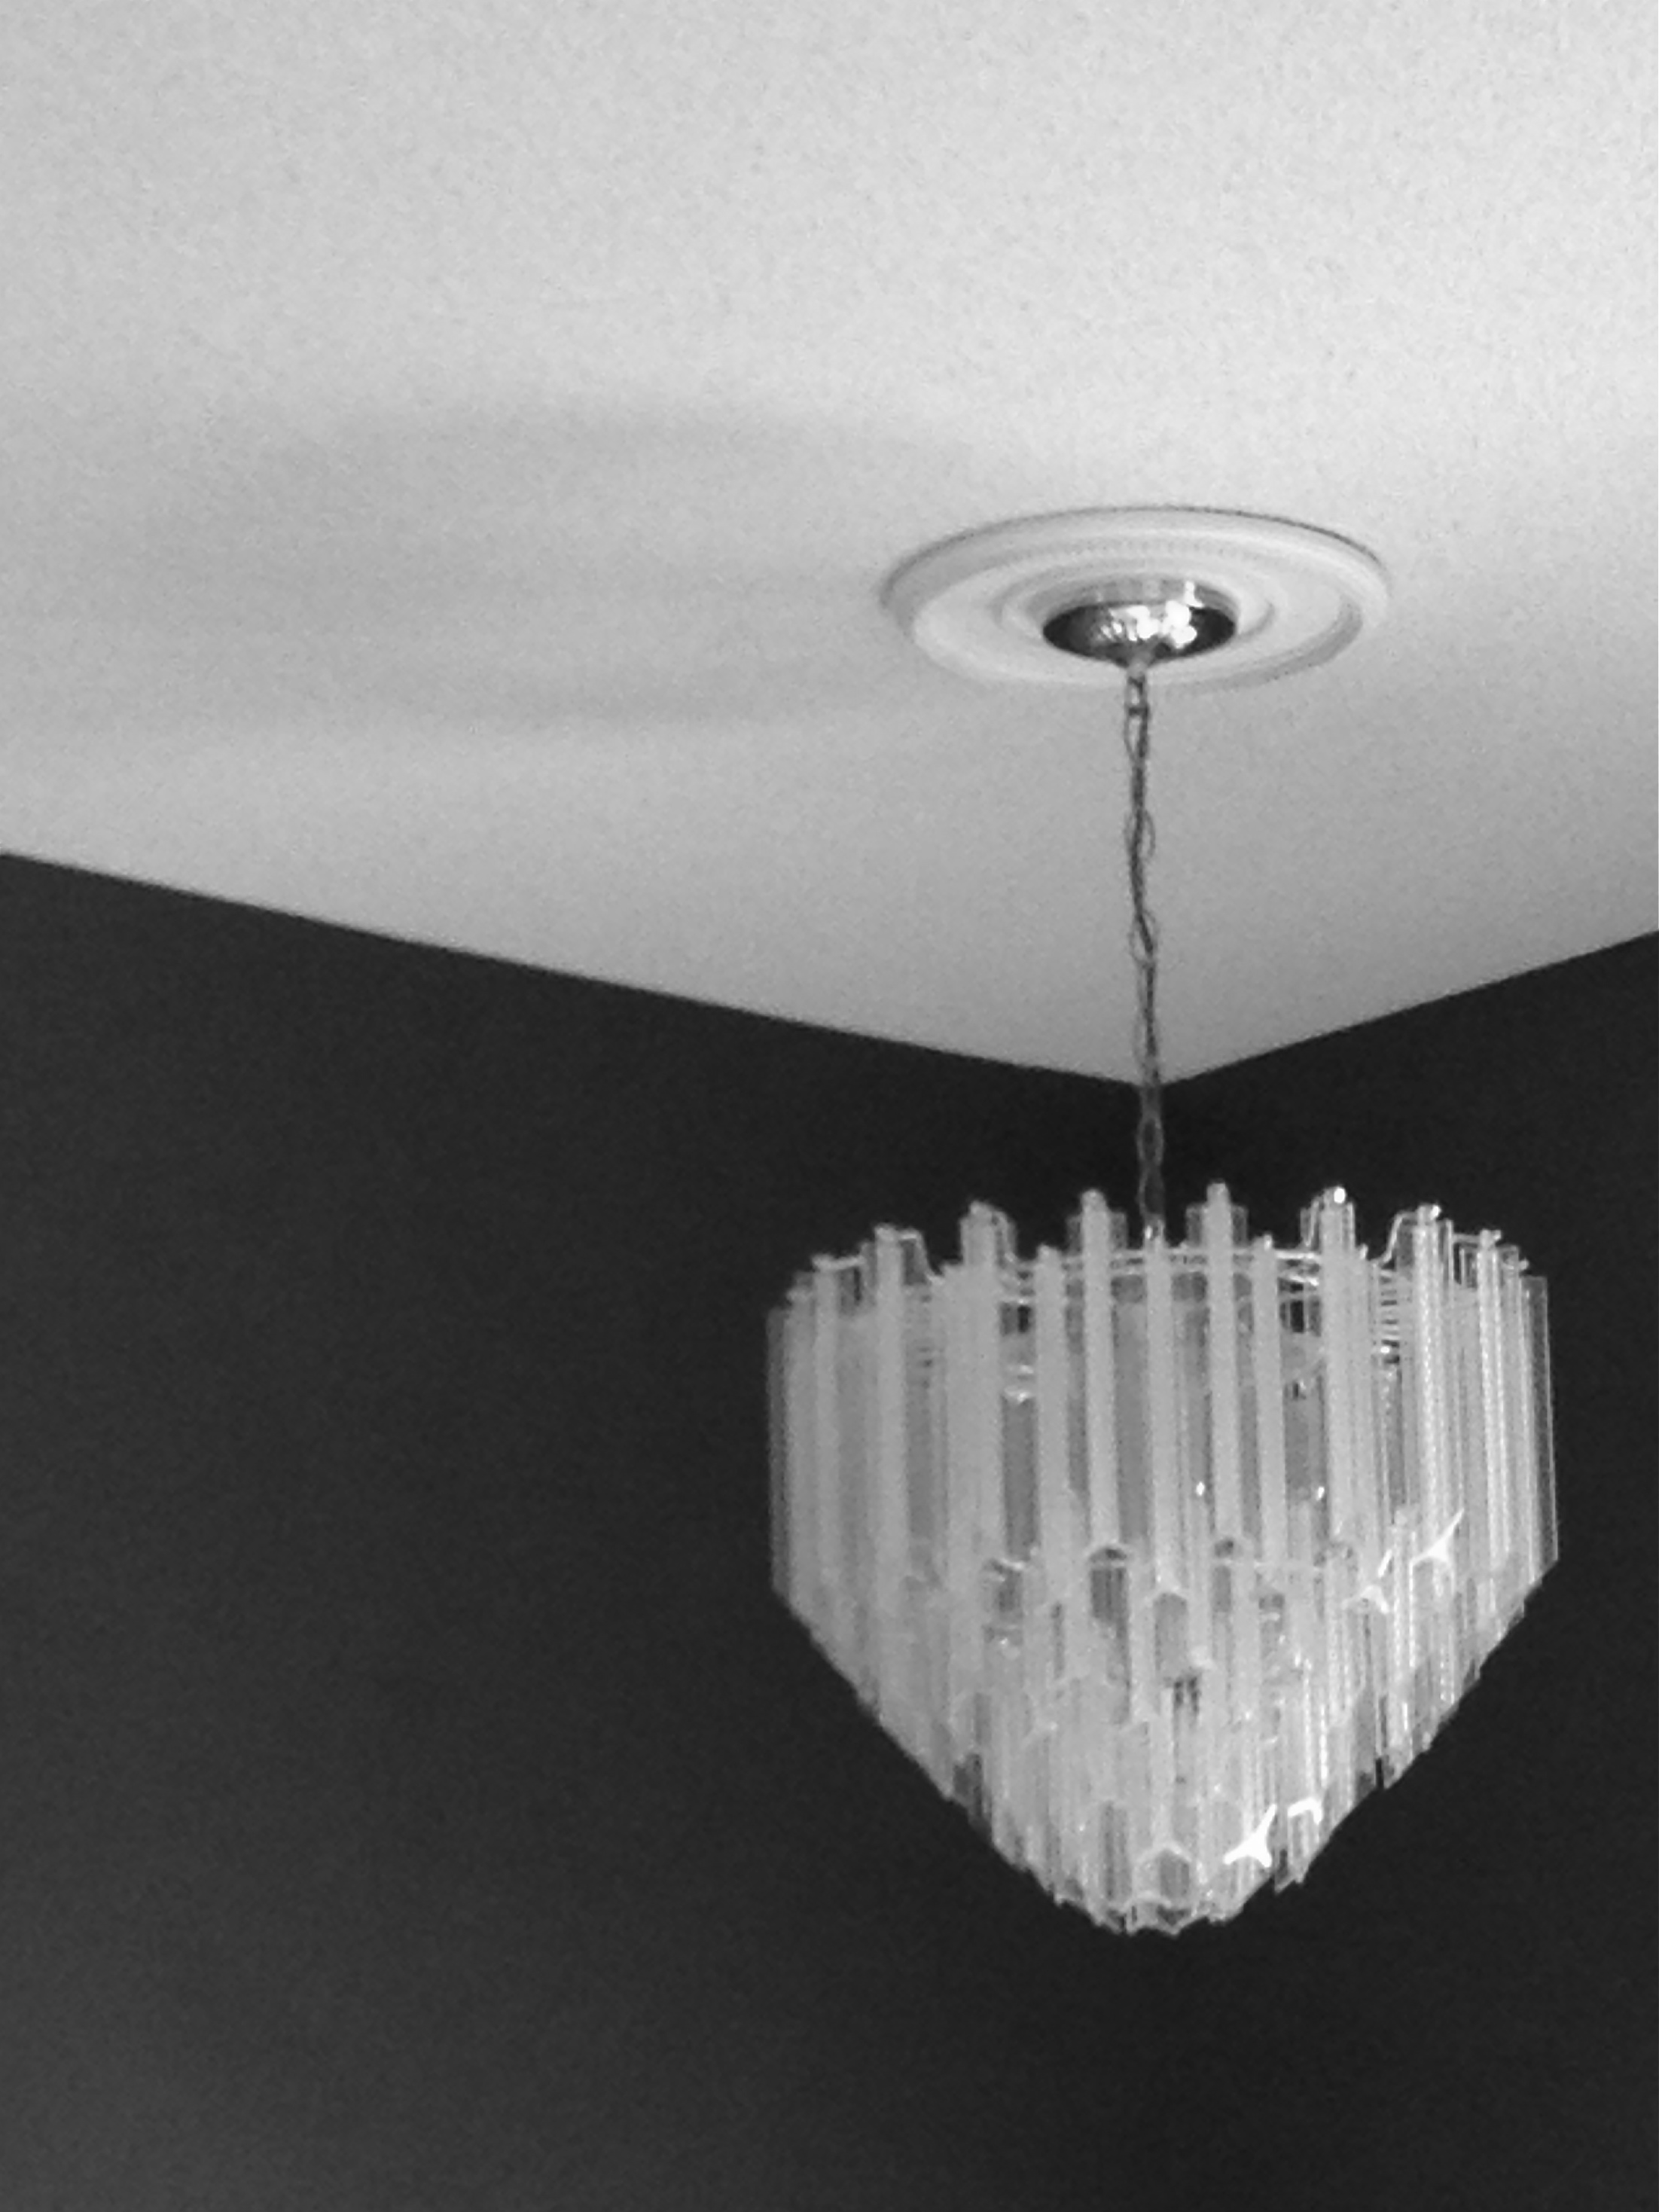
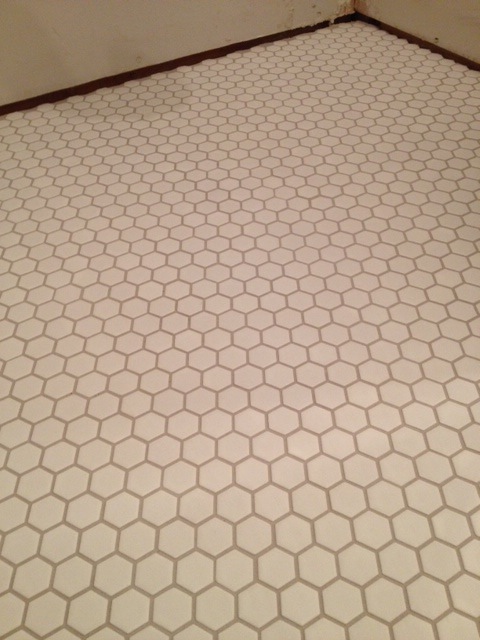
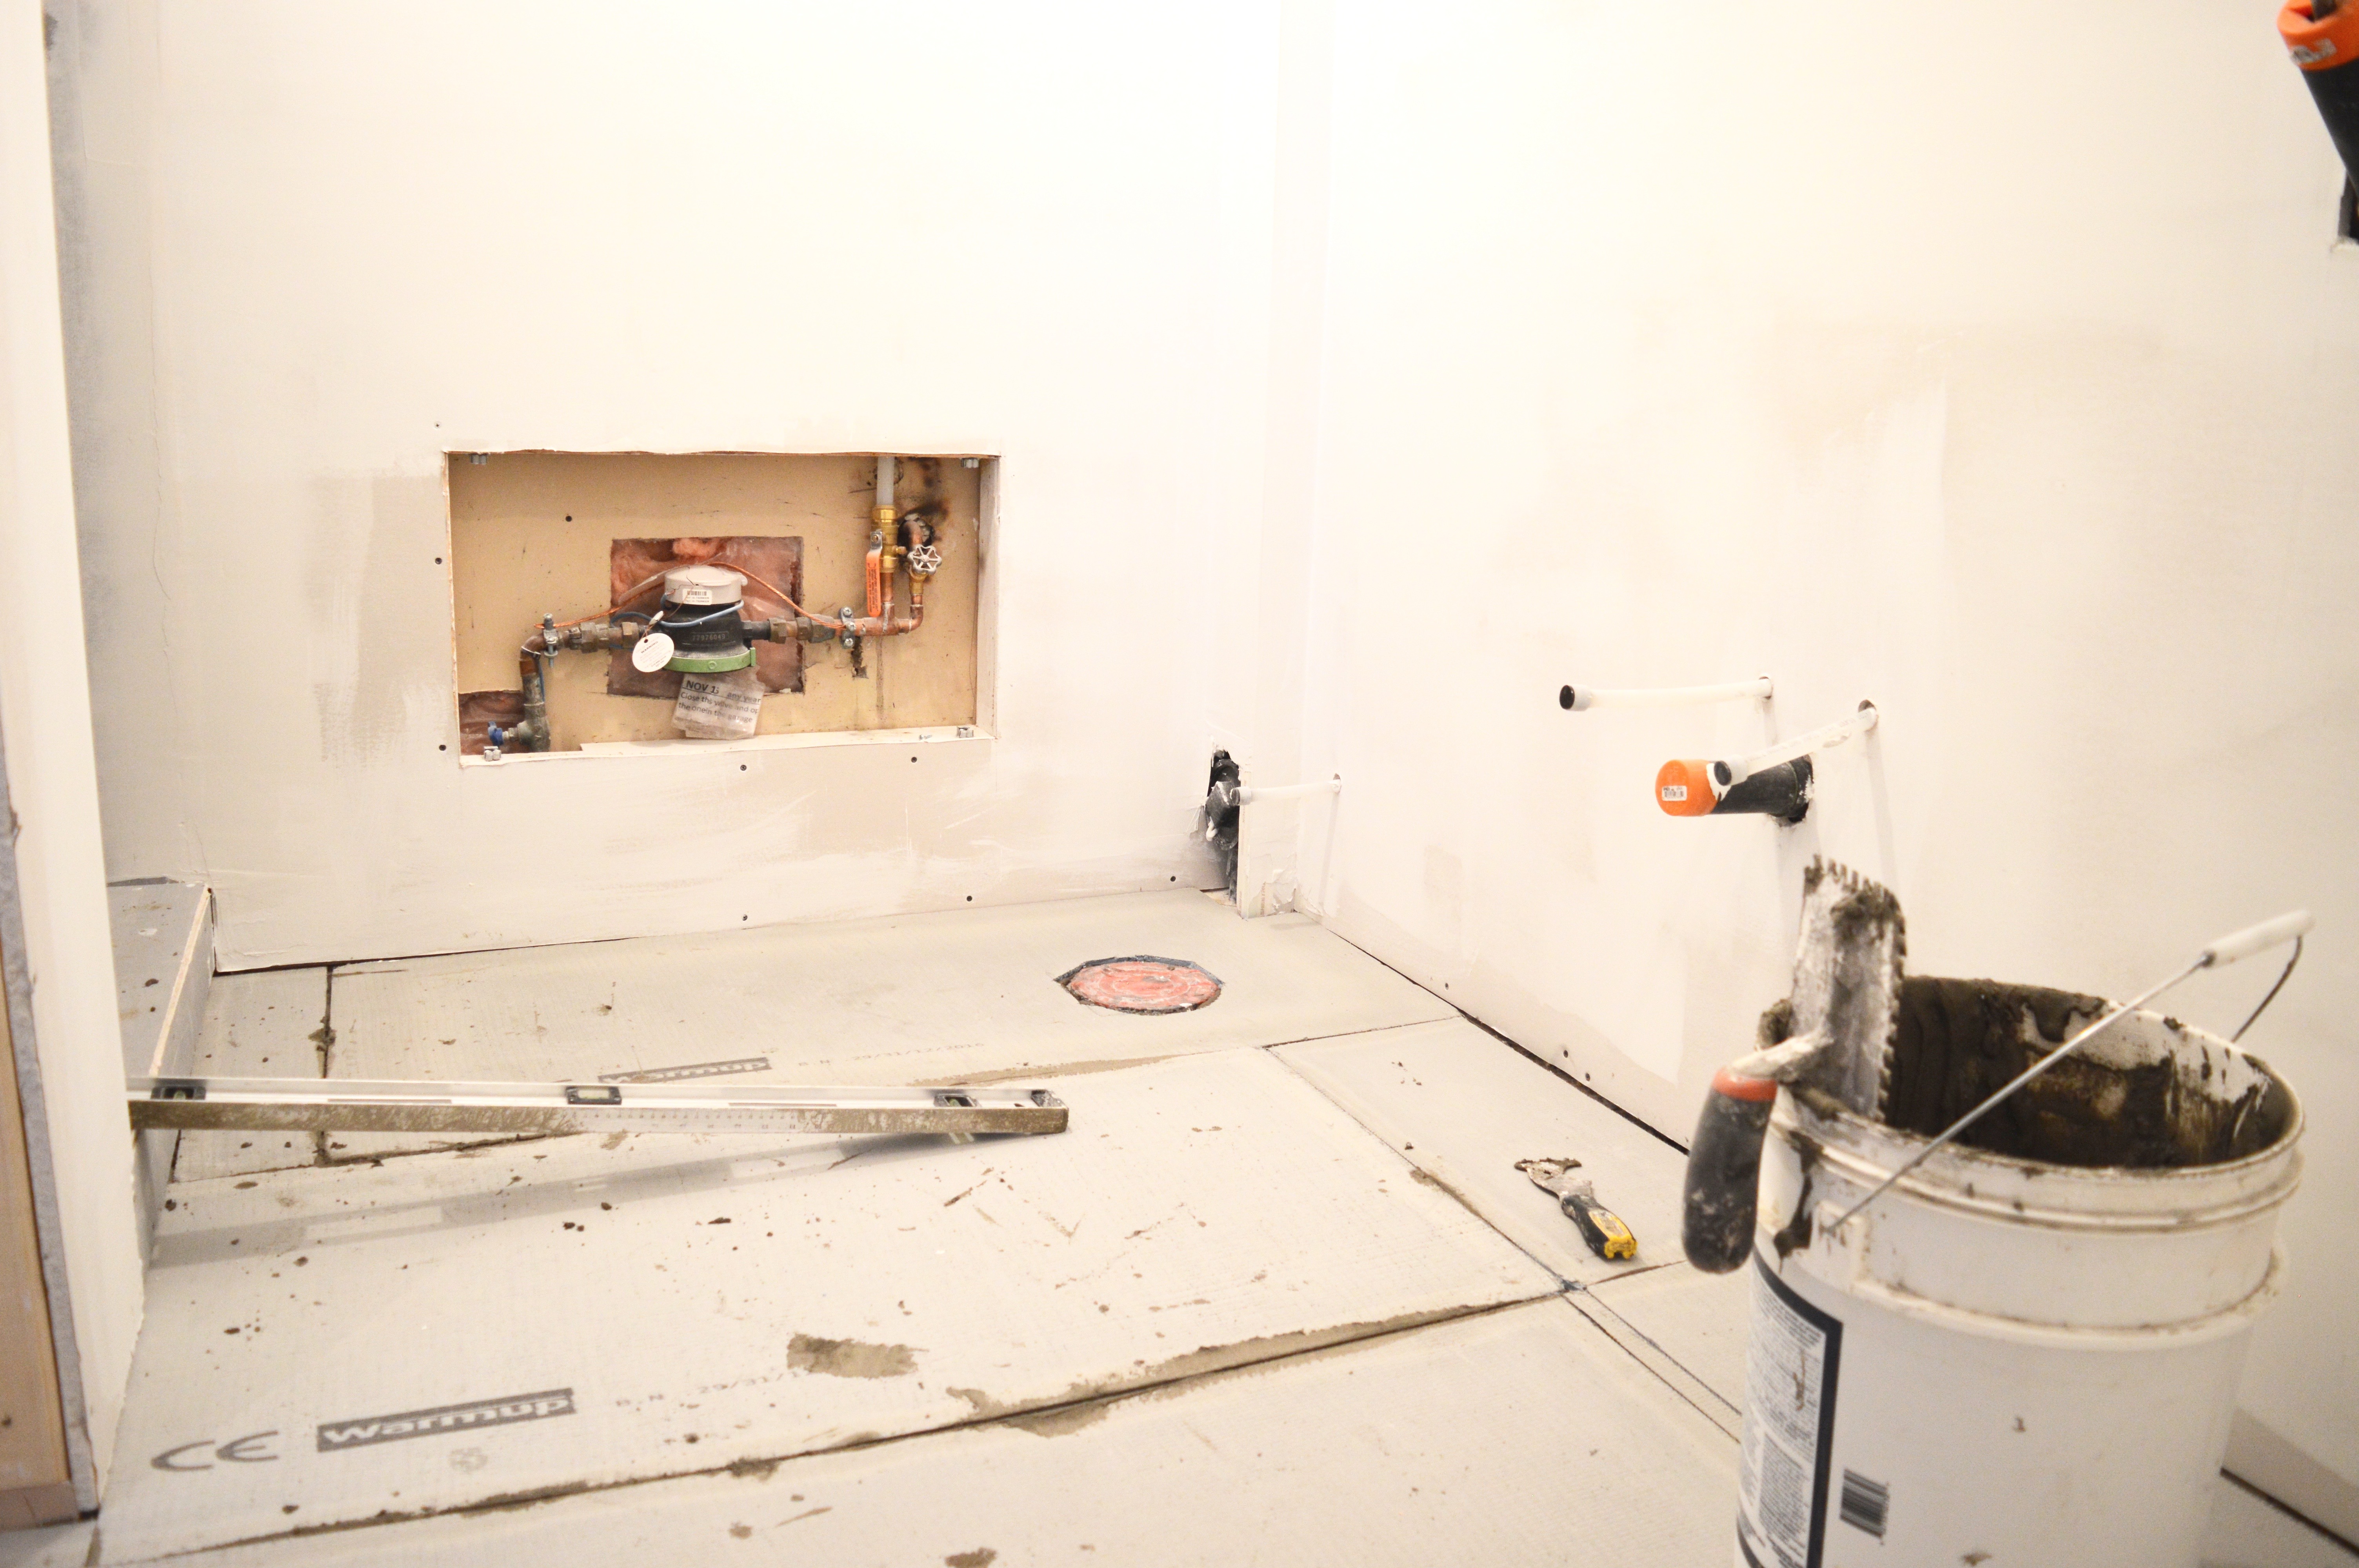
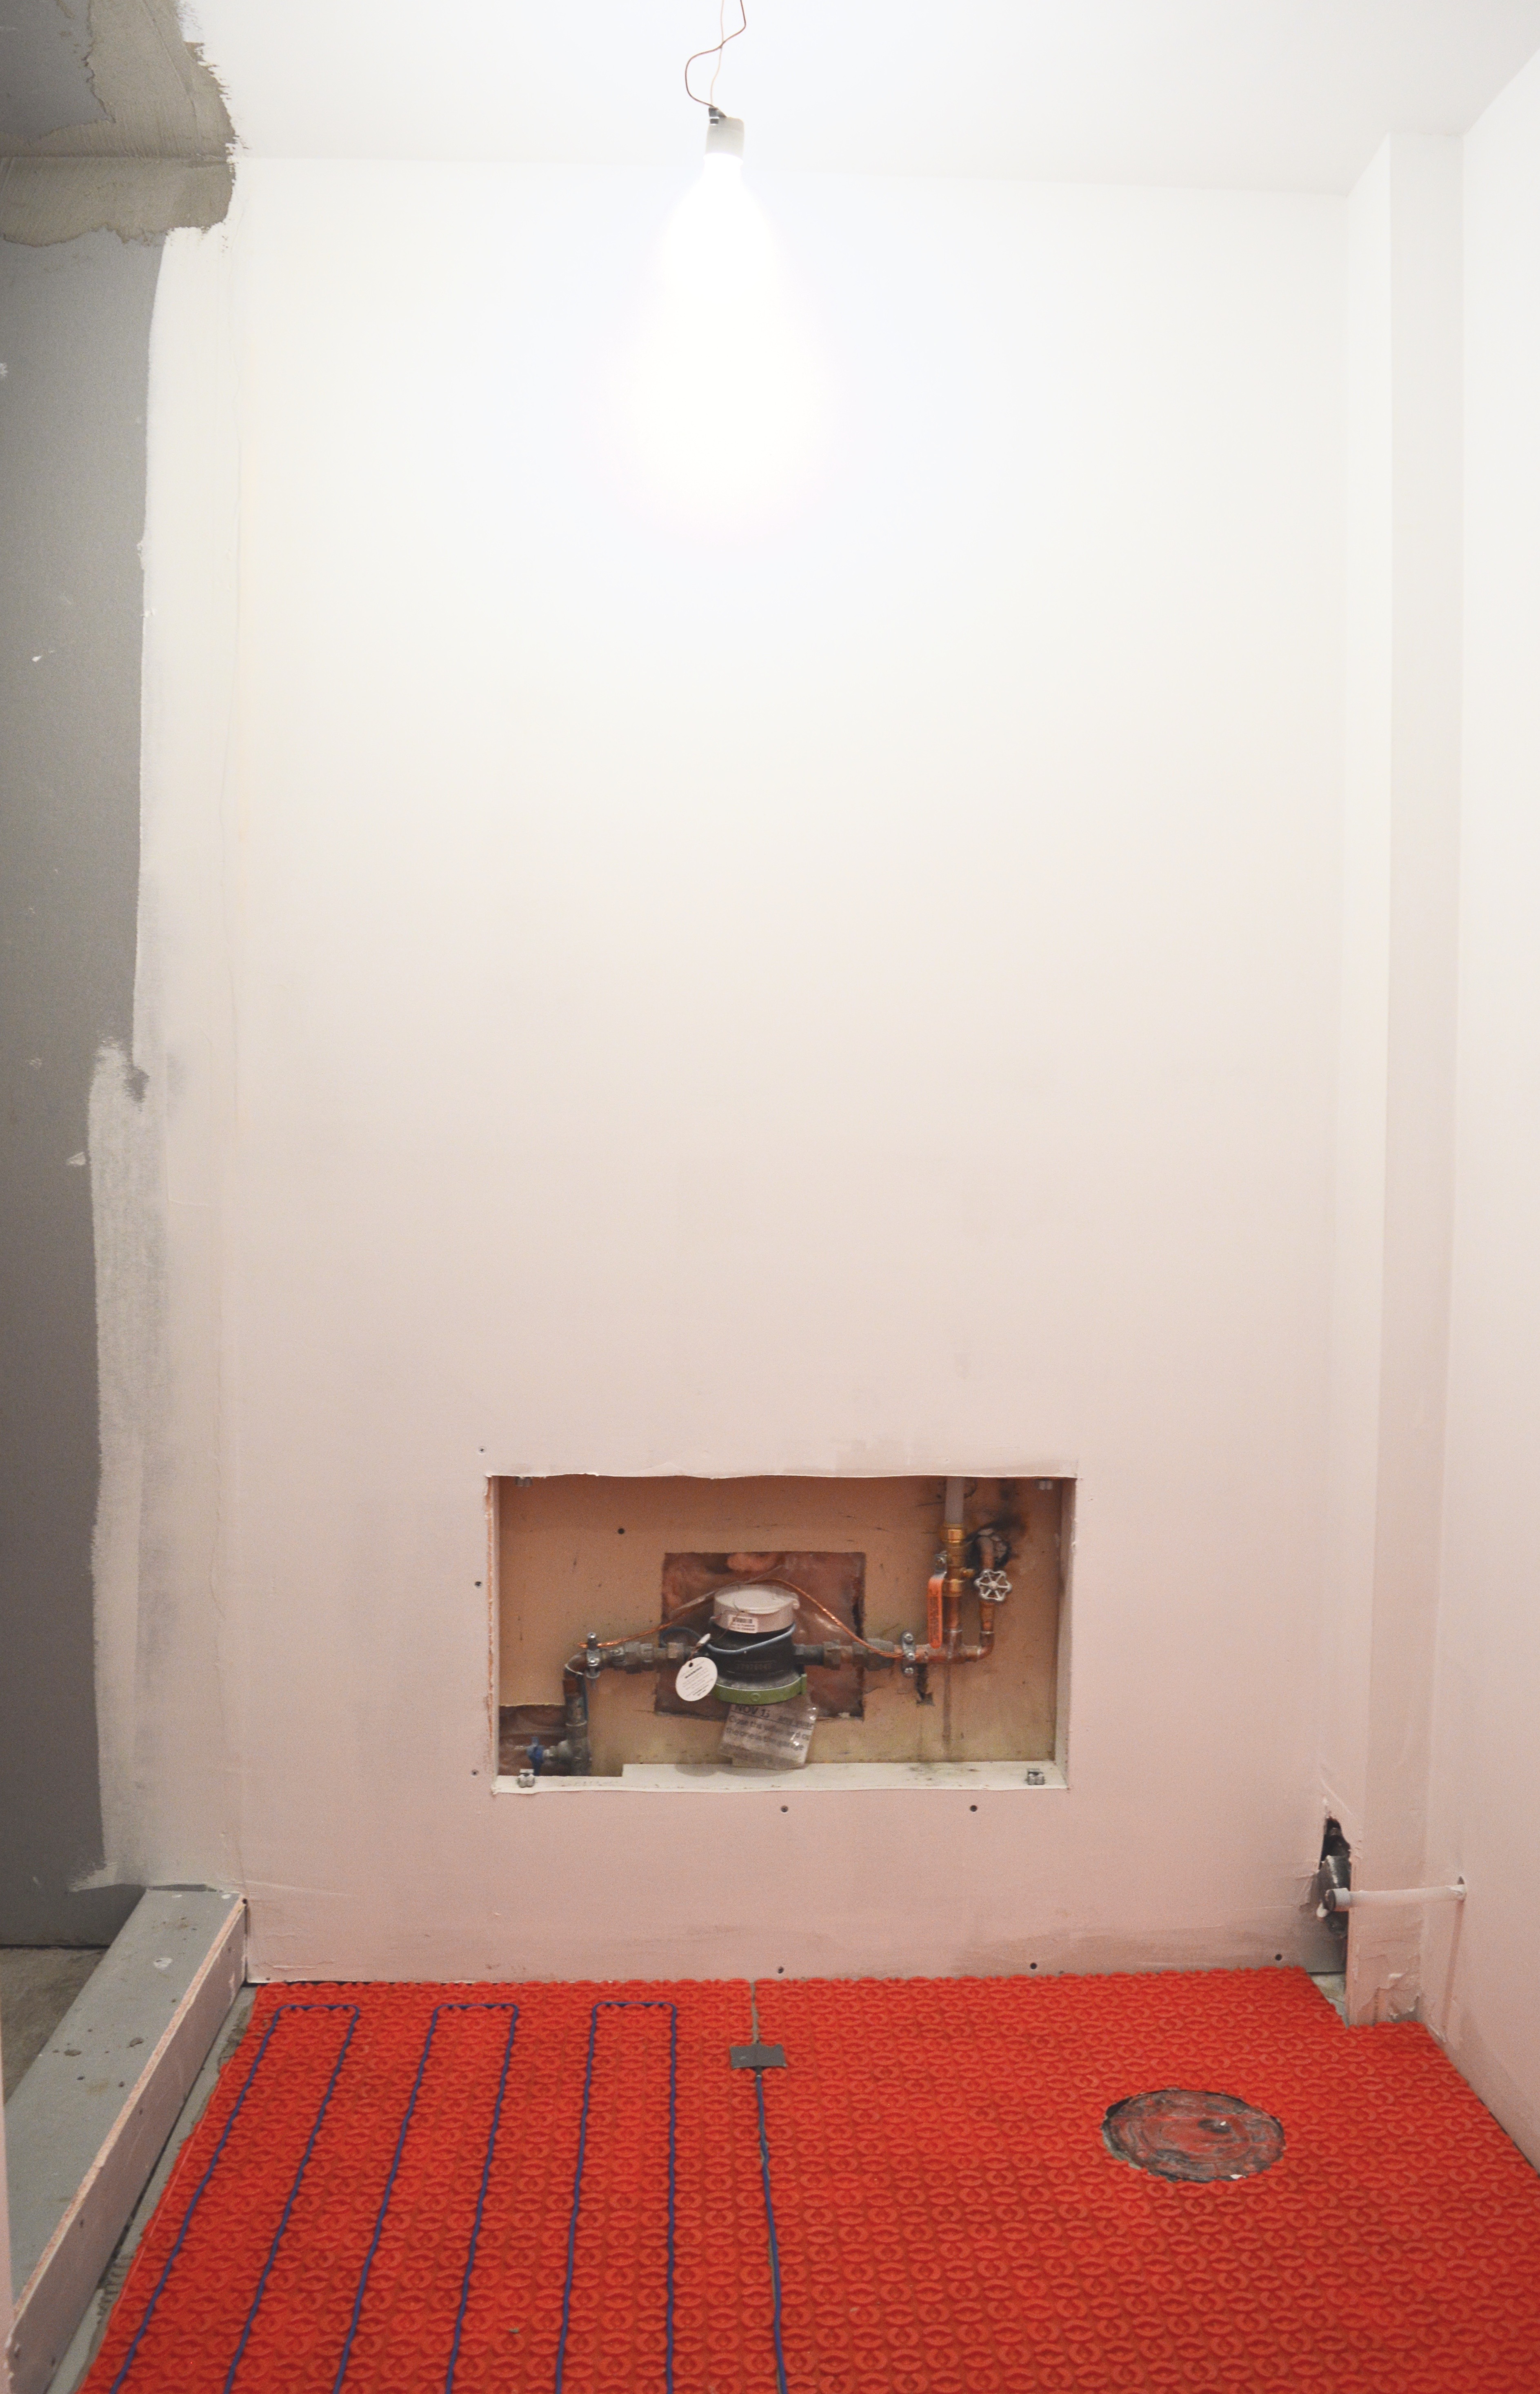
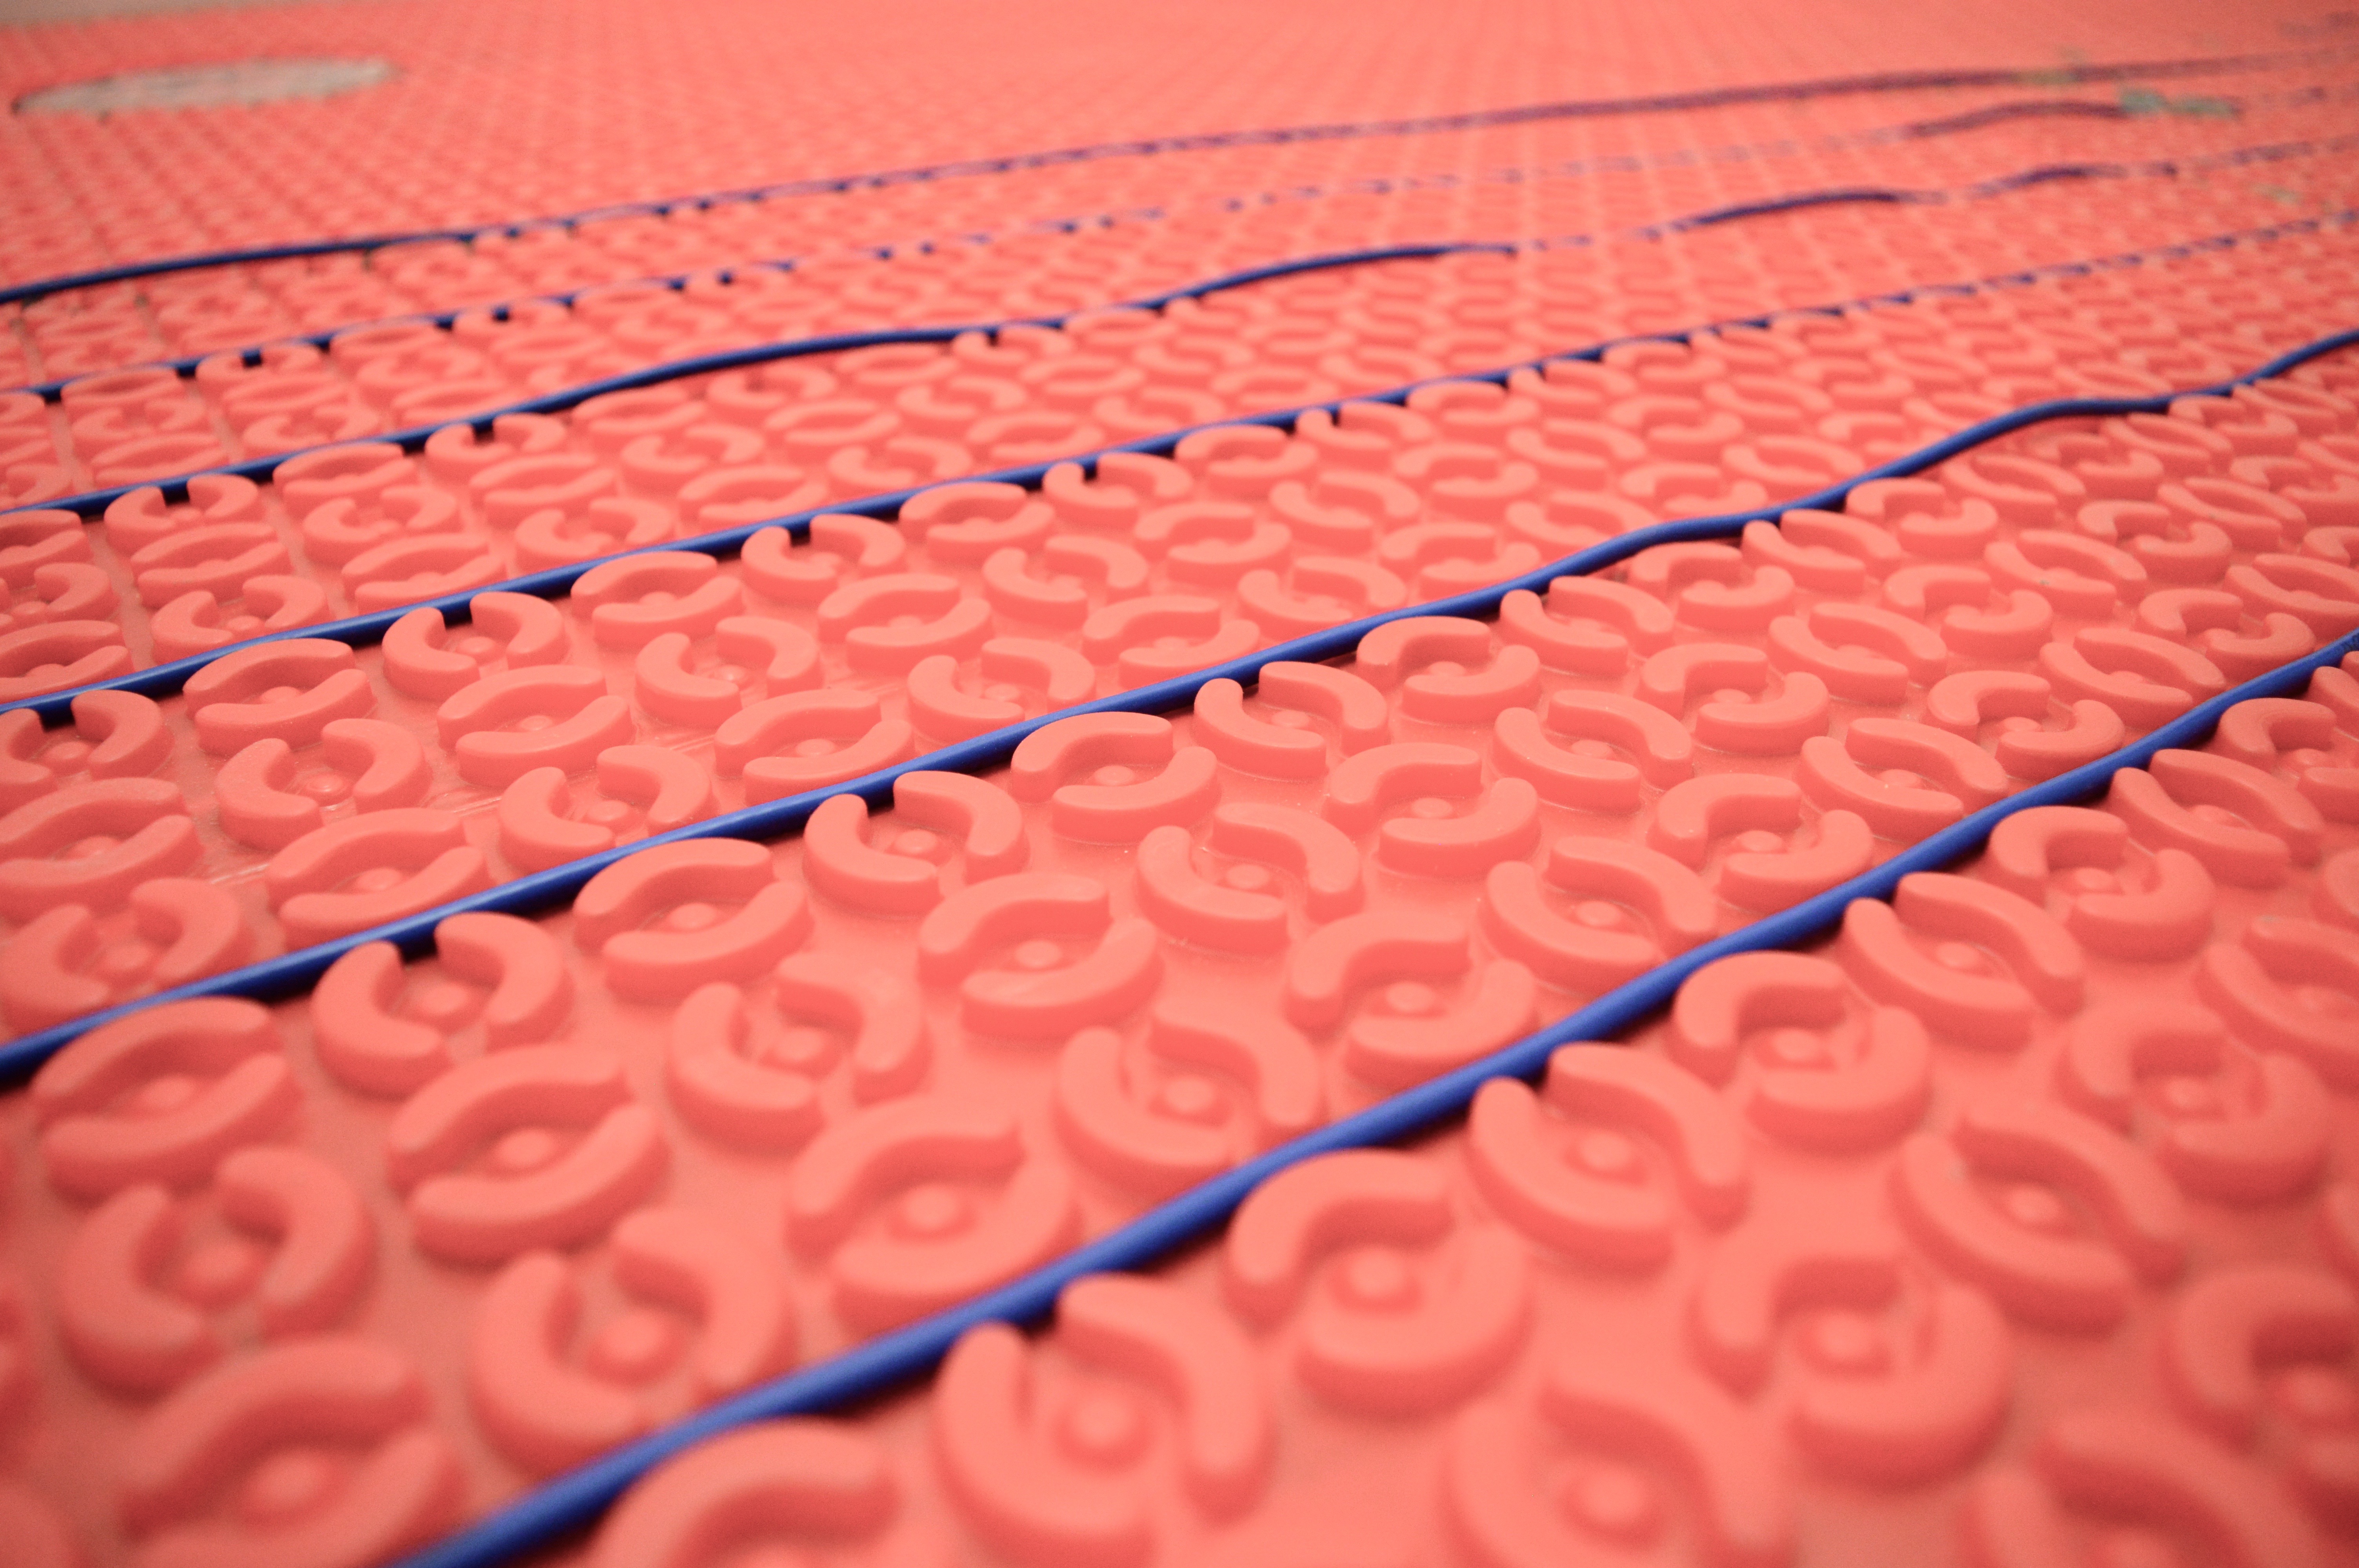
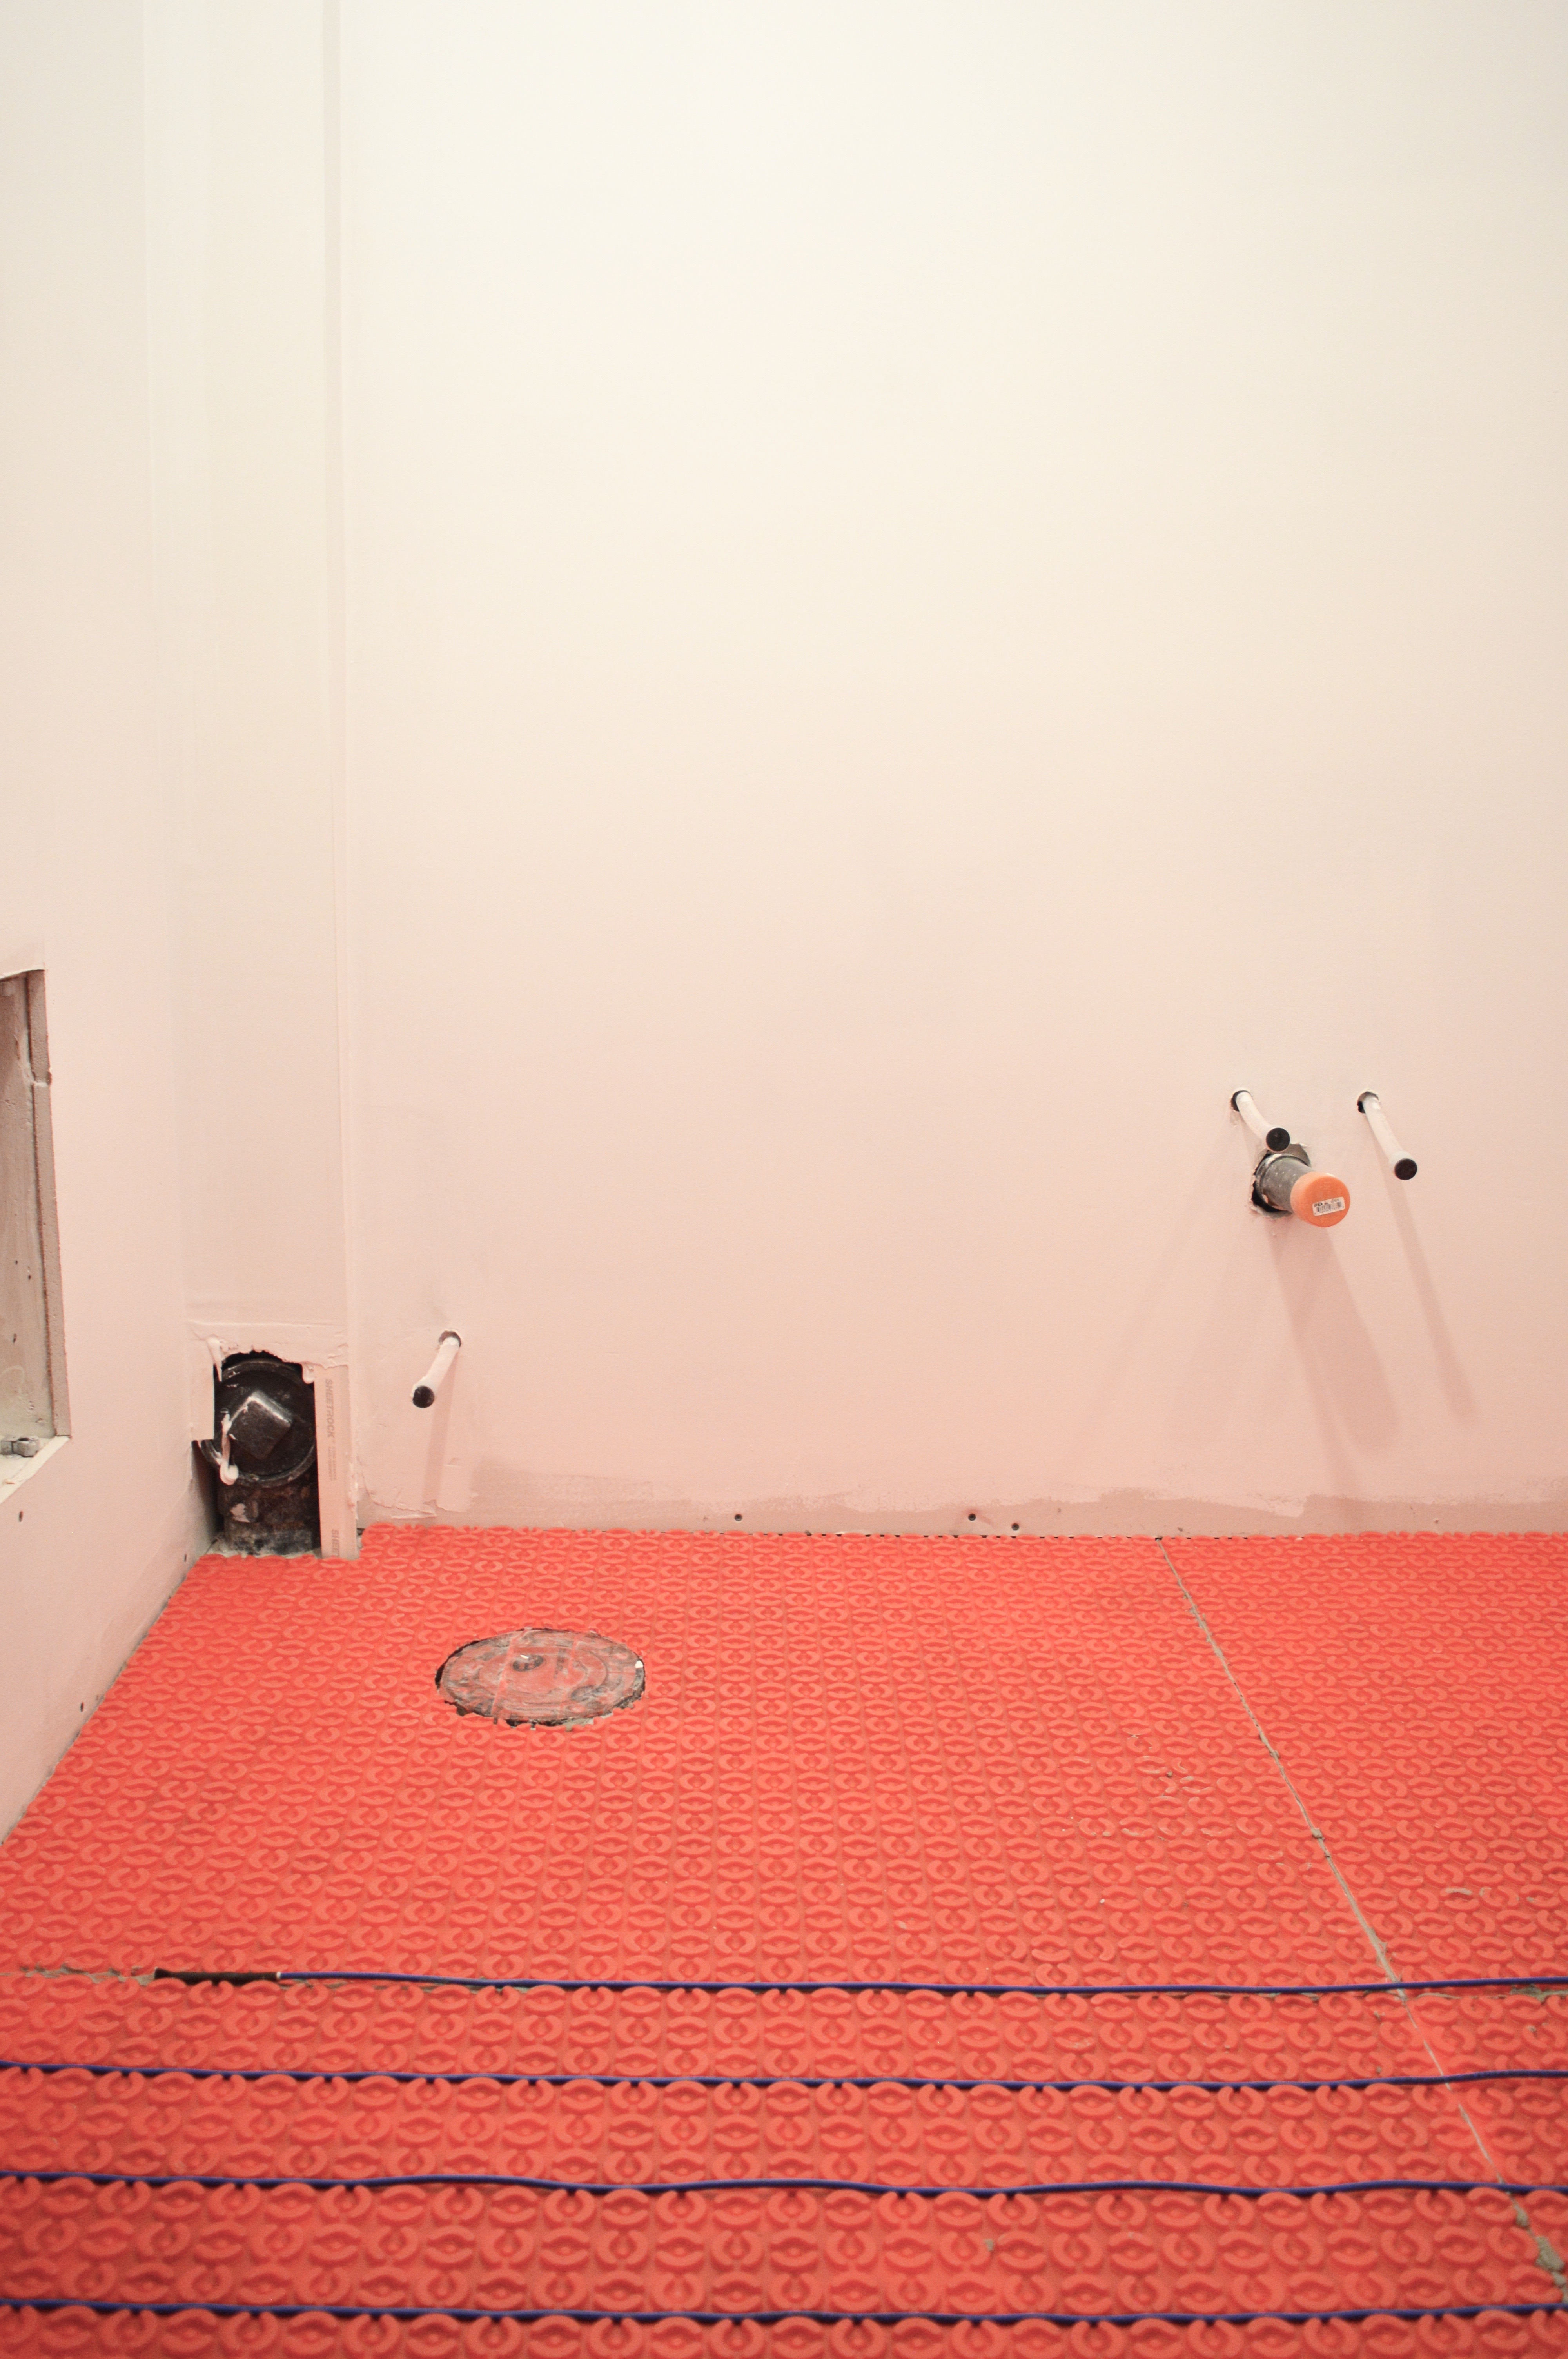
 the beginning of a beautiful shower
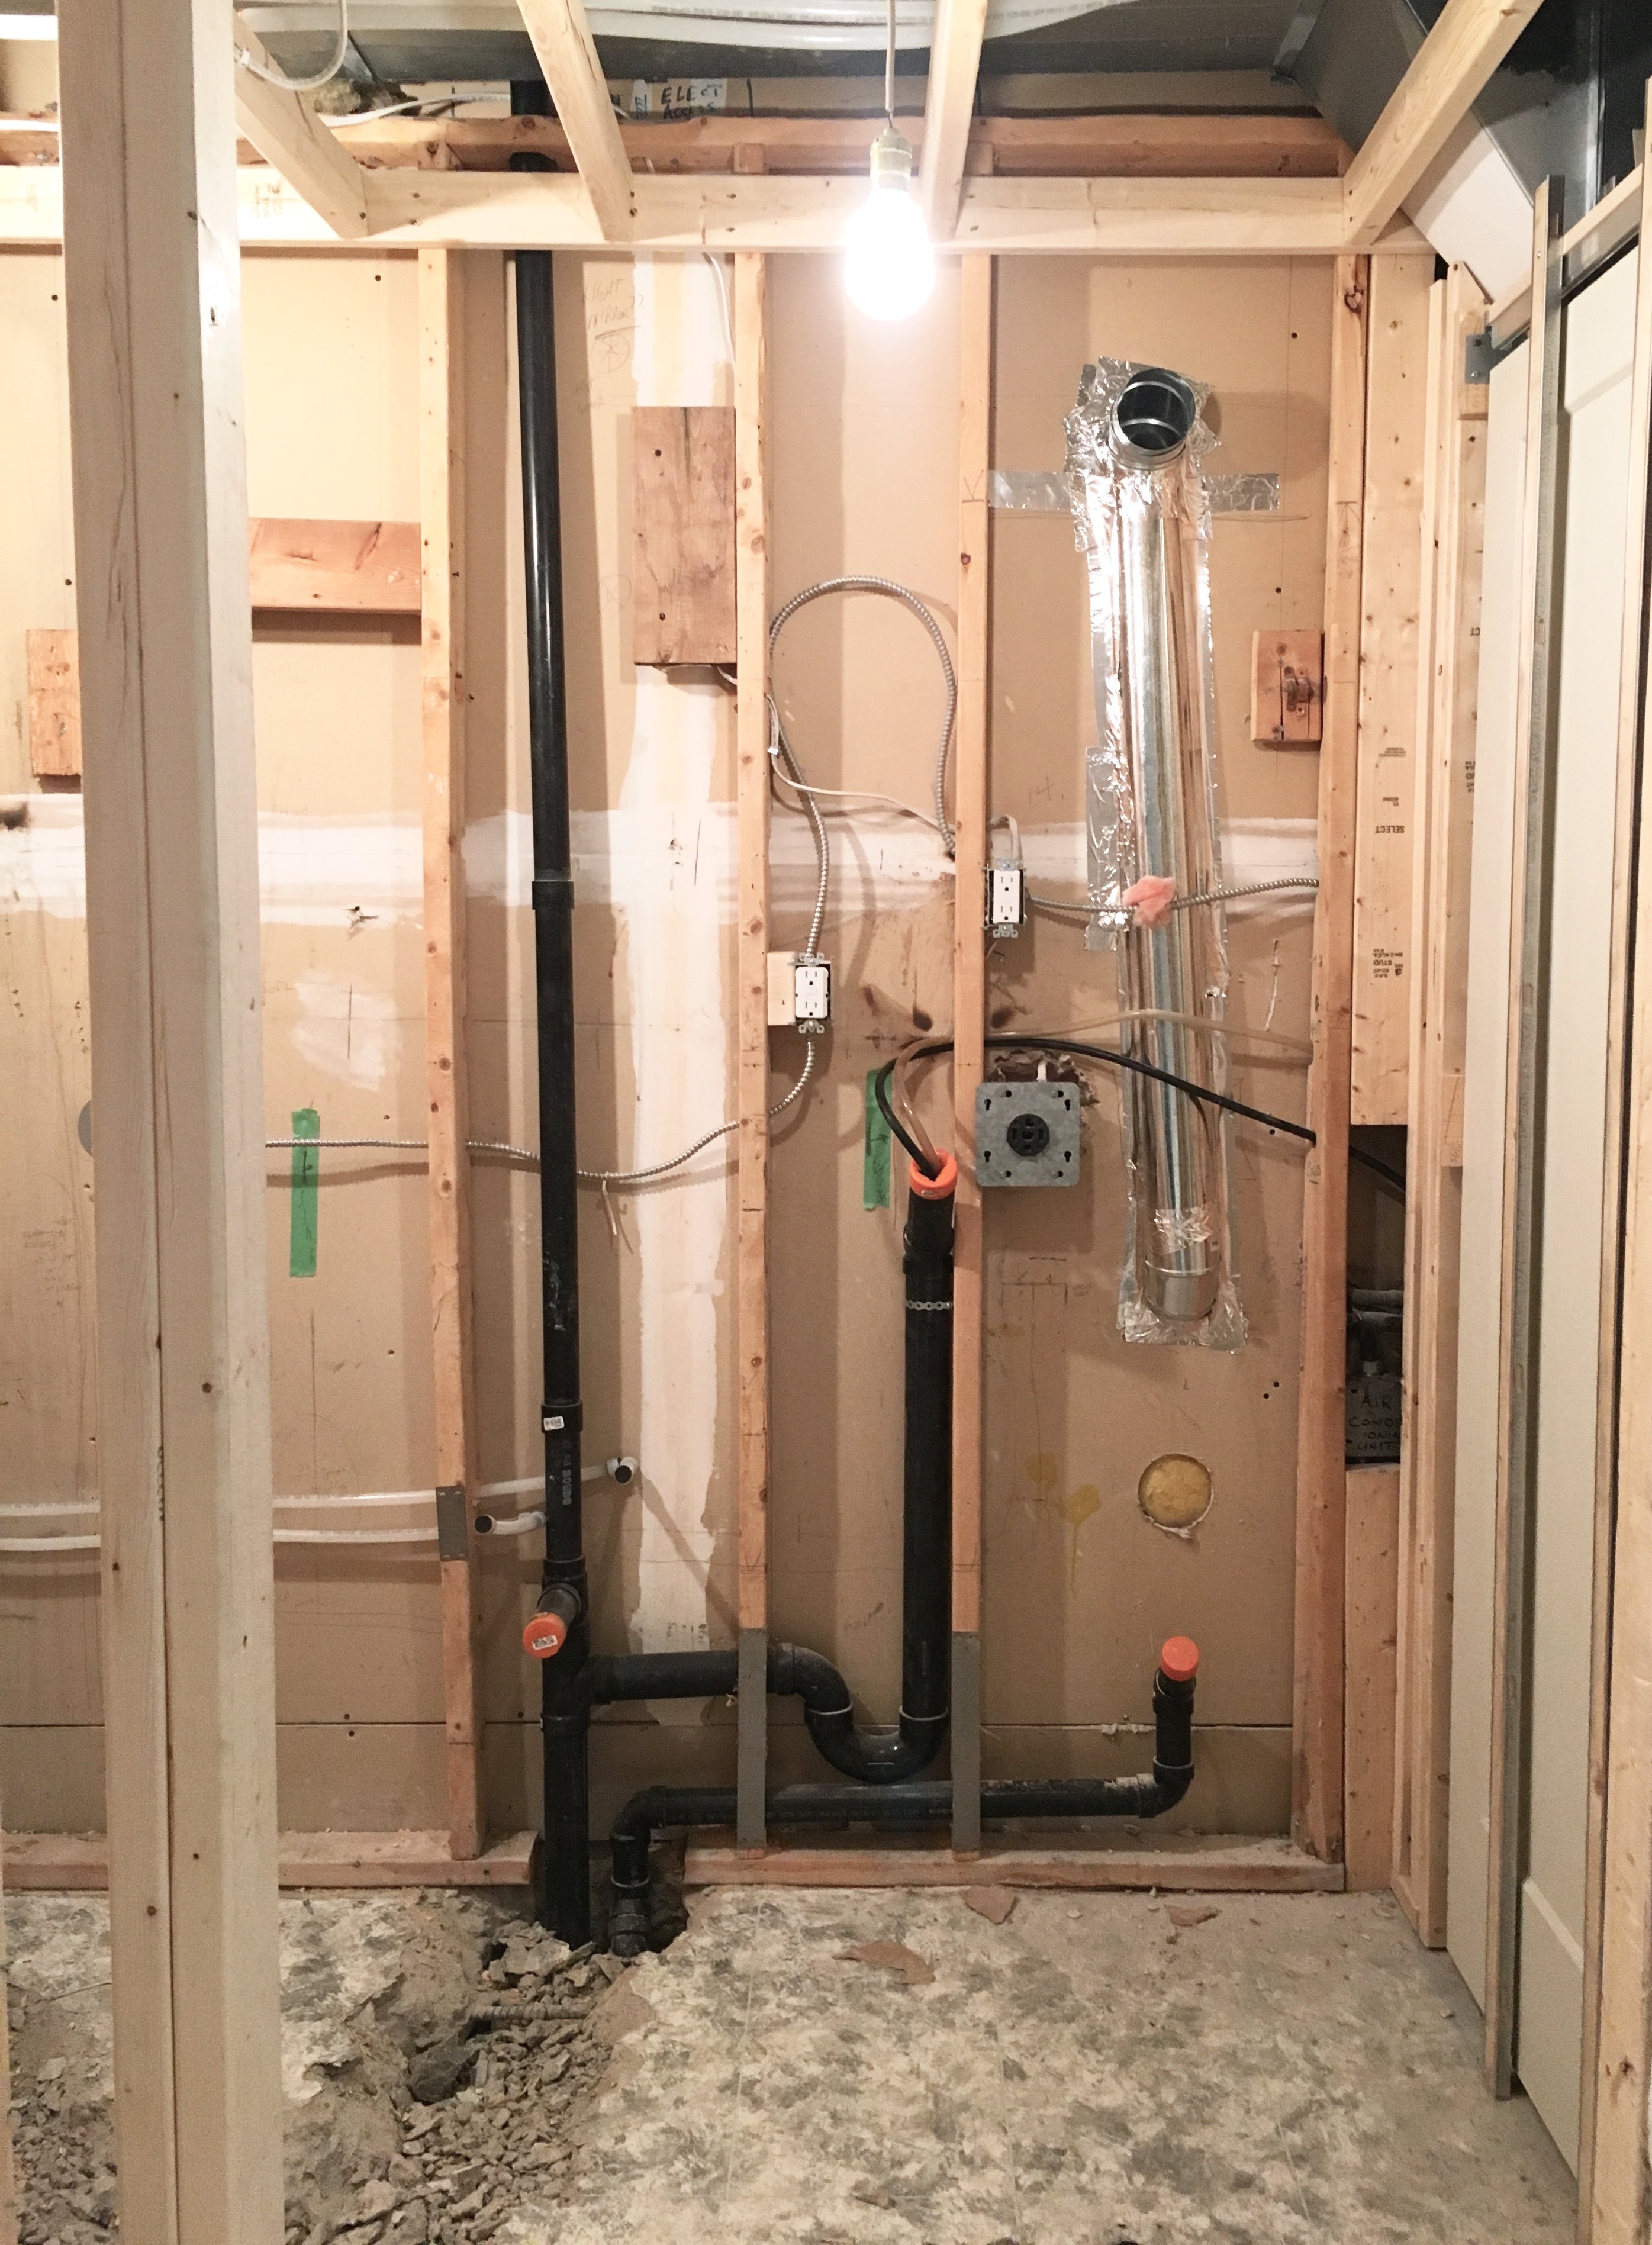


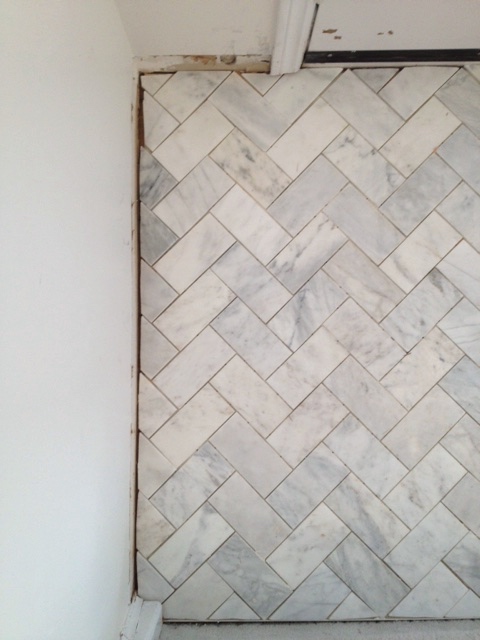
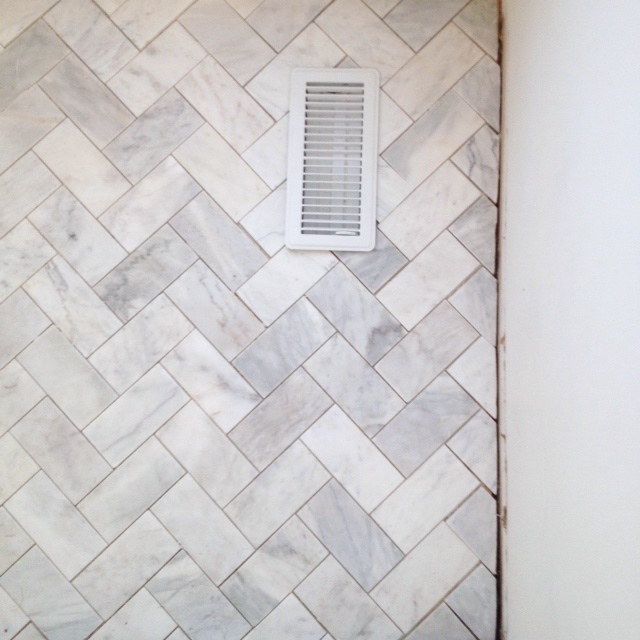
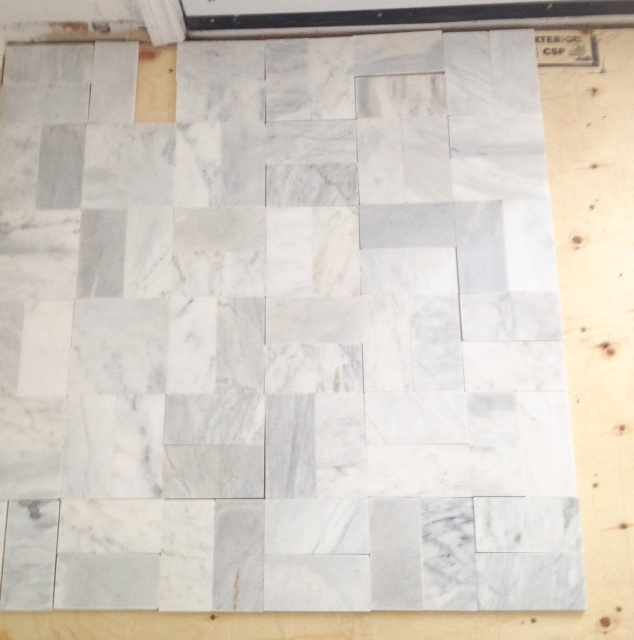
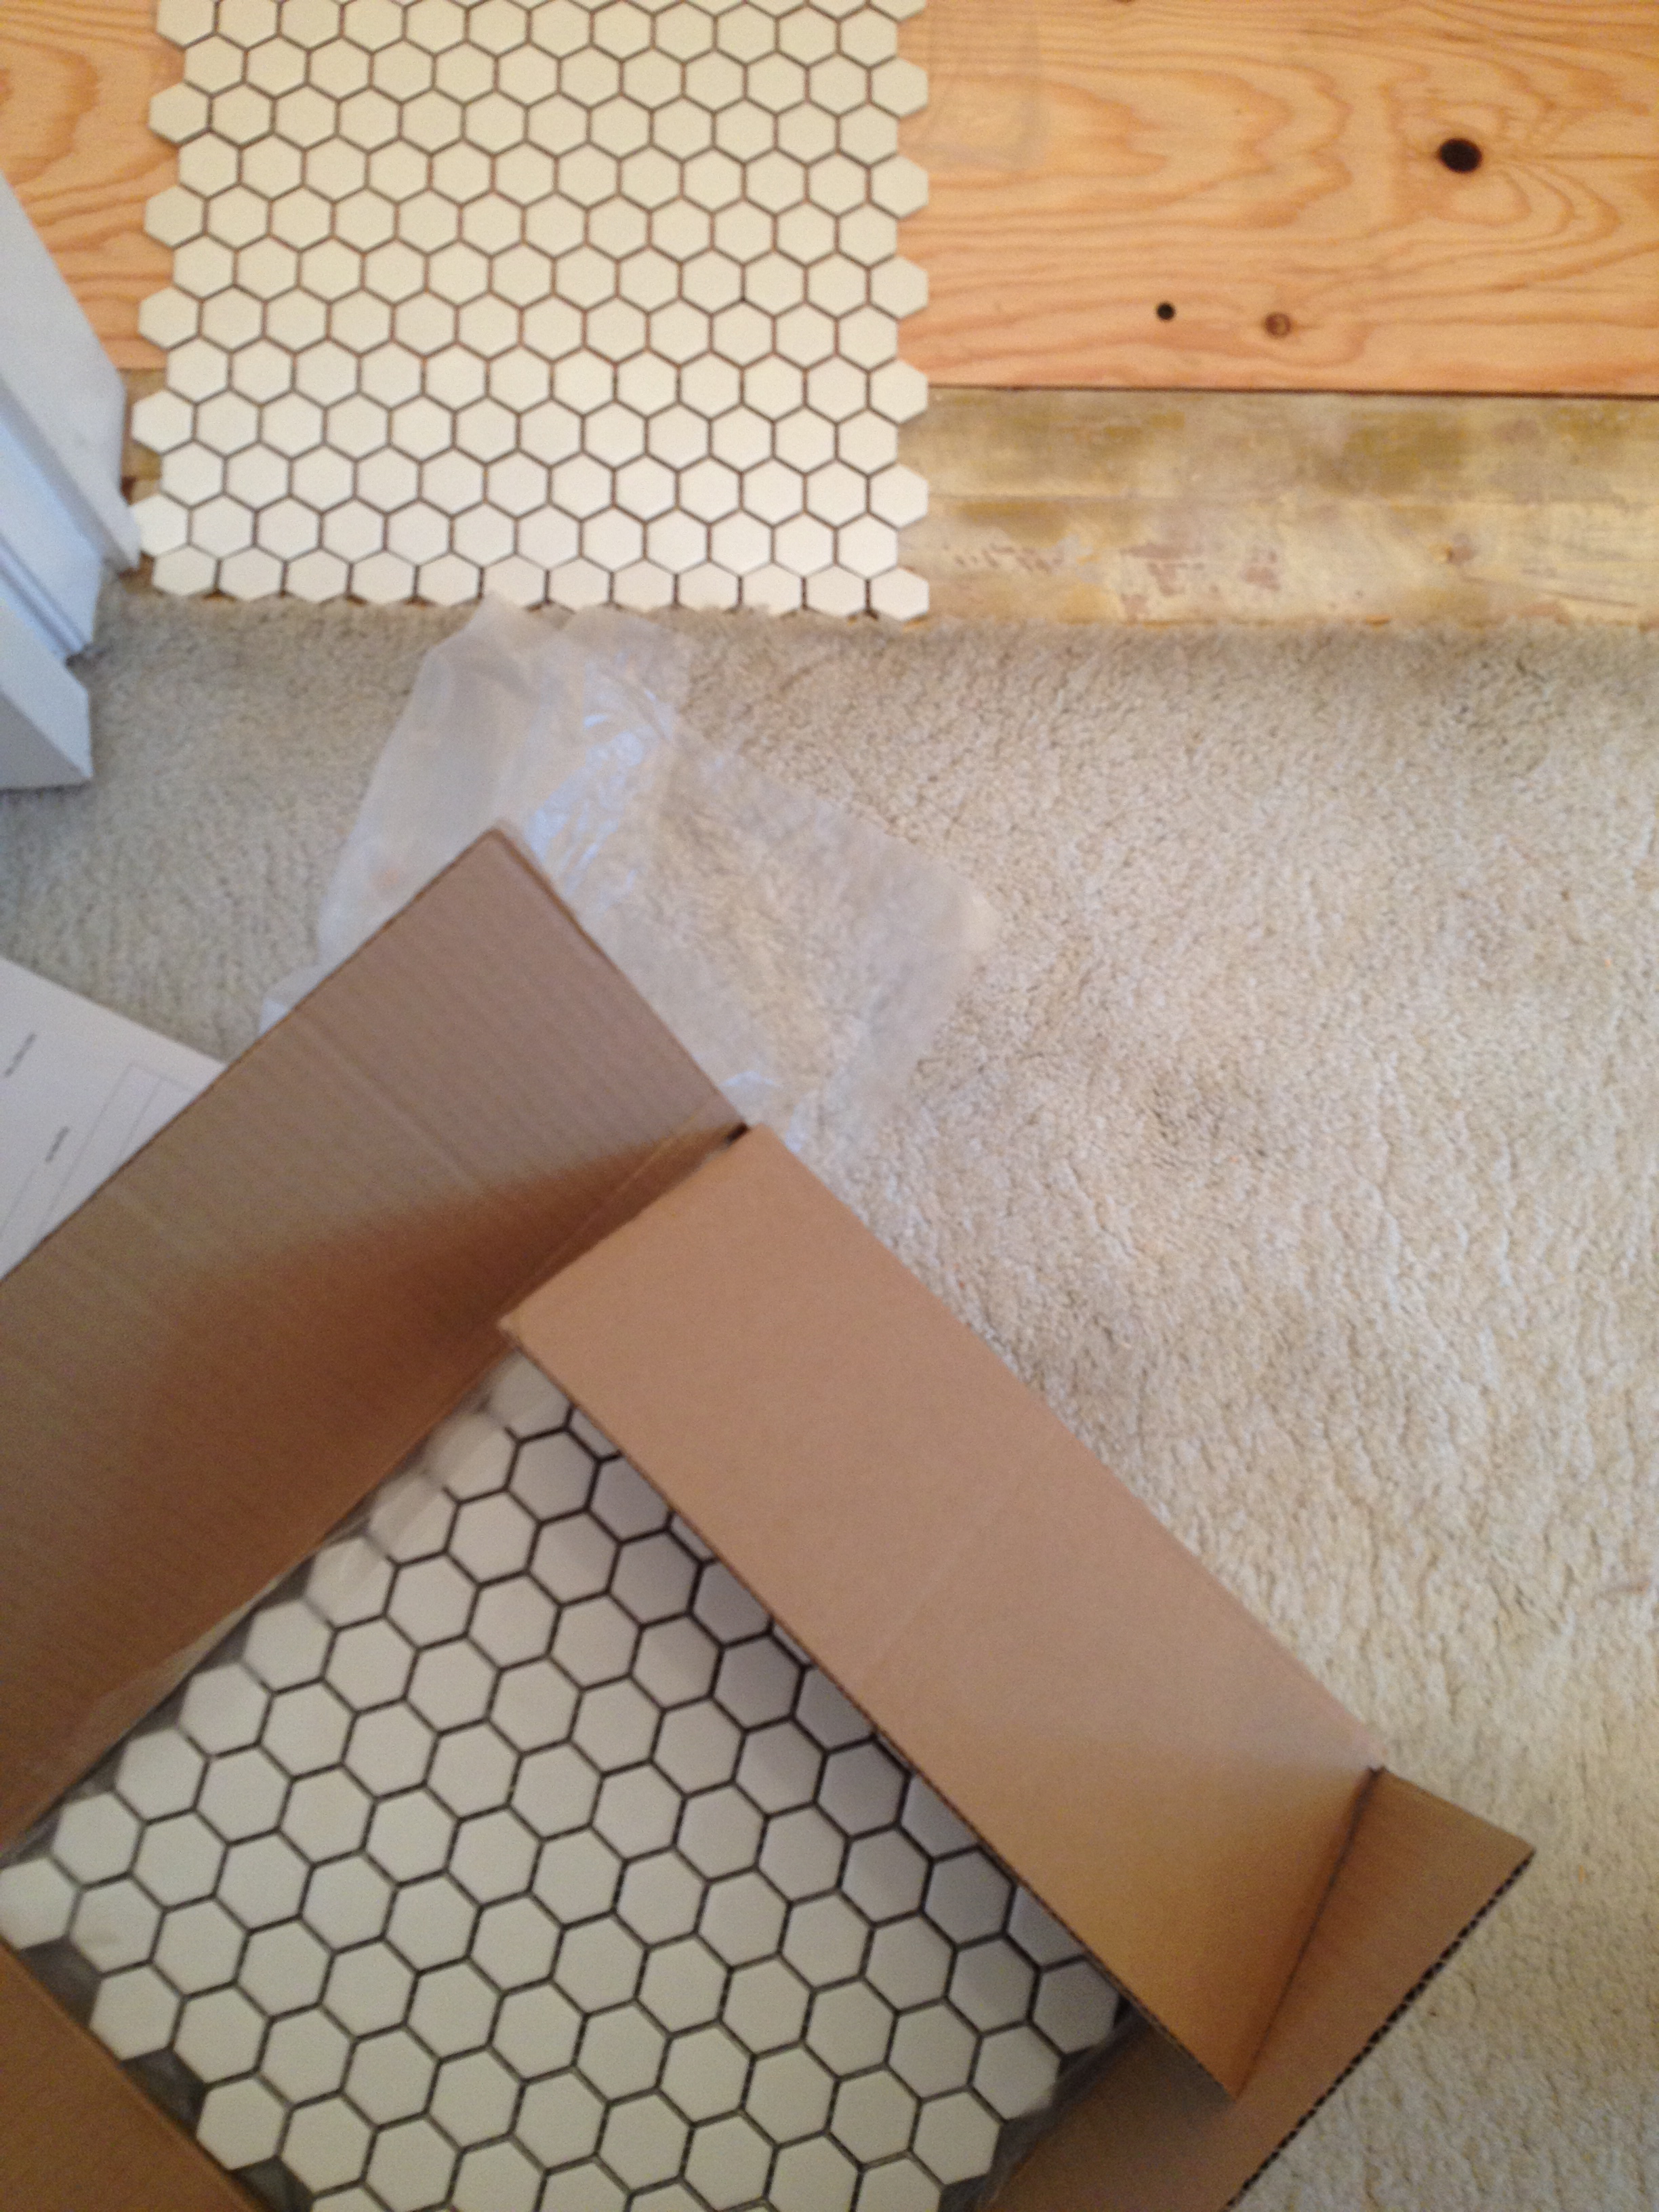
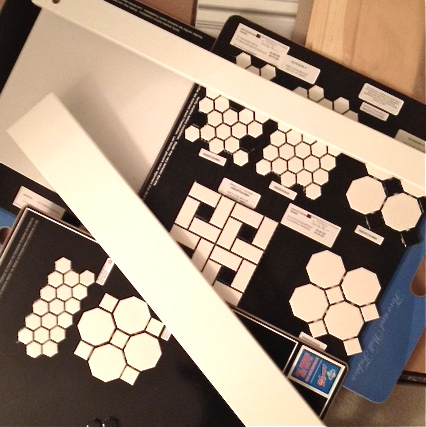
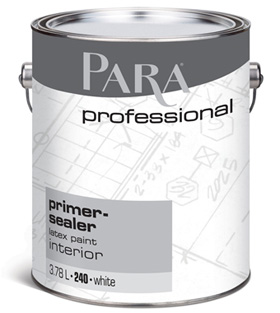
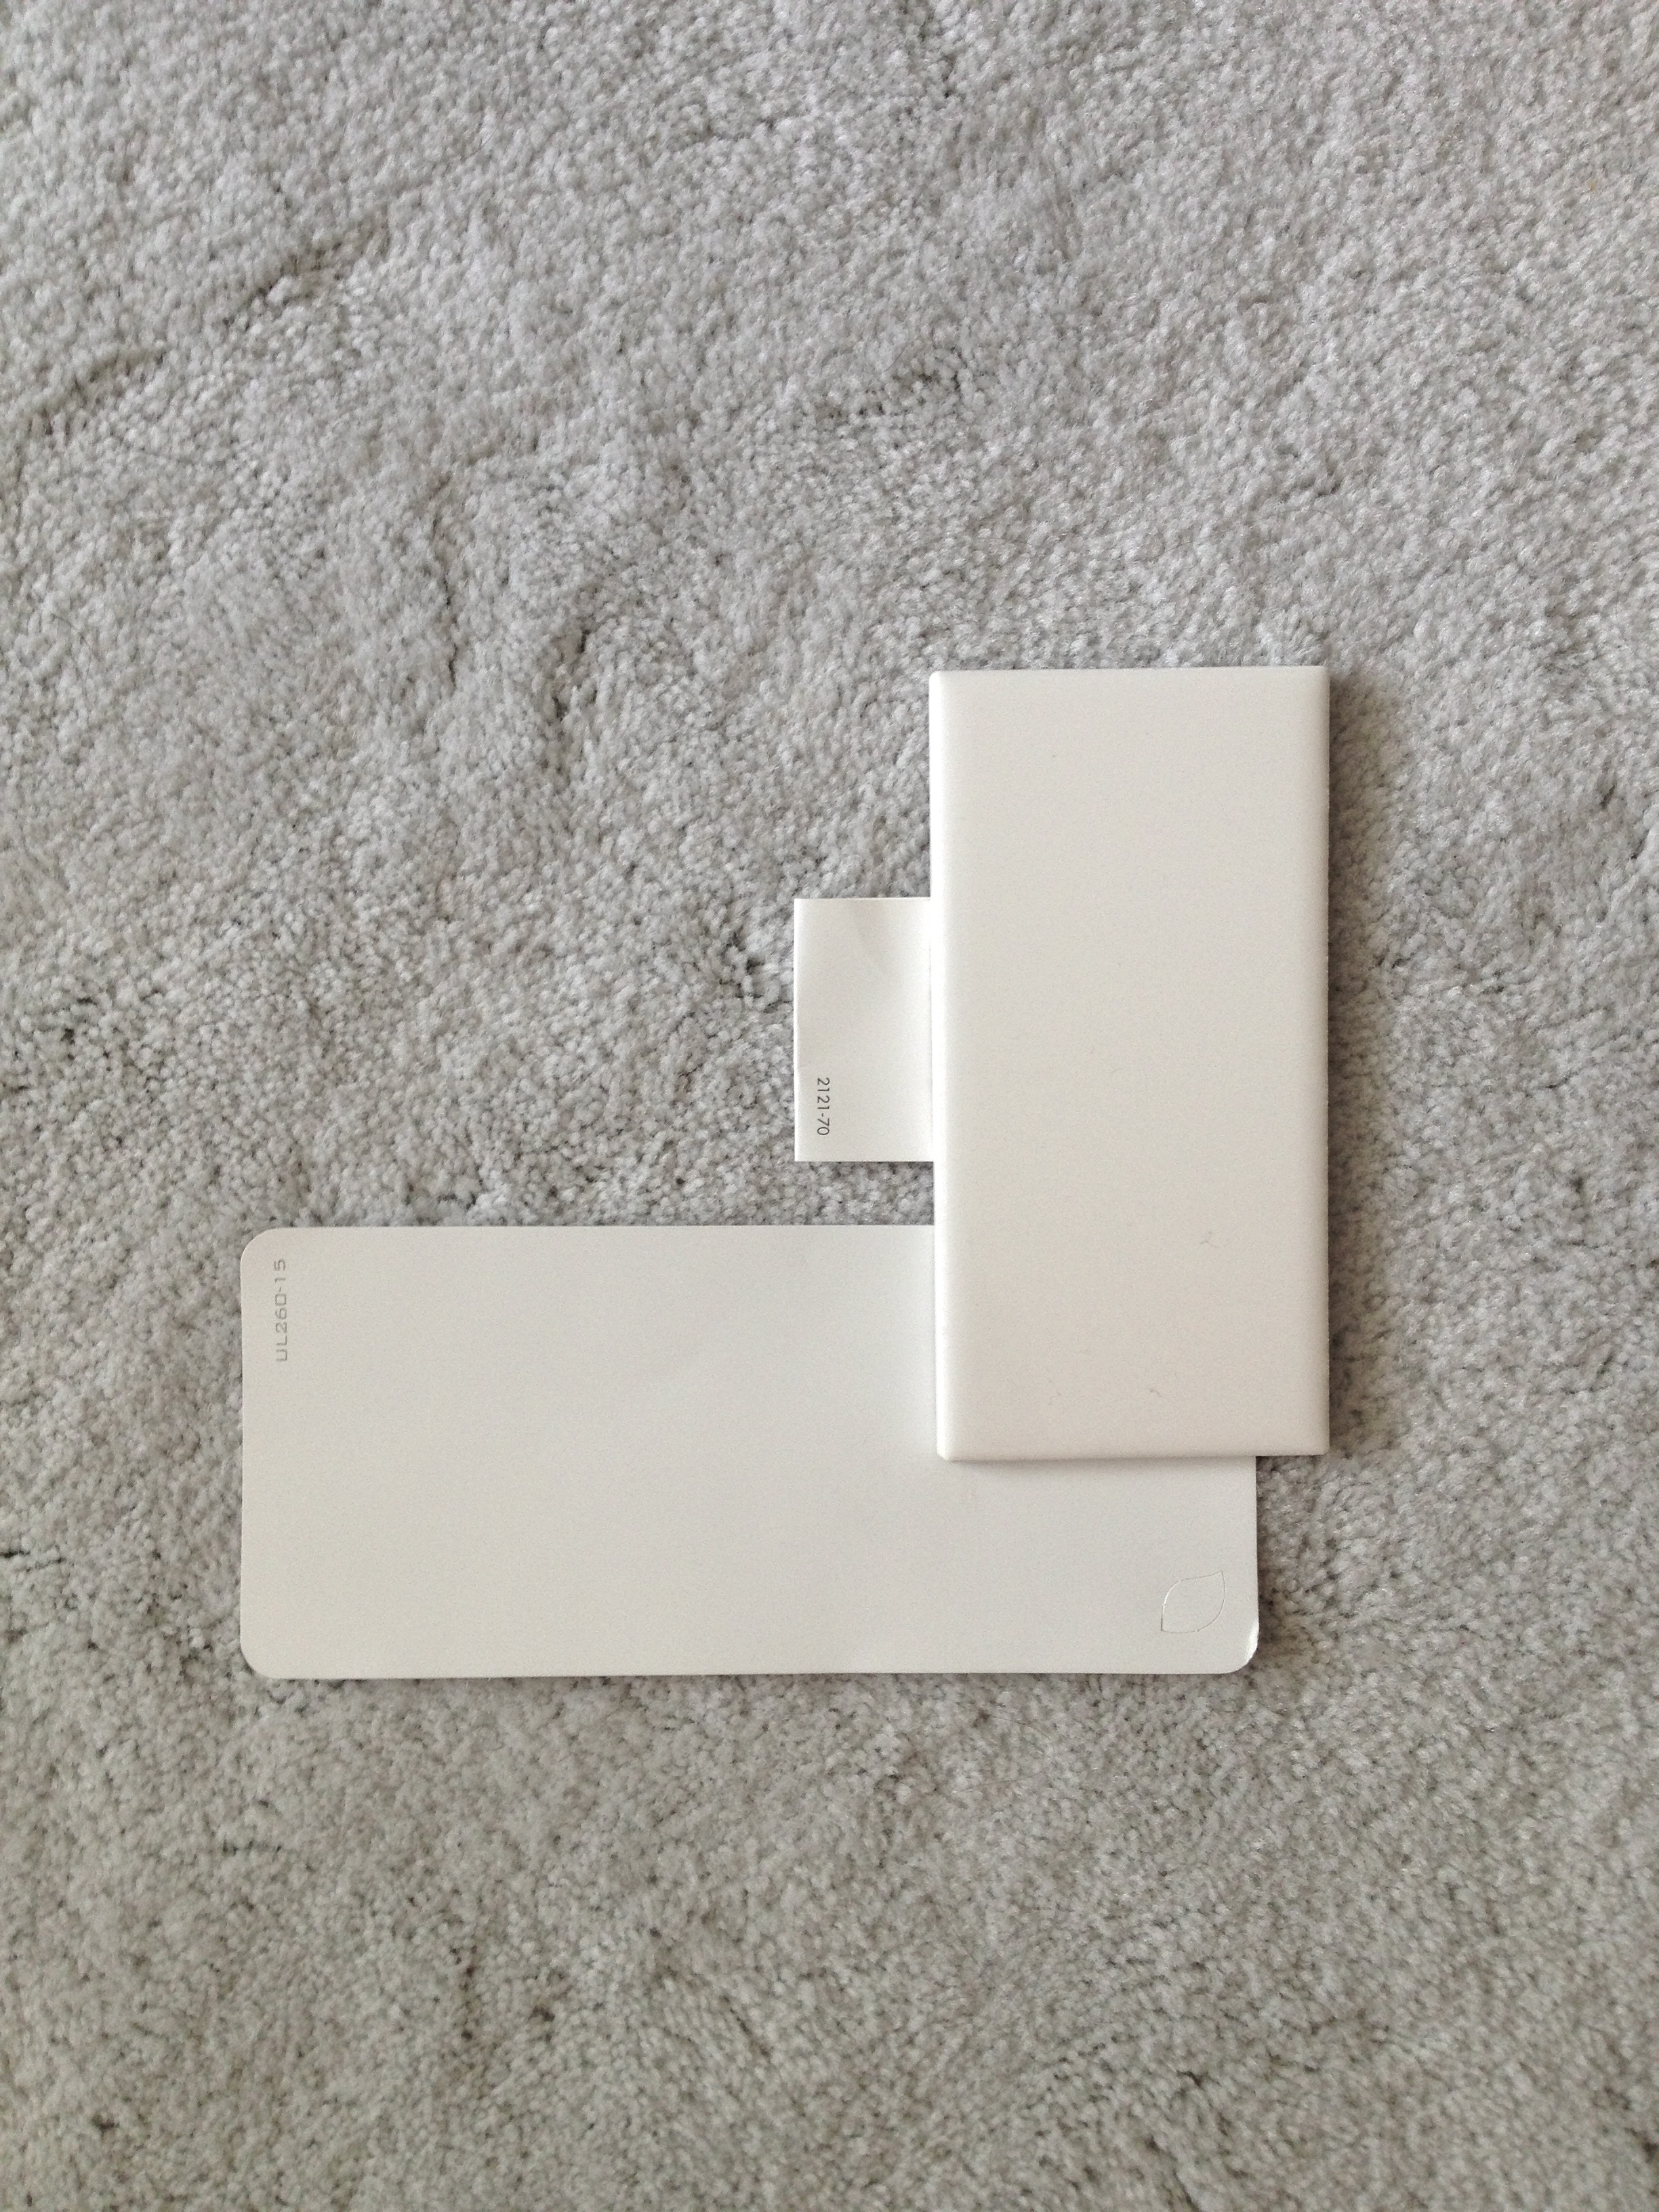
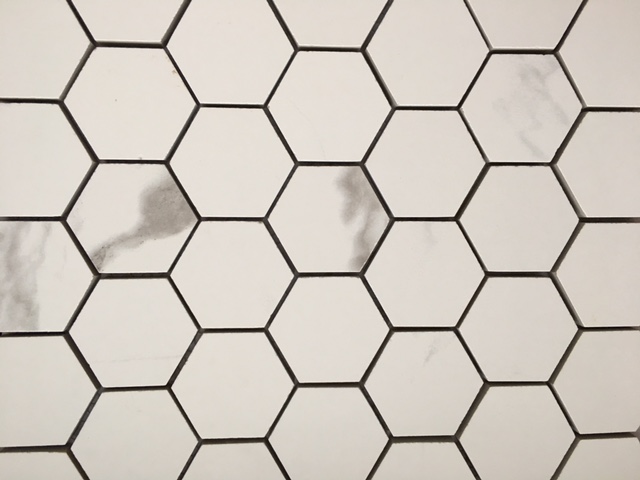 this classic 4×12 subway tile on the walls:

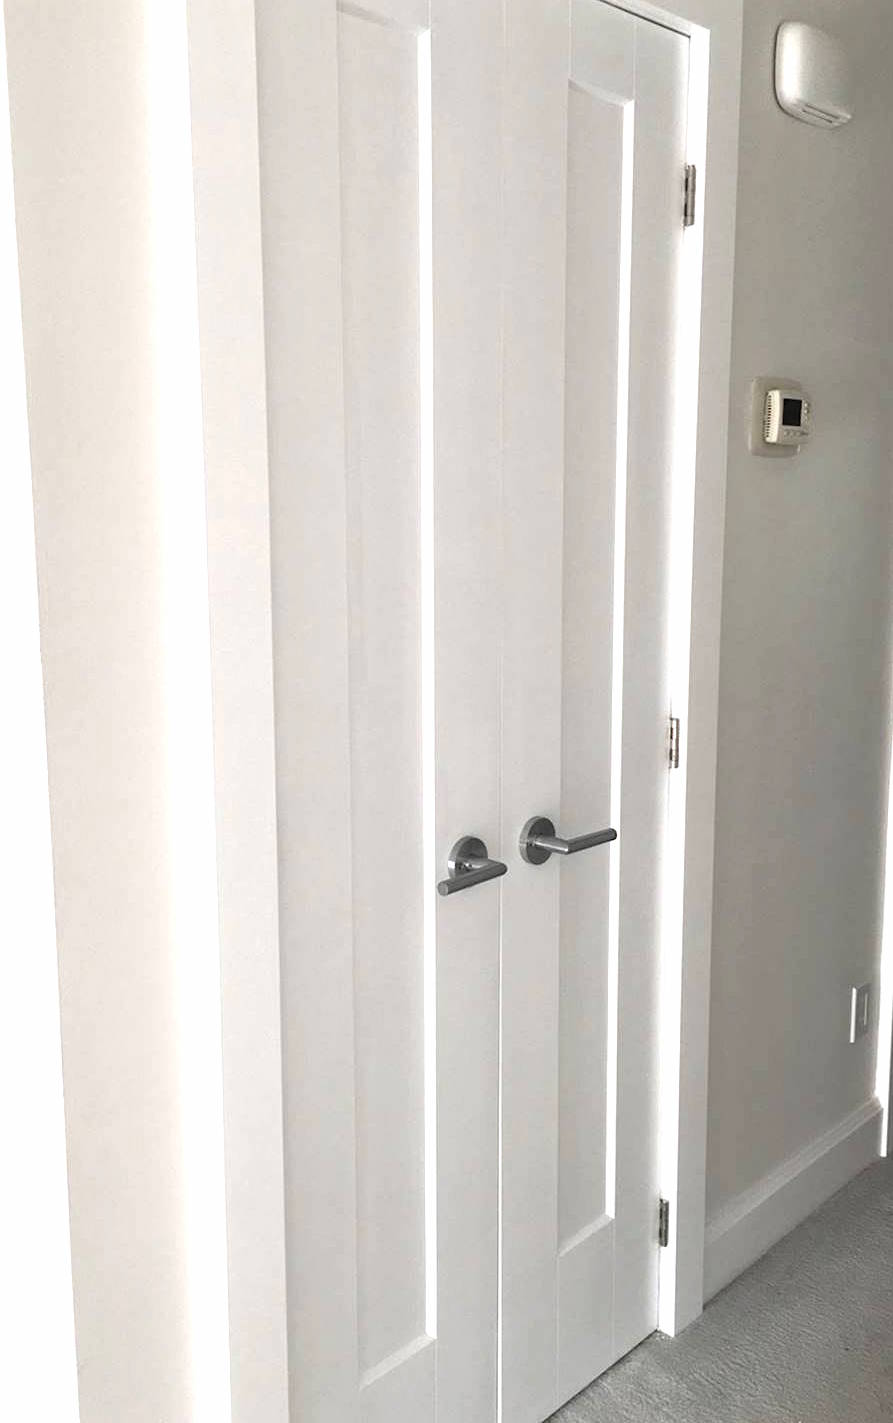
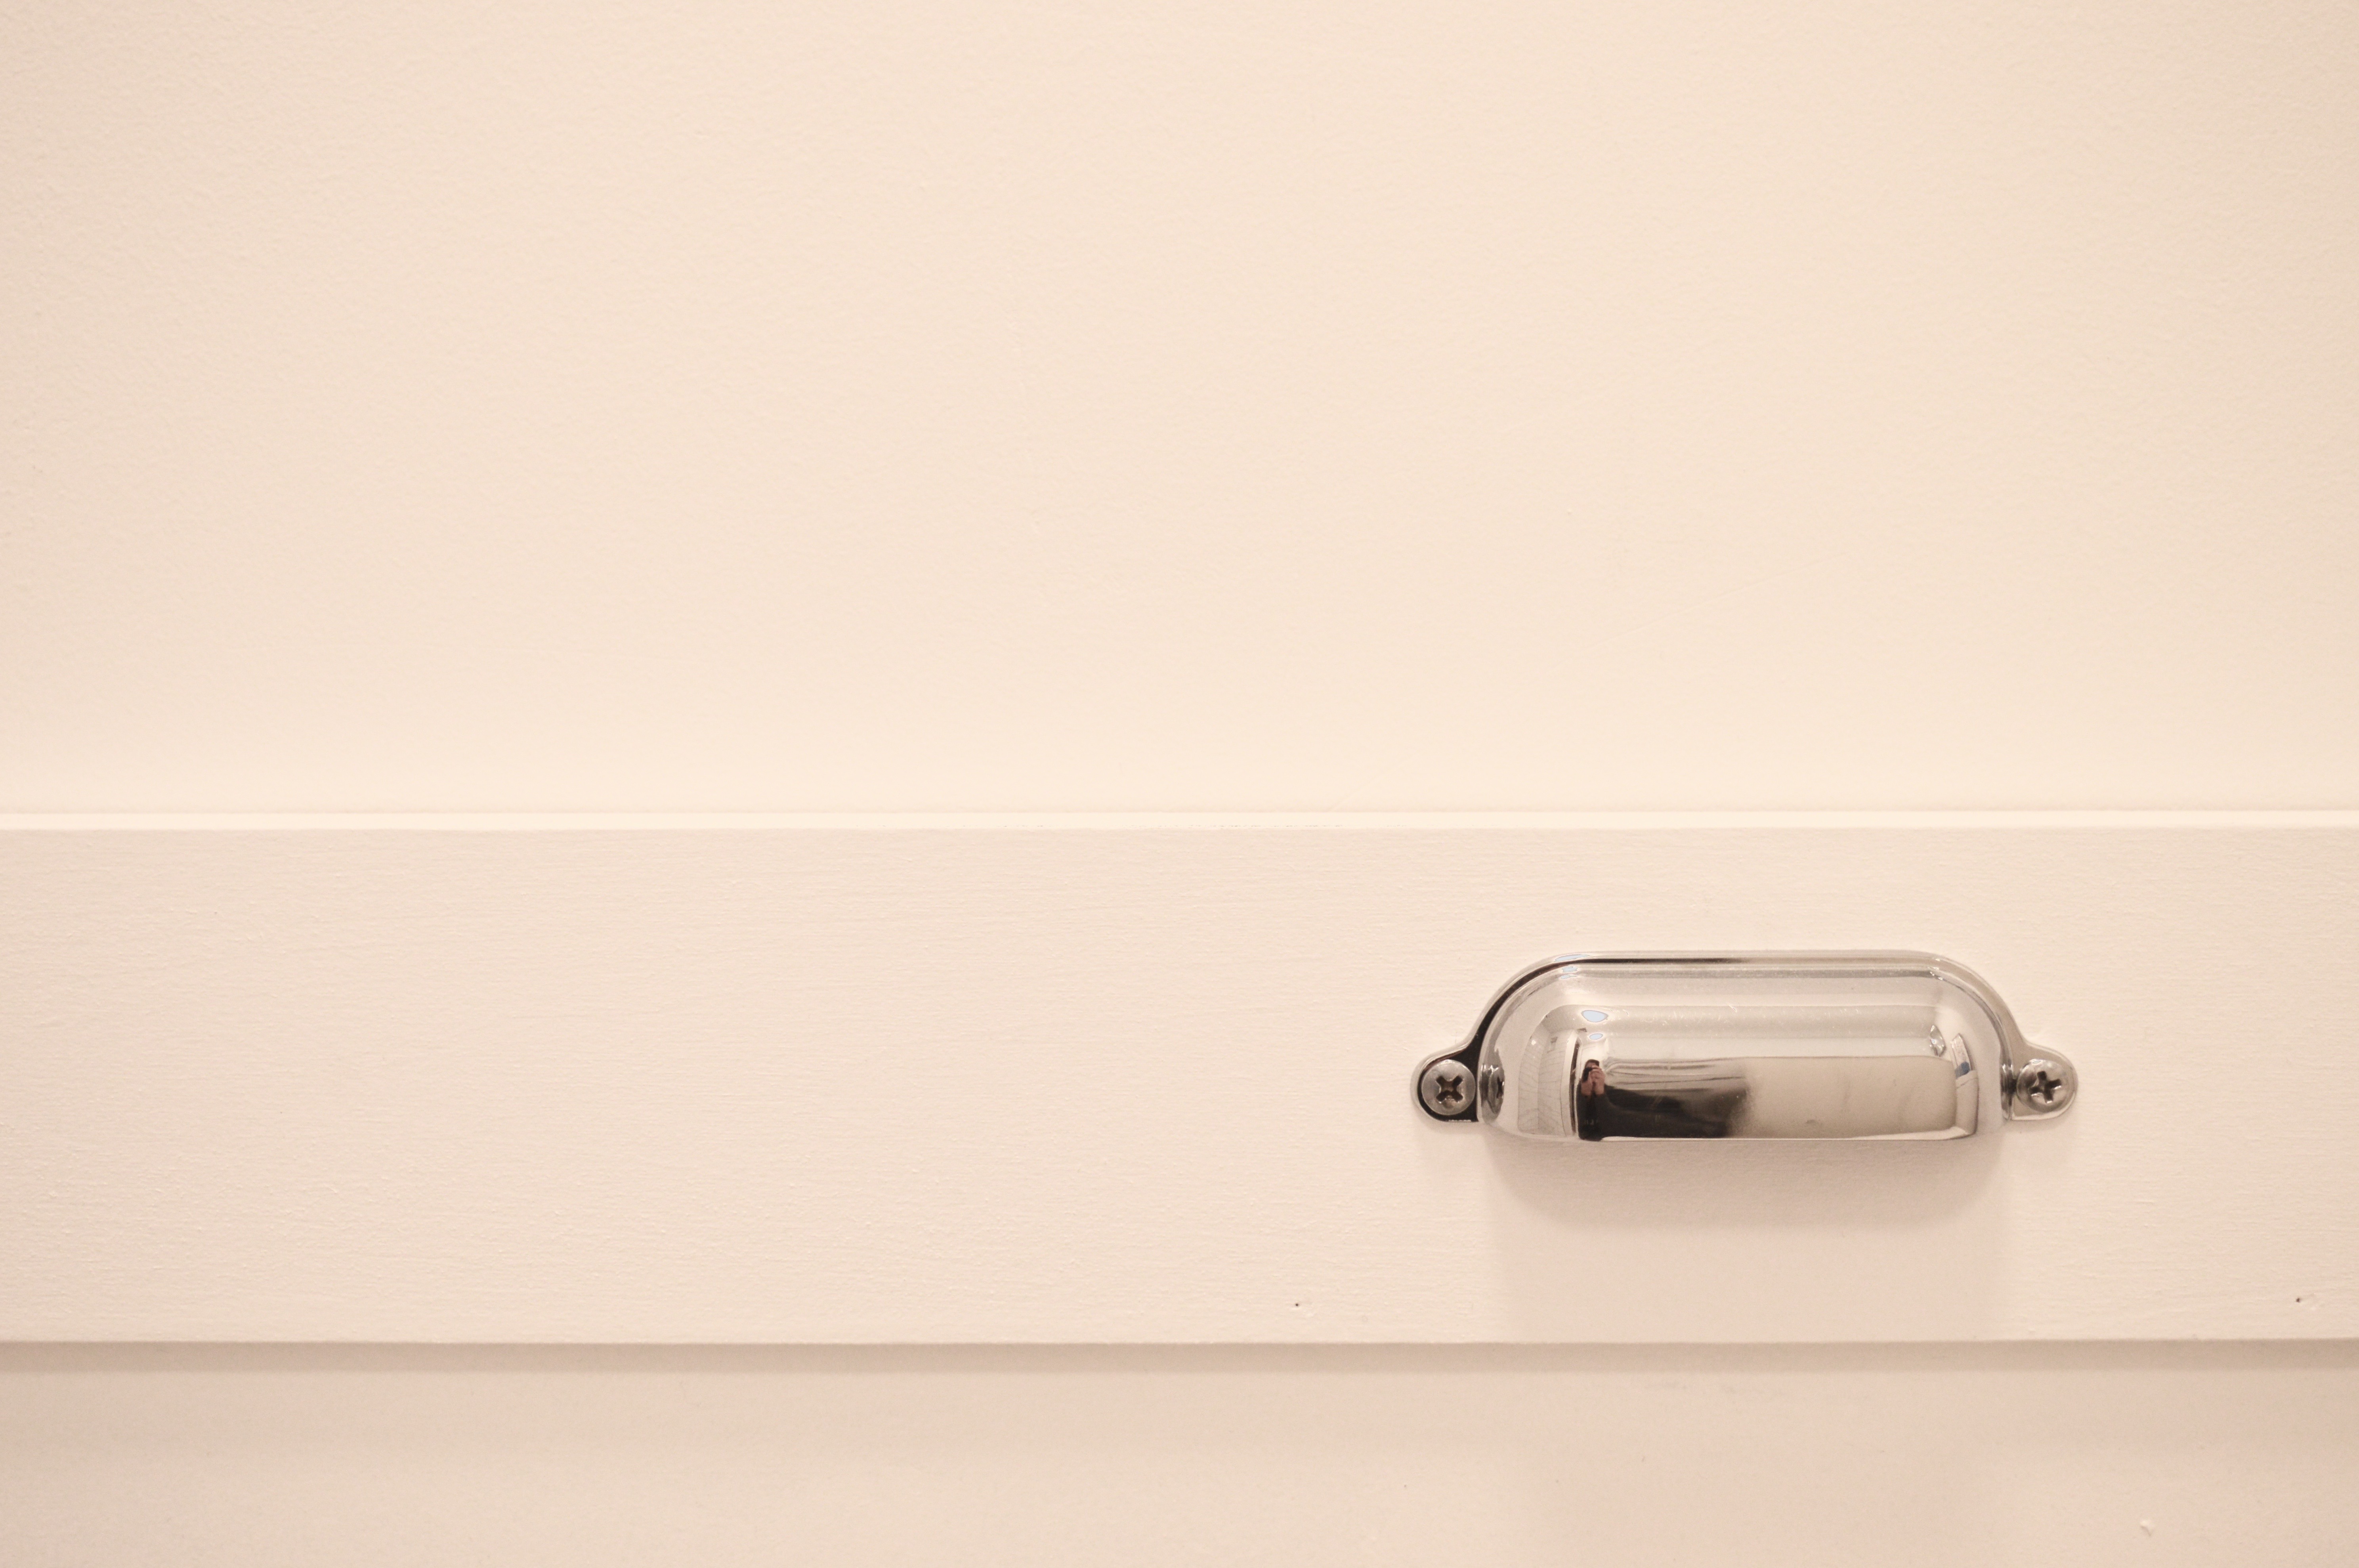
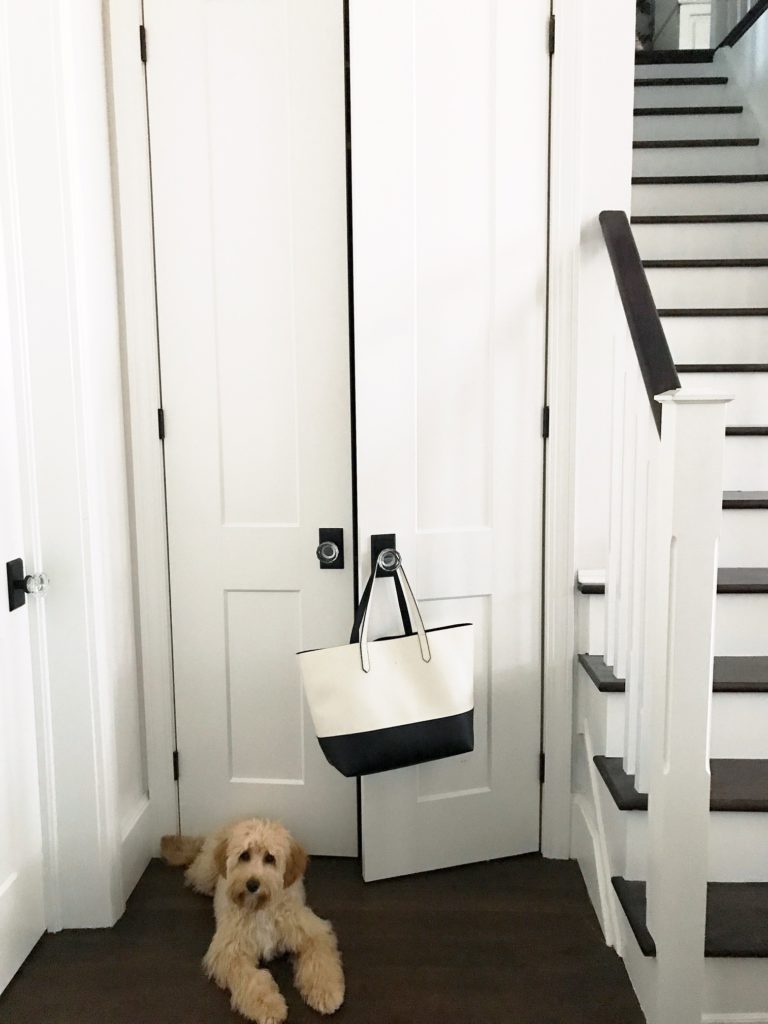
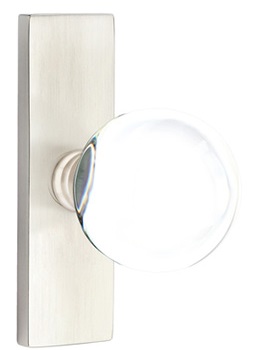 Emtek Bristol
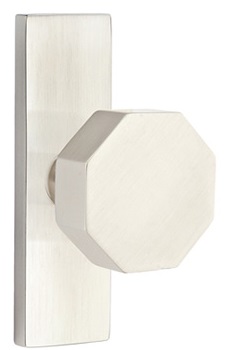

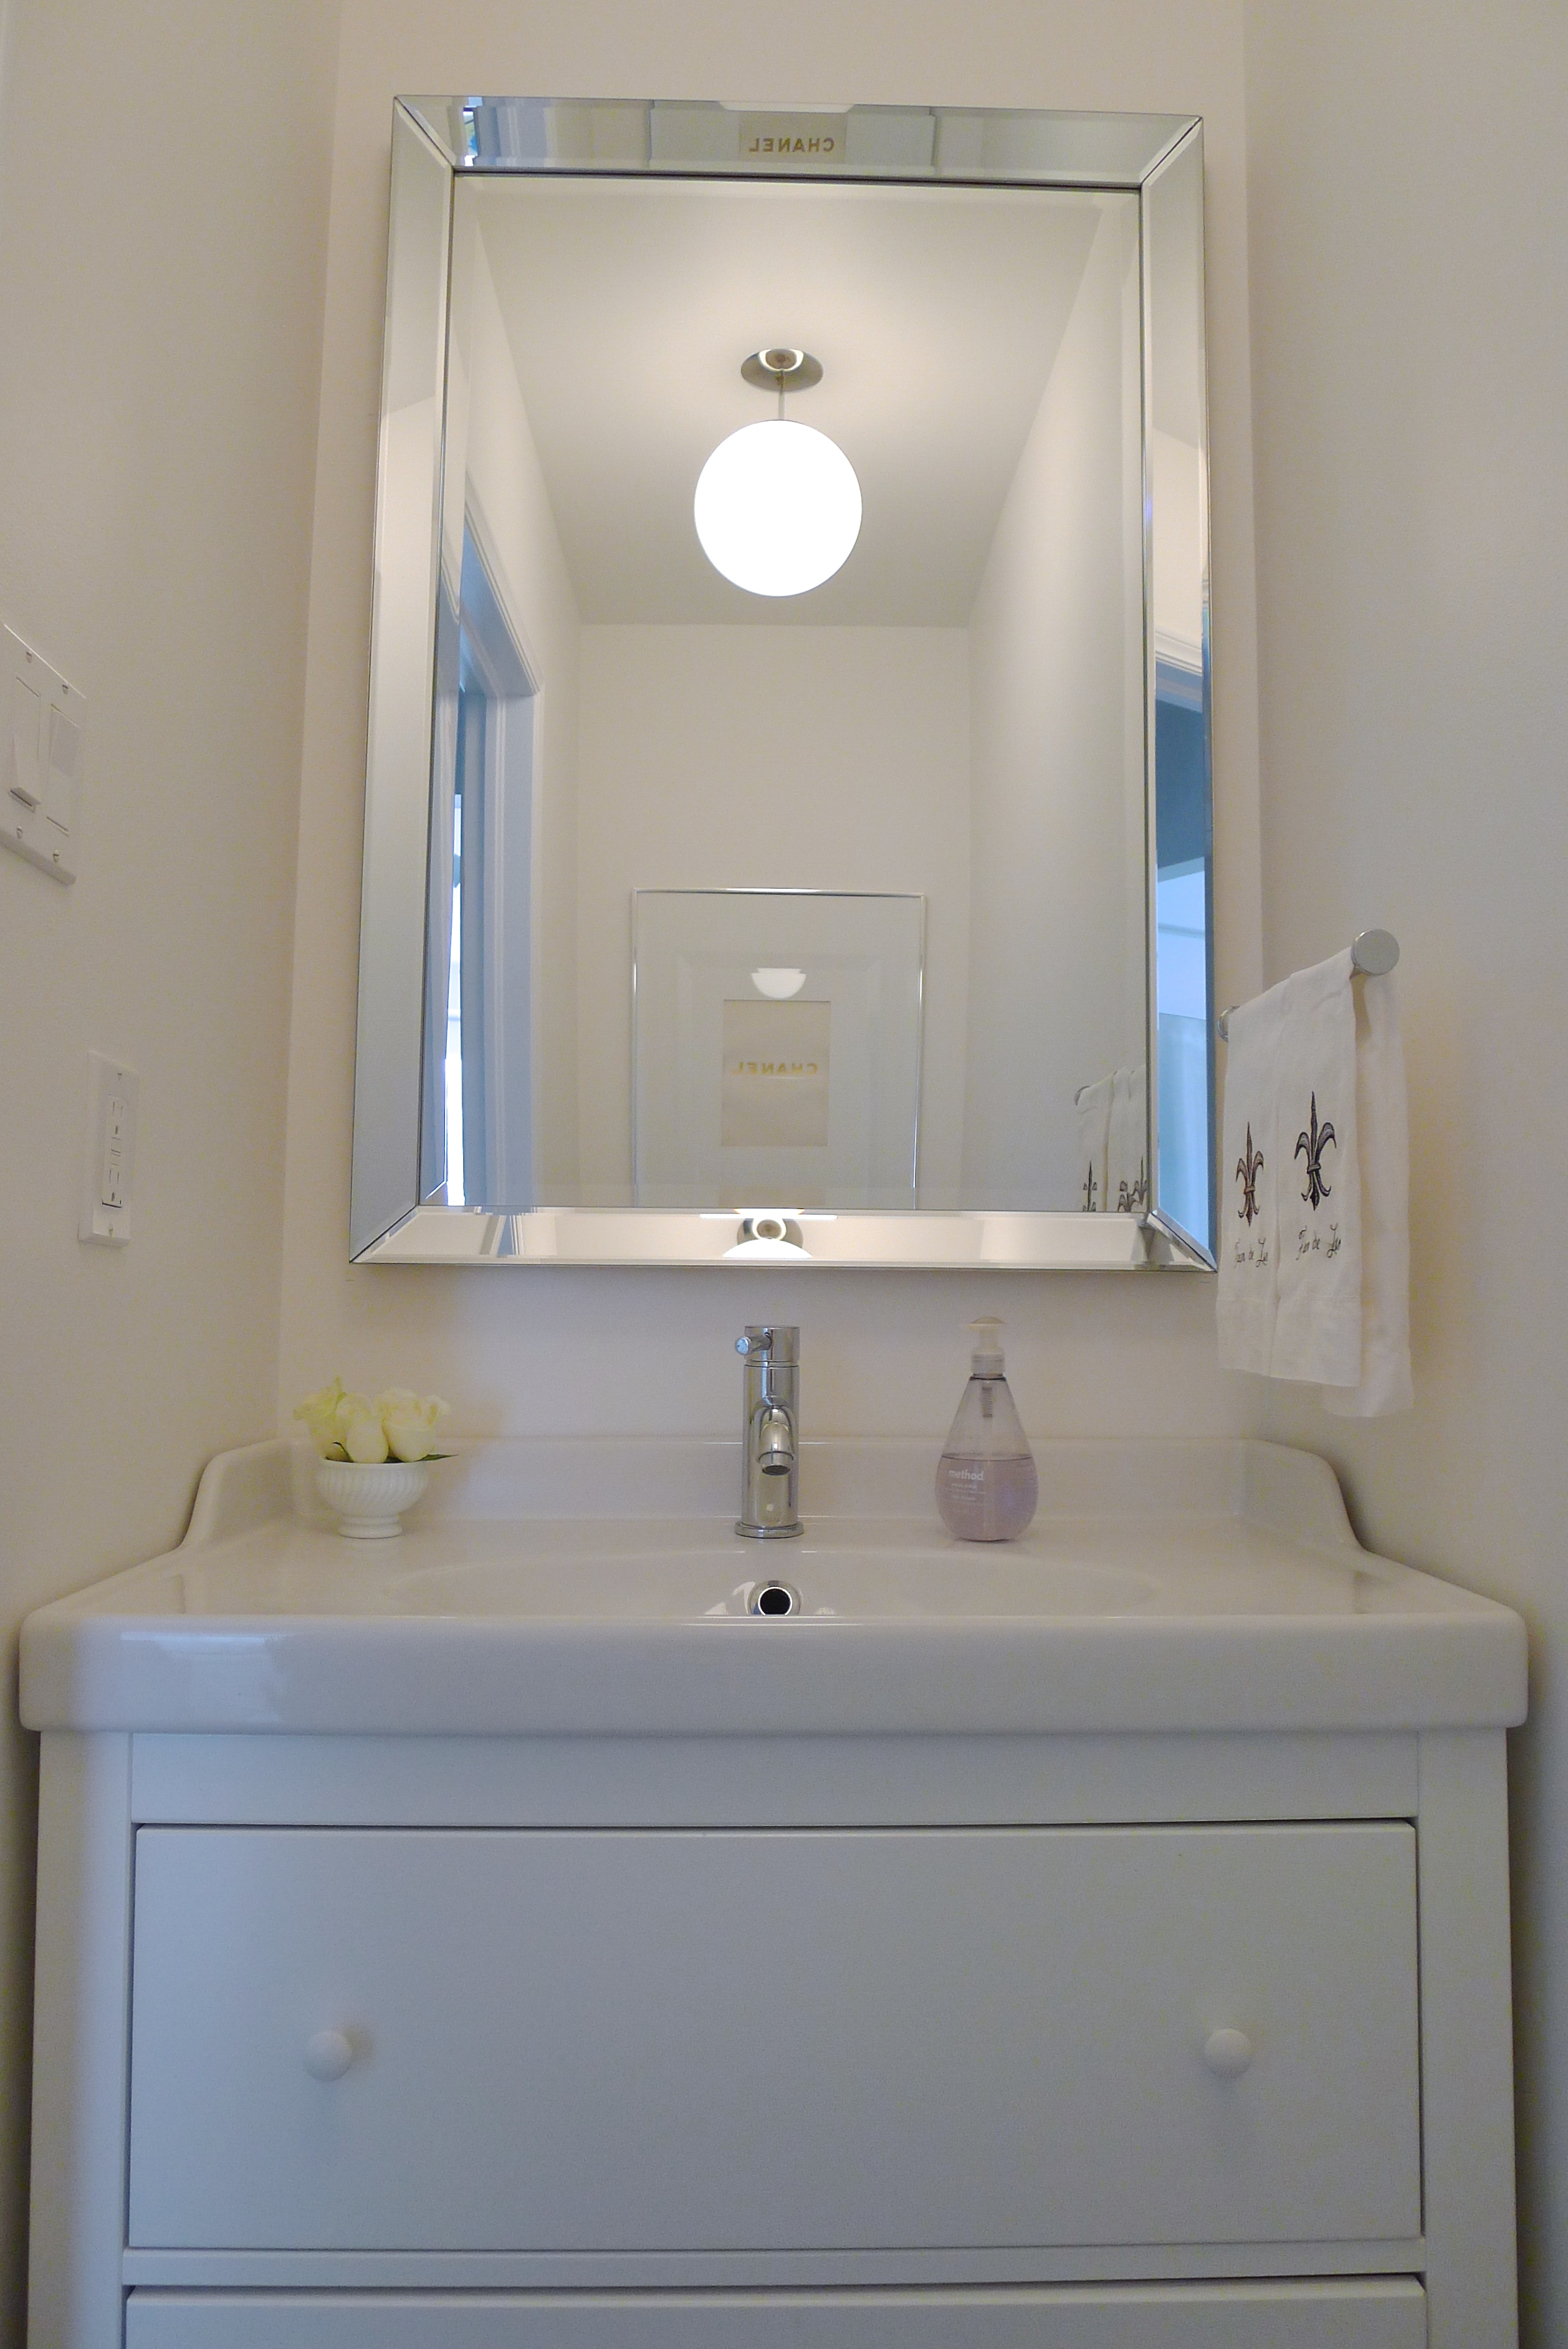
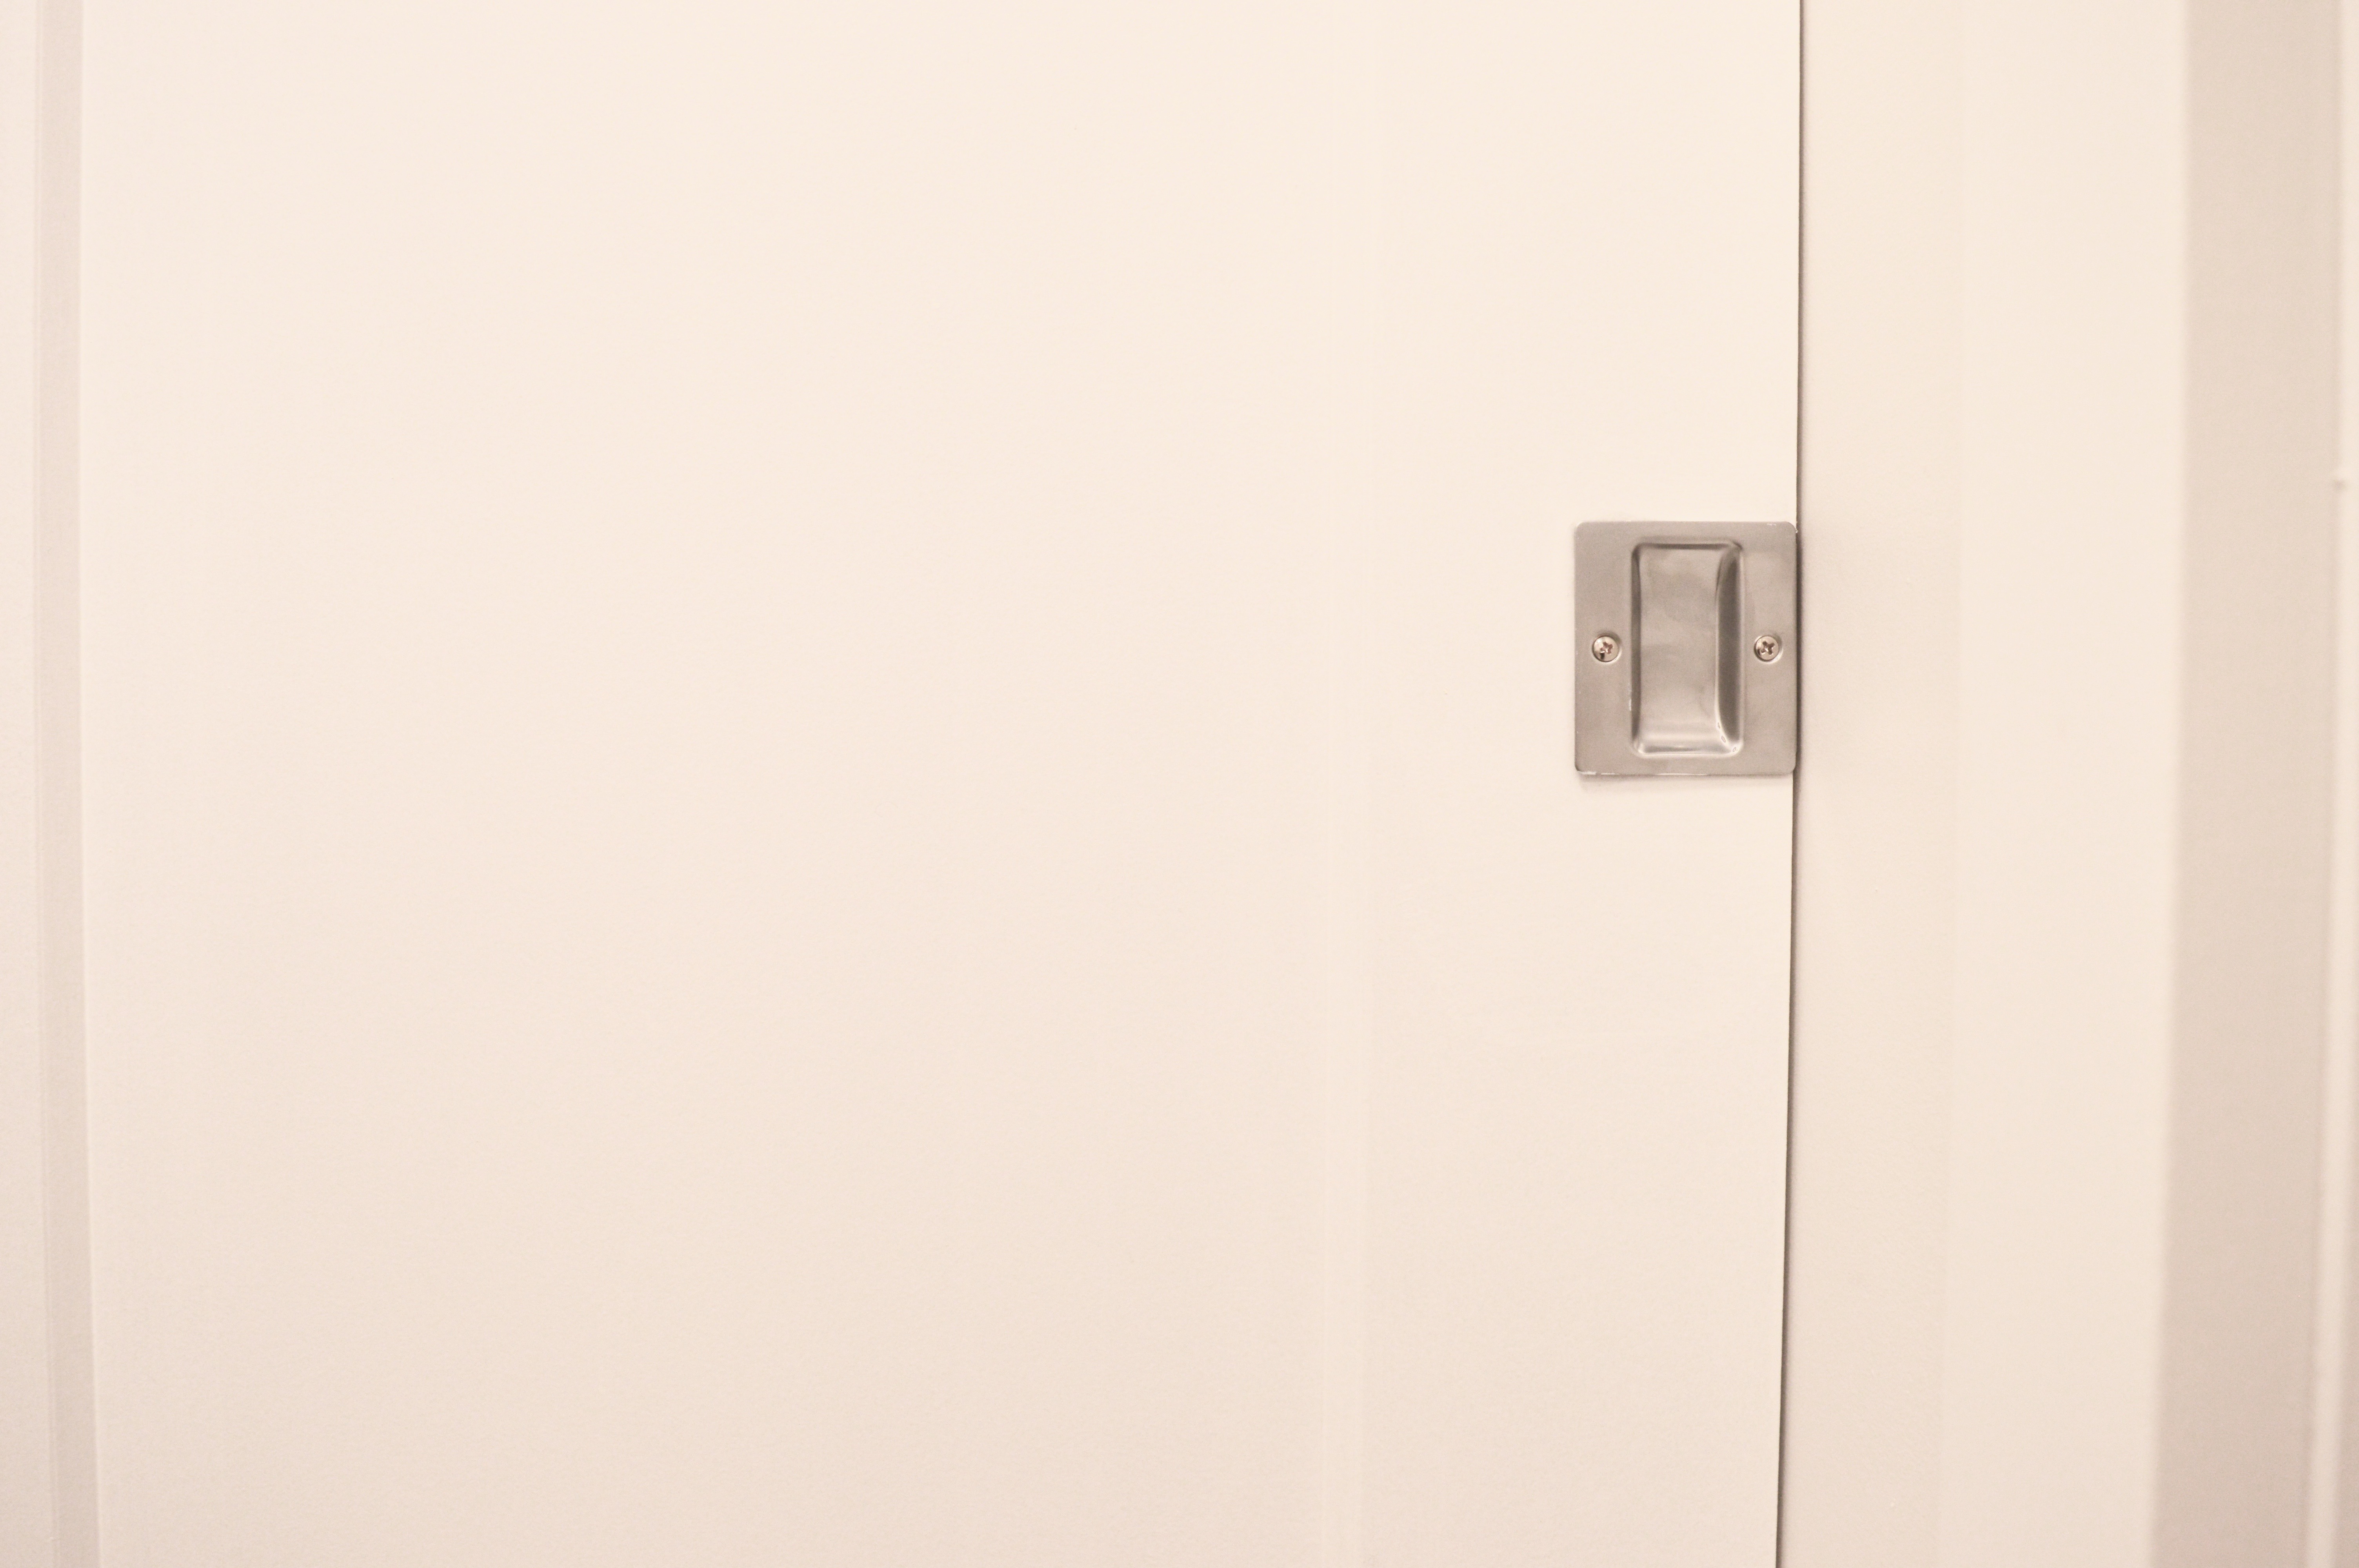
 Kwikset Milan


 originally posted this past weekend on my