I was so happy to see a gas fireplace in my house when I first toured it with my real estate agent 2.5 years ago. After I bought it, moved in, and planned my various renovation projects, the fireplace was on the reno list, but it wasn’t a priority.
Over the last few months, however, I tackled this fireplace makeover*, and I’m so pleased with the results. Shall we walk down memory lane together?
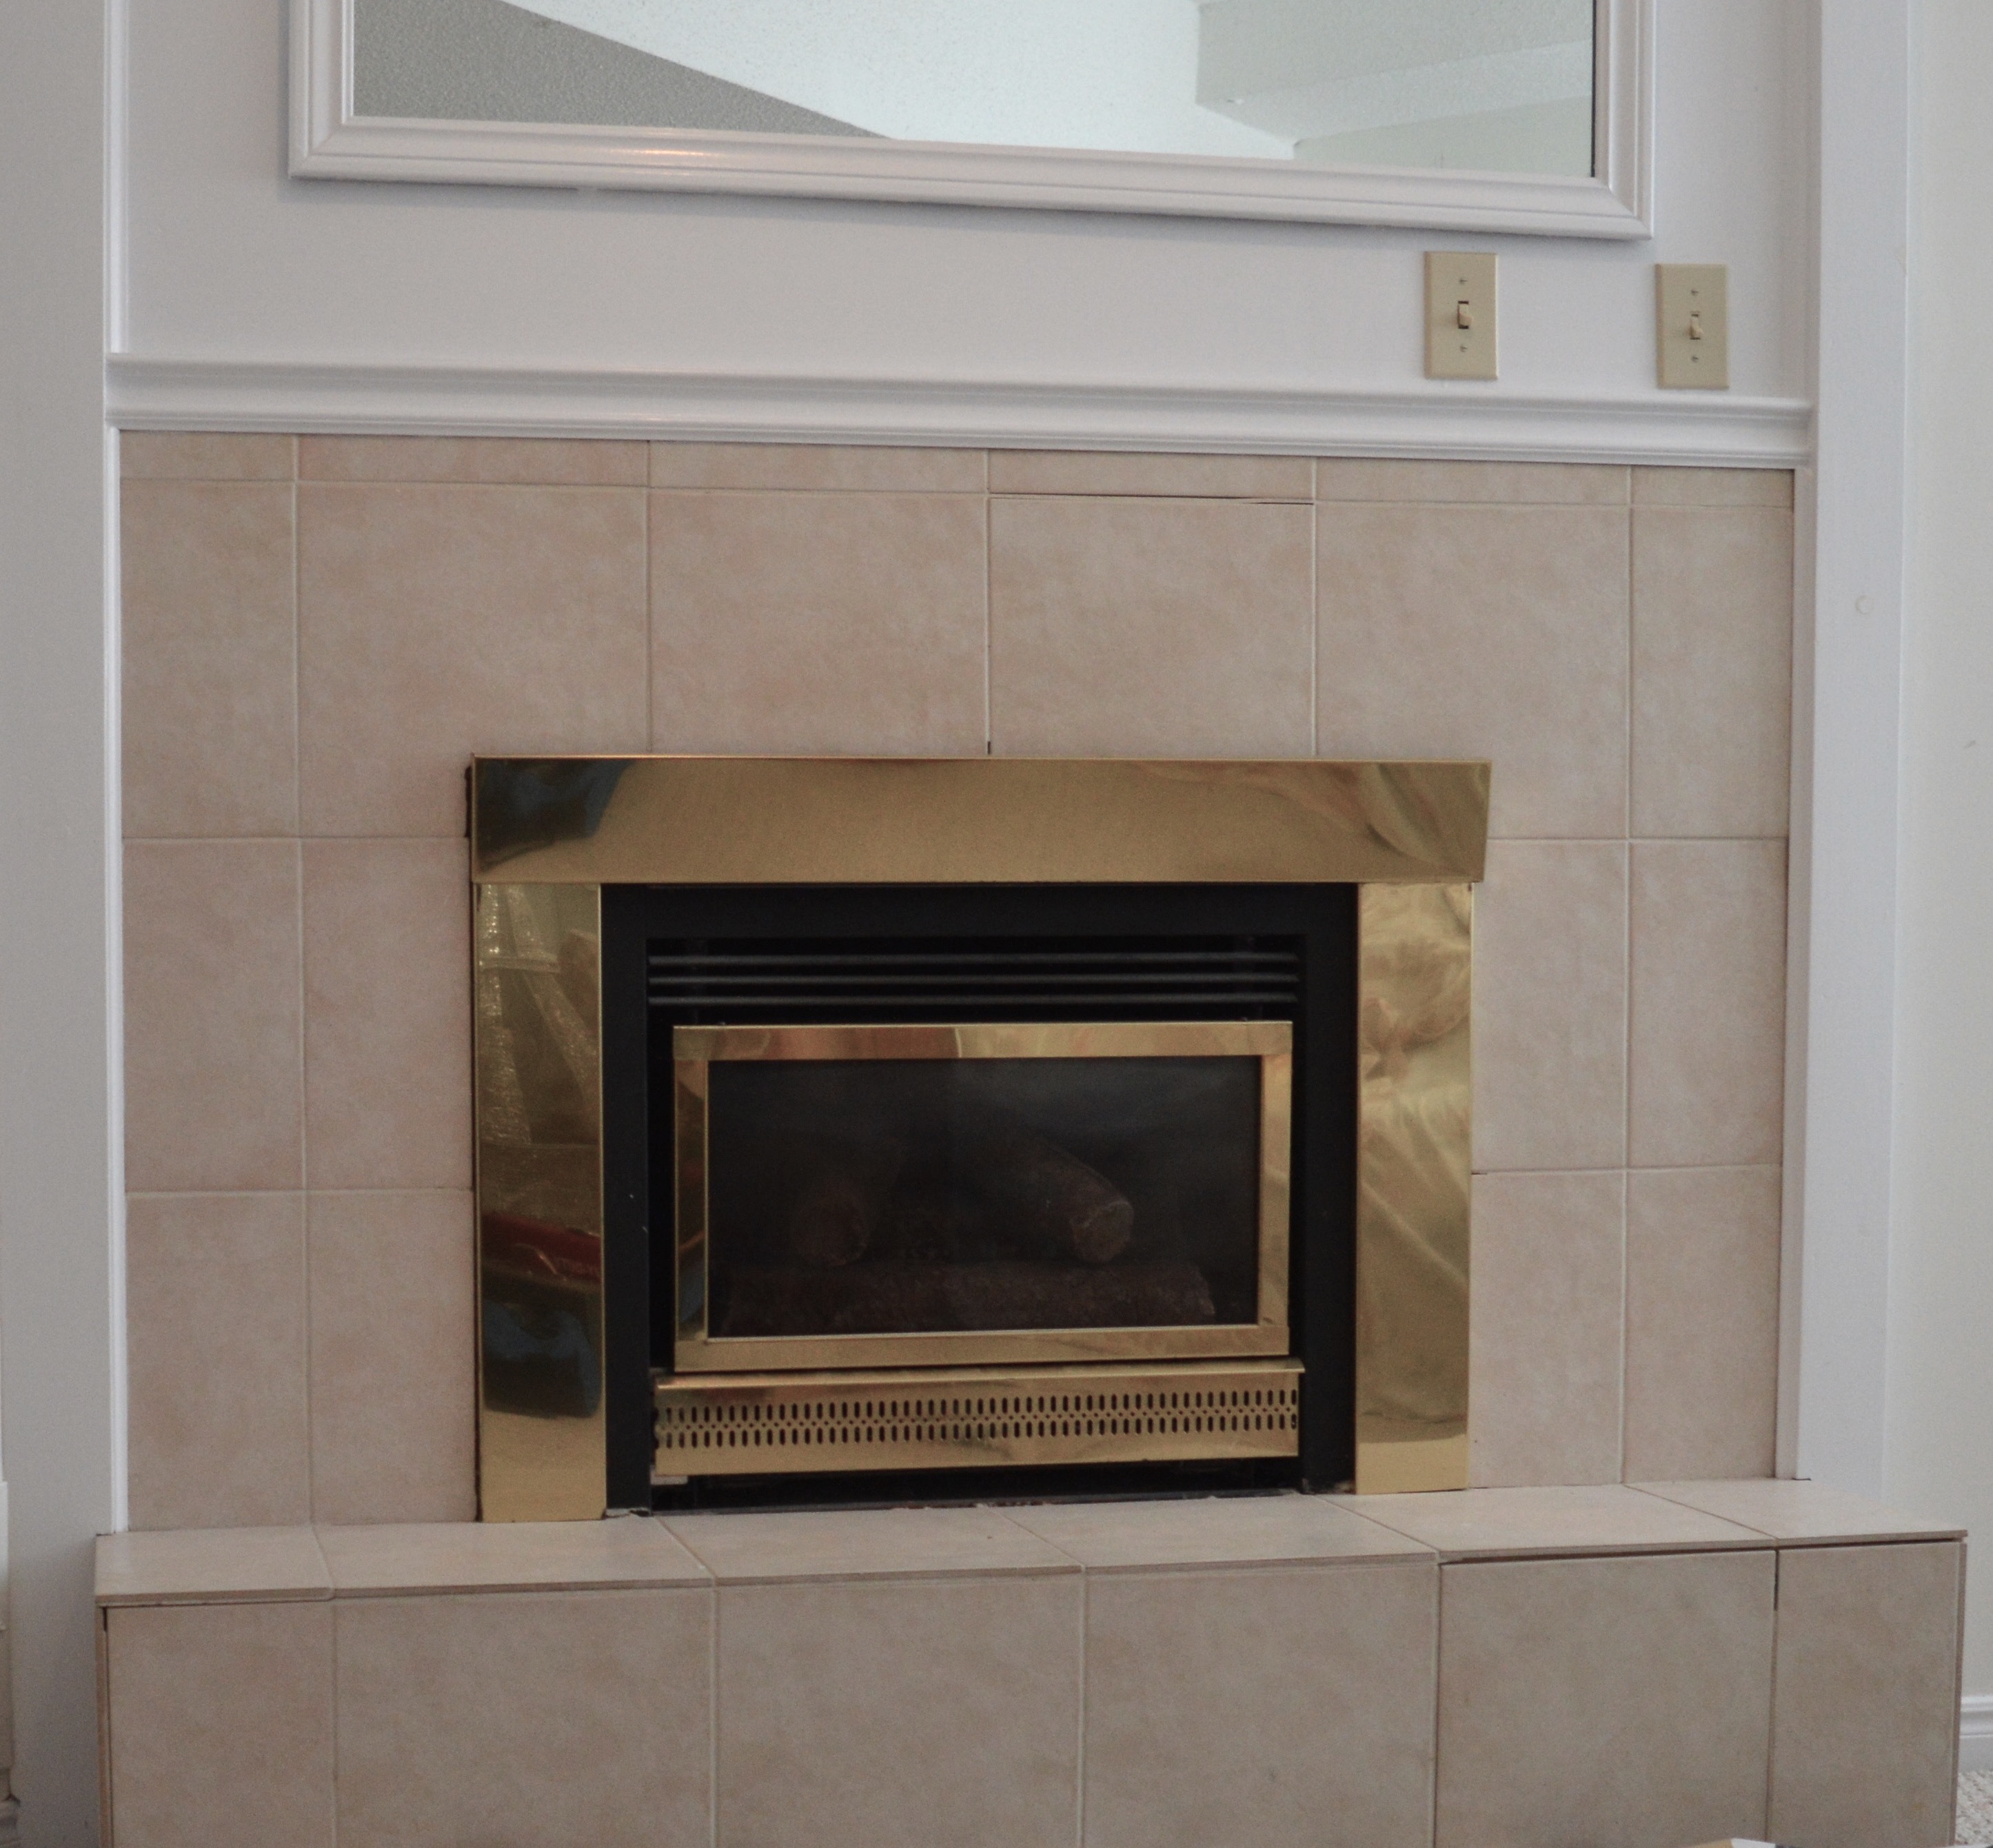
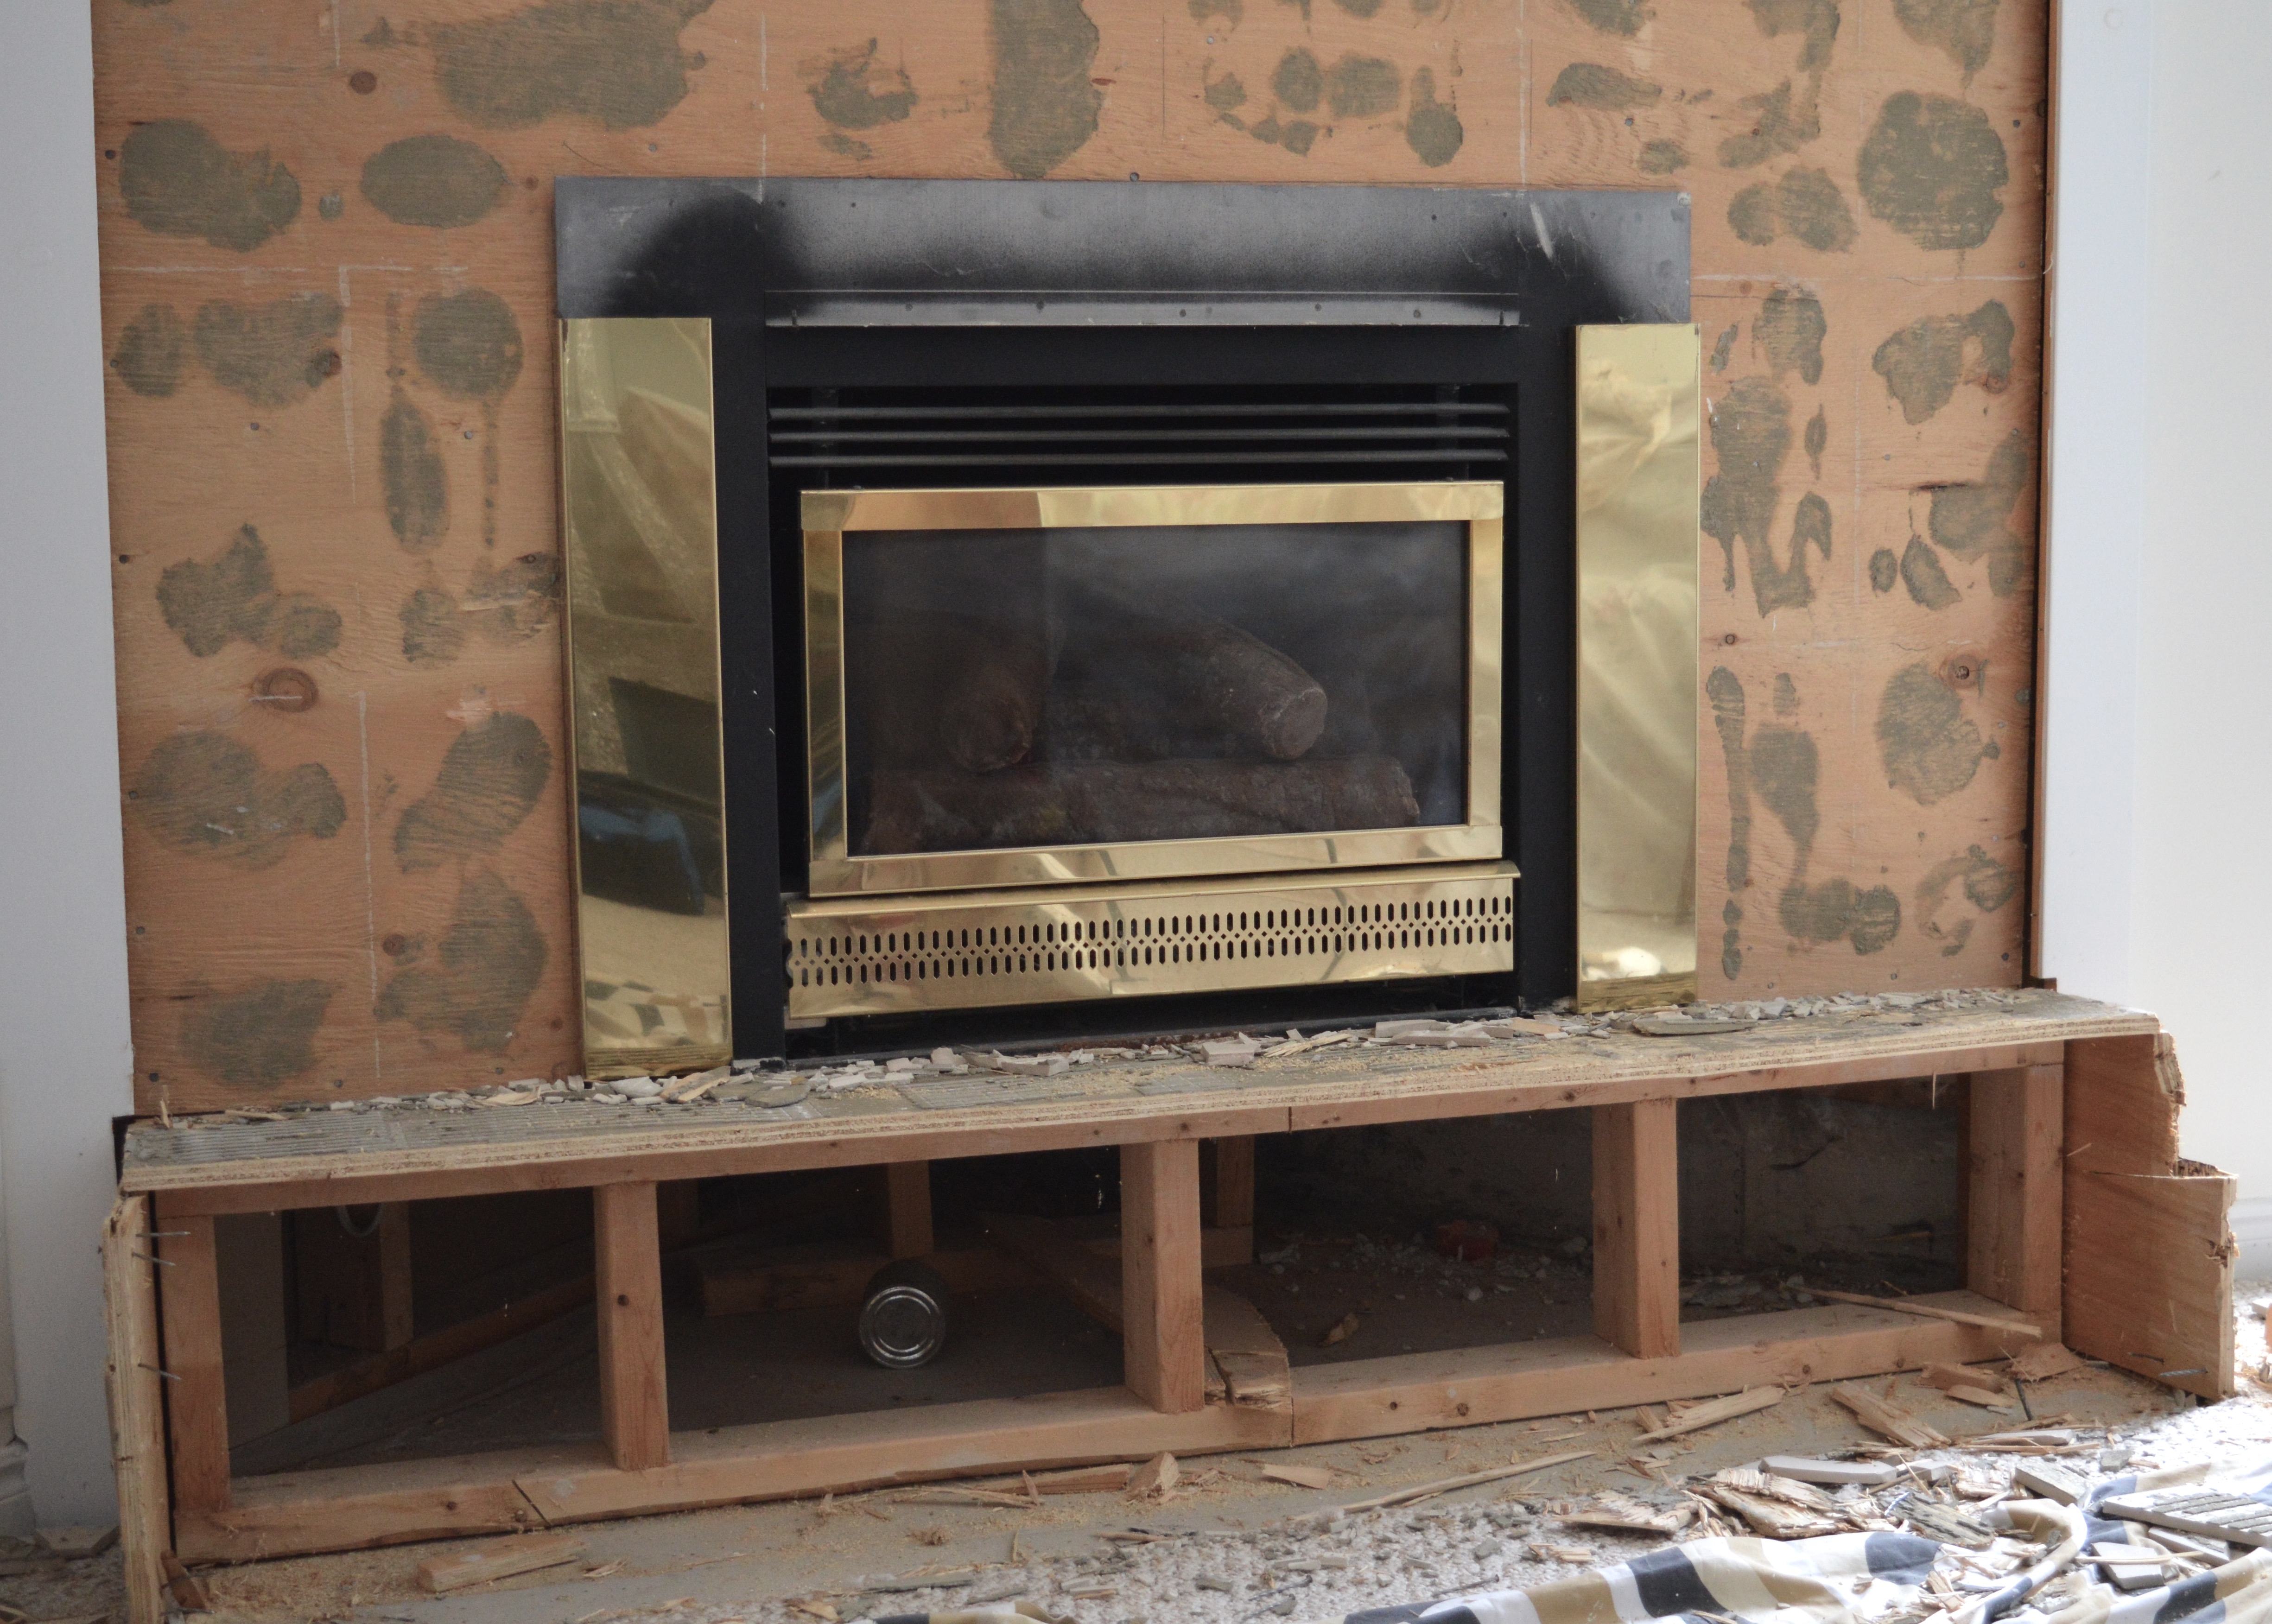
Here’s the before photo of the fireplace. It was always in perfectly good working condition, but the tile was old, the 80s gold did nothing for me, and the step riser took up space in the smallish-size room. 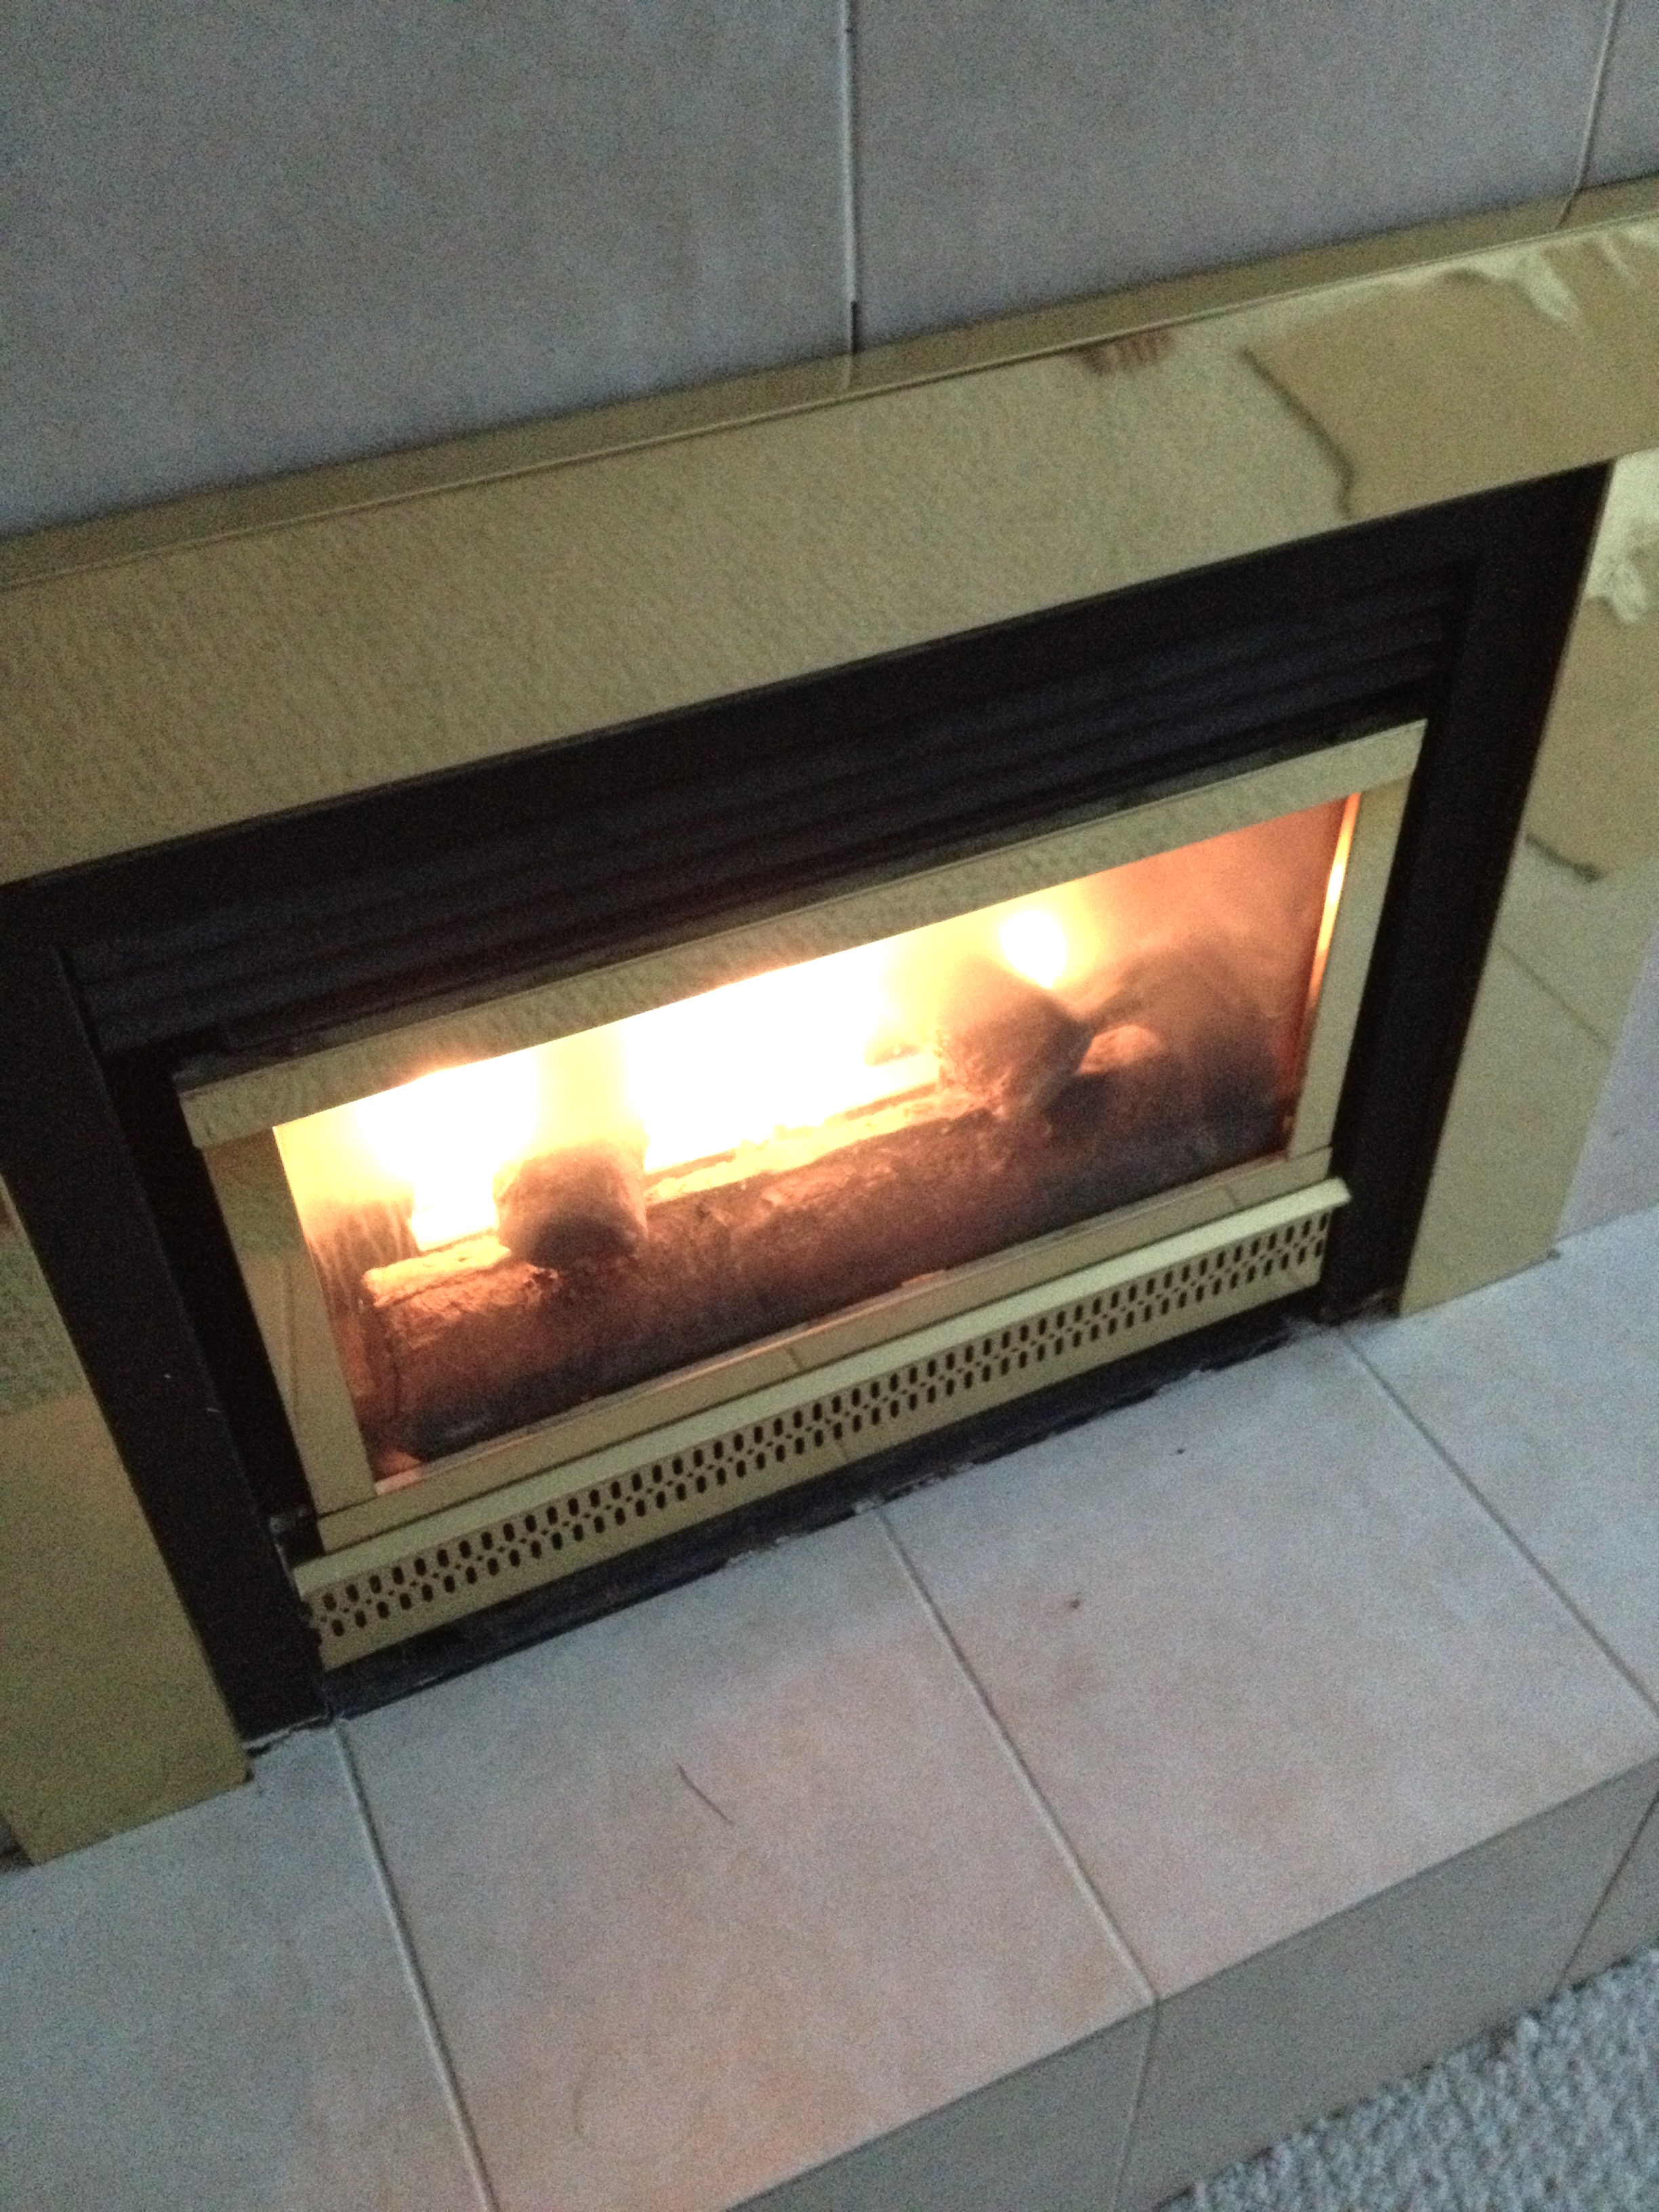
 The plan?
1. Get rid of the tile and the step.
2. Paint the gold.
3. Install a beautiful mantle.
4. Install a tile surround.
Thankfully, things went according to plan with this project!
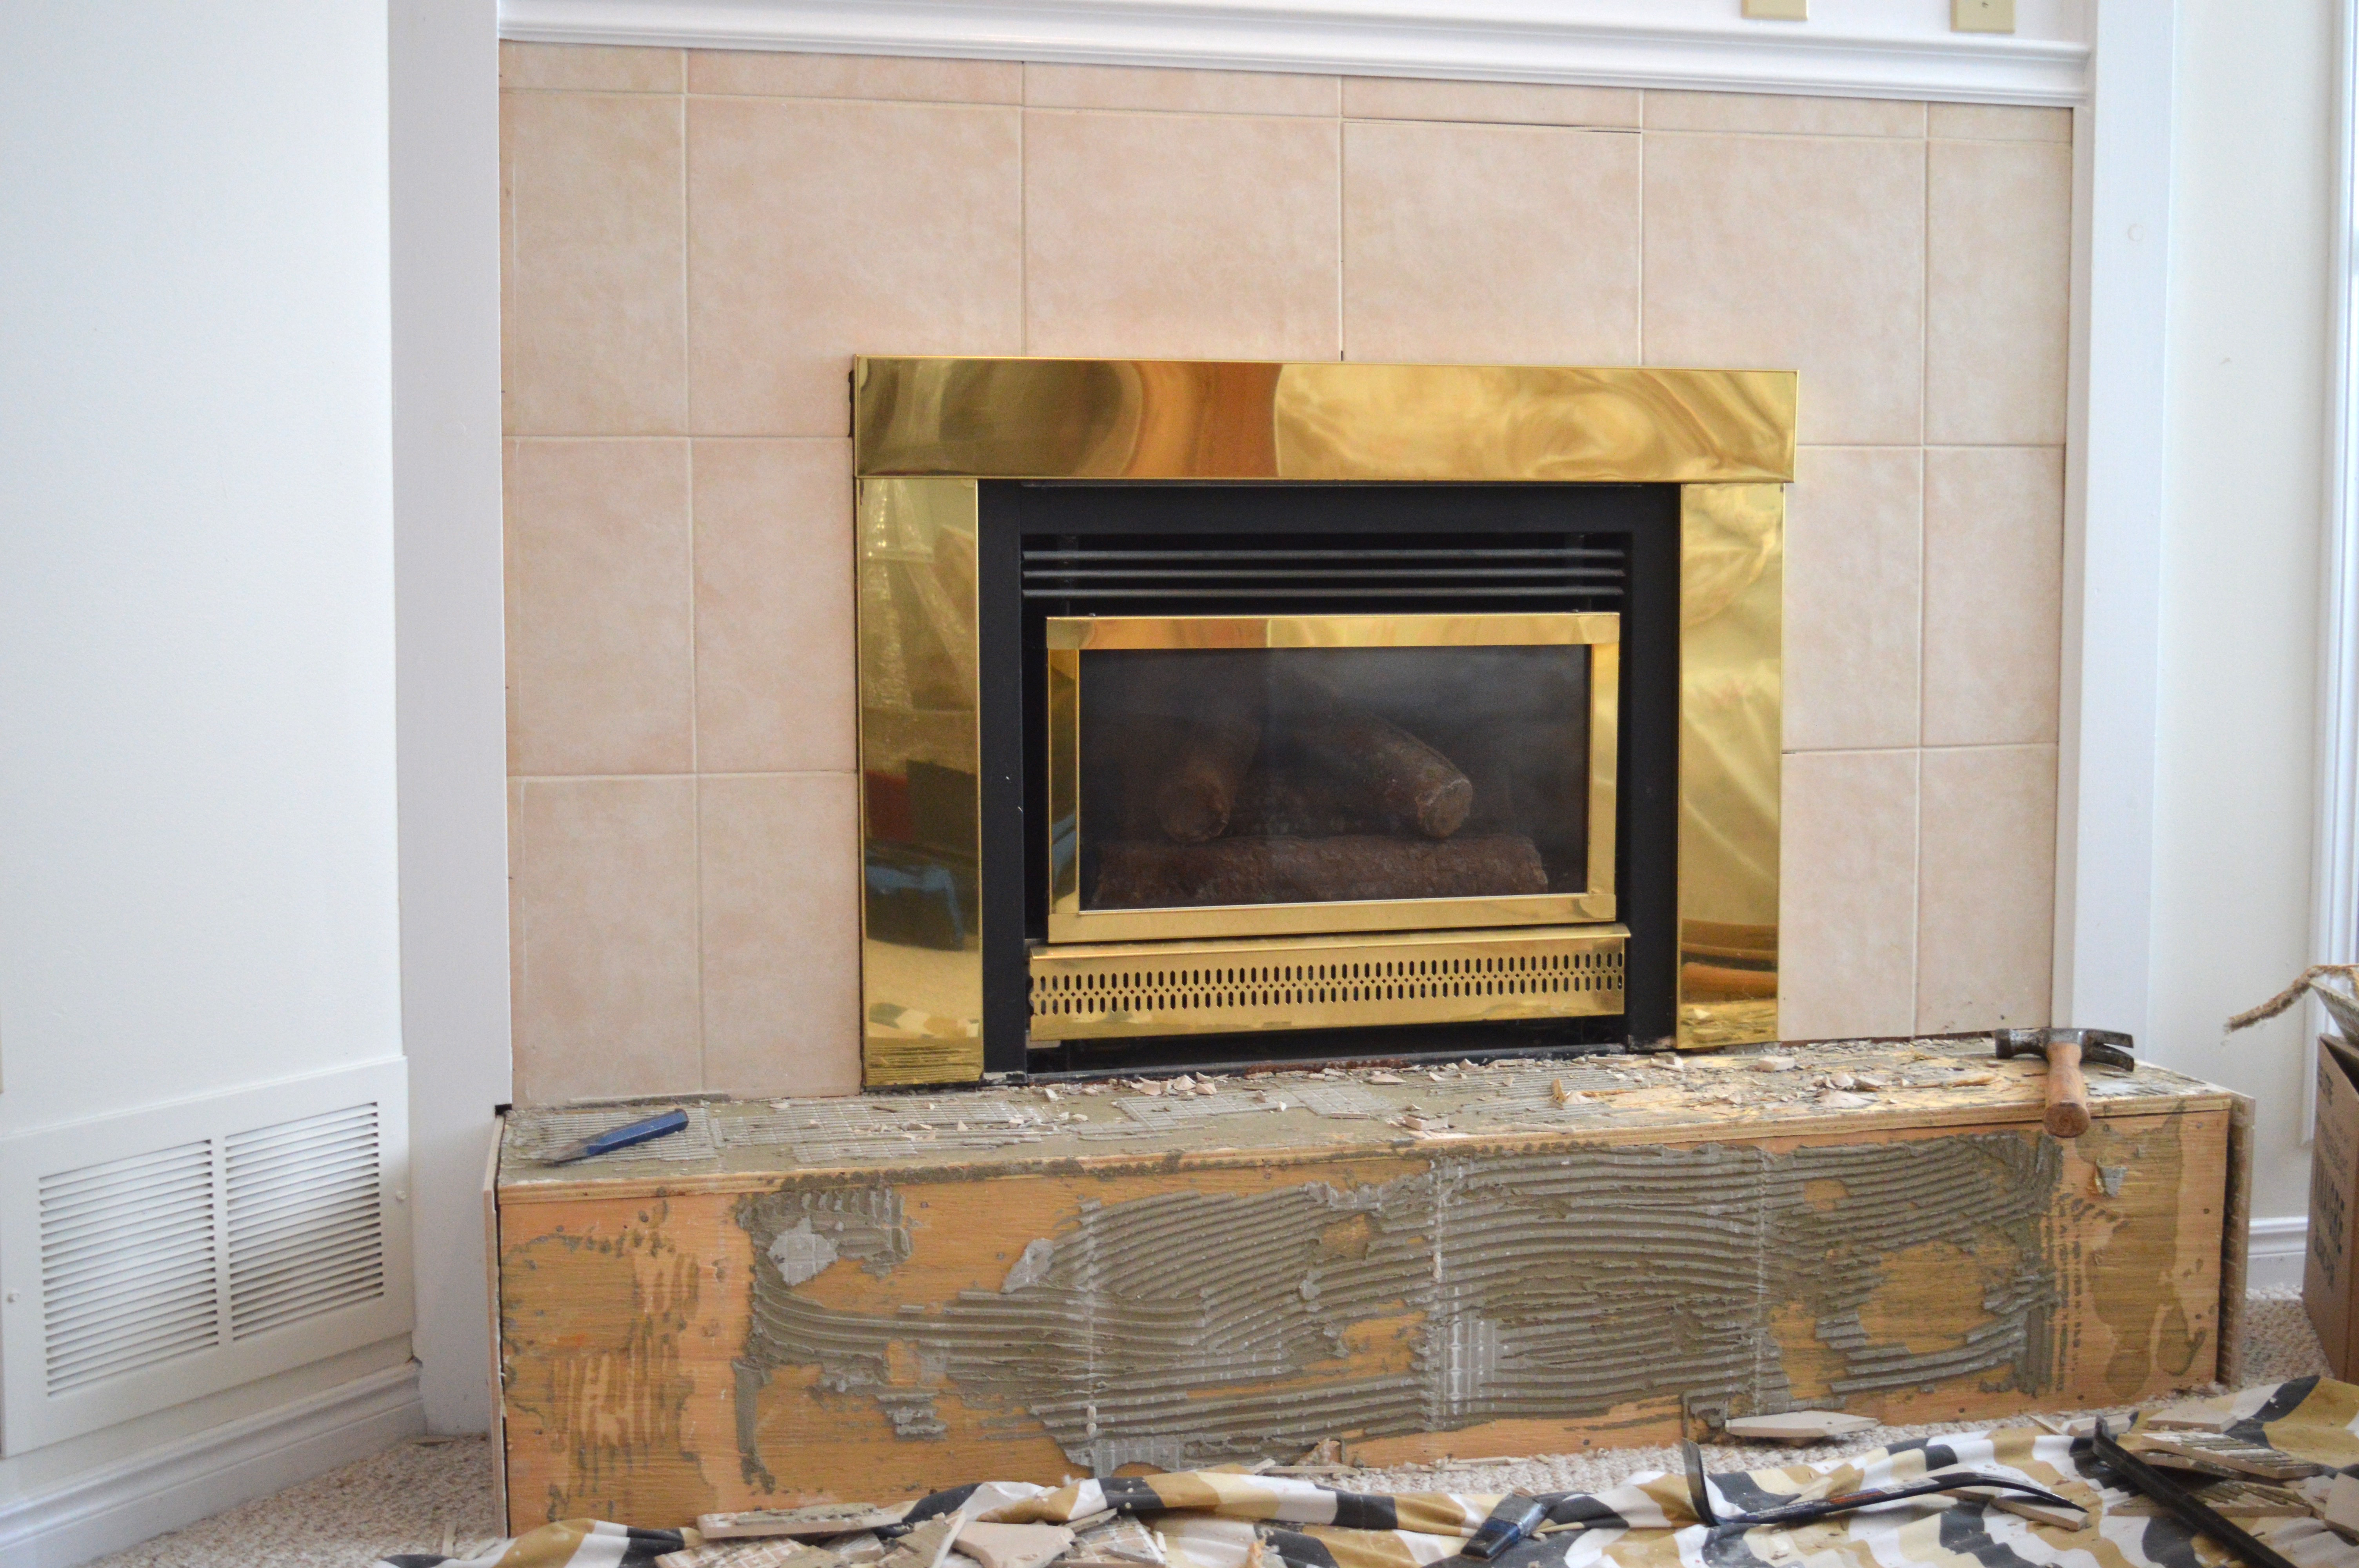
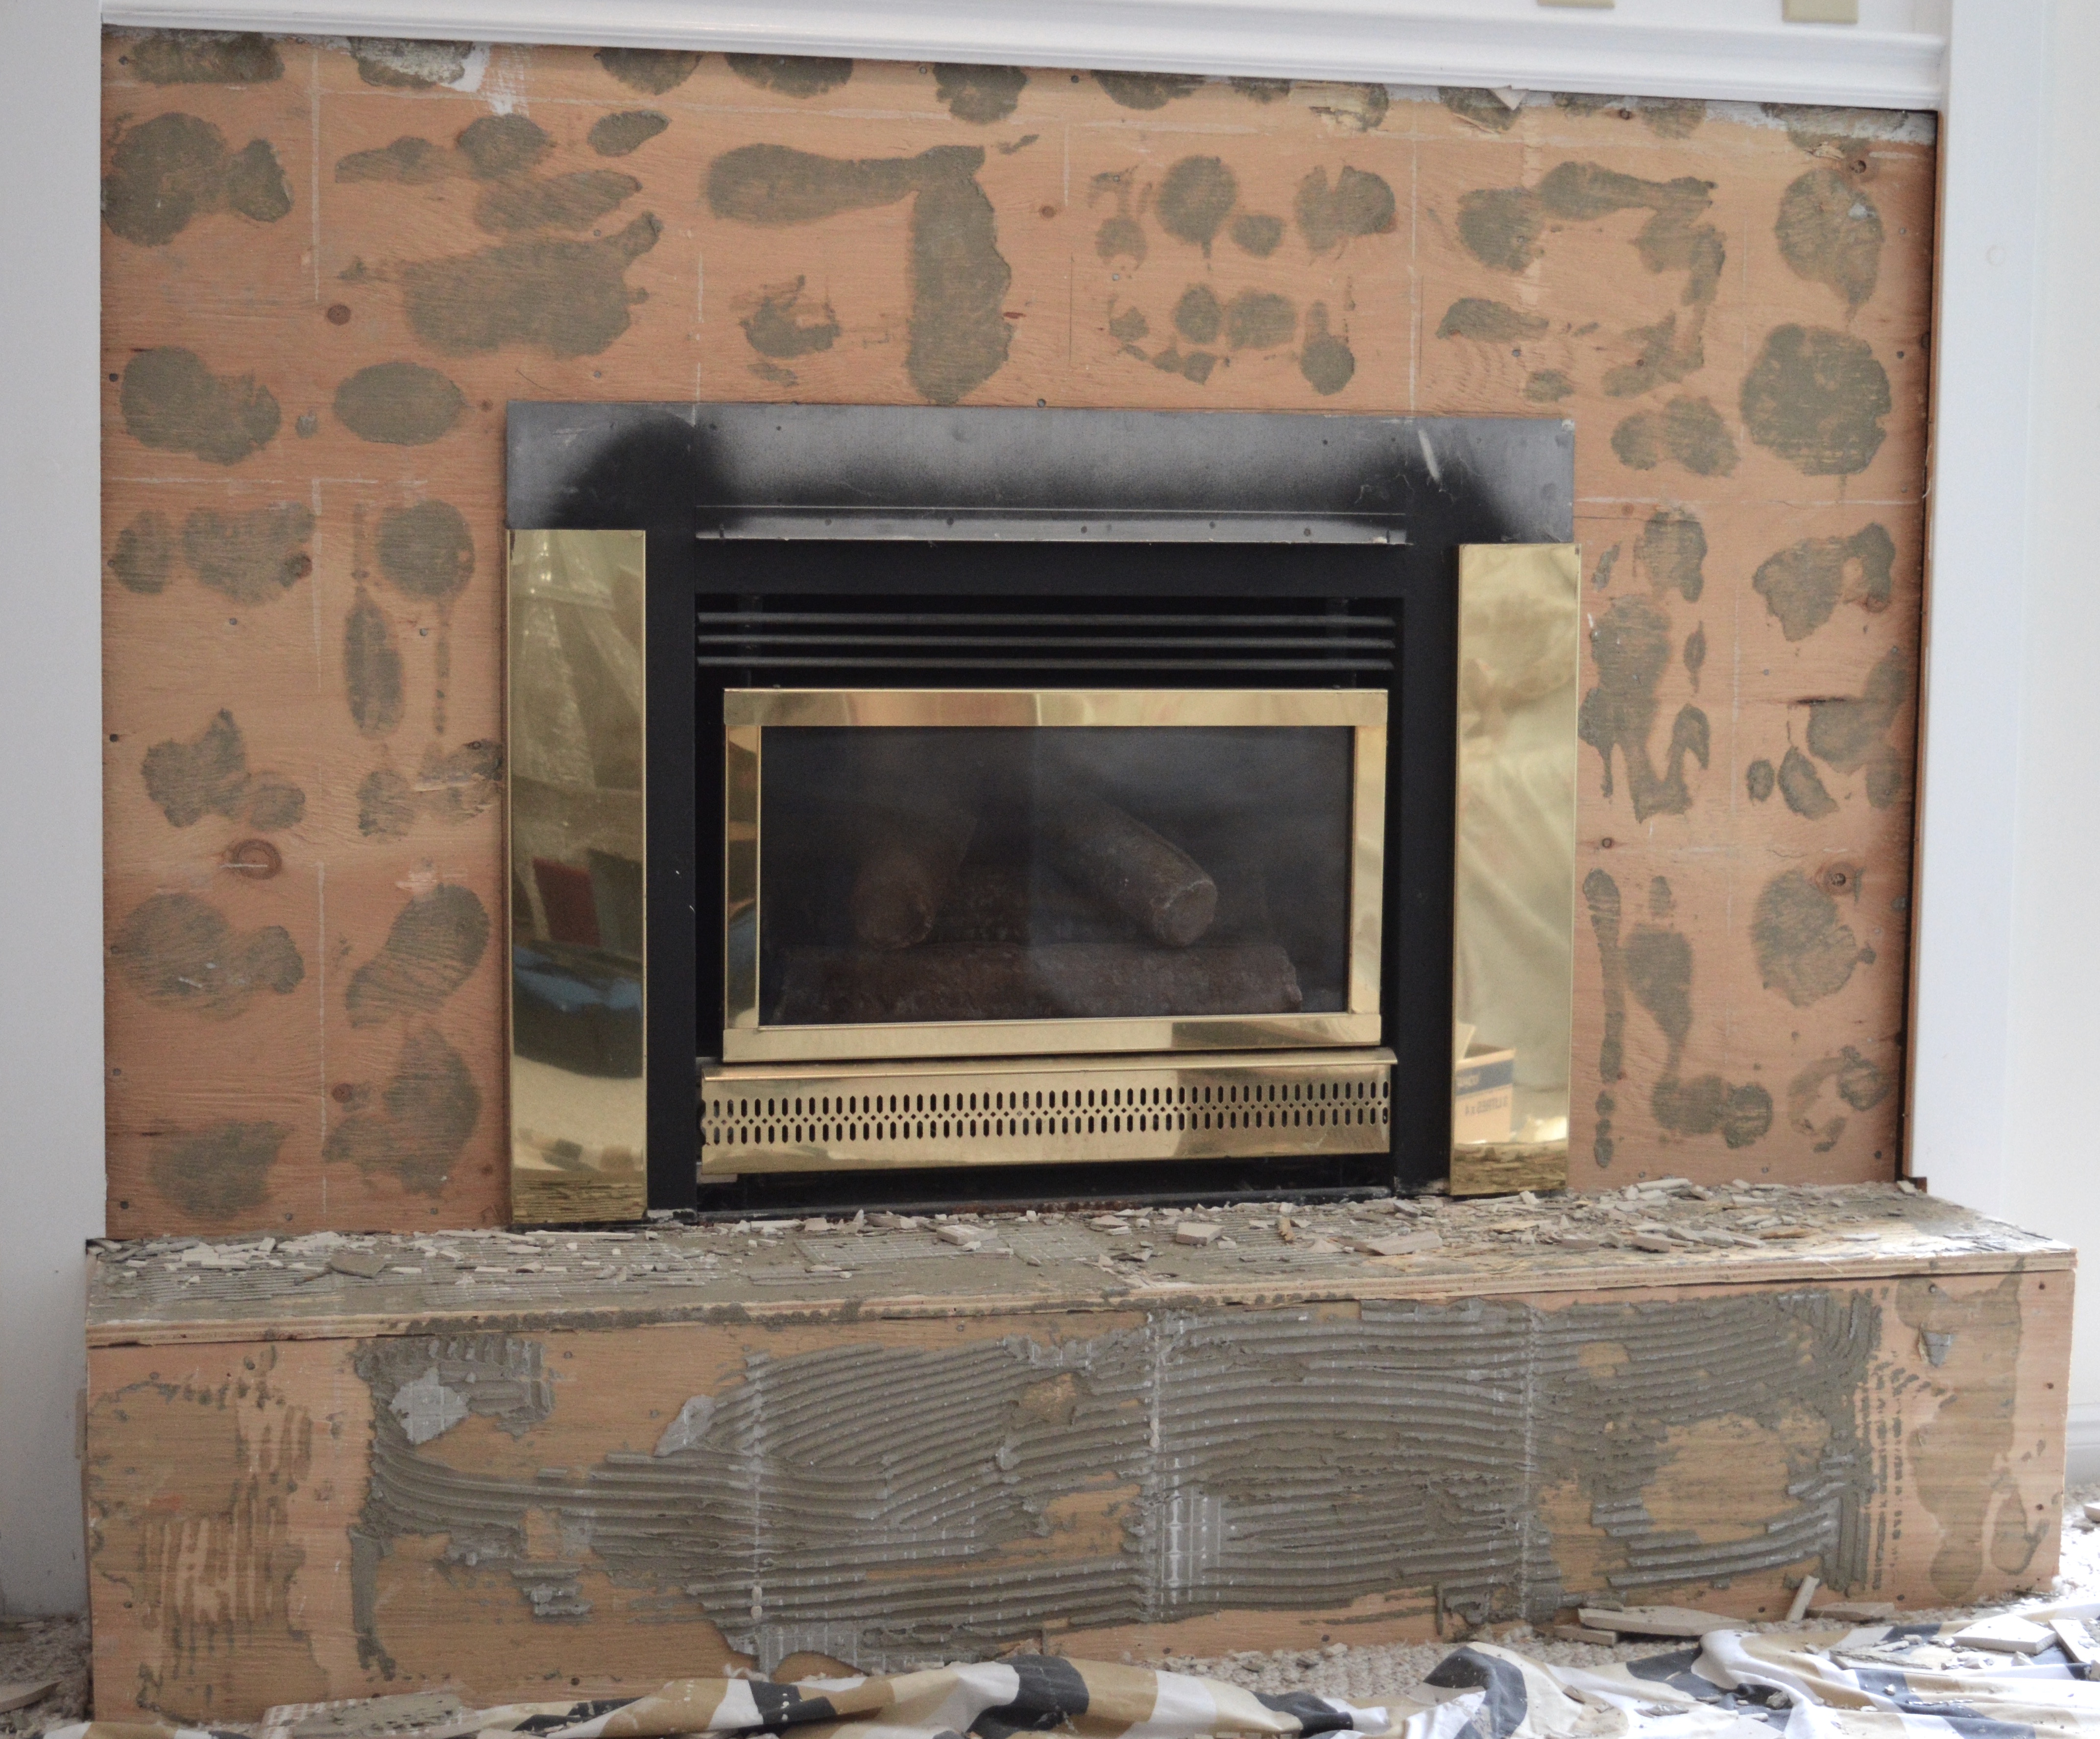
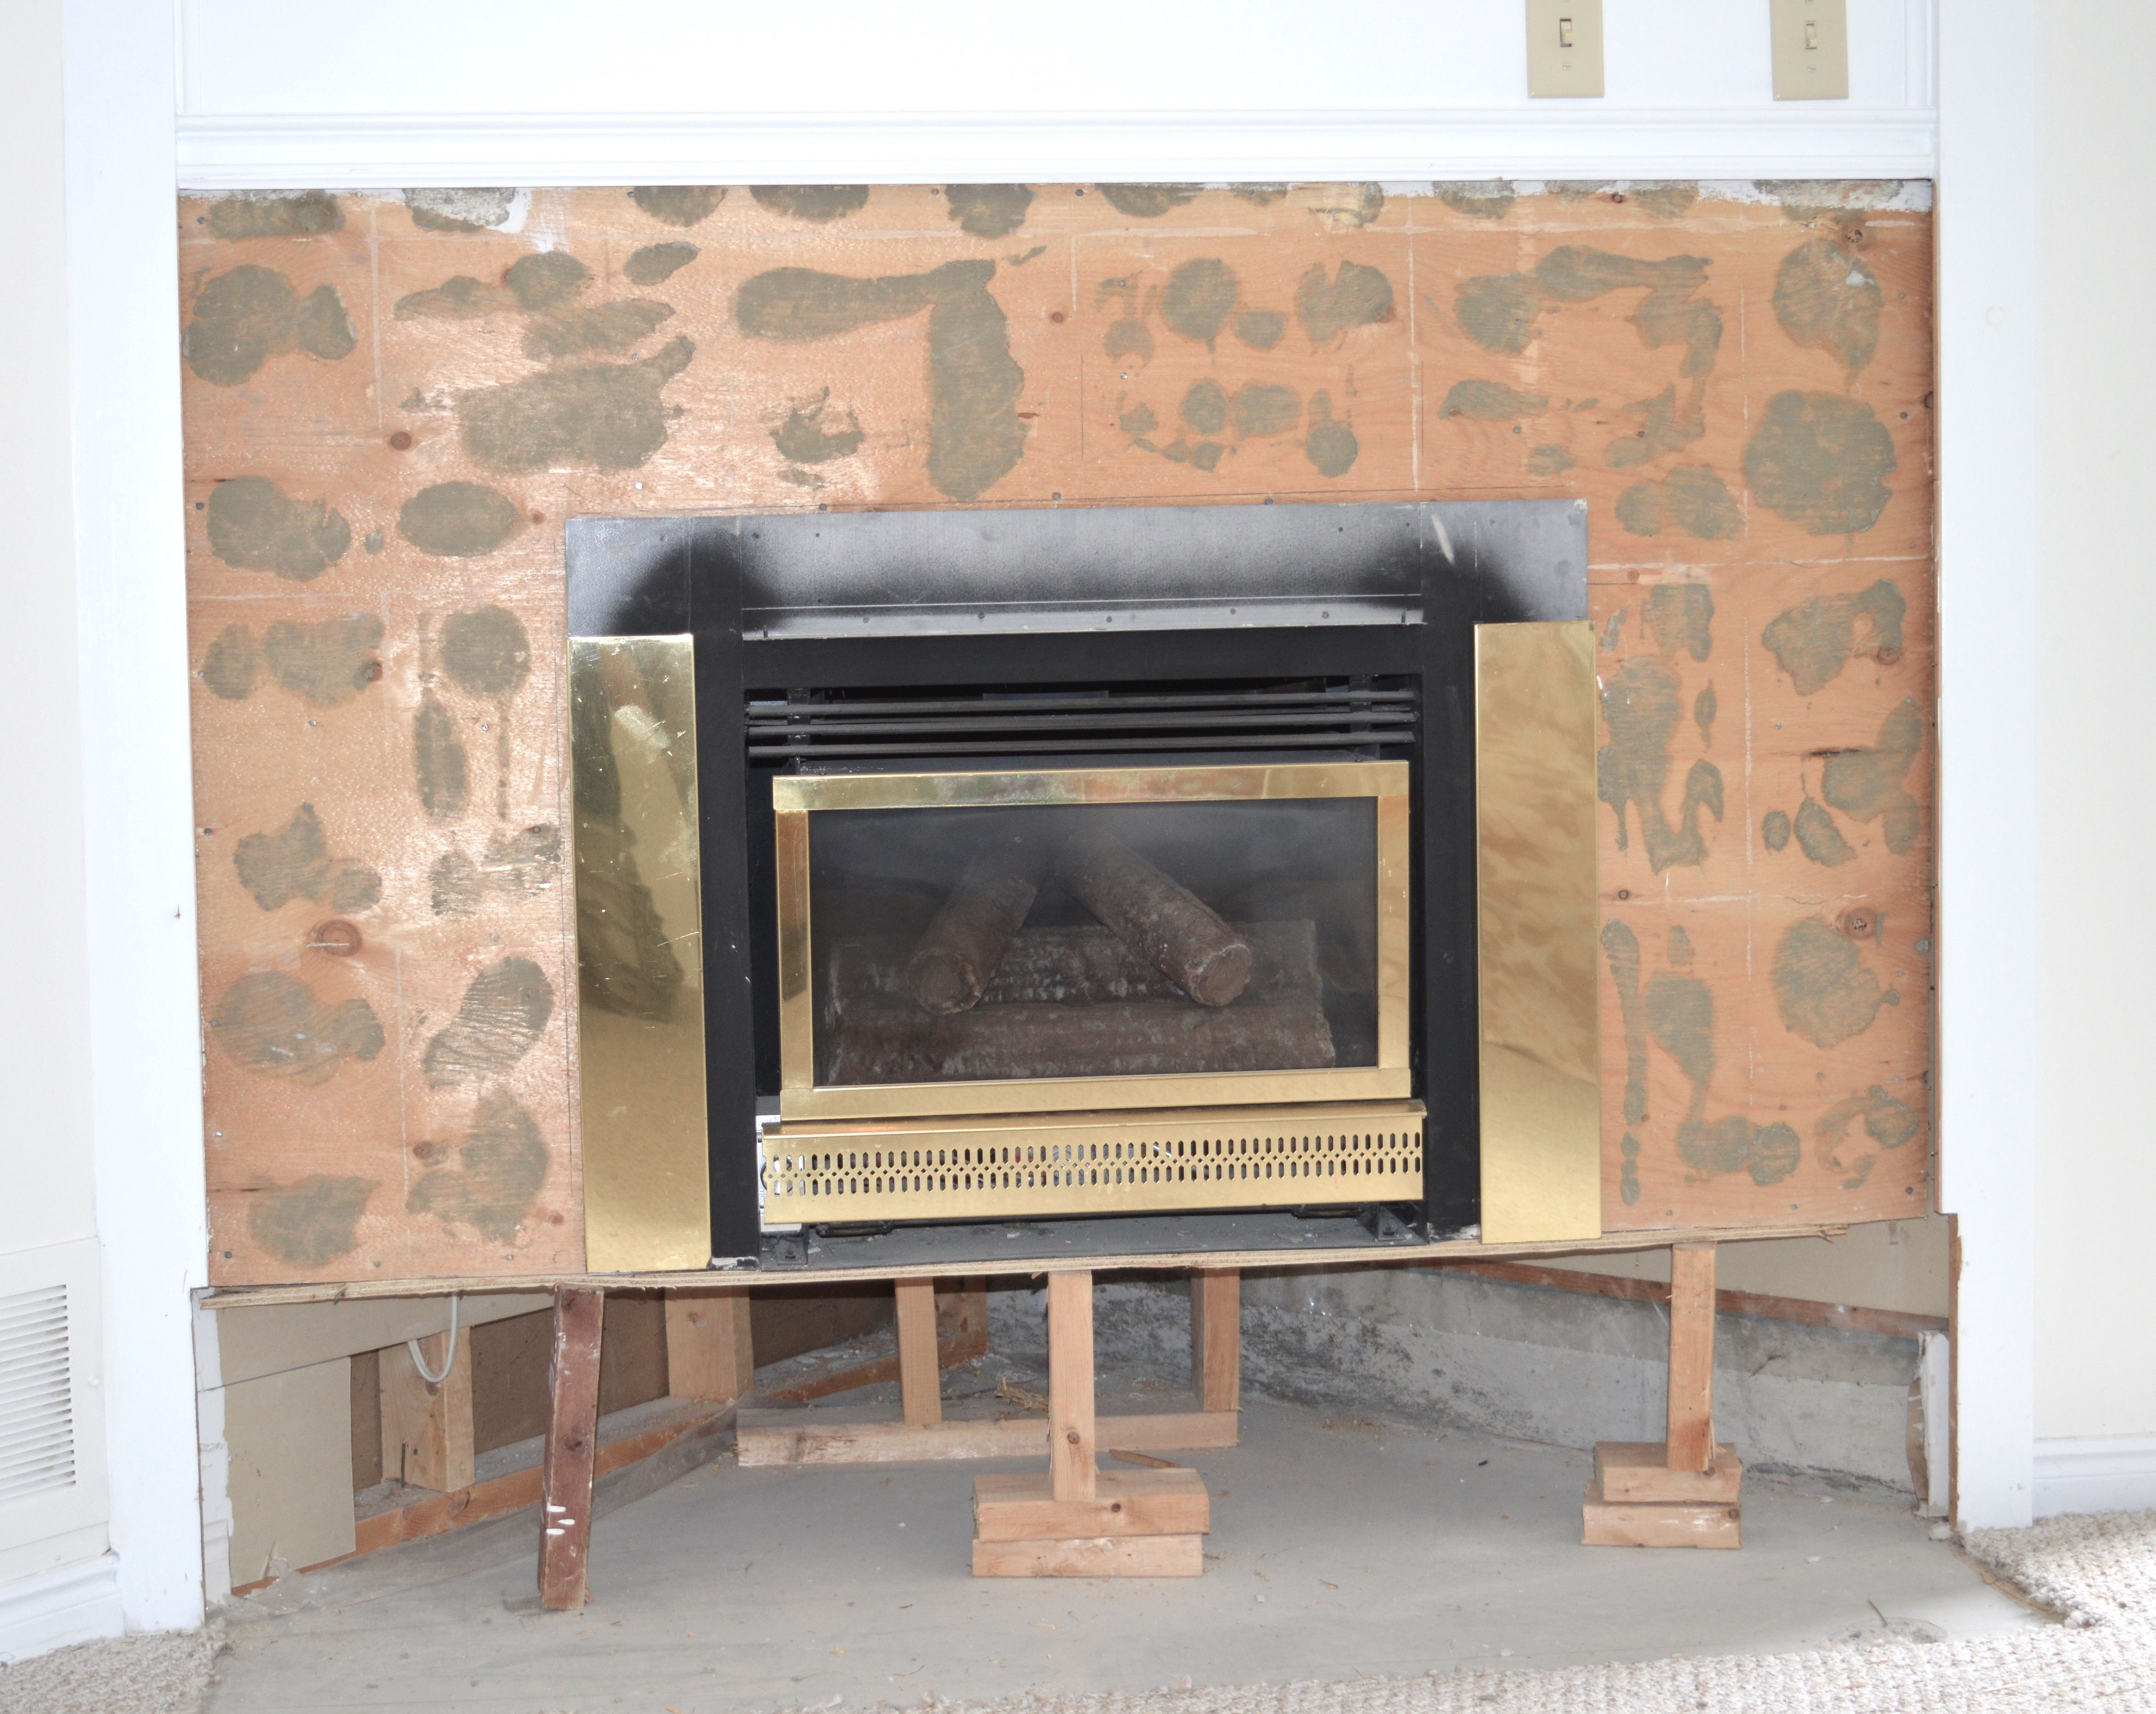
My dad carefully removed the step and tile and ensured that additional supports were installed before adding more plywood/drywall to the surround.
 My mom’s incredible detective skills resulted in a gorgeous mantle frame that was just about the perfect size for my space. My resourceful and handy parents took care of the few adjustments (and adding more trim).
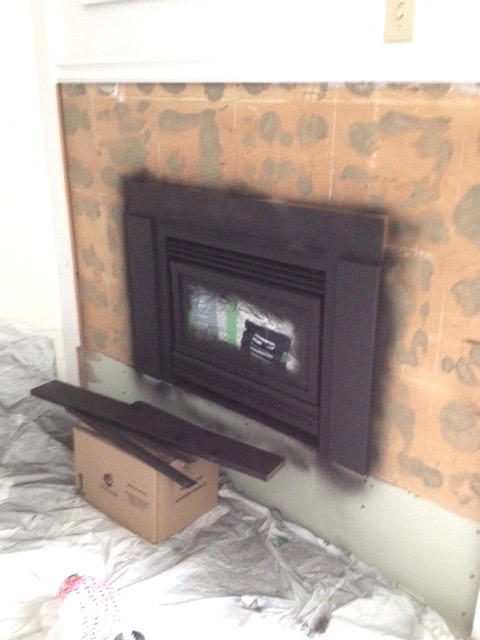
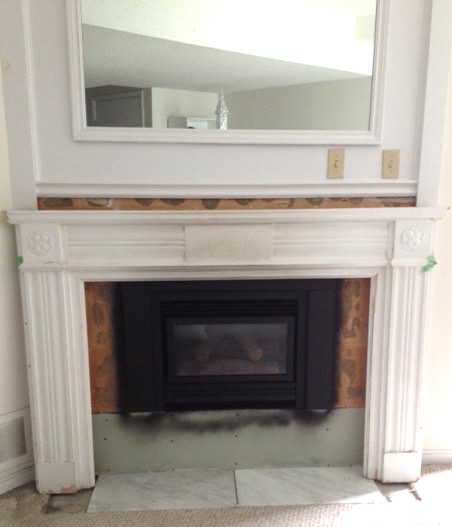 The painting and tile work was my responsibility. After taping around the fireplace screen, and covering my room’s floor with tarp, I painted the gold using high-heat Rustoleum spray paint. I completed a few light coats to ensure good coverage.
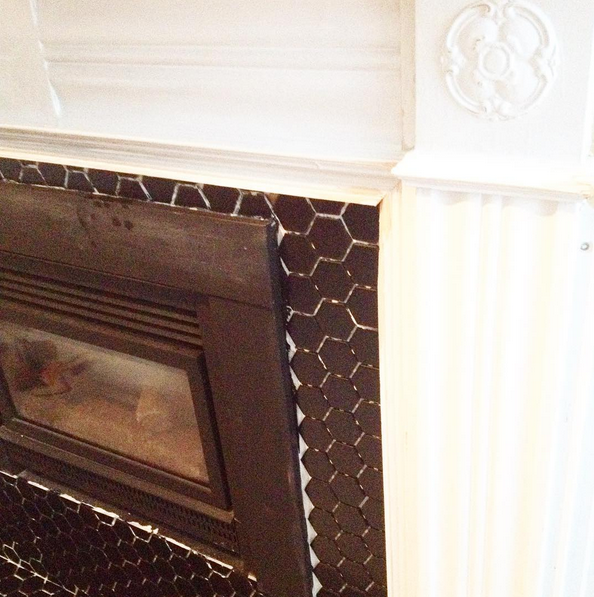
 Once the mantle was installed, I was able to get on with the tiles. I sourced 2-inch matte black hex tiles from my KW go-to tile team at Twin City Tile. I had my heart set on black from the get-go, but I did contemplate white hex and marble for a bit, too (you saw a bit of marble in one of the photos above).
 via Instagram
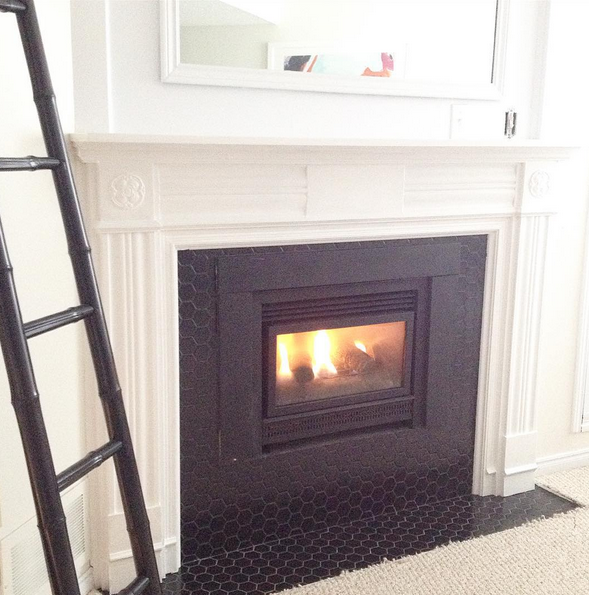
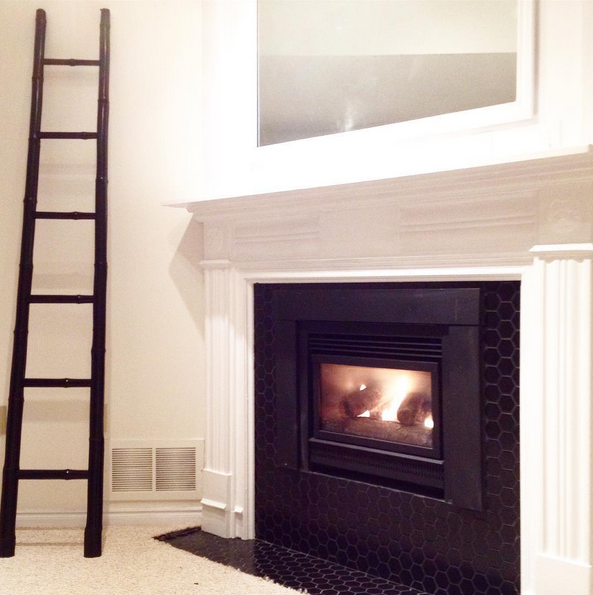
In the end, I’m definitely glad I went for a black hex tile surround as the fireplace blends in, and it’s all very sleek.
 via Instagram
Before painting the mantle, I sanded the heck out of it (thankfully I have the Black & Decker matrix with sander attachment, so this process went fairly quickly). I did all the sanding before I installed the tiles, by the way. I then put on three coats of white door and trim paint to freshen and brighten up this old mantle.
 via Instagram
 via Instagram
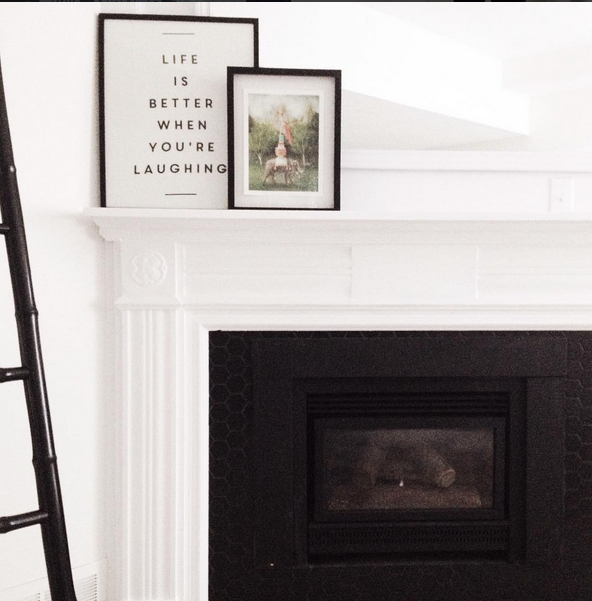
And there you have it – a step-by-step recap of my fireplace makeover.
* Thanks again, Mom and Dad, for your help!
If you’d like to see more of my house, check out my house tour or read the articles in the Uptown category.

What a transformation, looks great!
You did a fantastic job with this fireplace makeover (so did Mom and Dad, yay for resourceful parents!) xx celebratingthislife.ca
Wow! Incredible transformation of your fireplace.
Your parents should go to a t.v. show to show people how it’s done.
Your house tour is lovely and refreshing.