The Friday Five: More One Room Challenge Reveals

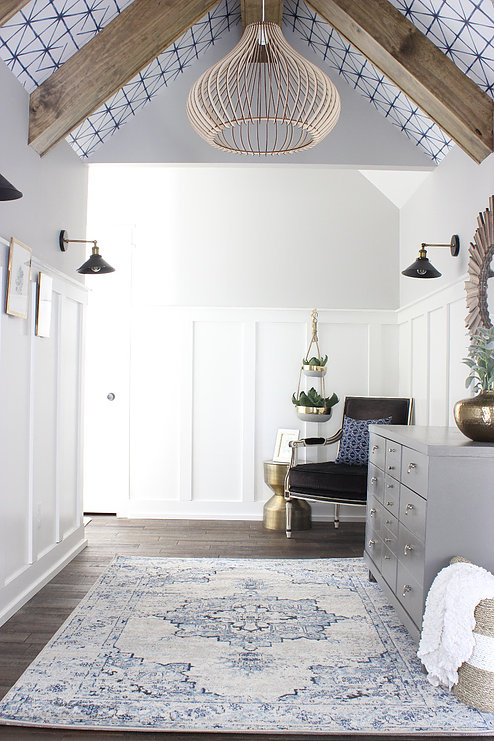
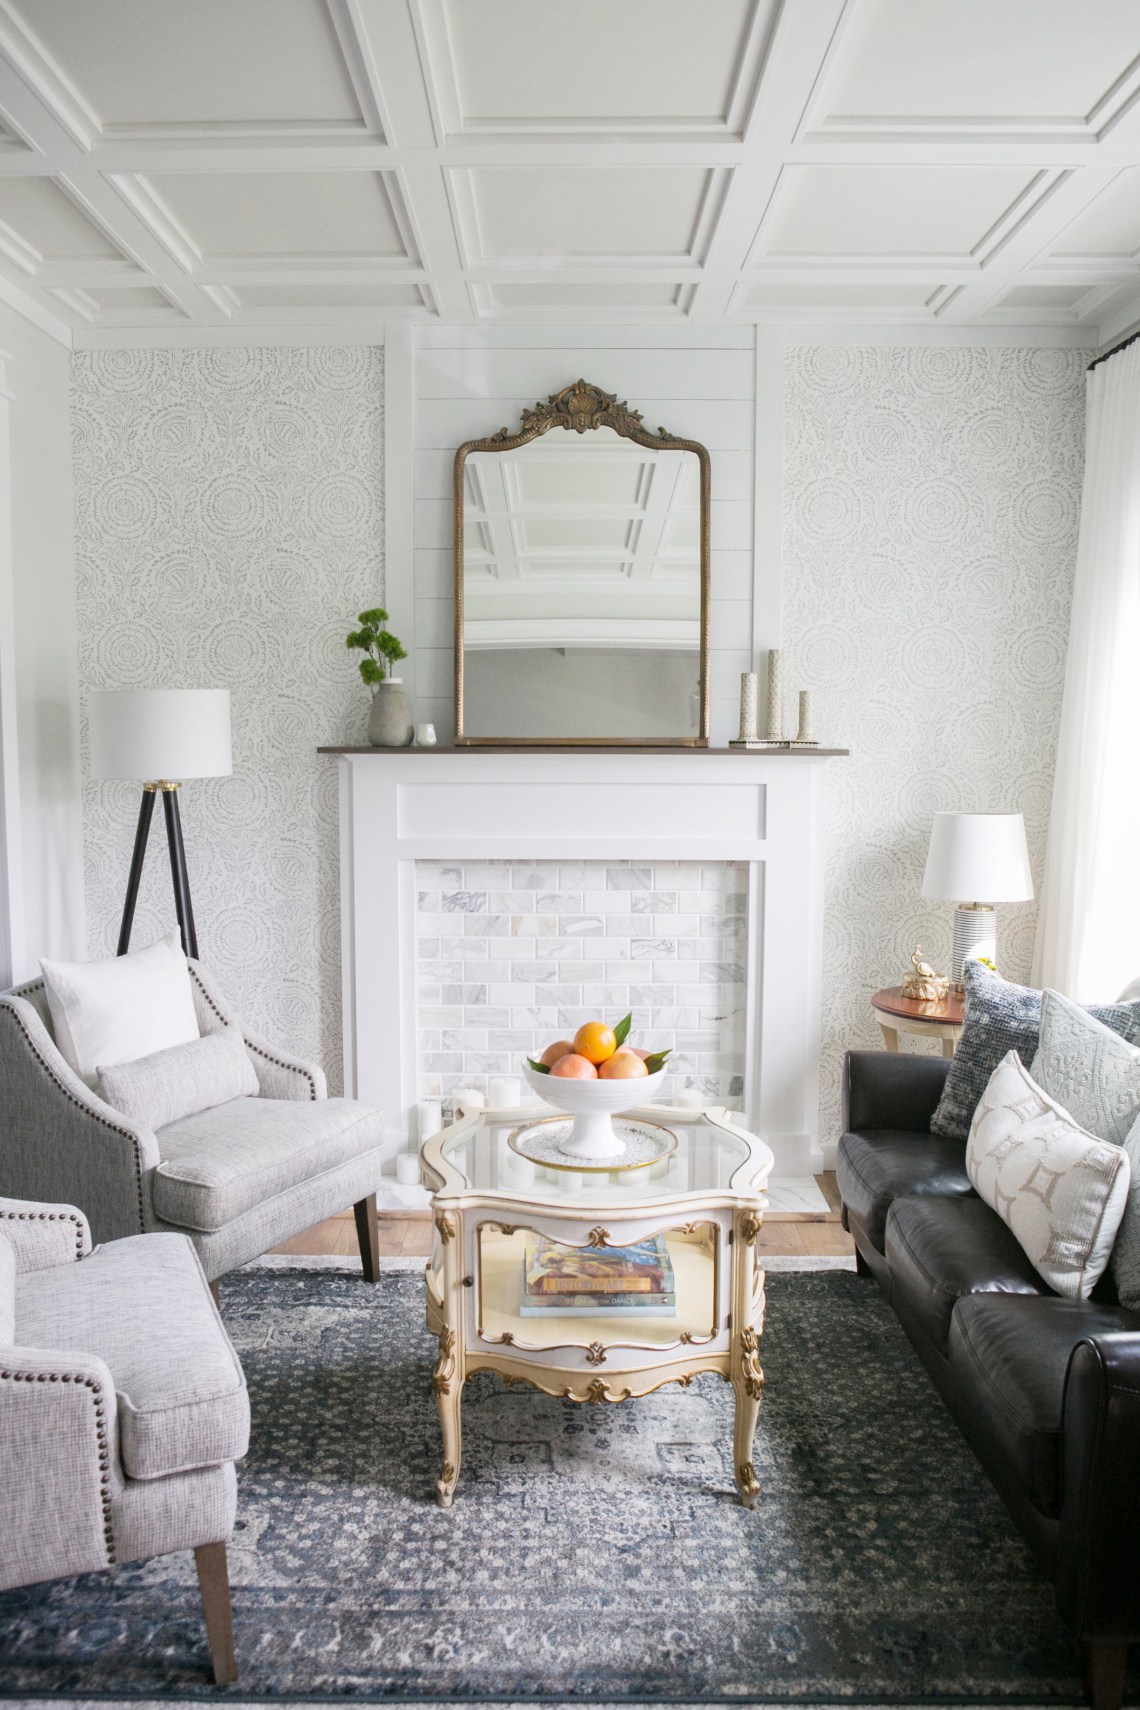
If you’ve been following along regularly, then you know that over a 6-week period, I shared the progress of my laundry/bathroom combo room makeover as part the the One Room Challenge event this spring. Last week, I shared five room reveals from the featured designers of the One Room Challenge. Today, I bring you five more gorgeous spaces, but this time, from the guest participants of the event..

Here’s a sneak peek at 5 rooms from the guest participants…

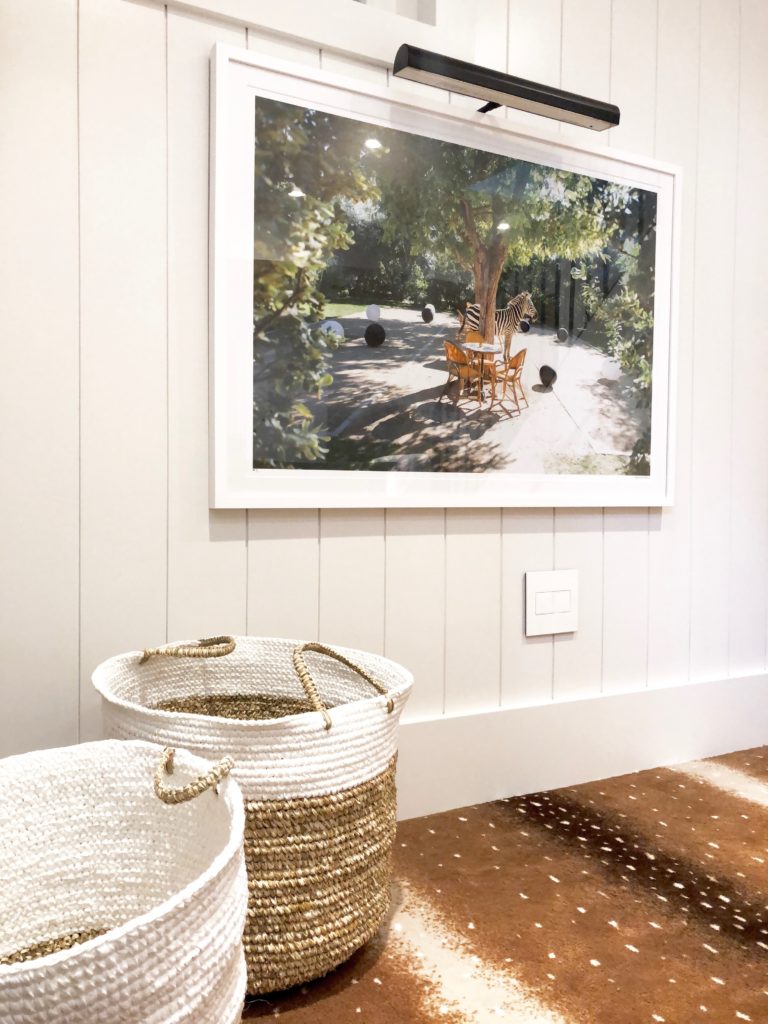
Deuce Cities Henhouse

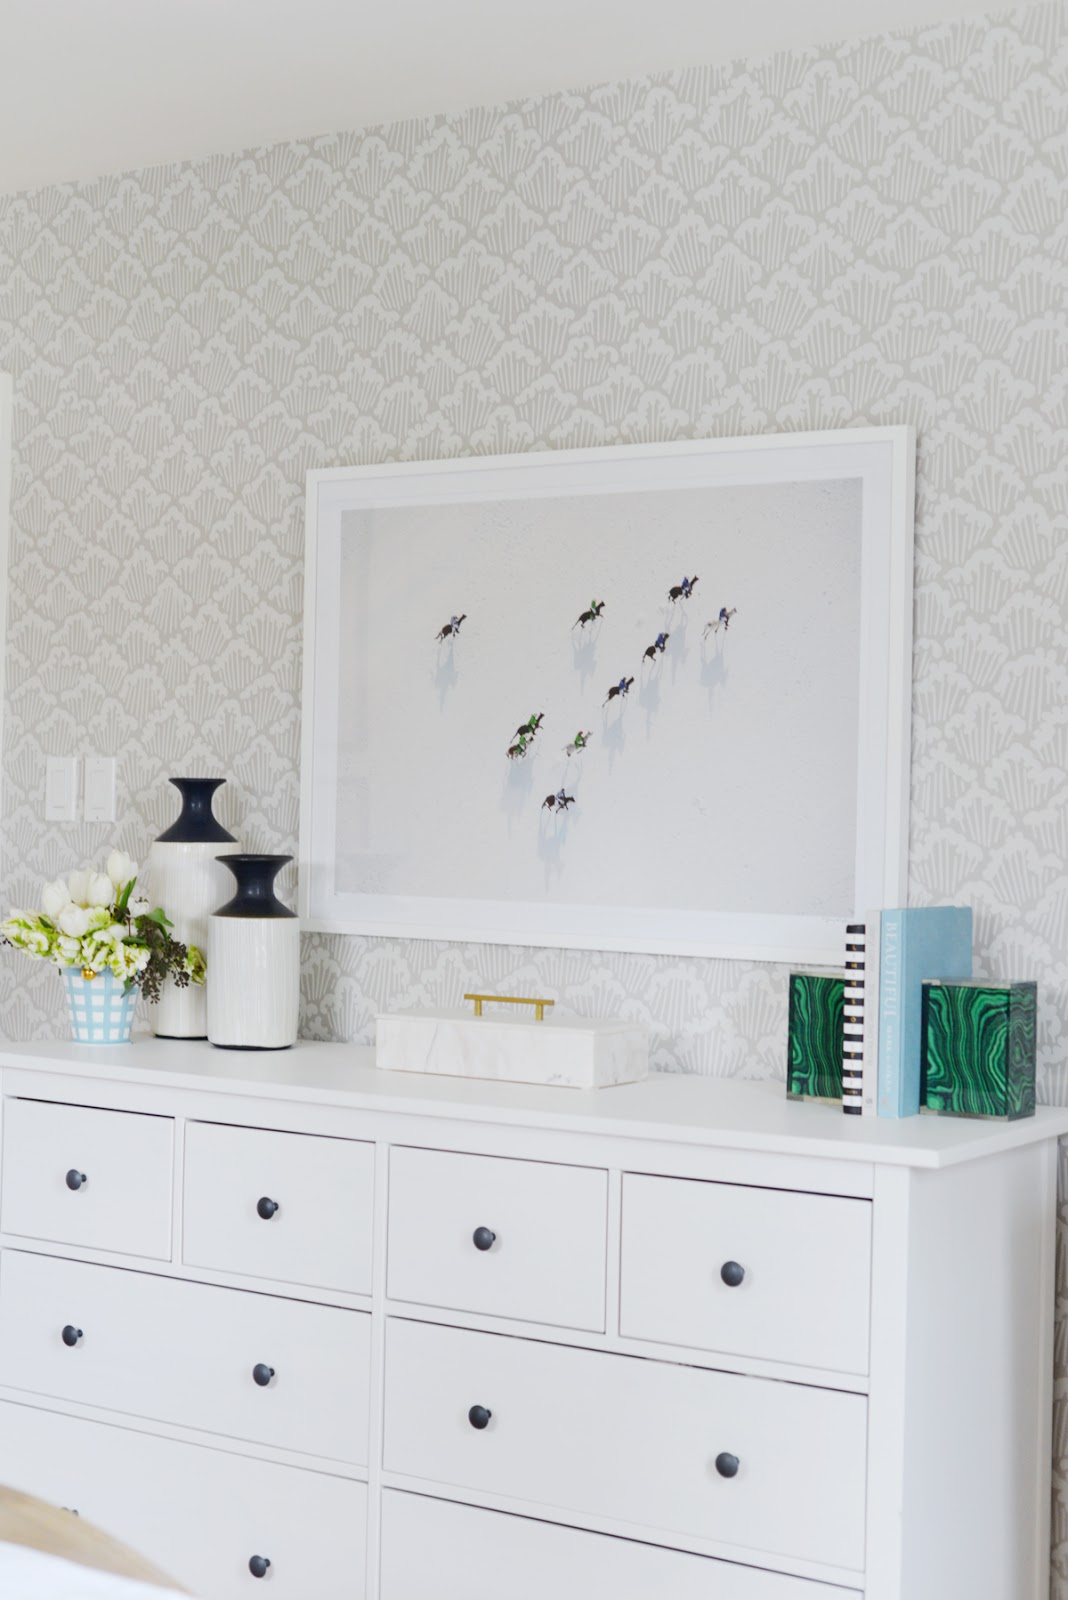
Room for Tuesday

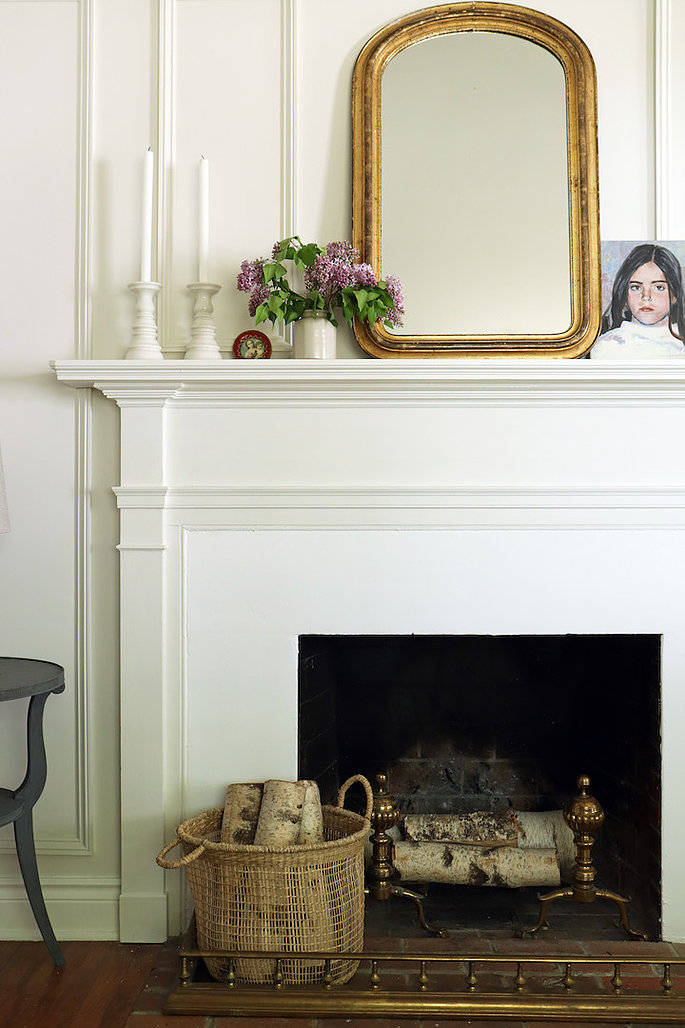
Crate and Cottage

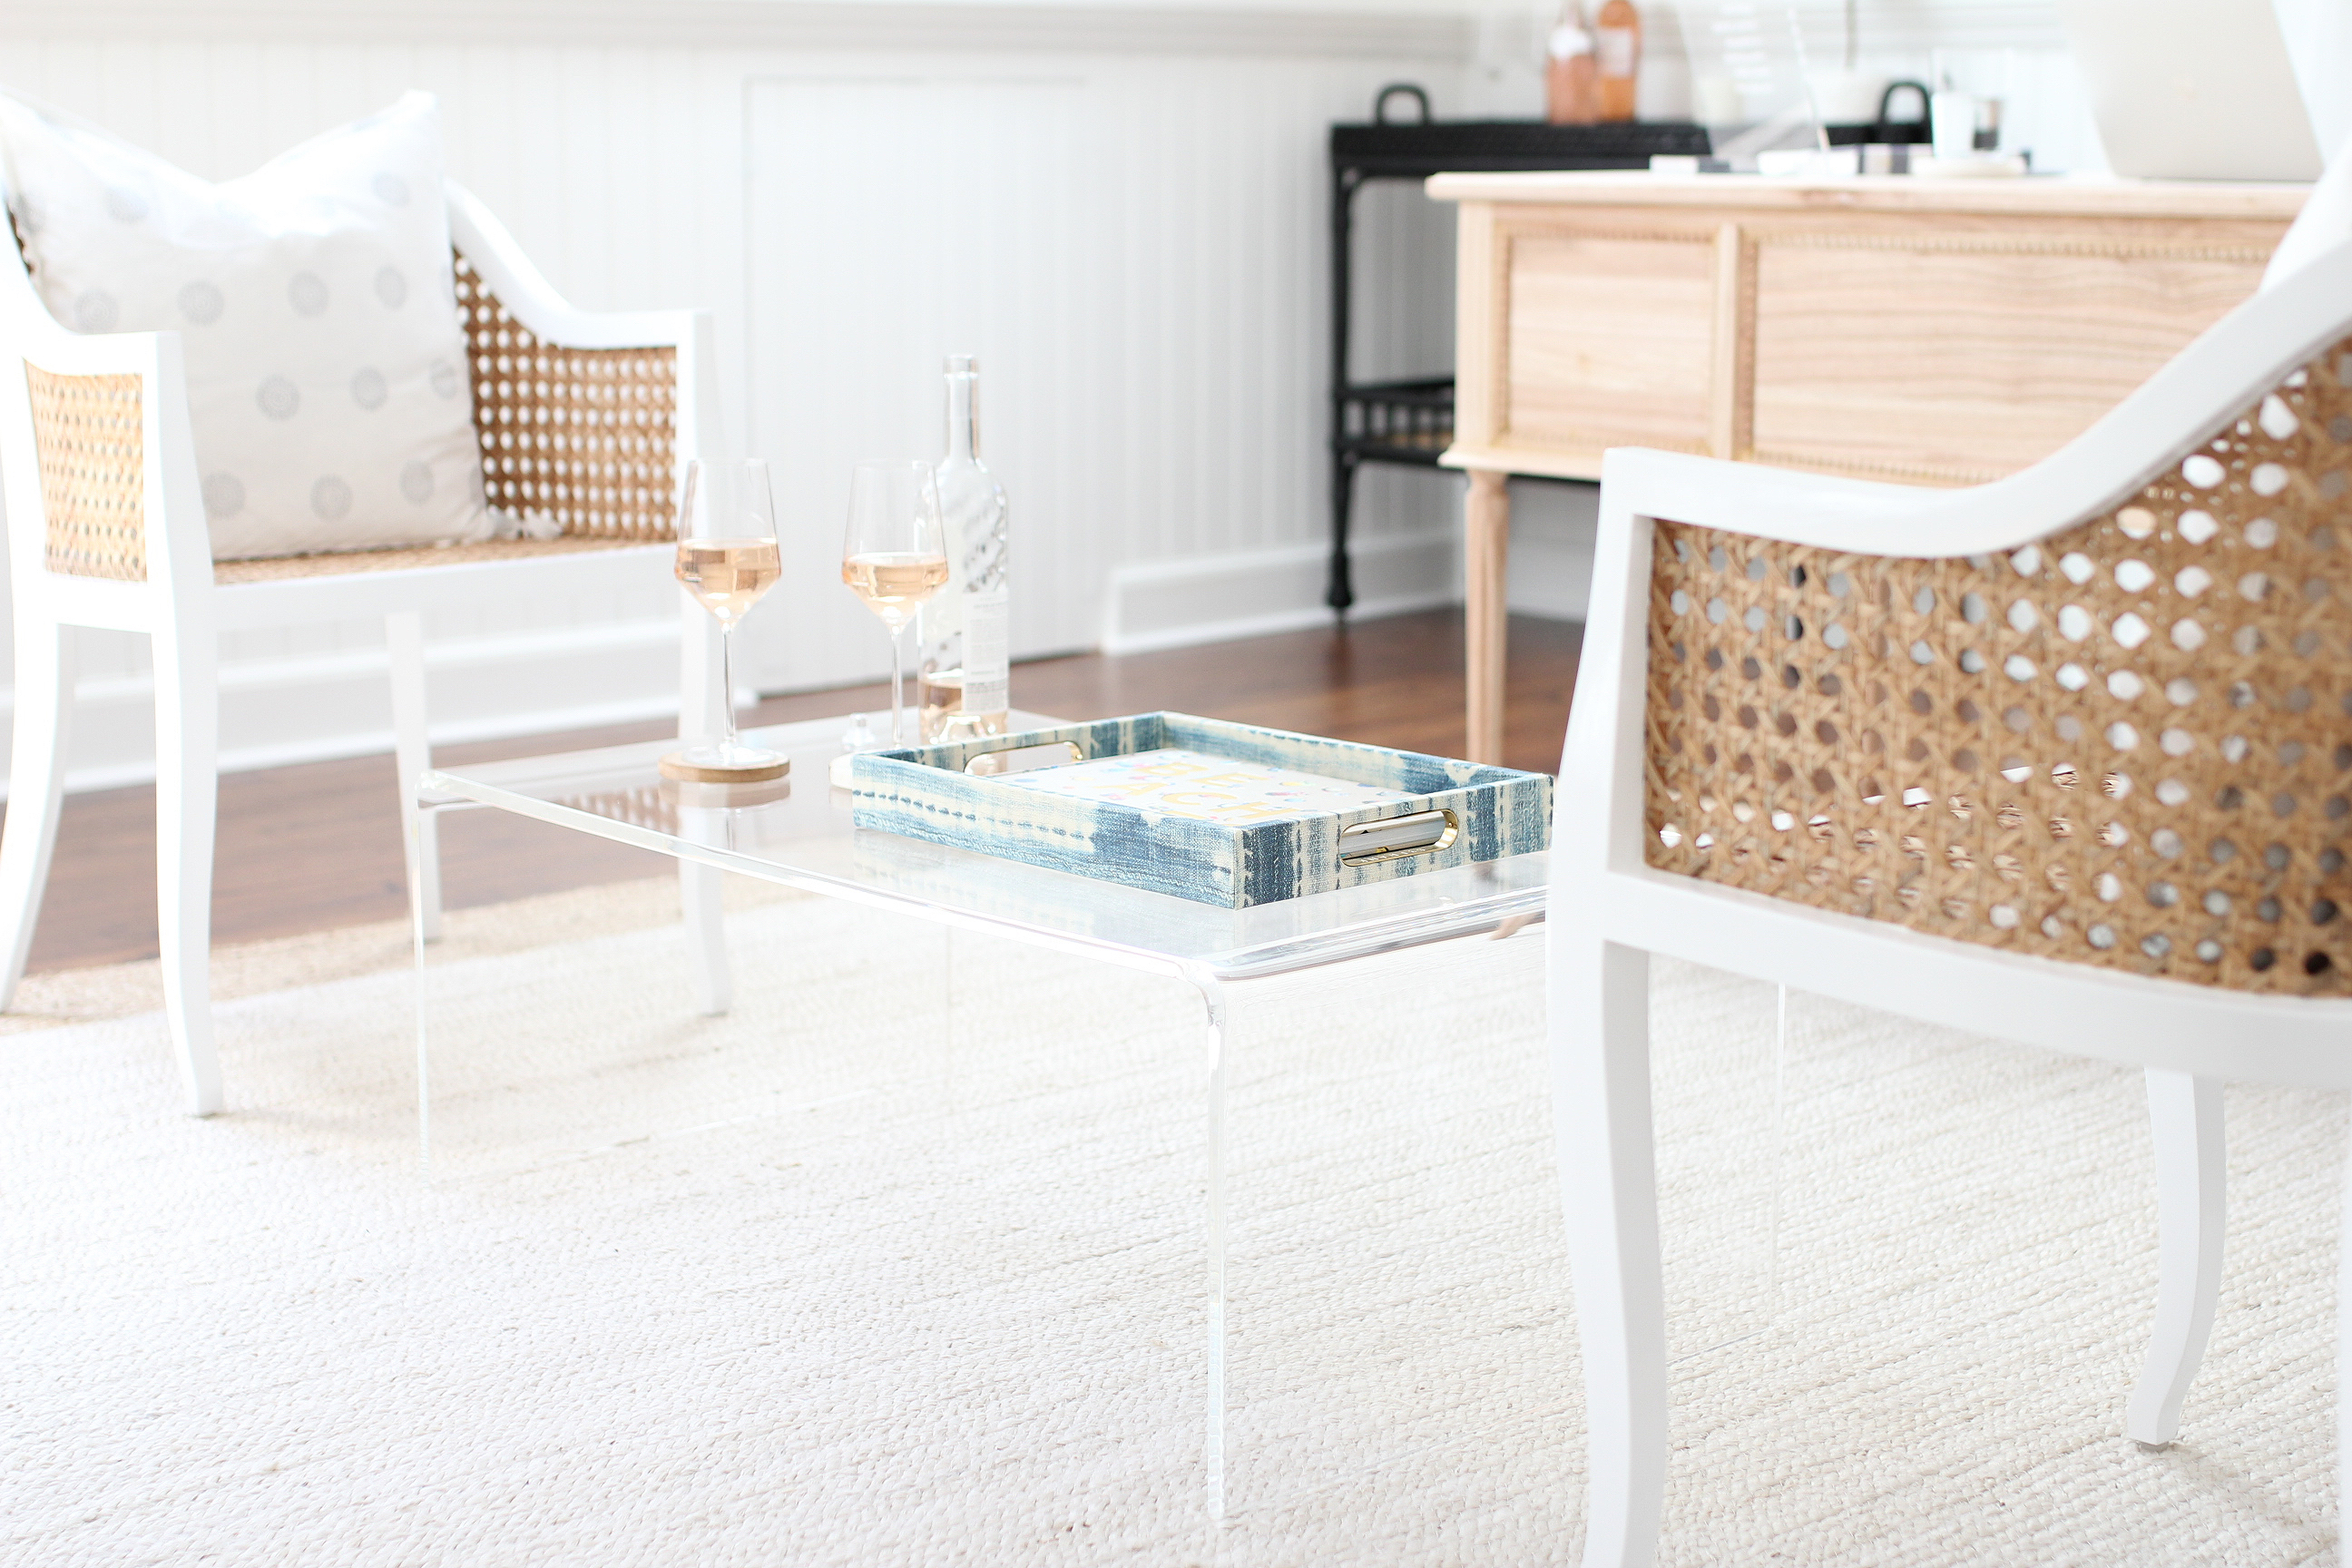
Hilltown House

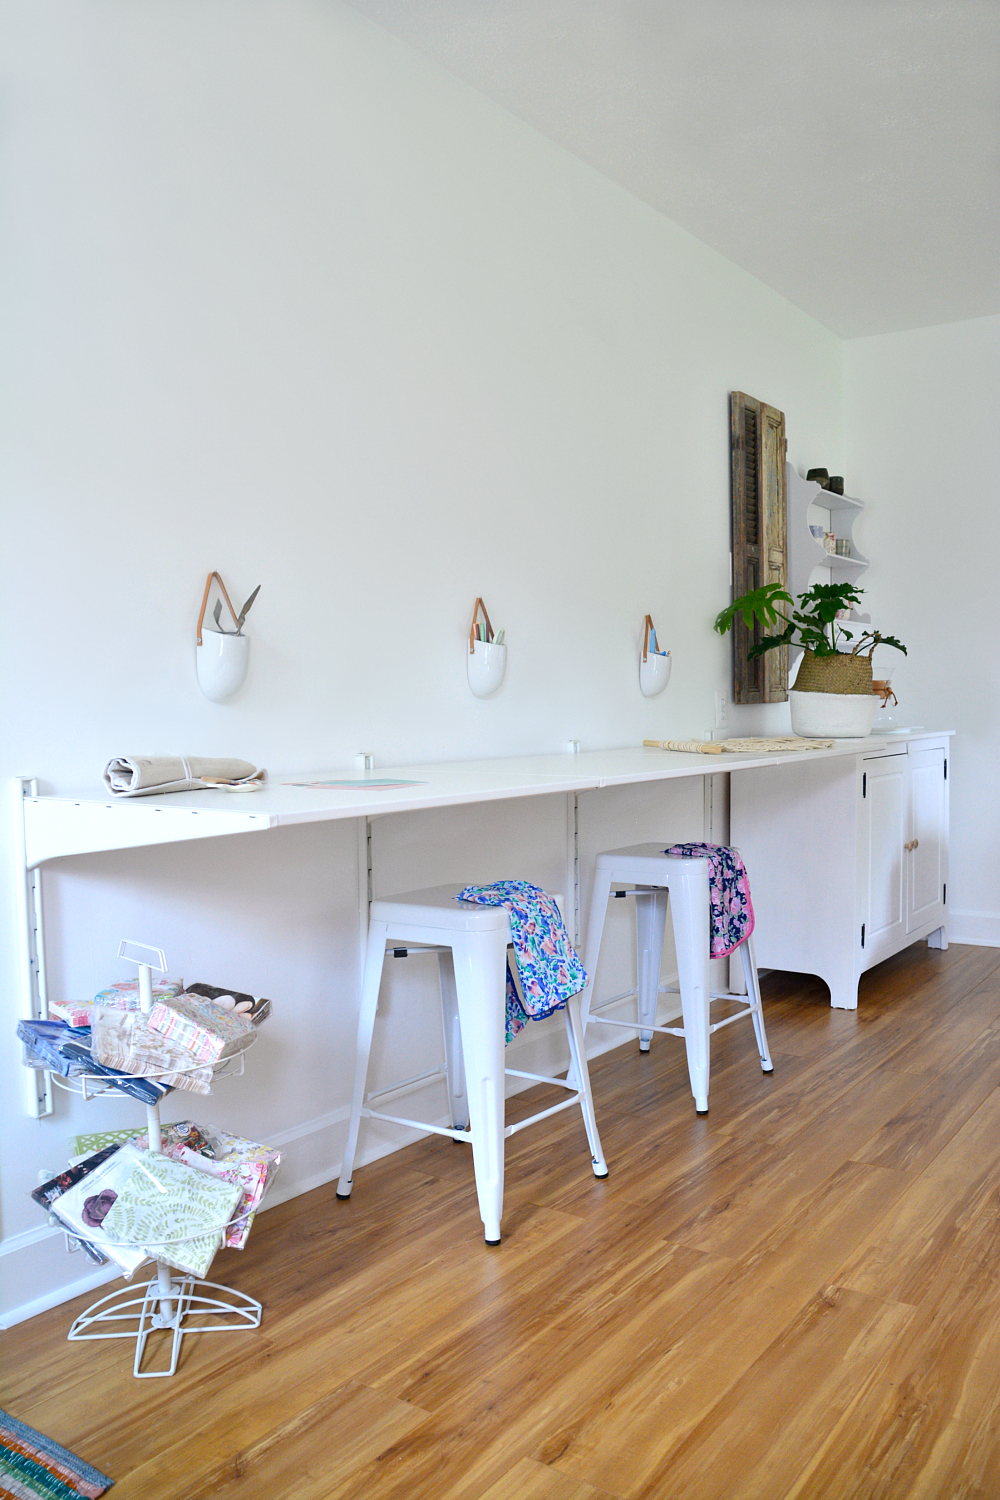
Petal & Ply

And one more for good luck:

The Grit & Polish

And just a few more:

Decor Happy’s teen girl’s bathroom
The Posh Home’s modern living room
A House in the Wood’s shared girls’ bedroom
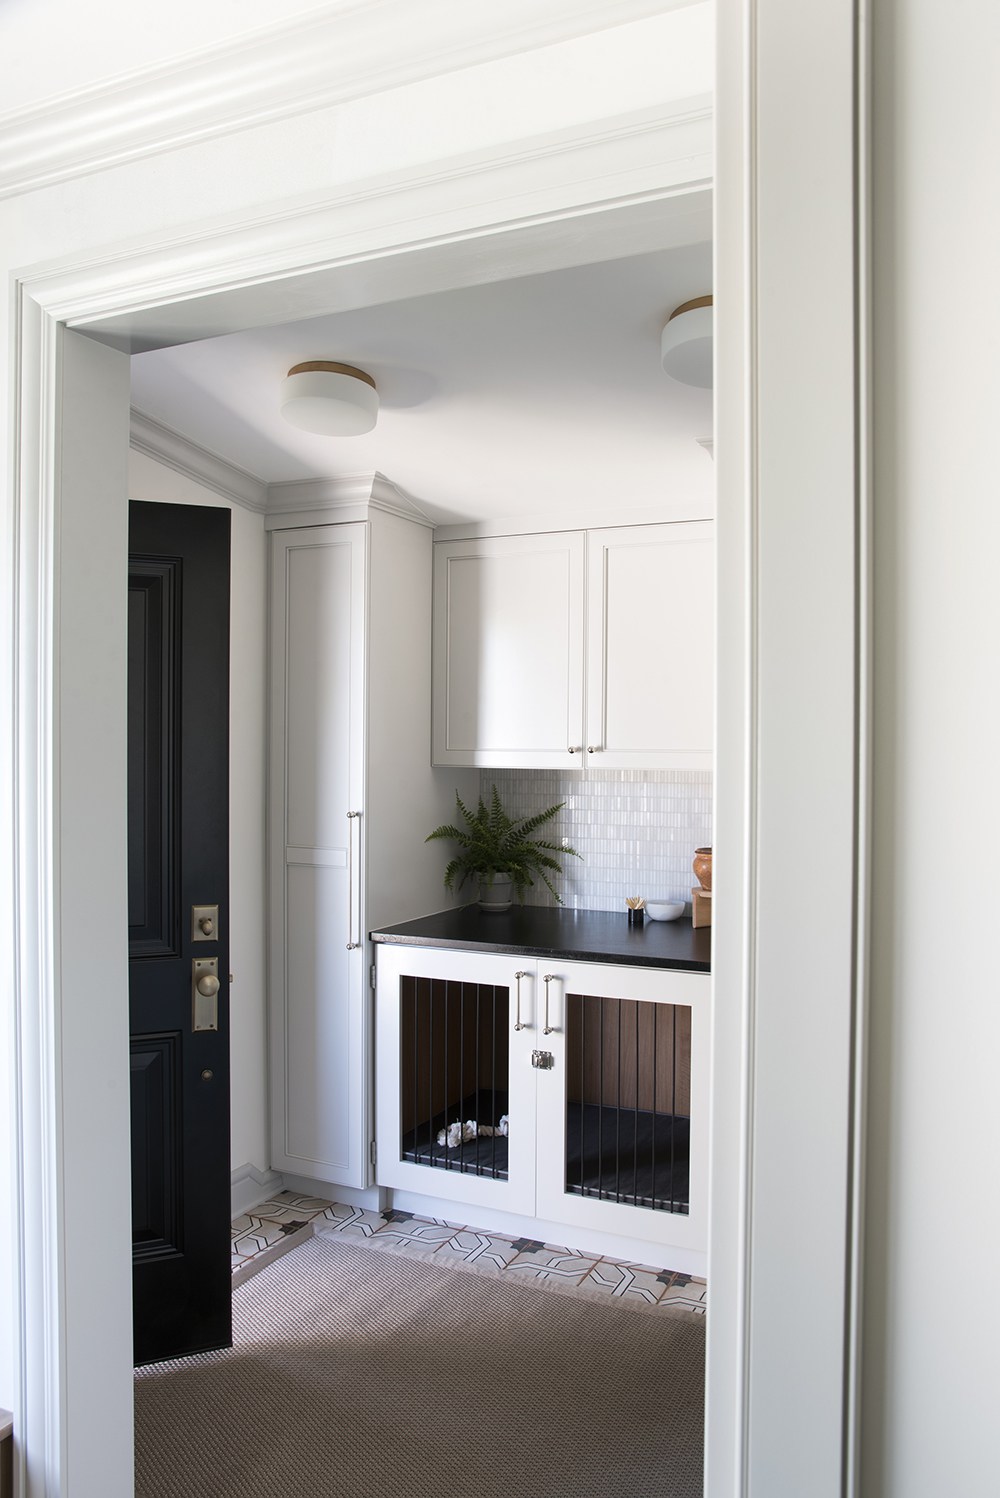
Wonderfully Made’s laundry room
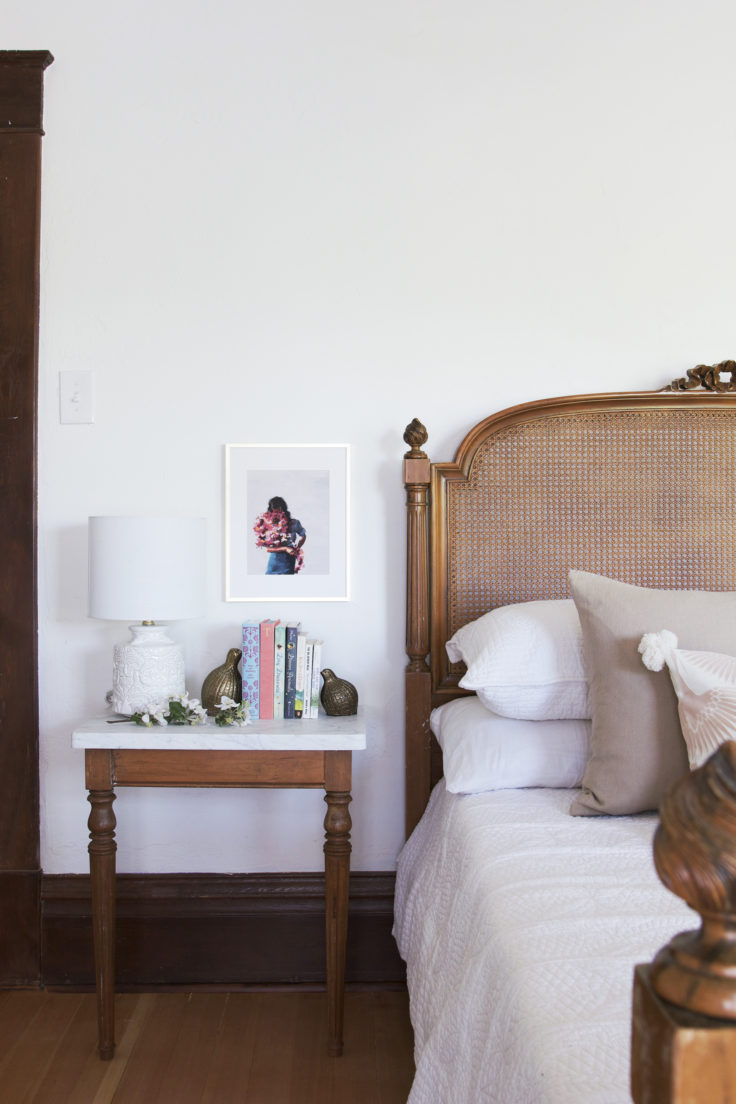
Cait Waite’s bedroom
Deeply Southern Home’s library
Home Glow Design’s she-shed
Hartley Home’s laundry room
Jessica Devlin’s living room
My Pinecone Home’s guest bedroom

Have a great long weekend, everyone! See you back here on Tuesday!

p.s. In Royal Wedding news – this cake recipe!

The Friday Five: One Room Challenge Reveals

It’s been all One Room Challenge around the design blogosphere over the last six weeks, and the featured designers and guest participants shared all their after photos on Wednesday and Thursday this week. This means that we have a lot of reading to catch up on this weekend! Hooray!

To get us started, here’s a peek into five beautiful spaces from the featured designers. Next week, I’ll share some of my favourite spaces designed by the guest participants.

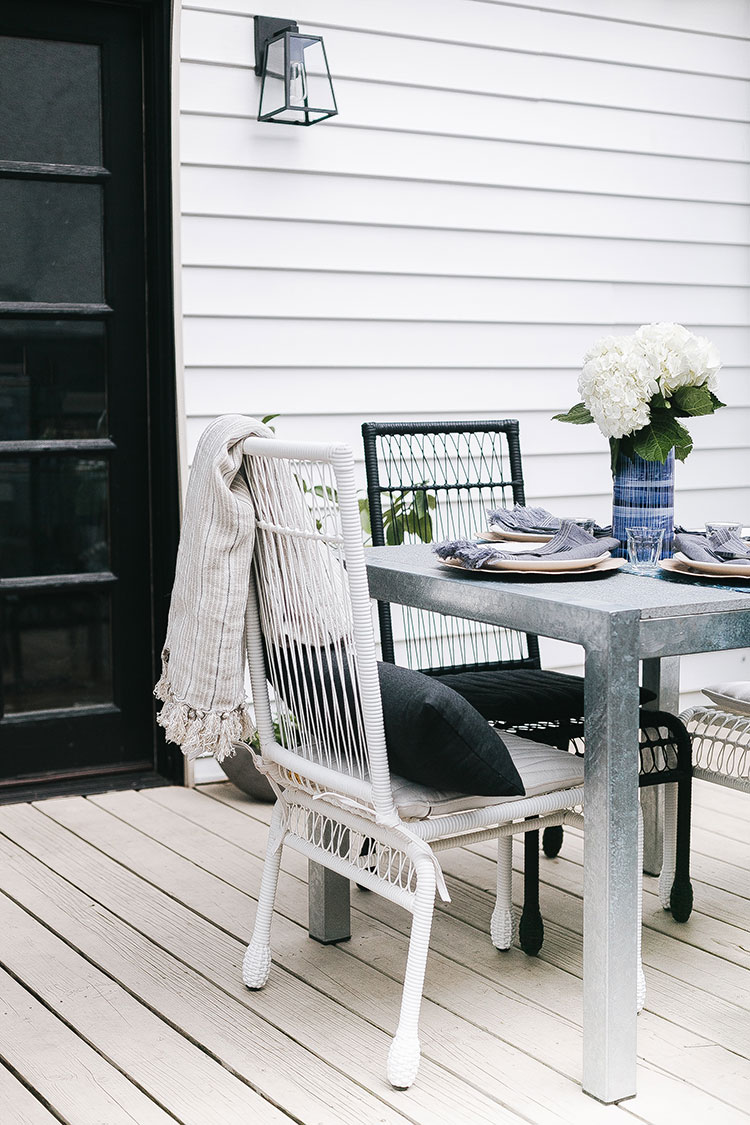
backyard oasis – Jojotastic

basement – Coco & Jack

master bedroom – Rambling Renovators

living room – Natasha Habermann

office – Bisou Style

Have a great weekend, everyone! Happy Mother’s Day!

One Room Challenge: Laundry Room – Week 4

Welcome back to the One Room Challenge, everyone! Are you enjoying seeing all the progress participants and guests are making? I sure am! If you’ve just joined in on the White Cabana laundry/bathroom reno fun, check out my week 1, week 2, and week 3 posts. Week 4 means things are starting to get pretty!

Last week, I showed you a relatively cleaned-up space (a big change from the weeks before where I showed you a fully gutted space). In the past couple of weeks, the WarmUp heated floor was installed. The drywall was finished. Pipes were in place. And things only improved from there!

The major game-changer to the look of my space this week was the tile install. Like my other tradespeople, my tiler was top-notch. Honestly, everyone, I feel so lucky to have worked with my team of tradespeople. I was worried pre-reno because I didn’t have any  contacts in Waterloo, but one thing led to another (one phone call led to another), and I ended up with great people!

My tilers were so precise. And my room looks amazing because of their work. Have a look:

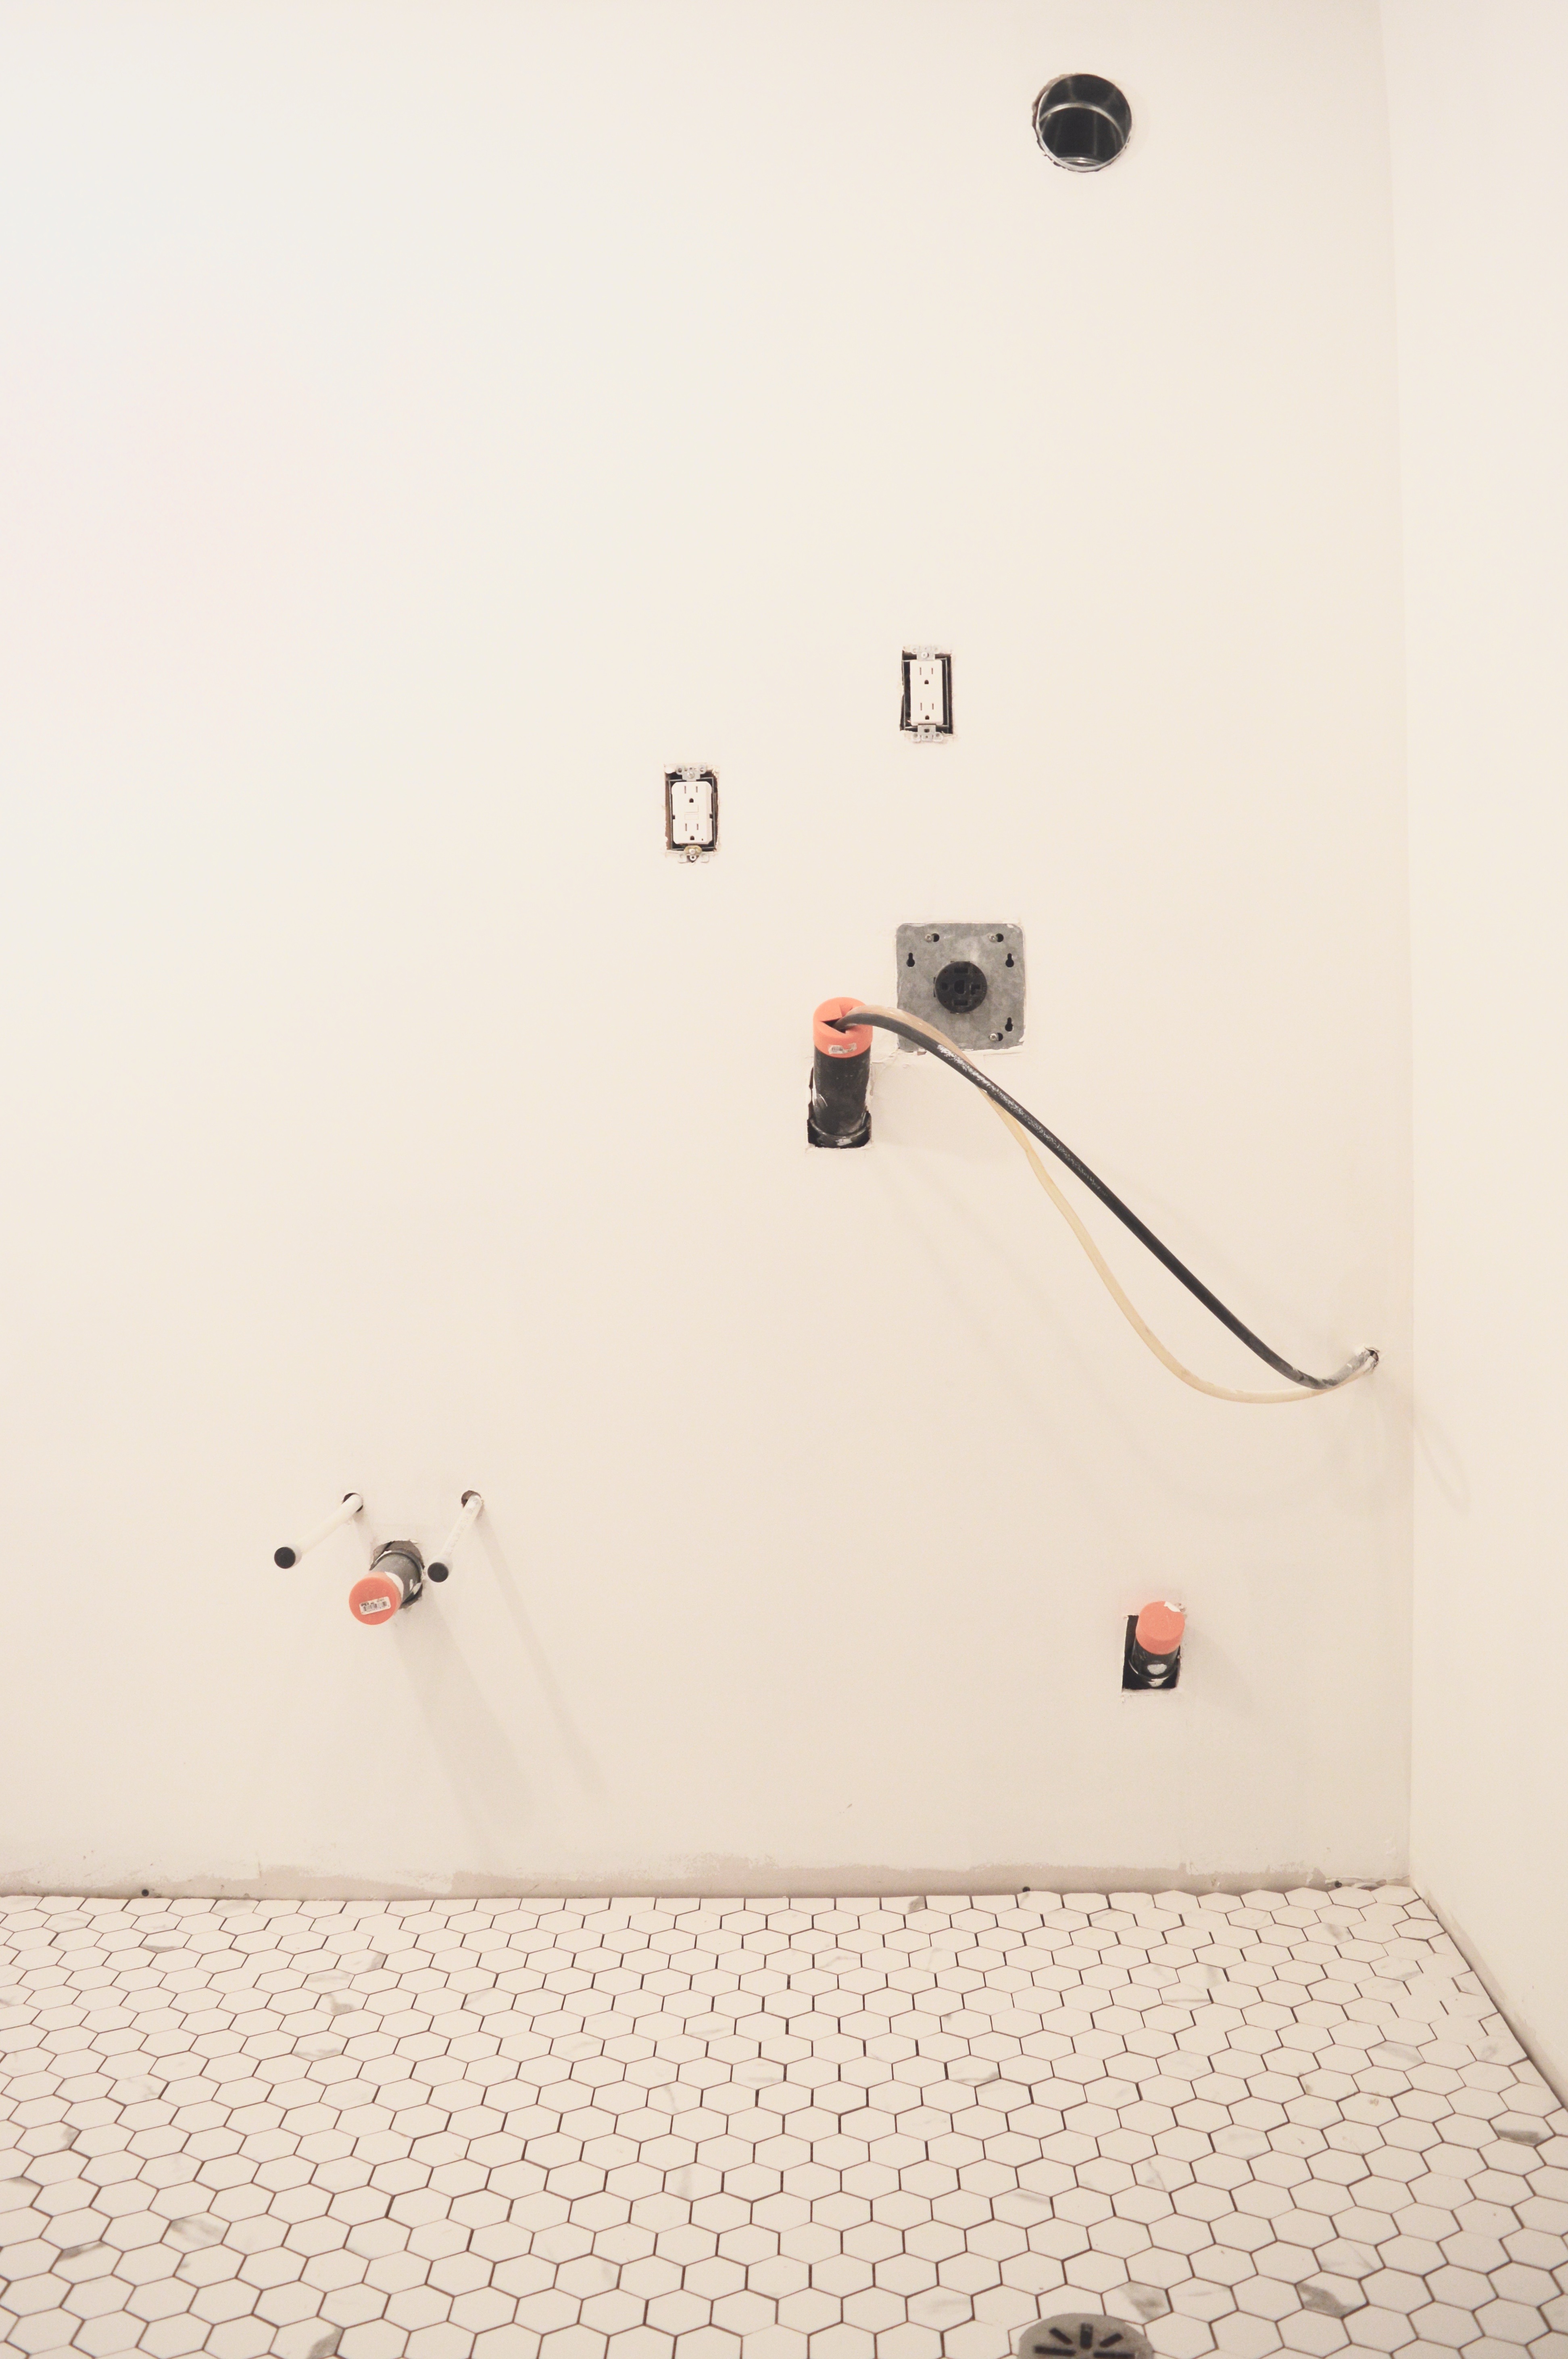
The picture above shows the space as you walk into it. The stacked laundry unit will be on the right side against the wall. It may not seem much to you, but all those pipes and holes in the wall mean major progress for this space! Of course the new pipe set-up increased my costs, but it was worth it. My plumber did a great job, and everything is much tidier than it was pre-reno. And the dryer vent was moved up high which makes much more sense. So tidy! I love it!

I went with ceramic hex tiles in a marble-esque pattern. So pretty. I had considered marble for the space, but because of all the water spillage that can happen in this workhorse of a room (and Waterloo’s awful hard/soft water issues), I just didn’t want to risk ruining marble.

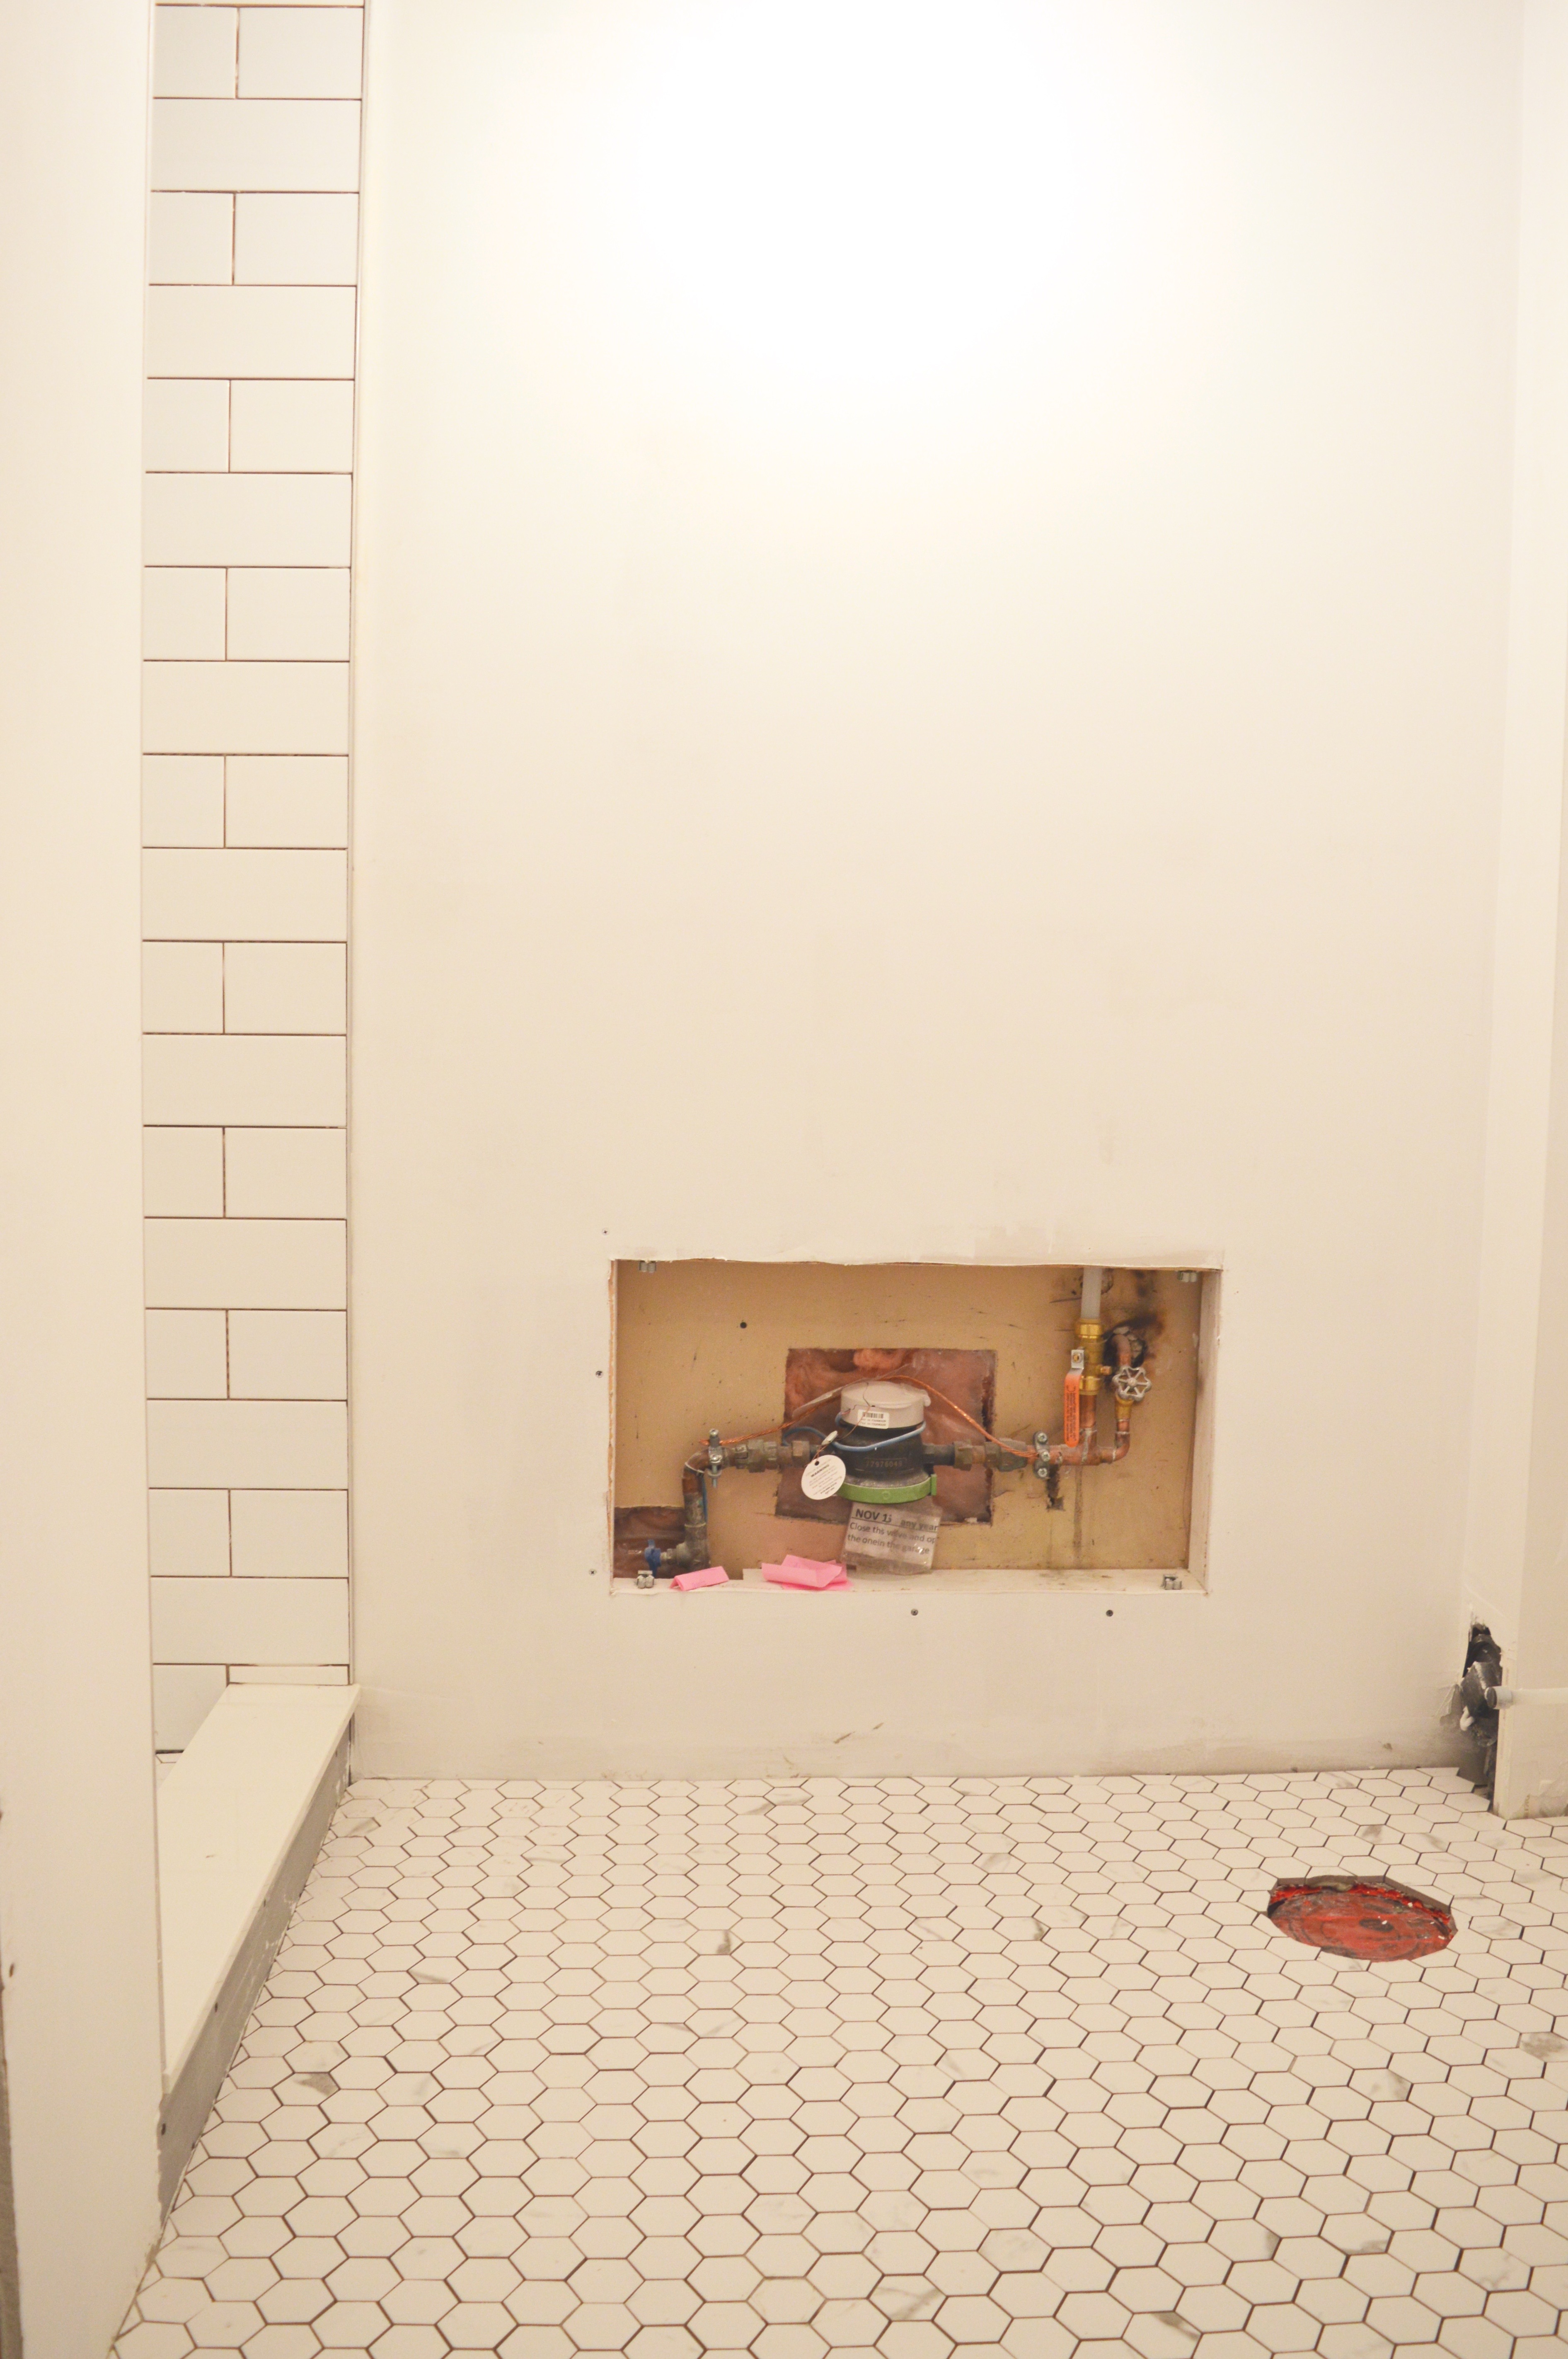
On this side of the room, I’ll have my toilet. The sink will sit in between the toilet and the stacked laundry. My plumber cleaned up some of the pipes that you see in that wall hole. So good. And my drywaller has fashioned the best cover for that hole, too. I just don’t have photos of it yet, so stay tuned.

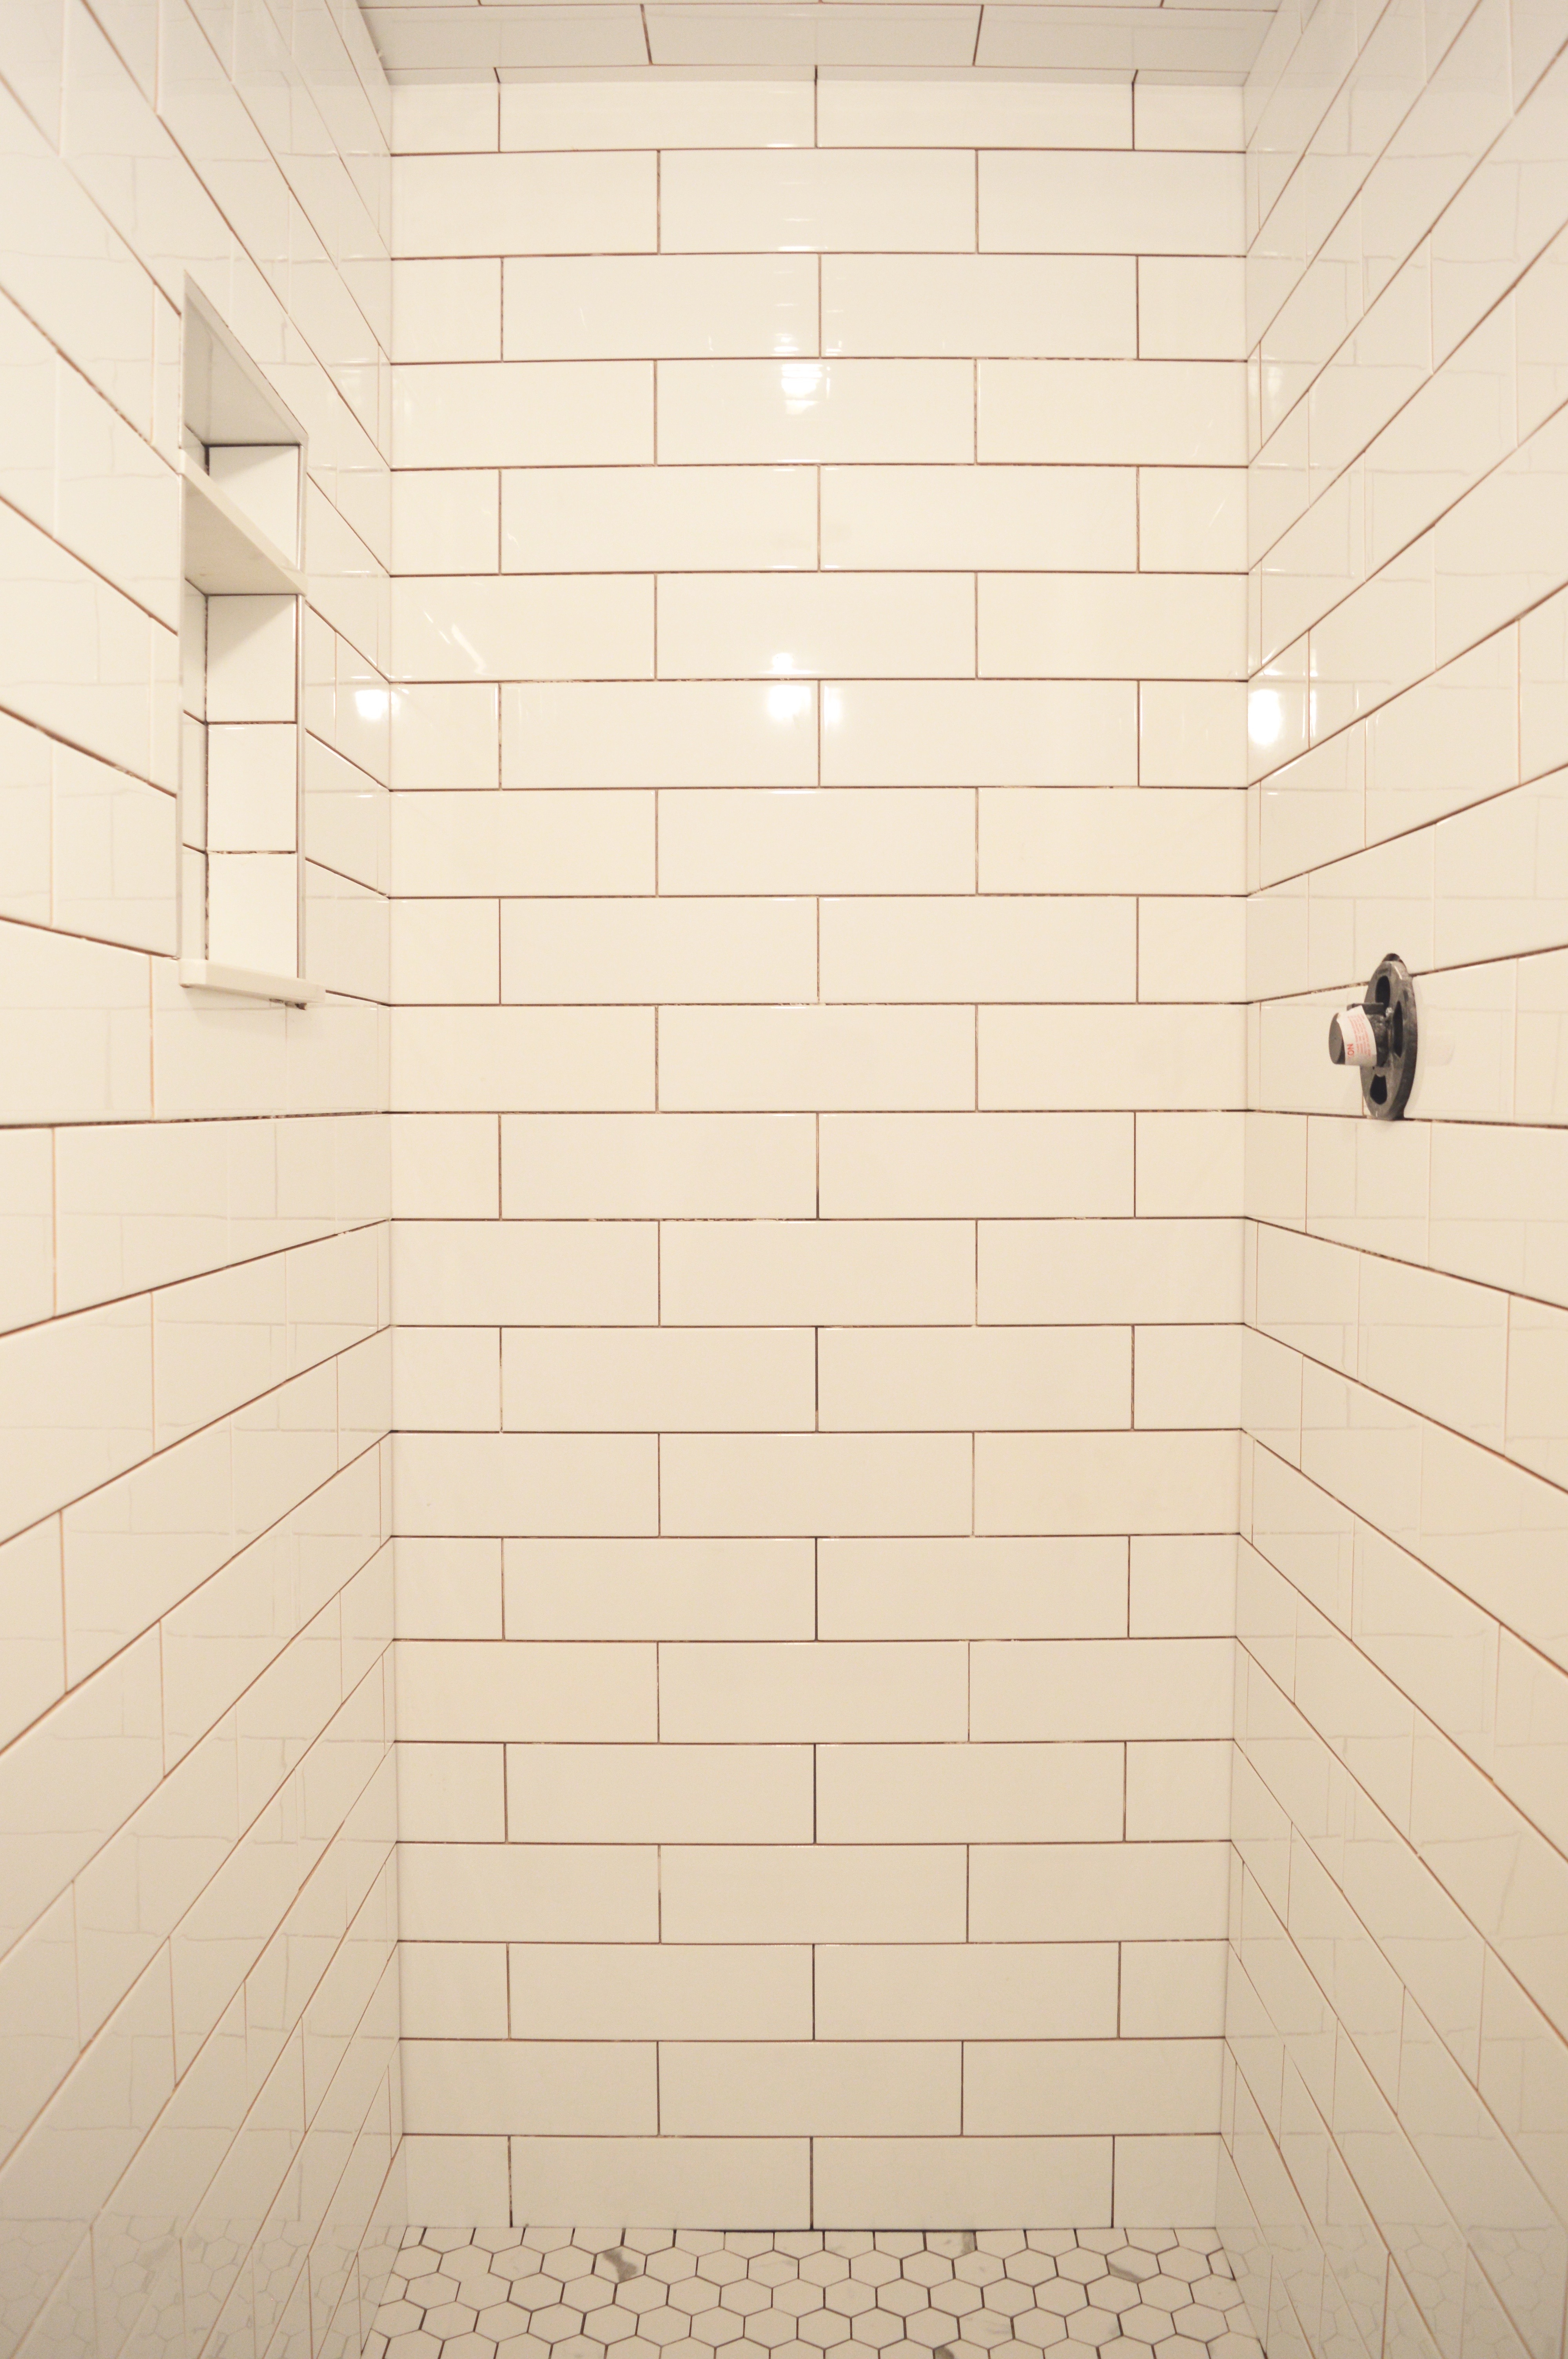
And on the left side of the room is this beautiful shower! Oh my goodness! What a treat to have a shower in this space. Small but mighty! That’s what I keep saying about this room, and that’s what I continue to believe. My team installed this basic 34″ x 34″ shower, and it’s going to be so convenient for me and my guests once the space is done. The flooring is a continuation of the 2″x2″ hex tile from the rest of the floor. It’s easier on the eyes. On the wall, I went with my fave – a subway tile. This tile is 4″ x 12″, and I’ve got pretty small grout lines. I’m really happy I opted for this larger version of the classic subway tile.

Did you notice how everything lines up so well? Sign of good tilers! They completed this job in just three days, and I was very pleased that this part of the project progressed so quickly.

I opted for grey grout everywhere, and things are looking sleek and clean…just how I like it! Isn’t it exciting to know that the full reveal will be in just two weeks? I can’t wait!

As per usual, I encourage you to check out what the One Room Challenge guest participants and featured designers have been up to during week 4.

If you’d like to see more of my ORC progress, see my week 1, week 2, and week 3 posts. Thanks to WarmUp for supplying my new floor heating system. All opinions are my own.

One Room Challenge: Laundry Room – Week 3

Welcome back to the One Room Challenge. Today marks the halfway point of this 6-week makeover journey, and things are looking pretty good in my new laundry/bathroom…even though the photos in this post (and my week 1, week 2 posts) are full of dirt, dust, and mess!

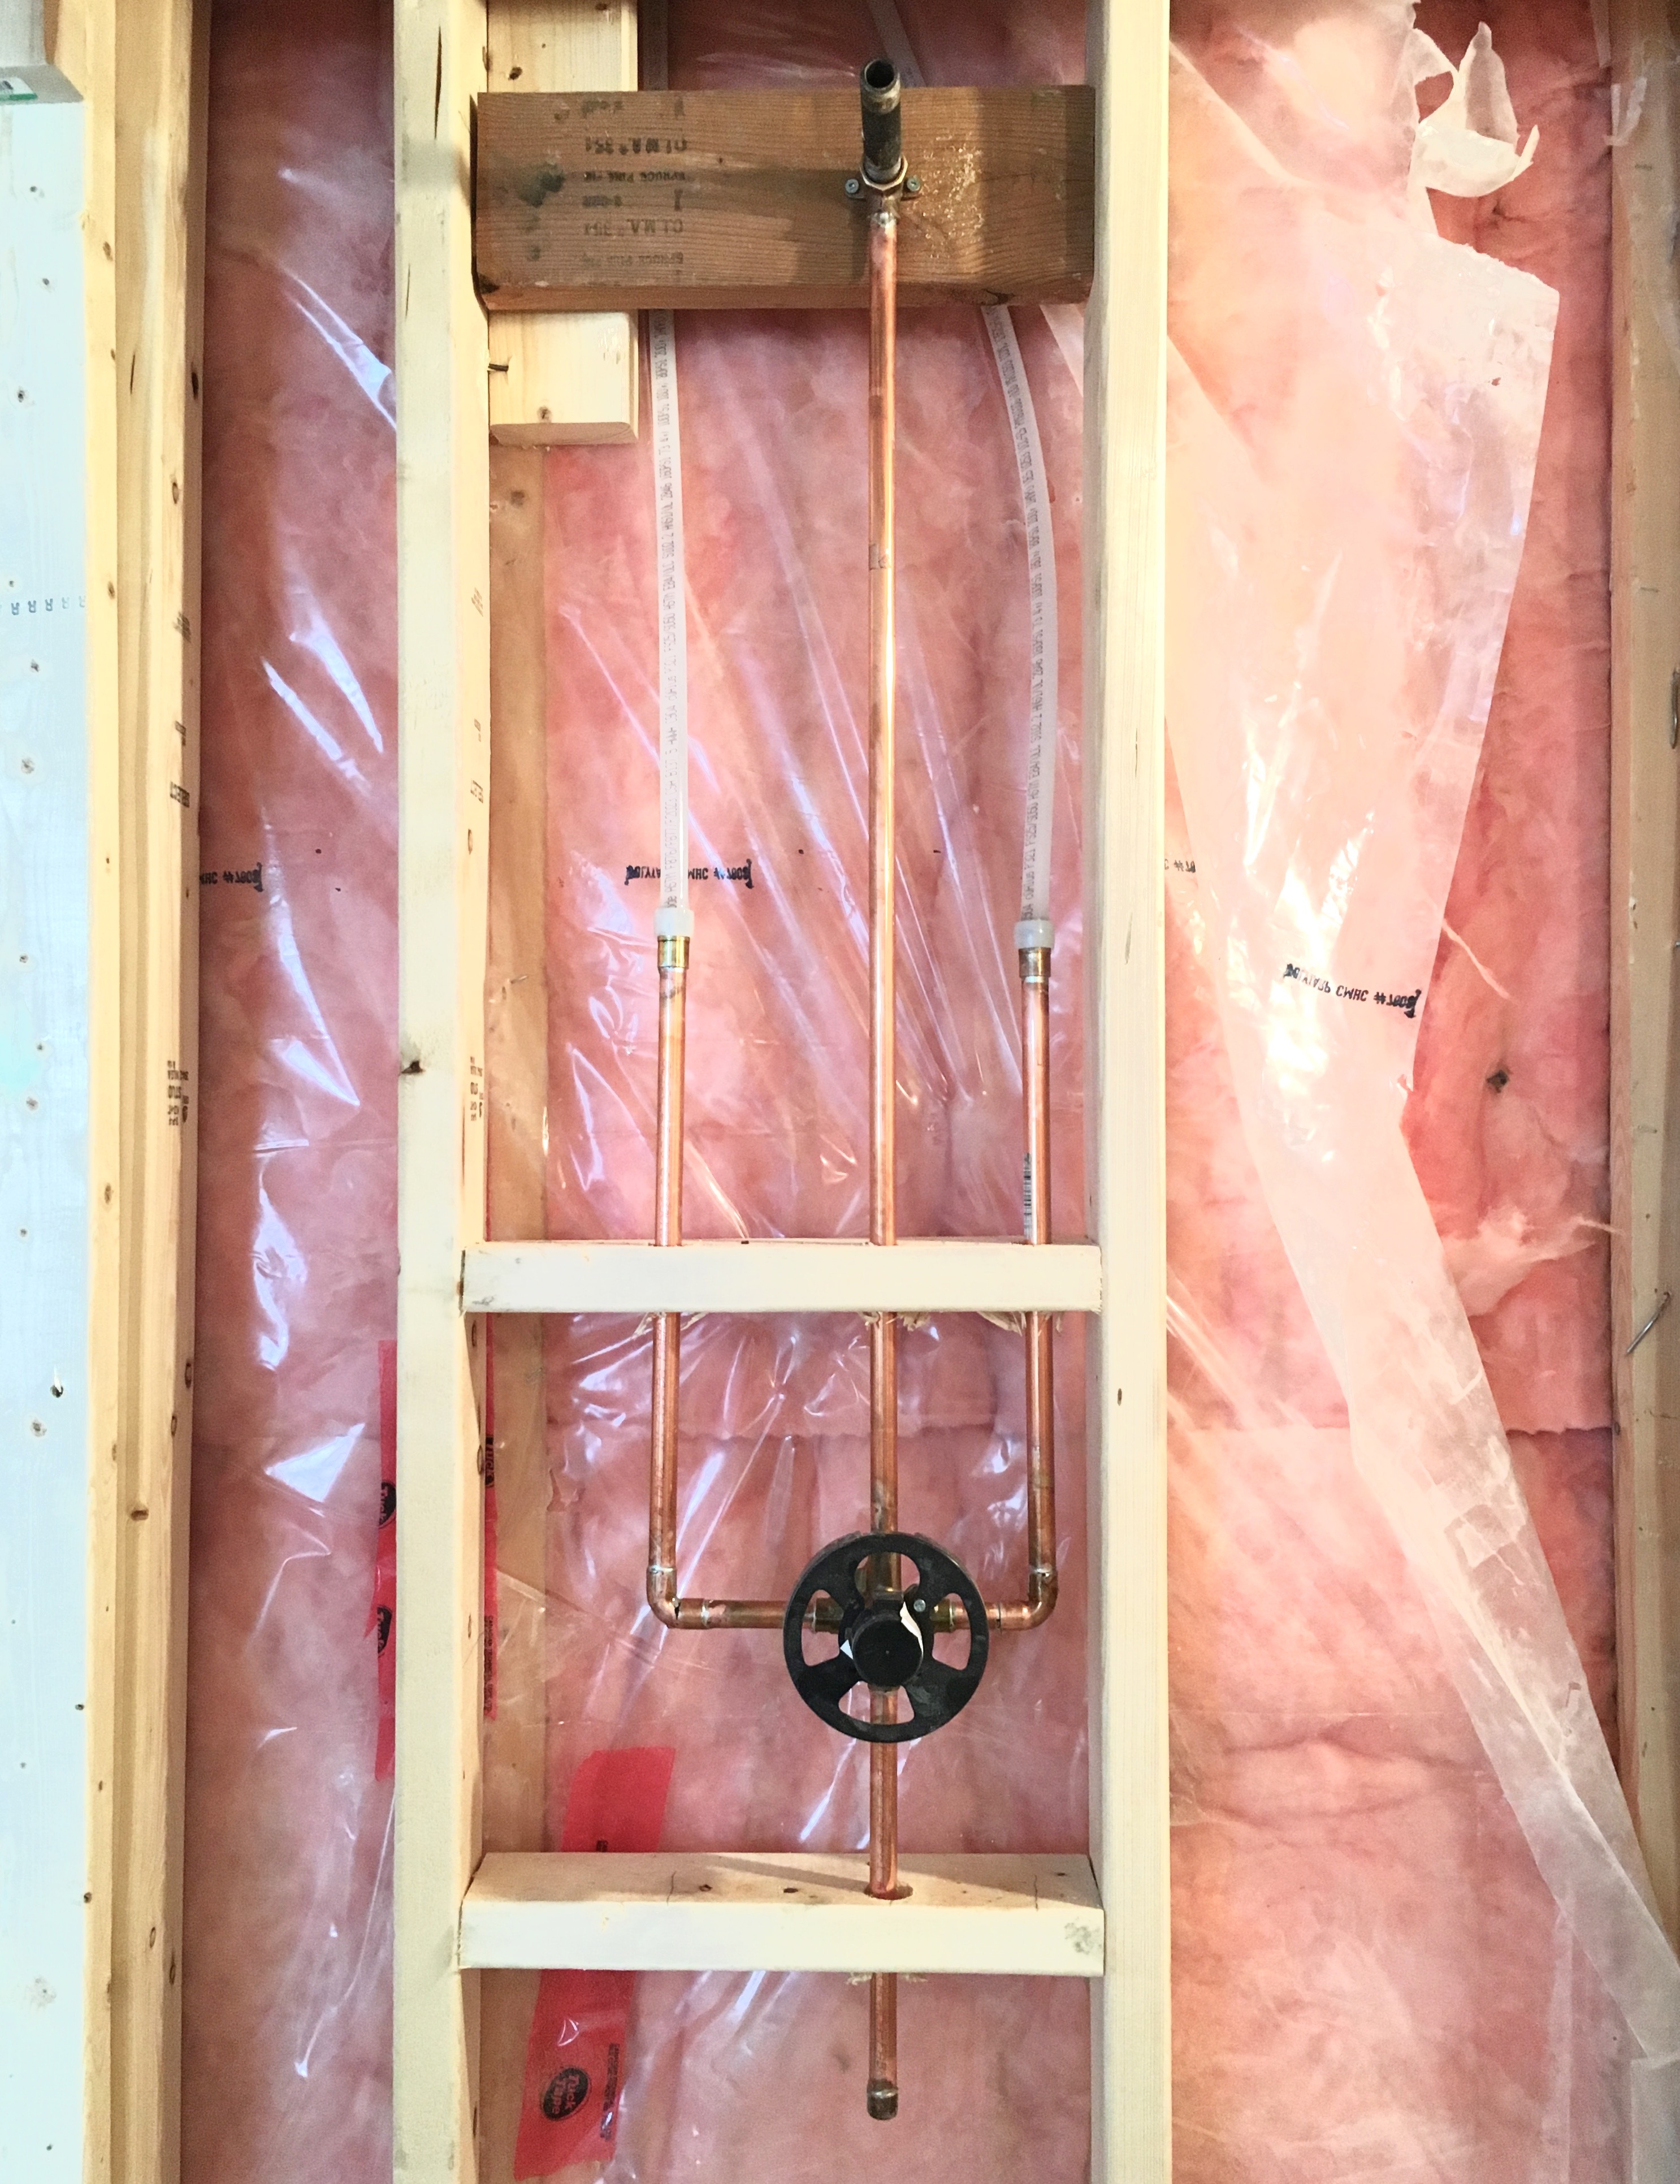
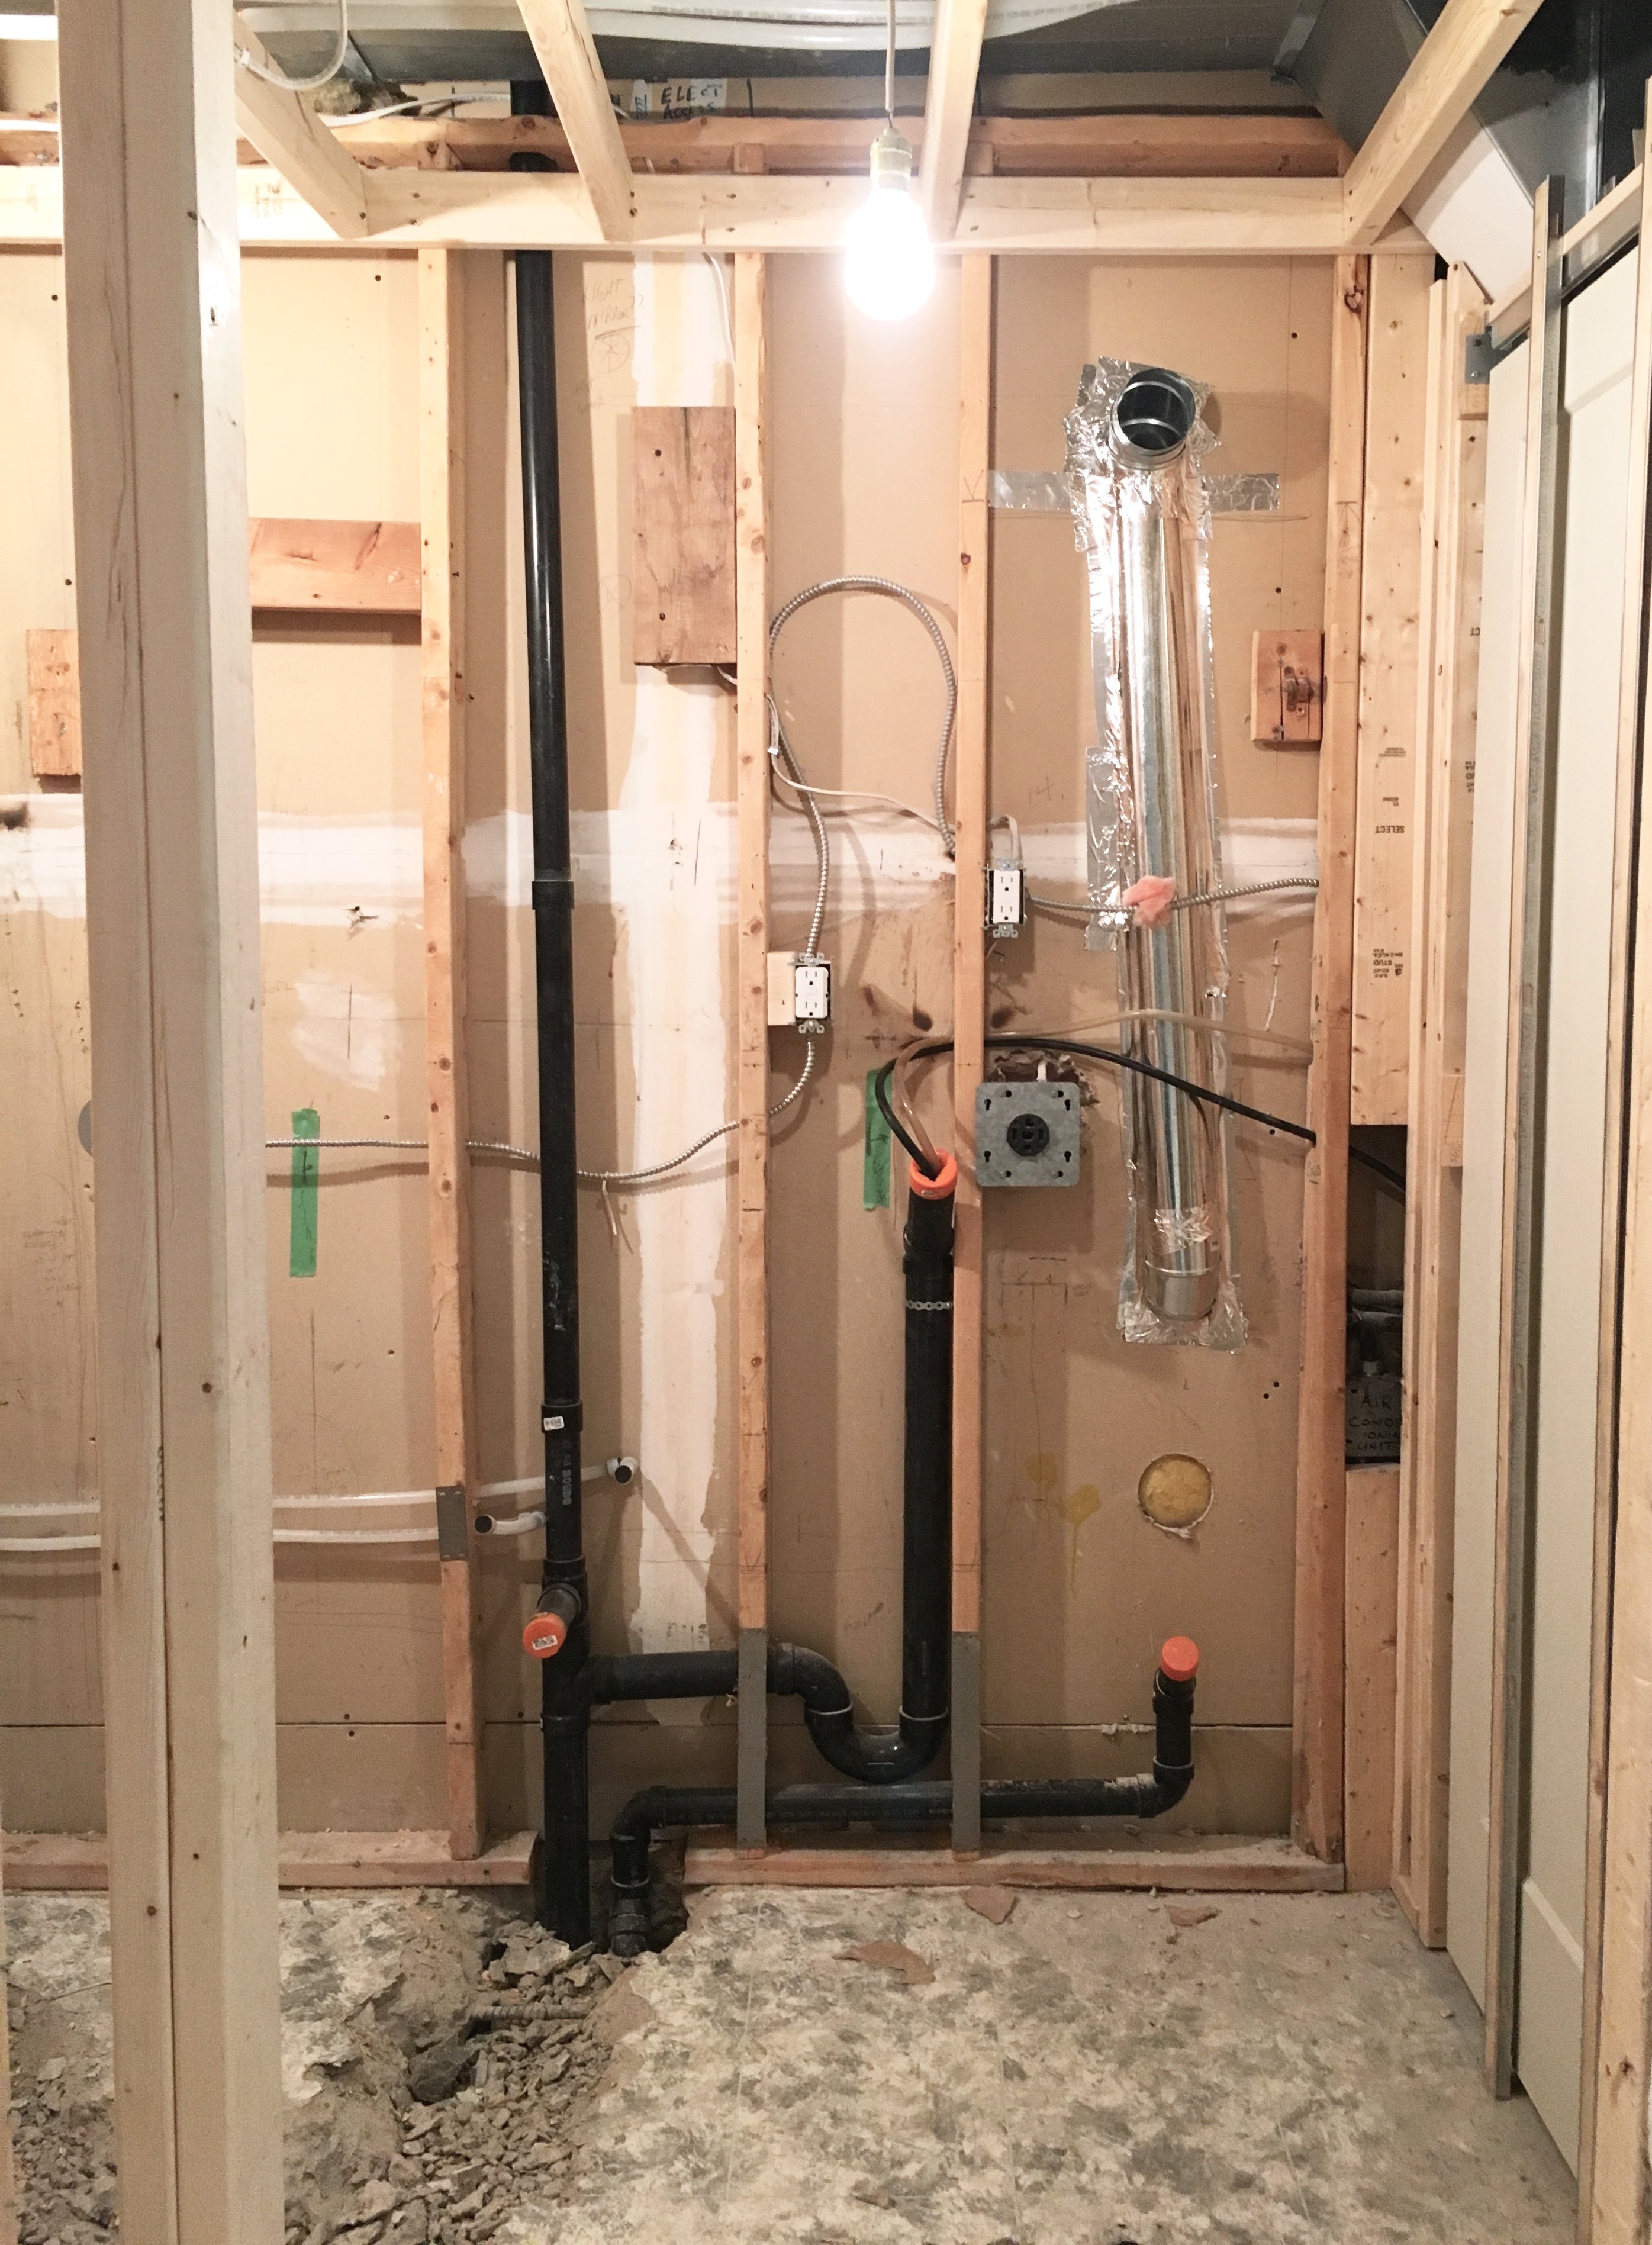
This week, I’m sharing what happened after the plumber gave my pipes a makeover. He installed a shower, as you may recall, so when he left there was a big trench in my room. The floor needed patching, the walls needed insulating, and there was still a bunch of plumbing to take care of.    the beginning of a beautiful shower

check out those pipes
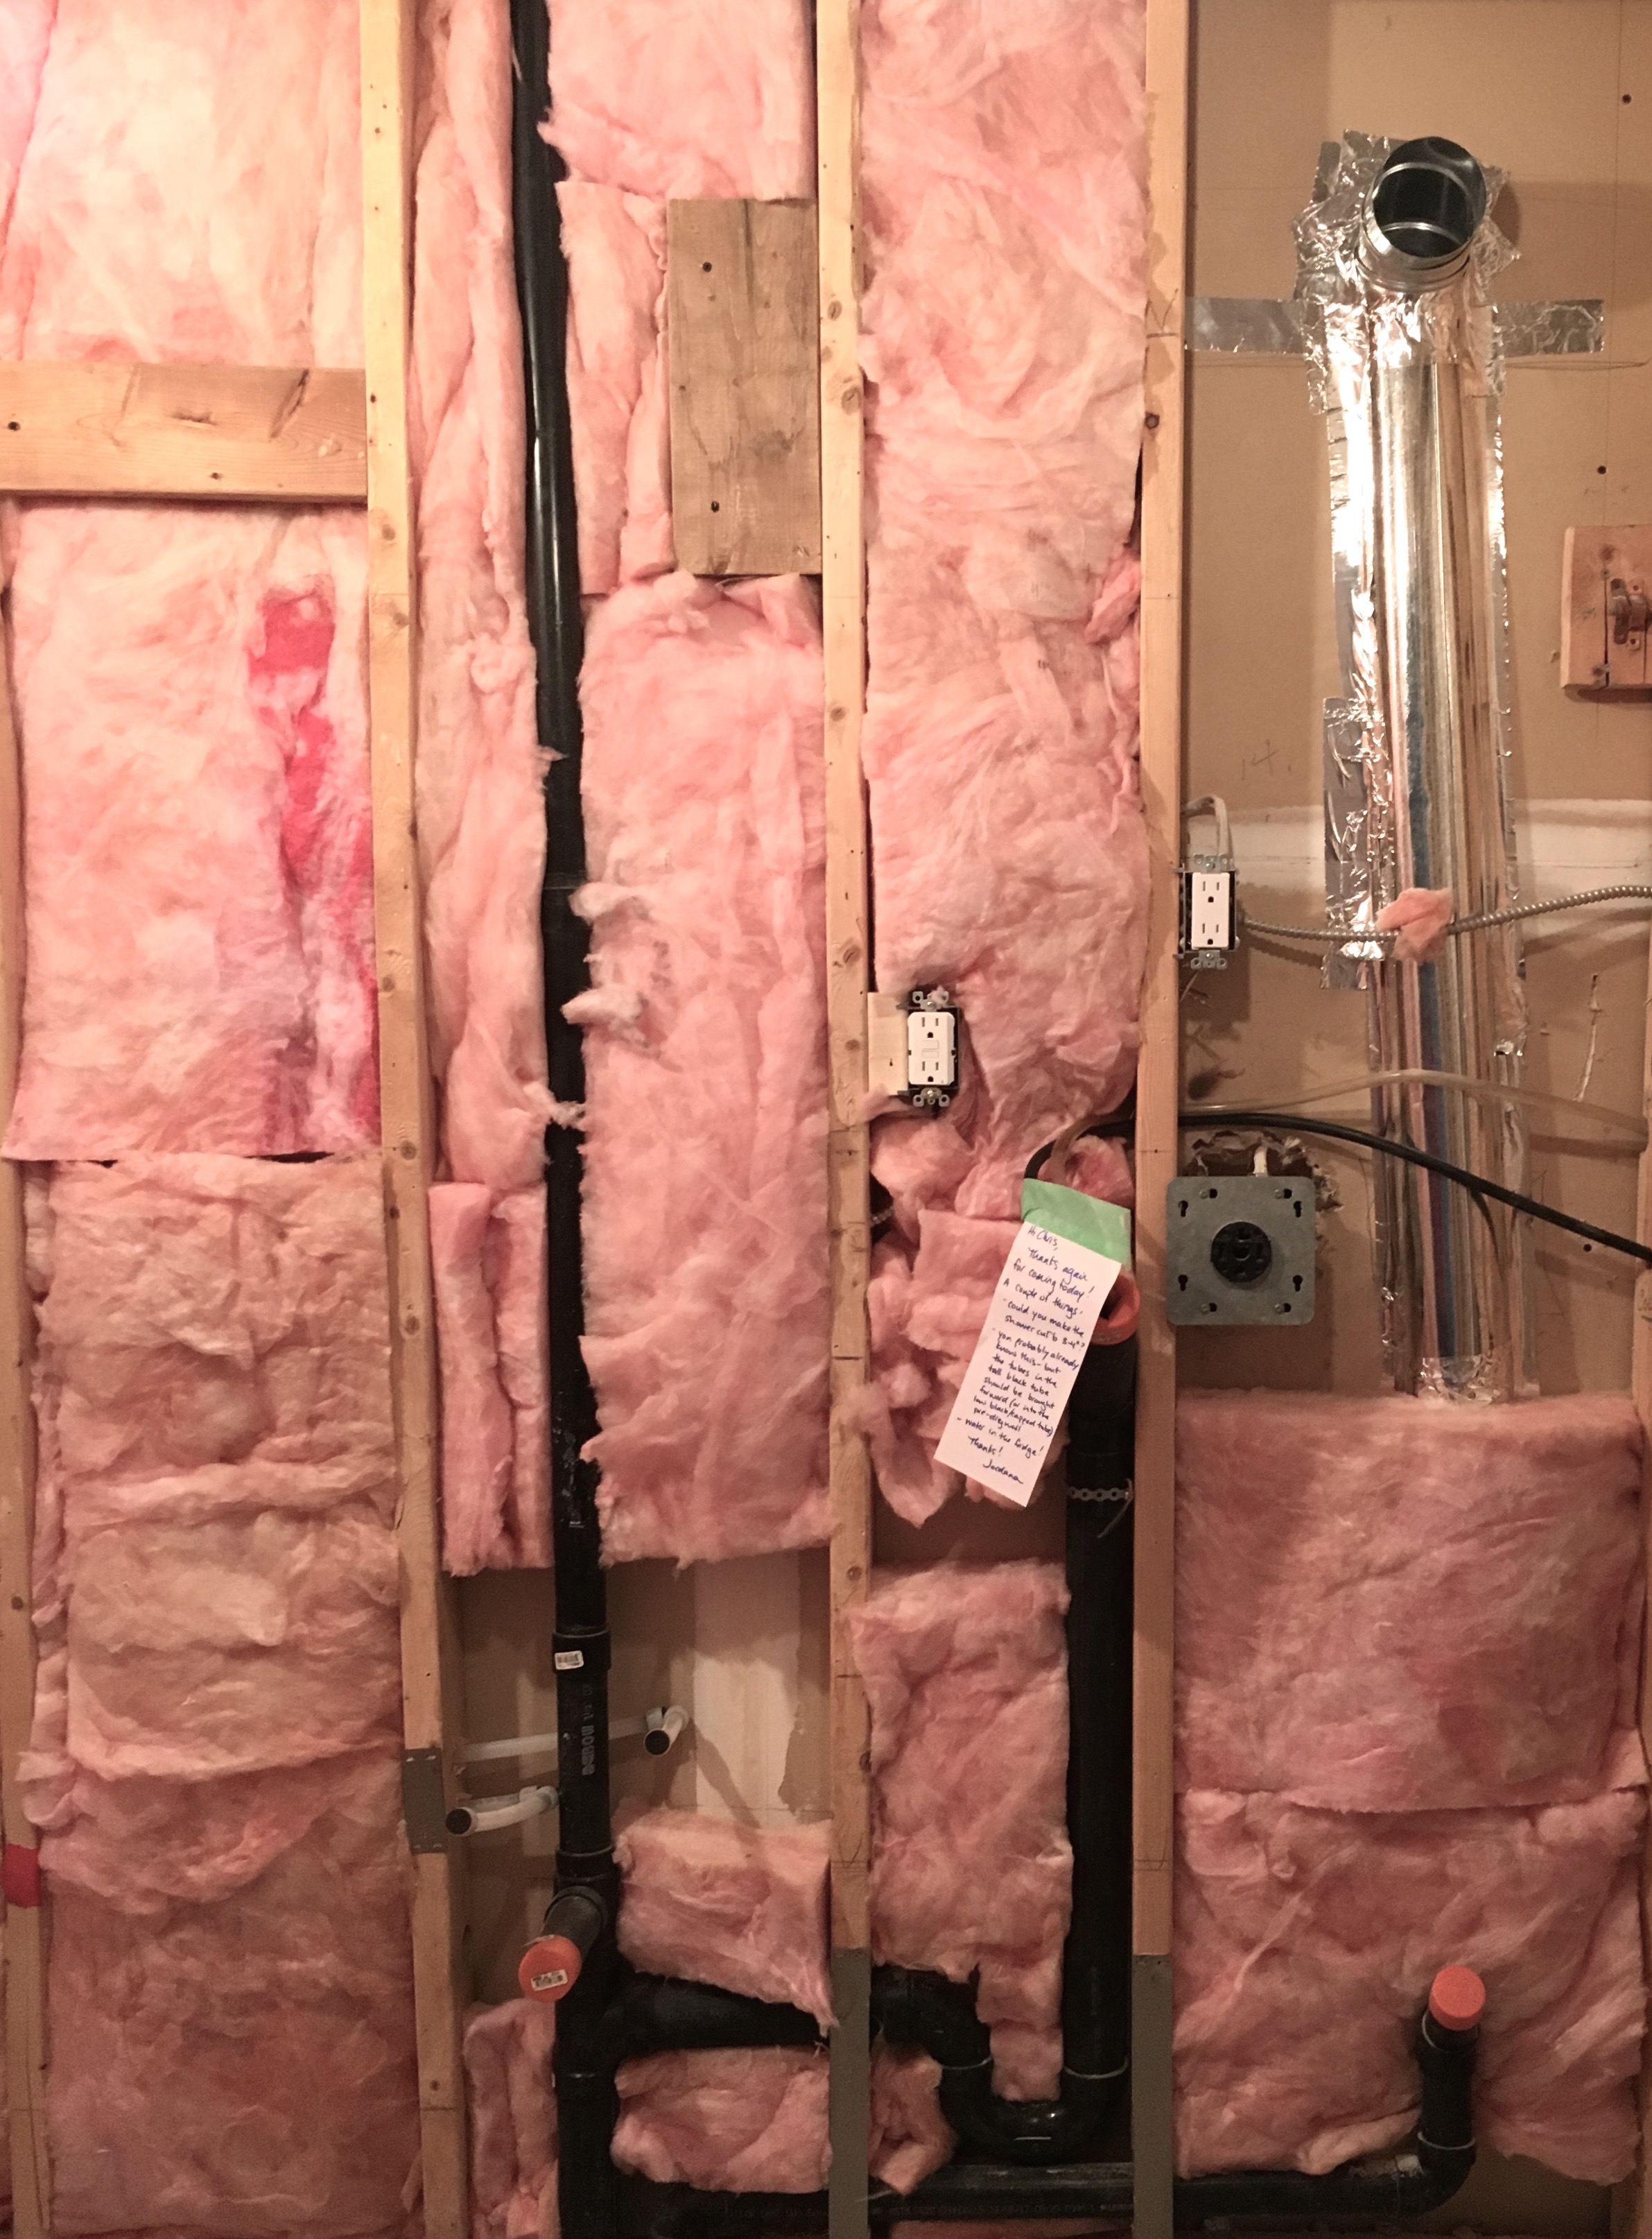
insulation installation

My drywaller patched up the floor with cement(I keep calling him my drywaller, but, honestly, Chris can do everything!). Once that was dry, my electrician (aka my dad) and my tiler got to work.
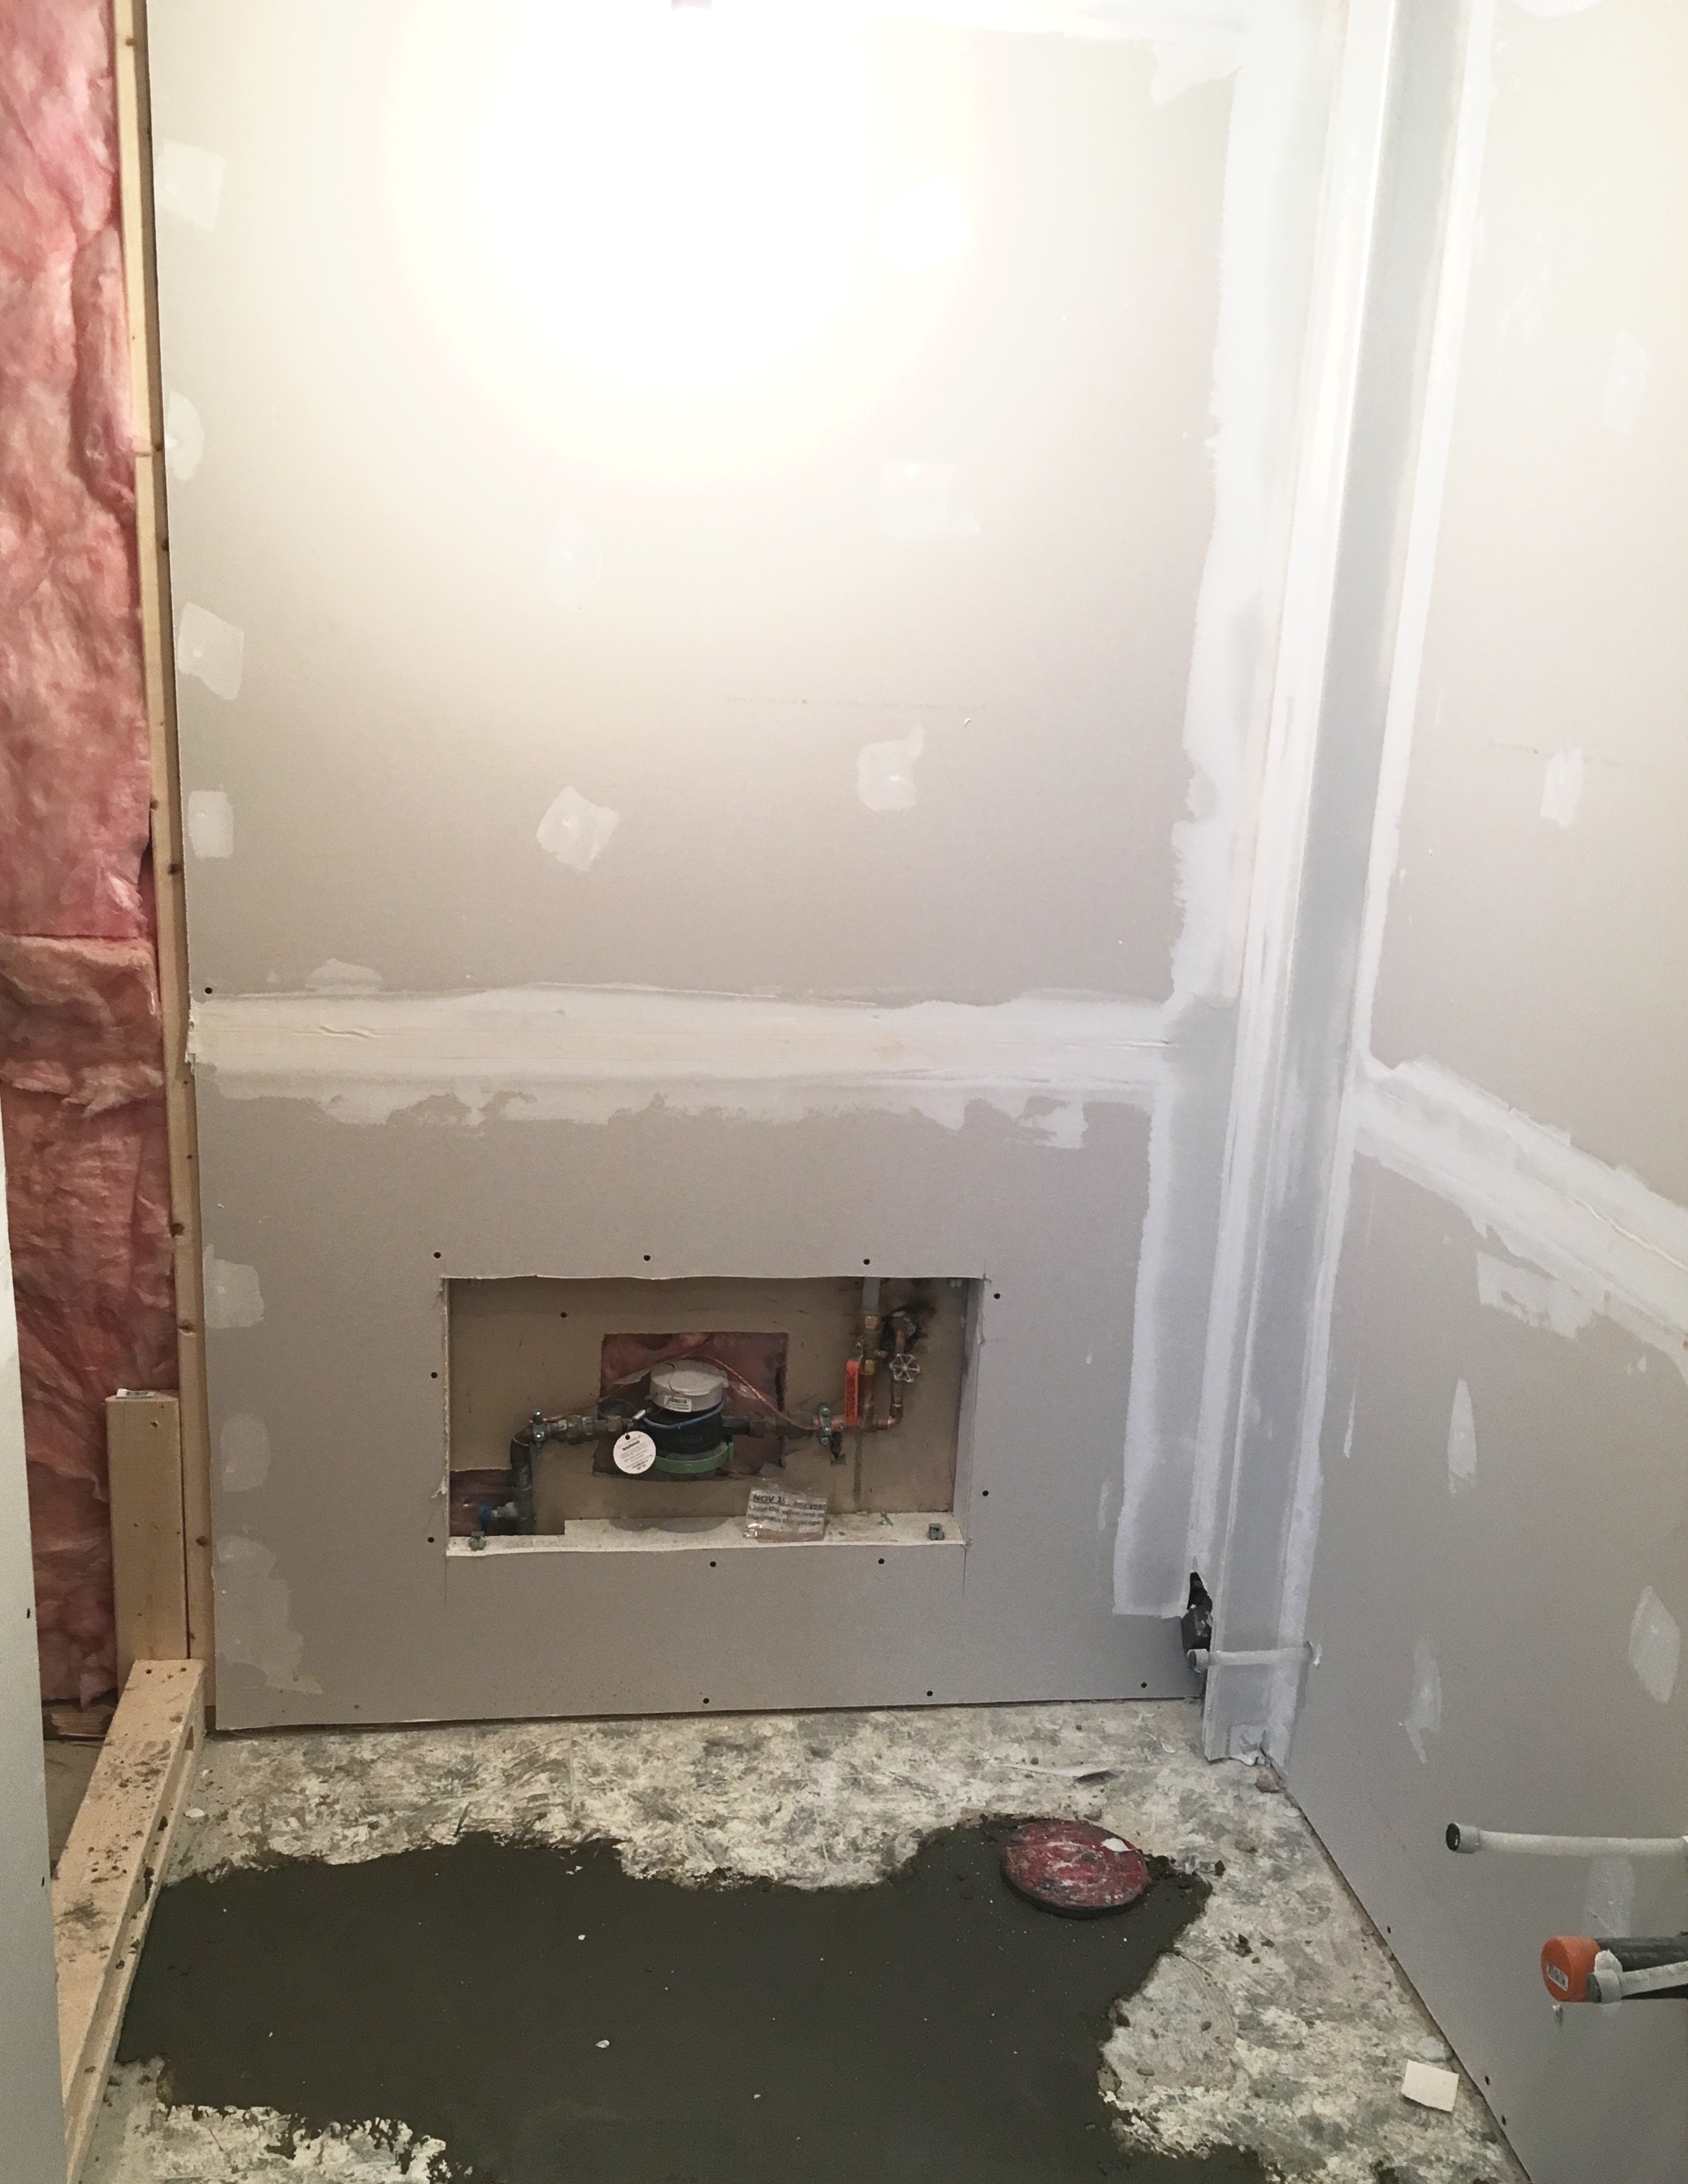
drywall installed

In terms of electrical work, quite a bit needed to get done. Dad installed new lighting, updated outlets, and did the prep work for my floor heating system. He also installed a new fan.
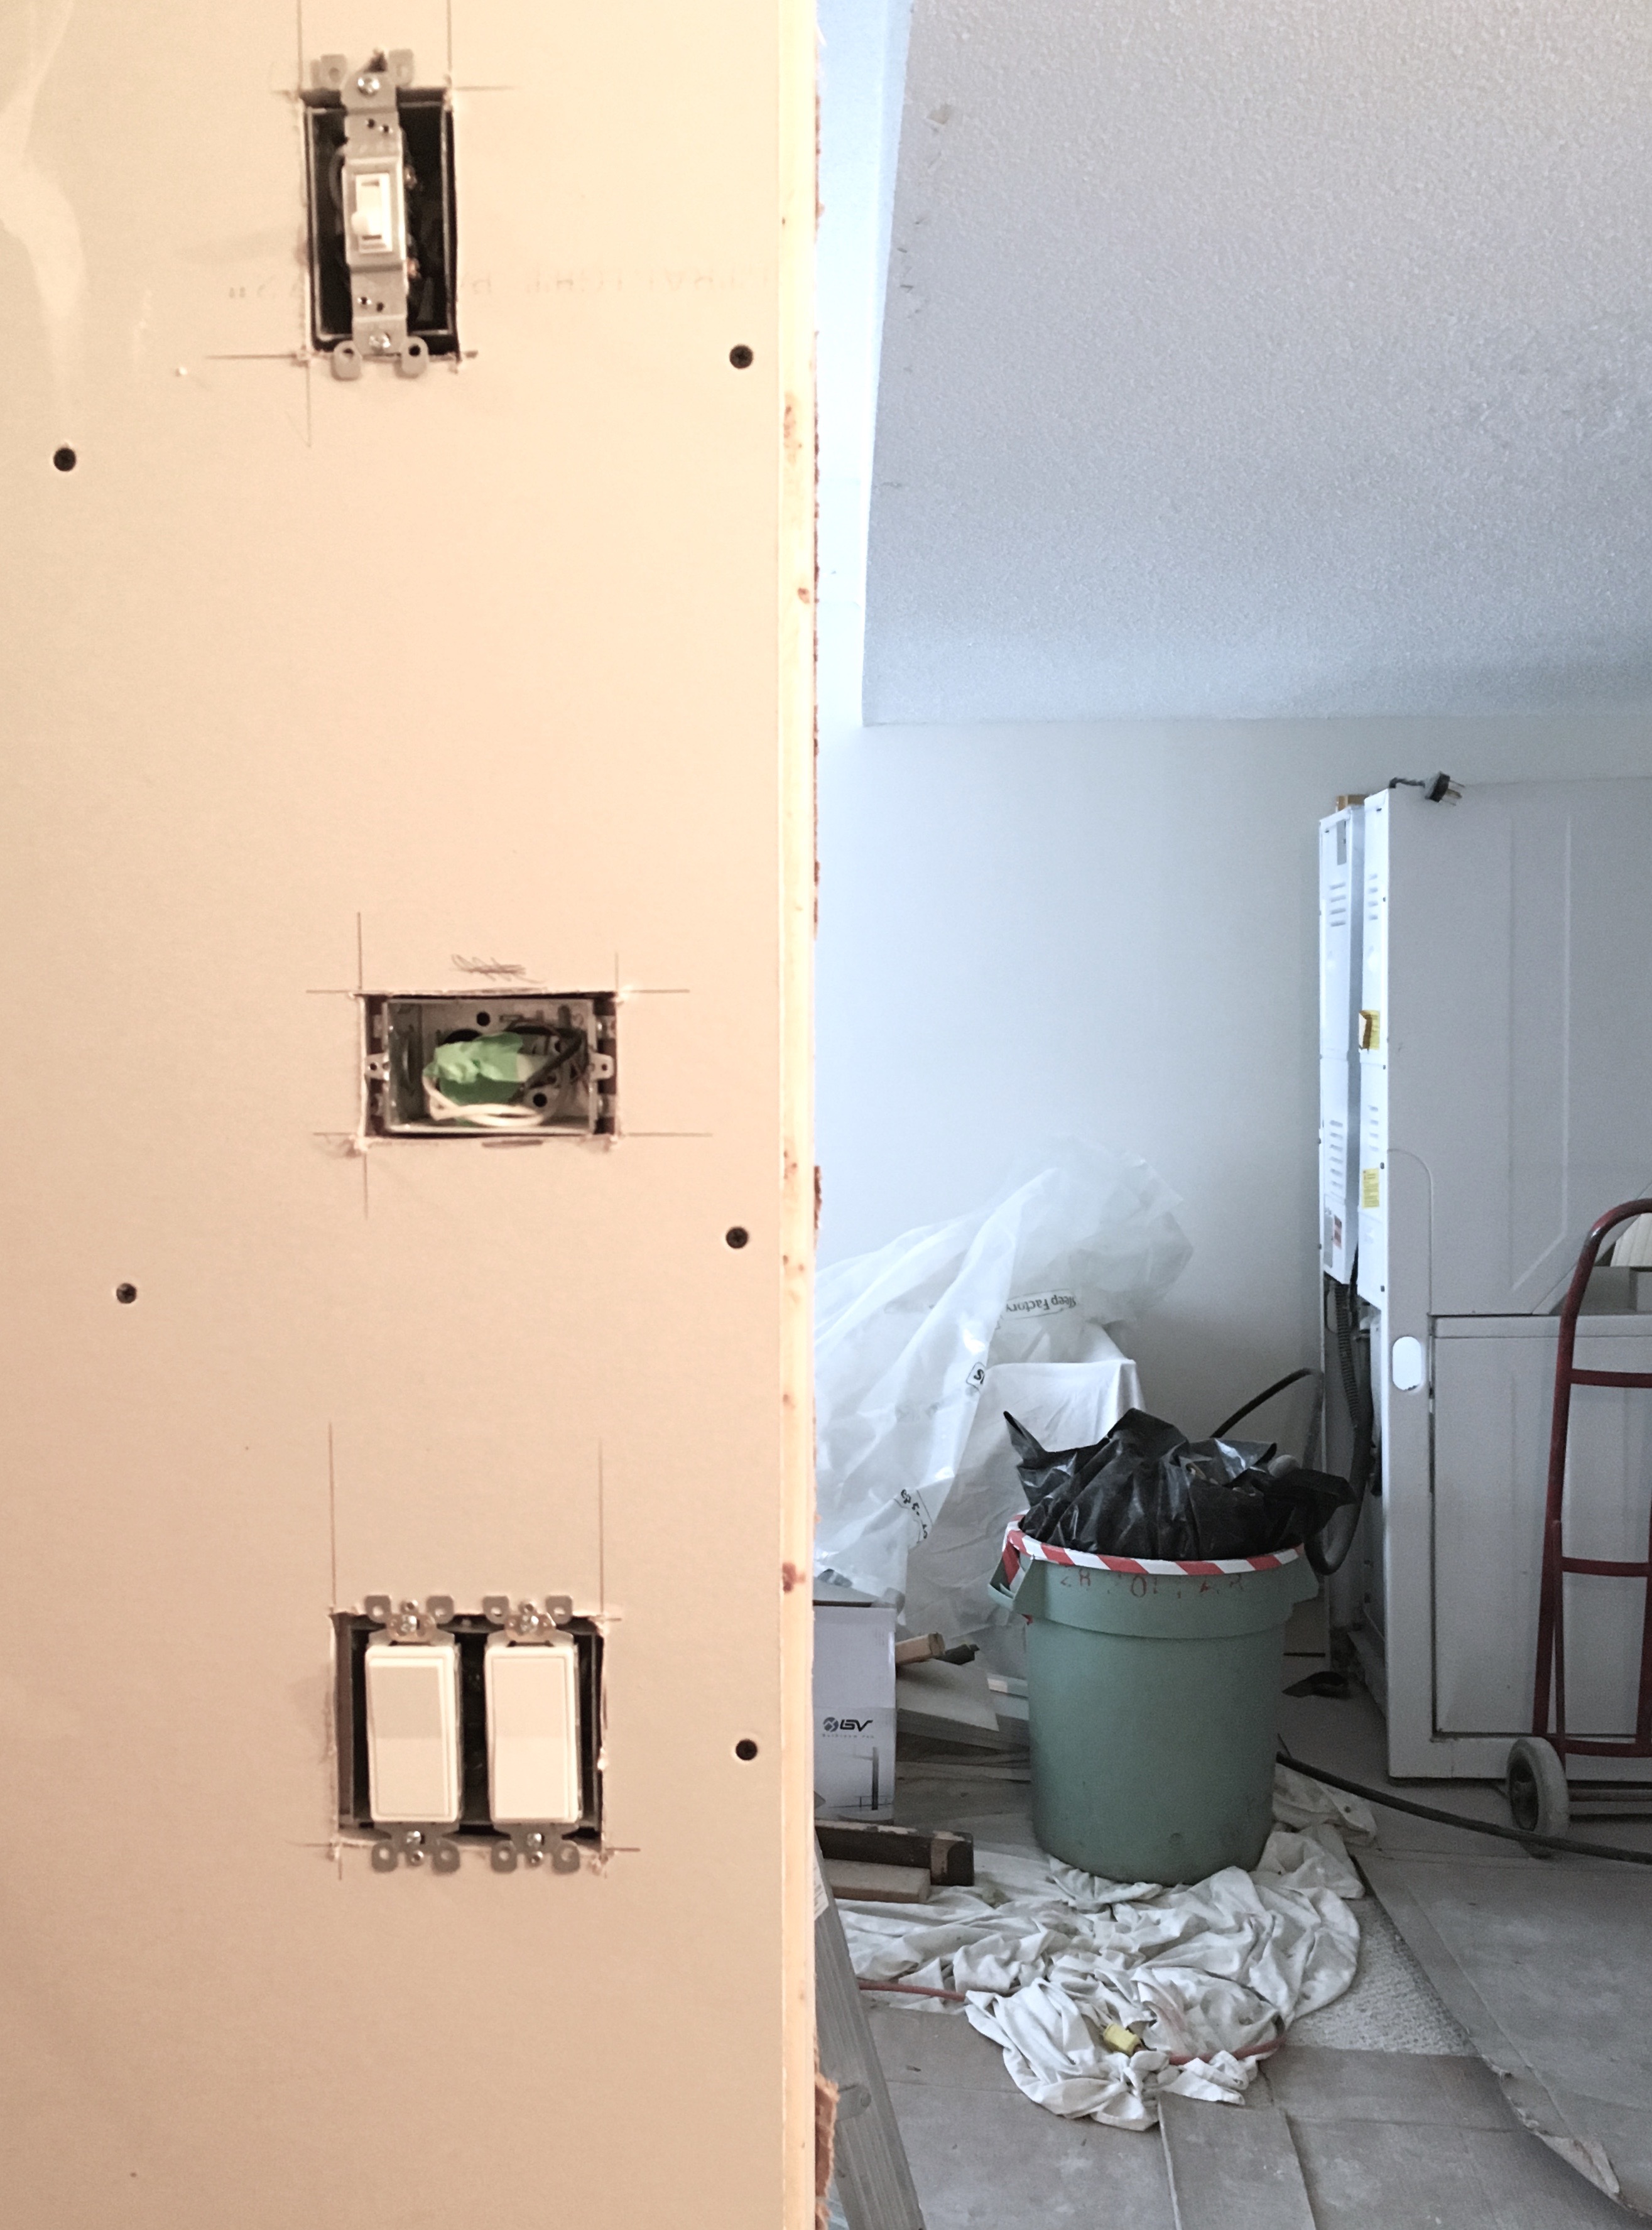
new electrical

In terms of the floor heating system, I’m very lucky to be working with WarmUp on this project. The people I have been working with from WarmUp have been phenomenal. Really informative and great communicators. I was so pleased that they were as eager to work with me as I was with them!

To get the floor ready for the heating system, my tiler first installed the WarmUp insulation boards. These insulation boards not only prepped the flooring for the heating mats, but these boards will also ensure more energy efficiency.
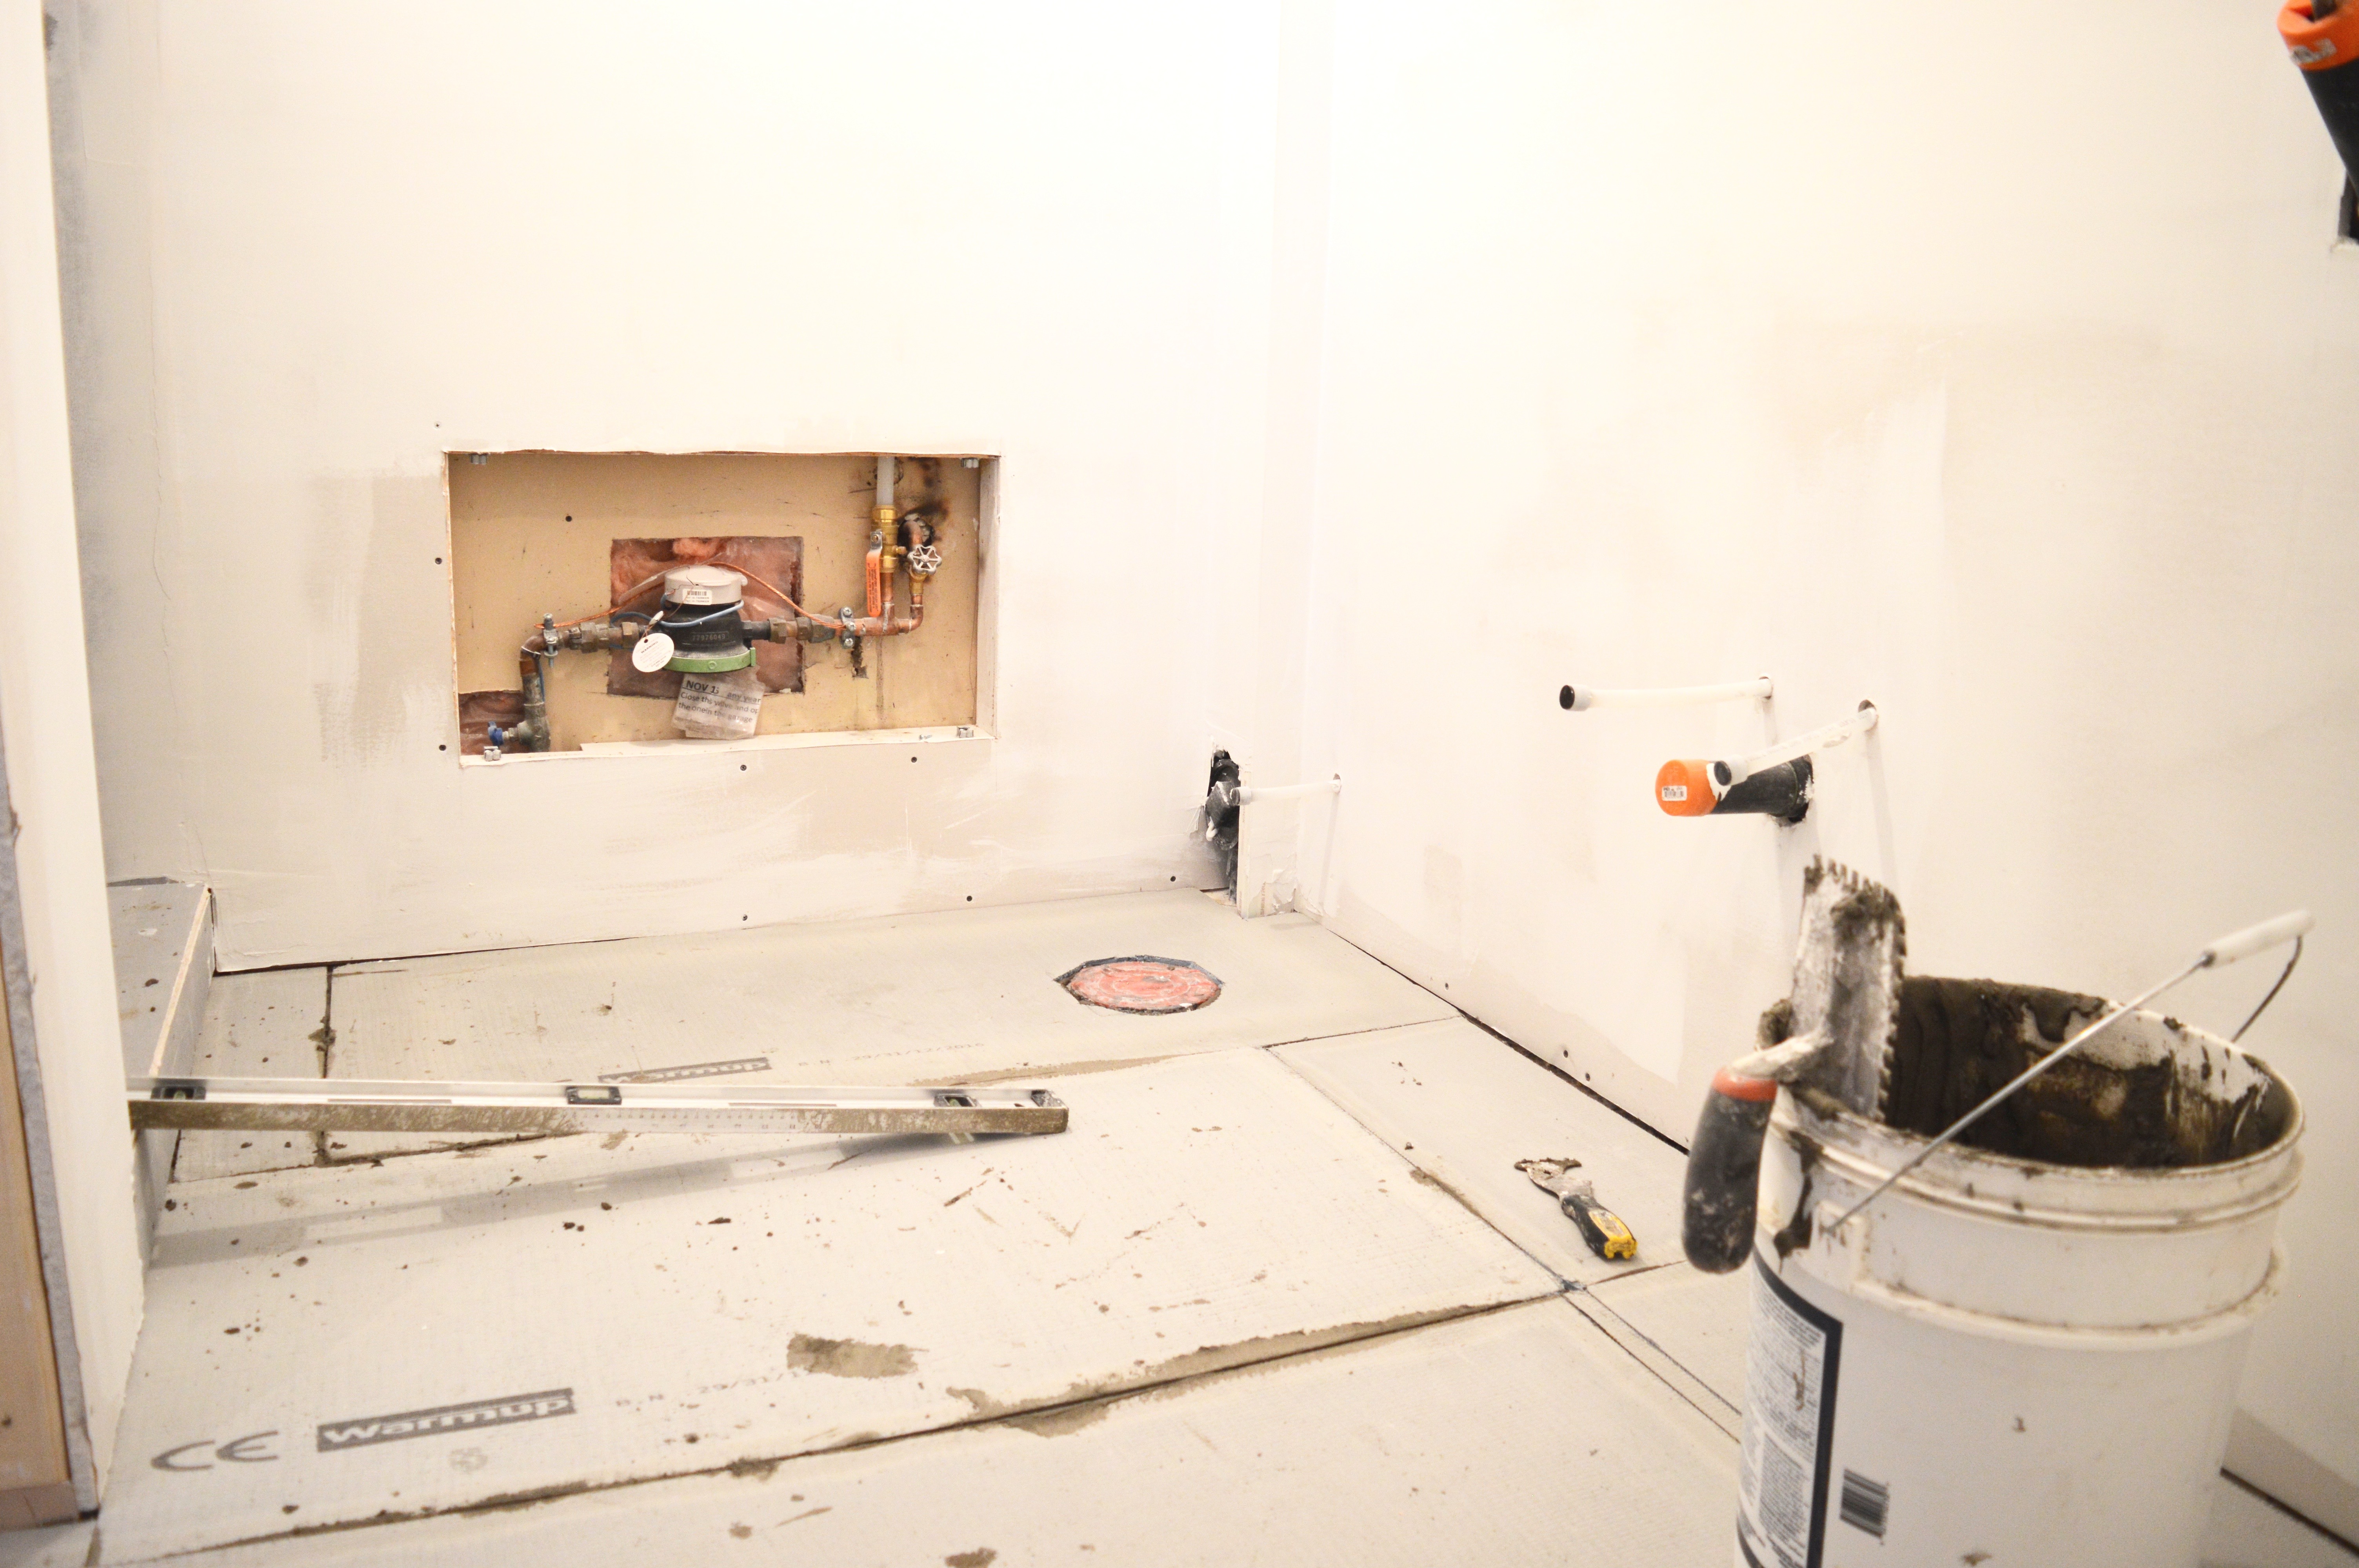
WarmUp insulation boards installed

After the boards were secure, my tiler laid down the heating mats – the DCM-PRO membrane.

Dad was then able to install the cables on the mats. The cables were tested before, during, and after installation to ensure the product’s resistance had not been altered. Dad let me know that the installation of these cables was eaaasssy! Good to know, right? He liked the simplicity and straightforwardness of the DCM-PRO system, and he liked the contrasting colours, too, because this meant that everything was really easy to see.
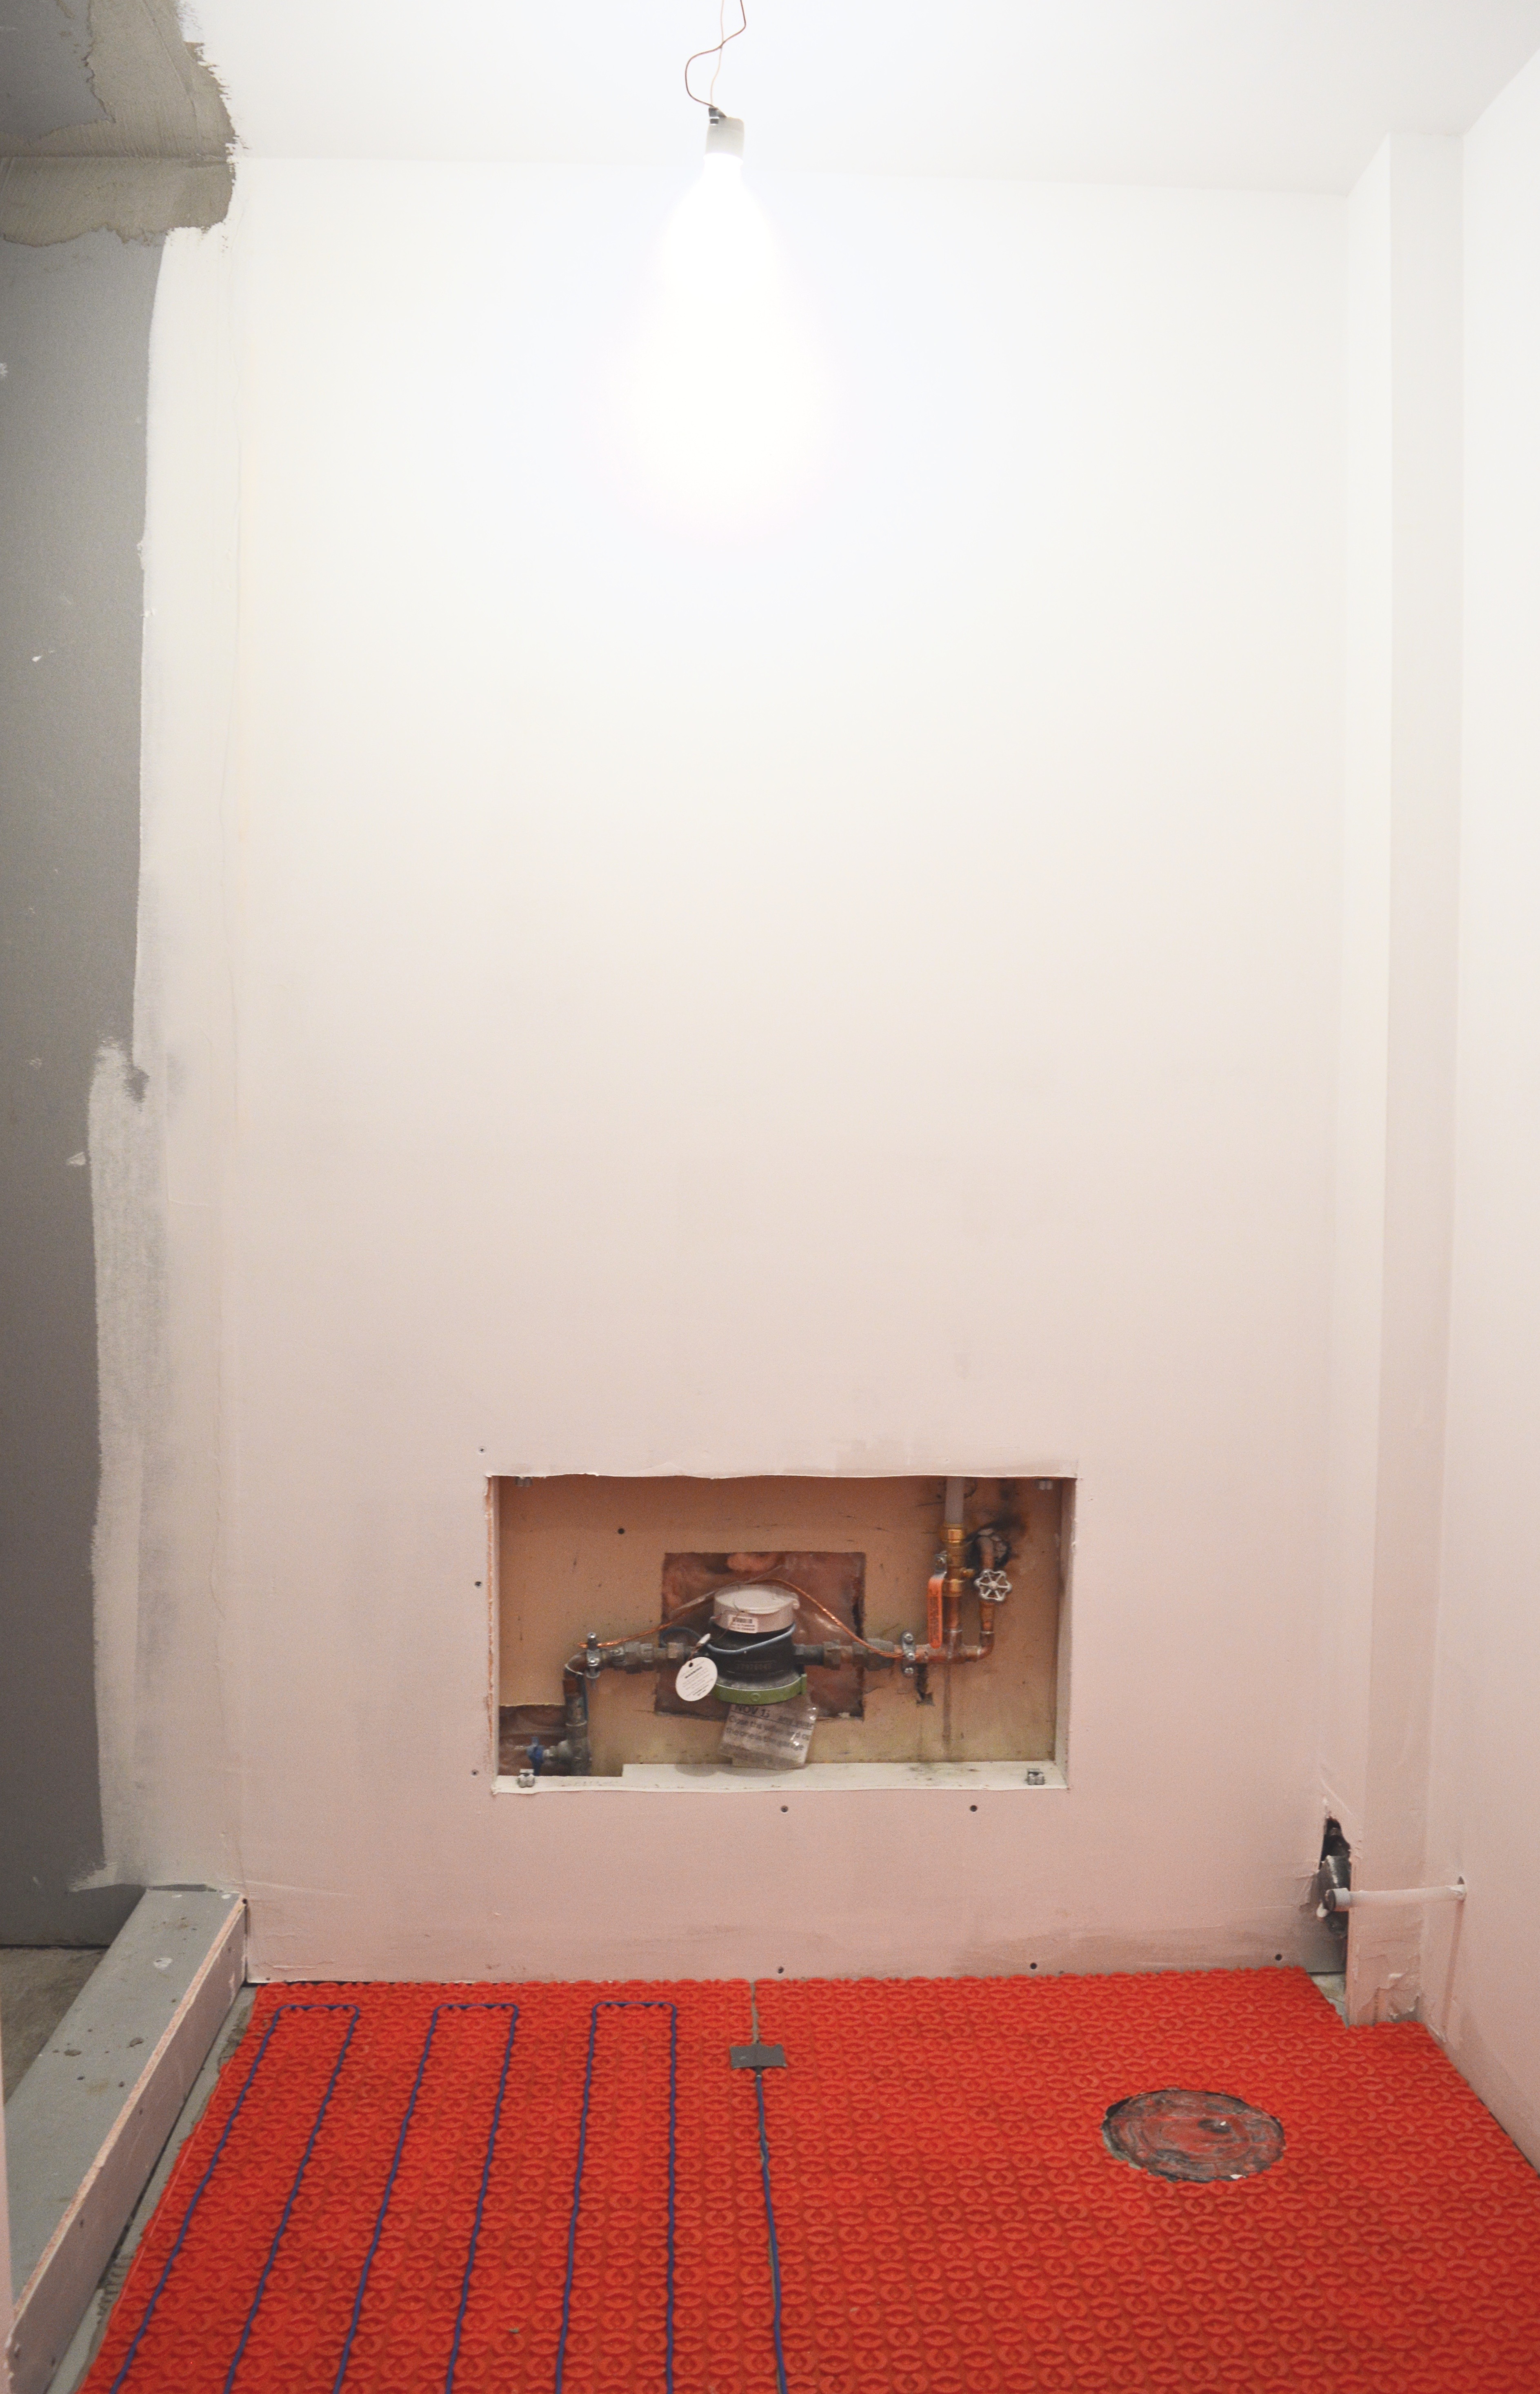
WarmUp floor heating mats and cord installed (no heating on the right side of the photo because that’s where the toilet and vanity will be installed)
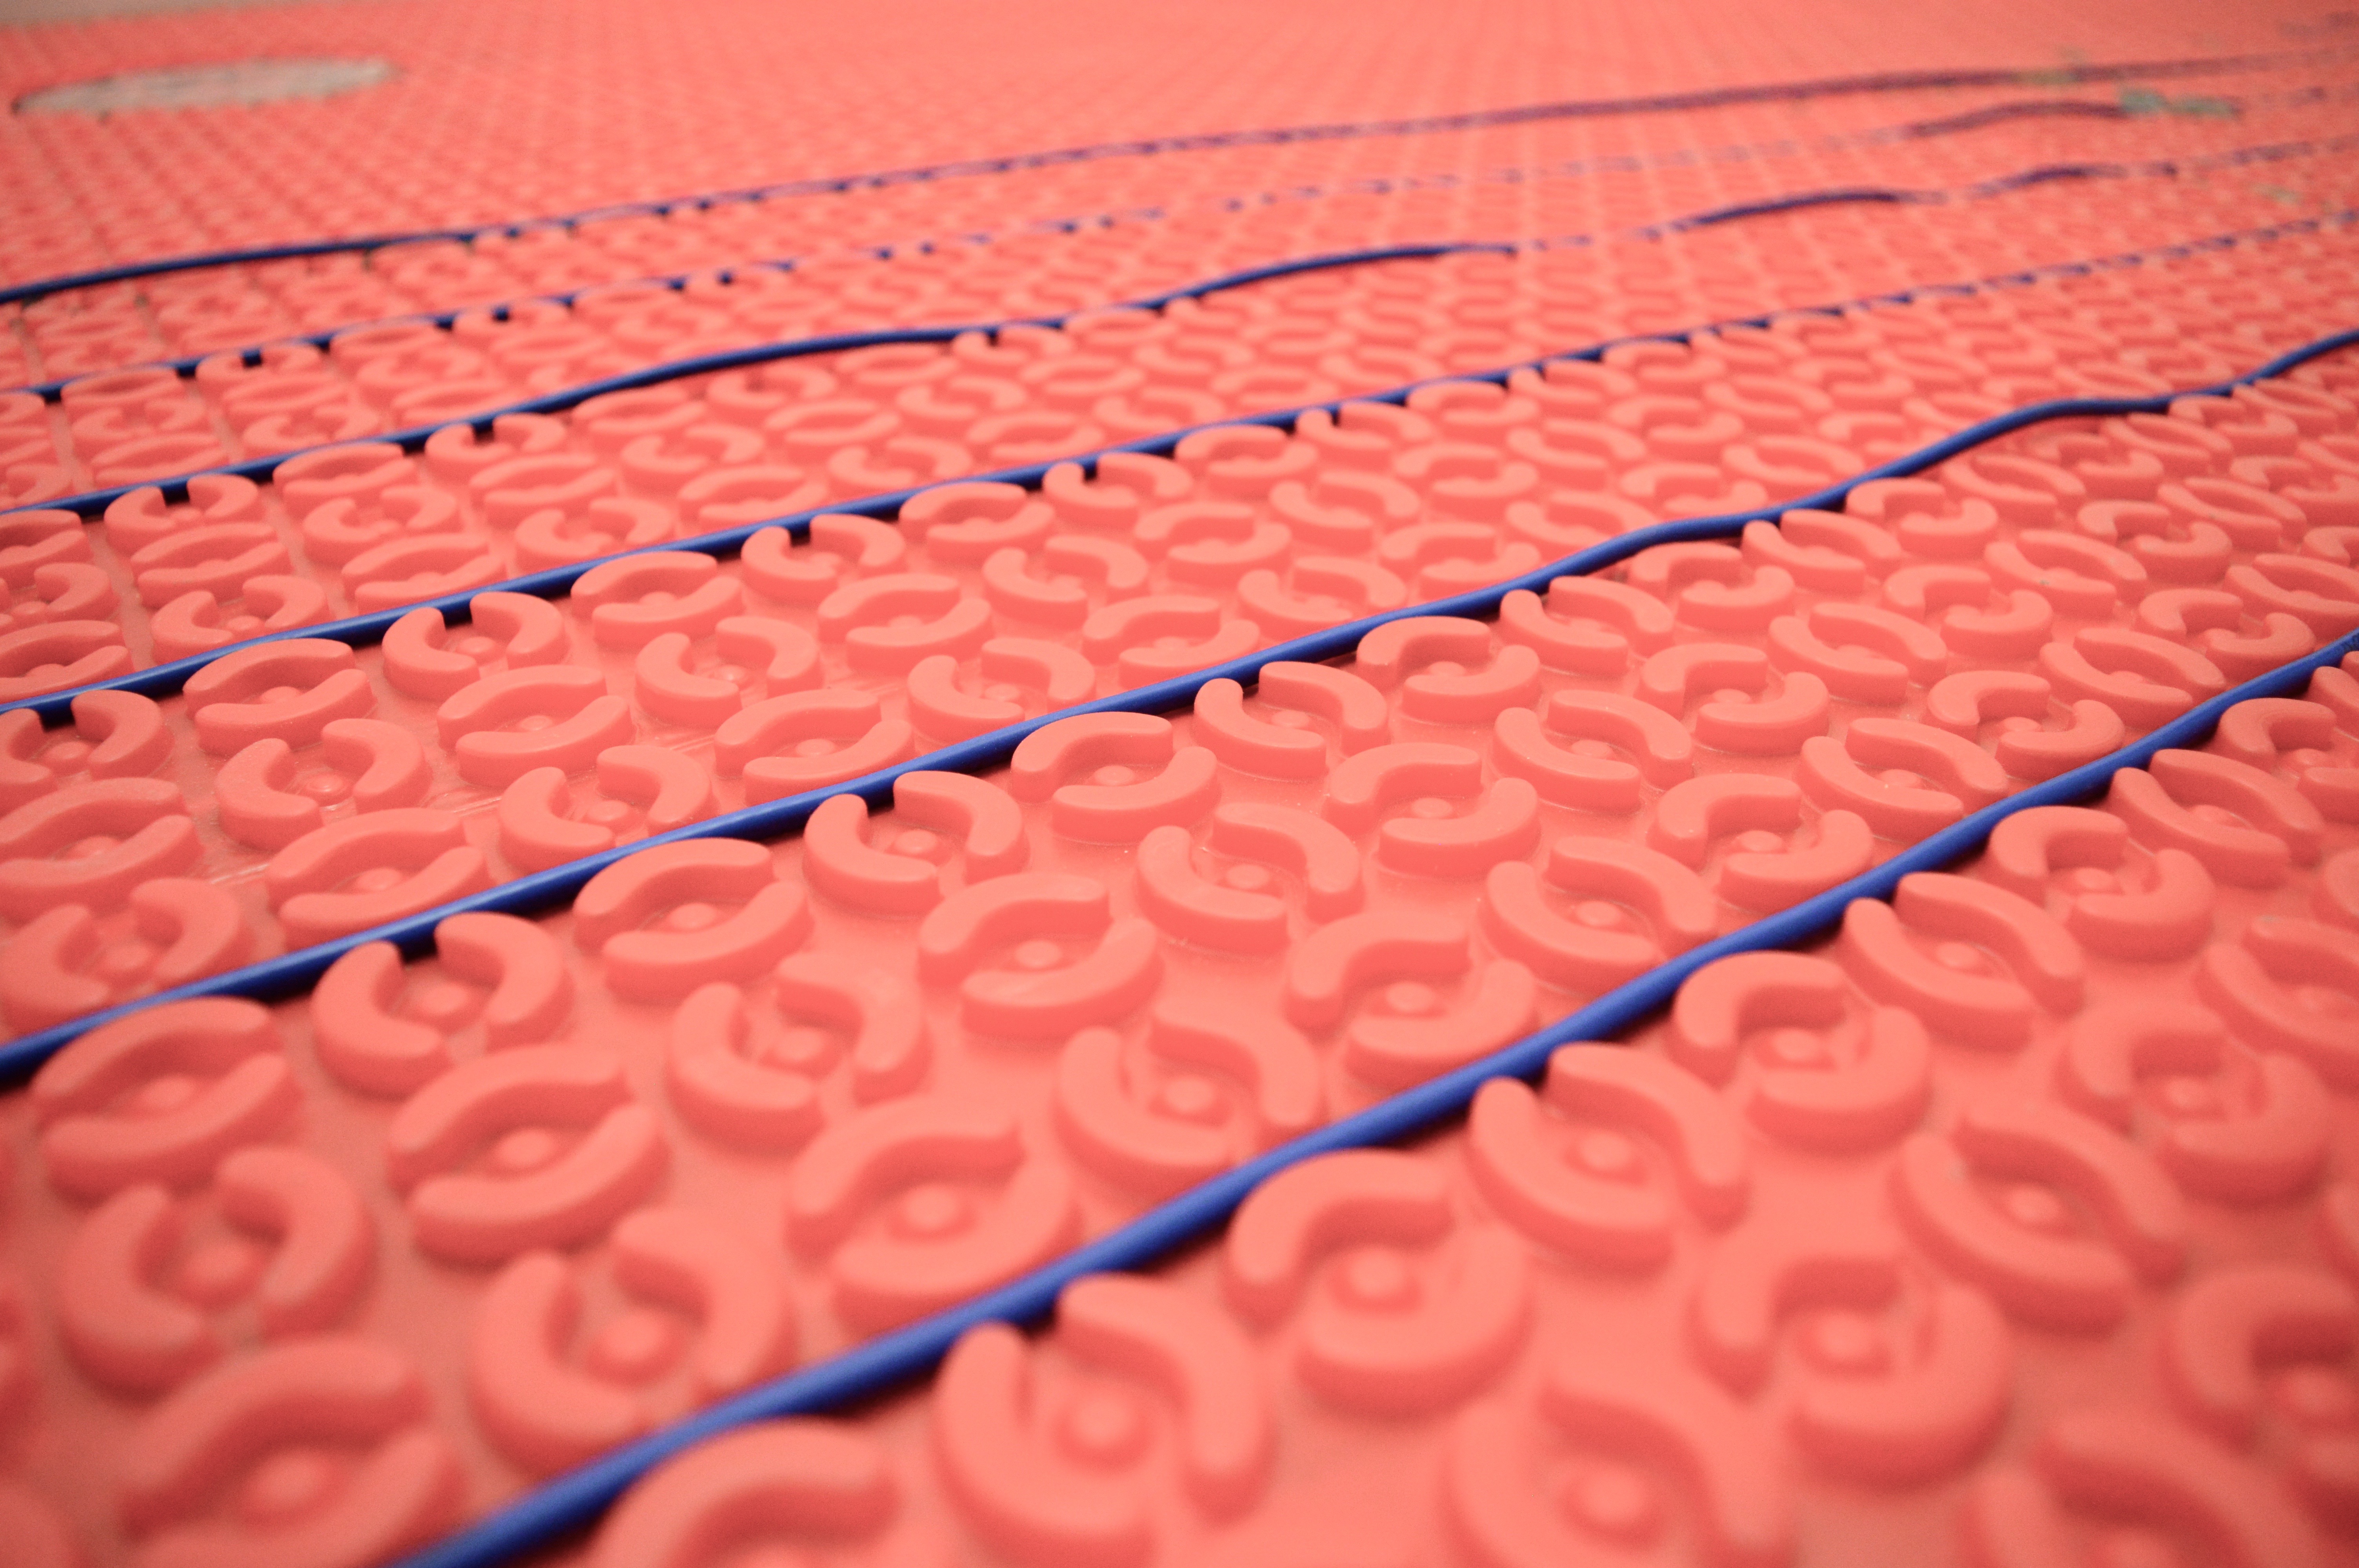
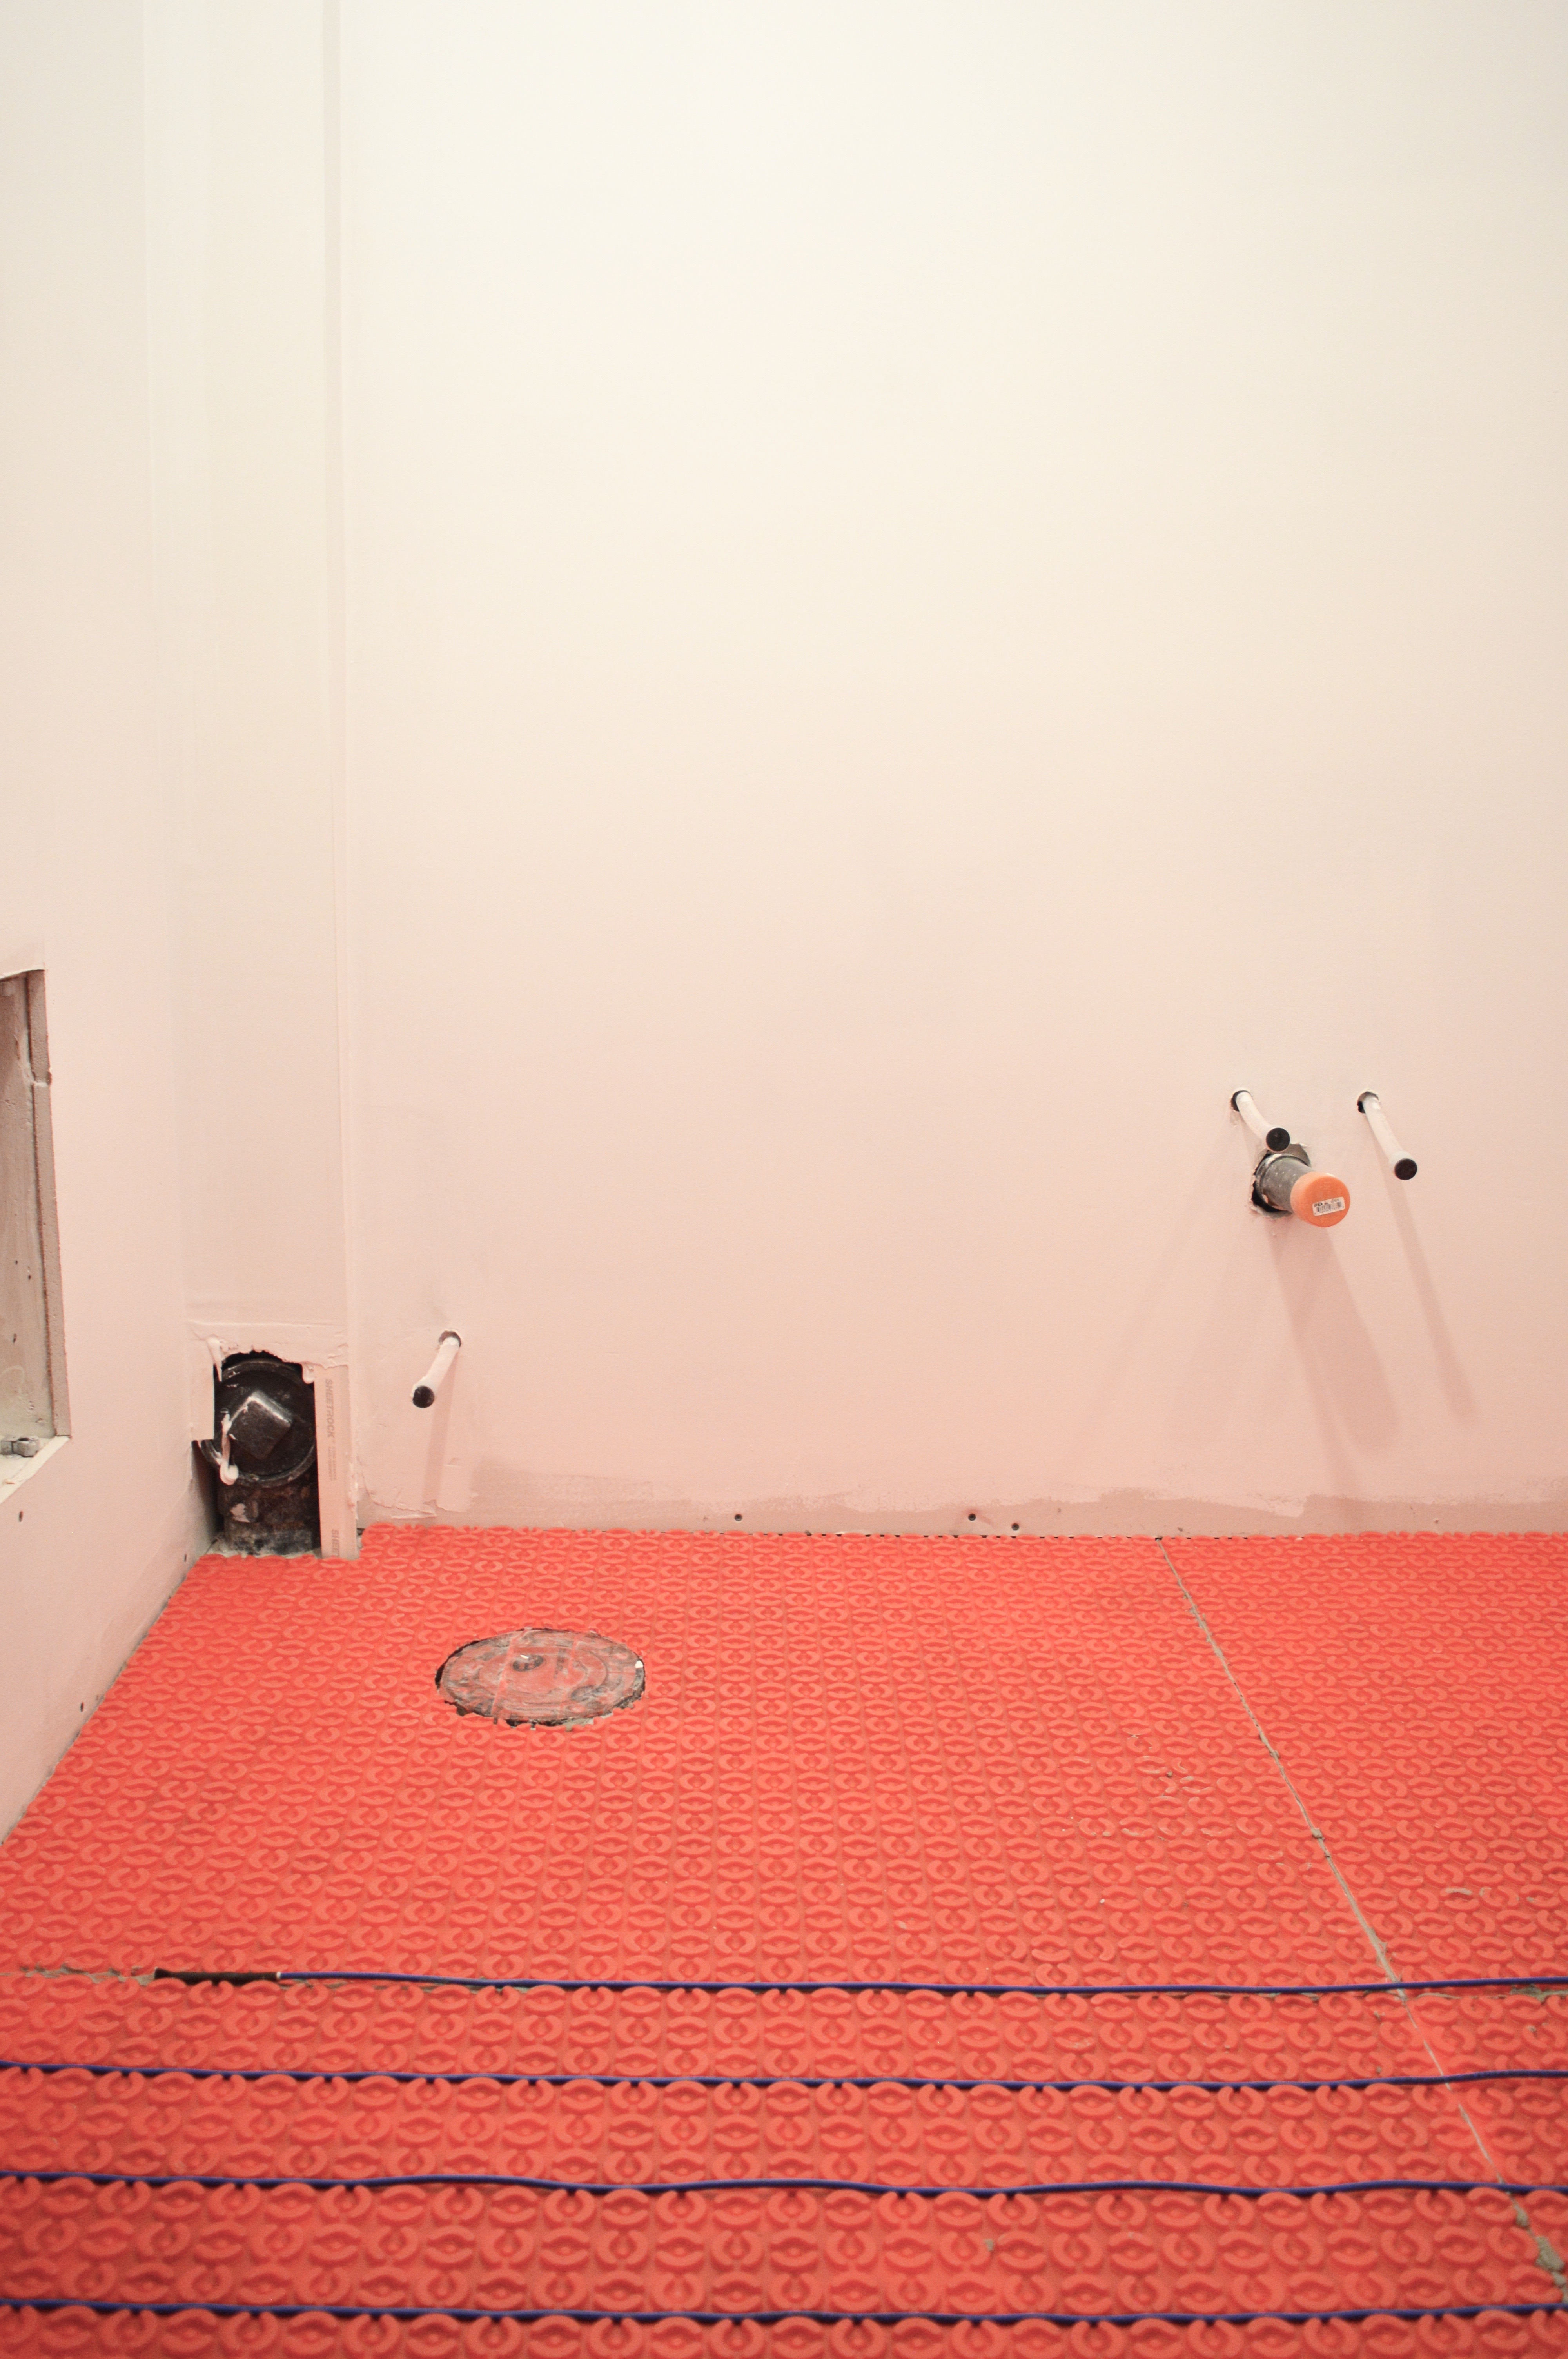
Stepping out of the shower onto a heated floor is going to be divine!


After everything was installed and tested, the tiler put a skim coat over the WarmUp floor heating system, so that it would be ready for tiles.

I encourage you to check out what the One Room Challenge guest participants and featured designers have been up to during week 3.

If you’d like to see more of my ORC progress, see my week 1 and week 2 posts. Thanks to WarmUp for supplying my new floor heating system. All opinions are my own.