Welcome back to the One Room Challenge, everyone! Are you enjoying seeing all the progress participants and guests are making? I sure am! If you’ve just joined in on the White Cabana laundry/bathroom reno fun, check out my week 1, week 2, and week 3 posts. Week 4 means things are starting to get pretty!

Last week, I showed you a relatively cleaned-up space (a big change from the weeks before where I showed you a fully gutted space). In the past couple of weeks, the WarmUp heated floor was installed. The drywall was finished. Pipes were in place. And things only improved from there!
The major game-changer to the look of my space this week was the tile install. Like my other tradespeople, my tiler was top-notch. Honestly, everyone, I feel so lucky to have worked with my team of tradespeople. I was worried pre-reno because I didn’t have any contacts in Waterloo, but one thing led to another (one phone call led to another), and I ended up with great people!
My tilers were so precise. And my room looks amazing because of their work. Have a look:
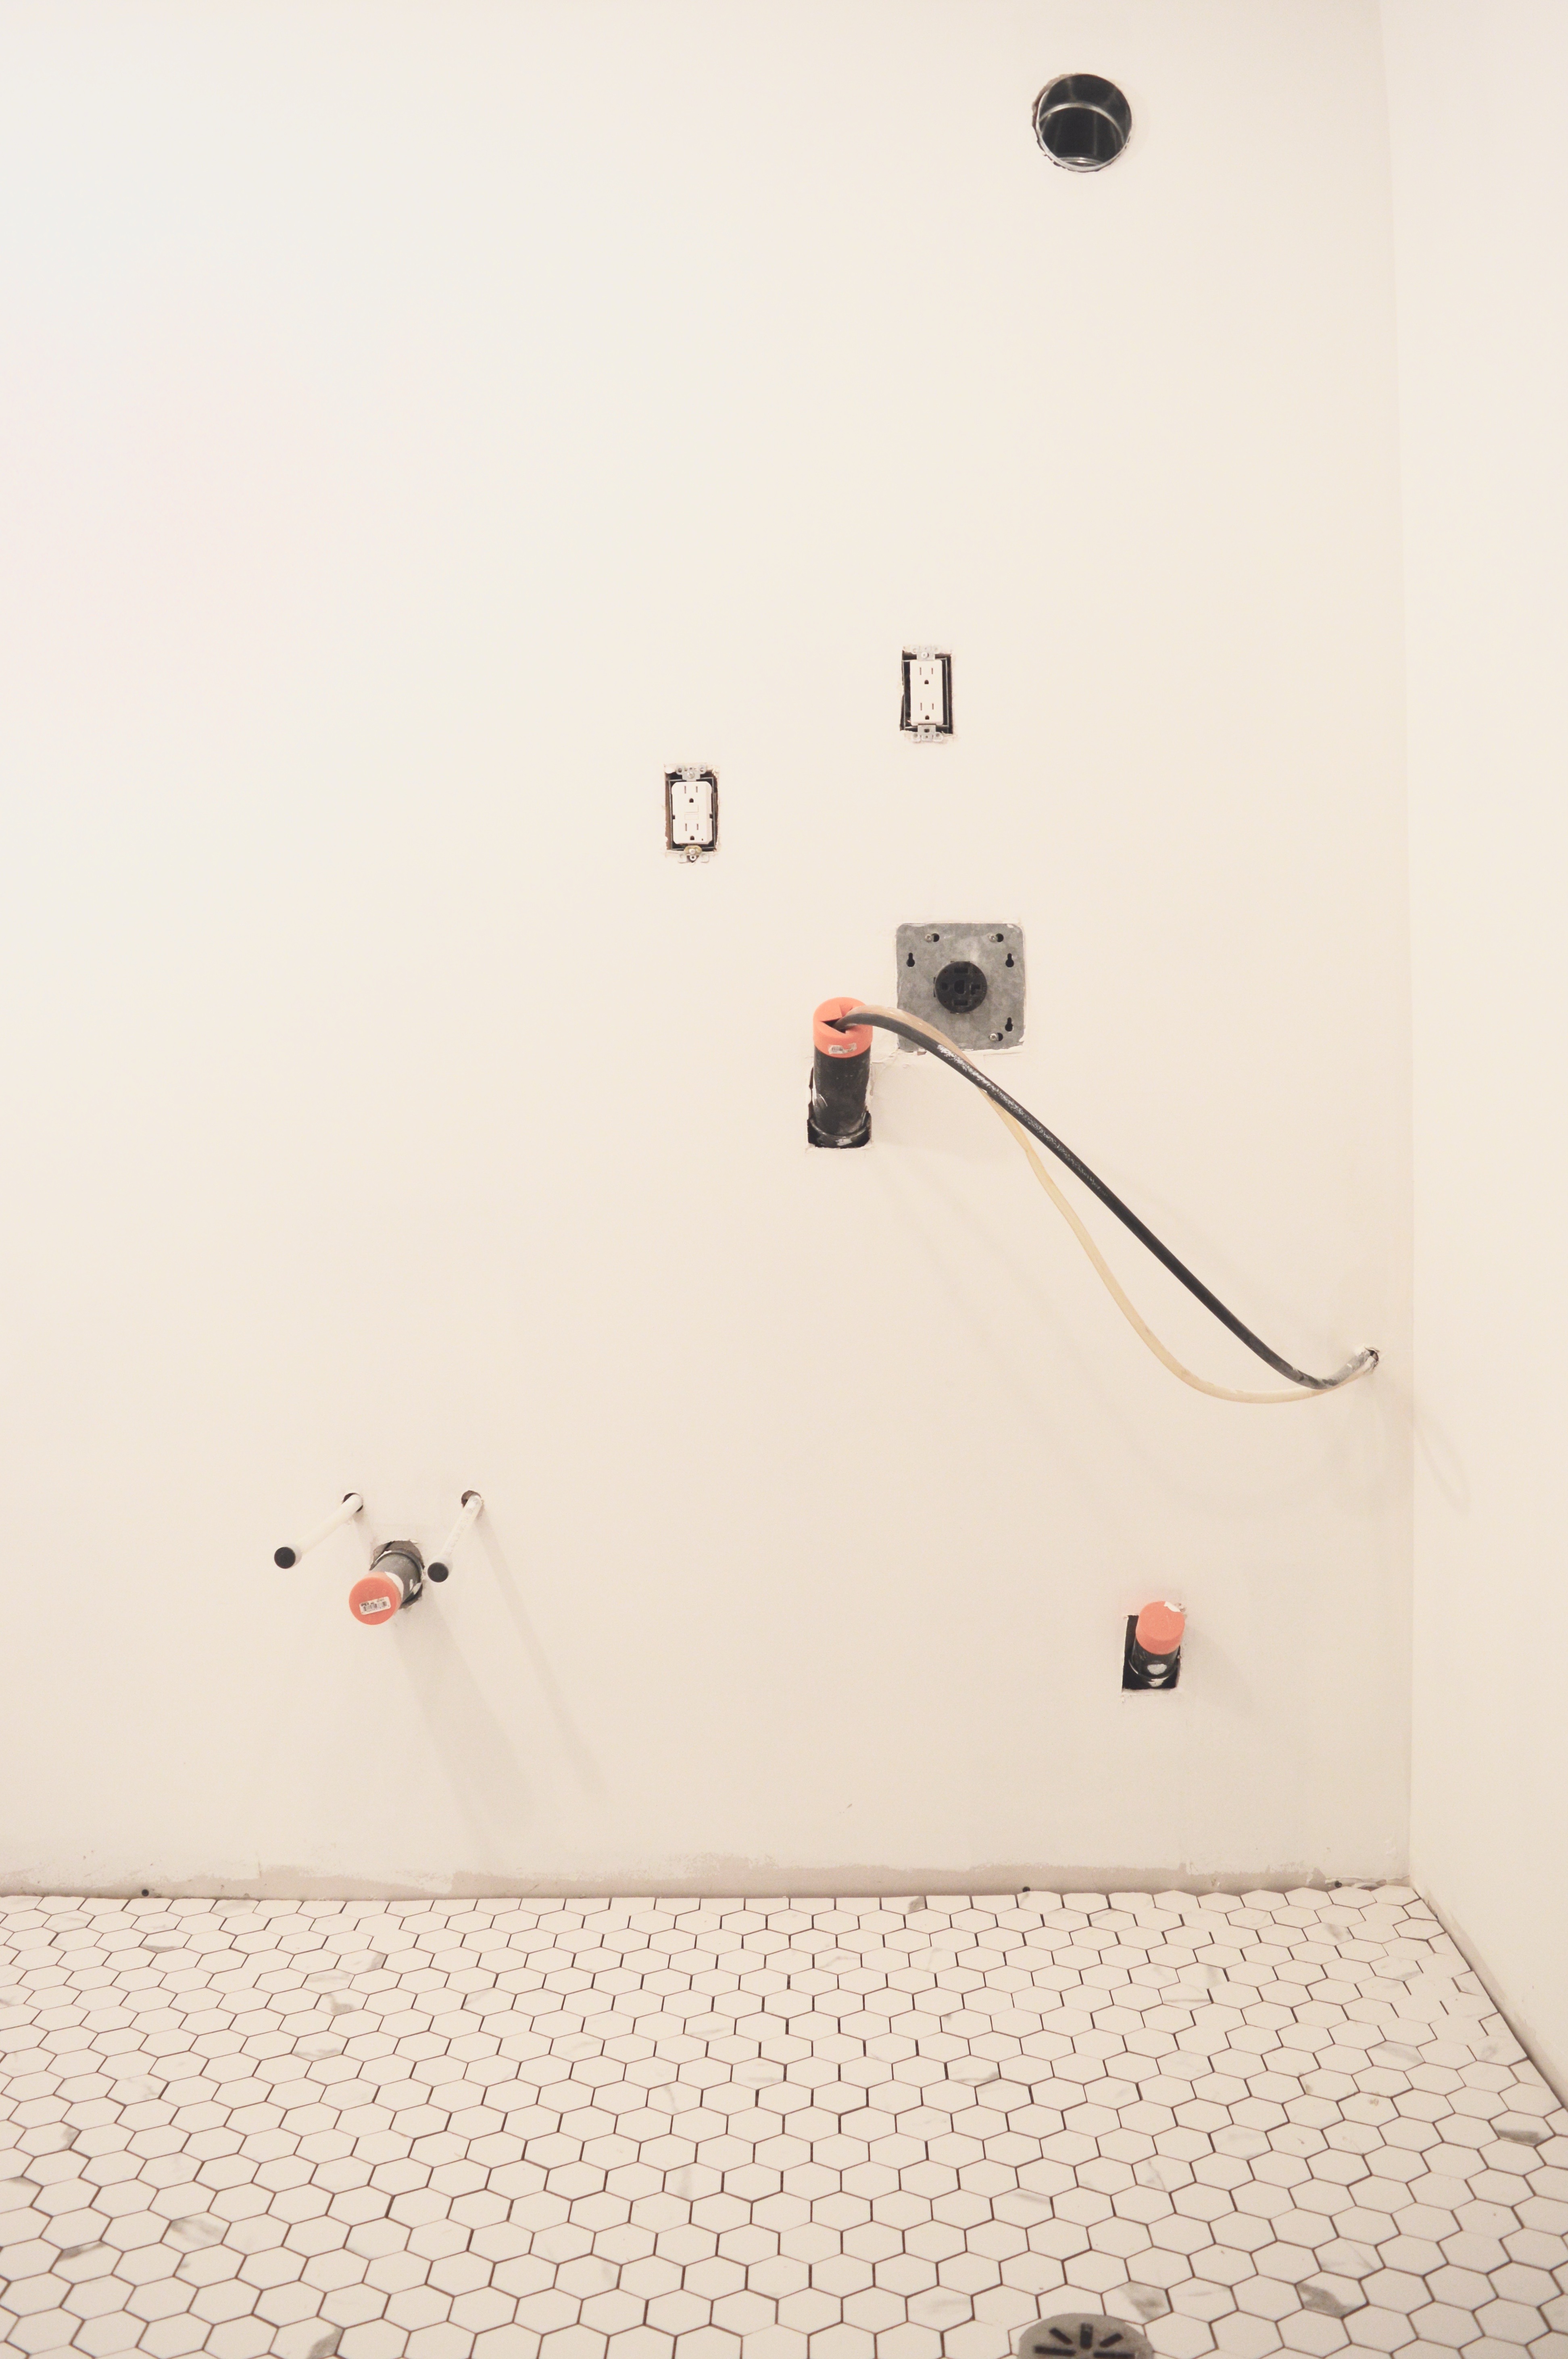
The picture above shows the space as you walk into it. The stacked laundry unit will be on the right side against the wall. It may not seem much to you, but all those pipes and holes in the wall mean major progress for this space! Of course the new pipe set-up increased my costs, but it was worth it. My plumber did a great job, and everything is much tidier than it was pre-reno. And the dryer vent was moved up high which makes much more sense. So tidy! I love it!
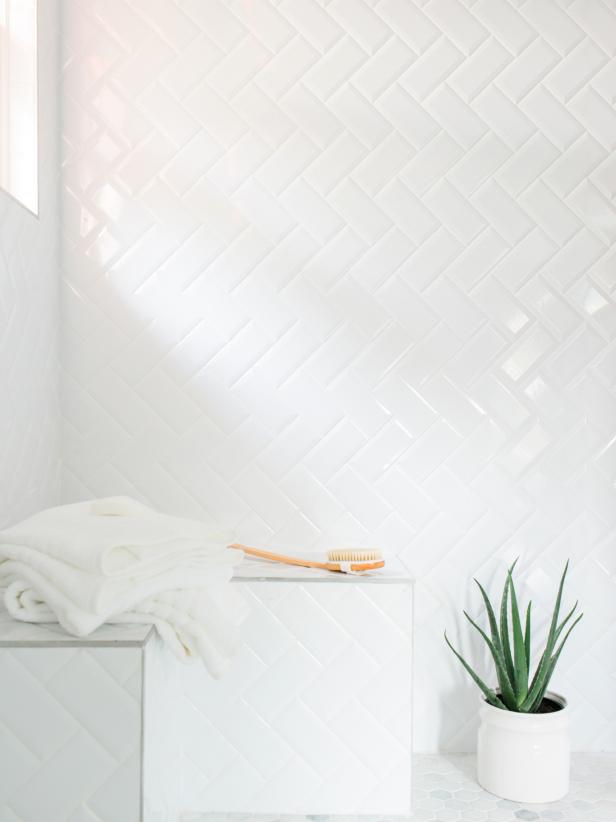
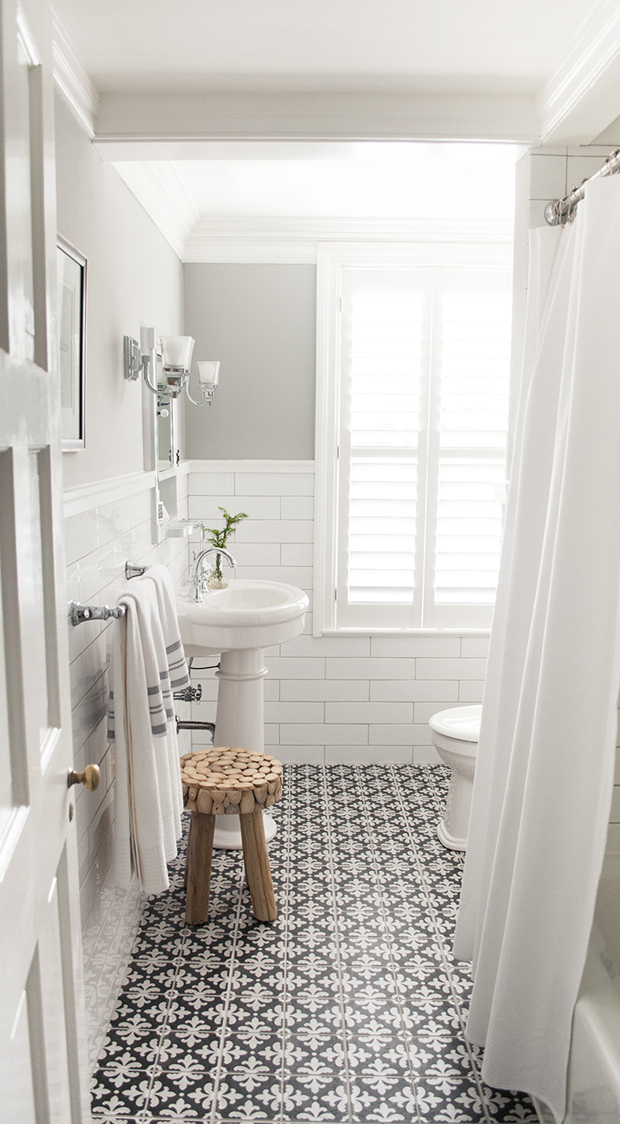
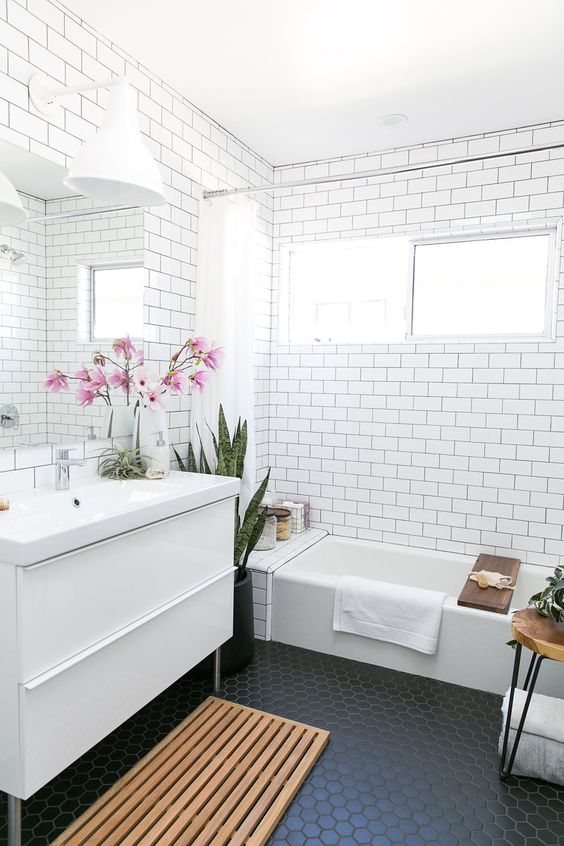
I went with ceramic hex tiles in a marble-esque pattern. So pretty. I had considered marble for the space, but because of all the water spillage that can happen in this workhorse of a room (and Waterloo’s awful hard/soft water issues), I just didn’t want to risk ruining marble.
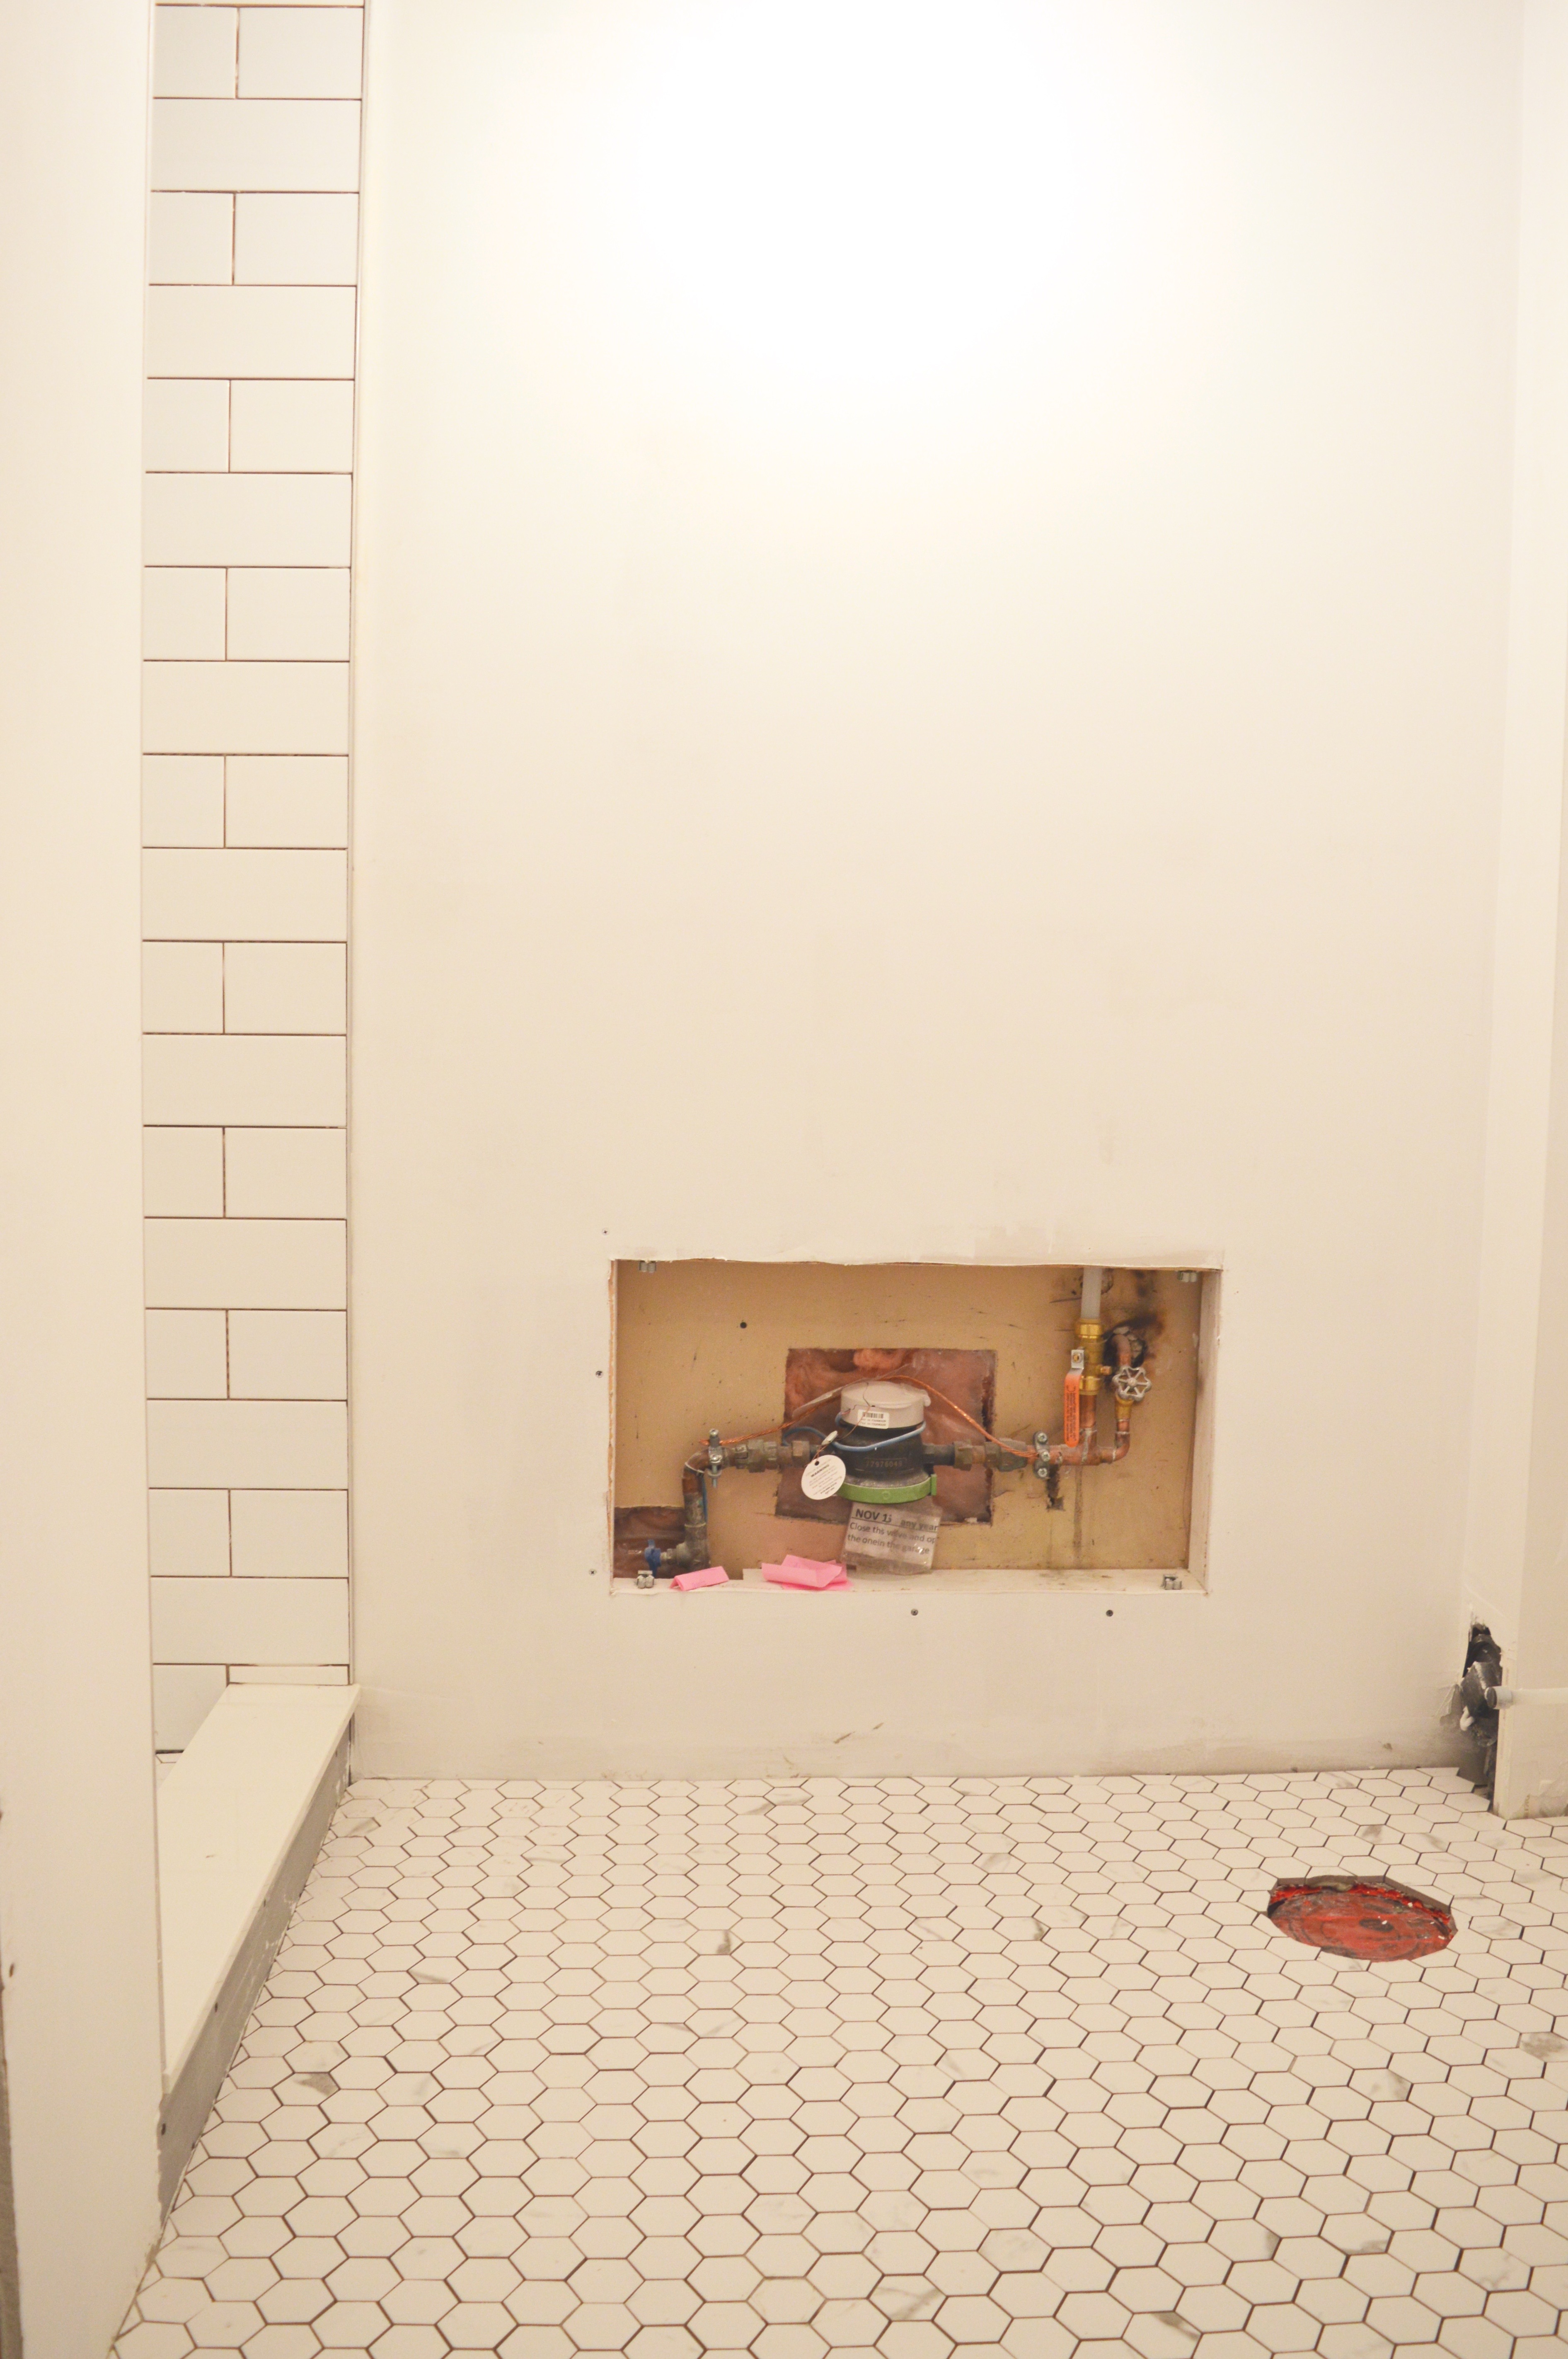
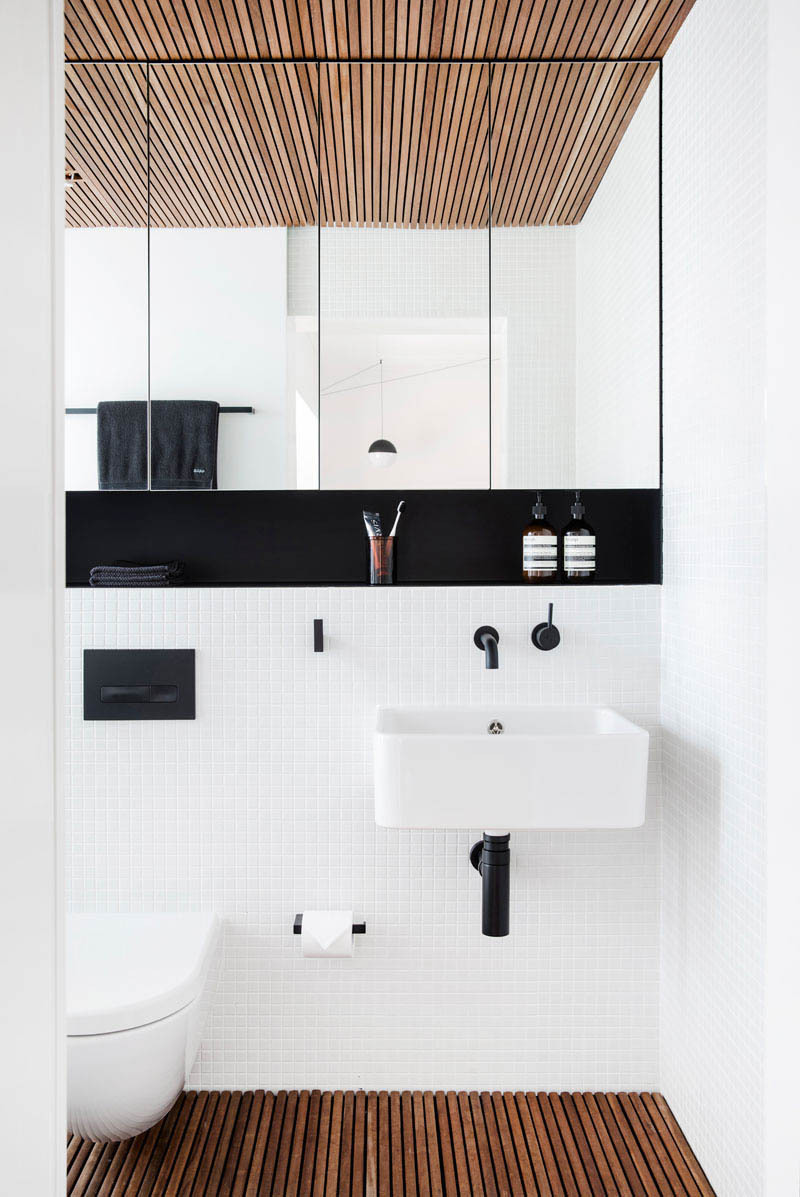
On this side of the room, I’ll have my toilet. The sink will sit in between the toilet and the stacked laundry. My plumber cleaned up some of the pipes that you see in that wall hole. So good. And my drywaller has fashioned the best cover for that hole, too. I just don’t have photos of it yet, so stay tuned.
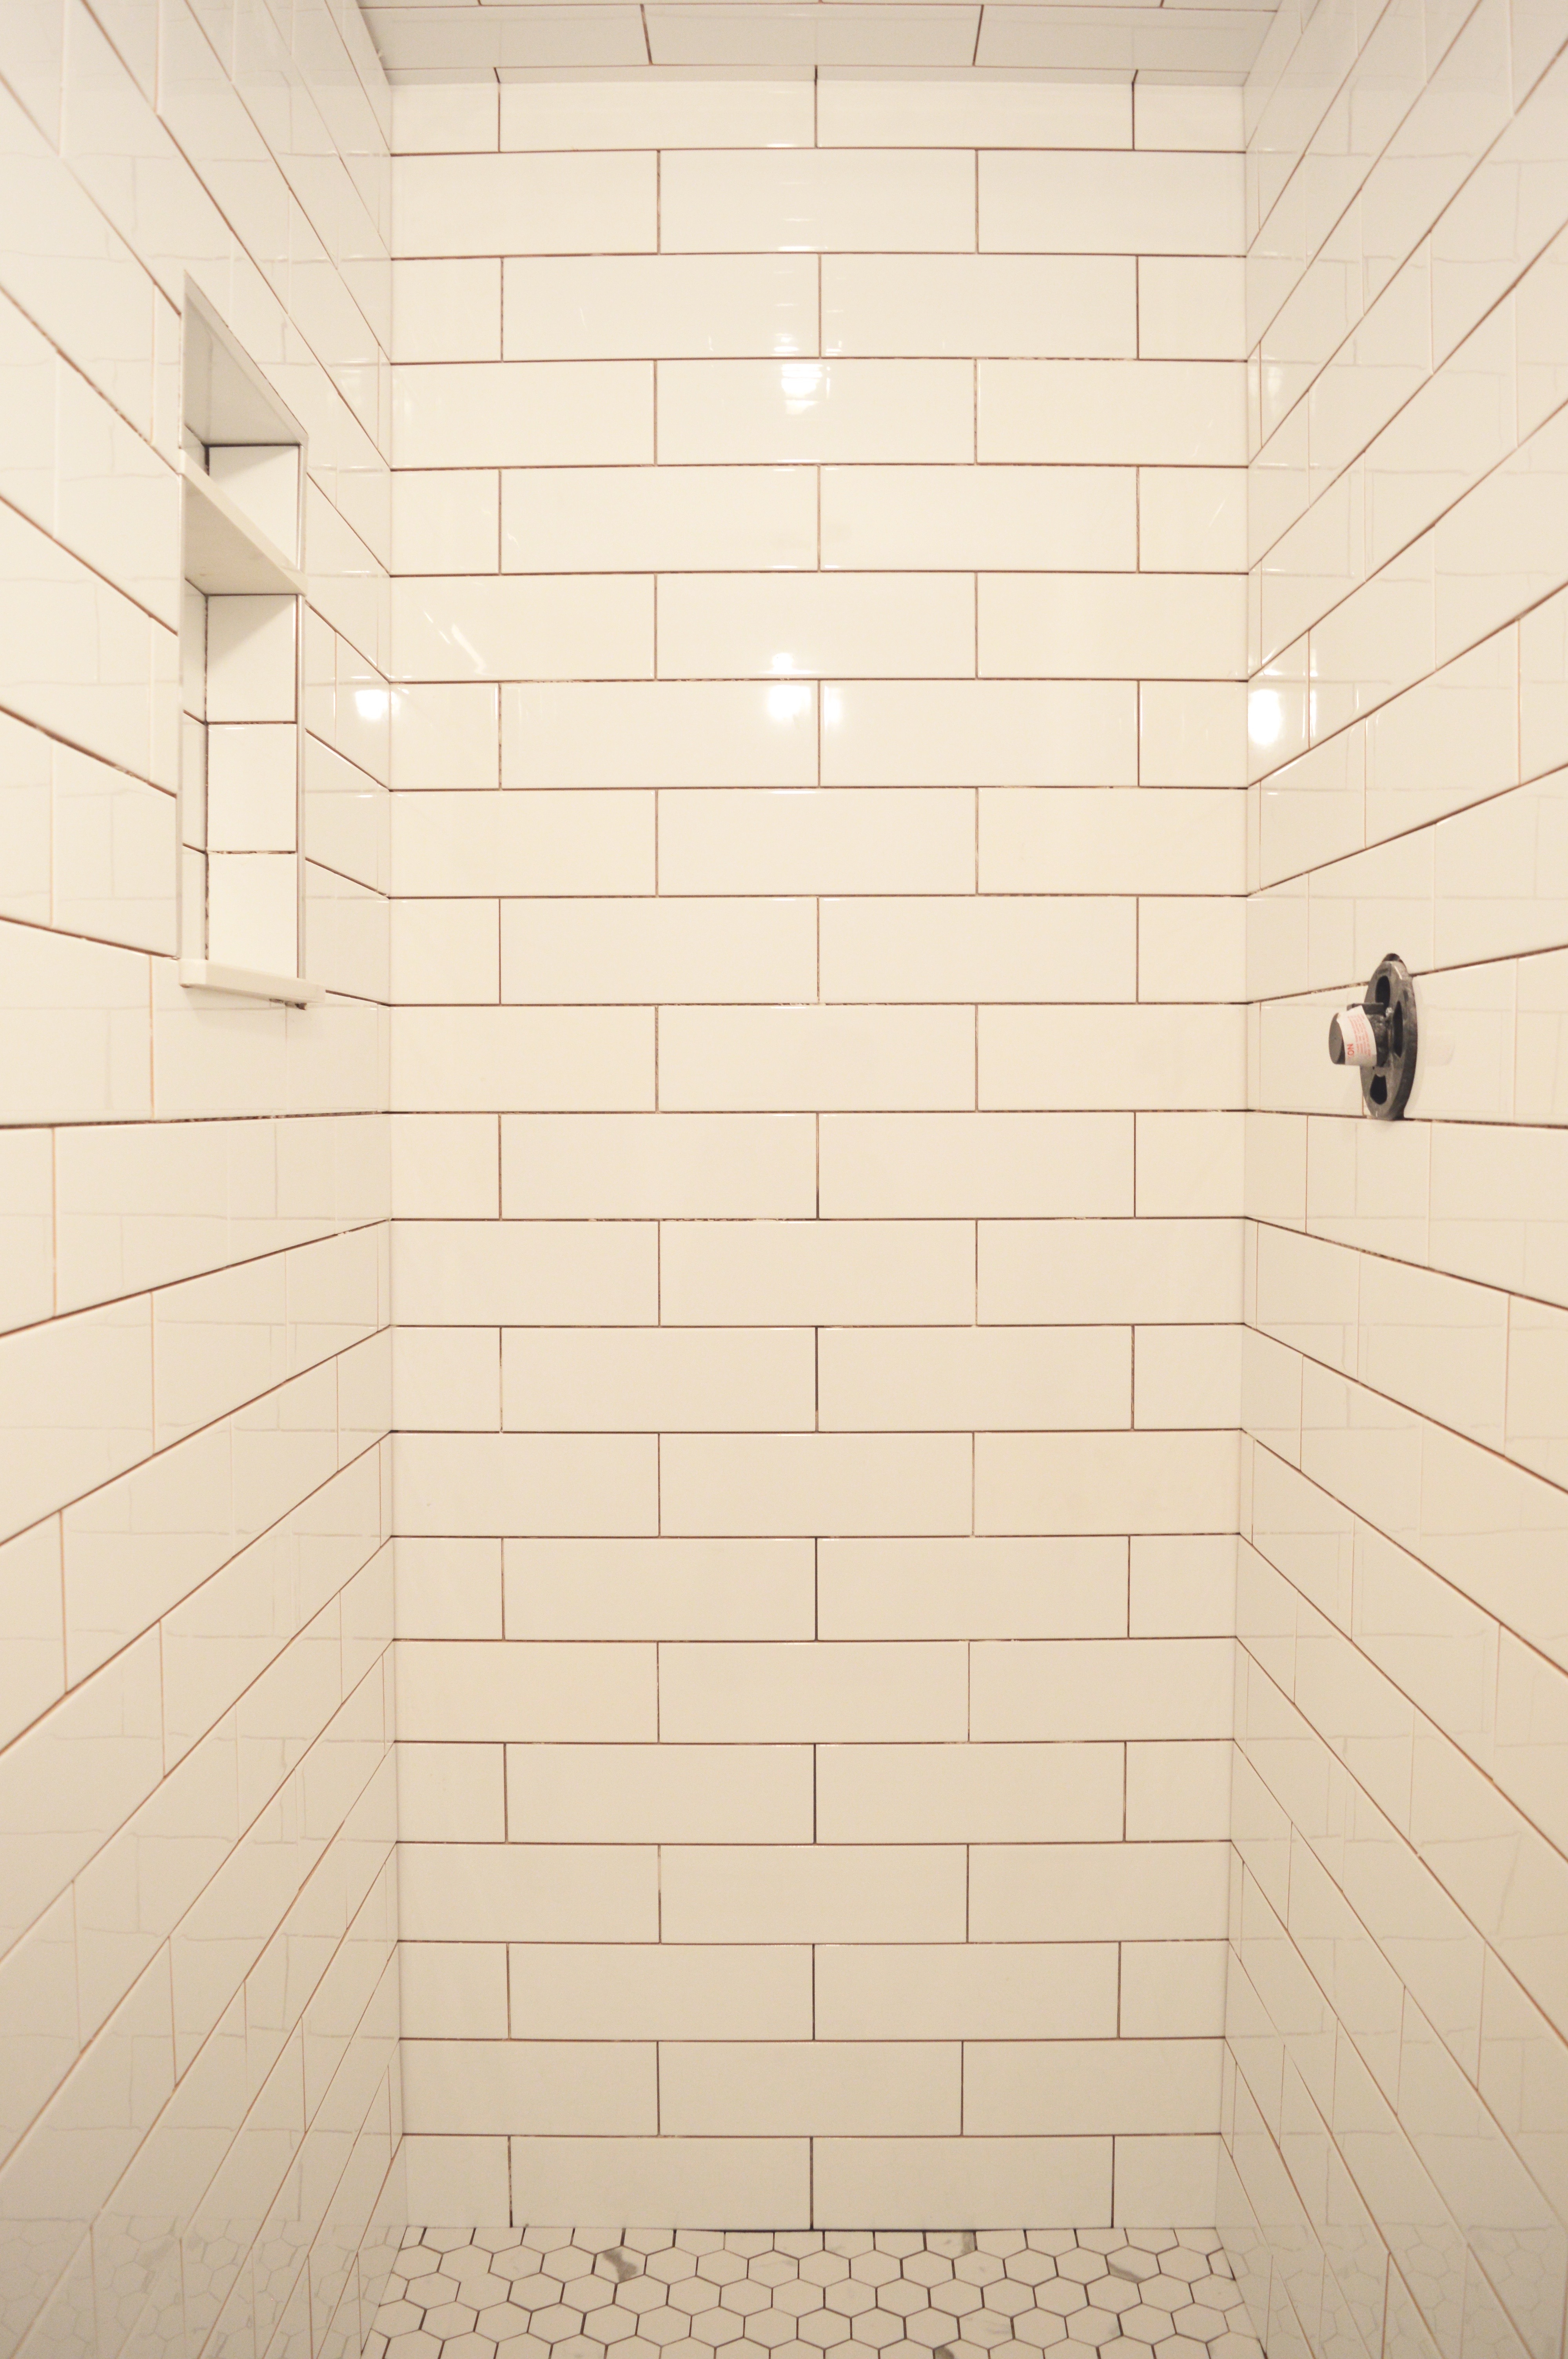
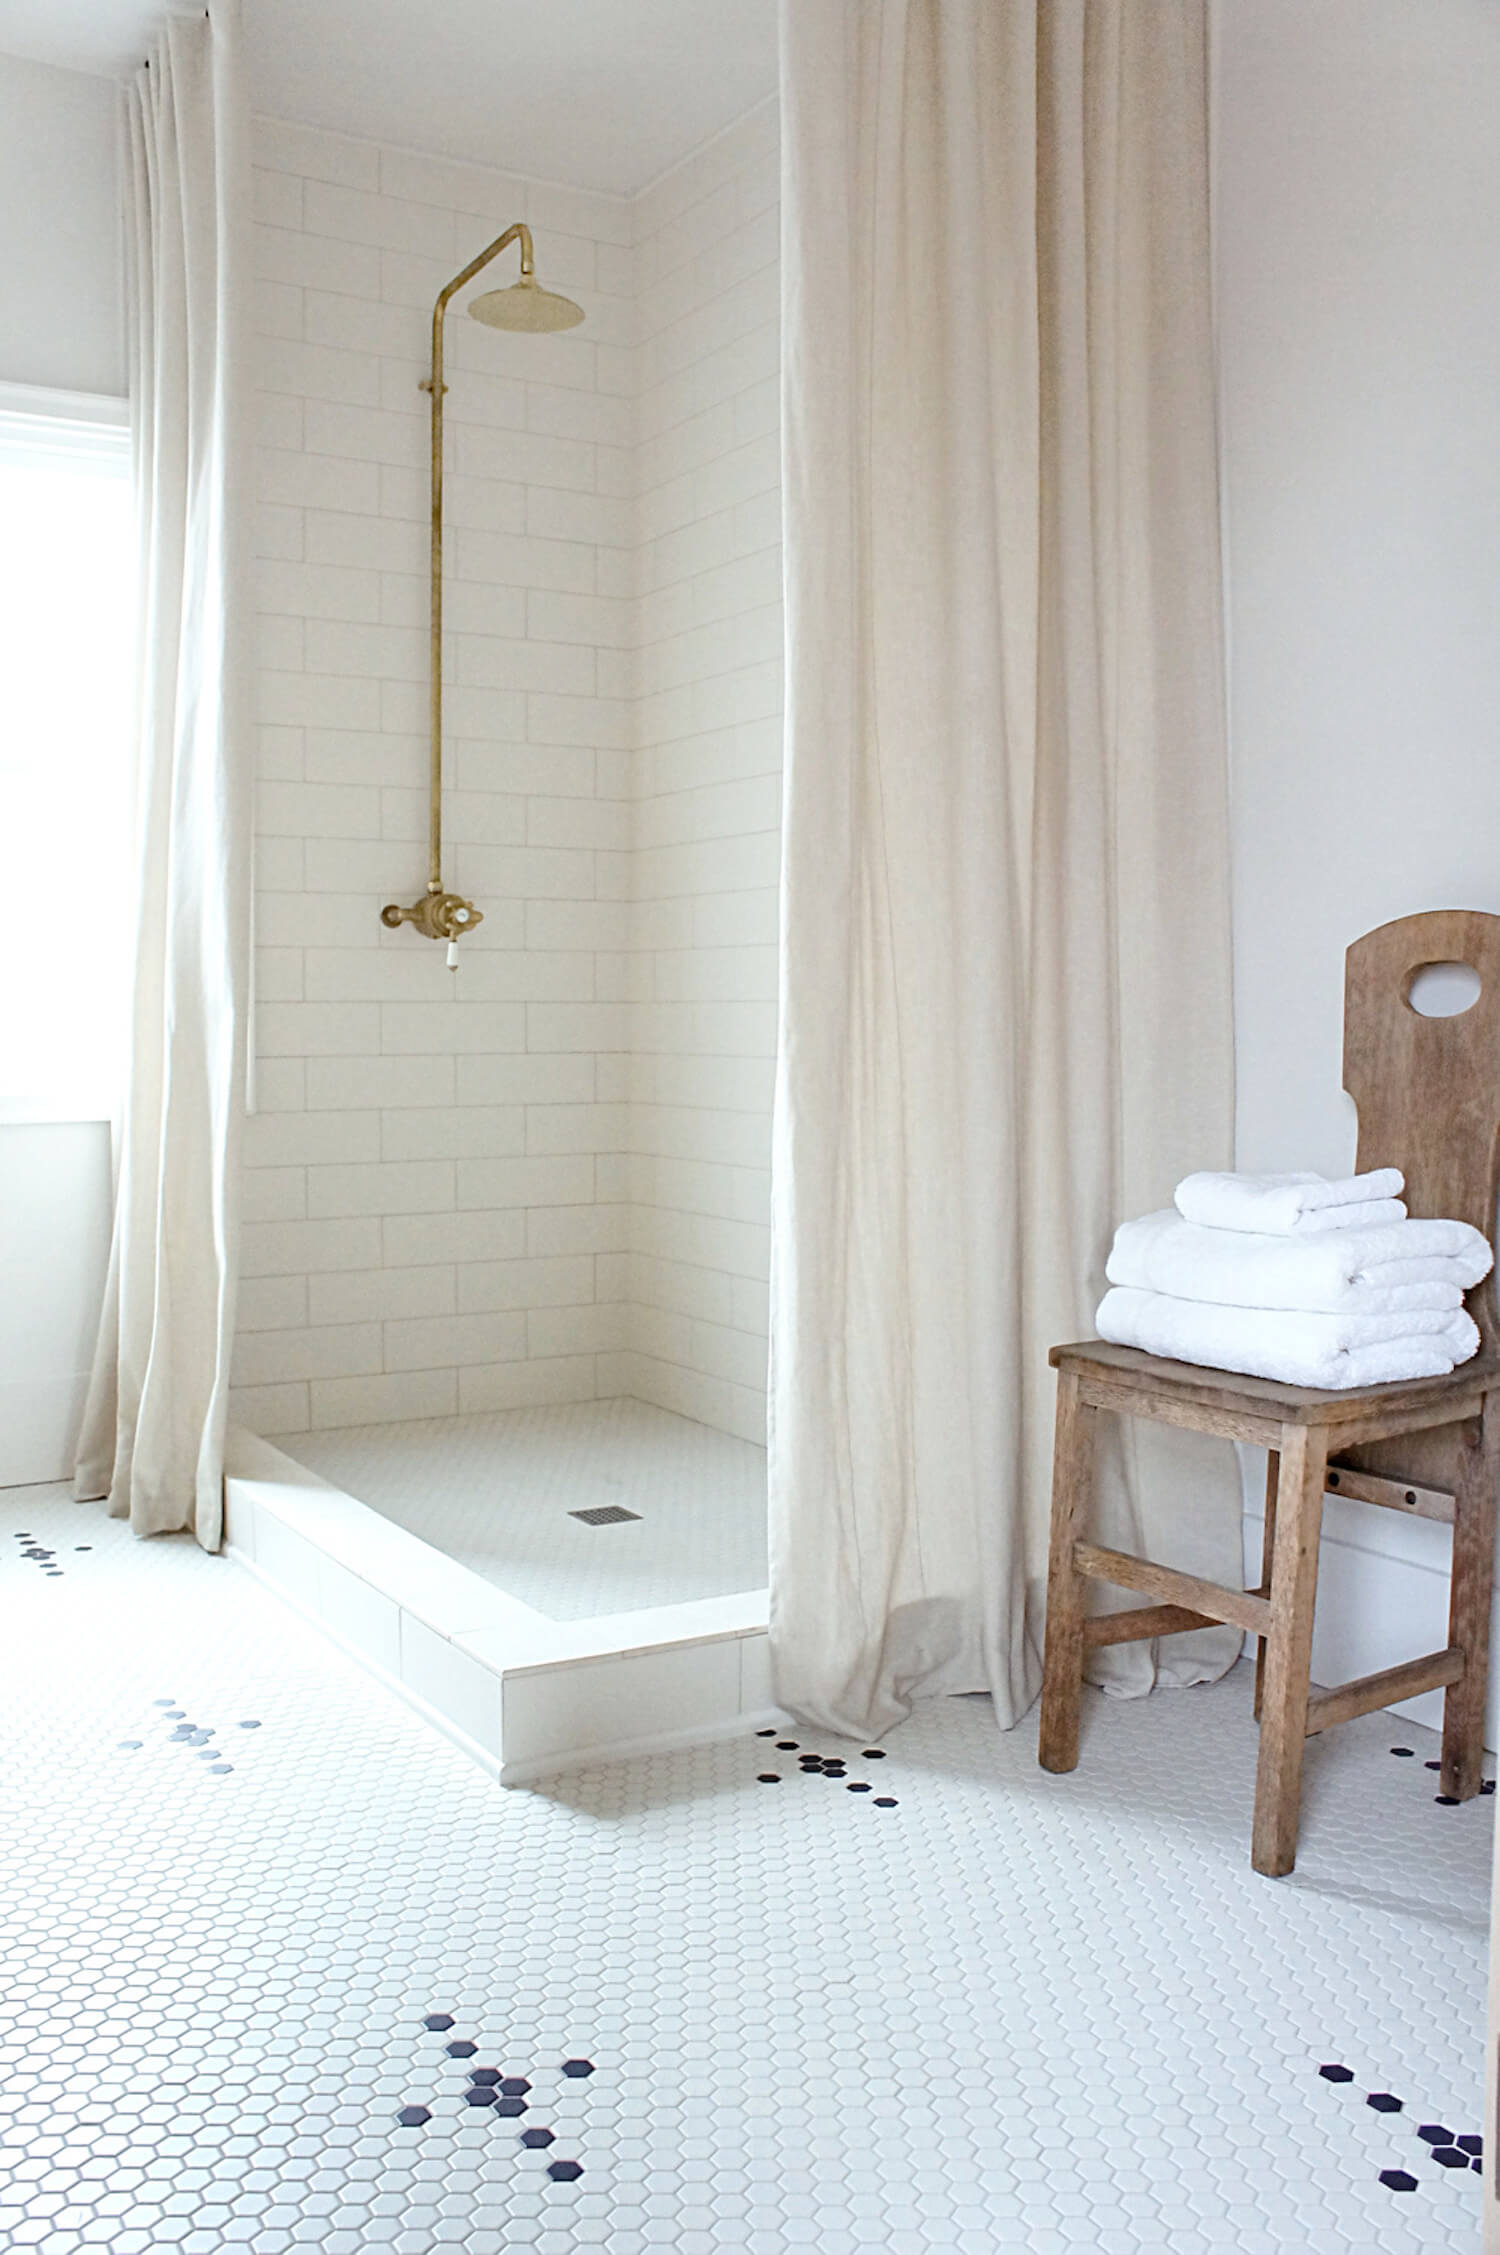
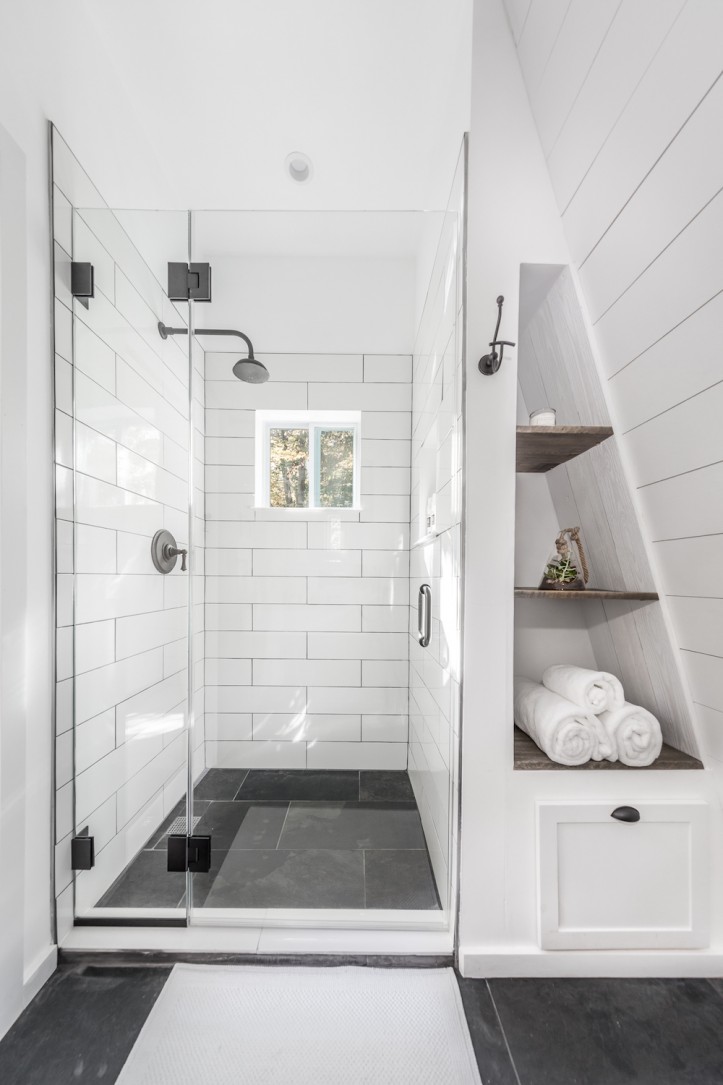
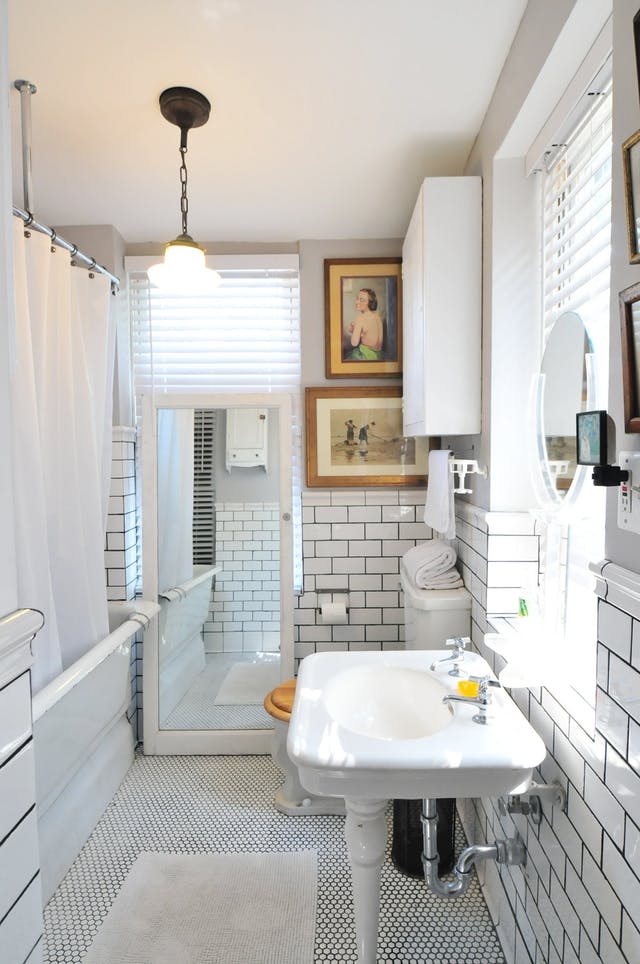
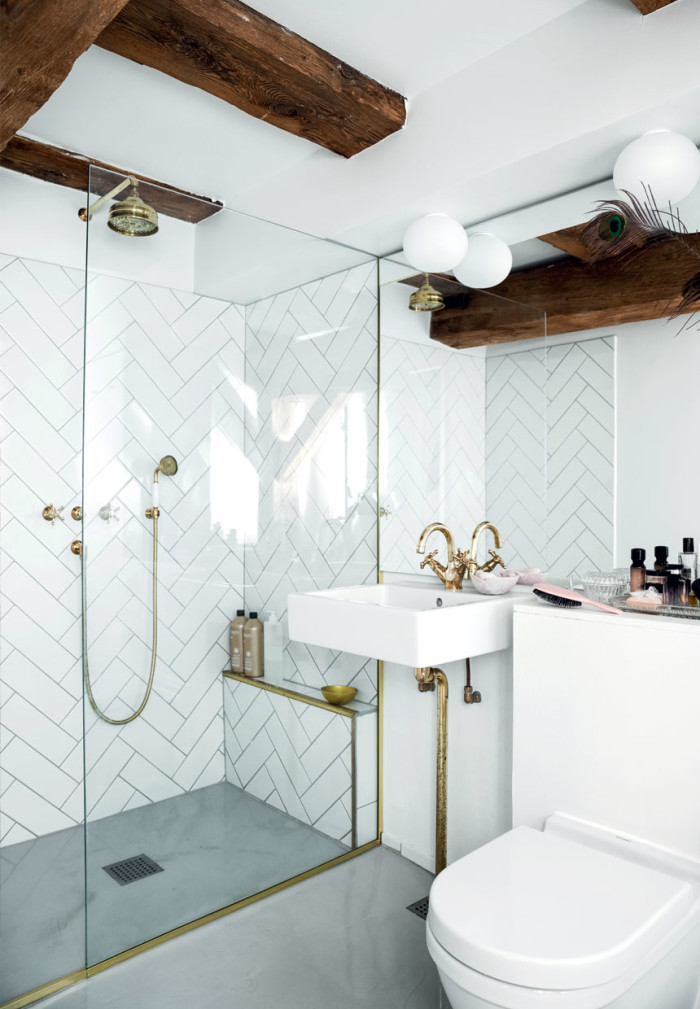
And on the left side of the room is this beautiful shower! Oh my goodness! What a treat to have a shower in this space. Small but mighty! That’s what I keep saying about this room, and that’s what I continue to believe. My team installed this basic 34″ x 34″ shower, and it’s going to be so convenient for me and my guests once the space is done. The flooring is a continuation of the 2″x2″ hex tile from the rest of the floor. It’s easier on the eyes. On the wall, I went with my fave – a subway tile. This tile is 4″ x 12″, and I’ve got pretty small grout lines. I’m really happy I opted for this larger version of the classic subway tile.
Did you notice how everything lines up so well? Sign of good tilers! They completed this job in just three days, and I was very pleased that this part of the project progressed so quickly.
I opted for grey grout everywhere, and things are looking sleek and clean…just how I like it! Isn’t it exciting to know that the full reveal will be in just two weeks? I can’t wait!
As per usual, I encourage you to check out what the One Room Challenge guest participants and featured designers have been up to during week 4.
If you’d like to see more of my ORC progress, see my week 1, week 2, and week 3 posts. Thanks to WarmUp for supplying my new floor heating system. All opinions are my own.