The Friday Five: More One Room Challenge Reveals

If you’ve been following along regularly, then you know that over a 6-week period, I shared the progress of my laundry/bathroom combo room makeover as part the the One Room Challenge event this spring. Last week, I shared five room reveals from the featured designers of the One Room Challenge. Today, I bring you five more gorgeous spaces, but this time, from the guest participants of the event..

Here’s a sneak peek at 5 rooms from the guest participants…

Deuce Cities Henhouse

Room for Tuesday

Crate and Cottage

Hilltown House

Petal & Ply

And one more for good luck:

The Grit & Polish

And just a few more:

Decor Happy’s teen girl’s bathroom
The Posh Home’s modern living room
A House in the Wood’s shared girls’ bedroom
Wonderfully Made’s laundry room
Cait Waite’s bedroom
Deeply Southern Home’s library
Home Glow Design’s she-shed
Hartley Home’s laundry room
Jessica Devlin’s living room
My Pinecone Home’s guest bedroom

Have a great long weekend, everyone! See you back here on Tuesday!

p.s. In Royal Wedding news – this cake recipe!

The Friday Five: One Room Challenge Reveals

It’s been all One Room Challenge around the design blogosphere over the last six weeks, and the featured designers and guest participants shared all their after photos on Wednesday and Thursday this week. This means that we have a lot of reading to catch up on this weekend! Hooray!

To get us started, here’s a peek into five beautiful spaces from the featured designers. Next week, I’ll share some of my favourite spaces designed by the guest participants.

backyard oasis – Jojotastic

basement – Coco & Jack

master bedroom – Rambling Renovators

living room – Natasha Habermann

office – Bisou Style

Have a great weekend, everyone! Happy Mother’s Day!

One Room Challenge: Laundry Room – Week 6 Reveal

Today’s the day! It’s the One Room Challenge final reveal day!

So, without even a moment more of pause, let me welcome you in to my new laundry/bathroom combo room!

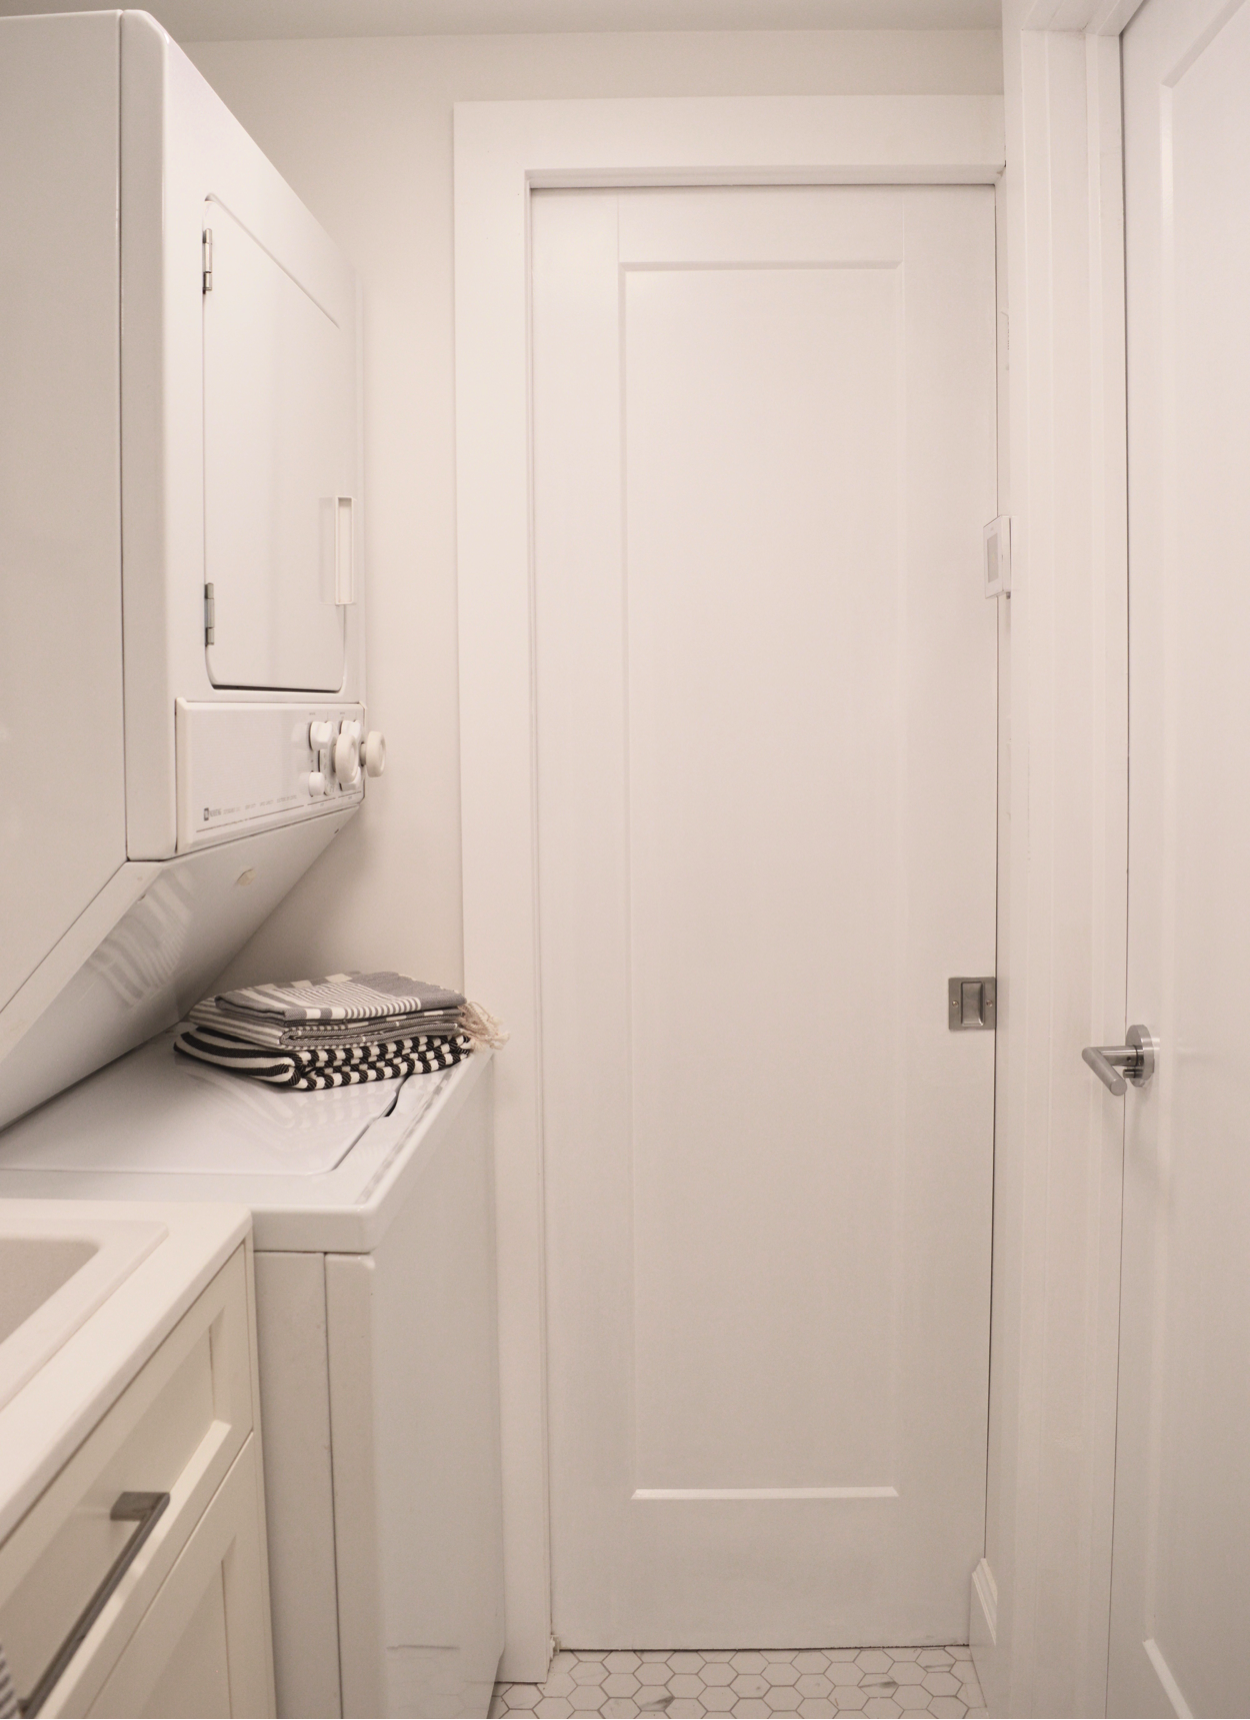
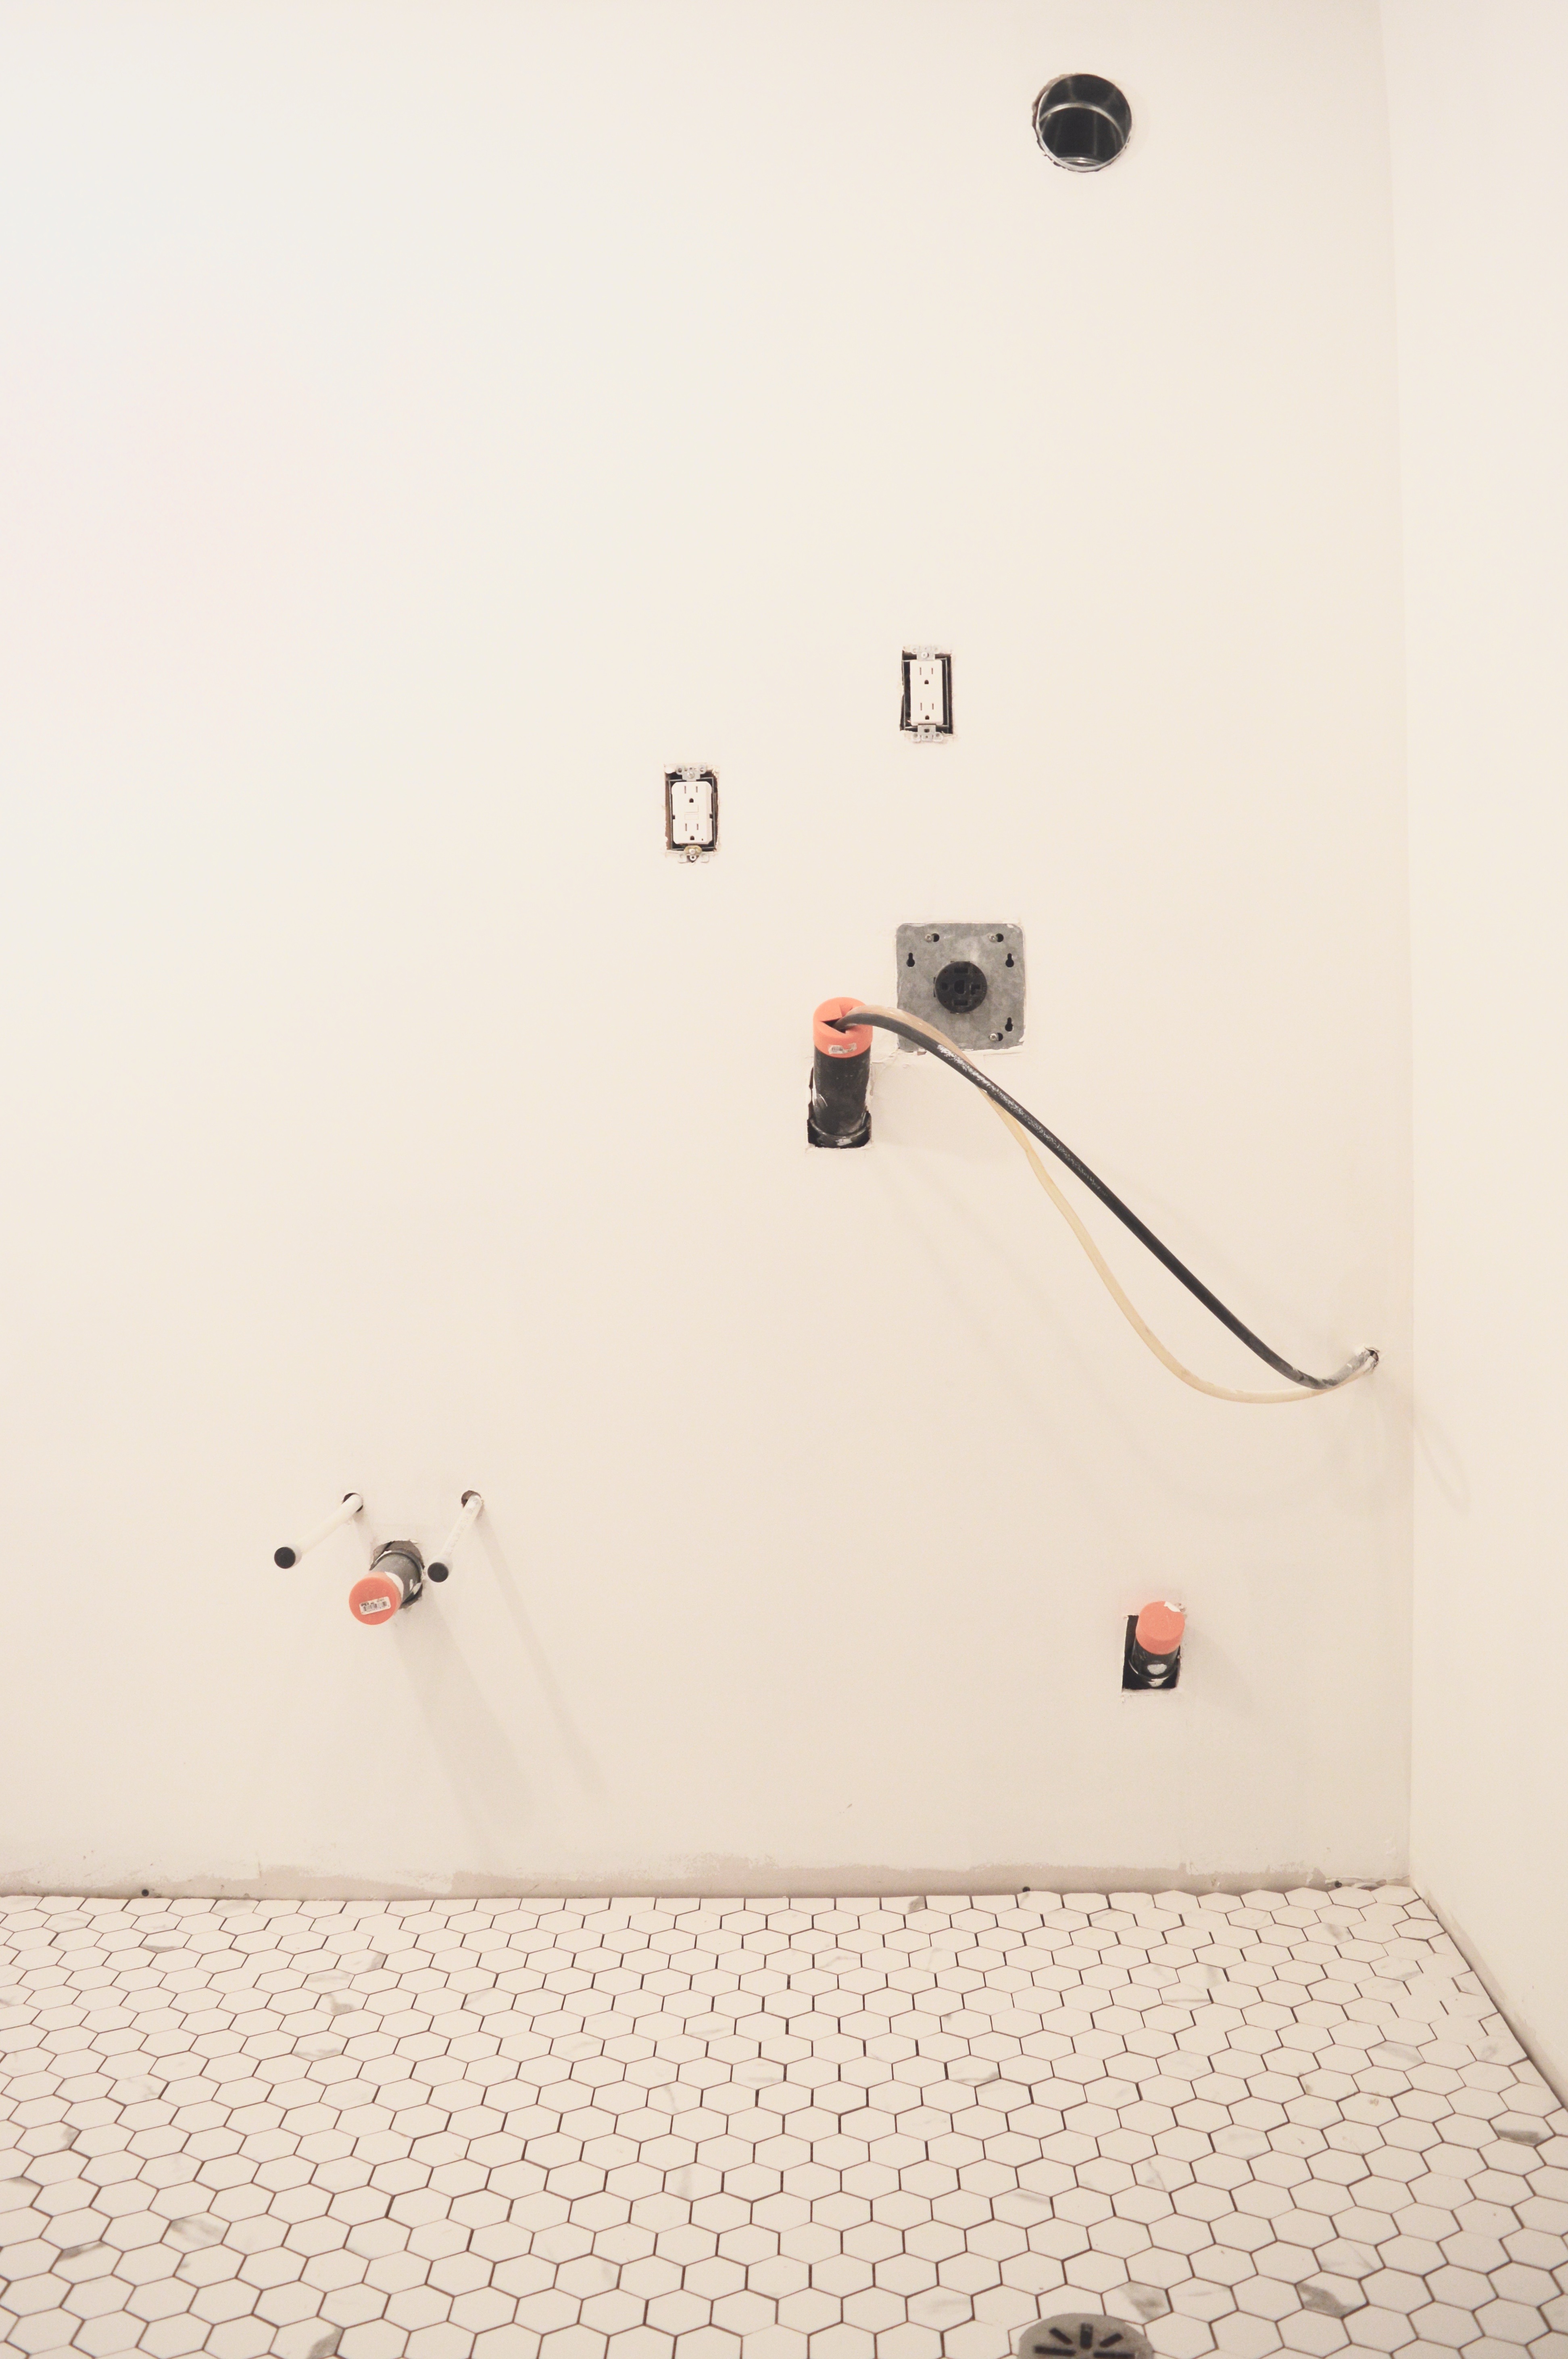
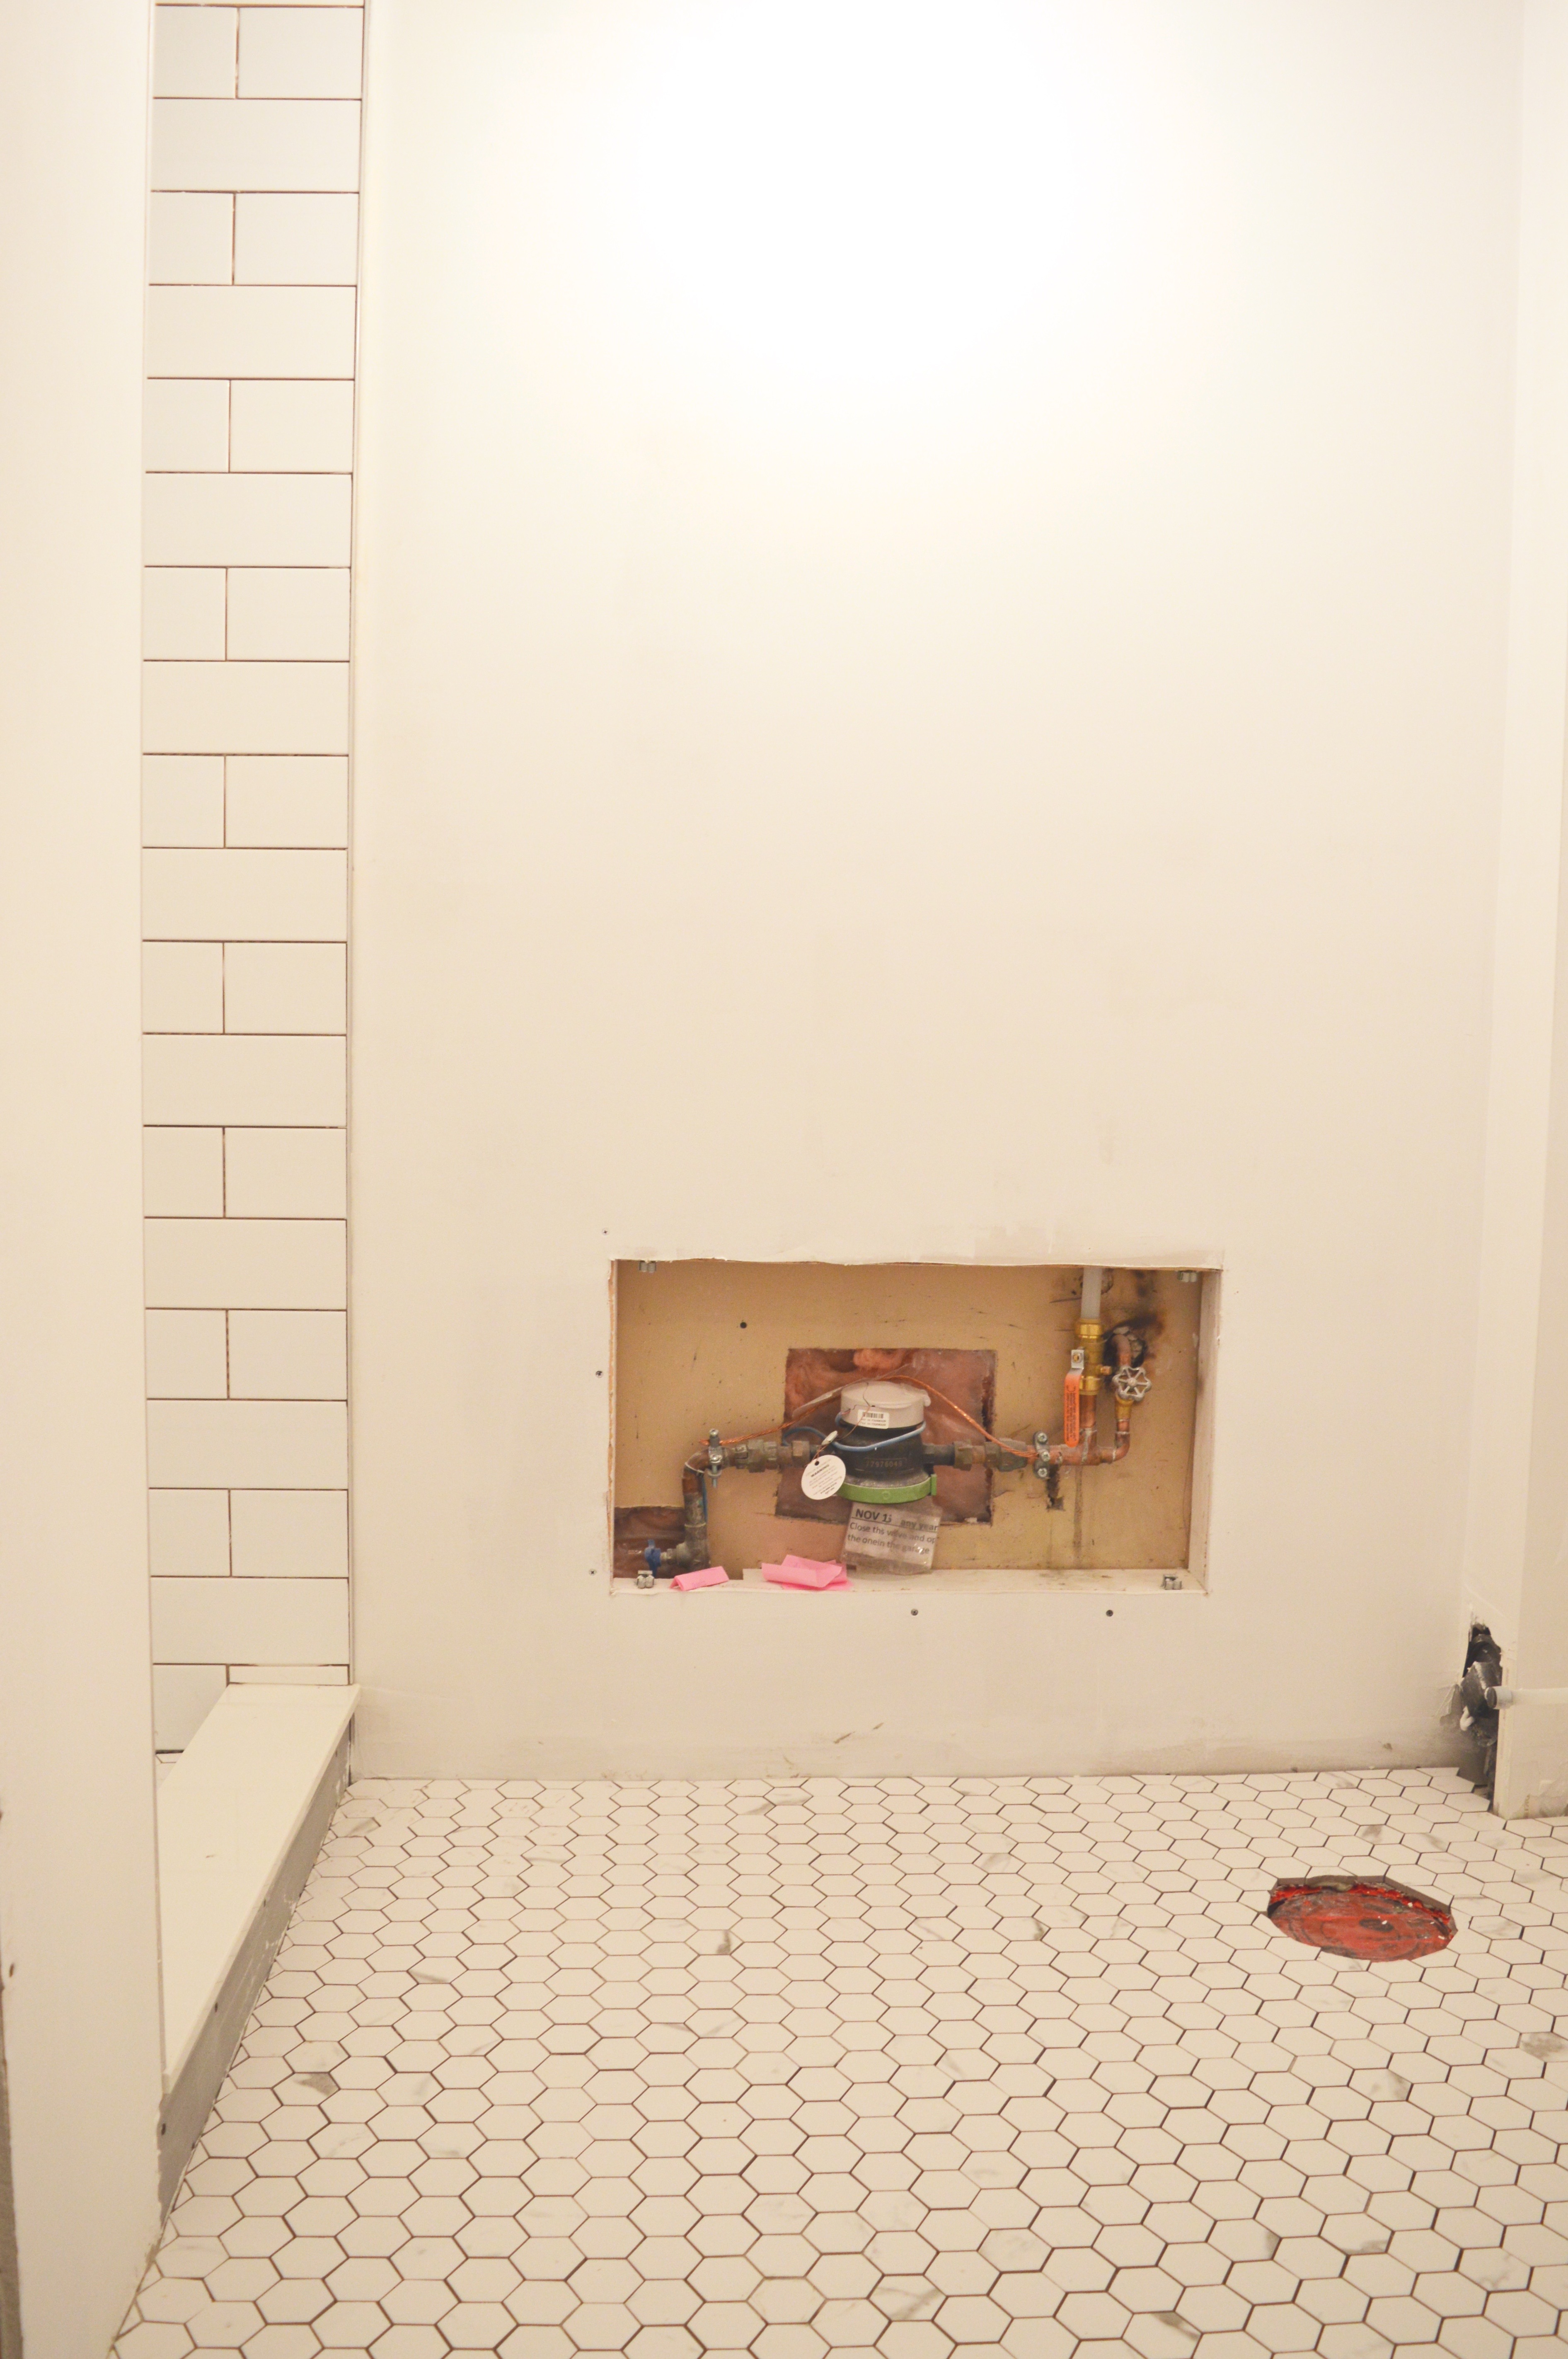
And before I share more photos, let’s have a look at the before photos of the space. (Note: You can see more photos in this Week 1 post.)

I’m so excited to share these after photos with you. The last six weeks have been full of mess, clean-up, shopping, and styling. I’m beyond thrilled with the end result, and I am so grateful for the team of experts who helped me transform this space. I now have a bright  space for laundry days, and my guests have a beautiful white bathroom to enjoy while they visit.

As I showed you over the last six weeks, we completely gutted this space. No surface was left untouched, and nothing from the original room remained. Everything is new – from plumbing to studs to tiles to accessories. This space needed an overhaul, and that’s exactly what it got!

I’ve always called this space small but mighty. I demand a lot from this space in terms of functionality, and the changes my construction team and I made have definitely improved every aspect of the space. It’s a combo room – laundry plus bathroom – so it’s really going to be put to work!

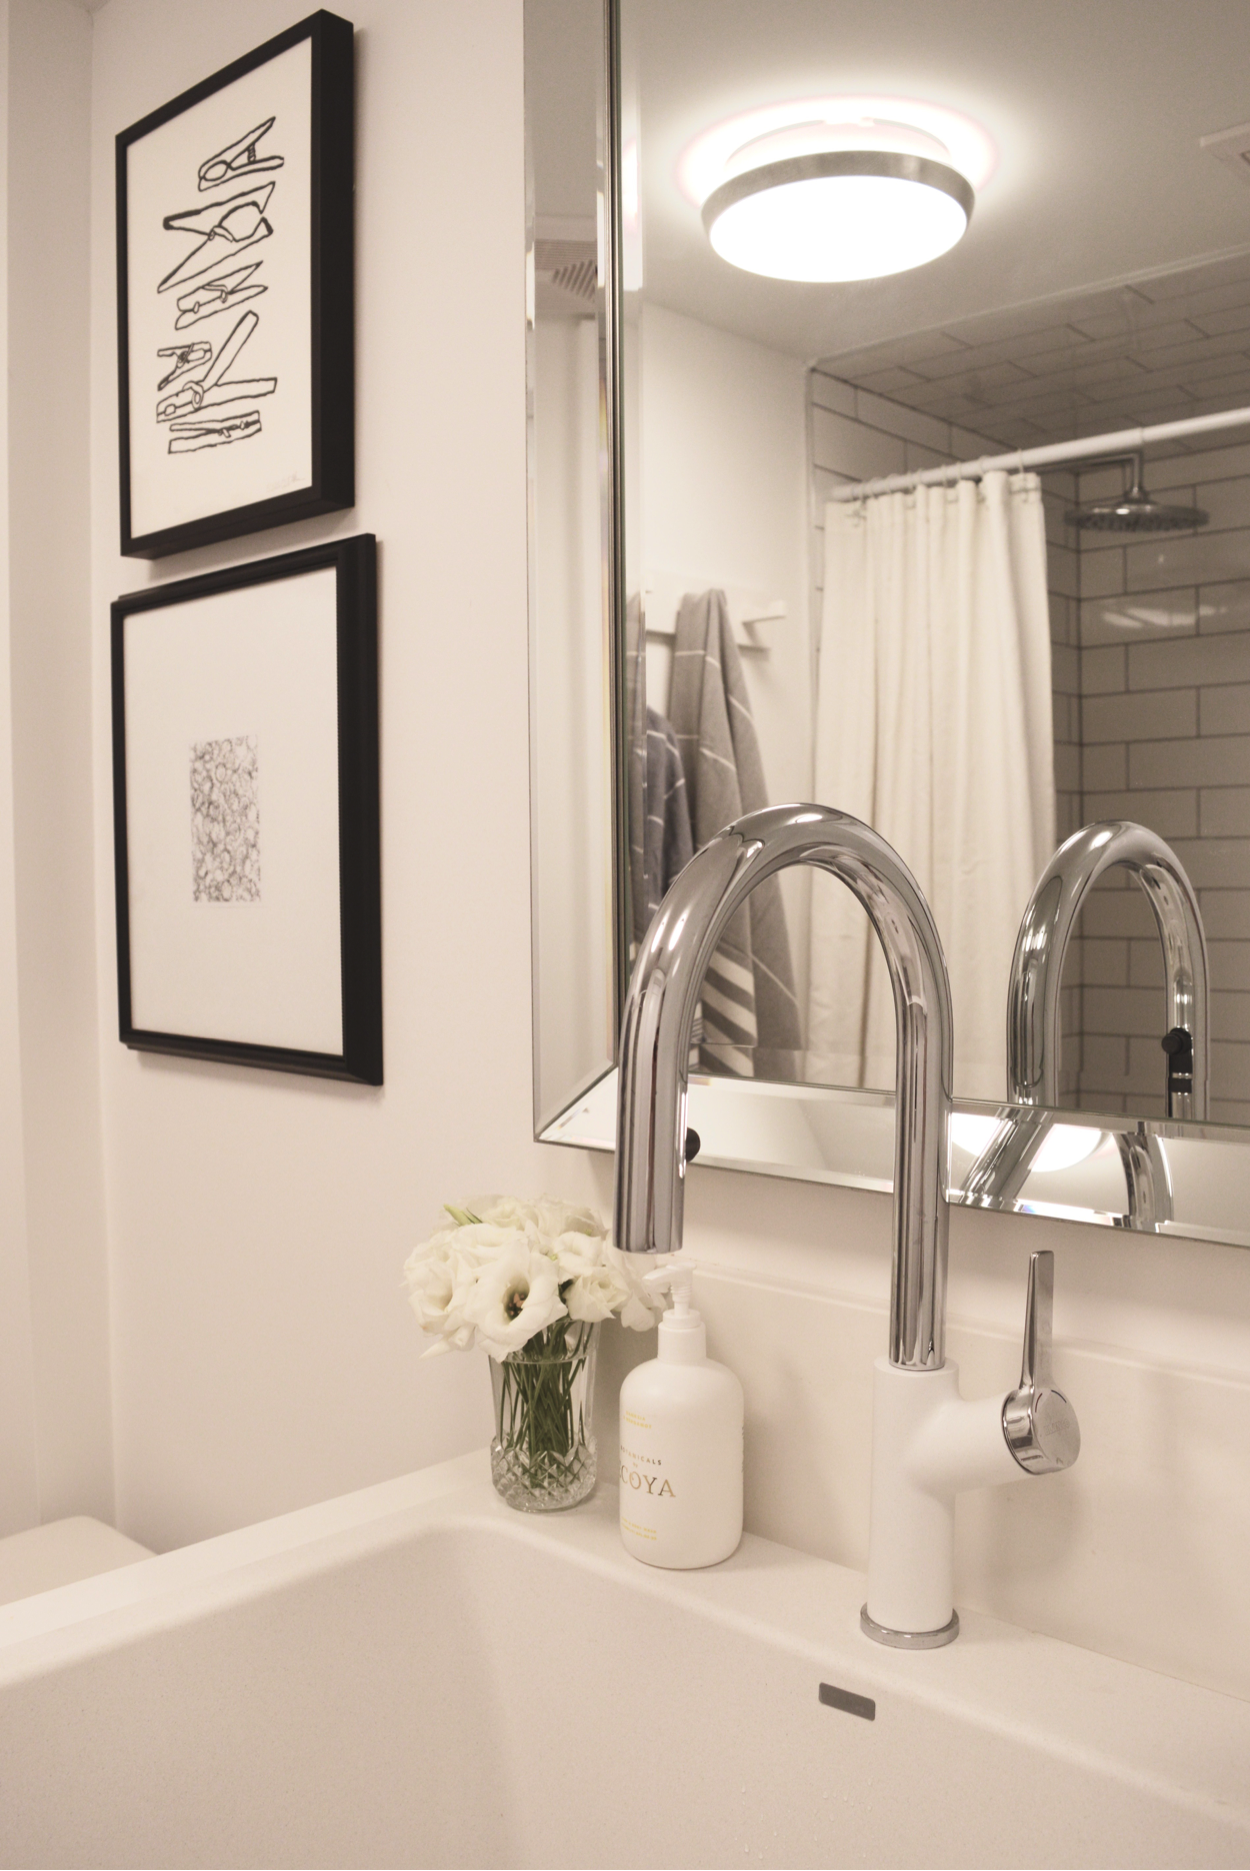
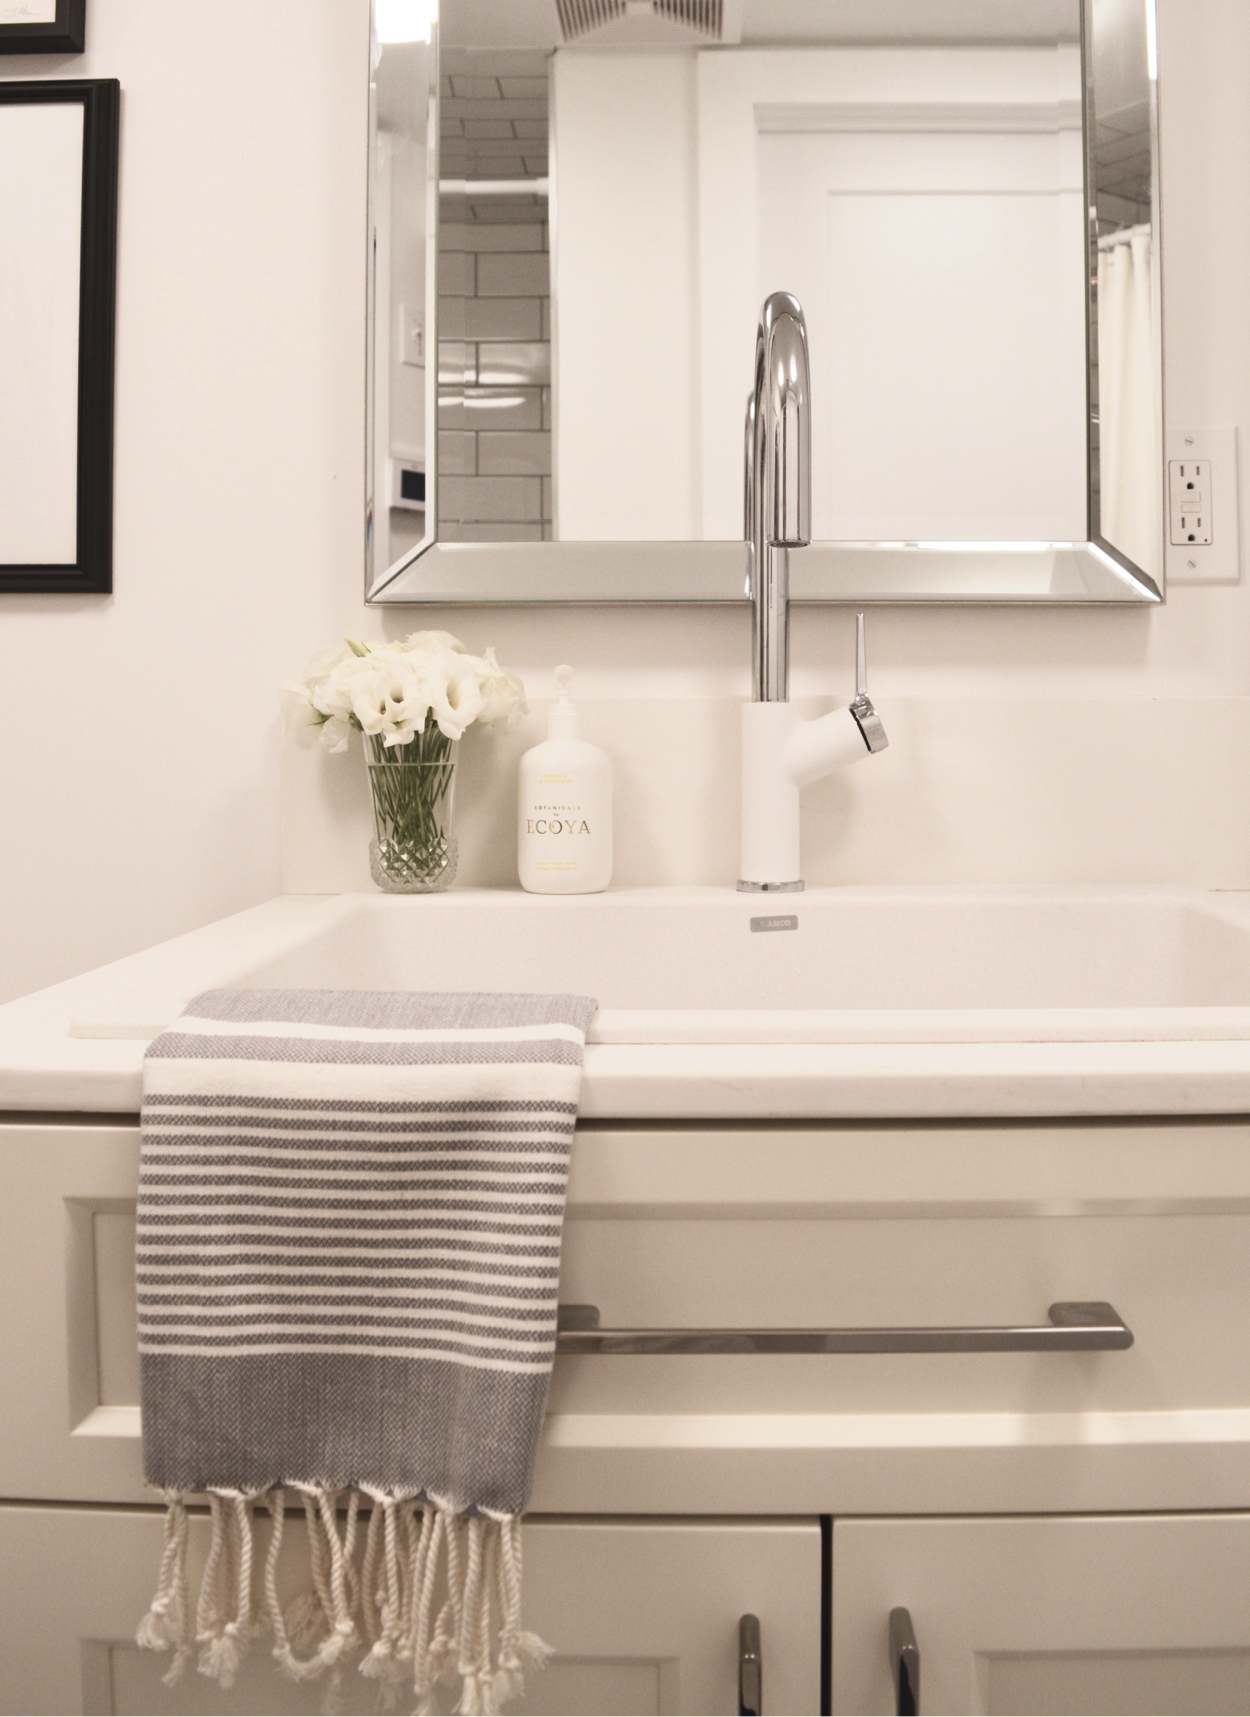
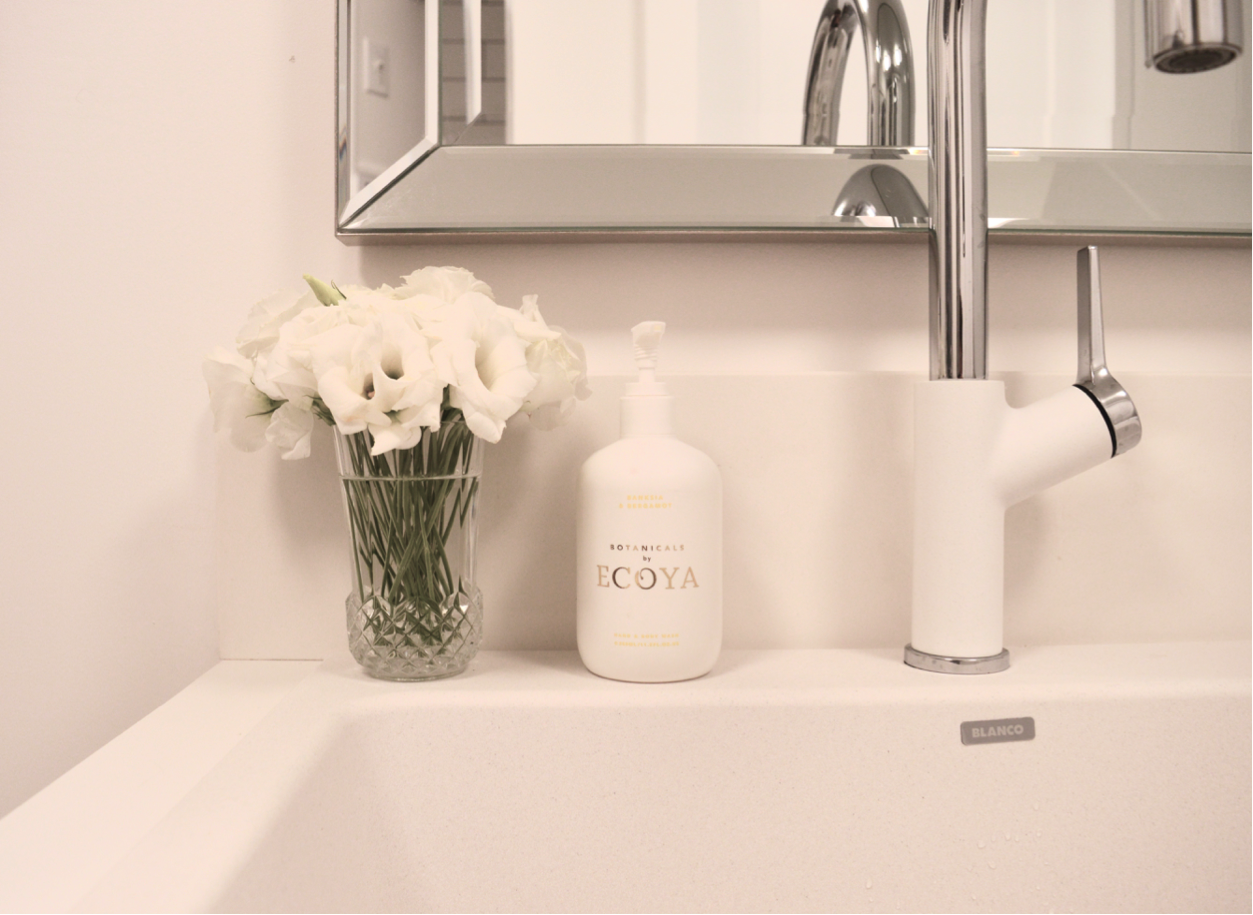
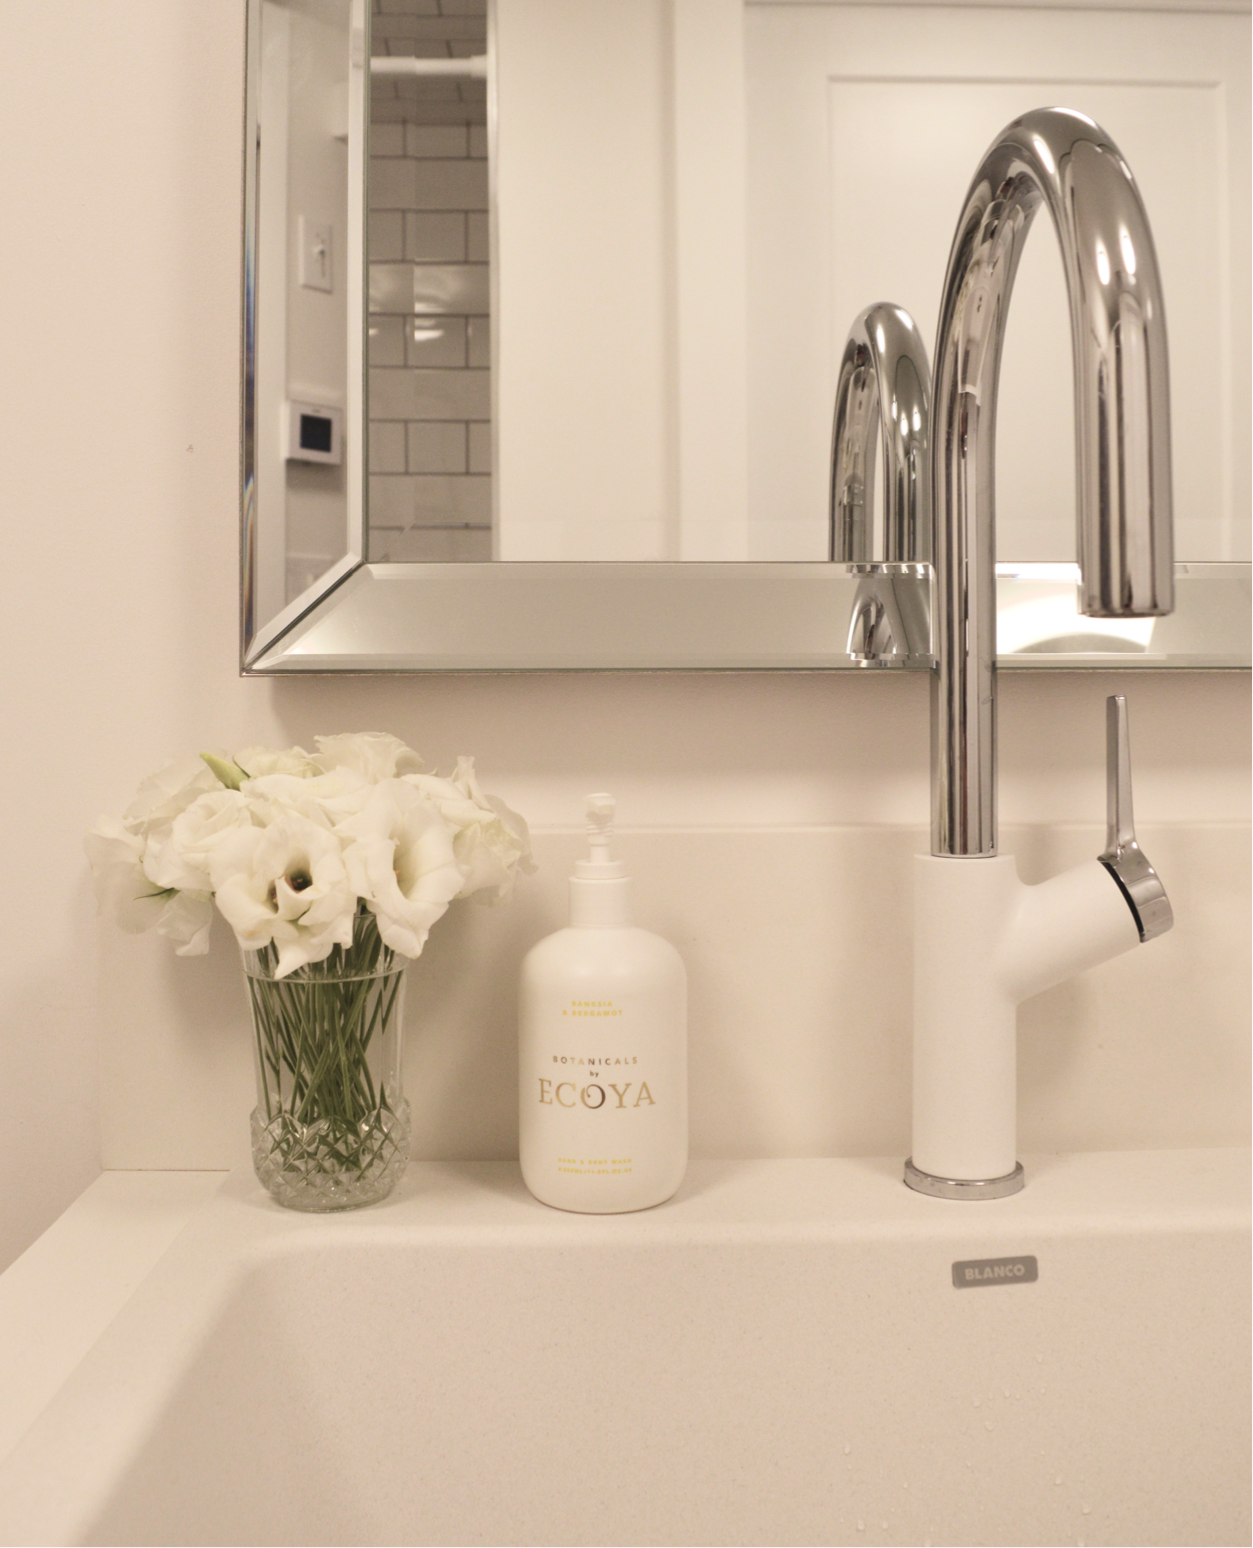
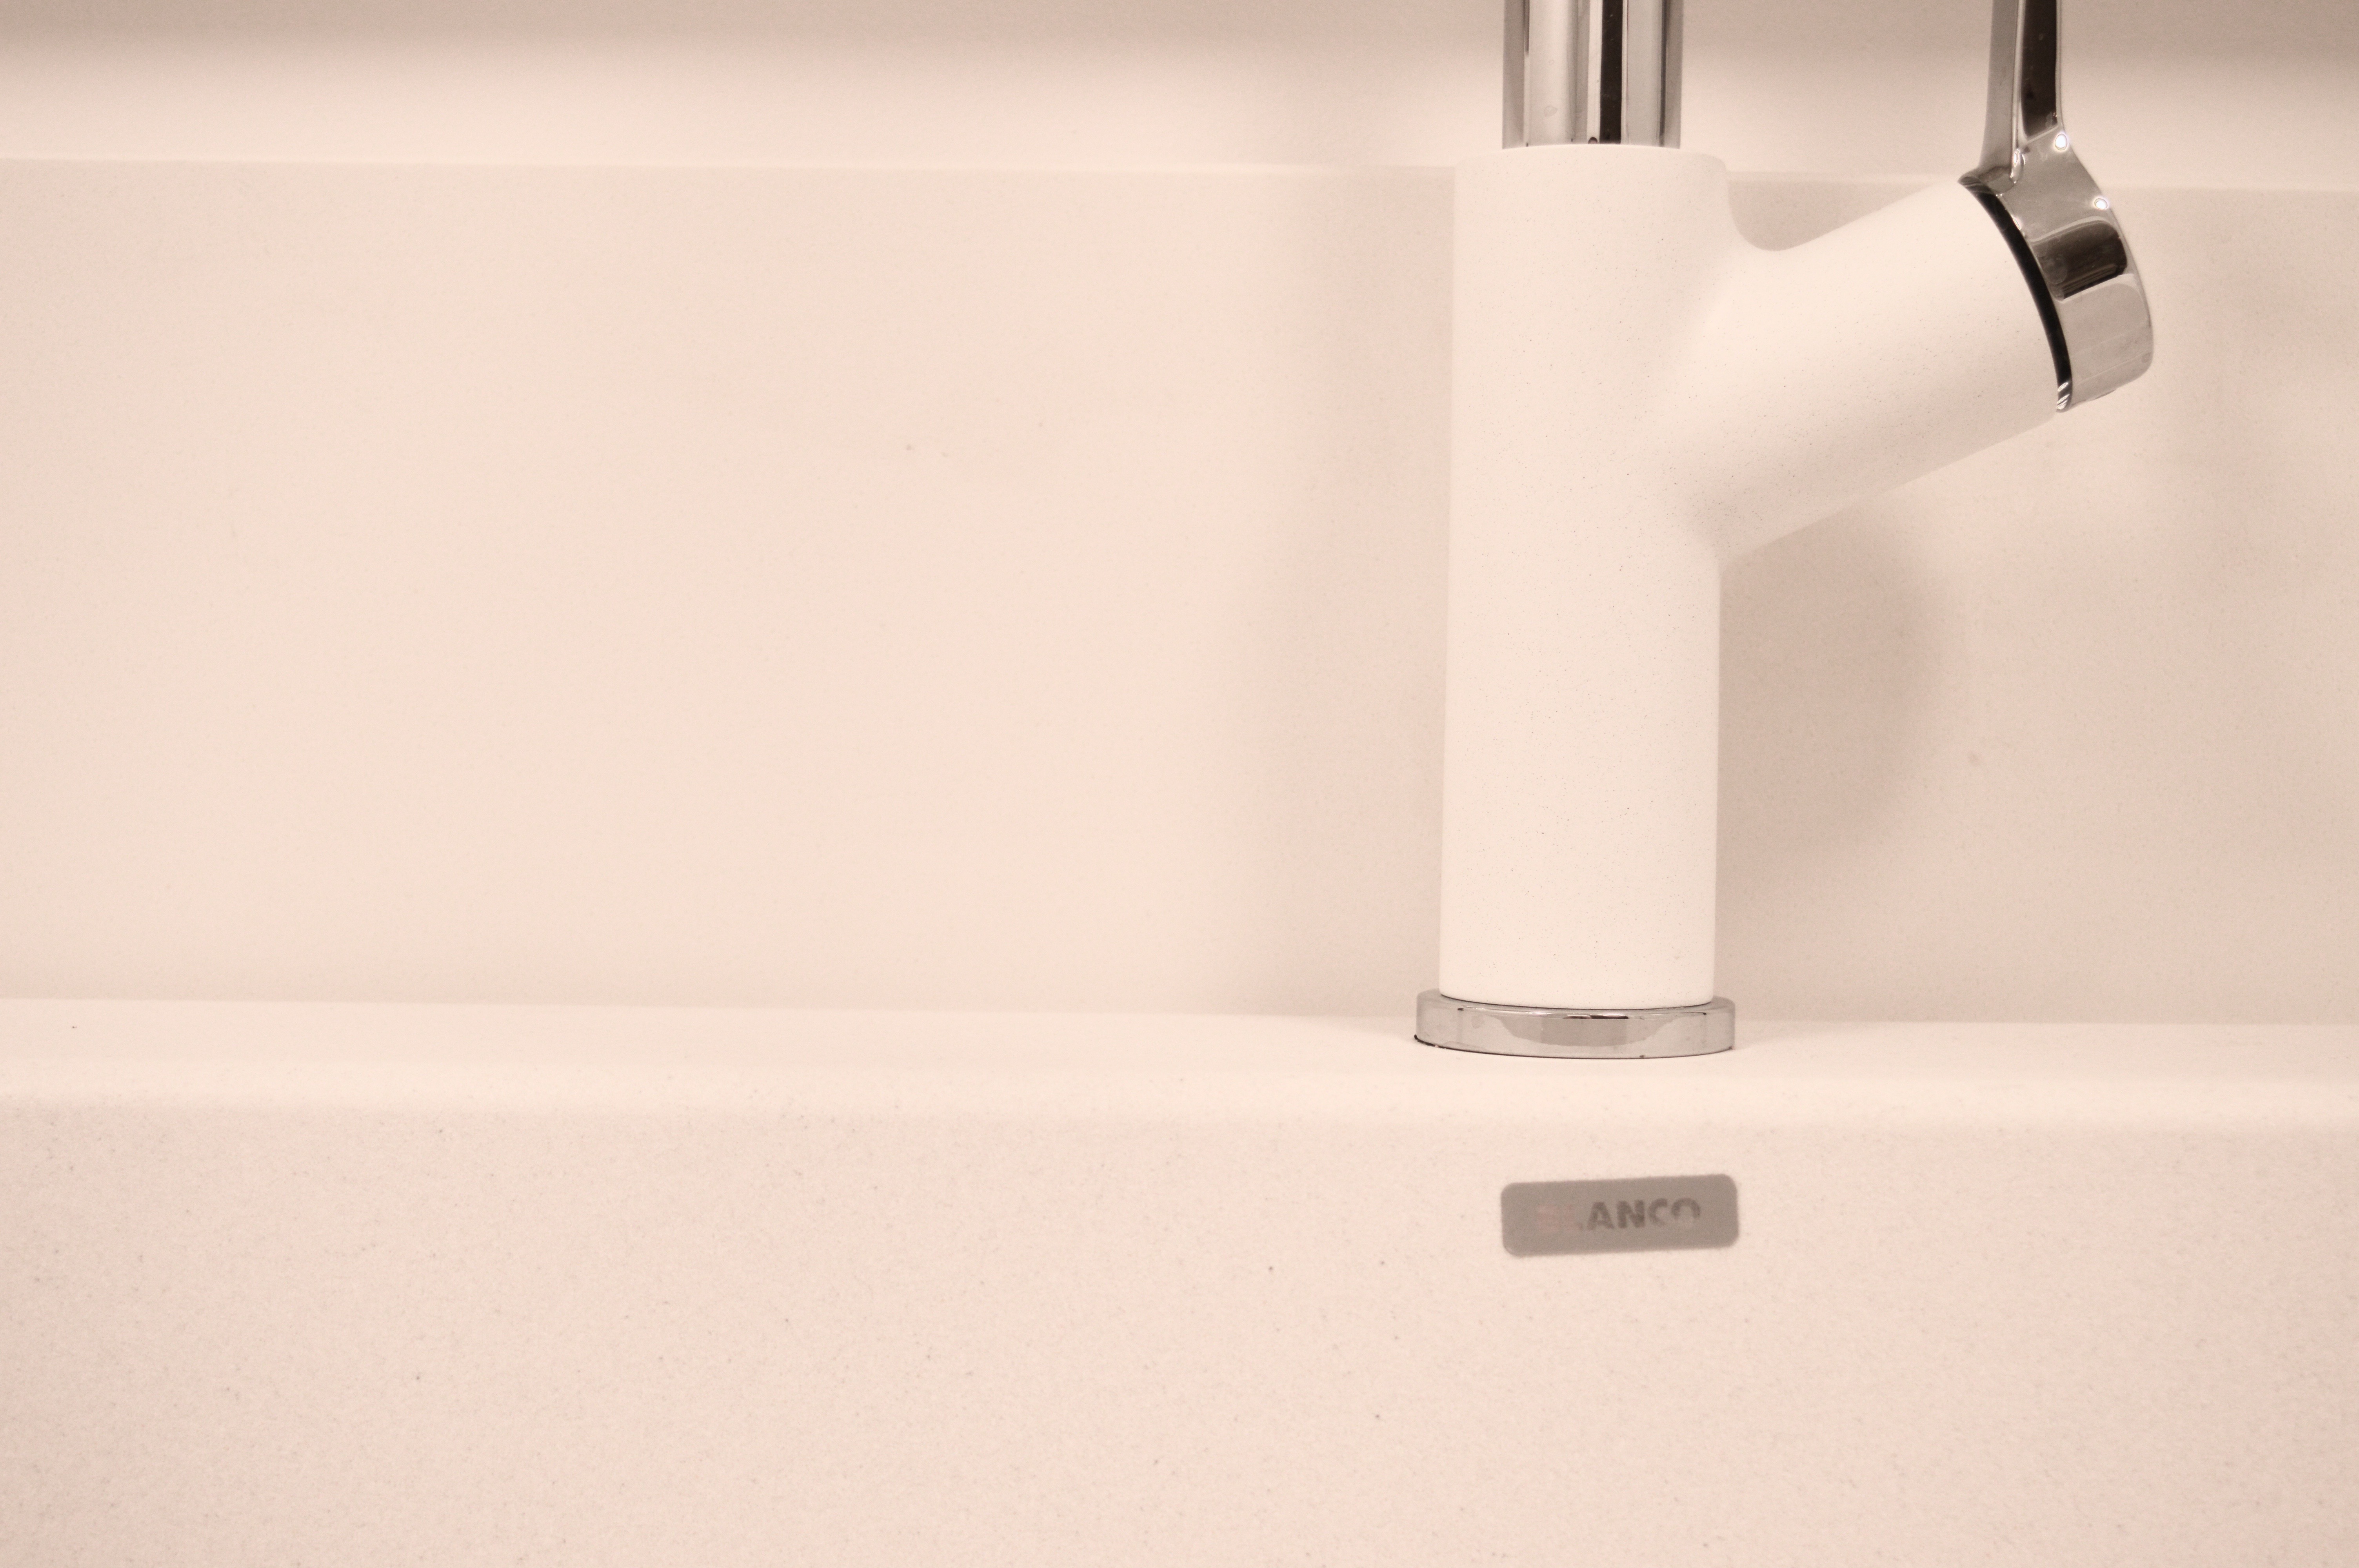
I am absolutely loving having a large laundry sink. After five years with a bathroom vanity sink, this change is a big one. I was lucky to work with Blanco on this project, and the company generously provided me with the durable Liven laundry sink. The Silgranit material is supposed to be “exceptionally resistant to heat, scratches, and impact,” which is exactly what I need.

To match the sink, I opted for the Blanco Urbena faucet. When the box arrived way back in the fall, I took the faucet out immediately, and was so impressed with its strength and substance. Now in place, this piece looks even more beautiful (and it’s even better in person). The pull-down faucet function is going to be great as I start making a mess in this space with indoor gardening projects, hand-washing delicate clothing, and more.

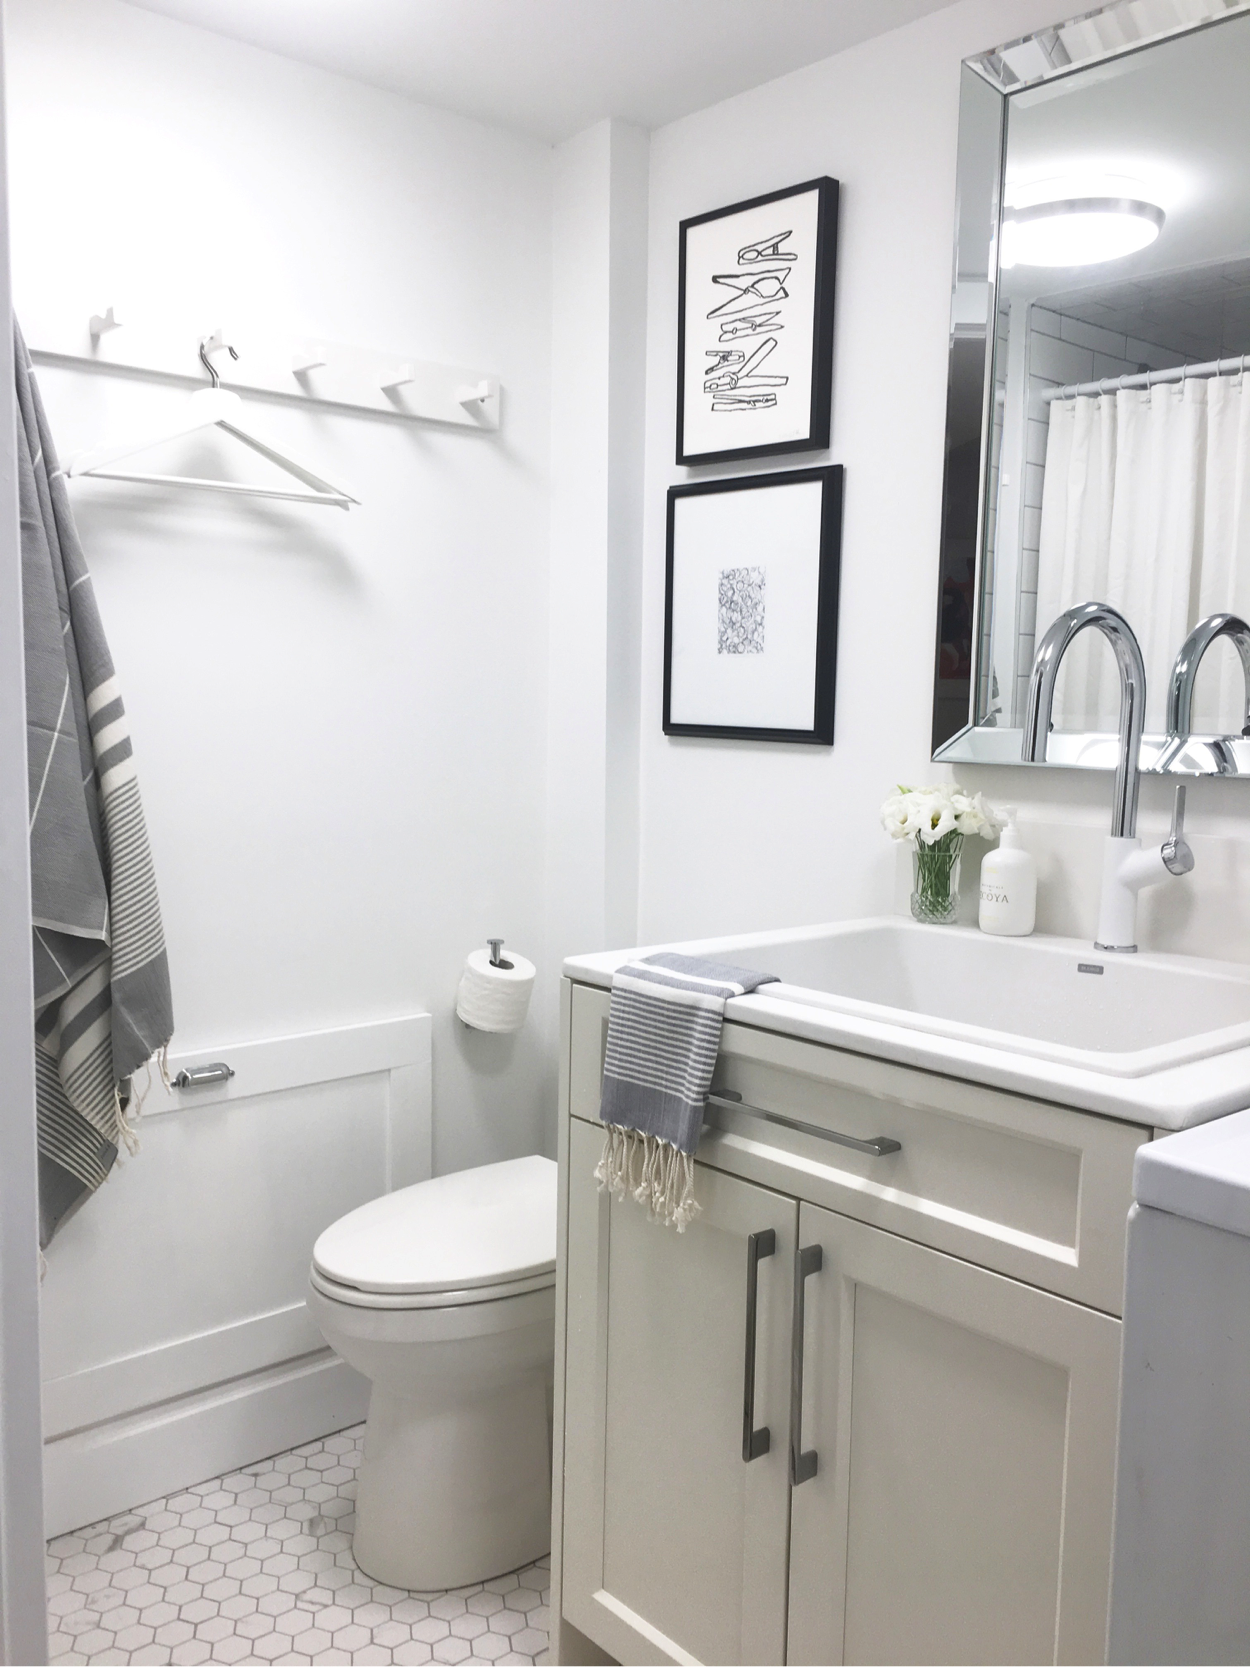
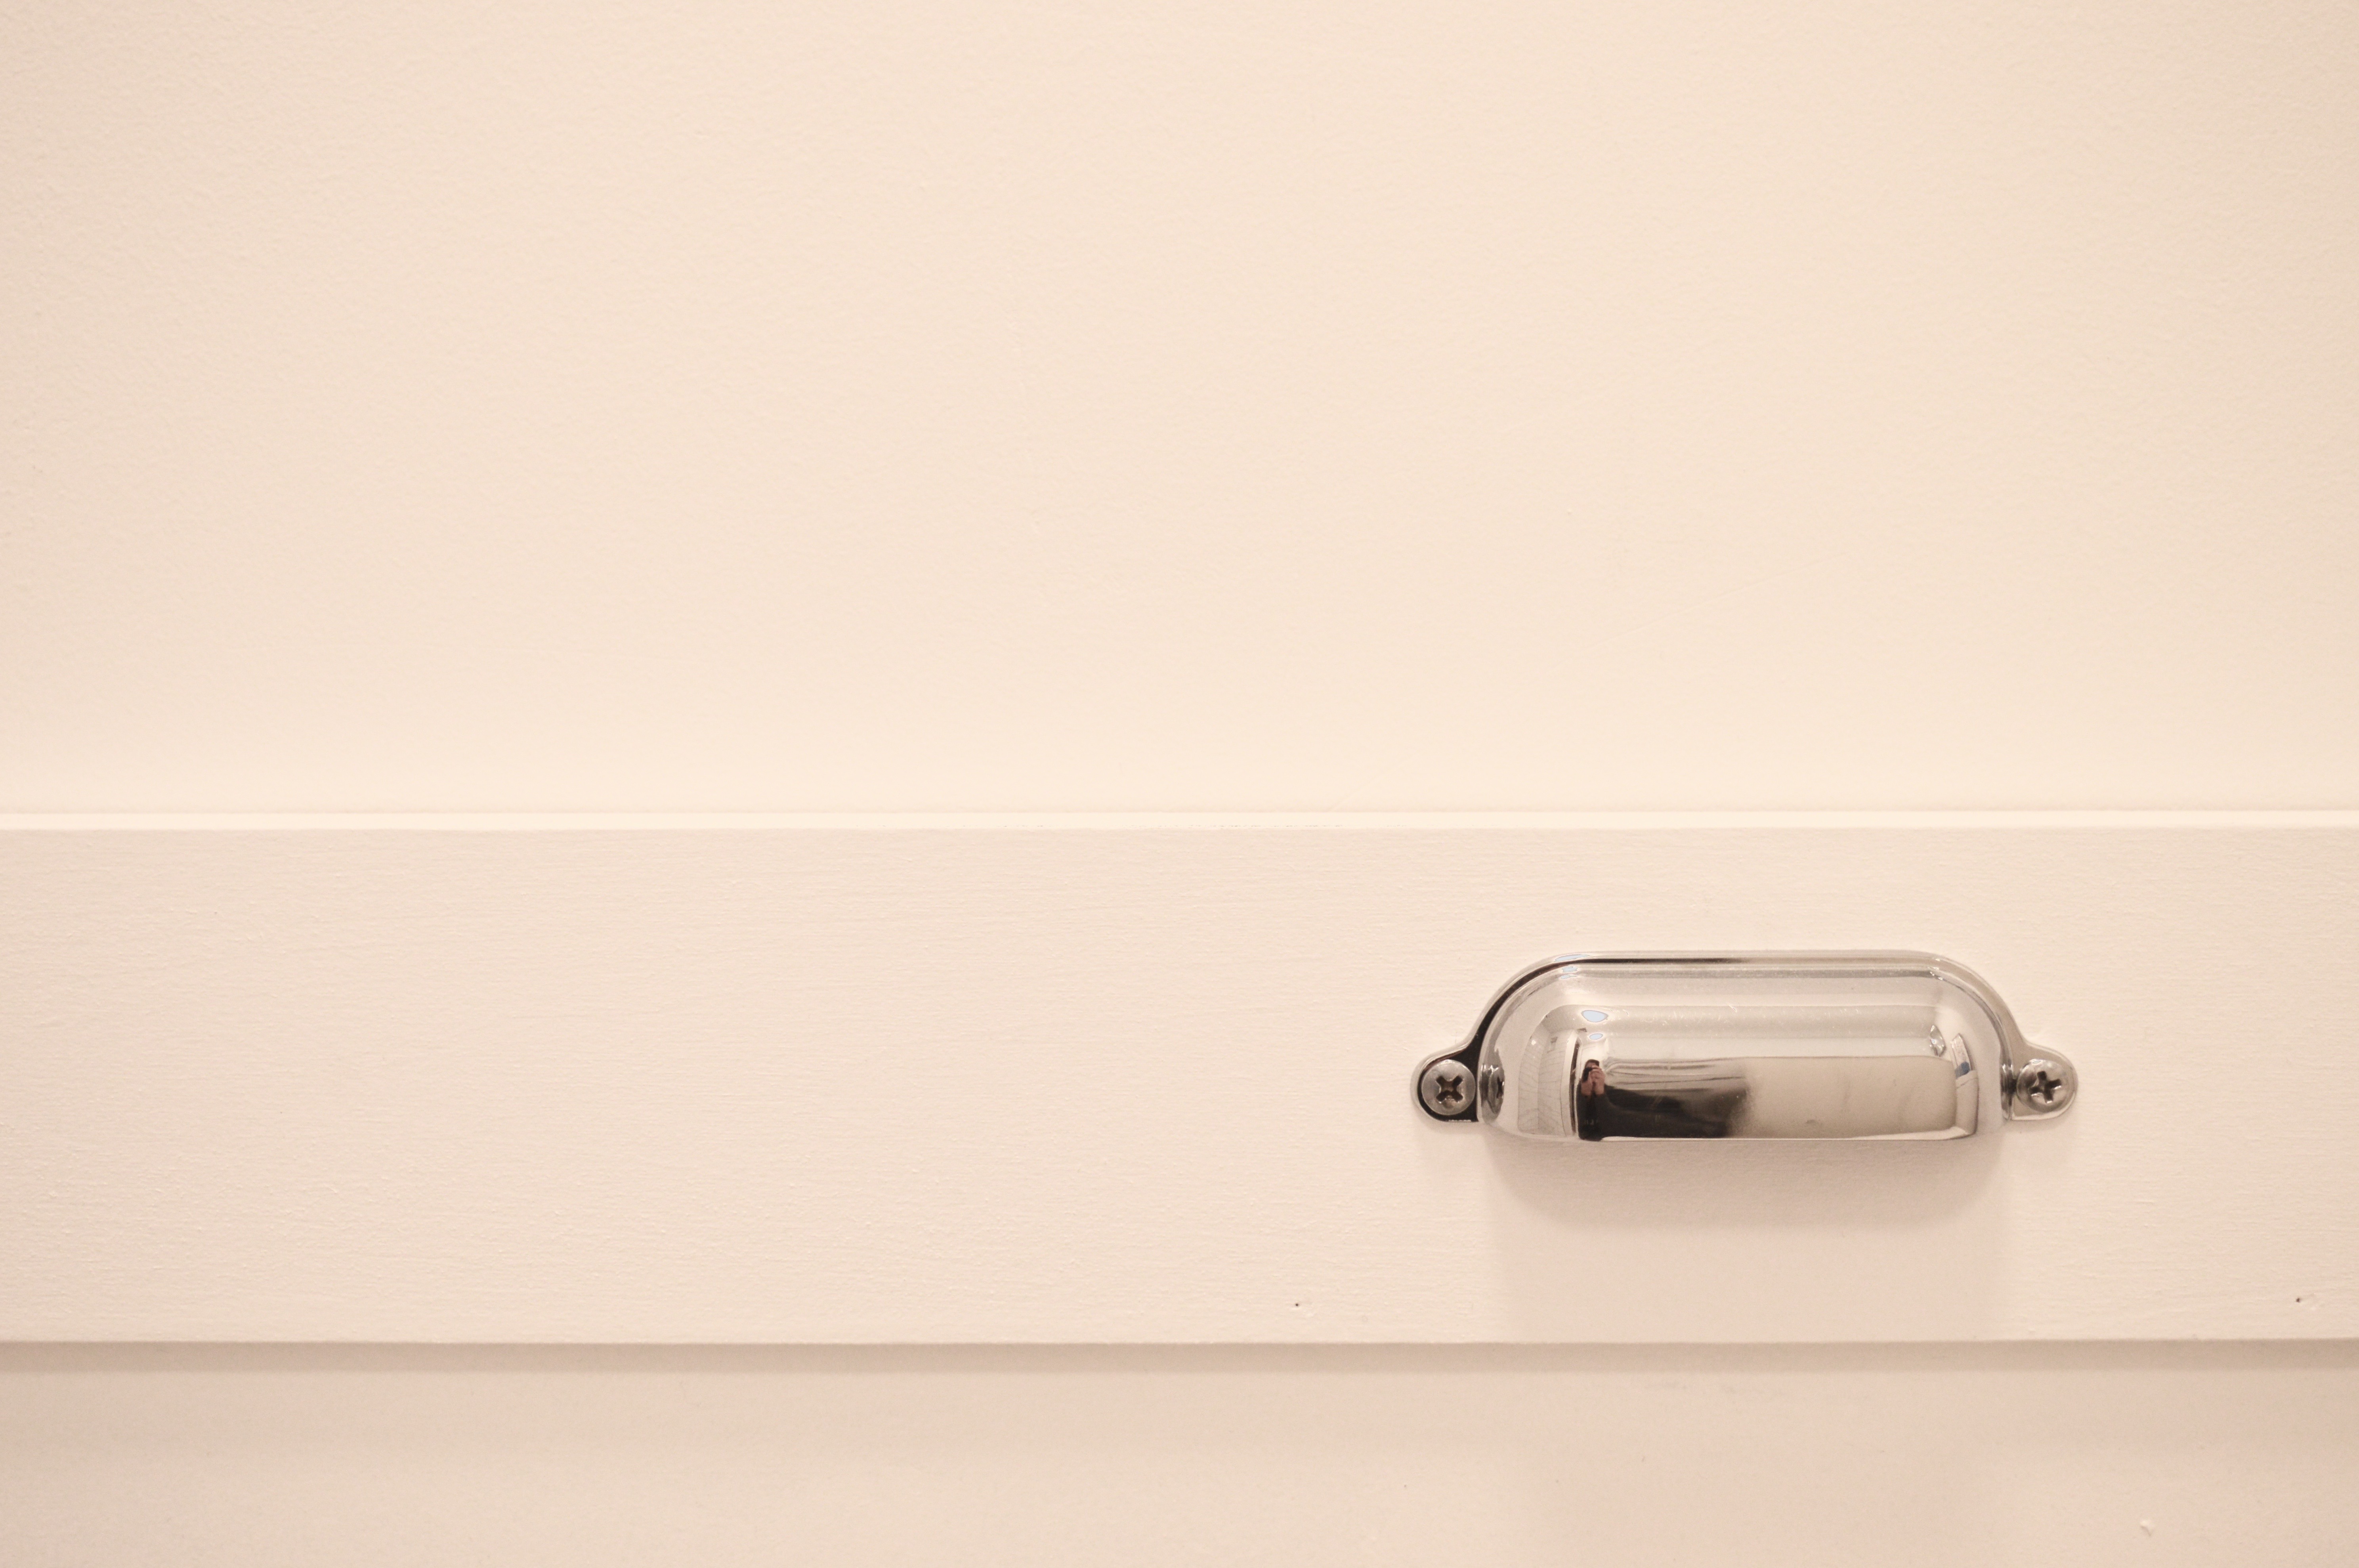
I had a custom cabinet made in Toronto. It’s painted Chantilly Lace, and it has the same door front detail as my interior doors (see below). For the counter, I went with white quartz, and a 6″ backsplash. The door pulls are from Ikea.

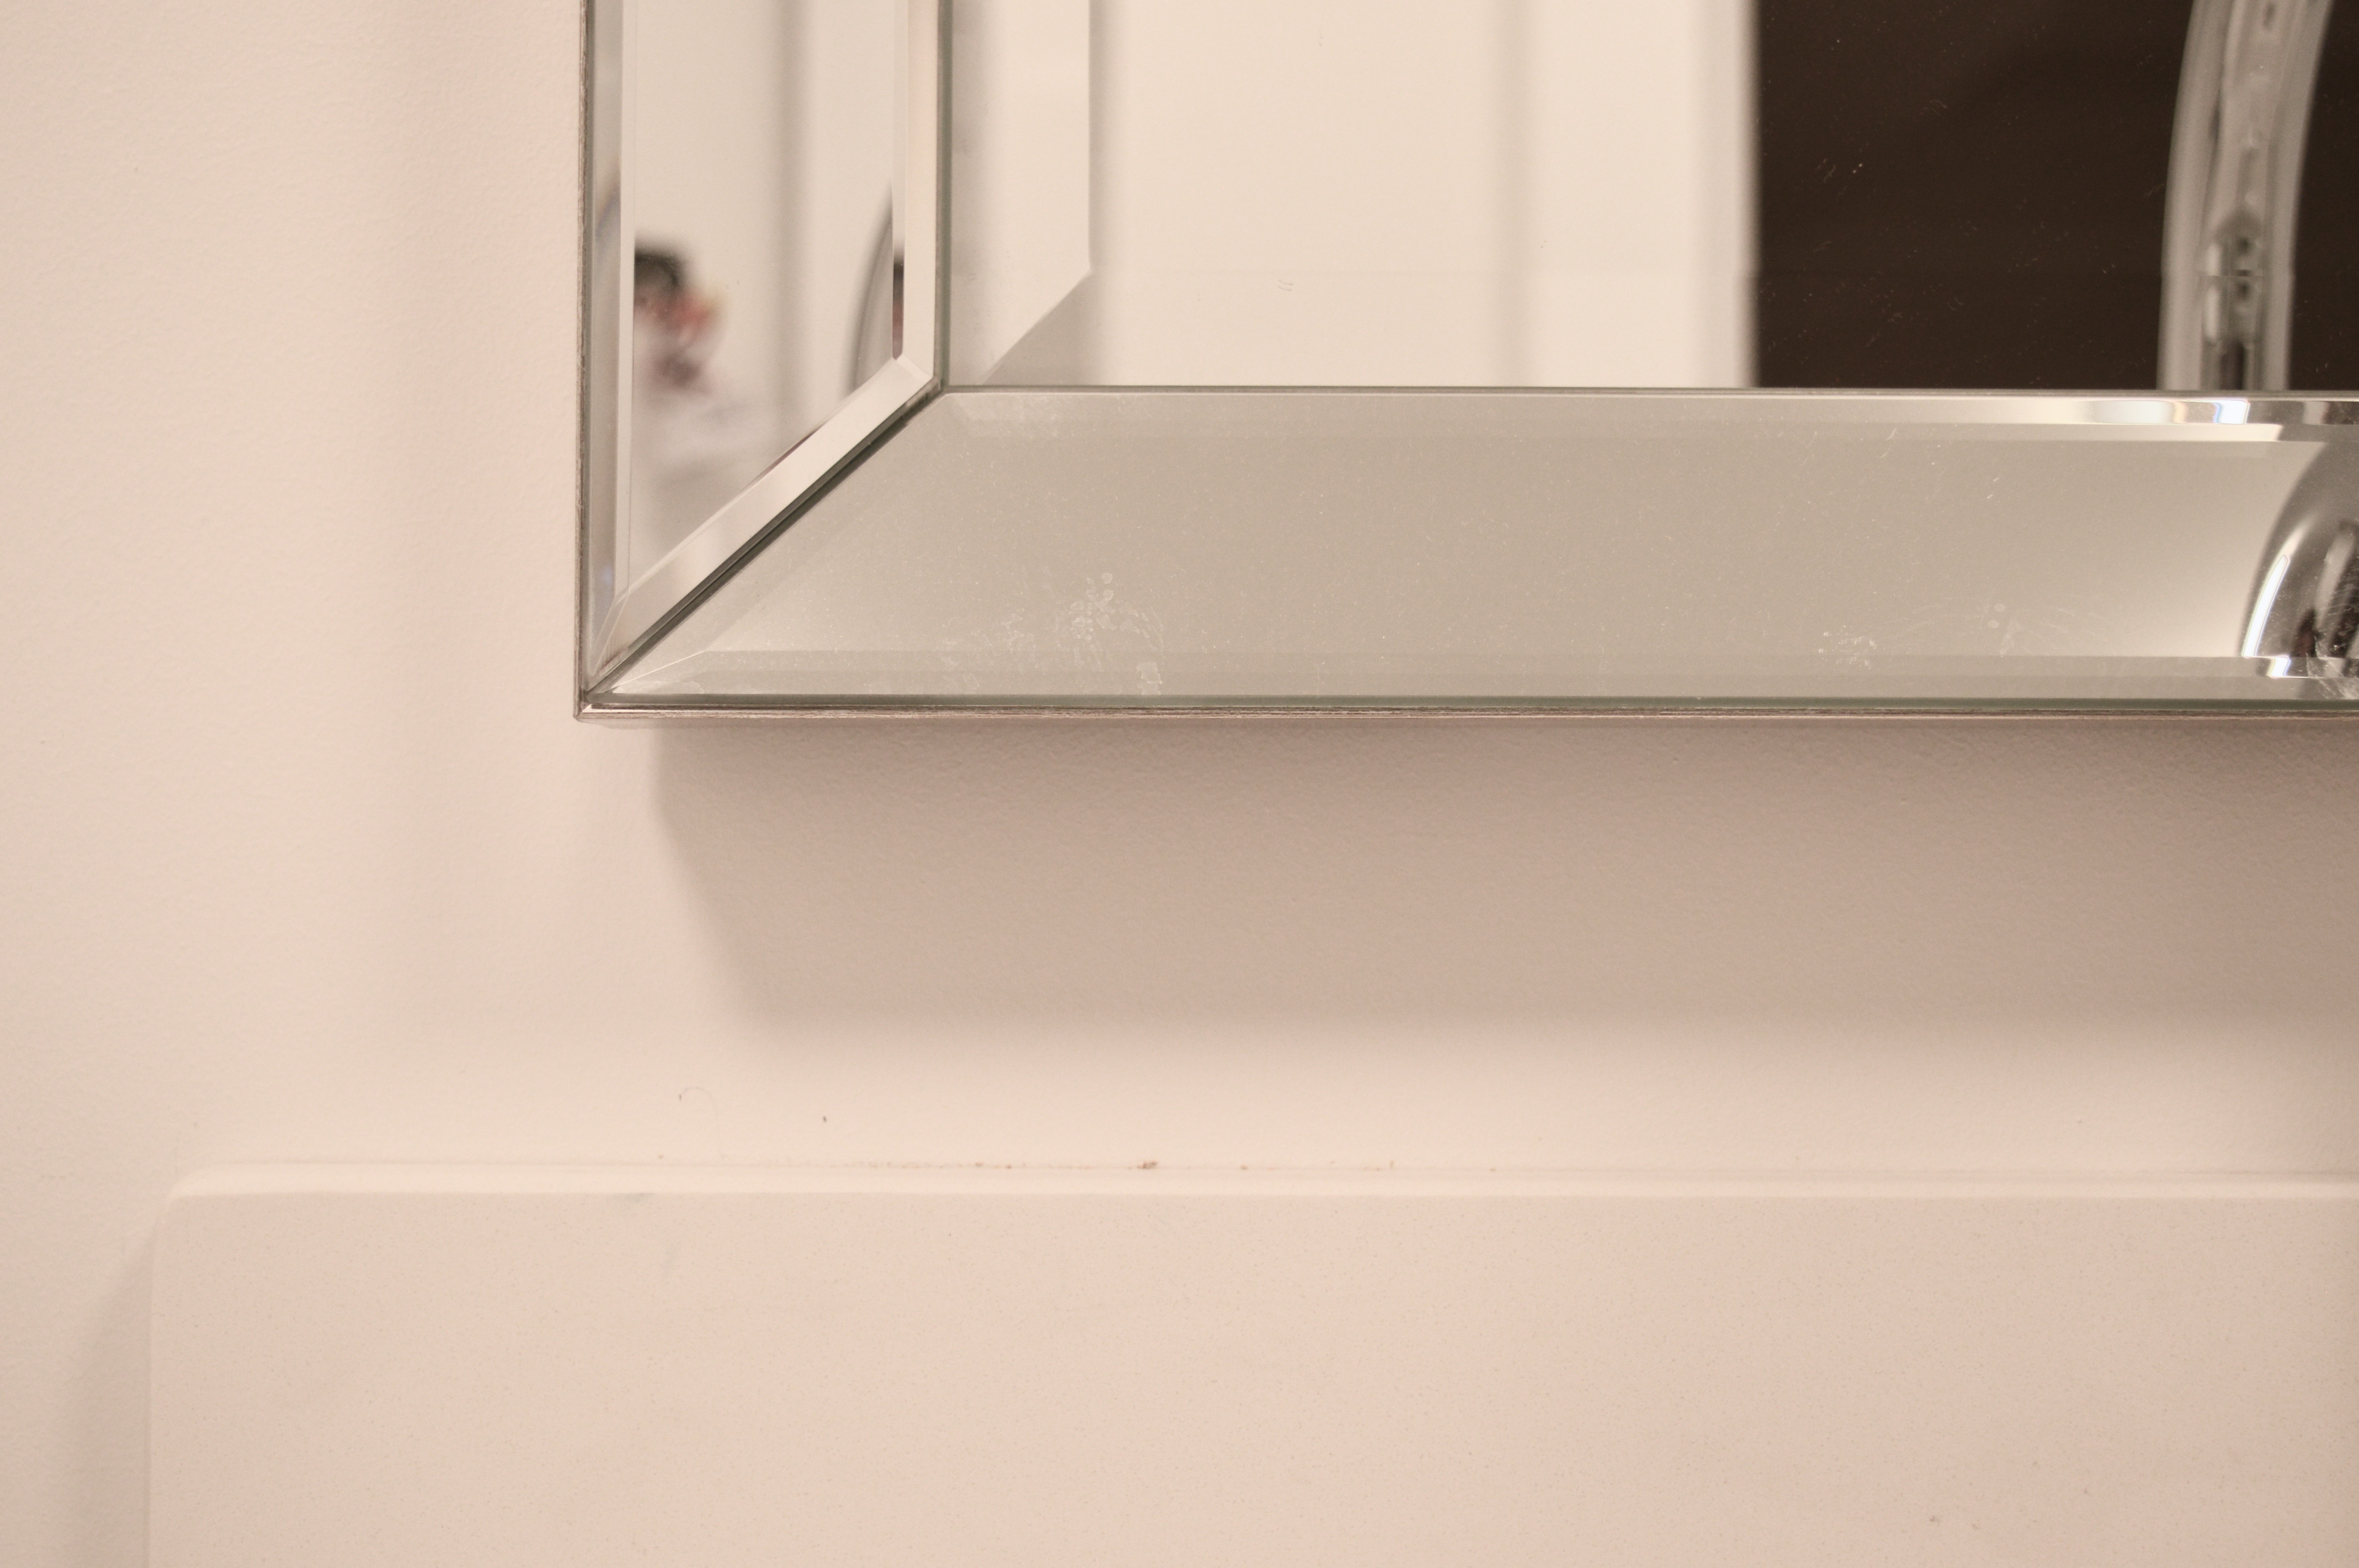
I have used some pieces in this space that I have already in other spaces in my home. Why change a good thing, right? For example, I have the larger version of the mirror in my powder room. And I have the same toilet and toilet roll holder in my powder room. I know many people like to switch things up in the design world, but I like consistency and simplicity, so I was happy to use these same pieces in my new space.

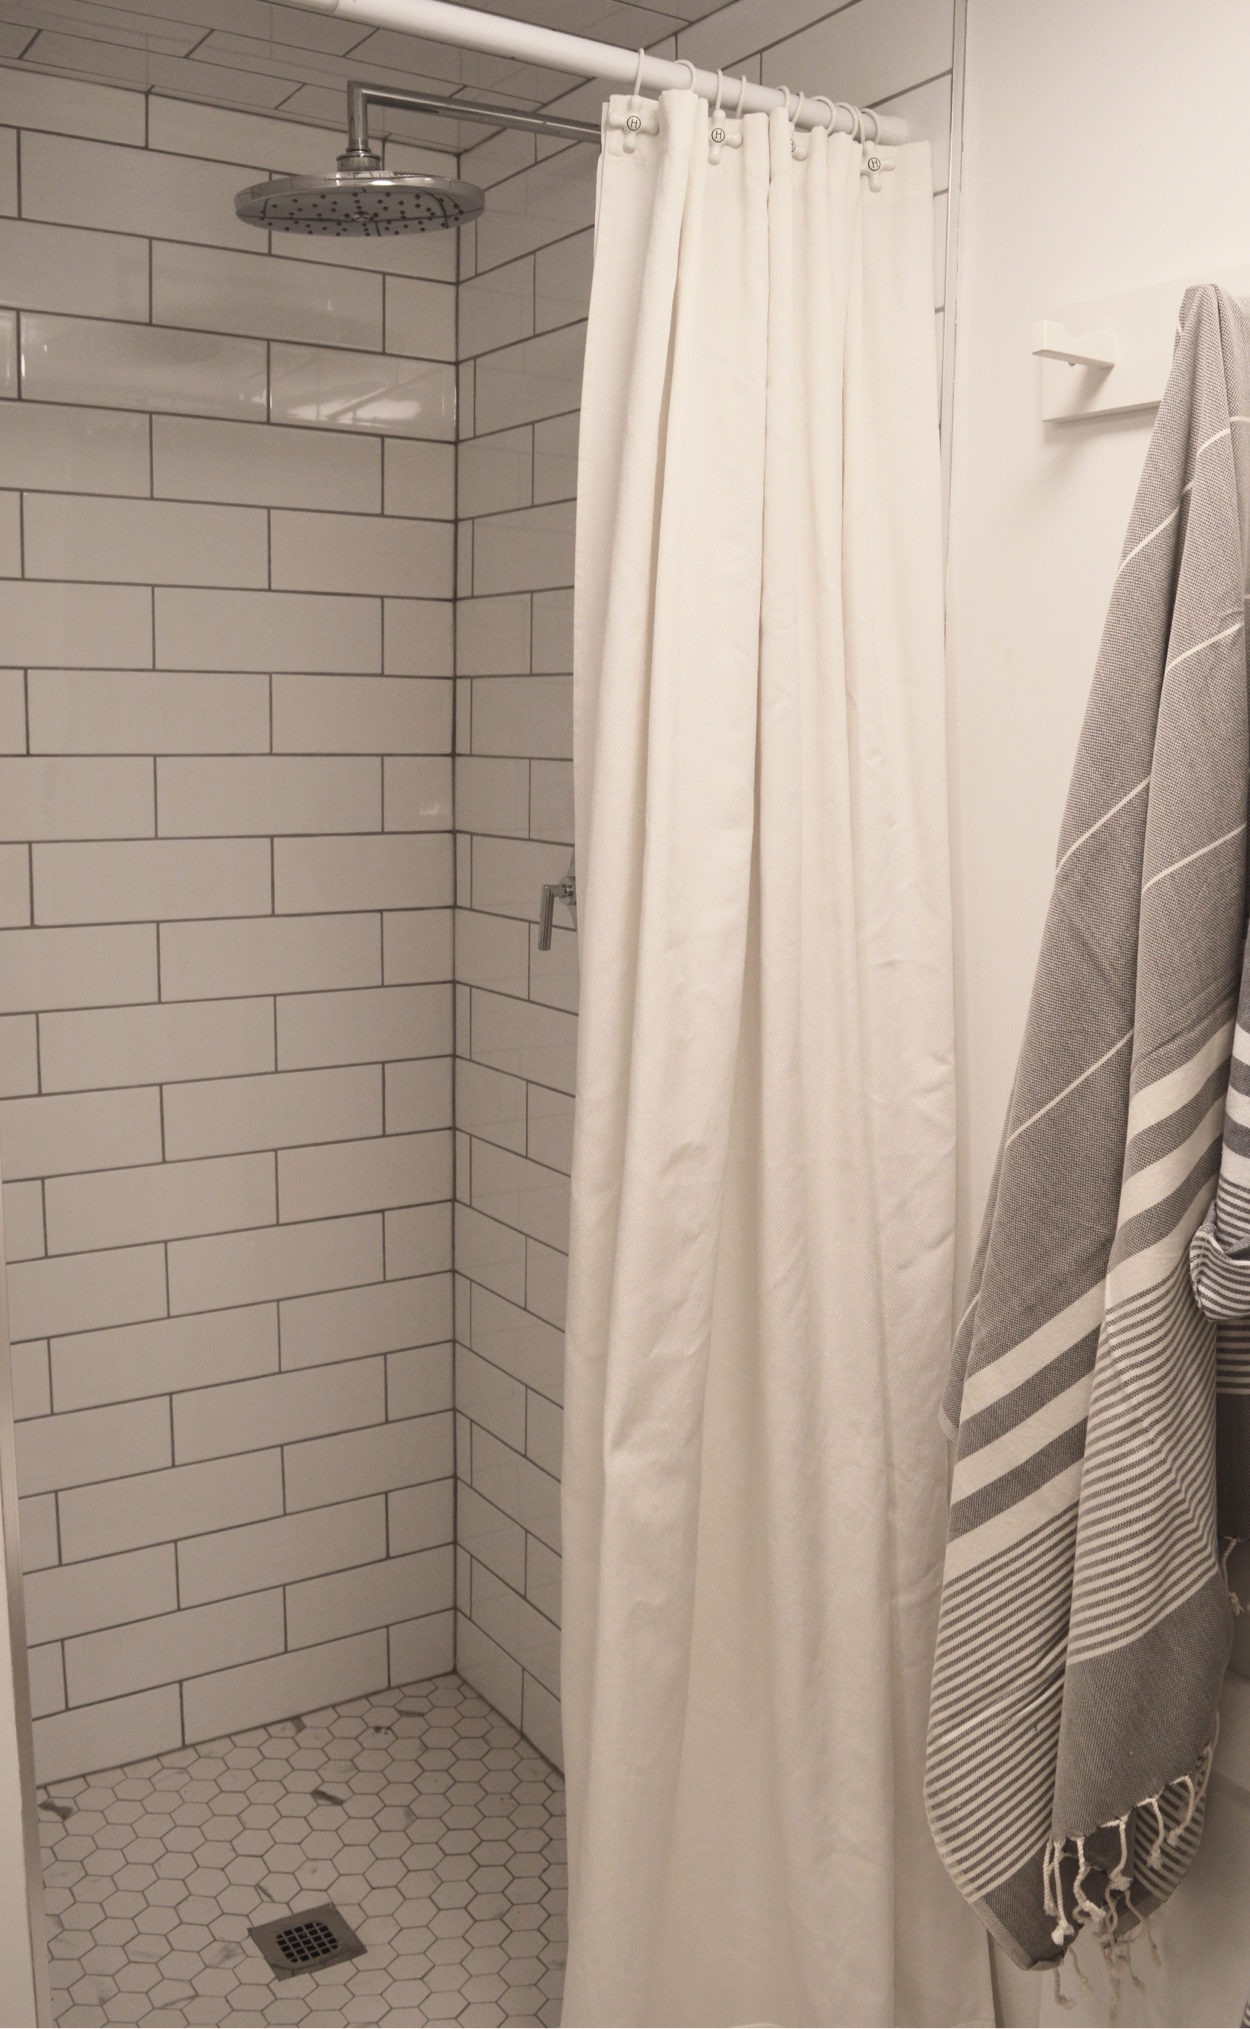
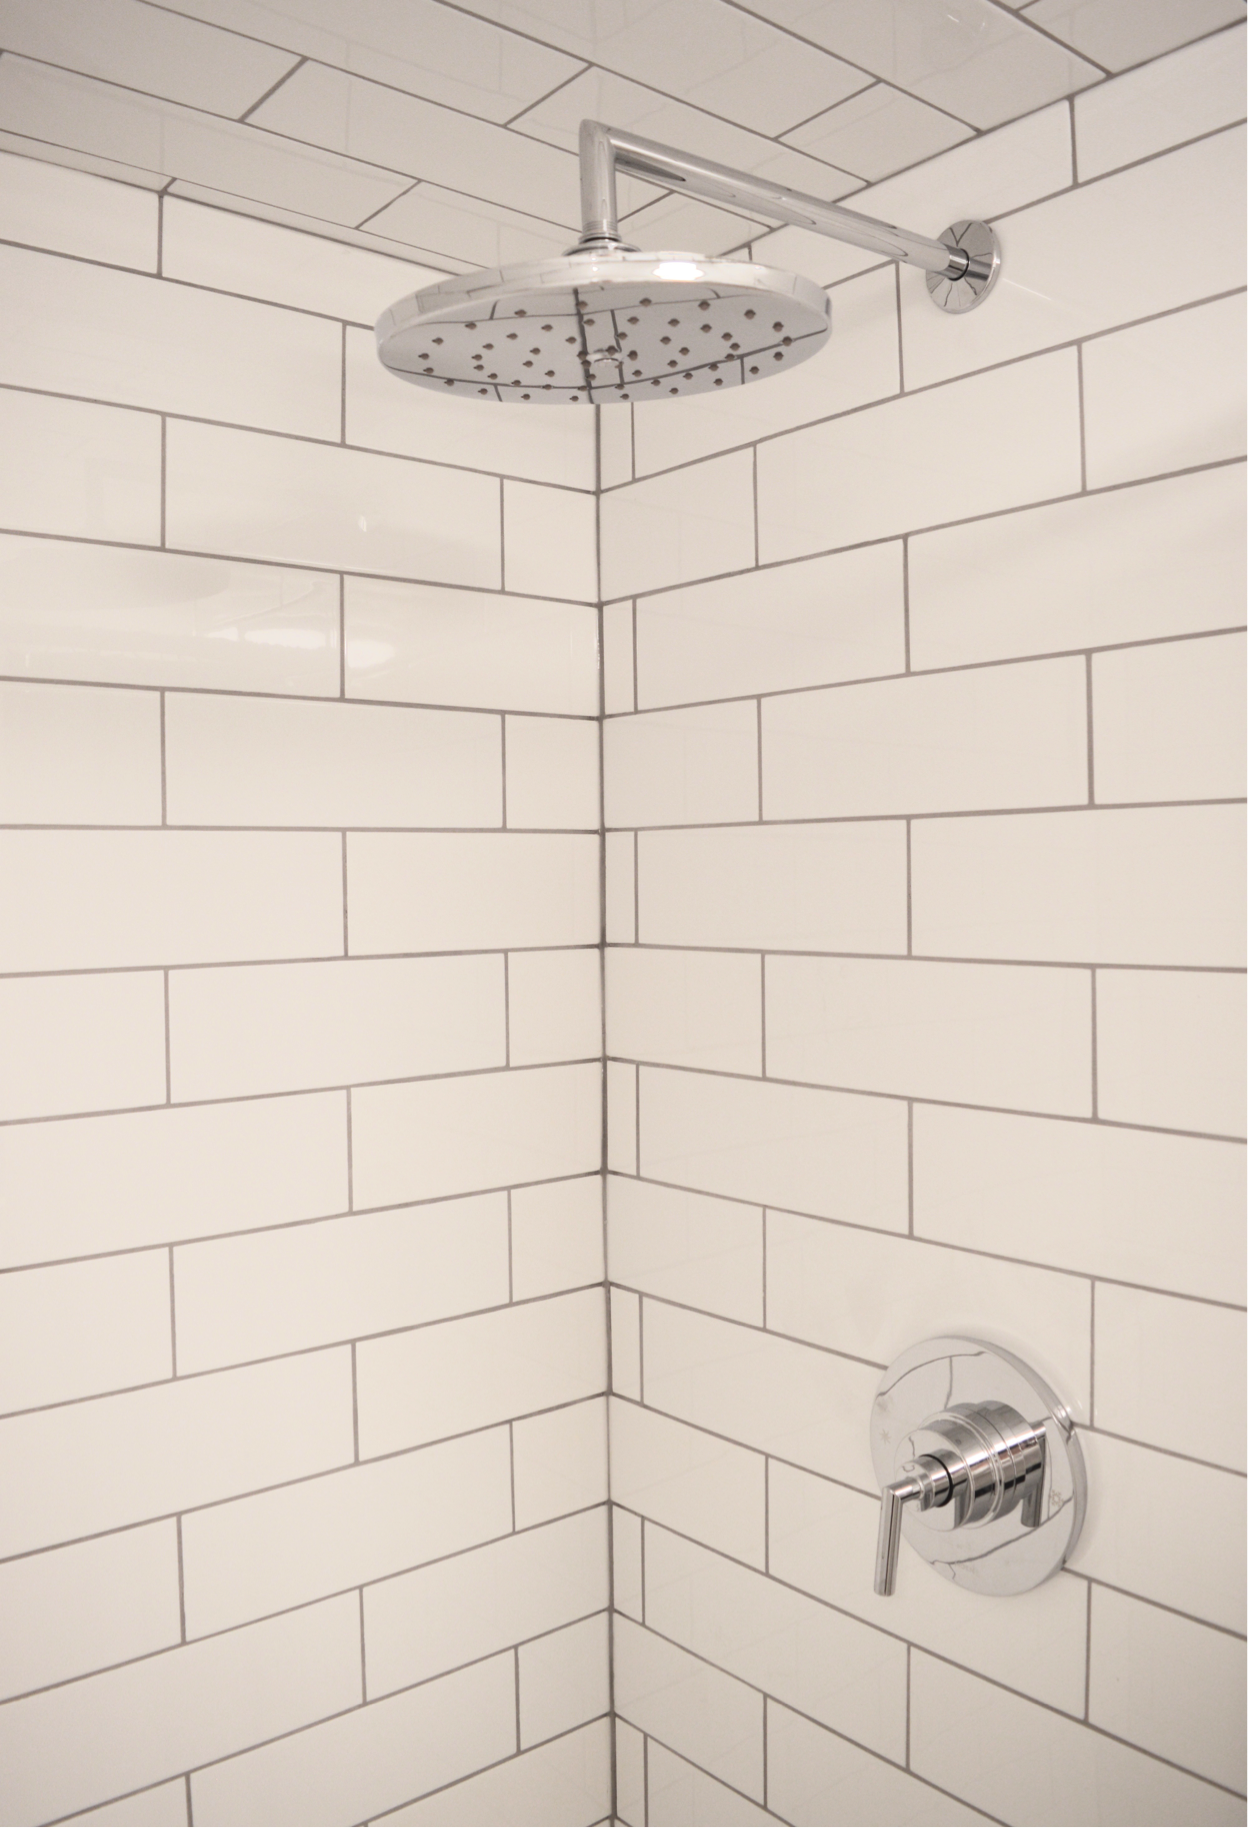
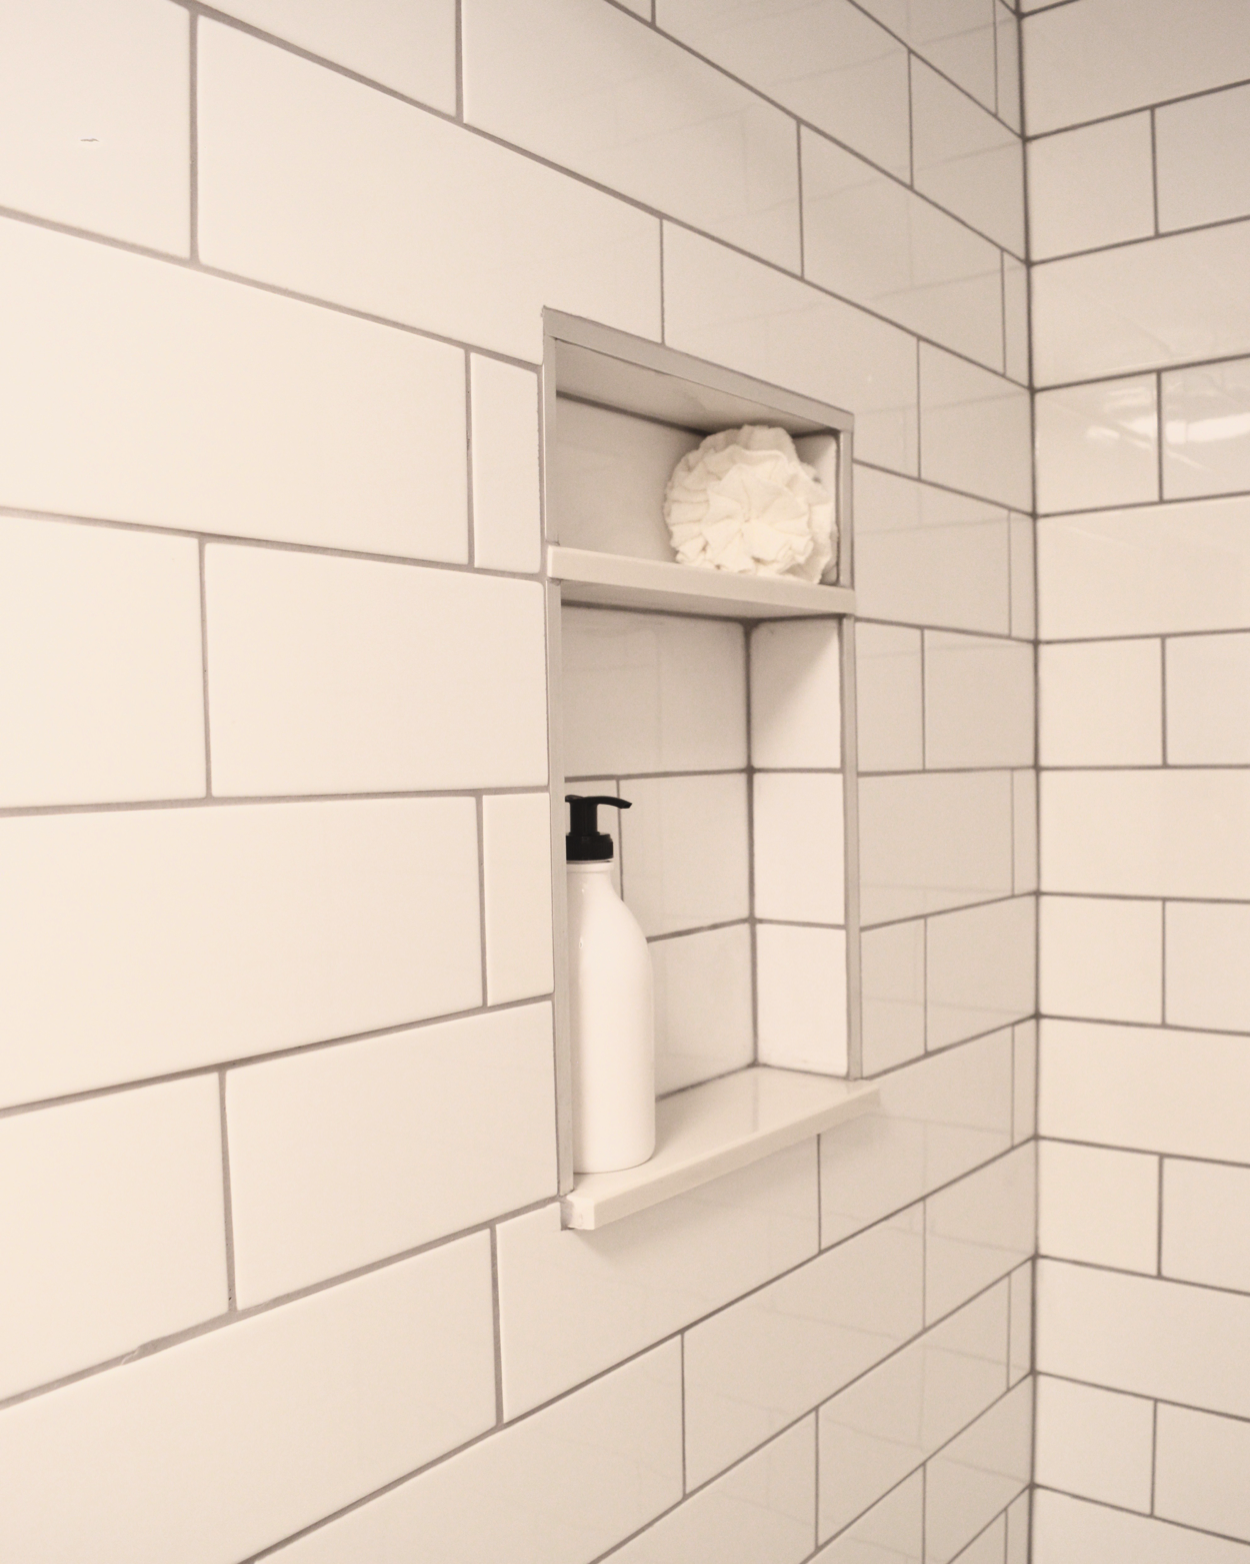
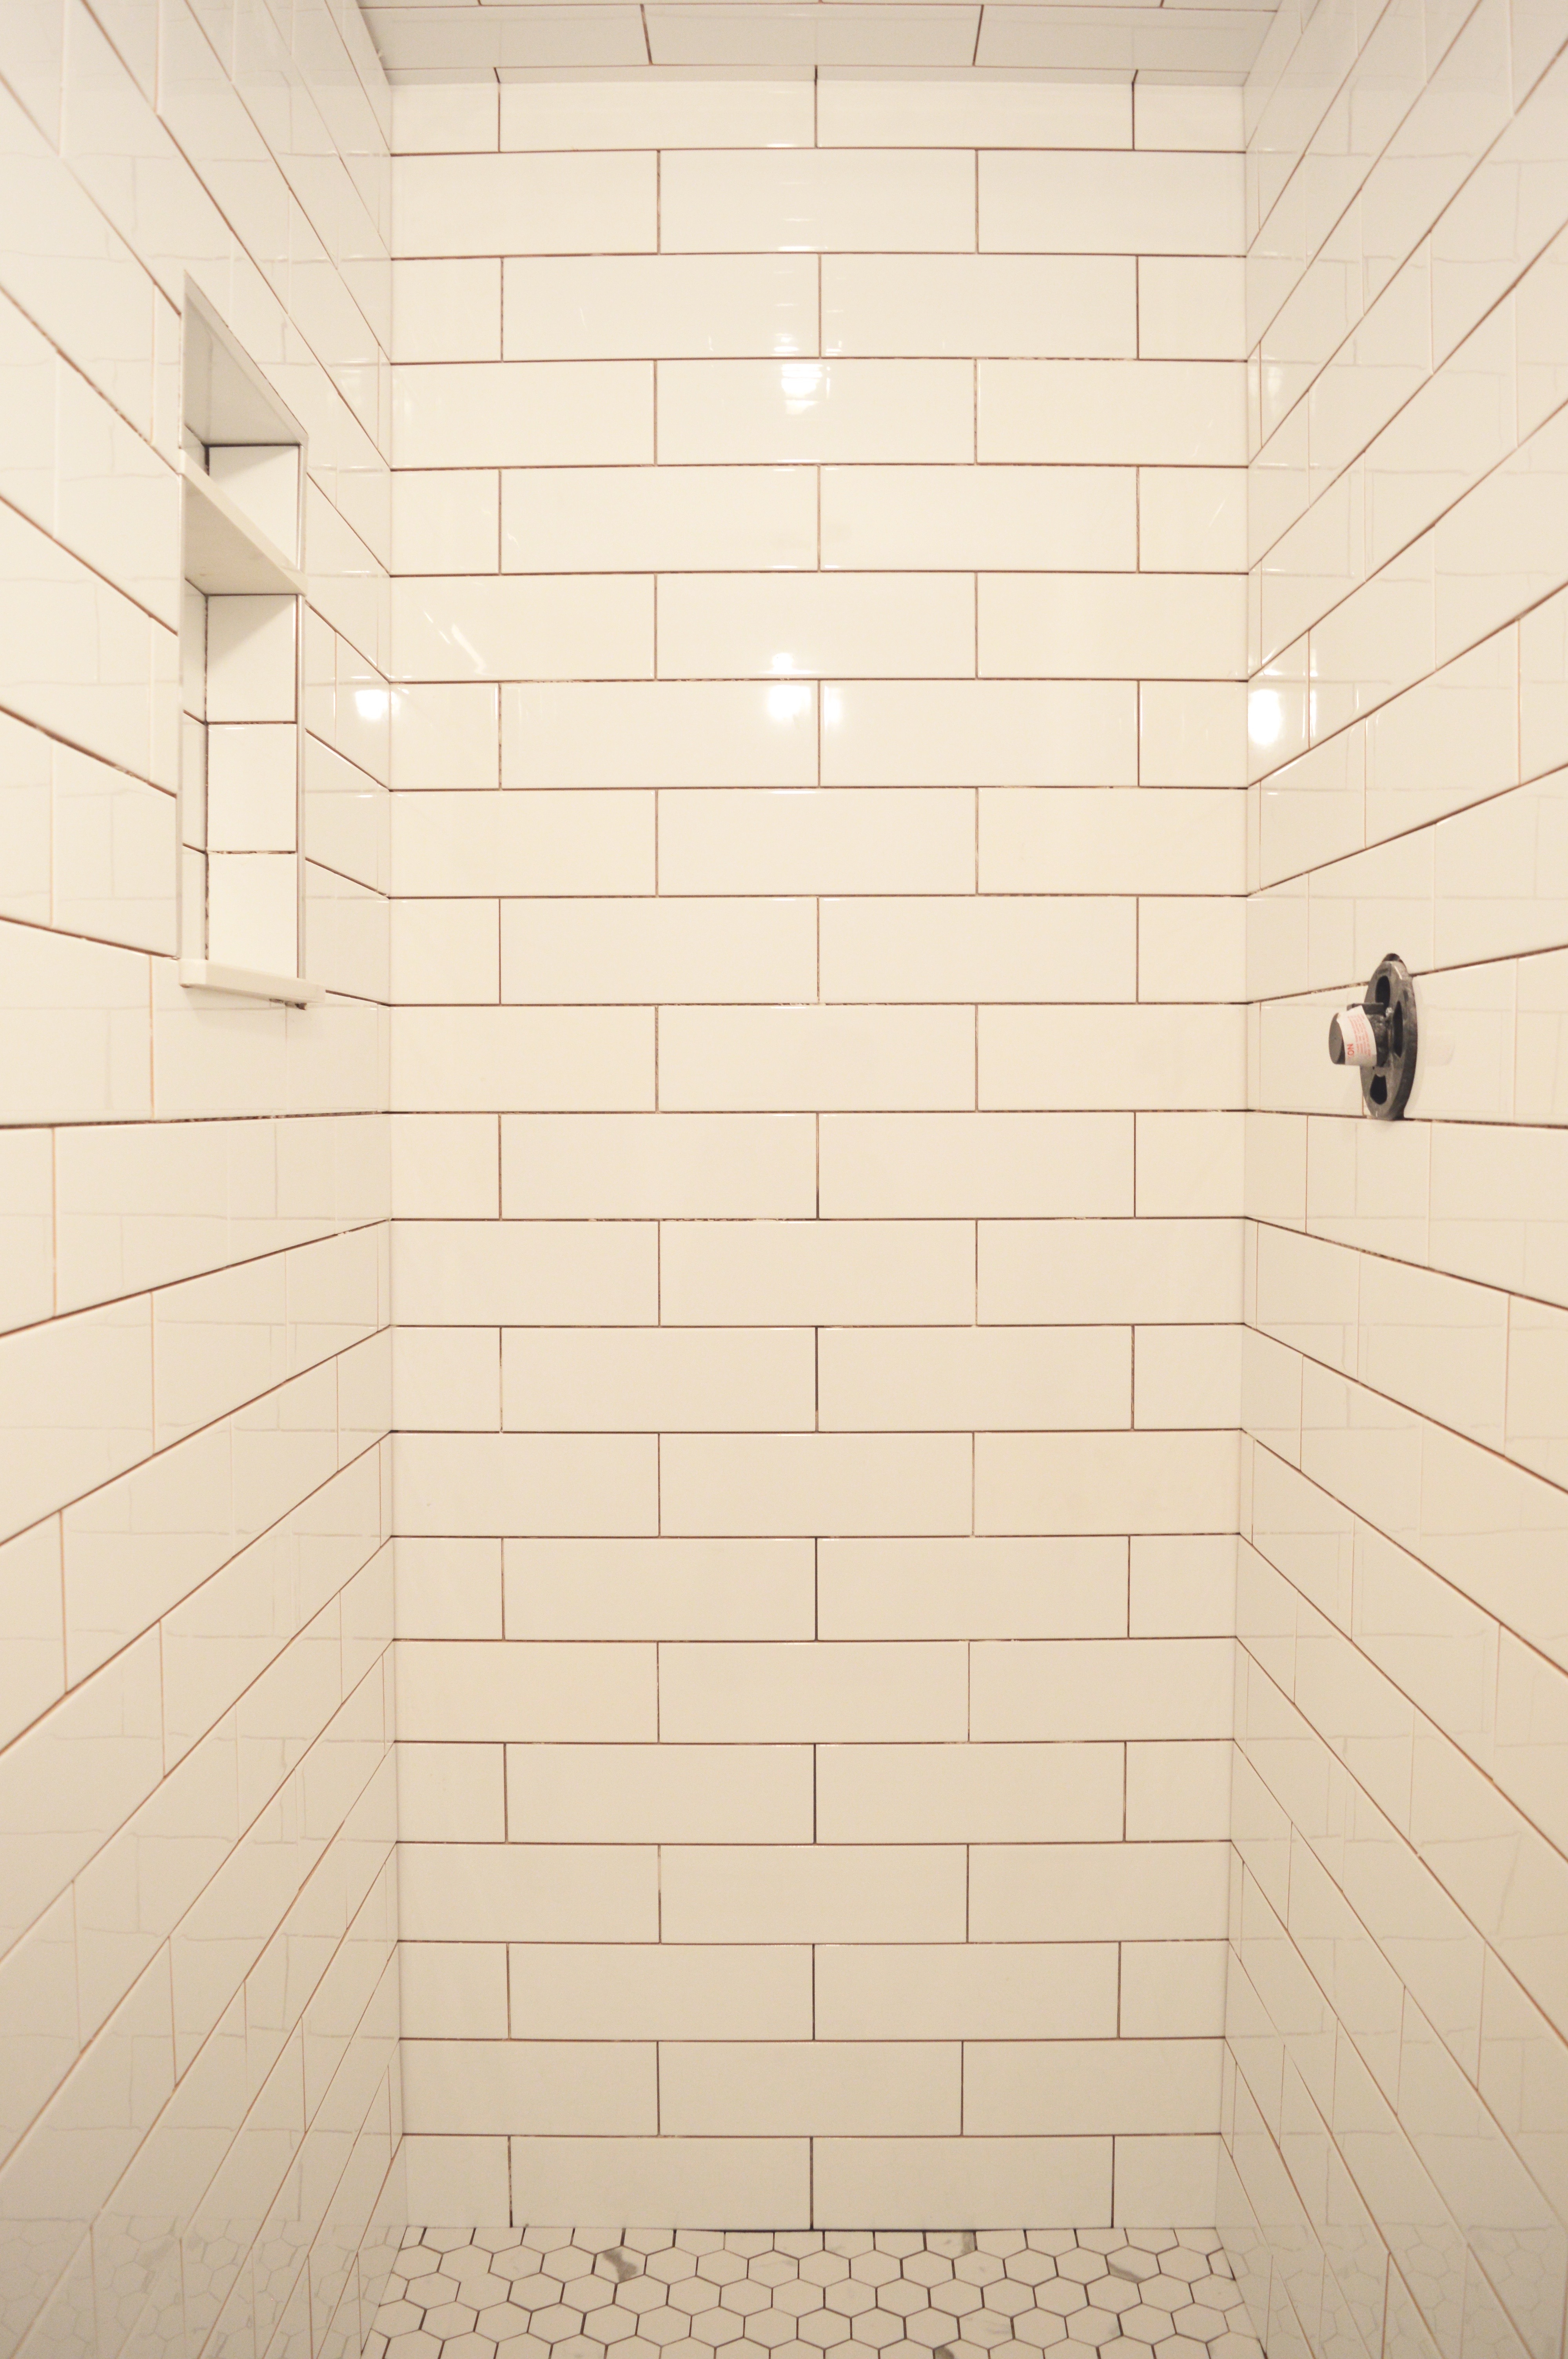
The addition of a beautiful new shower has really made this combo room that much more functional. This was a big job, and I lived with a trench in my floor for a couple of days as my plumber was working his magic. I opted for classic white 4″x12″ subway tiles, and my tiler surrounded the shower with them. I carried the hex floor into this shower space, too. The shower system is the Arris style by Moen.

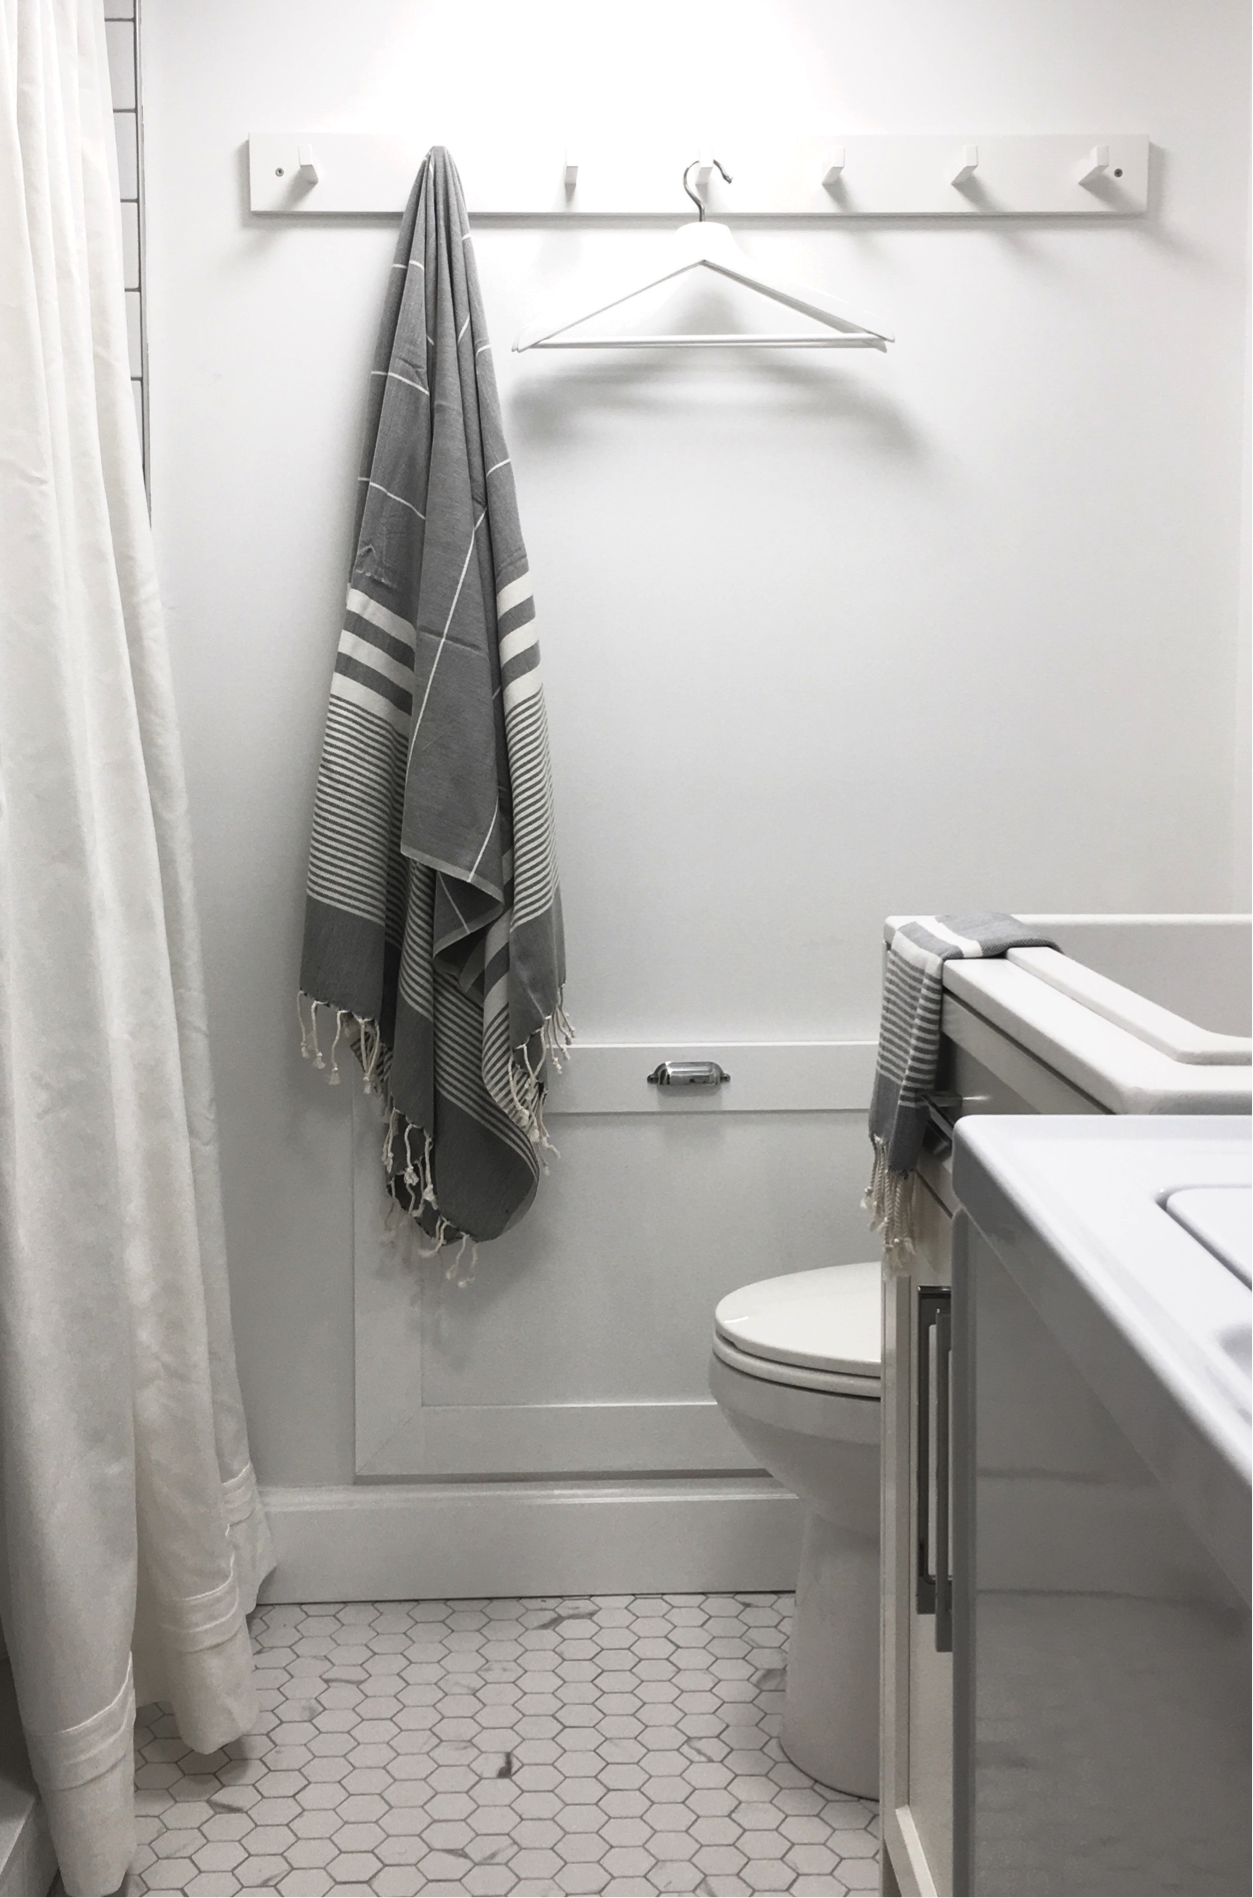
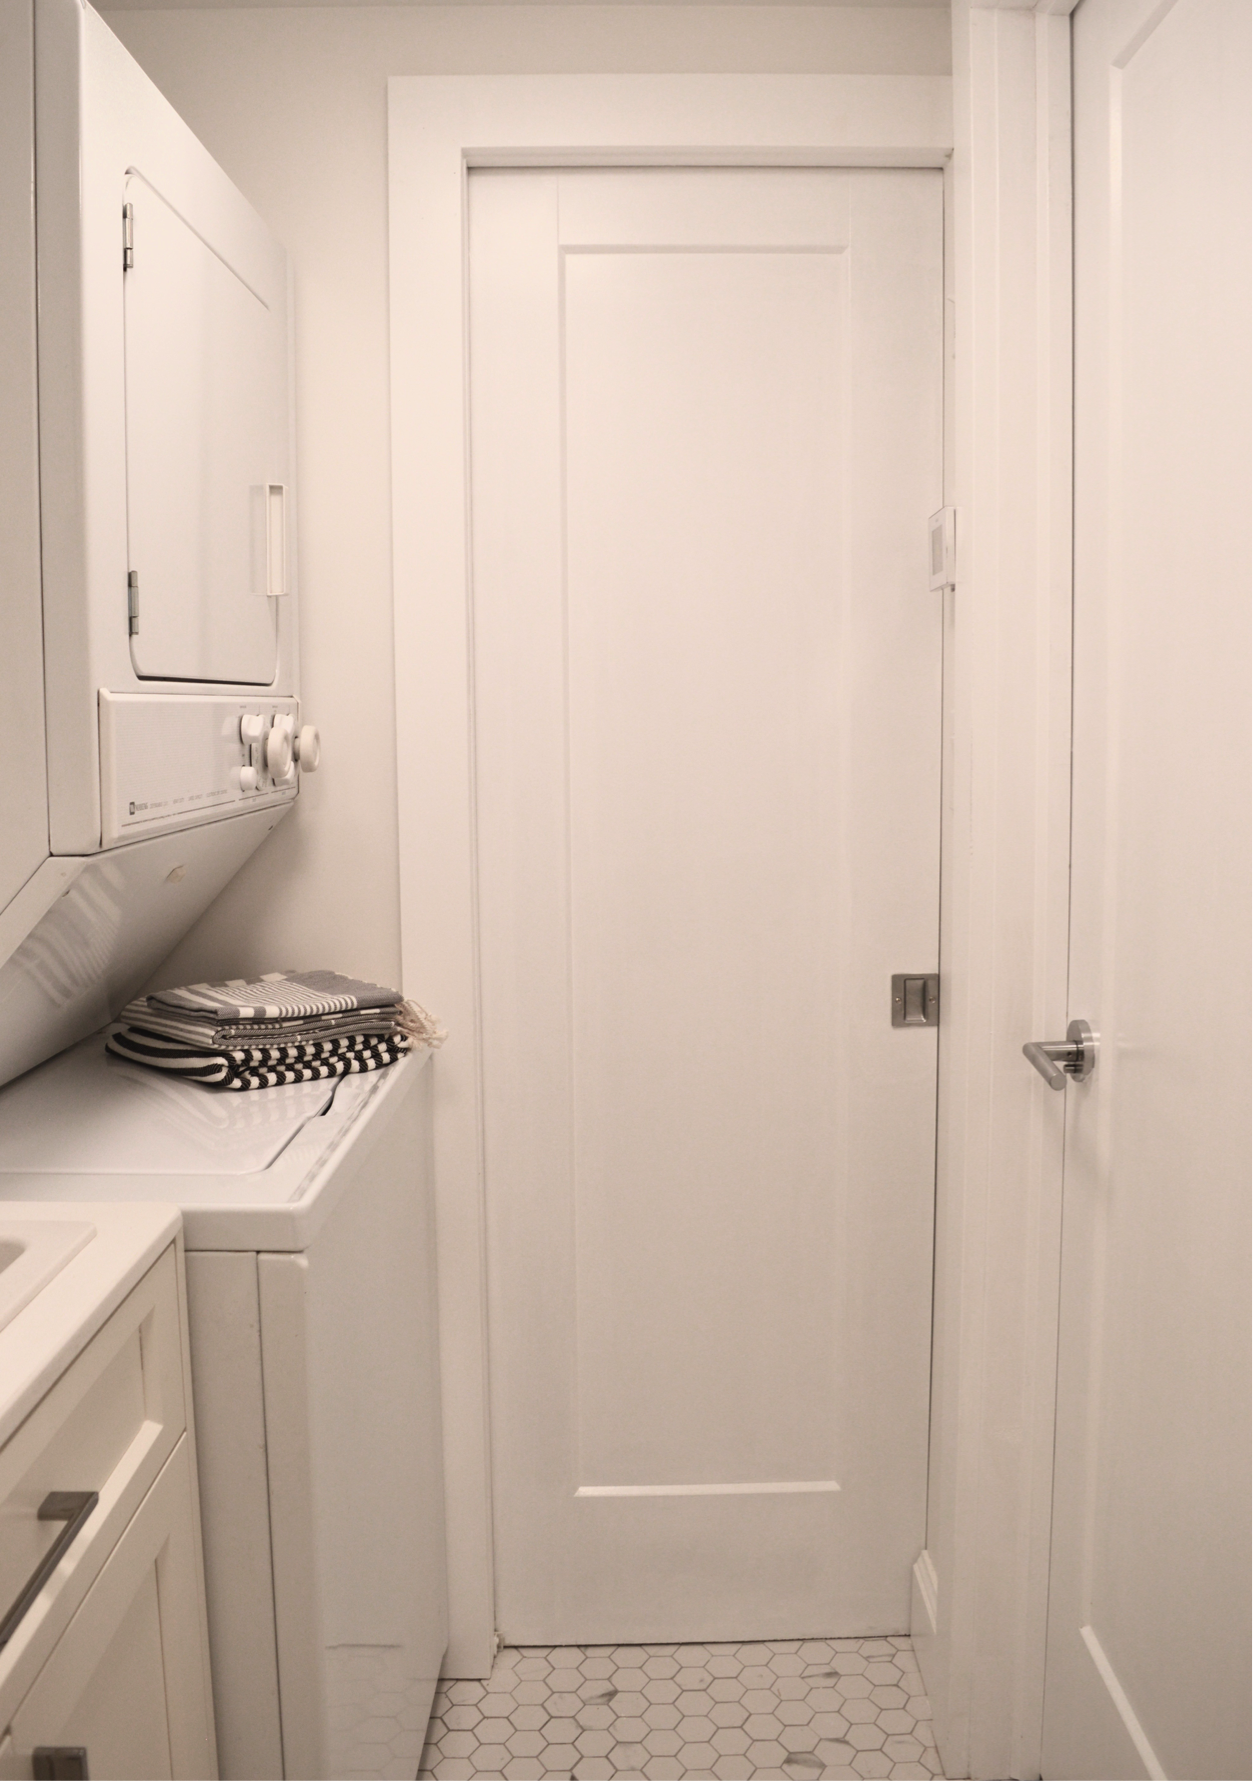
The little “door” that you see in the photo below is a genius invention by my drywaller. It slides up and down, and it hides my main water pump/valve. It’s incredible. It’s so handy, and it looks sleek, too!

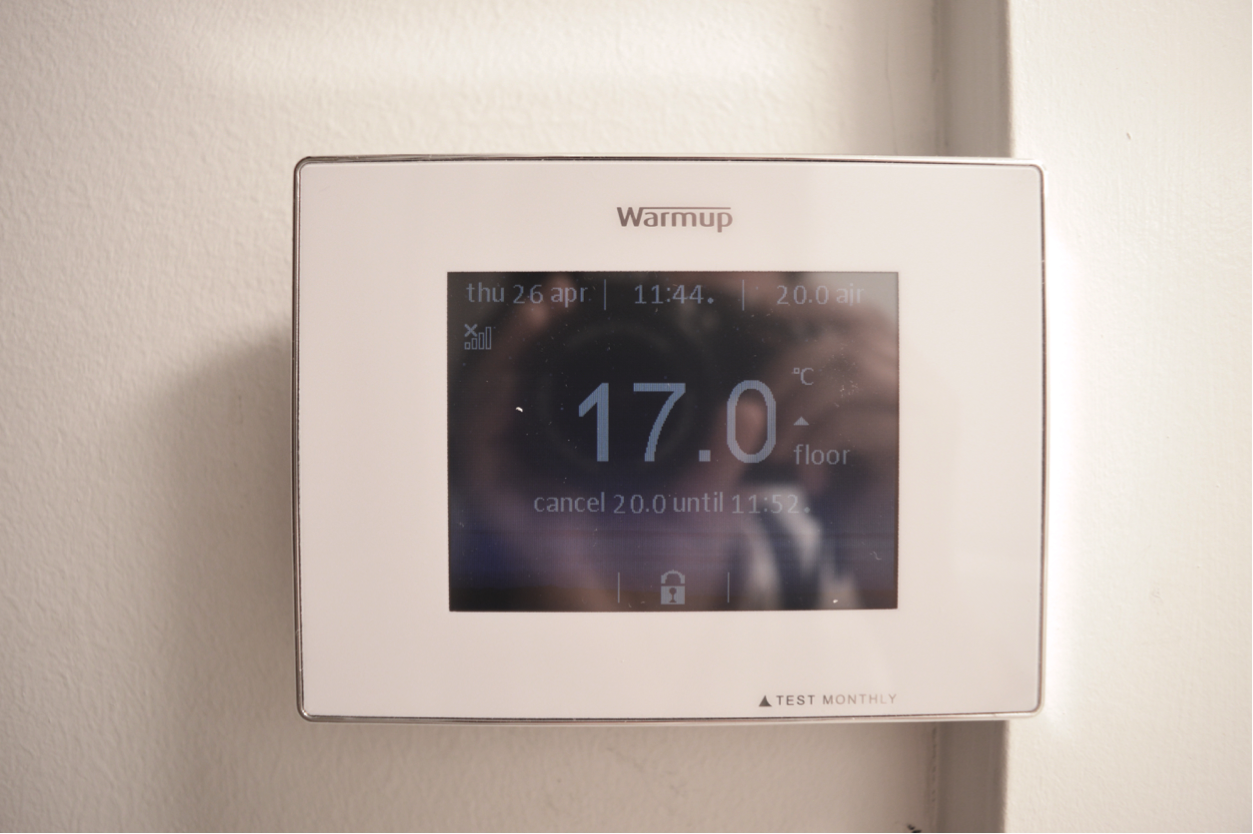
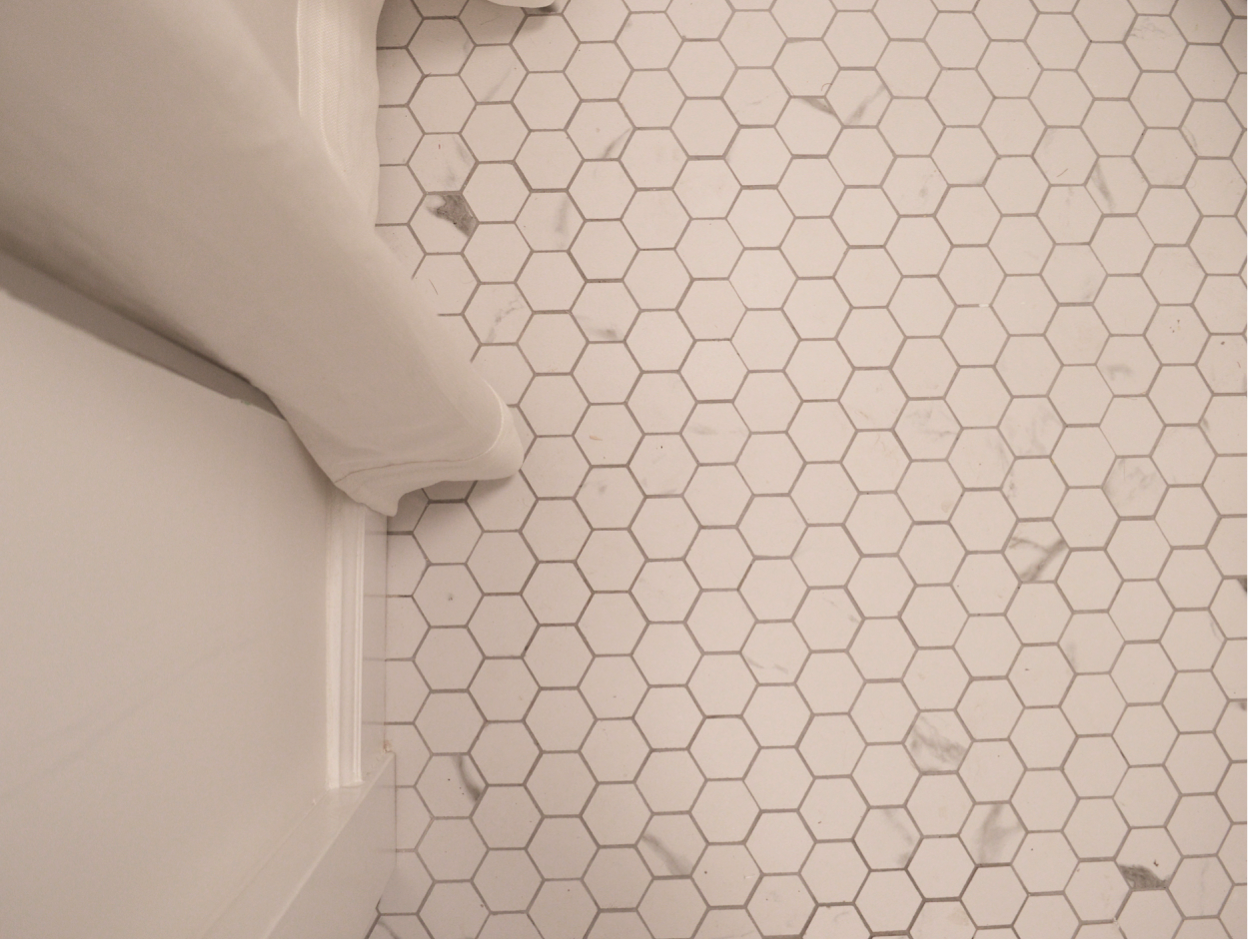
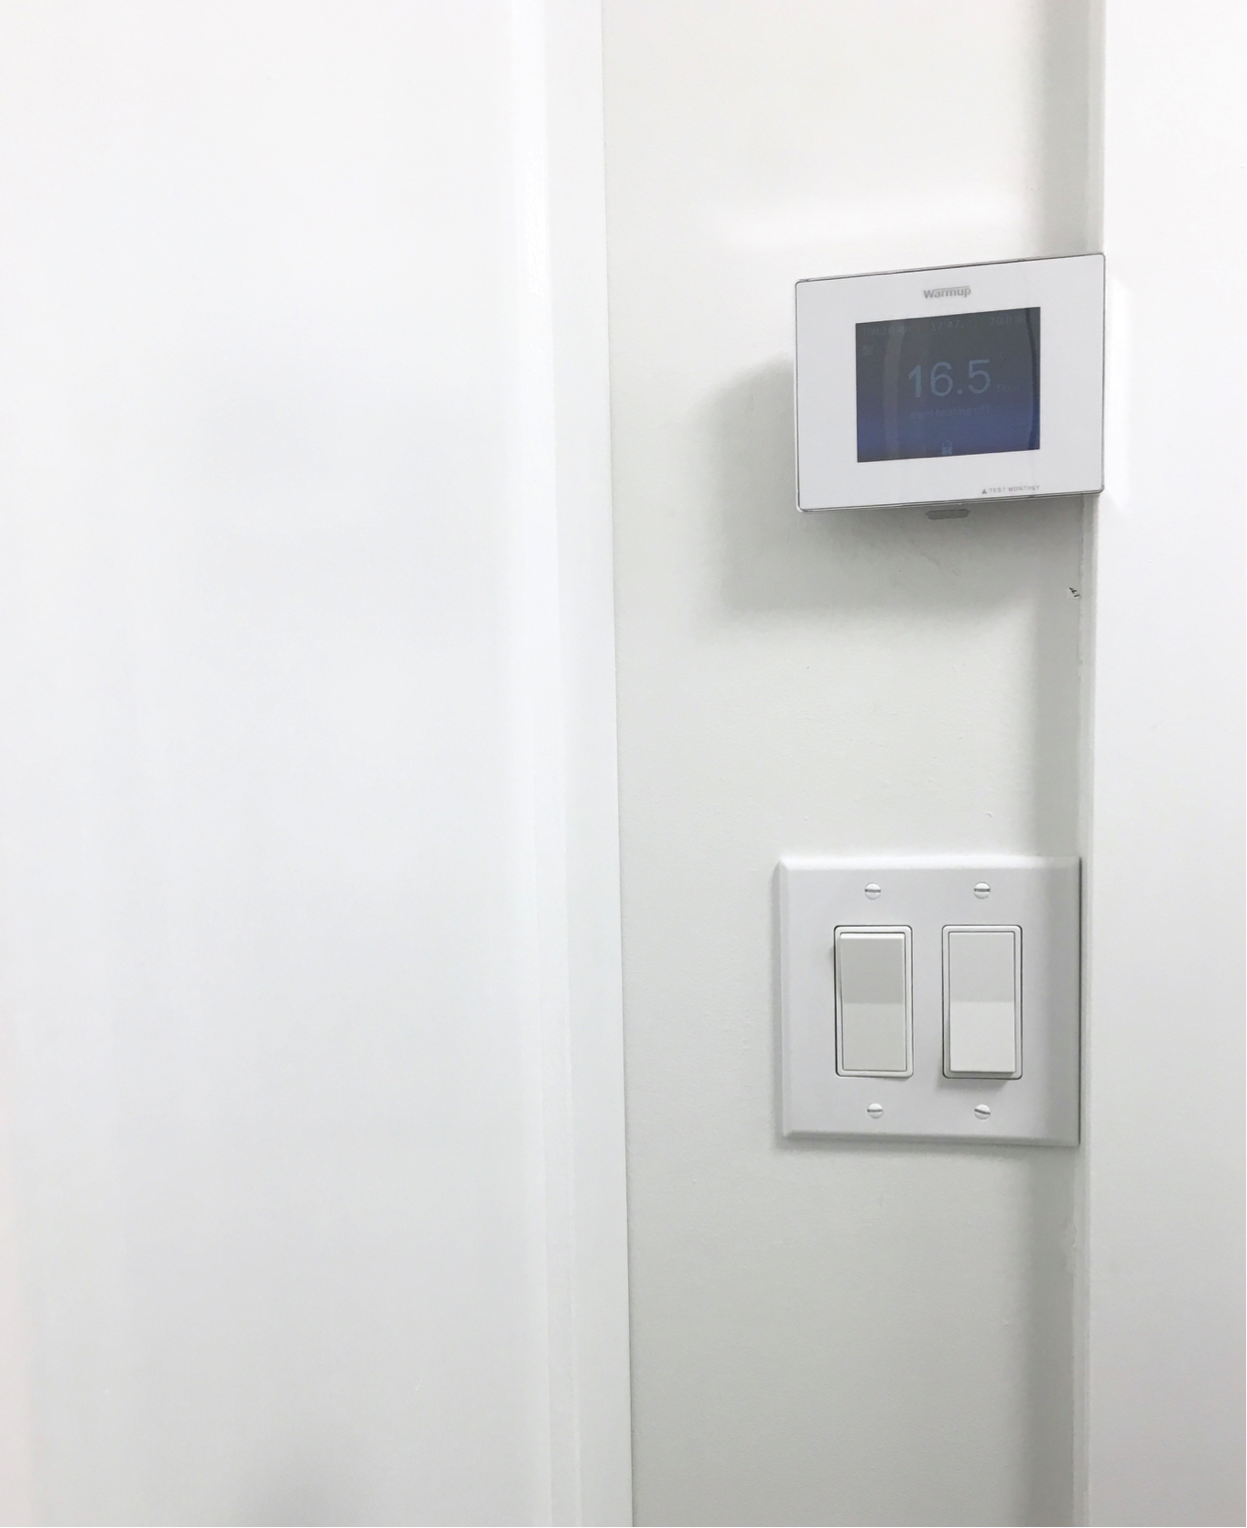
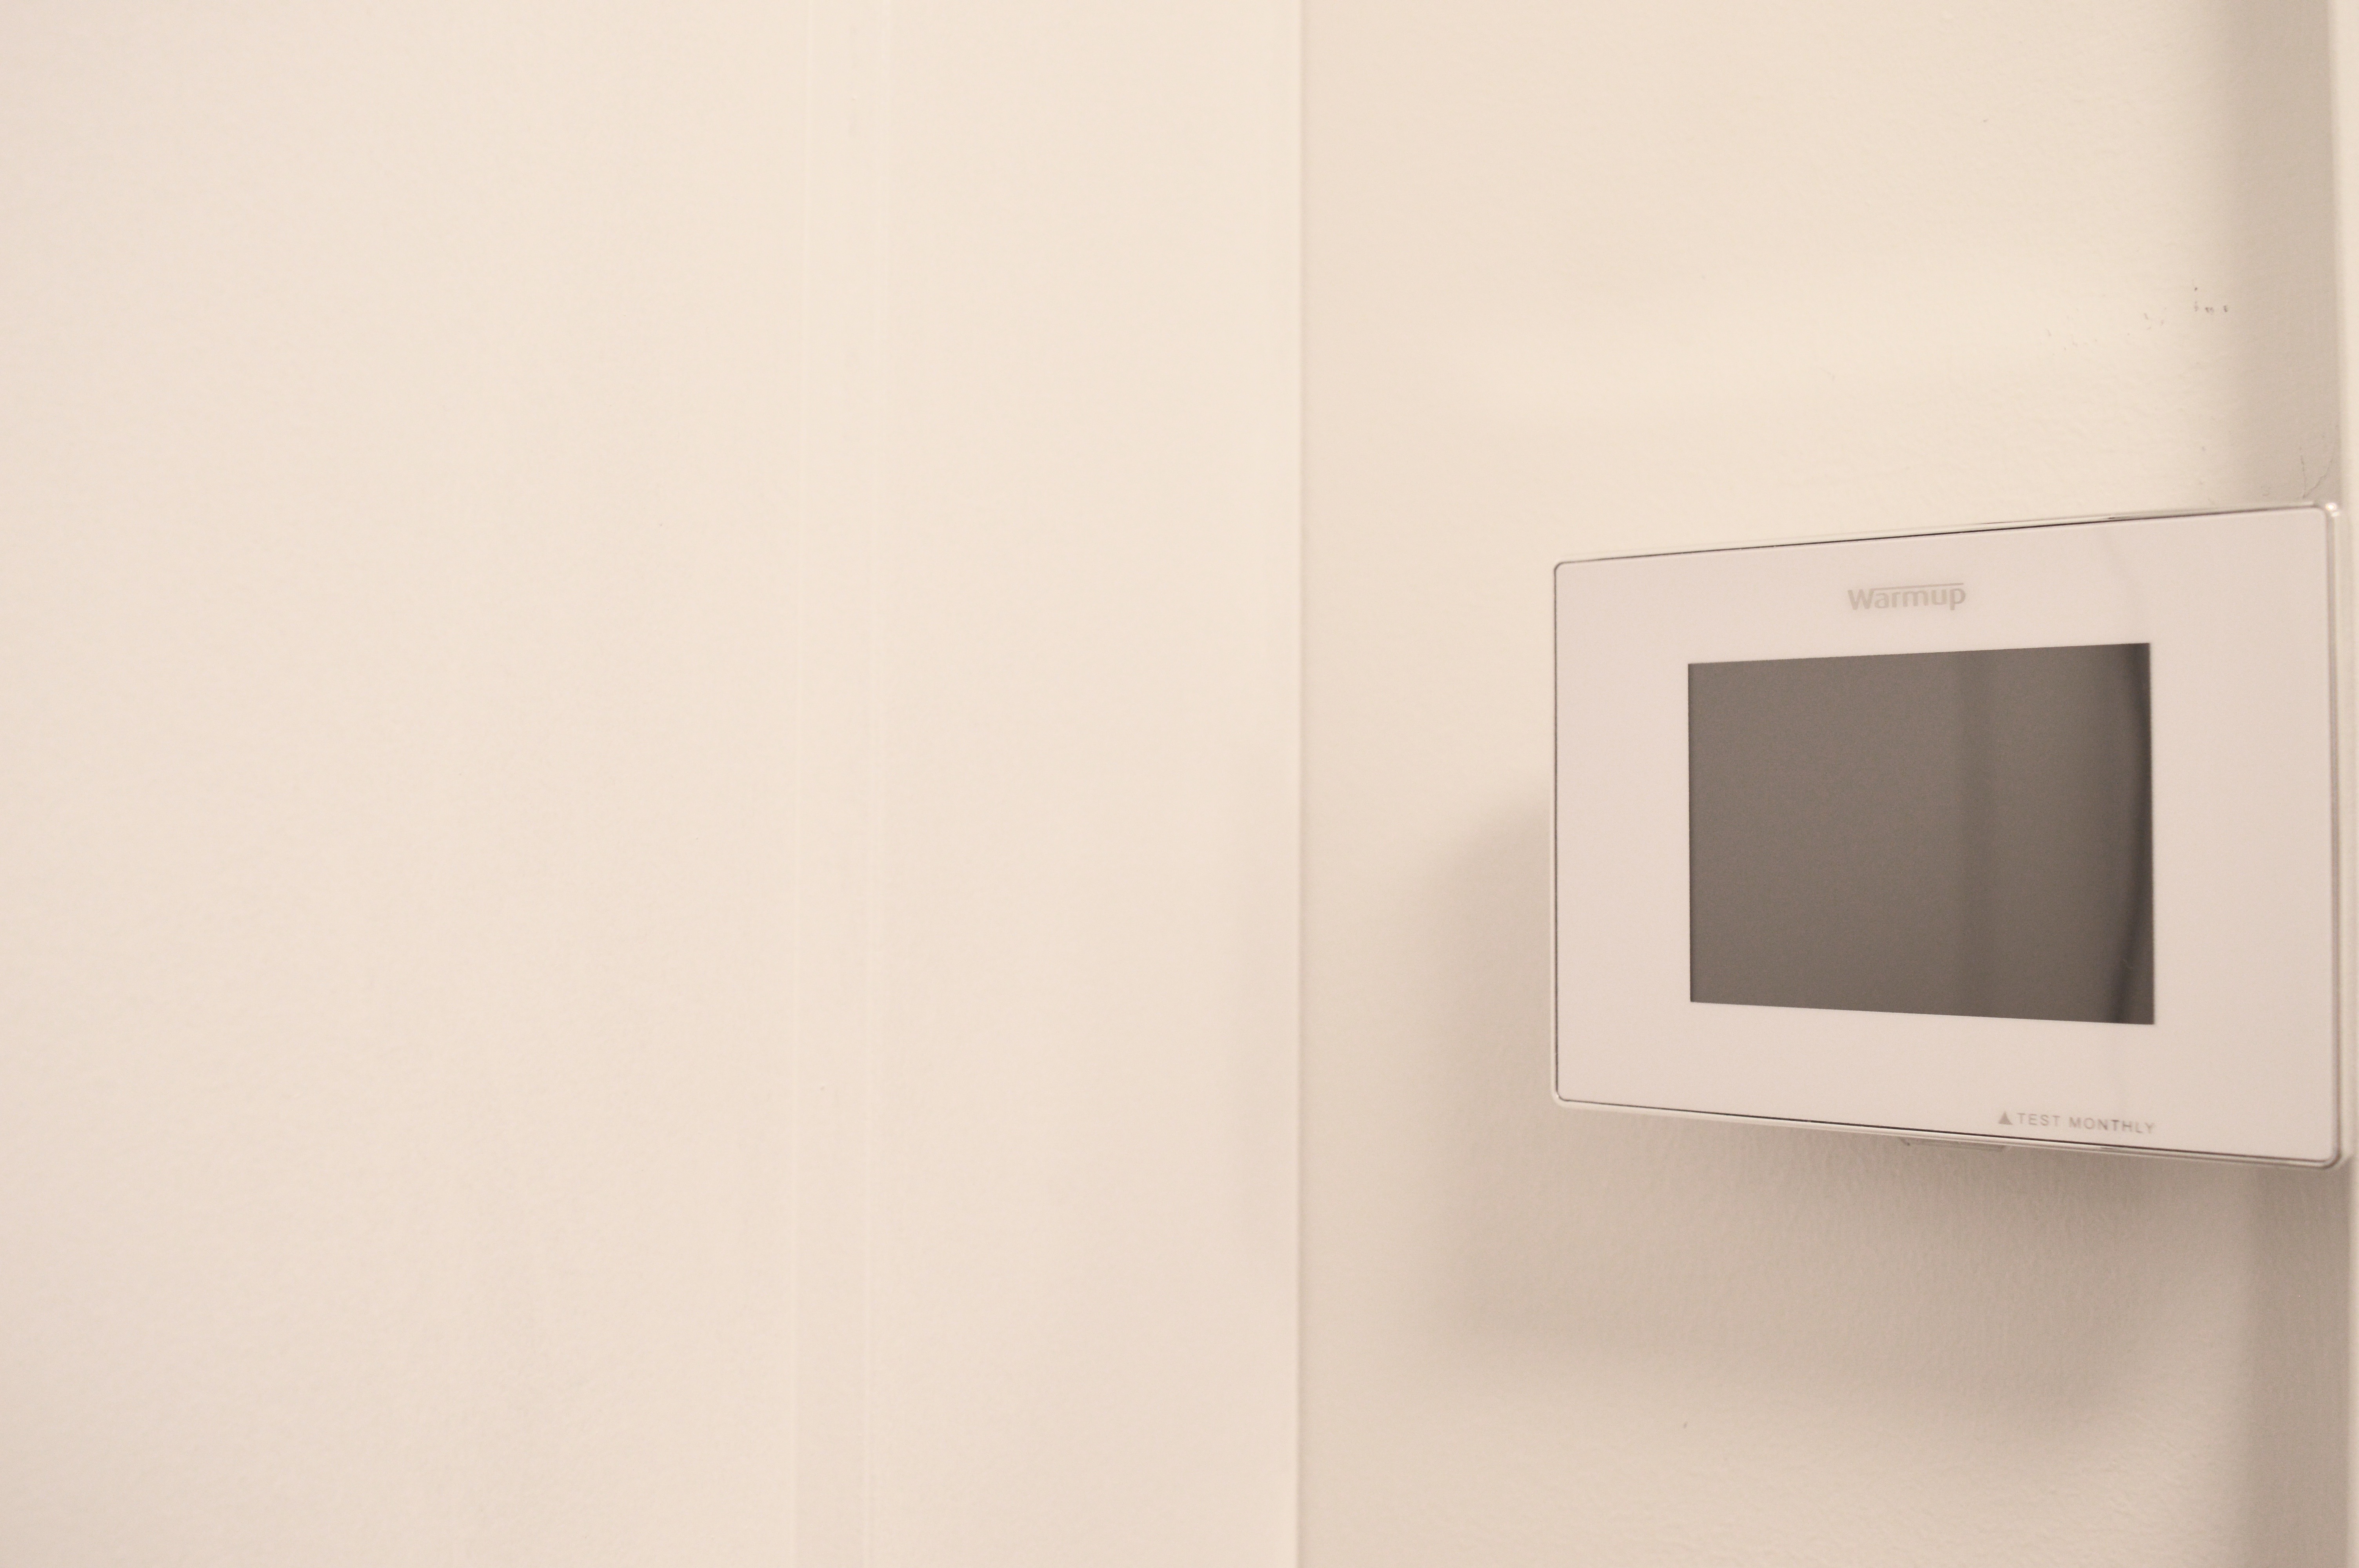
 The floor is much more exciting than what you might see in these photos. Beneath these gorgeous hex marble-like tiles is Warmup‘s floor heating system. And it’s luxurious! The thermostat is easy to use, and I have been playing around with different schedule settings.  I can even control the temperature from my phone. You know what this means, right? I can lie in bed on a Sunday morning and only get out to do laundry once my floor has been heated up! Genius! (Note: I haven’t added a bath mat to the space yet because I want to stare at the floors!)

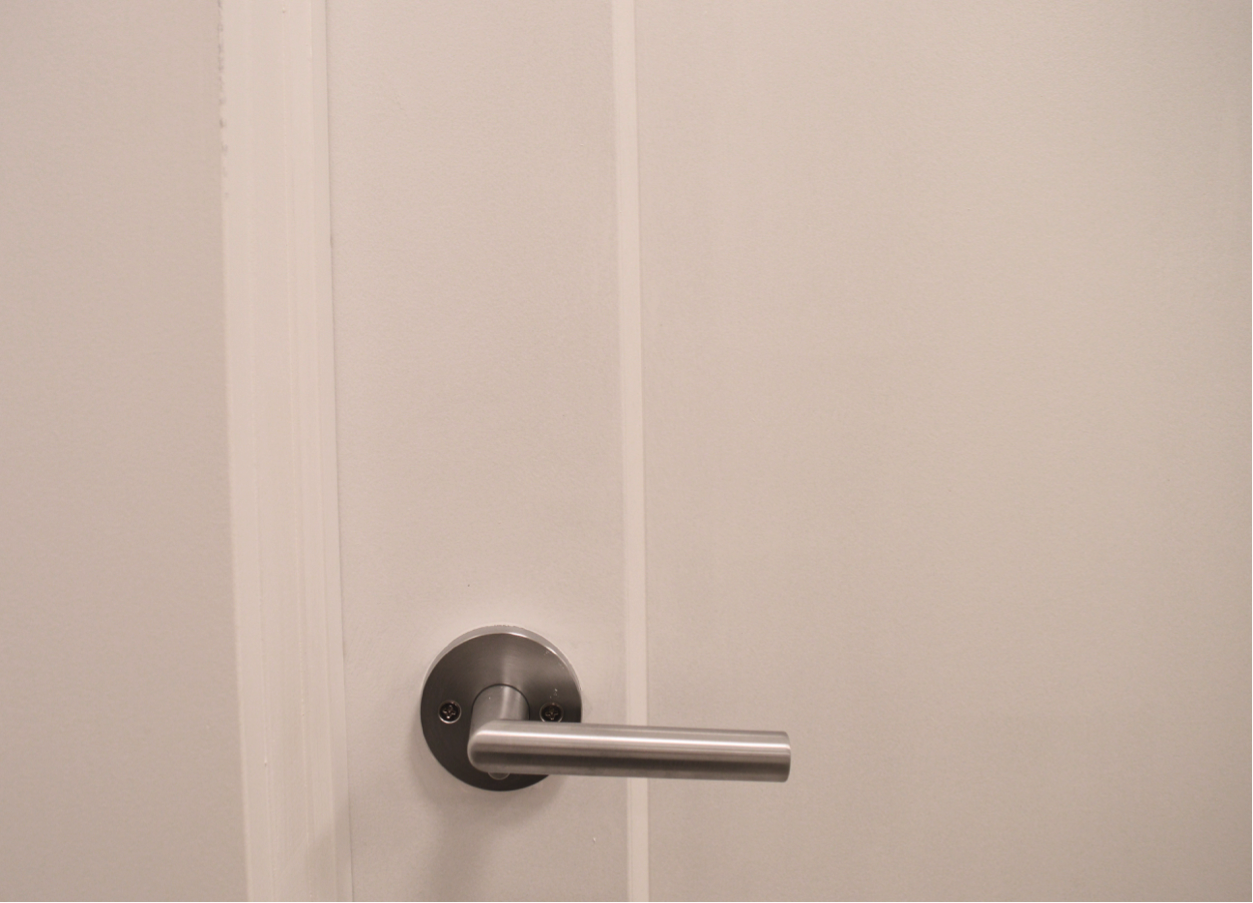
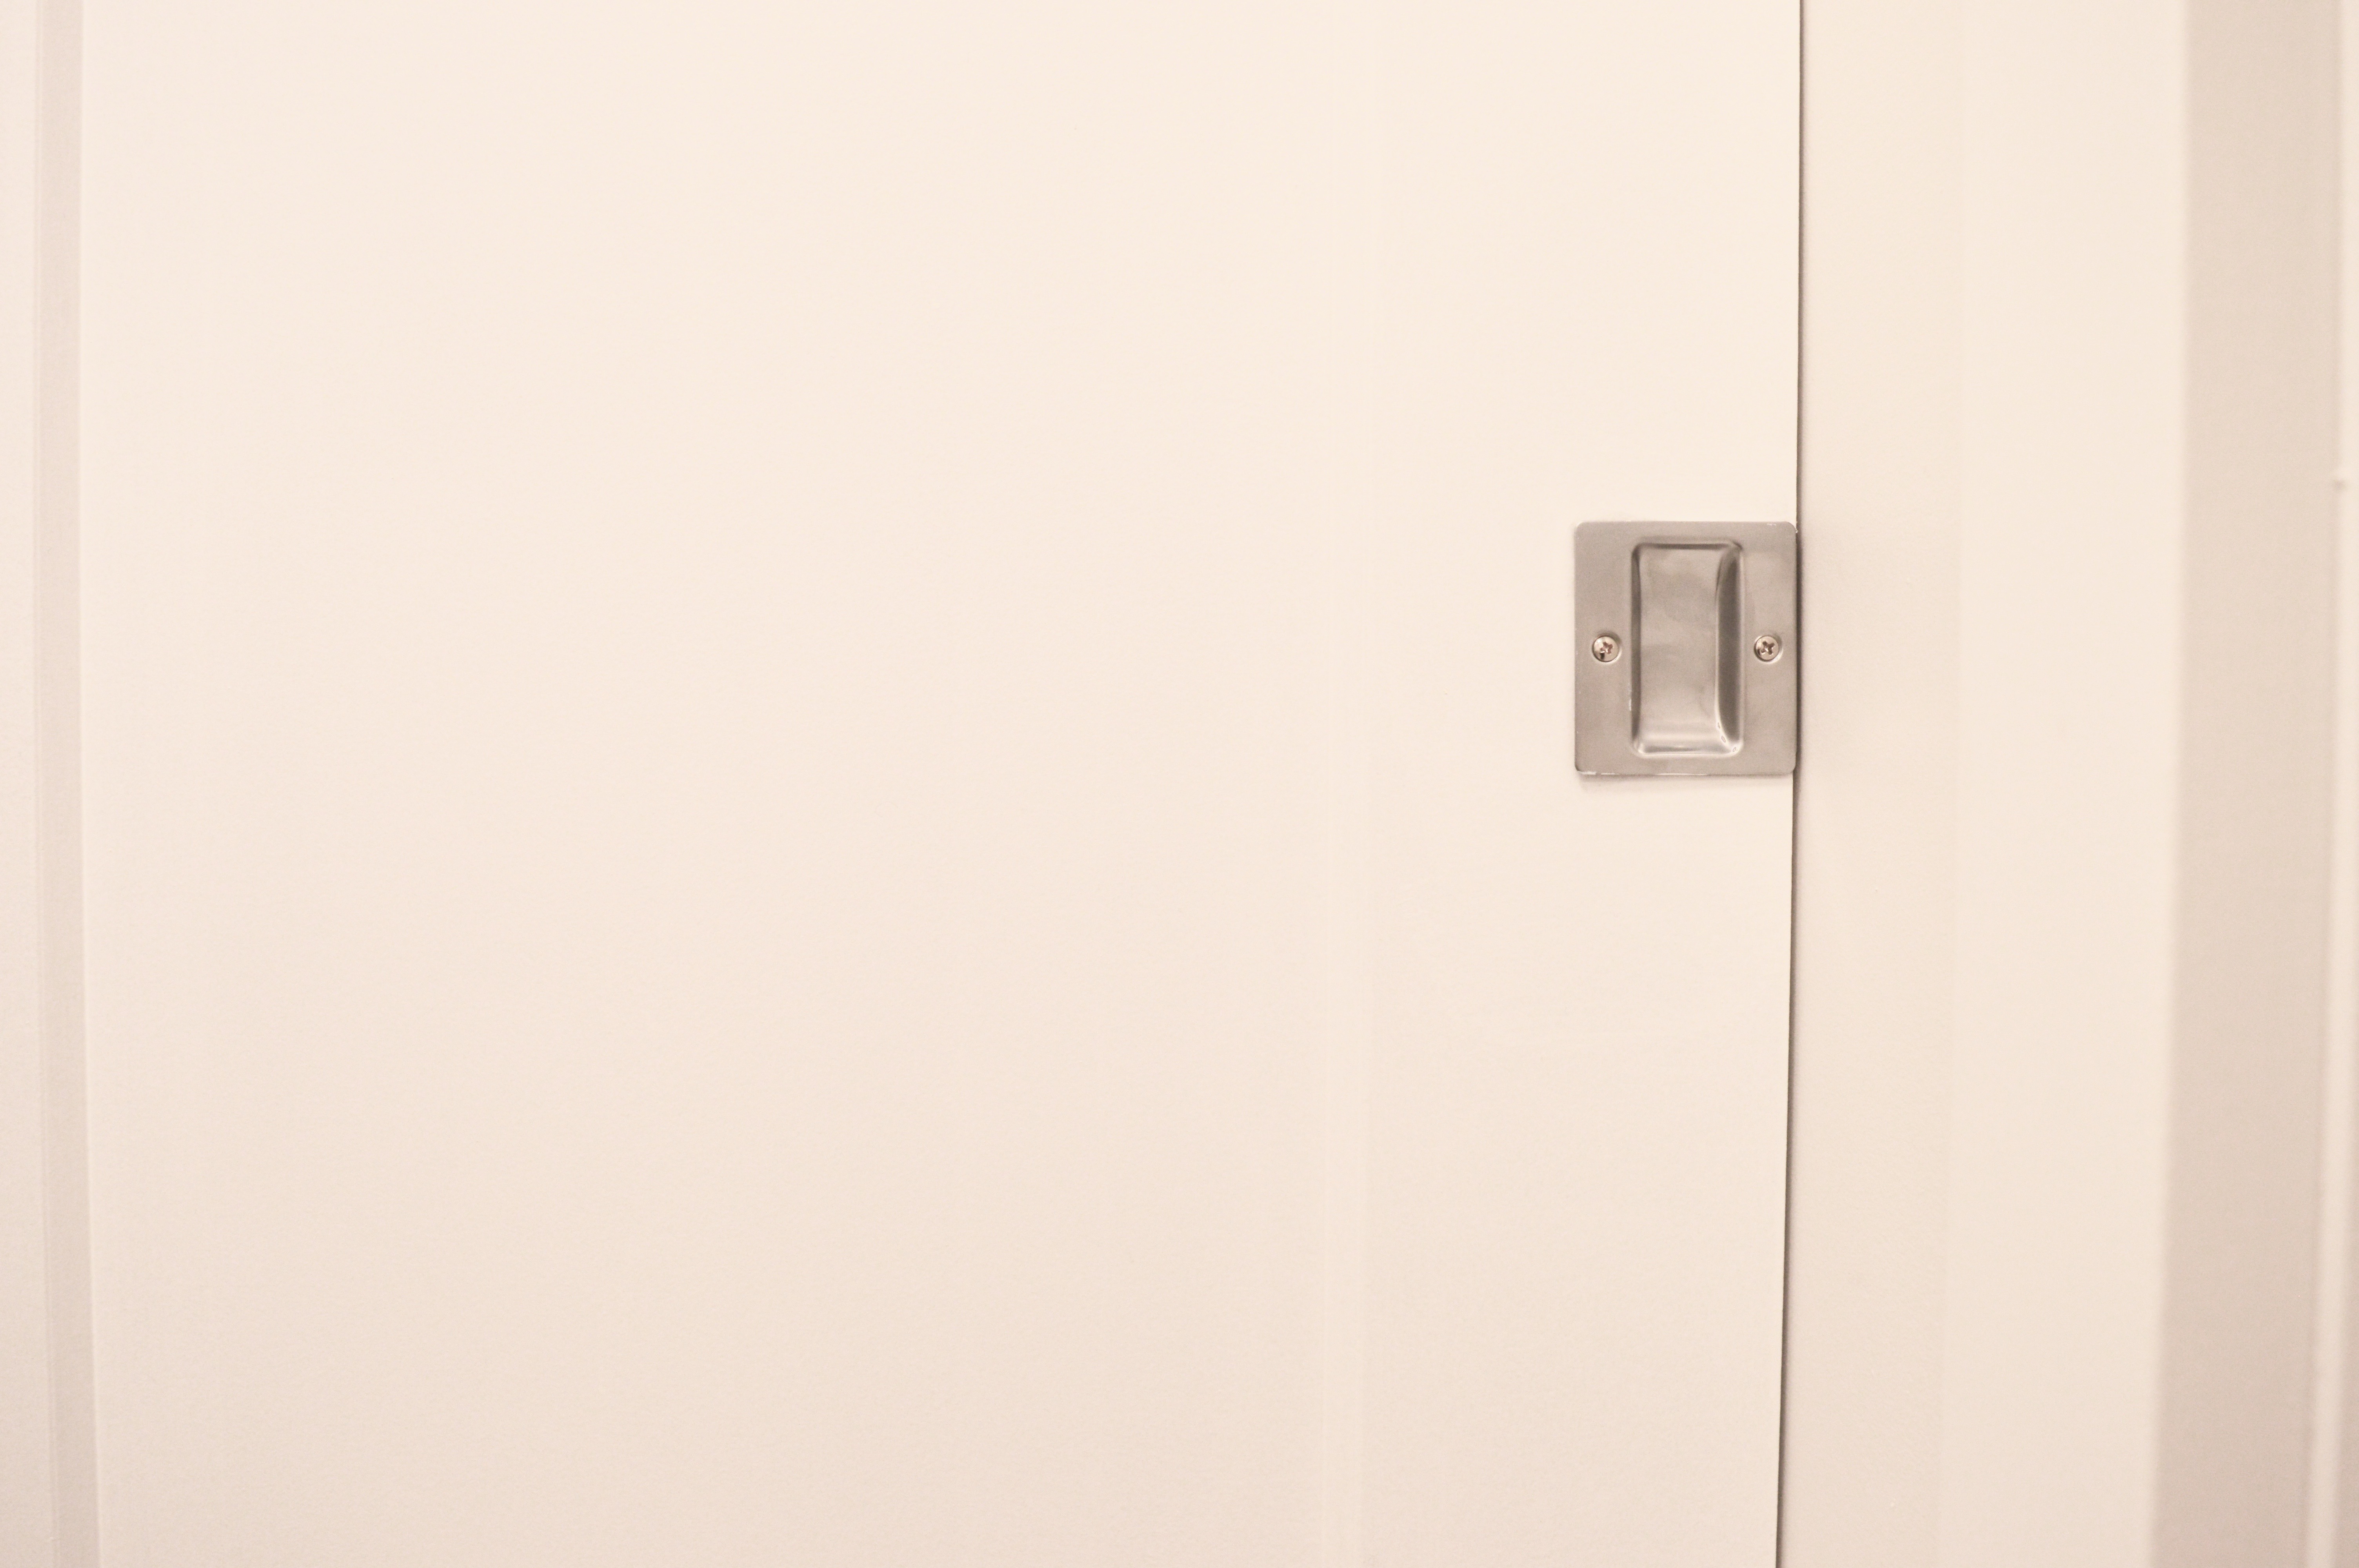
The doors in this space are Metrie’s Masonite Lincoln Park. I used the same style in my #byebyebifold makeover, so it only made sense to carry them into this new space. Side note: In fact, I have replaced all of my interior doors, and the change has refreshed my whole home! The door hardware (just like everywhere else in my home) is the Milan in satin chrome from Direct Door Hardware.

The addition of the pocket door to separate this gorgeous space from the less-than-gorgeous furnace room has been an especially smart addition. I was beyond ready to get rid of the accordion door six weeks ago, and I was even more thrilled when my drywaller told me he could get in a pocket door.

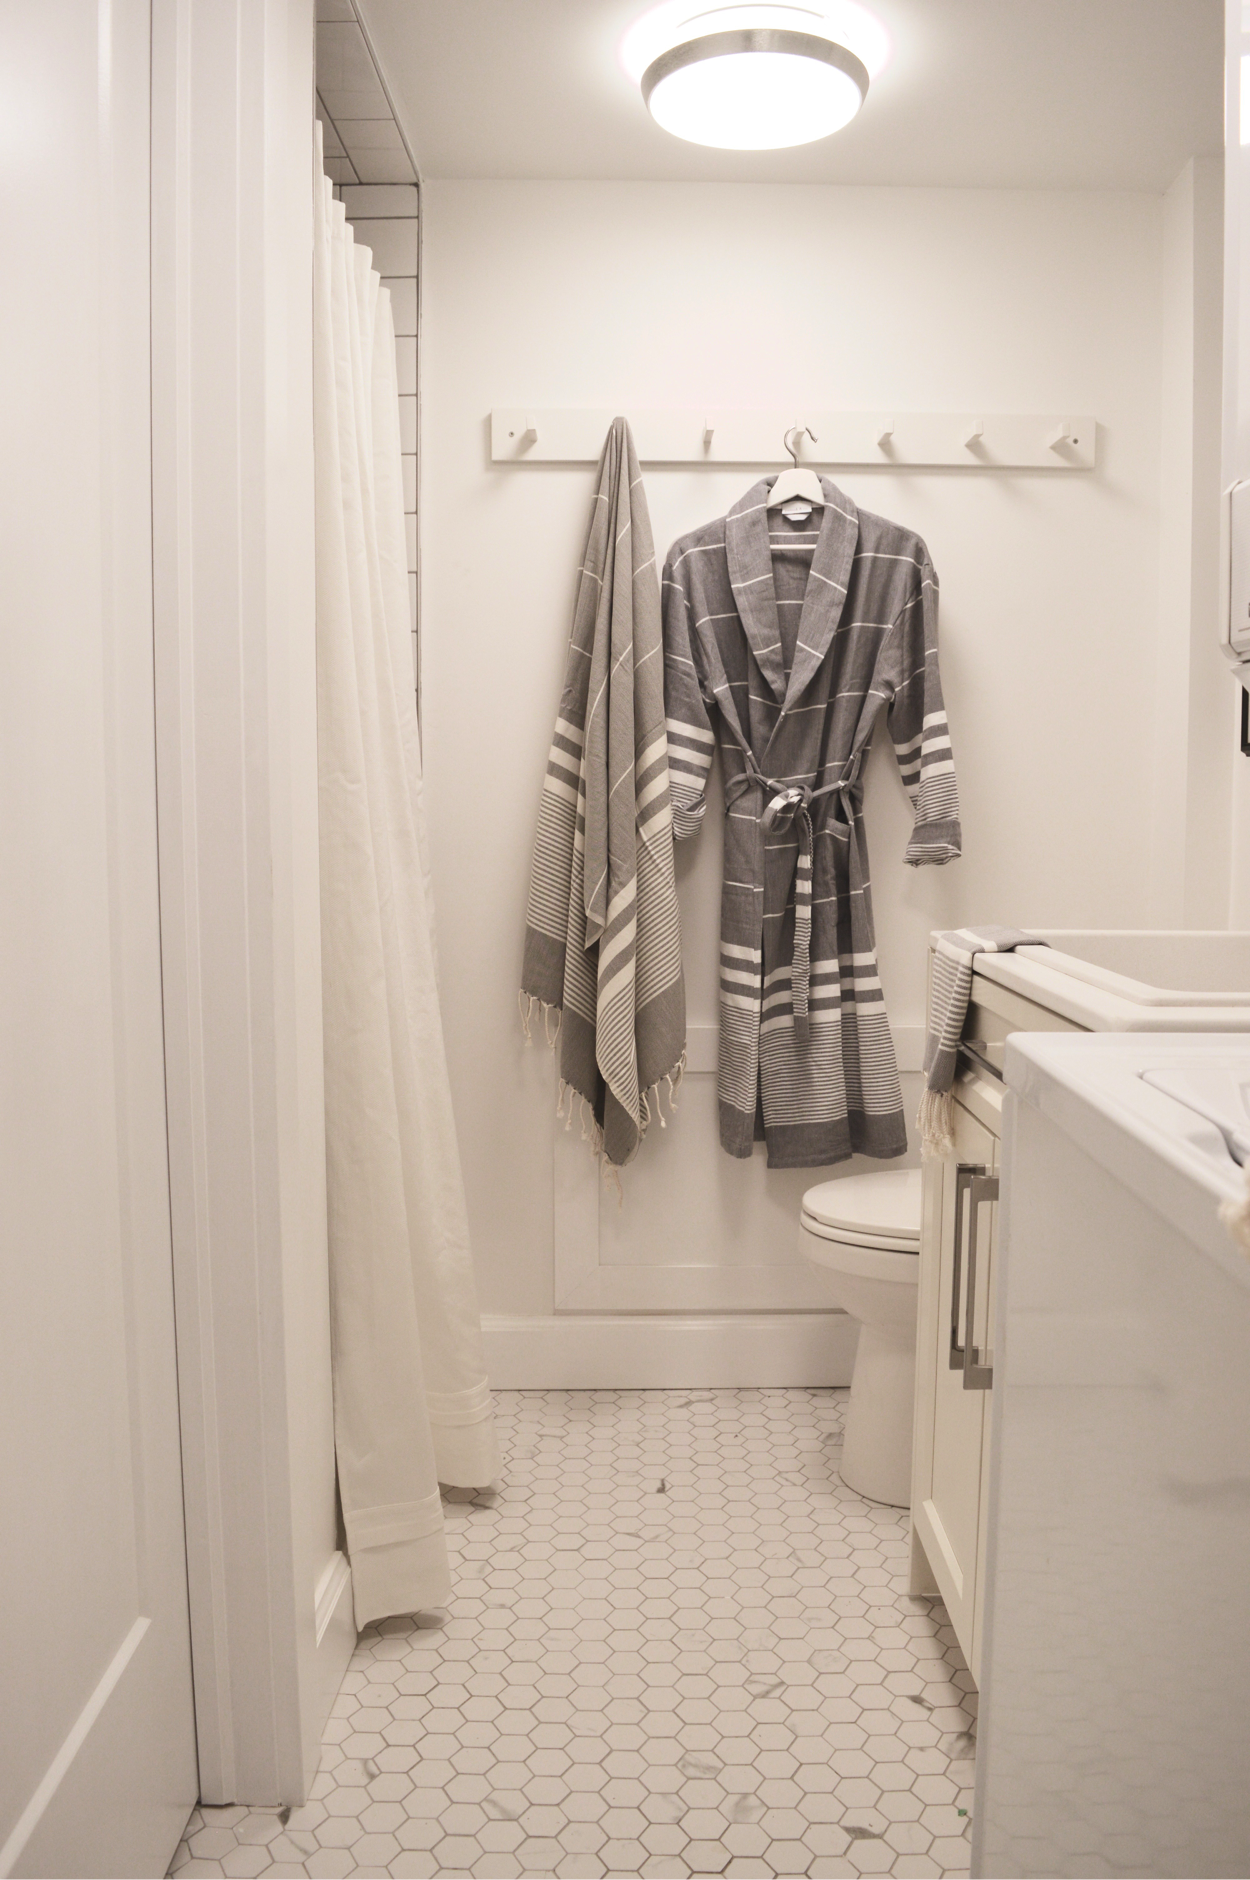
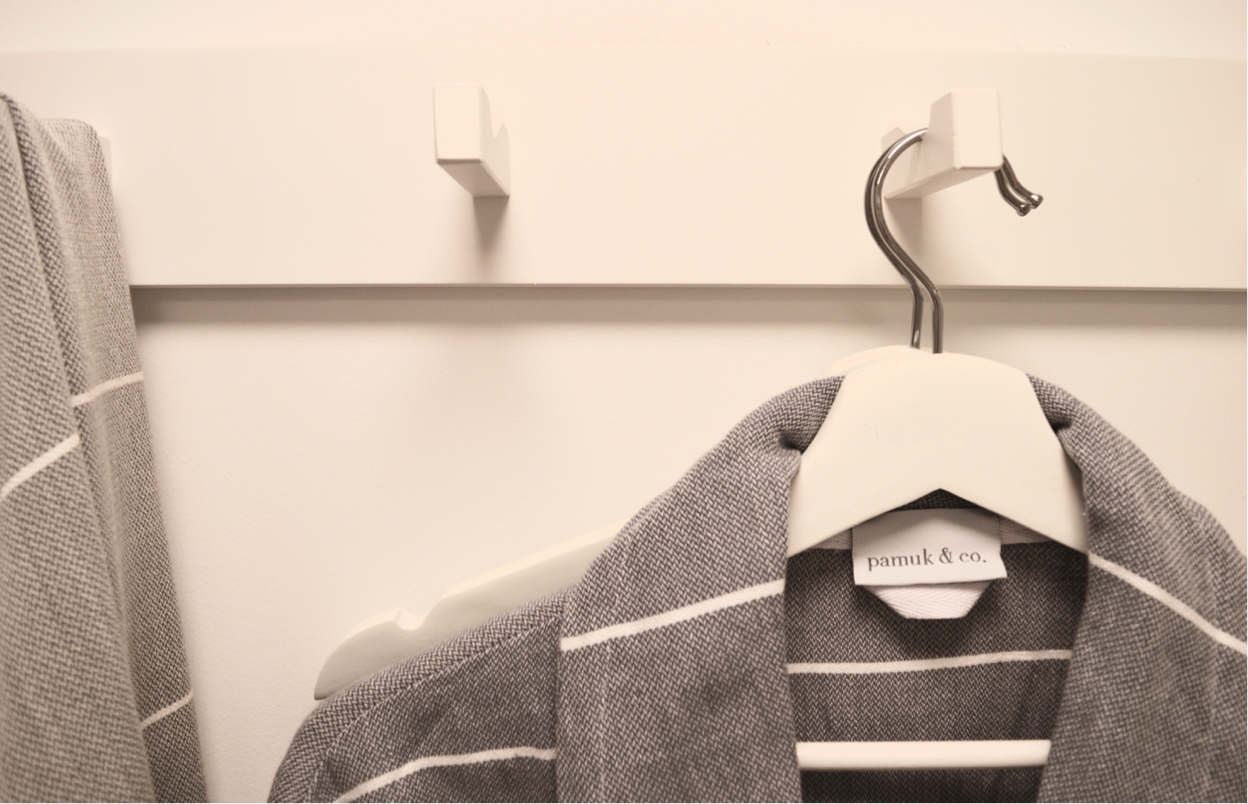
To bring more beauty into the space, I reached out to my friends at pamuk & co., and they sent me the softest set of Turkish towels and a matching robe. I am so spoiled with these items! Each towel is a piece of art, in my opinion. And have I mentioned how soft they are? Absolutely luxurious! You can see the robe in #WhiteCabanaStyle action in this Instagram photo! (Side note: pamuk & co. has been spotted in Meghan Markle’s hands post-yoga and in her former Toronto home!)

from pamuk & co.: Maya bathrobe, The Cabana, The Soho

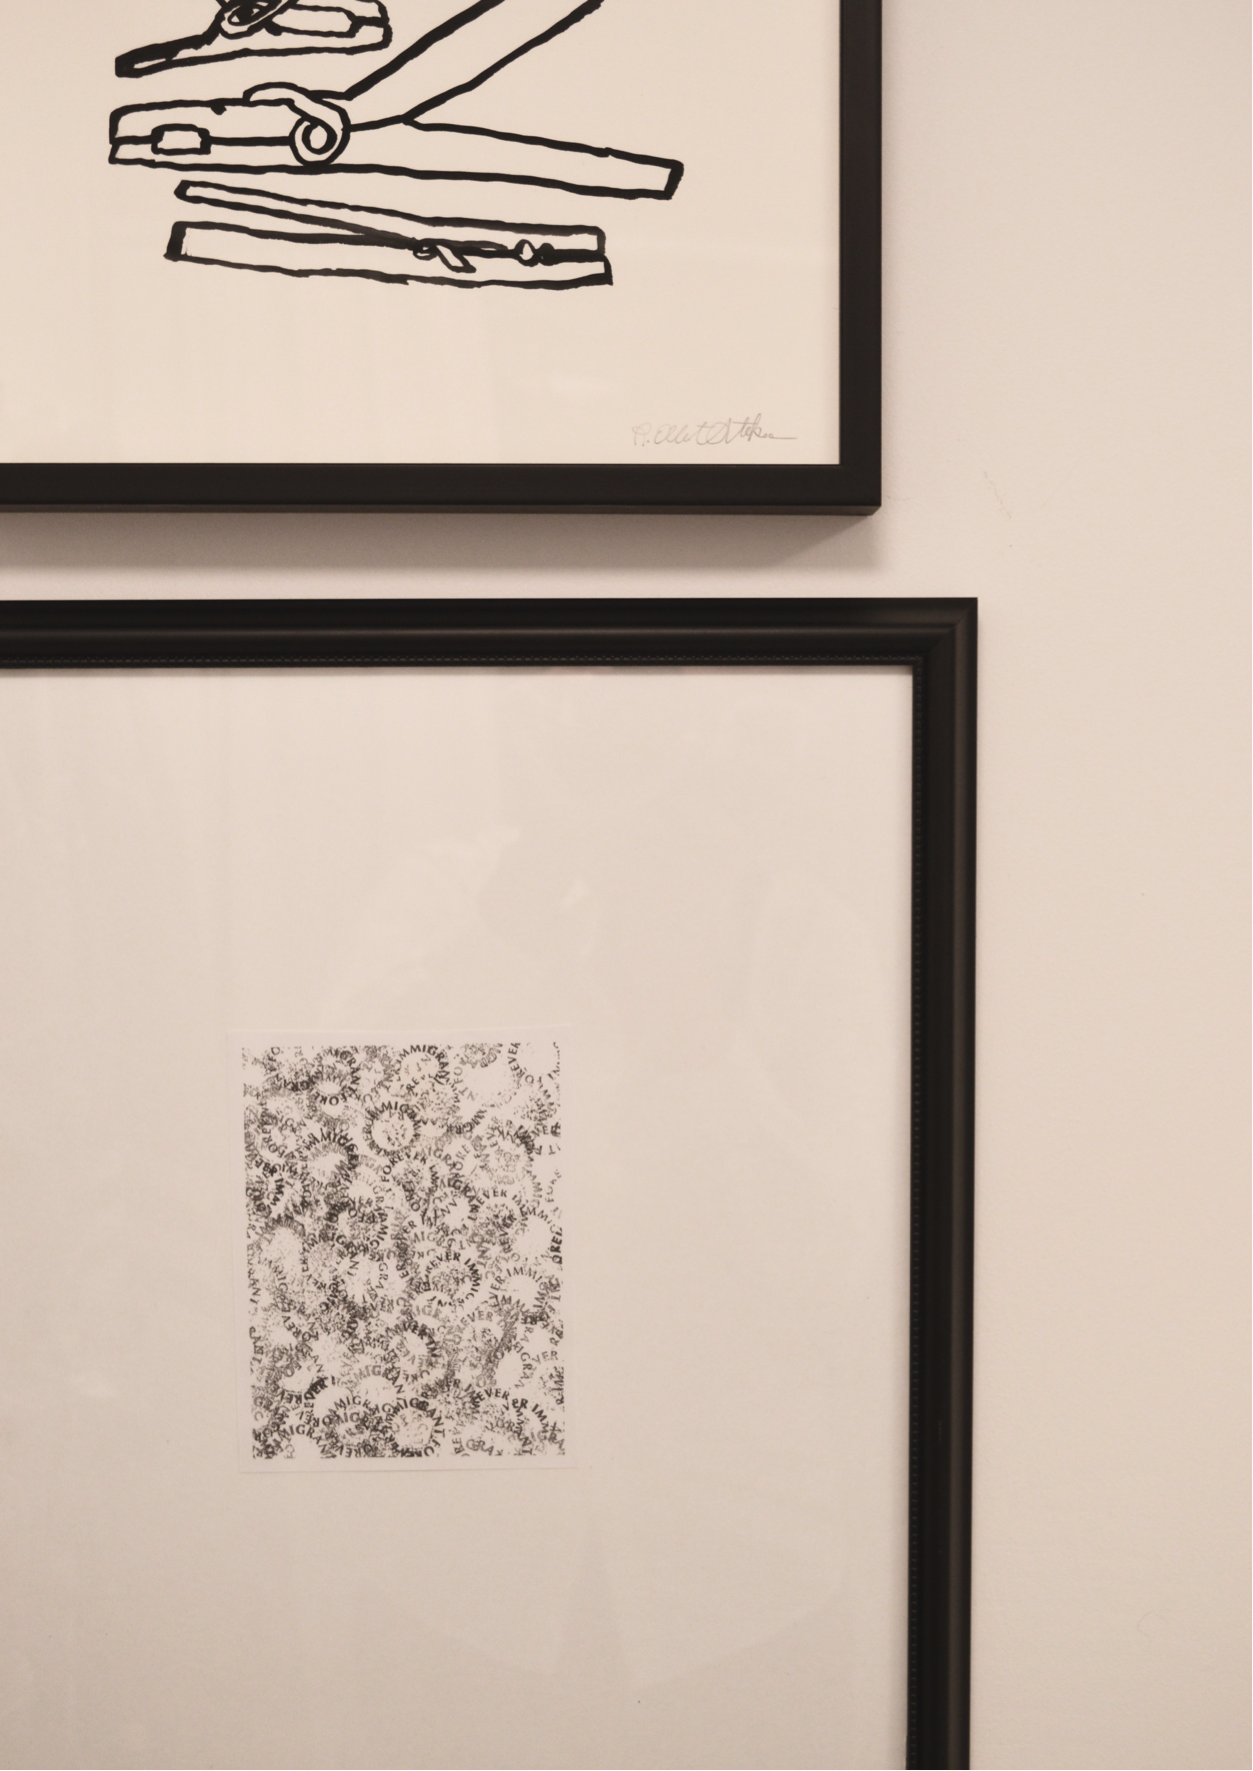
I have two pieces of art in this laundry/bathroom combo room. The top piece above the toilet is Clothespins 2 by Elliot Stokes from Minted. Under this is a photo my friend Suzanne took, and I printed. It’s a close-up photo of a large-scale piece by Marco Godinho called Forever Immigrant.” If you’d like to see more of the art, I recommend this video.

And one final look before I leave you for the day (to explore other One Room Challenge participants’ reveal posts):

Thanks again for following along this renovation journey with me.If you’d like to take a walk down memory lane, check out my week 1, week 2, week 3, week 4, and week 5 posts. And for more inspiration, click on over to the reveal posts from the One Room Challenge’s featured designers and guest participants.

Thanks to Blanco, Warmup, Minted, and Pamuk & Co. for collaborating on this project. All opinions are my own.

Thanks to my construction team for making my design come to life: Chris, Troy, and Tony. Thanks to Mom and Dad for your continued willingness to help out and get messy!

***

Sources:
sink: Blanco Liven (c/o)
faucet: Blanco Urbena (c/o)
floor heating: Warmup (c/o)
robe and towels: pamuk & co. (c/o)
art: Minted (c/o)
art: photo from a friend
hooks: Ikea
hangers: Ikea
cabinet and counter top: custom
cabinet paint: Chantilly Lace
mirror: HomeSense
doors: Metrie Masonite Lincoln Park
door handle: Milan, Direct Door Hardware
floor tiles: Toronto
wall tiles: Toronto
shower system: Moen Arris
toilet paper holder: Bed Bath and Beyond
toilet: Costco
ceiling lights: Costco

One Room Challenge: Laundry Room – Week 5

We are near the end of this spring’s One Room Challenge event.

I can barely believe it actually. This week 1 before post seems like a distant memory now that all my new pieces are in place. This is definitely going to be a dramatic before-and-after feature, so I hope you’ll stick around until next week to see the big reveal.

For now, here are a few glimpses into my transformed space.

My Blanco Liven sink and Urbena faucet were installed. They’re surrounded by a white quartz countertop and a custom cabinet.

My drywaller made the greatest invention to cover my water main valve.

My pocket door is one of my favourite features of my new room.

And my new mirror adds some classic shine to this high-functioning room.

Finally, my WarmUp floor heating thermostat was installed, and it works perfectly. My floor warms up in minutes, and it’s definitely a luxury for this space. Without the floor heating system, my tile floor is so cold!

Over the next week, I’ll be adding all the finishing touches: shower curtain, toilet roll holder, and art. It’s going to be a fun week!

Check out my week 1, week 2, week 3, and week 4 posts to get caught up on all the action. And for more inspiration, click on over to the posts from the One Room Challenge’s featured designers and guest participants.

Thanks to Blanco and WarmUp for collaborating on this project. All opinions are my own.

One Room Challenge: Laundry Room – Week 4

Welcome back to the One Room Challenge, everyone! Are you enjoying seeing all the progress participants and guests are making? I sure am! If you’ve just joined in on the White Cabana laundry/bathroom reno fun, check out my week 1, week 2, and week 3 posts. Week 4 means things are starting to get pretty!

Last week, I showed you a relatively cleaned-up space (a big change from the weeks before where I showed you a fully gutted space). In the past couple of weeks, the WarmUp heated floor was installed. The drywall was finished. Pipes were in place. And things only improved from there!

The major game-changer to the look of my space this week was the tile install. Like my other tradespeople, my tiler was top-notch. Honestly, everyone, I feel so lucky to have worked with my team of tradespeople. I was worried pre-reno because I didn’t have any  contacts in Waterloo, but one thing led to another (one phone call led to another), and I ended up with great people!

My tilers were so precise. And my room looks amazing because of their work. Have a look:

The picture above shows the space as you walk into it. The stacked laundry unit will be on the right side against the wall. It may not seem much to you, but all those pipes and holes in the wall mean major progress for this space! Of course the new pipe set-up increased my costs, but it was worth it. My plumber did a great job, and everything is much tidier than it was pre-reno. And the dryer vent was moved up high which makes much more sense. So tidy! I love it!

I went with ceramic hex tiles in a marble-esque pattern. So pretty. I had considered marble for the space, but because of all the water spillage that can happen in this workhorse of a room (and Waterloo’s awful hard/soft water issues), I just didn’t want to risk ruining marble.

On this side of the room, I’ll have my toilet. The sink will sit in between the toilet and the stacked laundry. My plumber cleaned up some of the pipes that you see in that wall hole. So good. And my drywaller has fashioned the best cover for that hole, too. I just don’t have photos of it yet, so stay tuned.

And on the left side of the room is this beautiful shower! Oh my goodness! What a treat to have a shower in this space. Small but mighty! That’s what I keep saying about this room, and that’s what I continue to believe. My team installed this basic 34″ x 34″ shower, and it’s going to be so convenient for me and my guests once the space is done. The flooring is a continuation of the 2″x2″ hex tile from the rest of the floor. It’s easier on the eyes. On the wall, I went with my fave – a subway tile. This tile is 4″ x 12″, and I’ve got pretty small grout lines. I’m really happy I opted for this larger version of the classic subway tile.

Did you notice how everything lines up so well? Sign of good tilers! They completed this job in just three days, and I was very pleased that this part of the project progressed so quickly.

I opted for grey grout everywhere, and things are looking sleek and clean…just how I like it! Isn’t it exciting to know that the full reveal will be in just two weeks? I can’t wait!

As per usual, I encourage you to check out what the One Room Challenge guest participants and featured designers have been up to during week 4.

If you’d like to see more of my ORC progress, see my week 1, week 2, and week 3 posts. Thanks to WarmUp for supplying my new floor heating system. All opinions are my own.