Welcome back to the One Room Challenge. Today marks the halfway point of this 6-week makeover journey, and things are looking pretty good in my new laundry/bathroom…even though the photos in this post (and my week 1, week 2 posts) are full of dirt, dust, and mess!

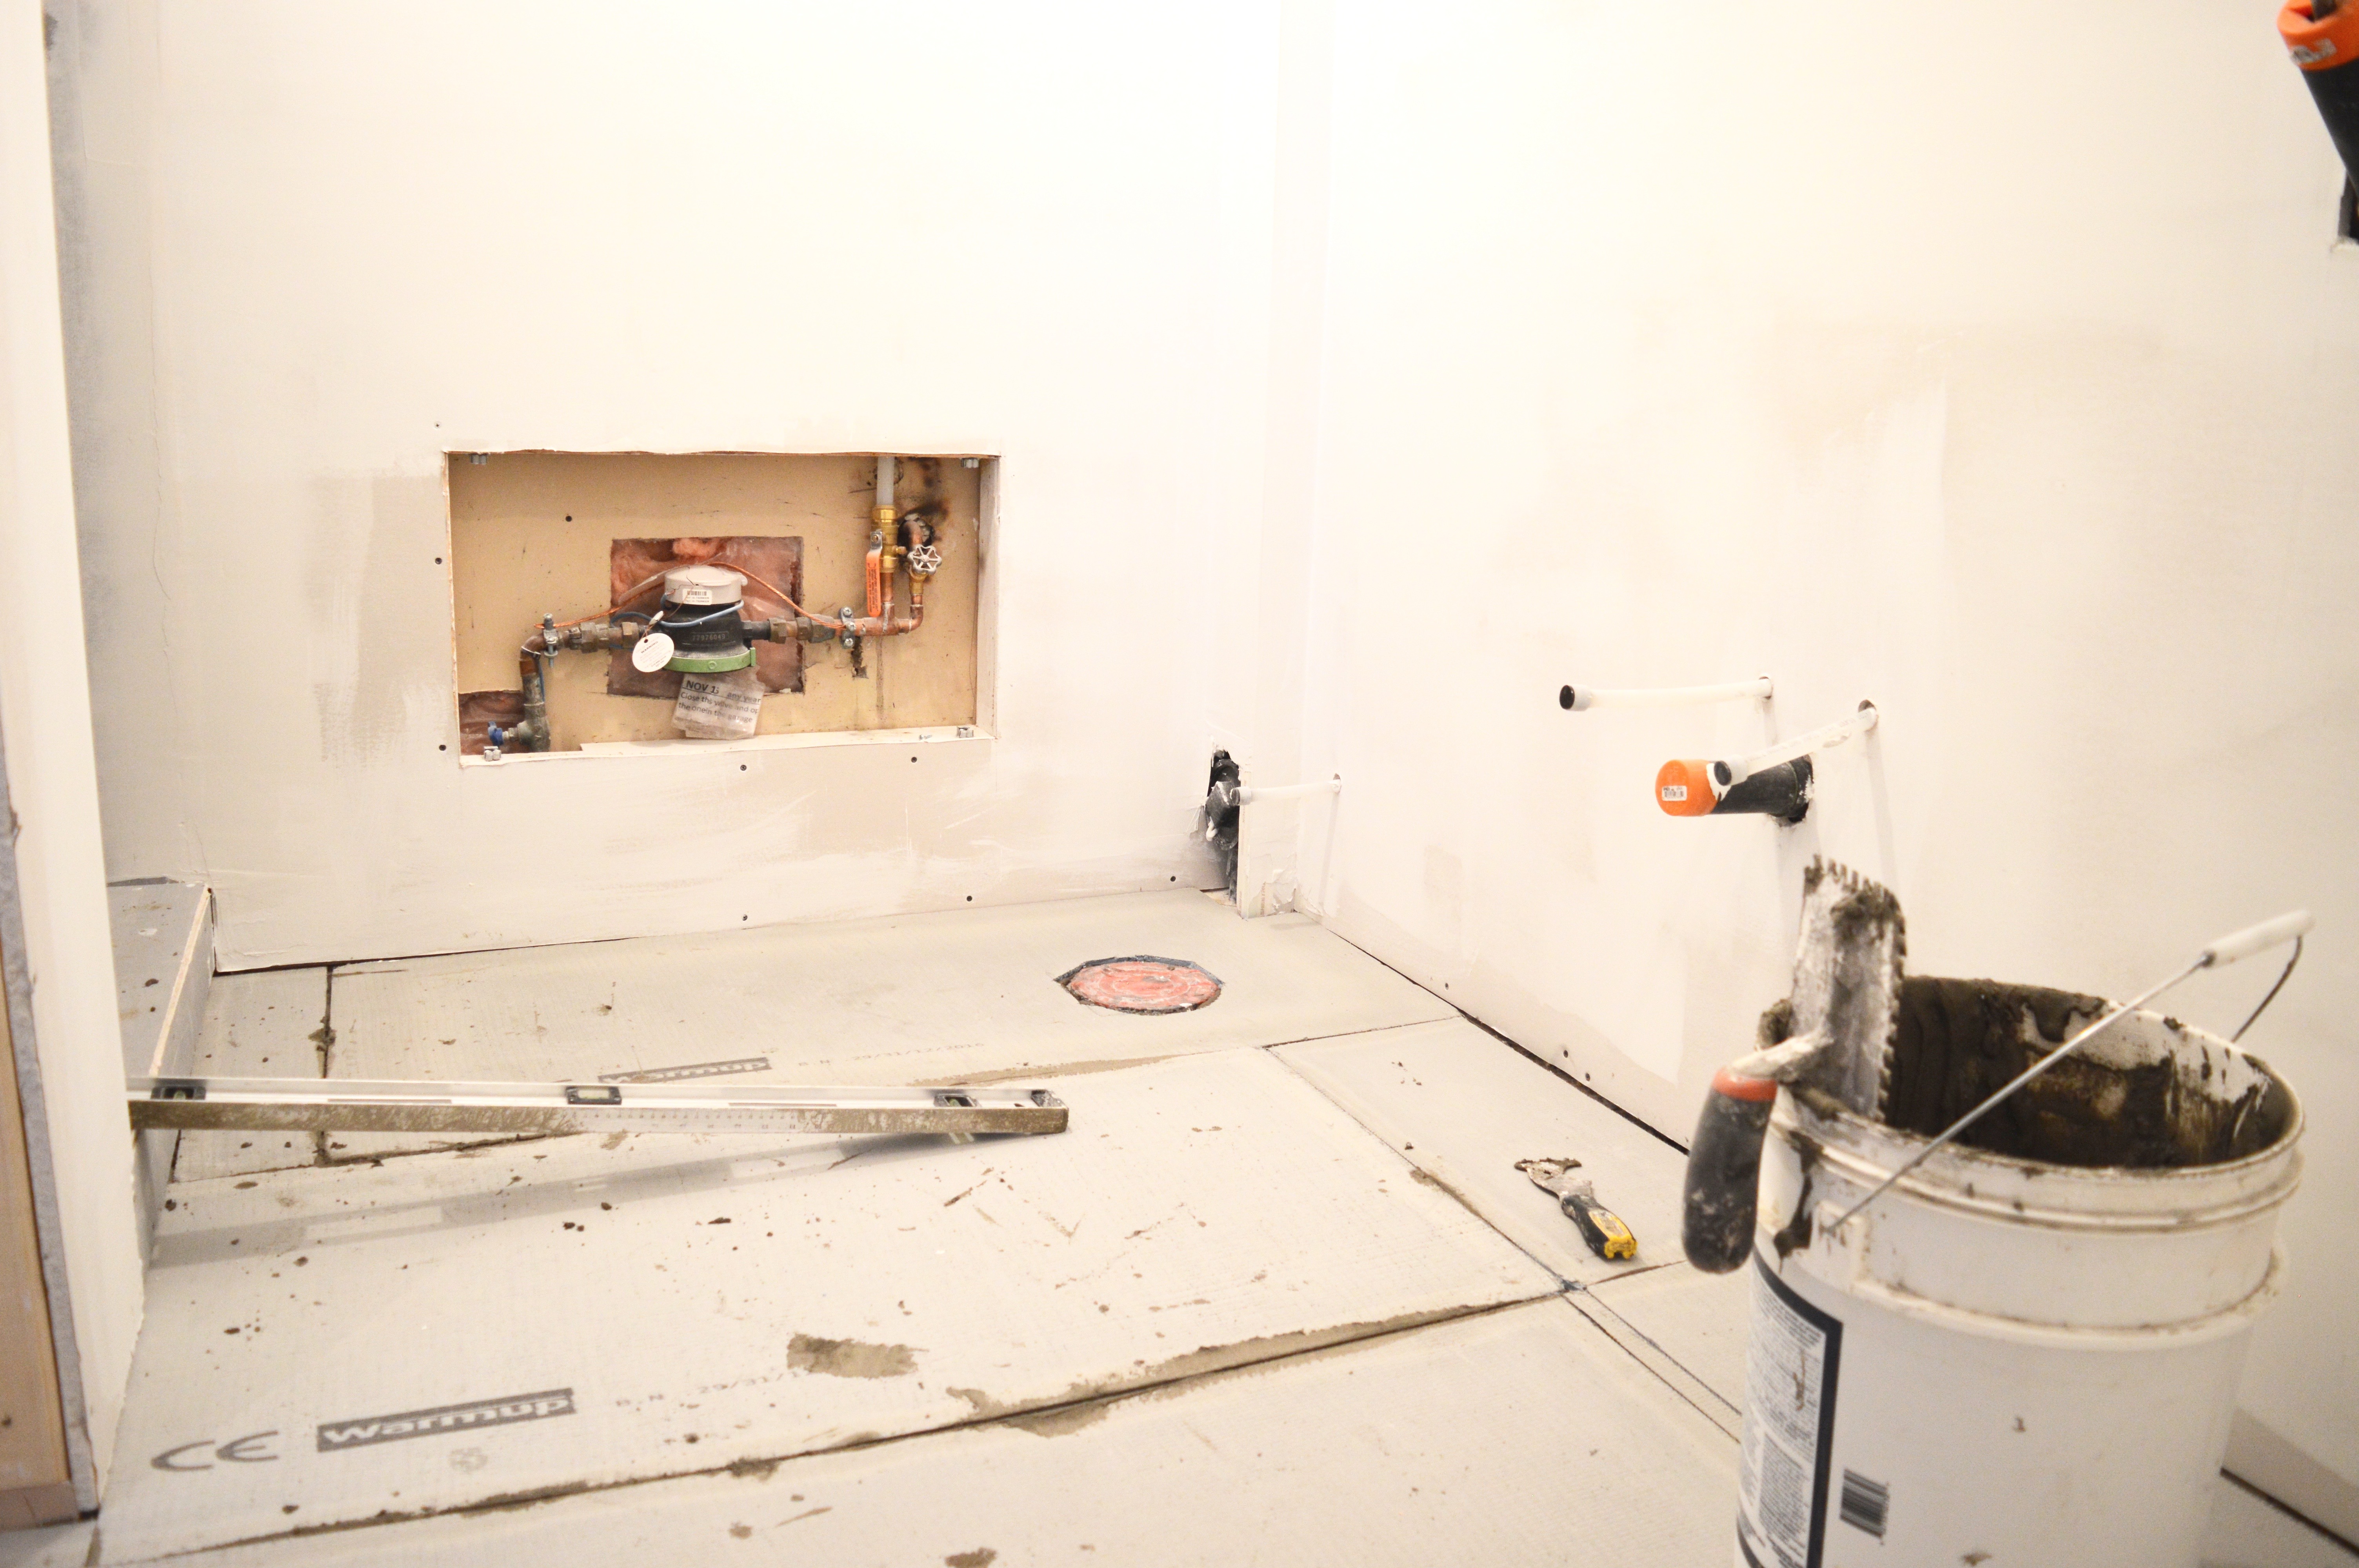
This week, I’m sharing what happened after the plumber gave my pipes a makeover. He installed a shower, as you may recall, so when he left there was a big trench in my room. The floor needed patching, the walls needed insulating, and there was still a bunch of plumbing to take care of.  the beginning of a beautiful shower
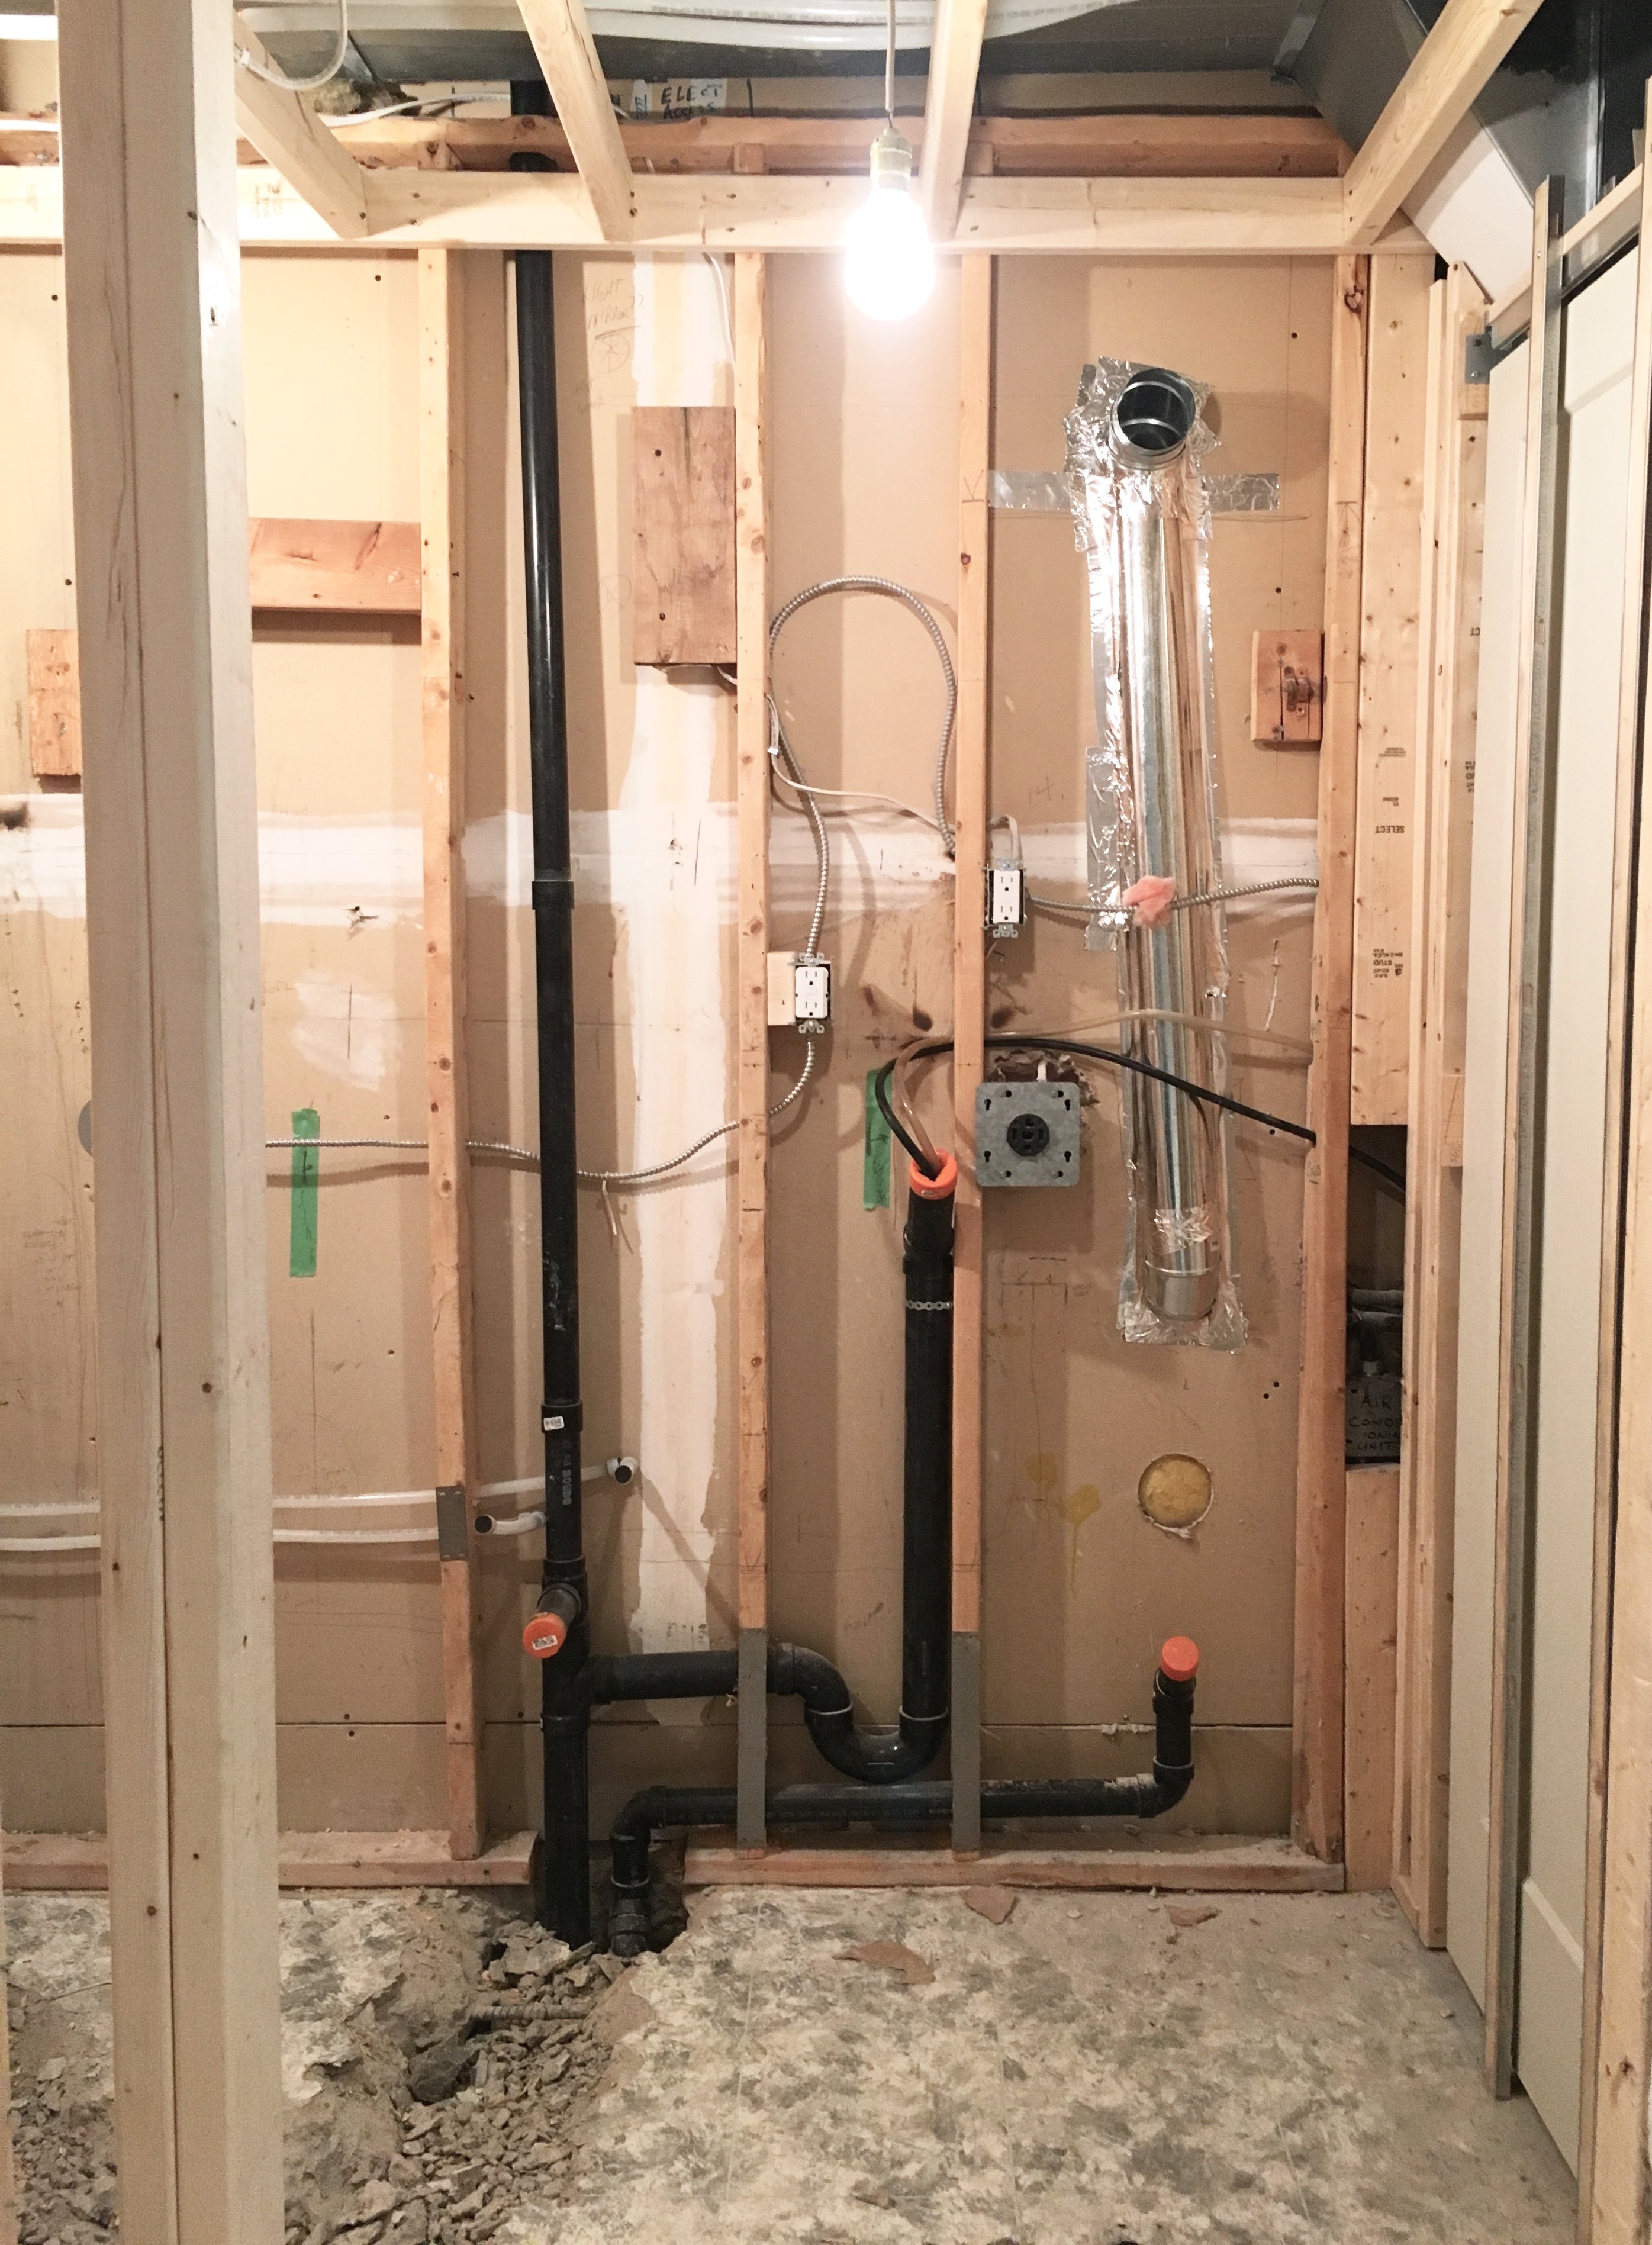
check out those pipes

insulation installation
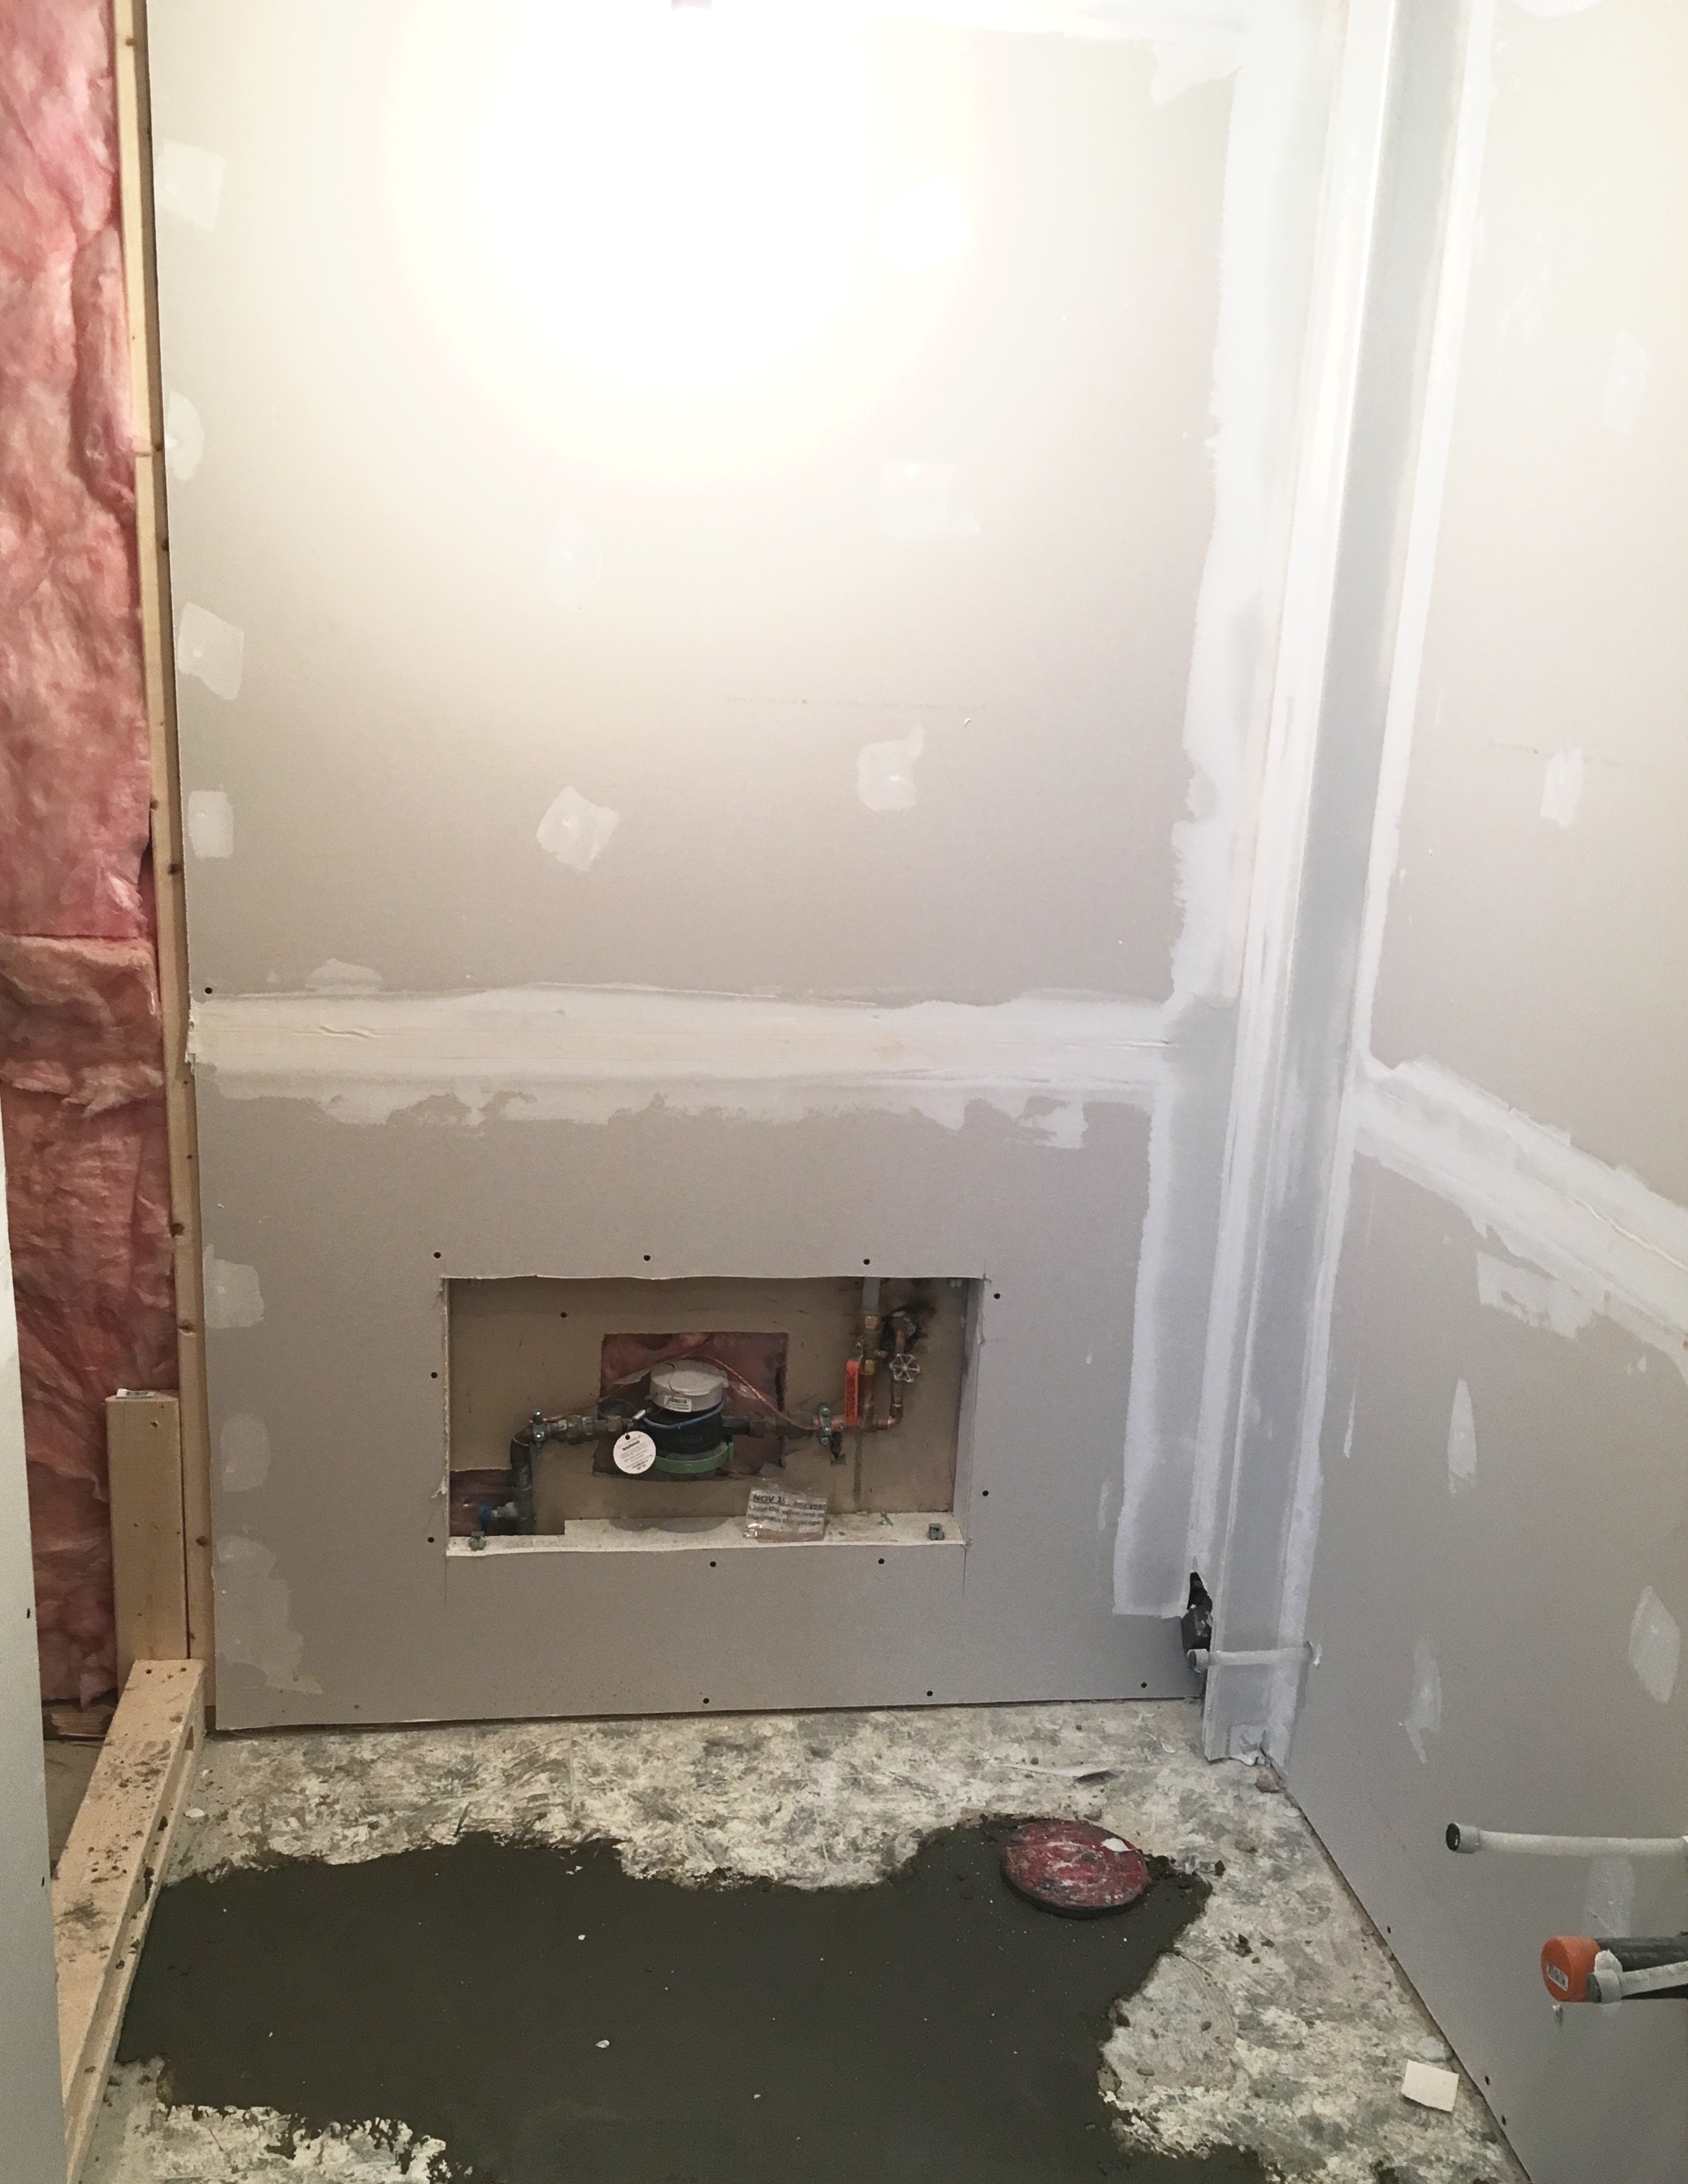
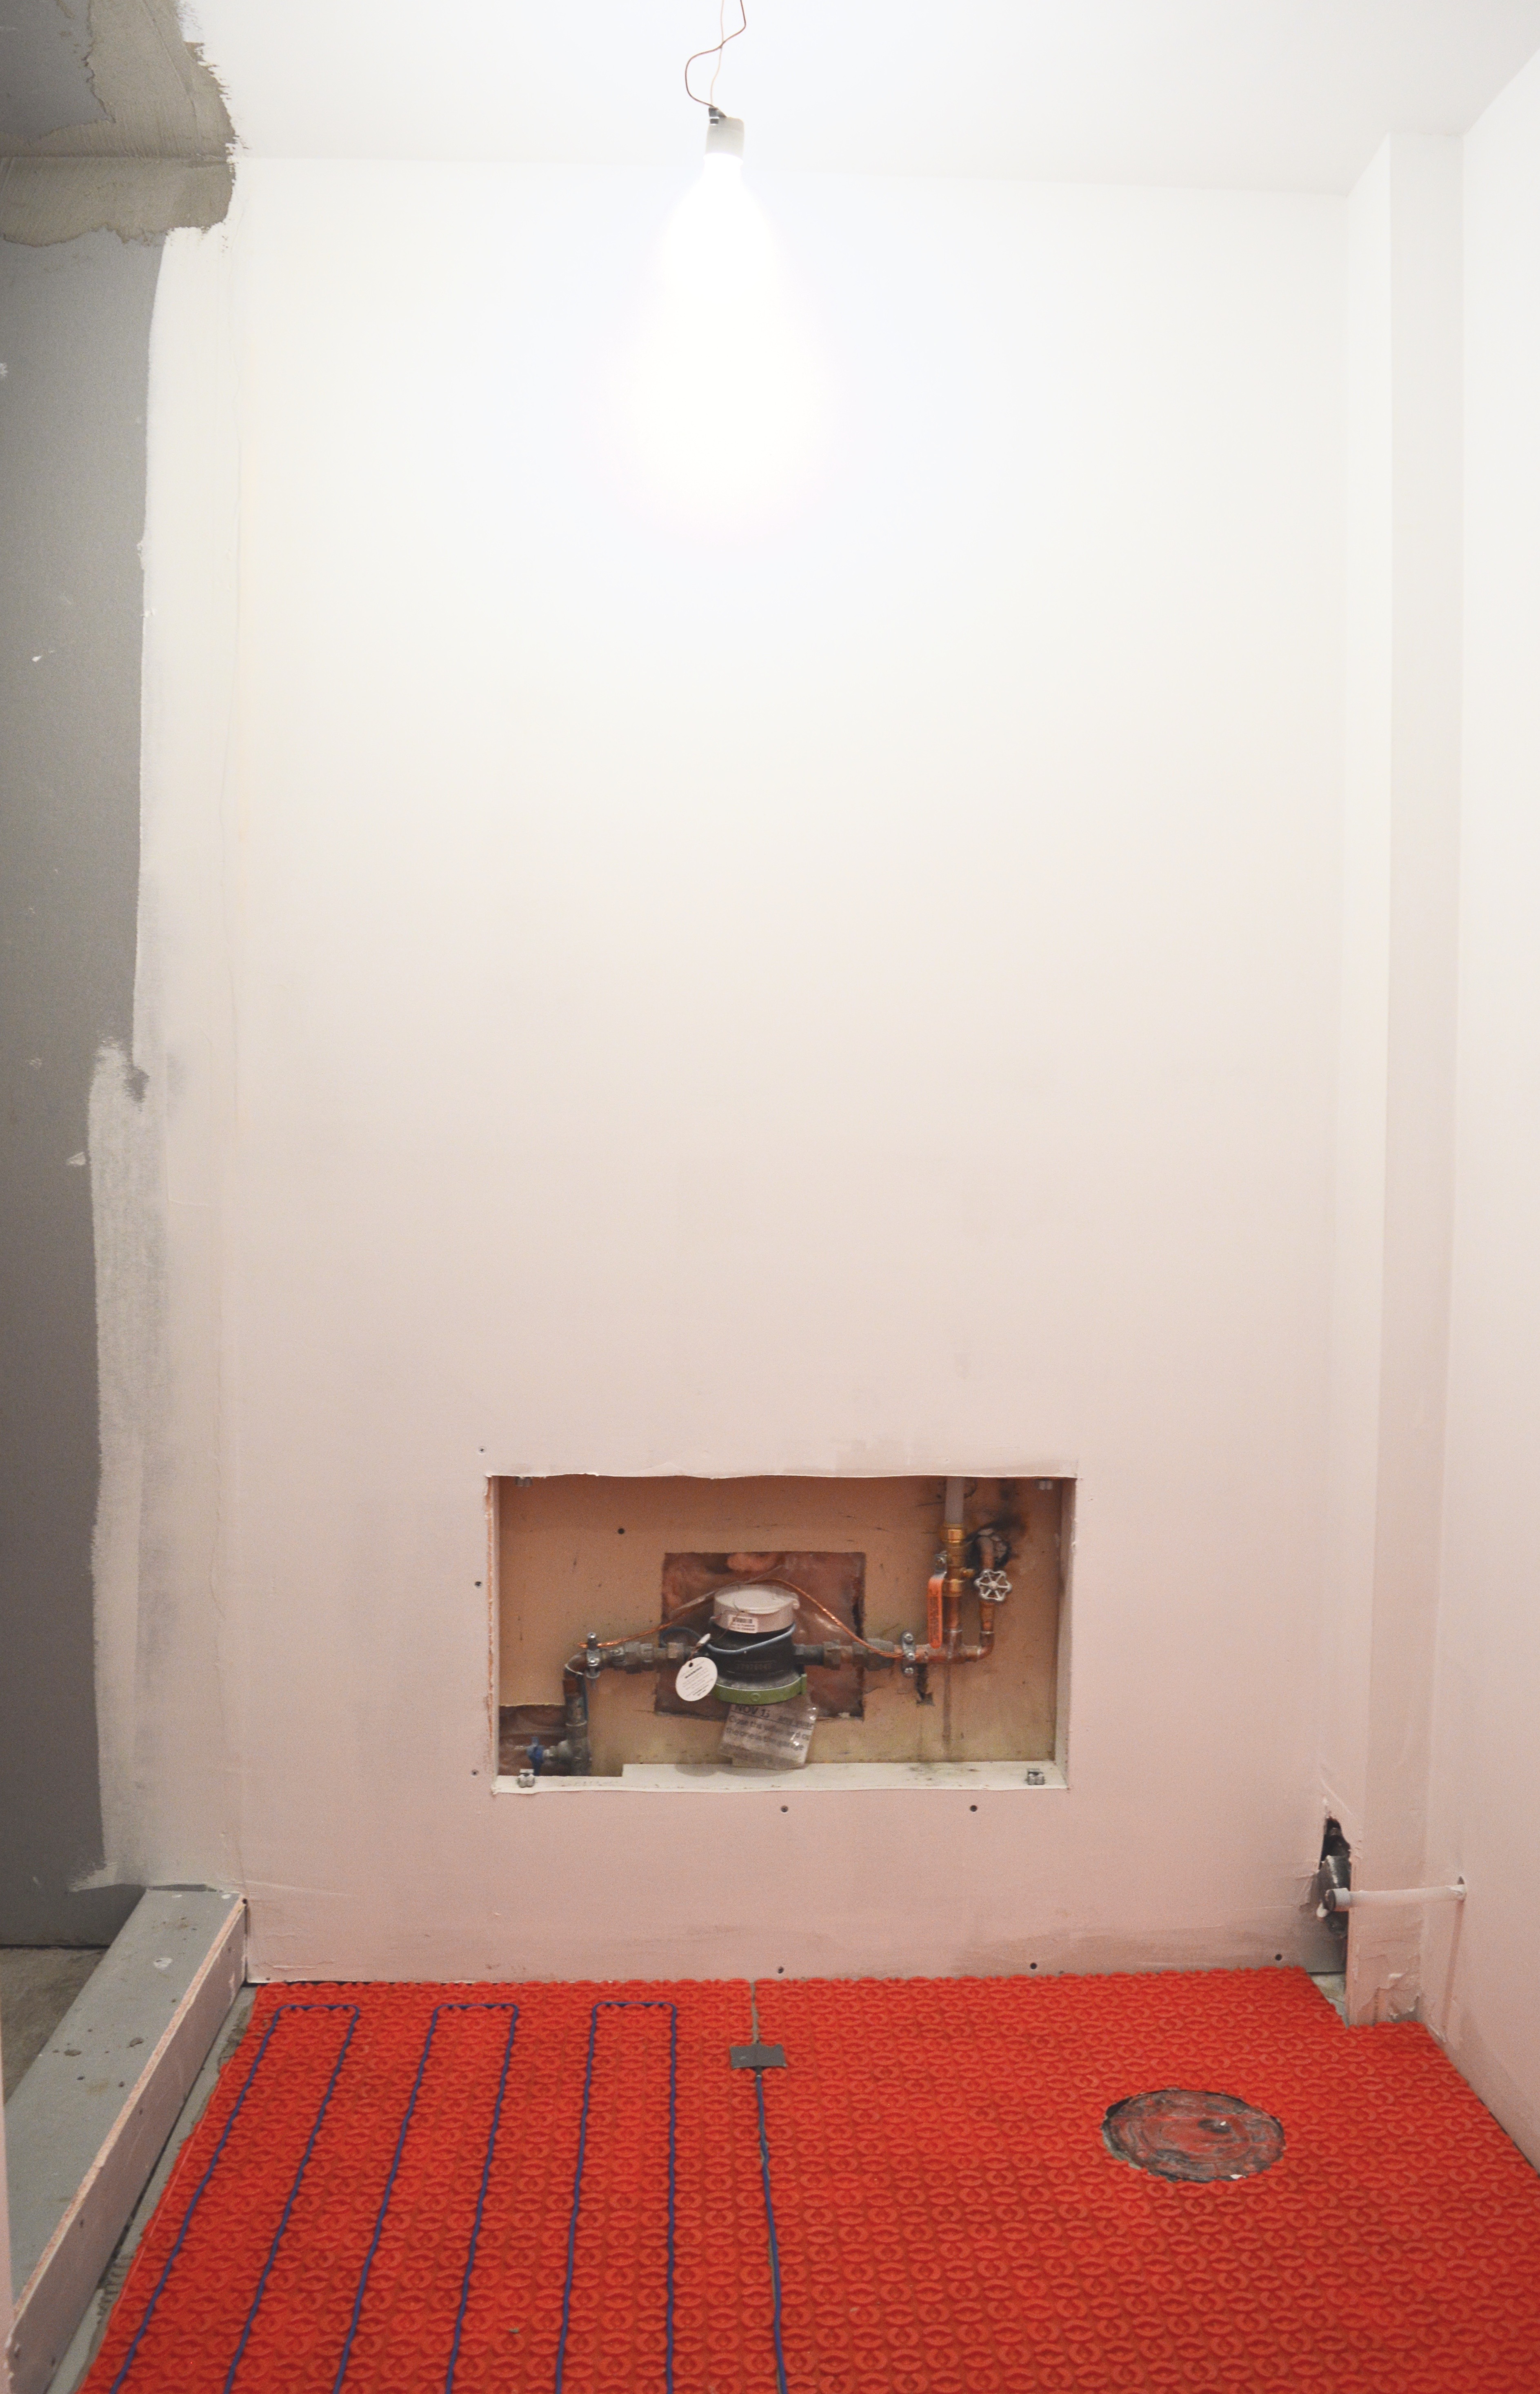
My drywaller patched up the floor with cement(I keep calling him my drywaller, but, honestly, Chris can do everything!). Once that was dry, my electrician (aka my dad) and my tiler got to work.
drywall installed
In terms of electrical work, quite a bit needed to get done. Dad installed new lighting, updated outlets, and did the prep work for my floor heating system. He also installed a new fan.
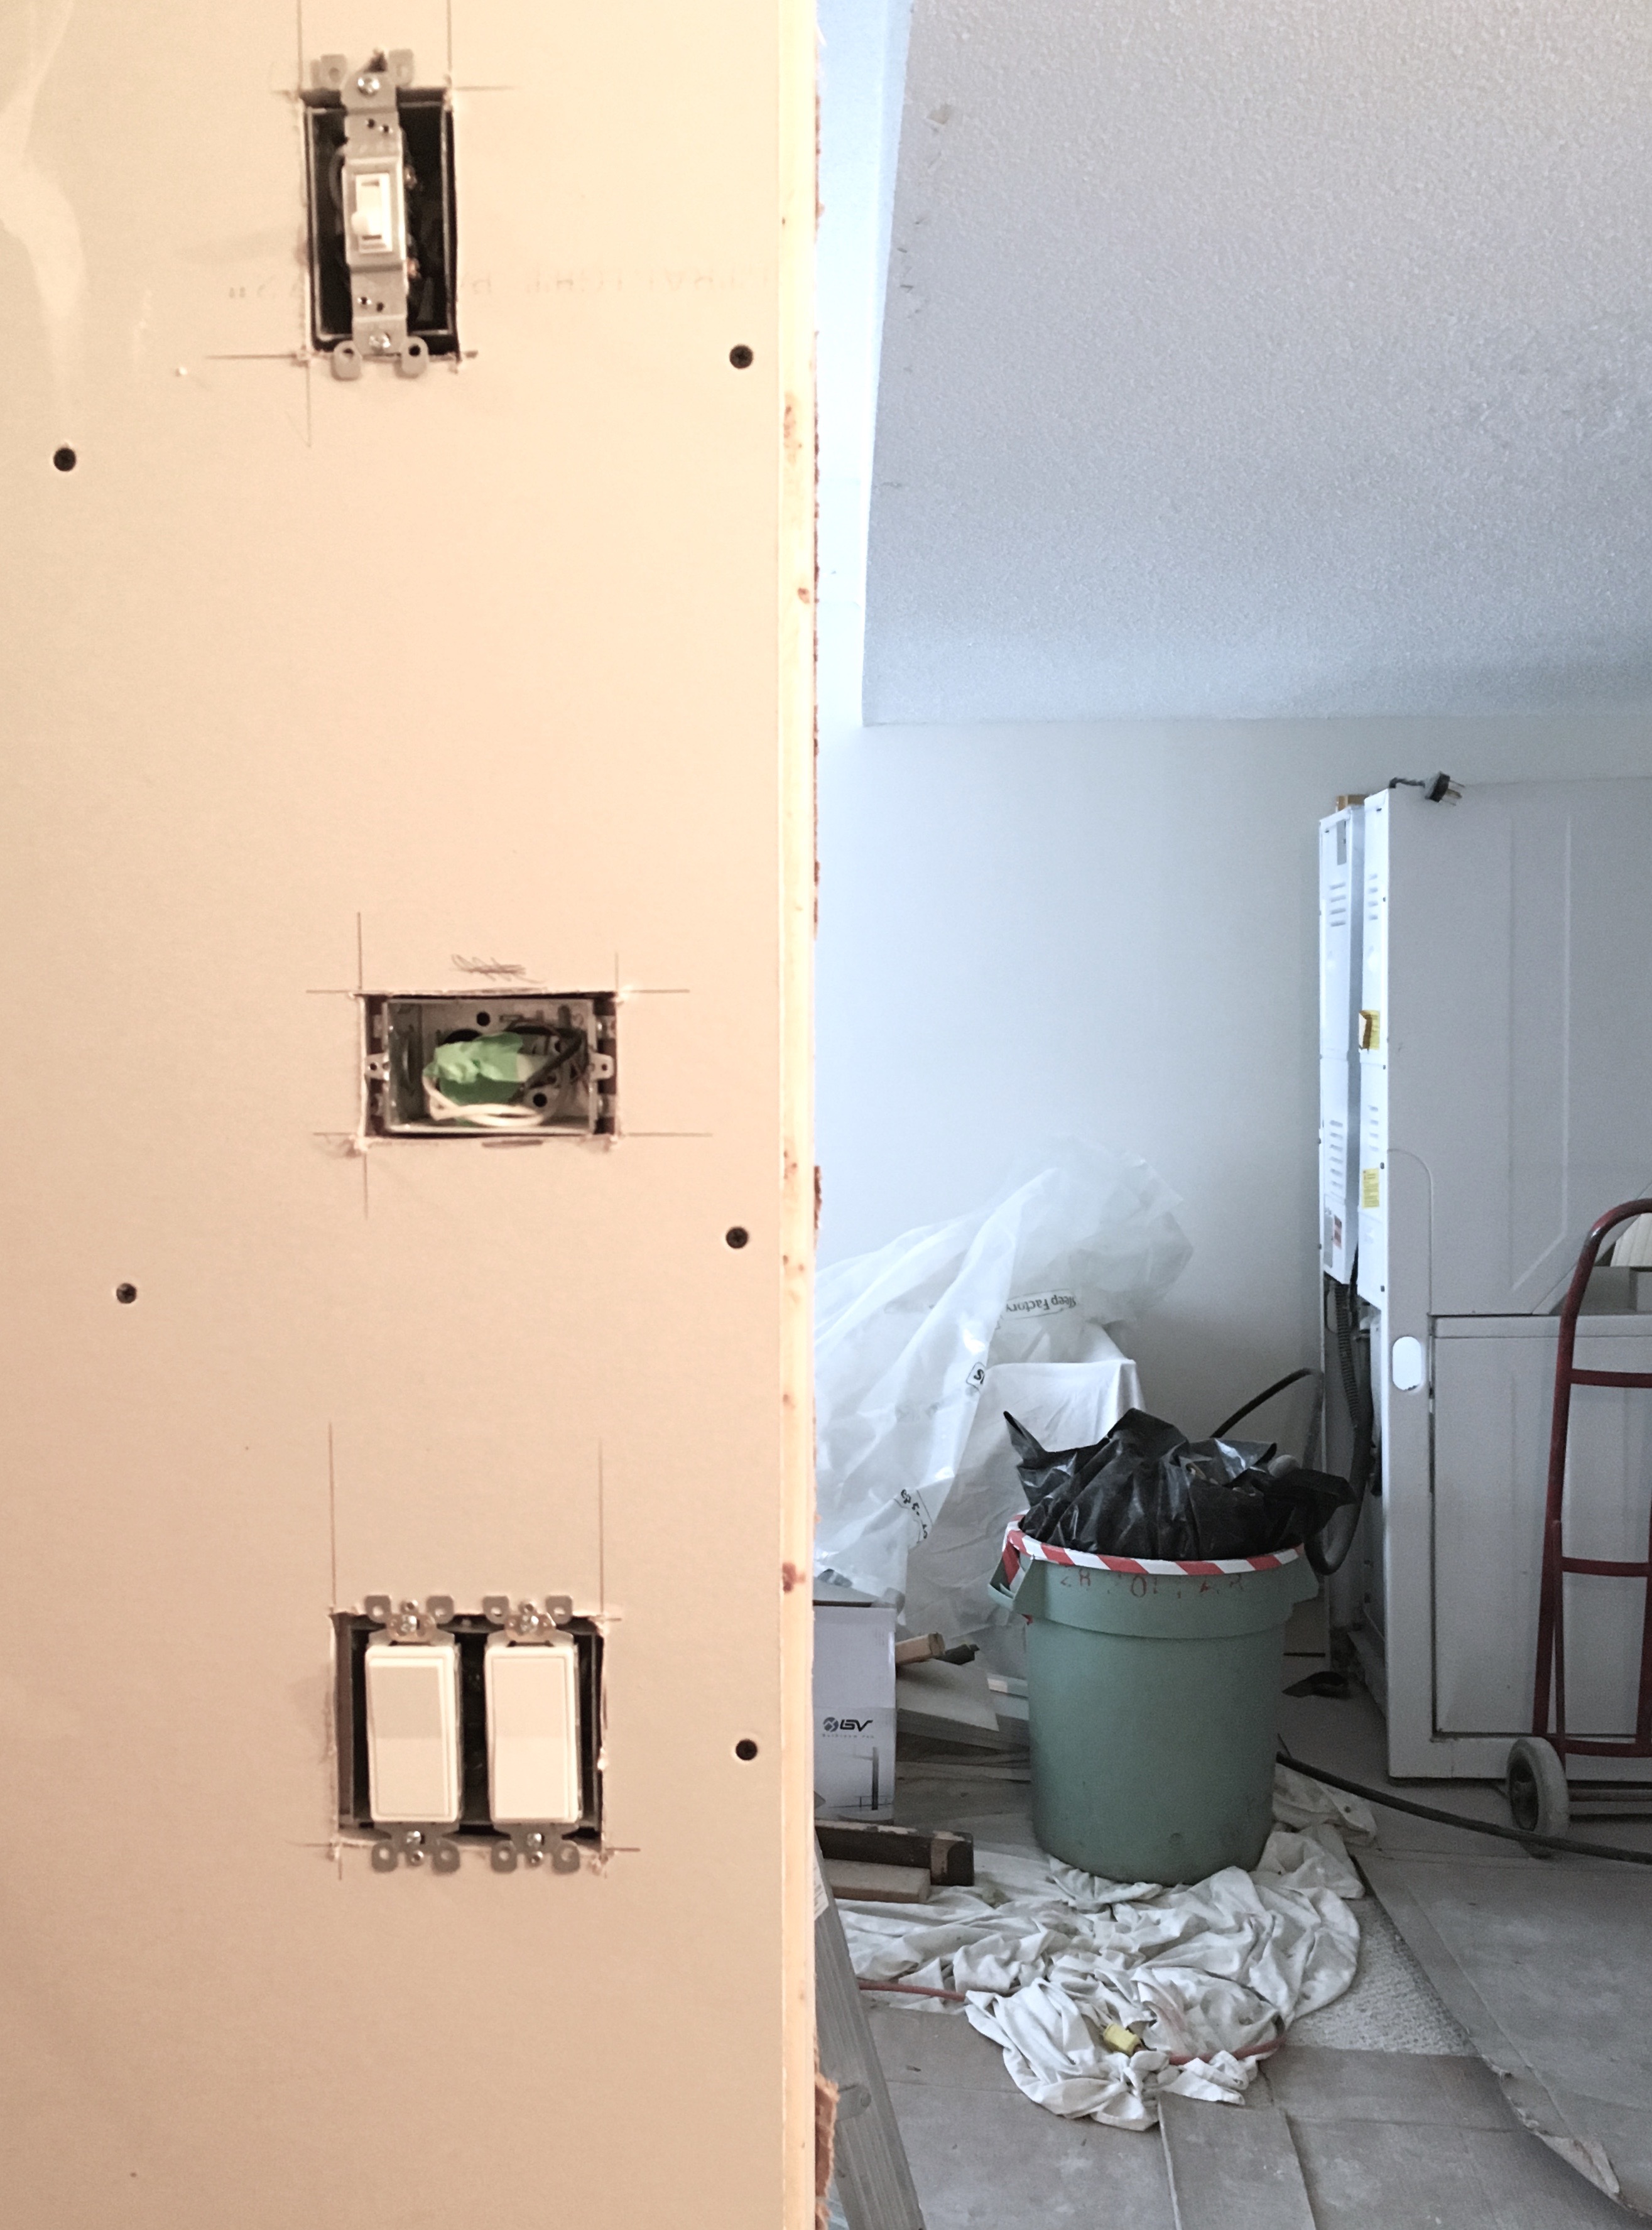
new electrical
In terms of the floor heating system, I’m very lucky to be working with WarmUp on this project. The people I have been working with from WarmUp have been phenomenal. Really informative and great communicators. I was so pleased that they were as eager to work with me as I was with them!
To get the floor ready for the heating system, my tiler first installed the WarmUp insulation boards. These insulation boards not only prepped the flooring for the heating mats, but these boards will also ensure more energy efficiency.
WarmUp insulation boards installed
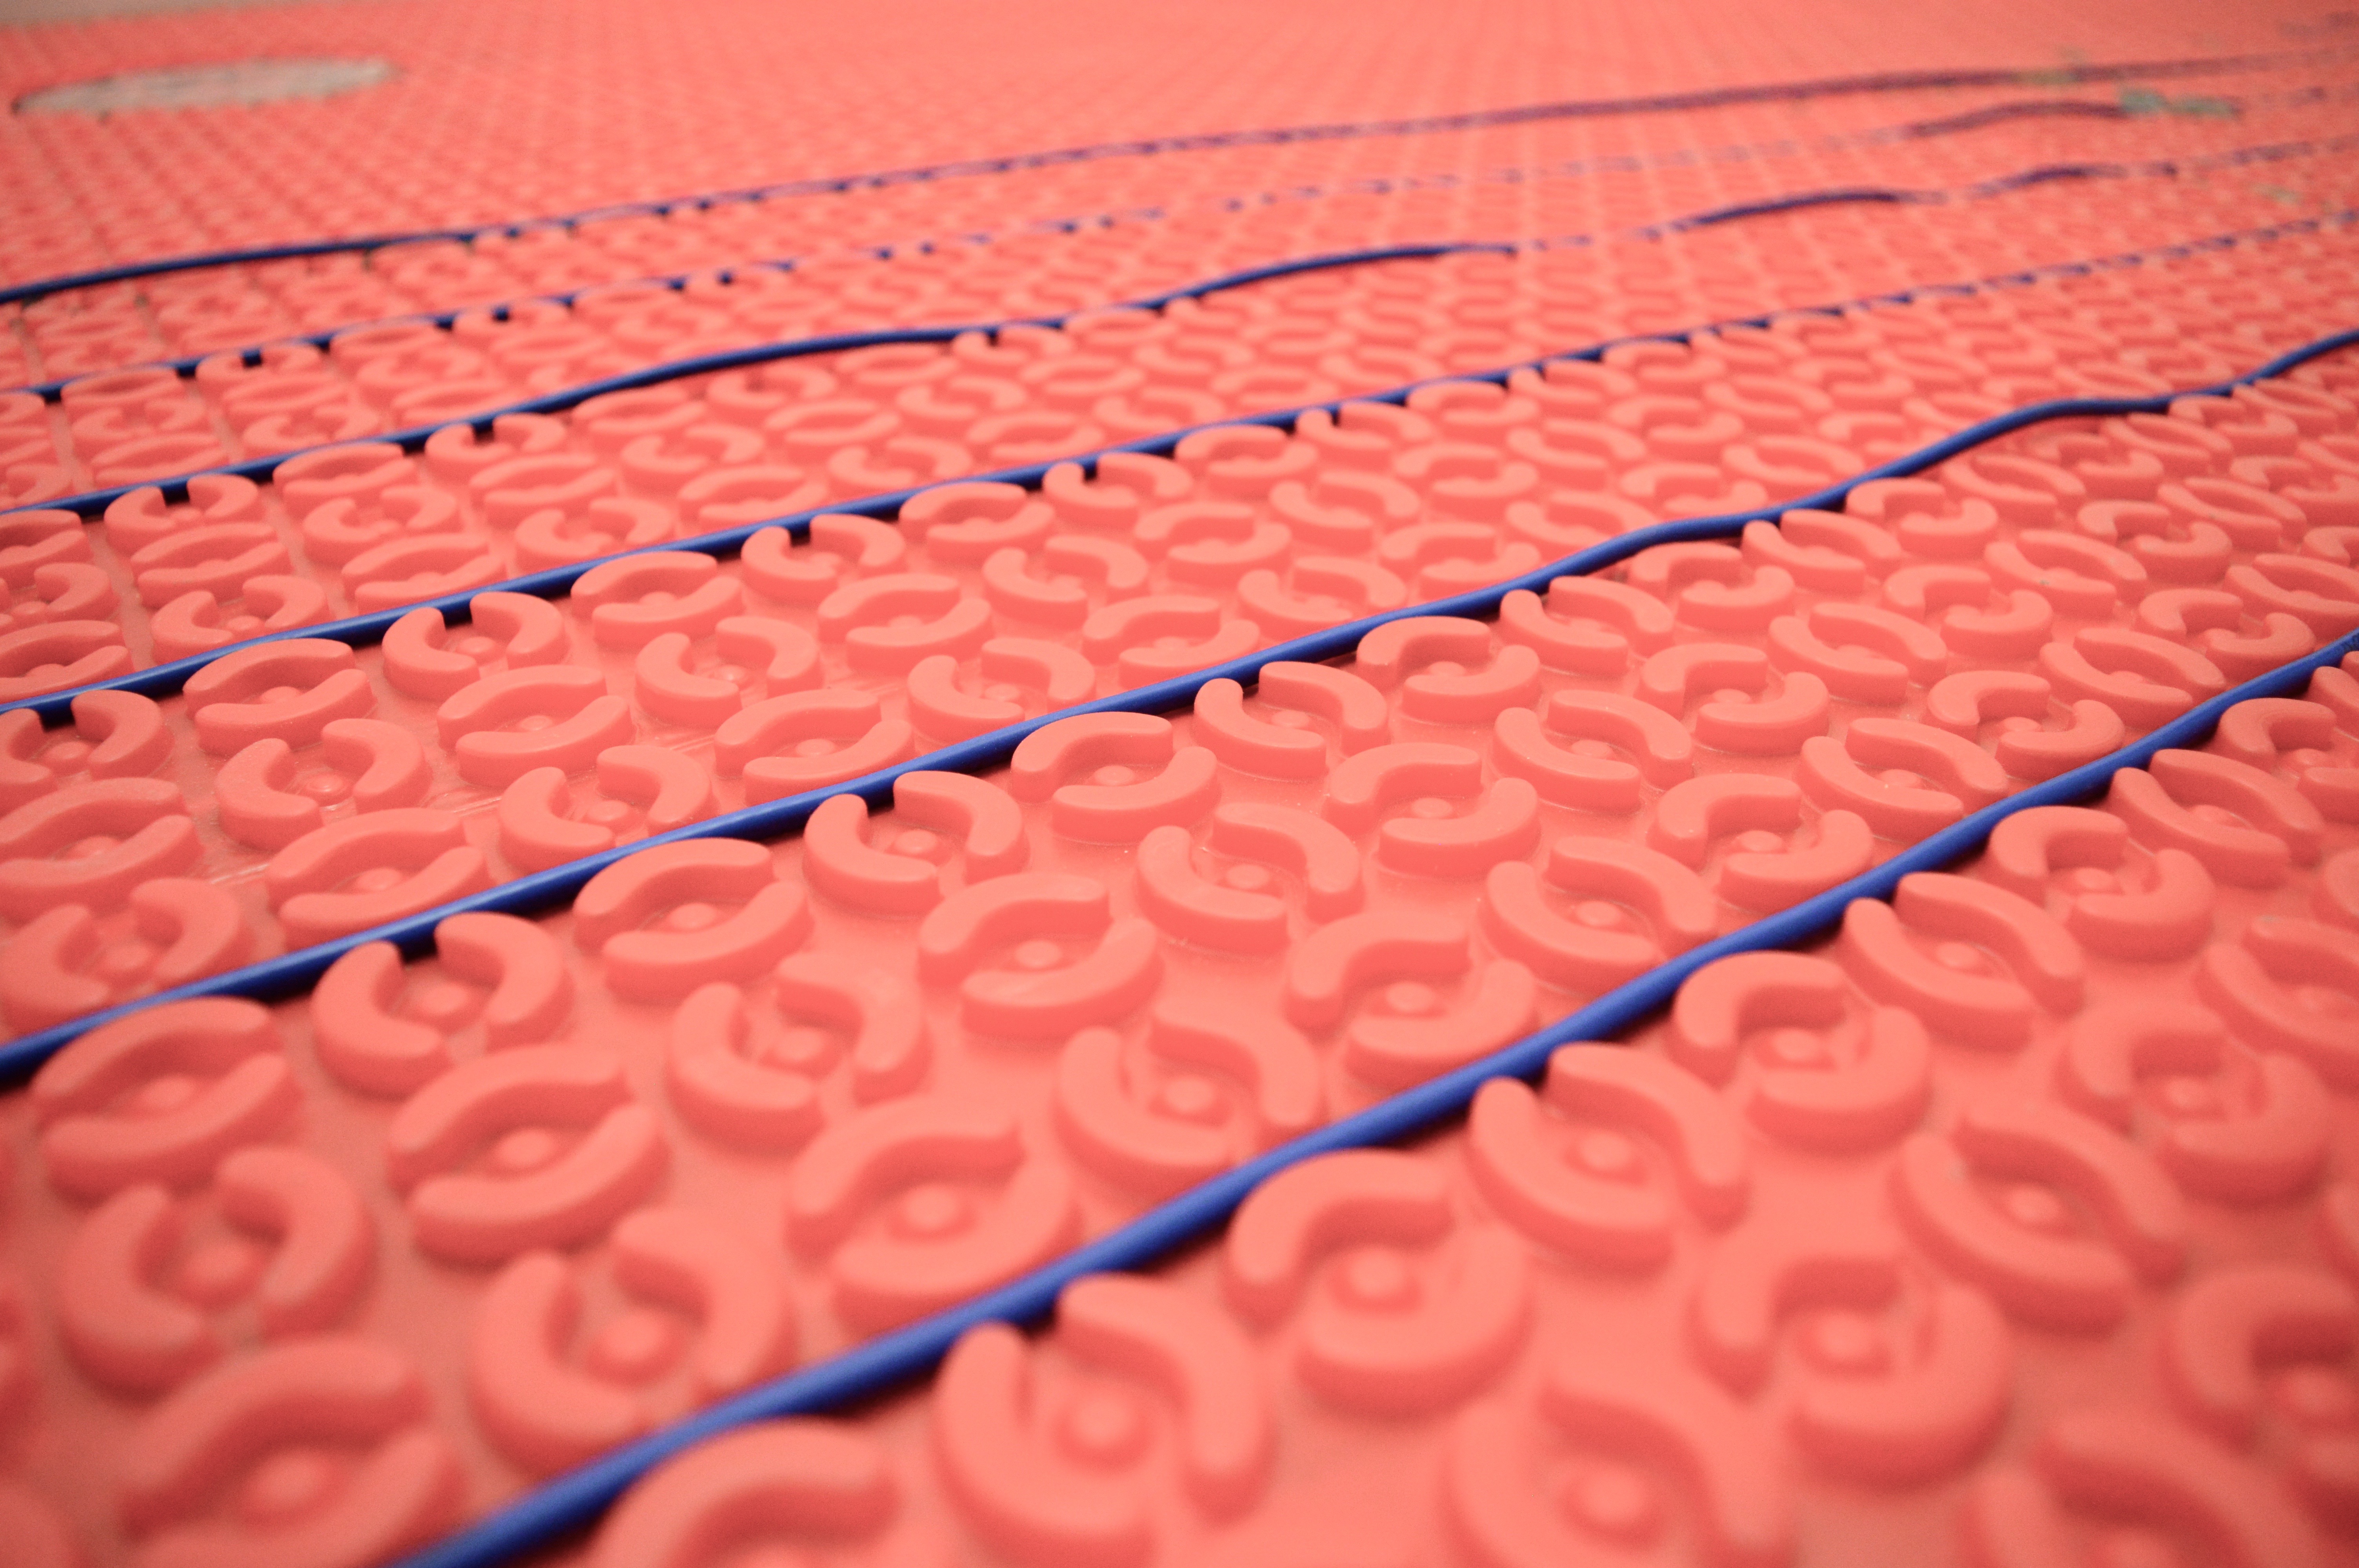
After the boards were secure, my tiler laid down the heating mats – the DCM-PRO membrane.
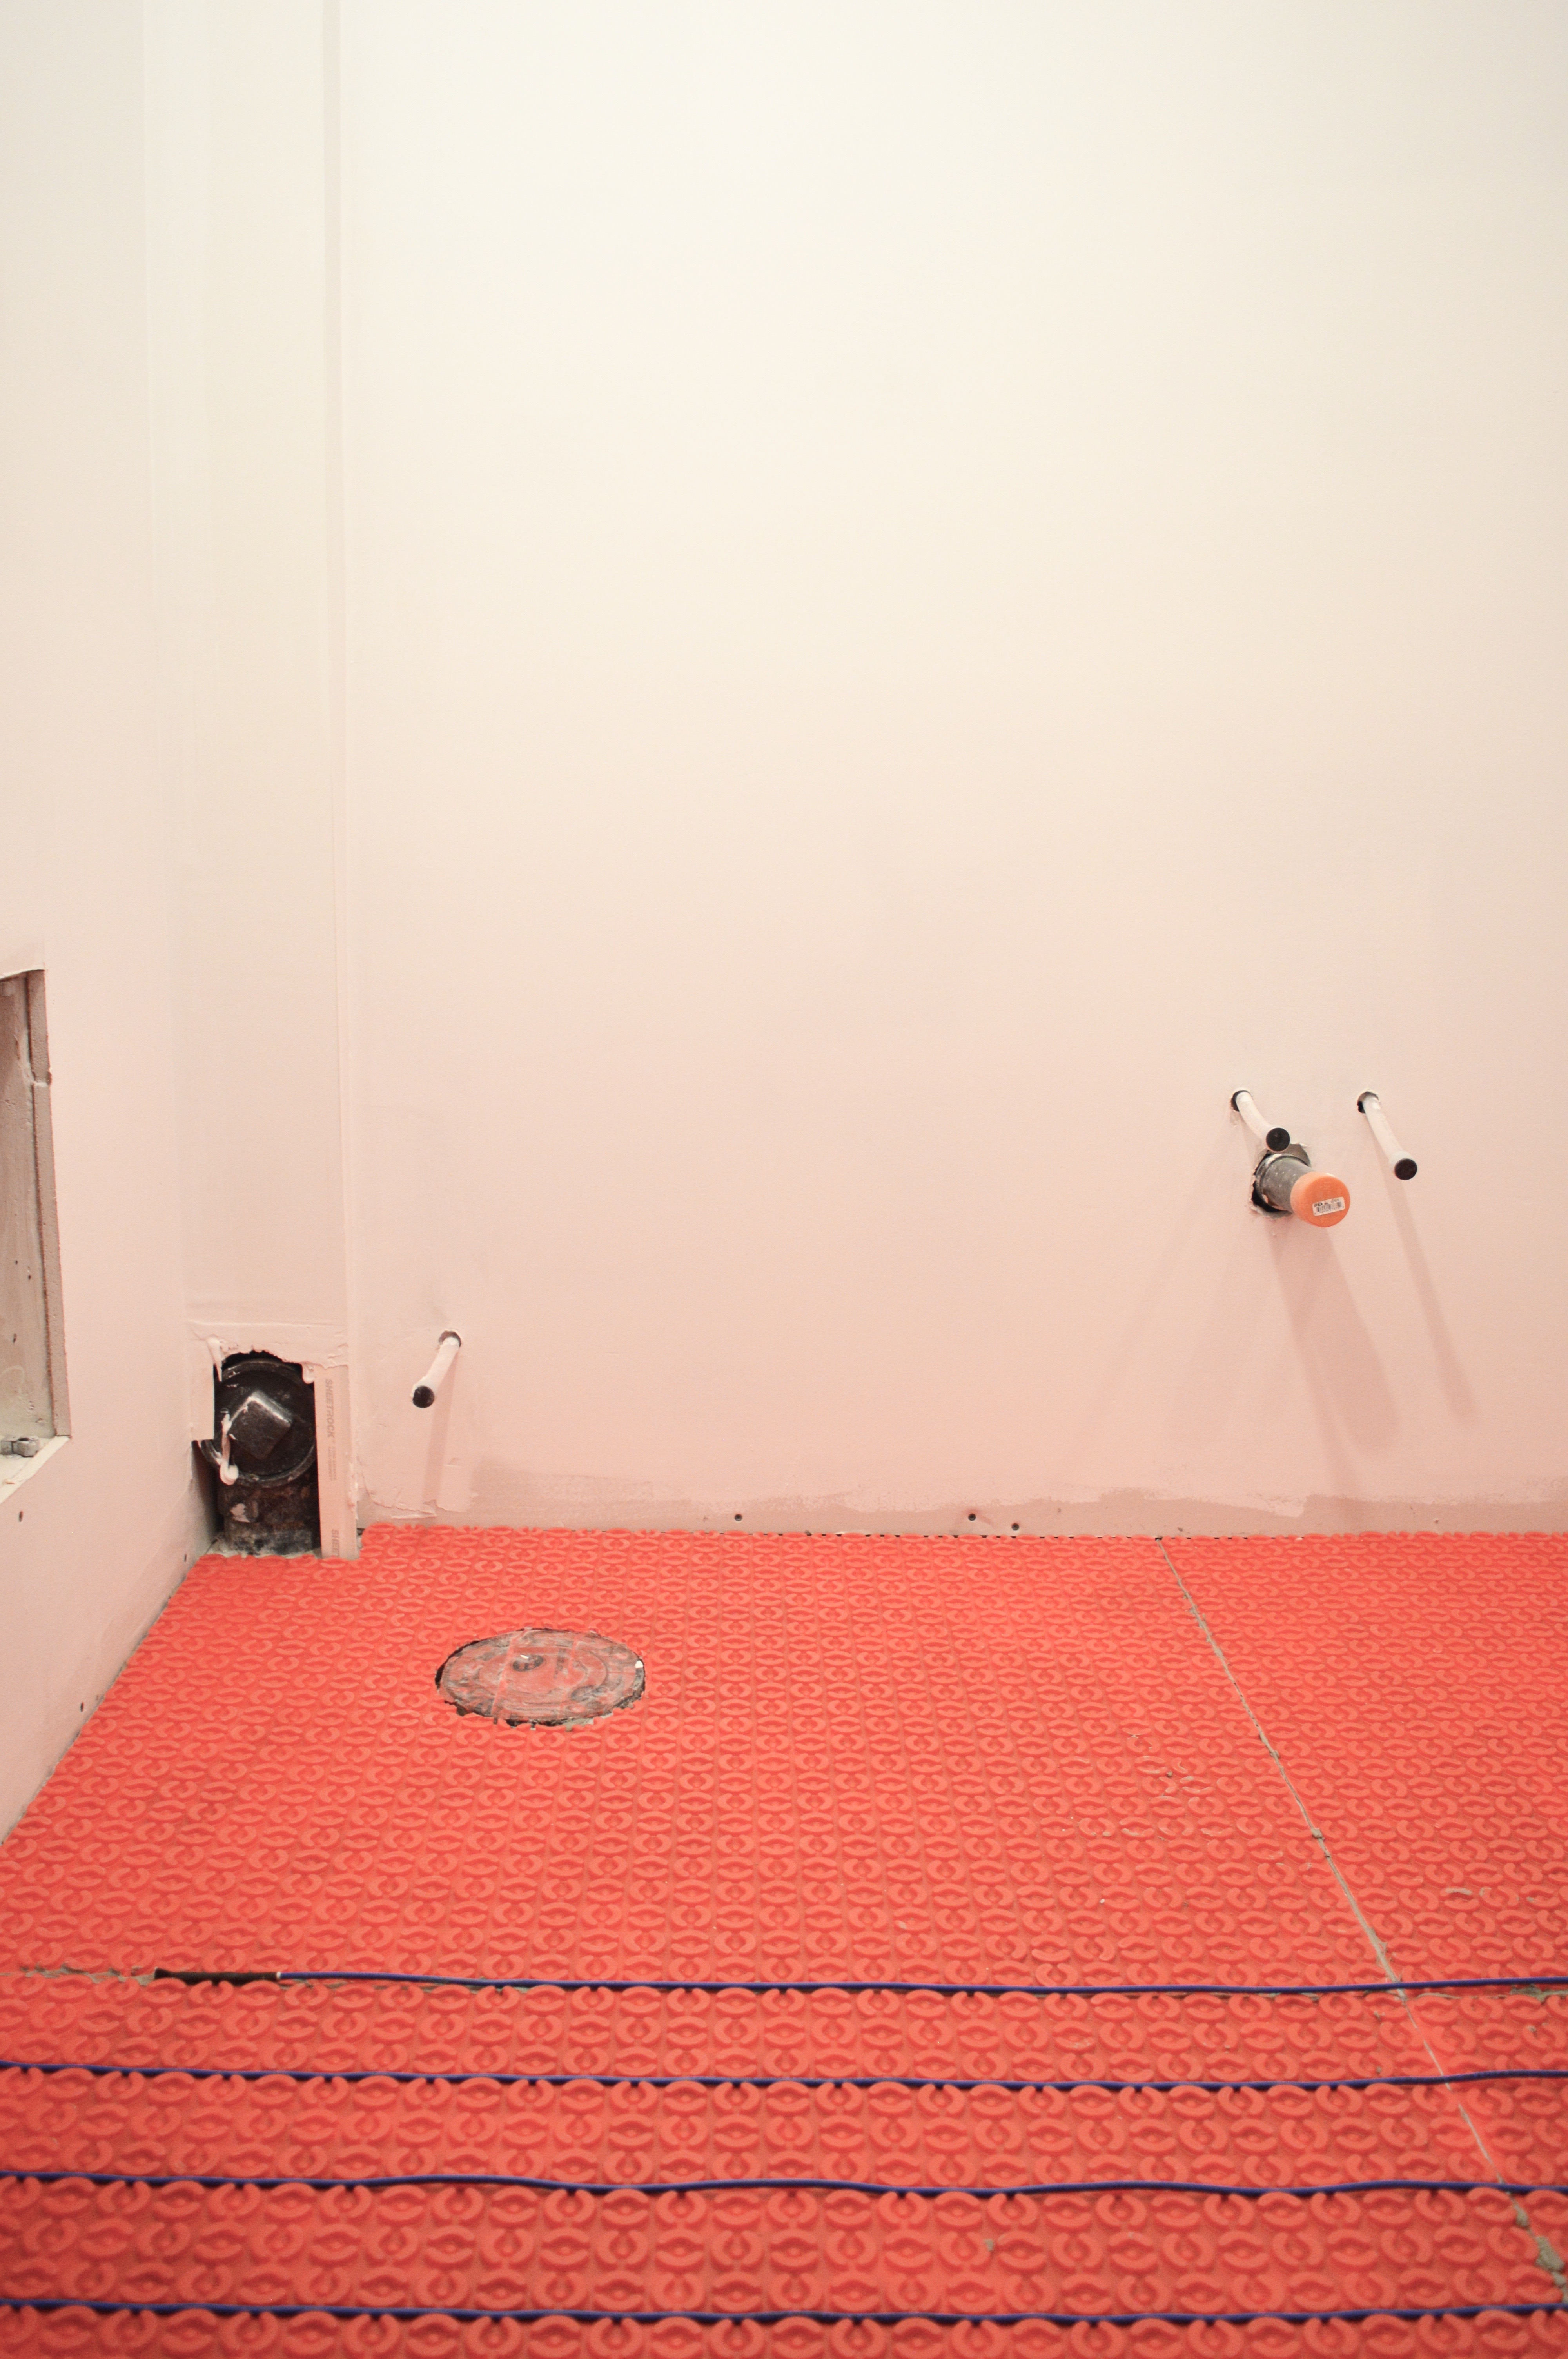
Dad was then able to install the cables on the mats. The cables were tested before, during, and after installation to ensure the product’s resistance had not been altered. Dad let me know that the installation of these cables was eaaasssy! Good to know, right? He liked the simplicity and straightforwardness of the DCM-PRO system, and he liked the contrasting colours, too, because this meant that everything was really easy to see.
WarmUp floor heating mats and cord installed (no heating on the right side of the photo because that’s where the toilet and vanity will be installed)
Stepping out of the shower onto a heated floor is going to be divine!
After everything was installed and tested, the tiler put a skim coat over the WarmUp floor heating system, so that it would be ready for tiles.
I encourage you to check out what the One Room Challenge guest participants and featured designers have been up to during week 3.
If you’d like to see more of my ORC progress, see my week 1 and week 2 posts. Thanks to WarmUp for supplying my new floor heating system. All opinions are my own.