Uptown: Closet Makeover

You may recall that in the spring, I had new doors installed in my home. My Metrie Masonite Lincoln Park doors are gorgeous, and I’m so glad I invested in them. My hall closet was an especially good transformation as I said #byebyebifold with the help of Metrie.

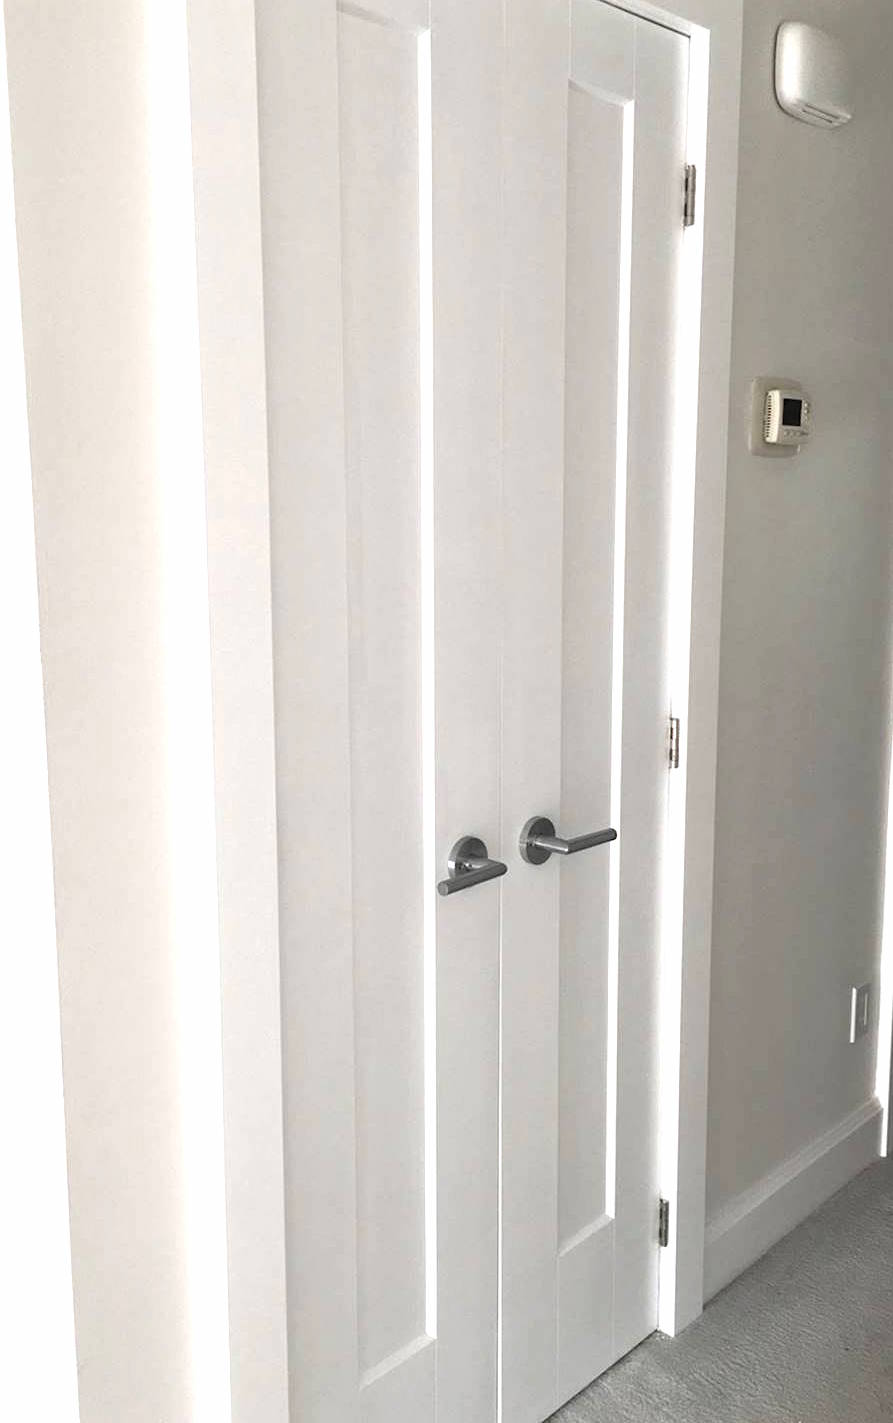
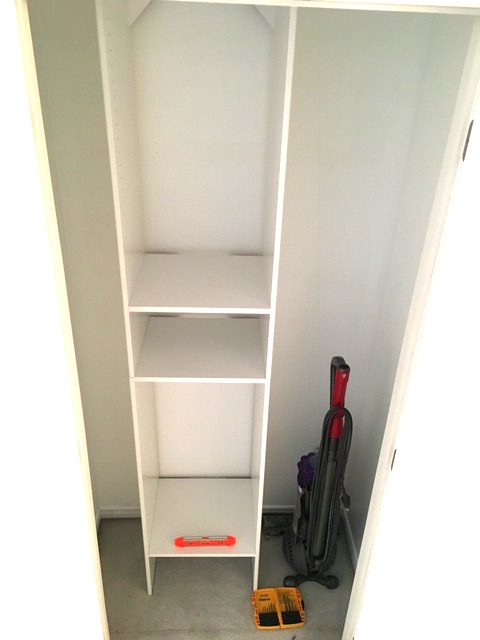
While the closet looked great on the outside, the inside was pretty disastrous.

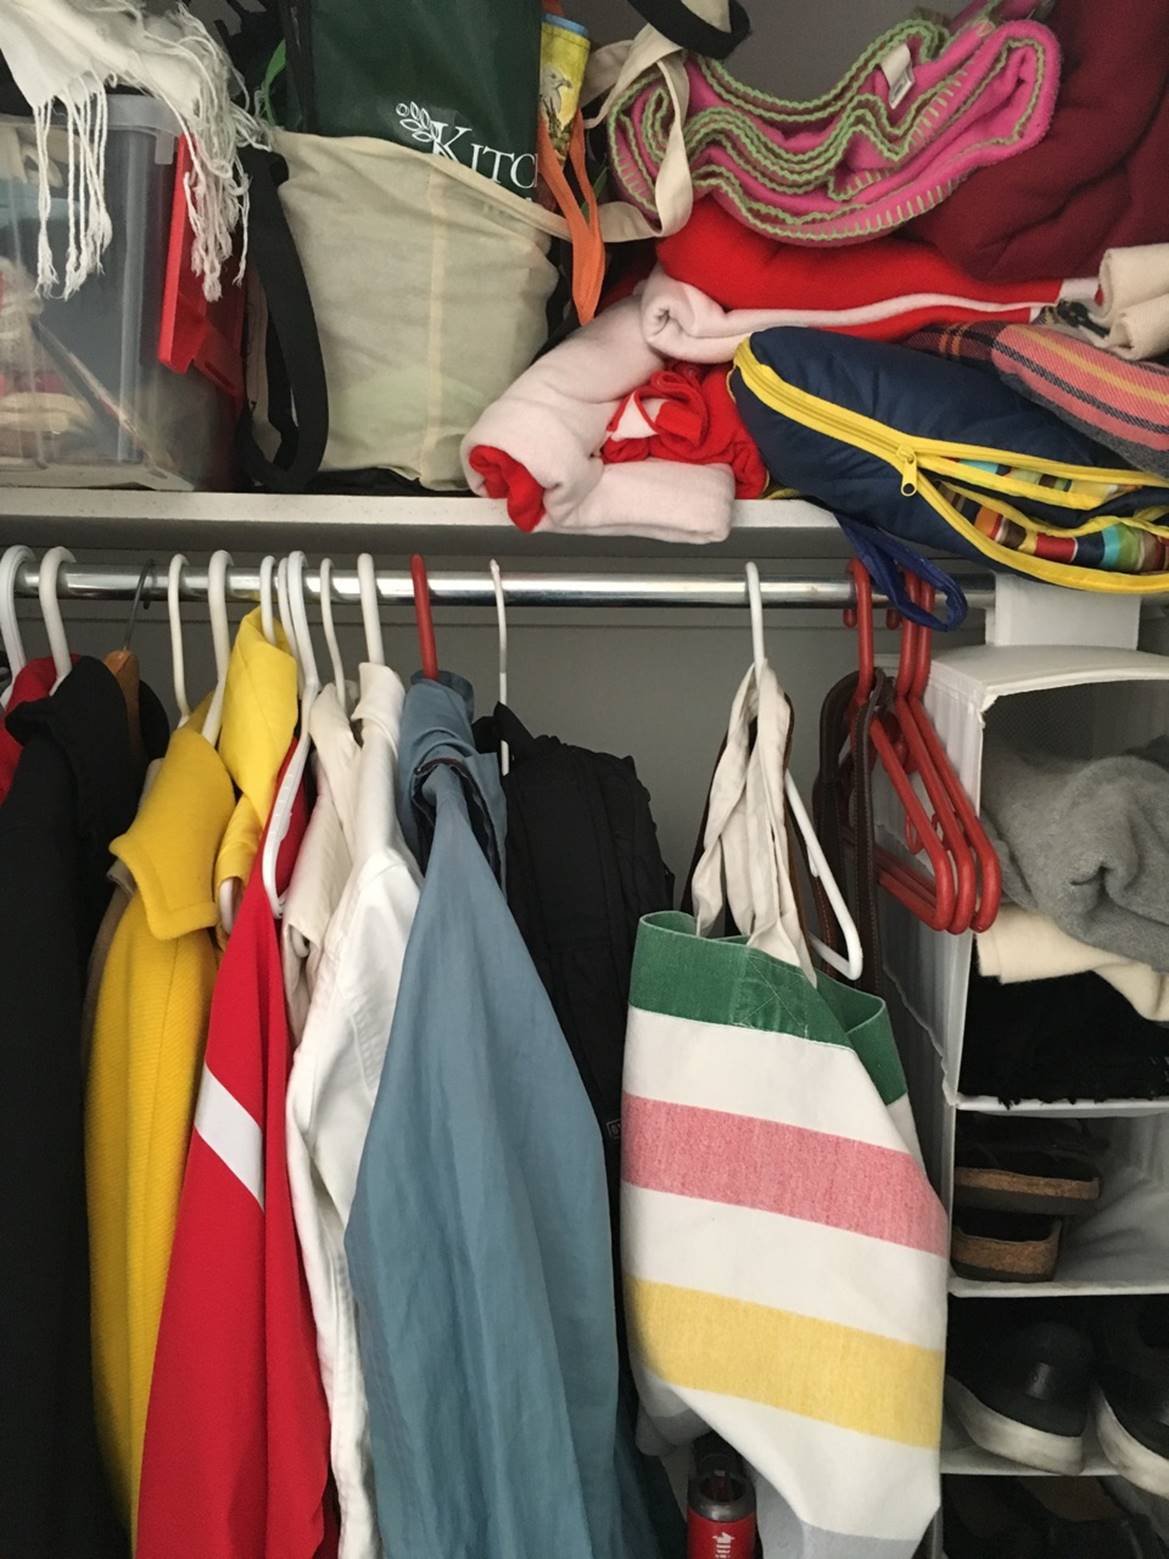
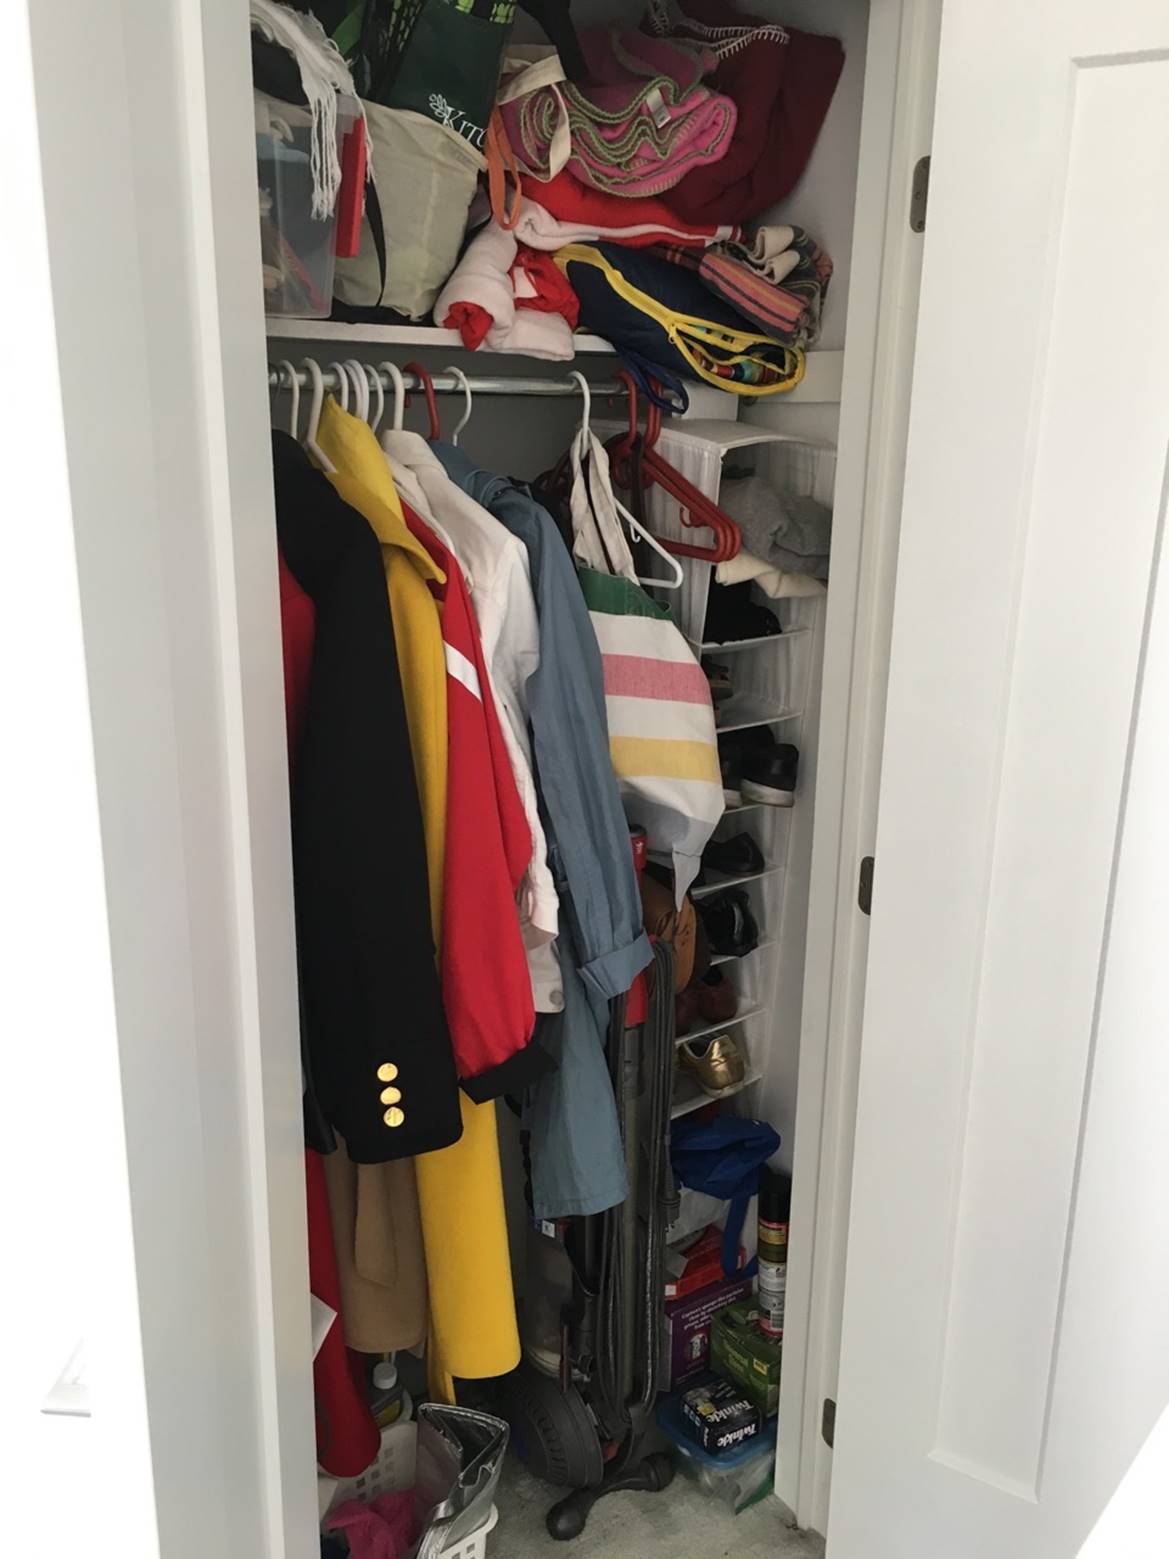
Gosh, it’s just such a mess! It hurts my eyes!

Since this is my only closet on my main floor, it must be effective. In addition to jackets, coats, and winter wear, this closet must house my vacuum, too. The closet is narrow – at only 43″ wide – so I didn’t have much room to play around with. I needed a section for long coats, a section for short coats, space for boots and my vacuum, and shelves for my winter accessories and purses.

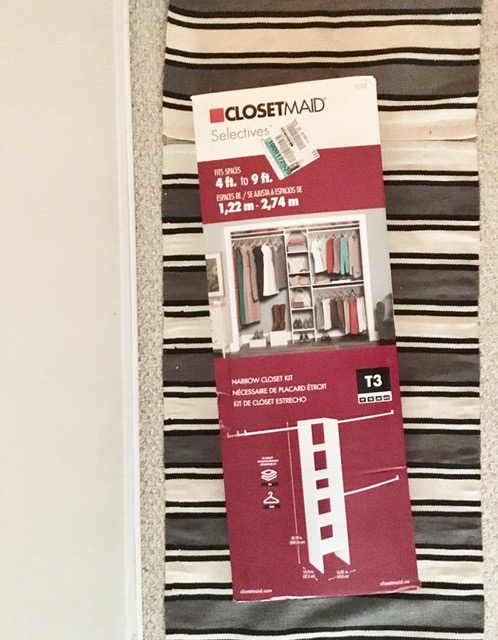
Since I worked with the Home Depot Canada on this project, I headed over one night after work to pick up the ClosetMaid narrow closet organizer kit (in white, of course). There are several options for organizer systems, but I knew I wanted one with solid – rather than wire – shelves. I also wanted an organizer that would be affixed to the wall – rather than one that hangs from the rod. I had previously installed closet organizers, so I was already familiar with the general installation procedure.

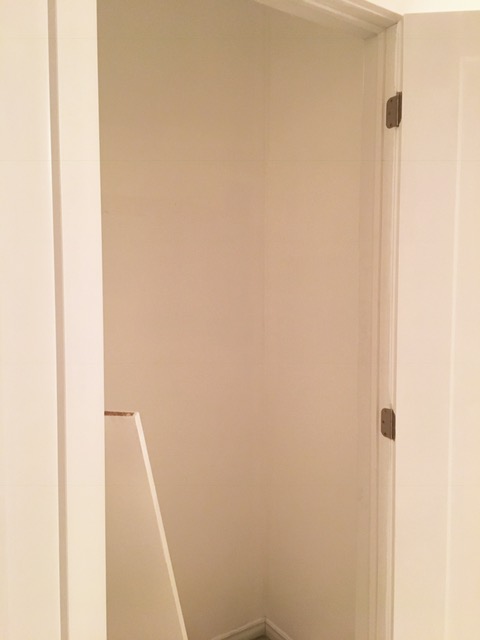
When I knew I’d have a weekend free, I got to work! I first emptied out the closet, removed the support bars, and painted everything a fresh coat of white.

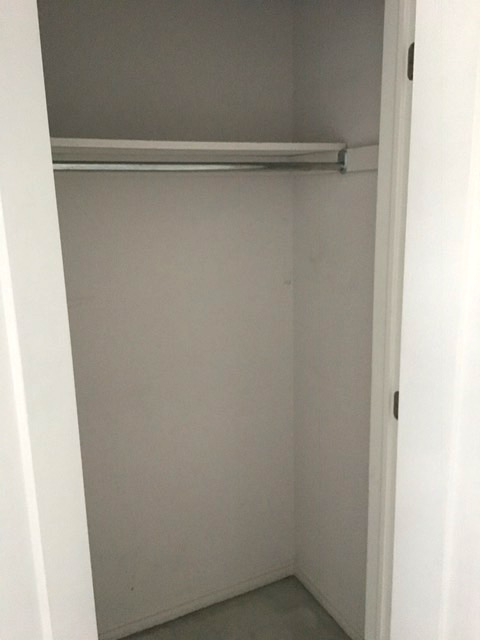
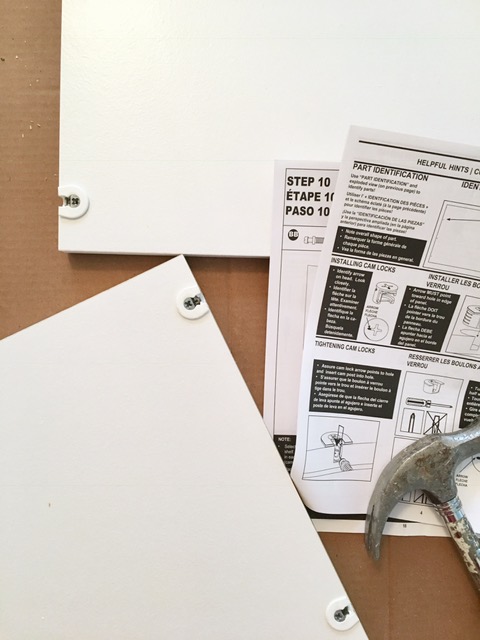
After I waited a day for the paint to dry, I unpacked the pieces and familiarized myself with the ClosetMaid instructions to ensure that I had all the right tools.

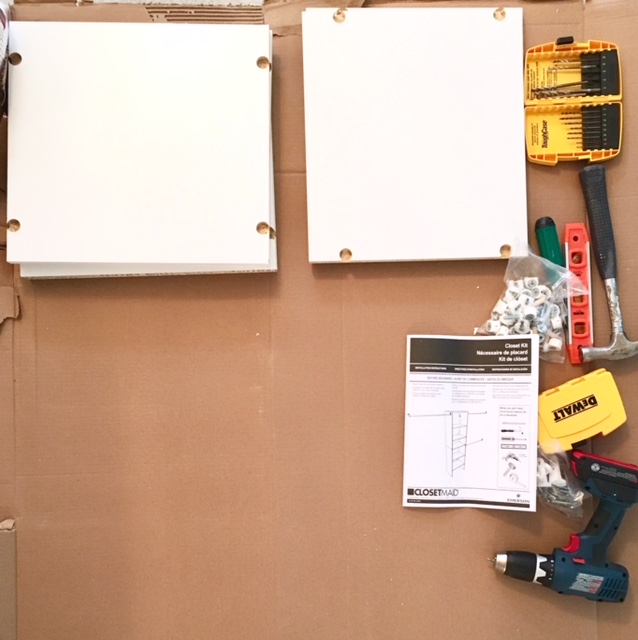
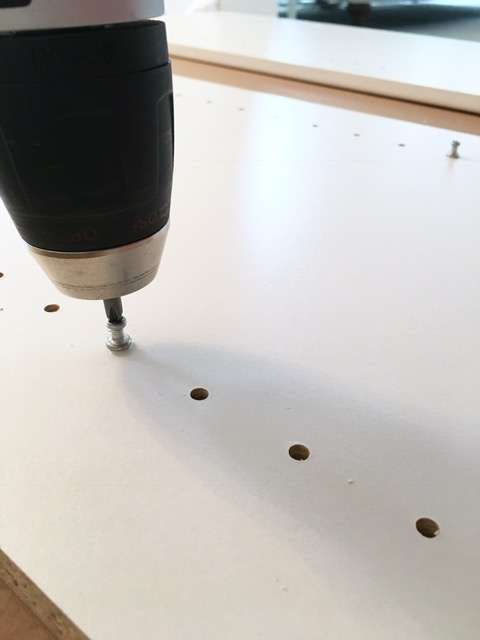
The installation process took me a couple of hours. The instructions were easy to follow, and I didn’t run into any issues. I got to use my power drill/screwdriver on this project, so I was happy. Who else loves tools?

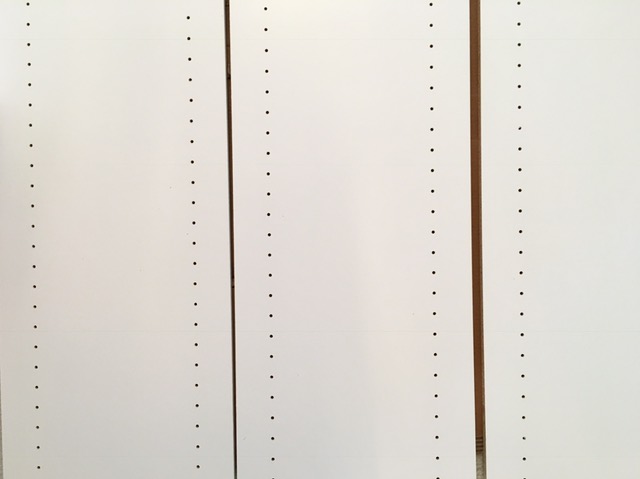
This ClosetMaid organizer has corner support pieces as well as adjustable feet. Once the base piece was in place in the closet, I used my trusty level to make sure the piece was straight.

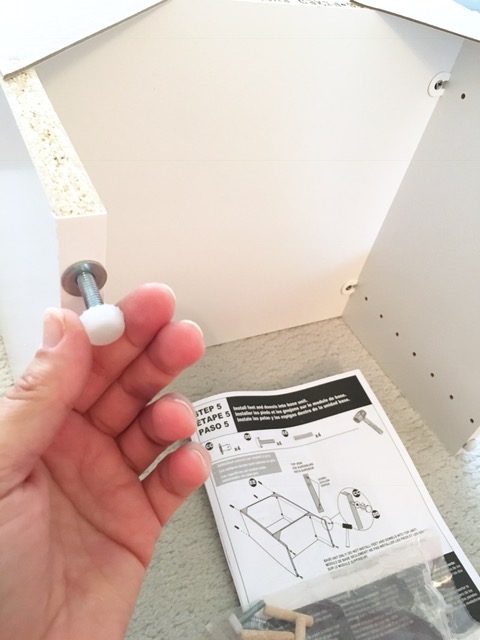
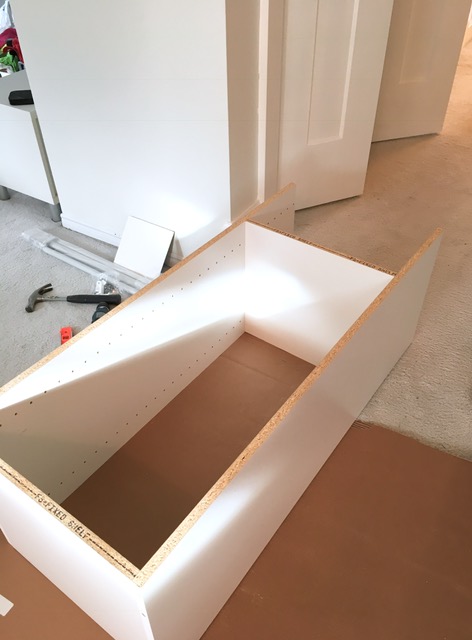
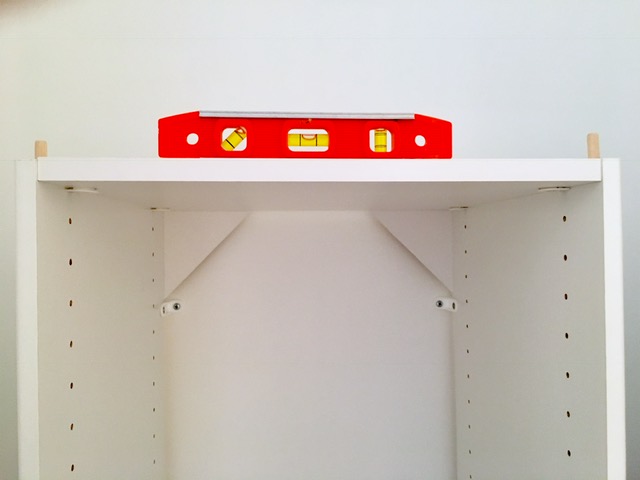
Once the base was in place and affixed to the wall with the support brackets (you can see them right under the corner pieces), I lifted the top piece and placed it on the bottom. I made sure this piece was level, too. And of course I had to make sure that my spacing measurements were right, so my vacuum would easily fit in place.

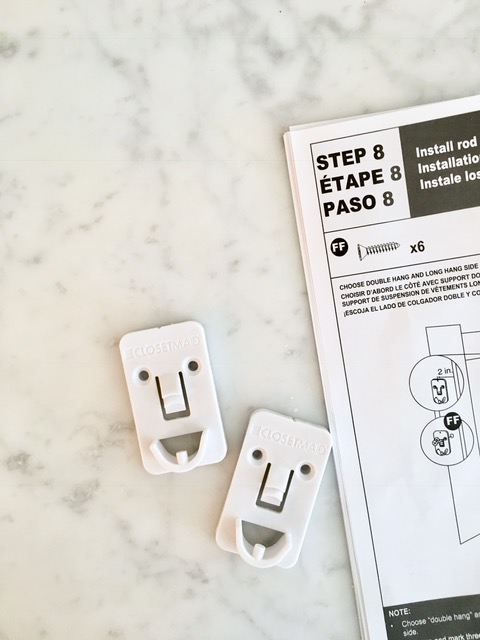
The last pieces to install were the rod holders. These are installed both on the wall and the side of the shelf unit. These ClosetMaid pieces were smiling at me!

Since my closet is so narrow, I knew the rods provided in the kit were going to be too long. The instruction guide advises to “cut the rods” if necessary. This is where I was a bit stuck because I didn’t have anything to cut the metal rods. So, rods in hand, I went off to the Home Depot Canada to buy a saw. The man who helped me told me that I could cut them myself at the cutting station. What? A cutting station? He brought me over to the aisle and showed me what to do. He was kind enough to cut the first rod for me (I had measured them and taped the cut line at home). In a few minutes, I cut the other three rods (one goes in another, so I had a few cuts to make). Easy!

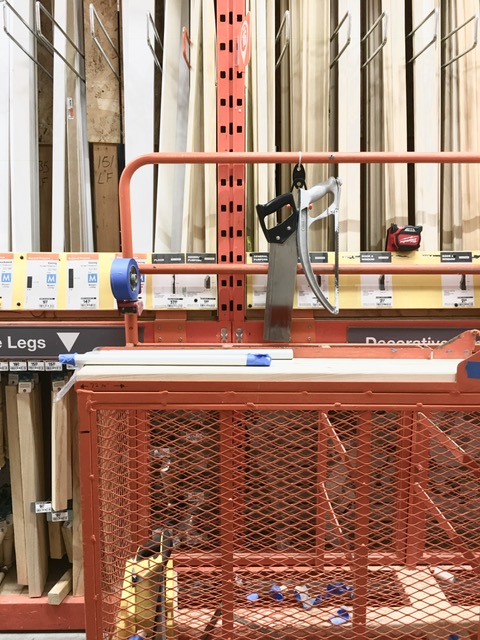
The cutting station has a few saws to choose from. I went with the hack saw on the advice of the Home Depot Canada associate.

Back home, I installed the rods (yay, they fit perfectly), and put all my stuff back in the closet. 

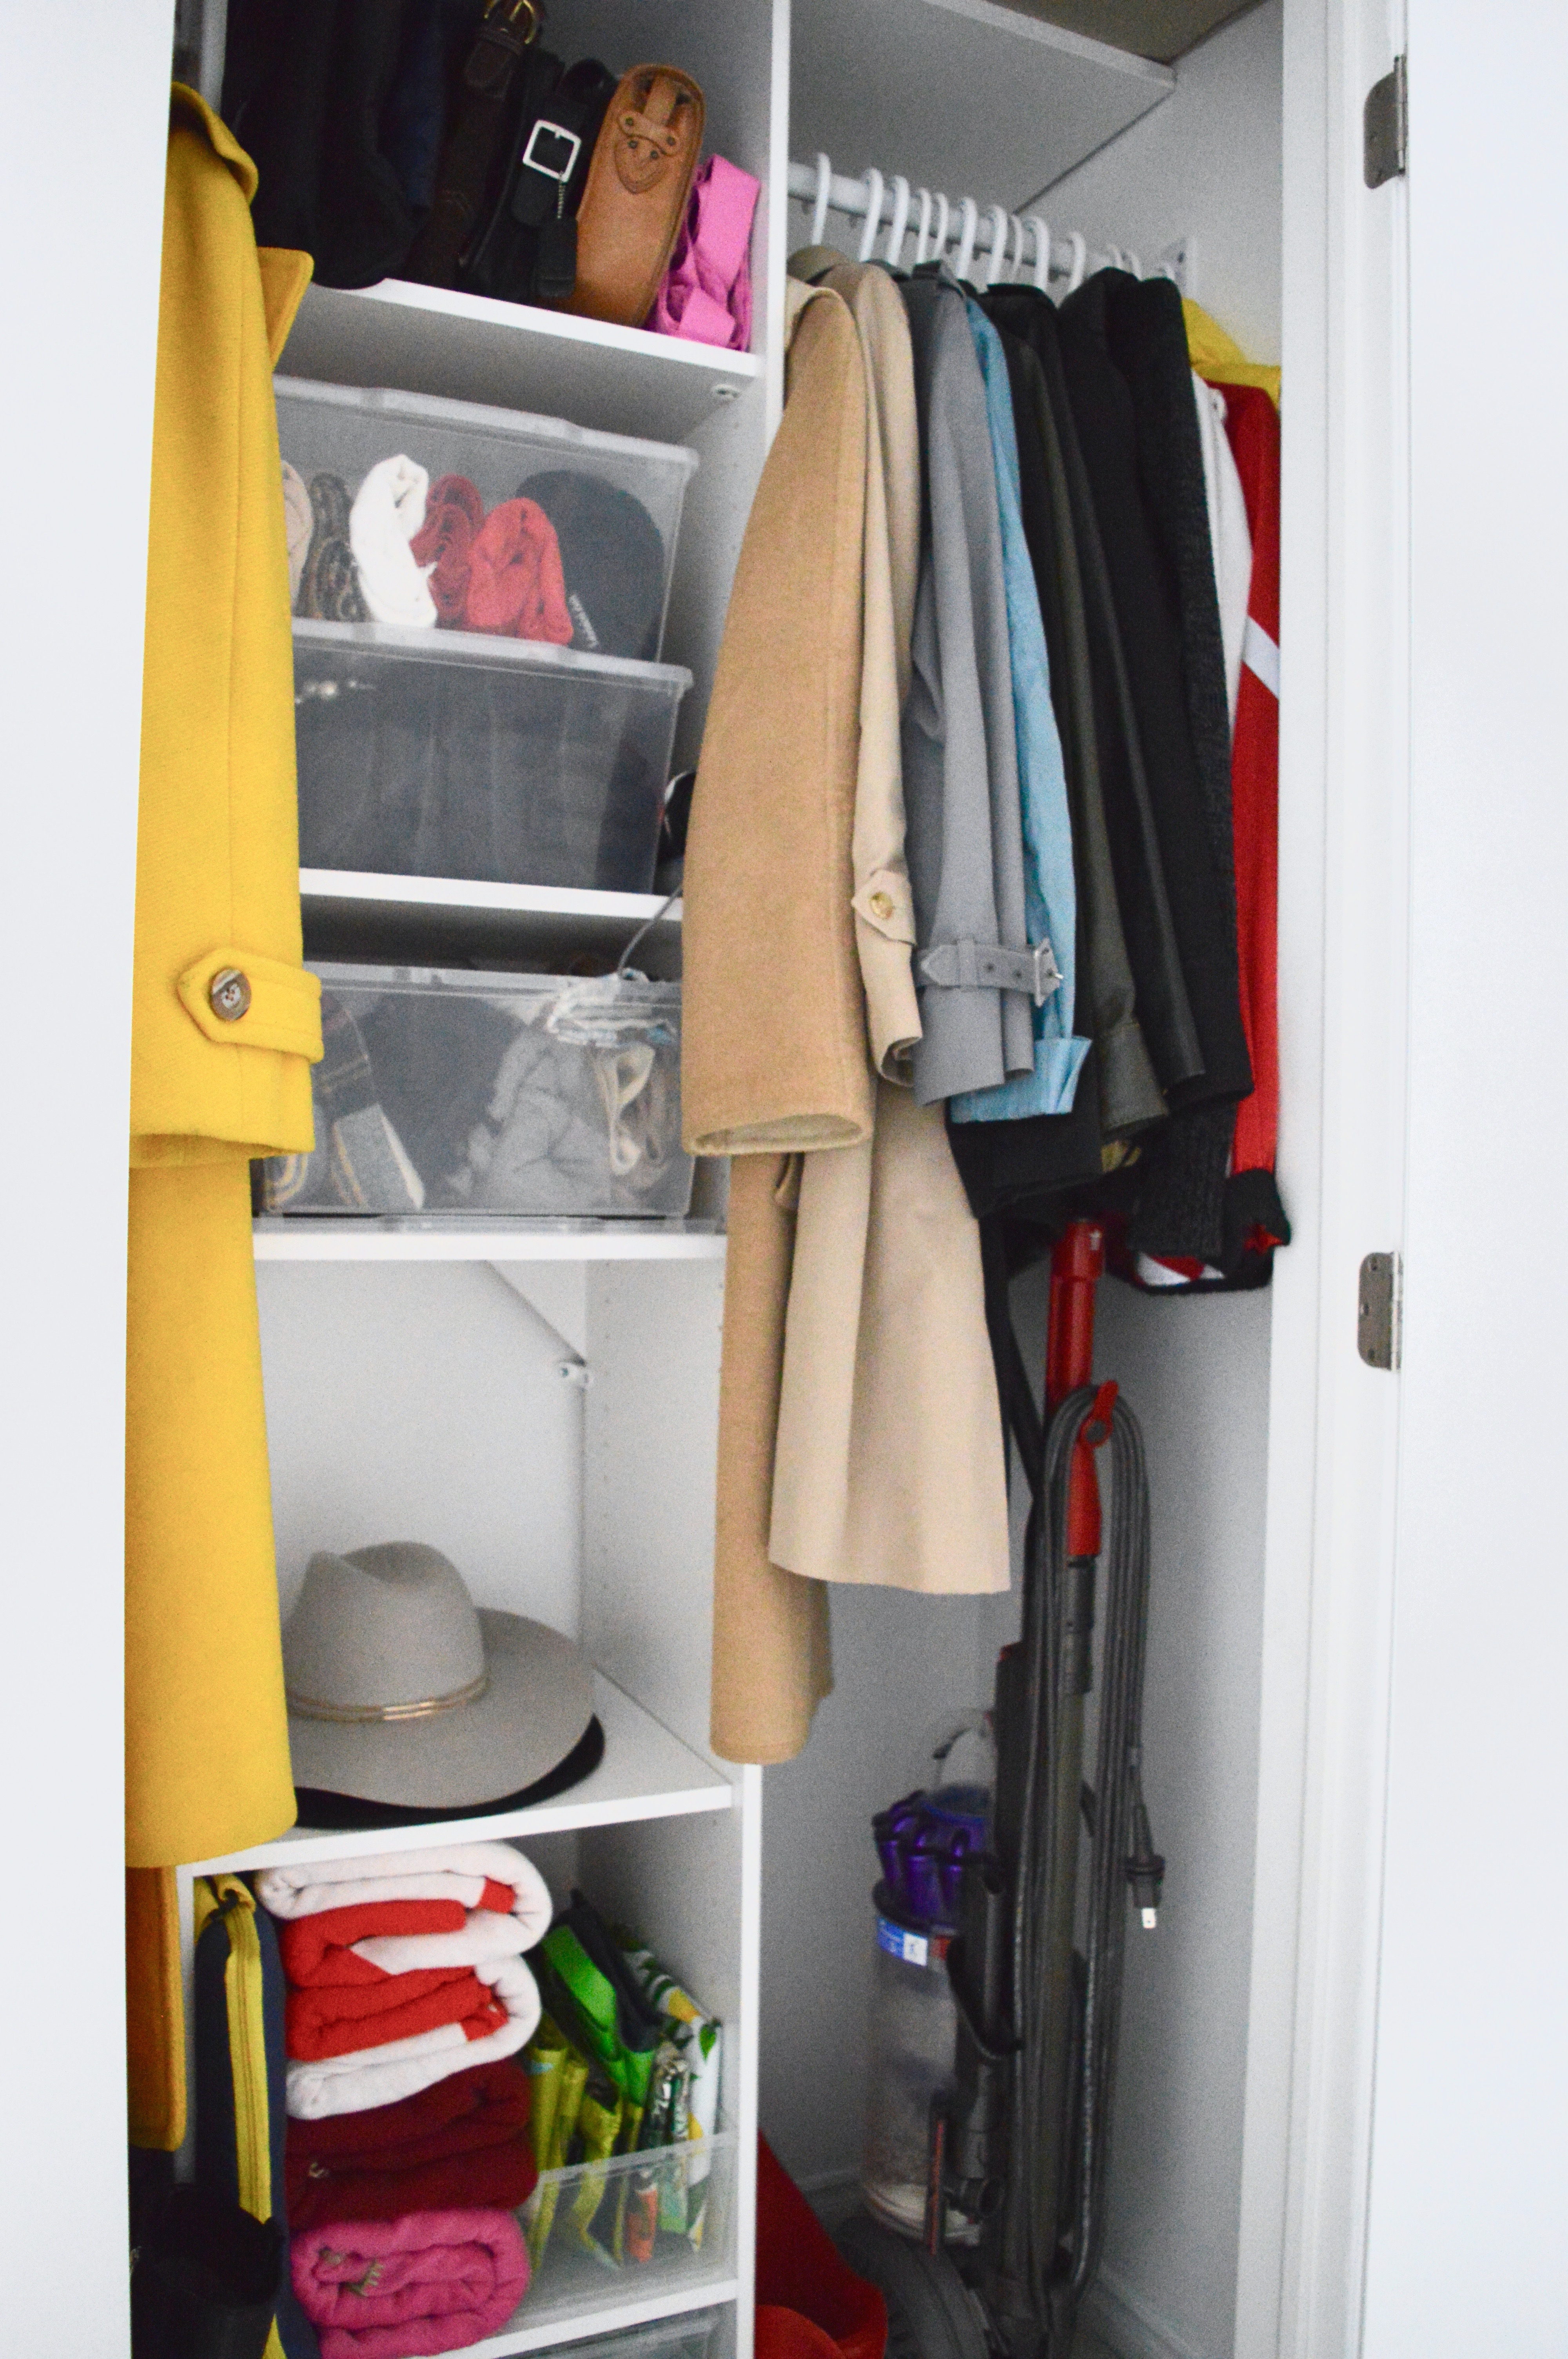
And here’s the after:

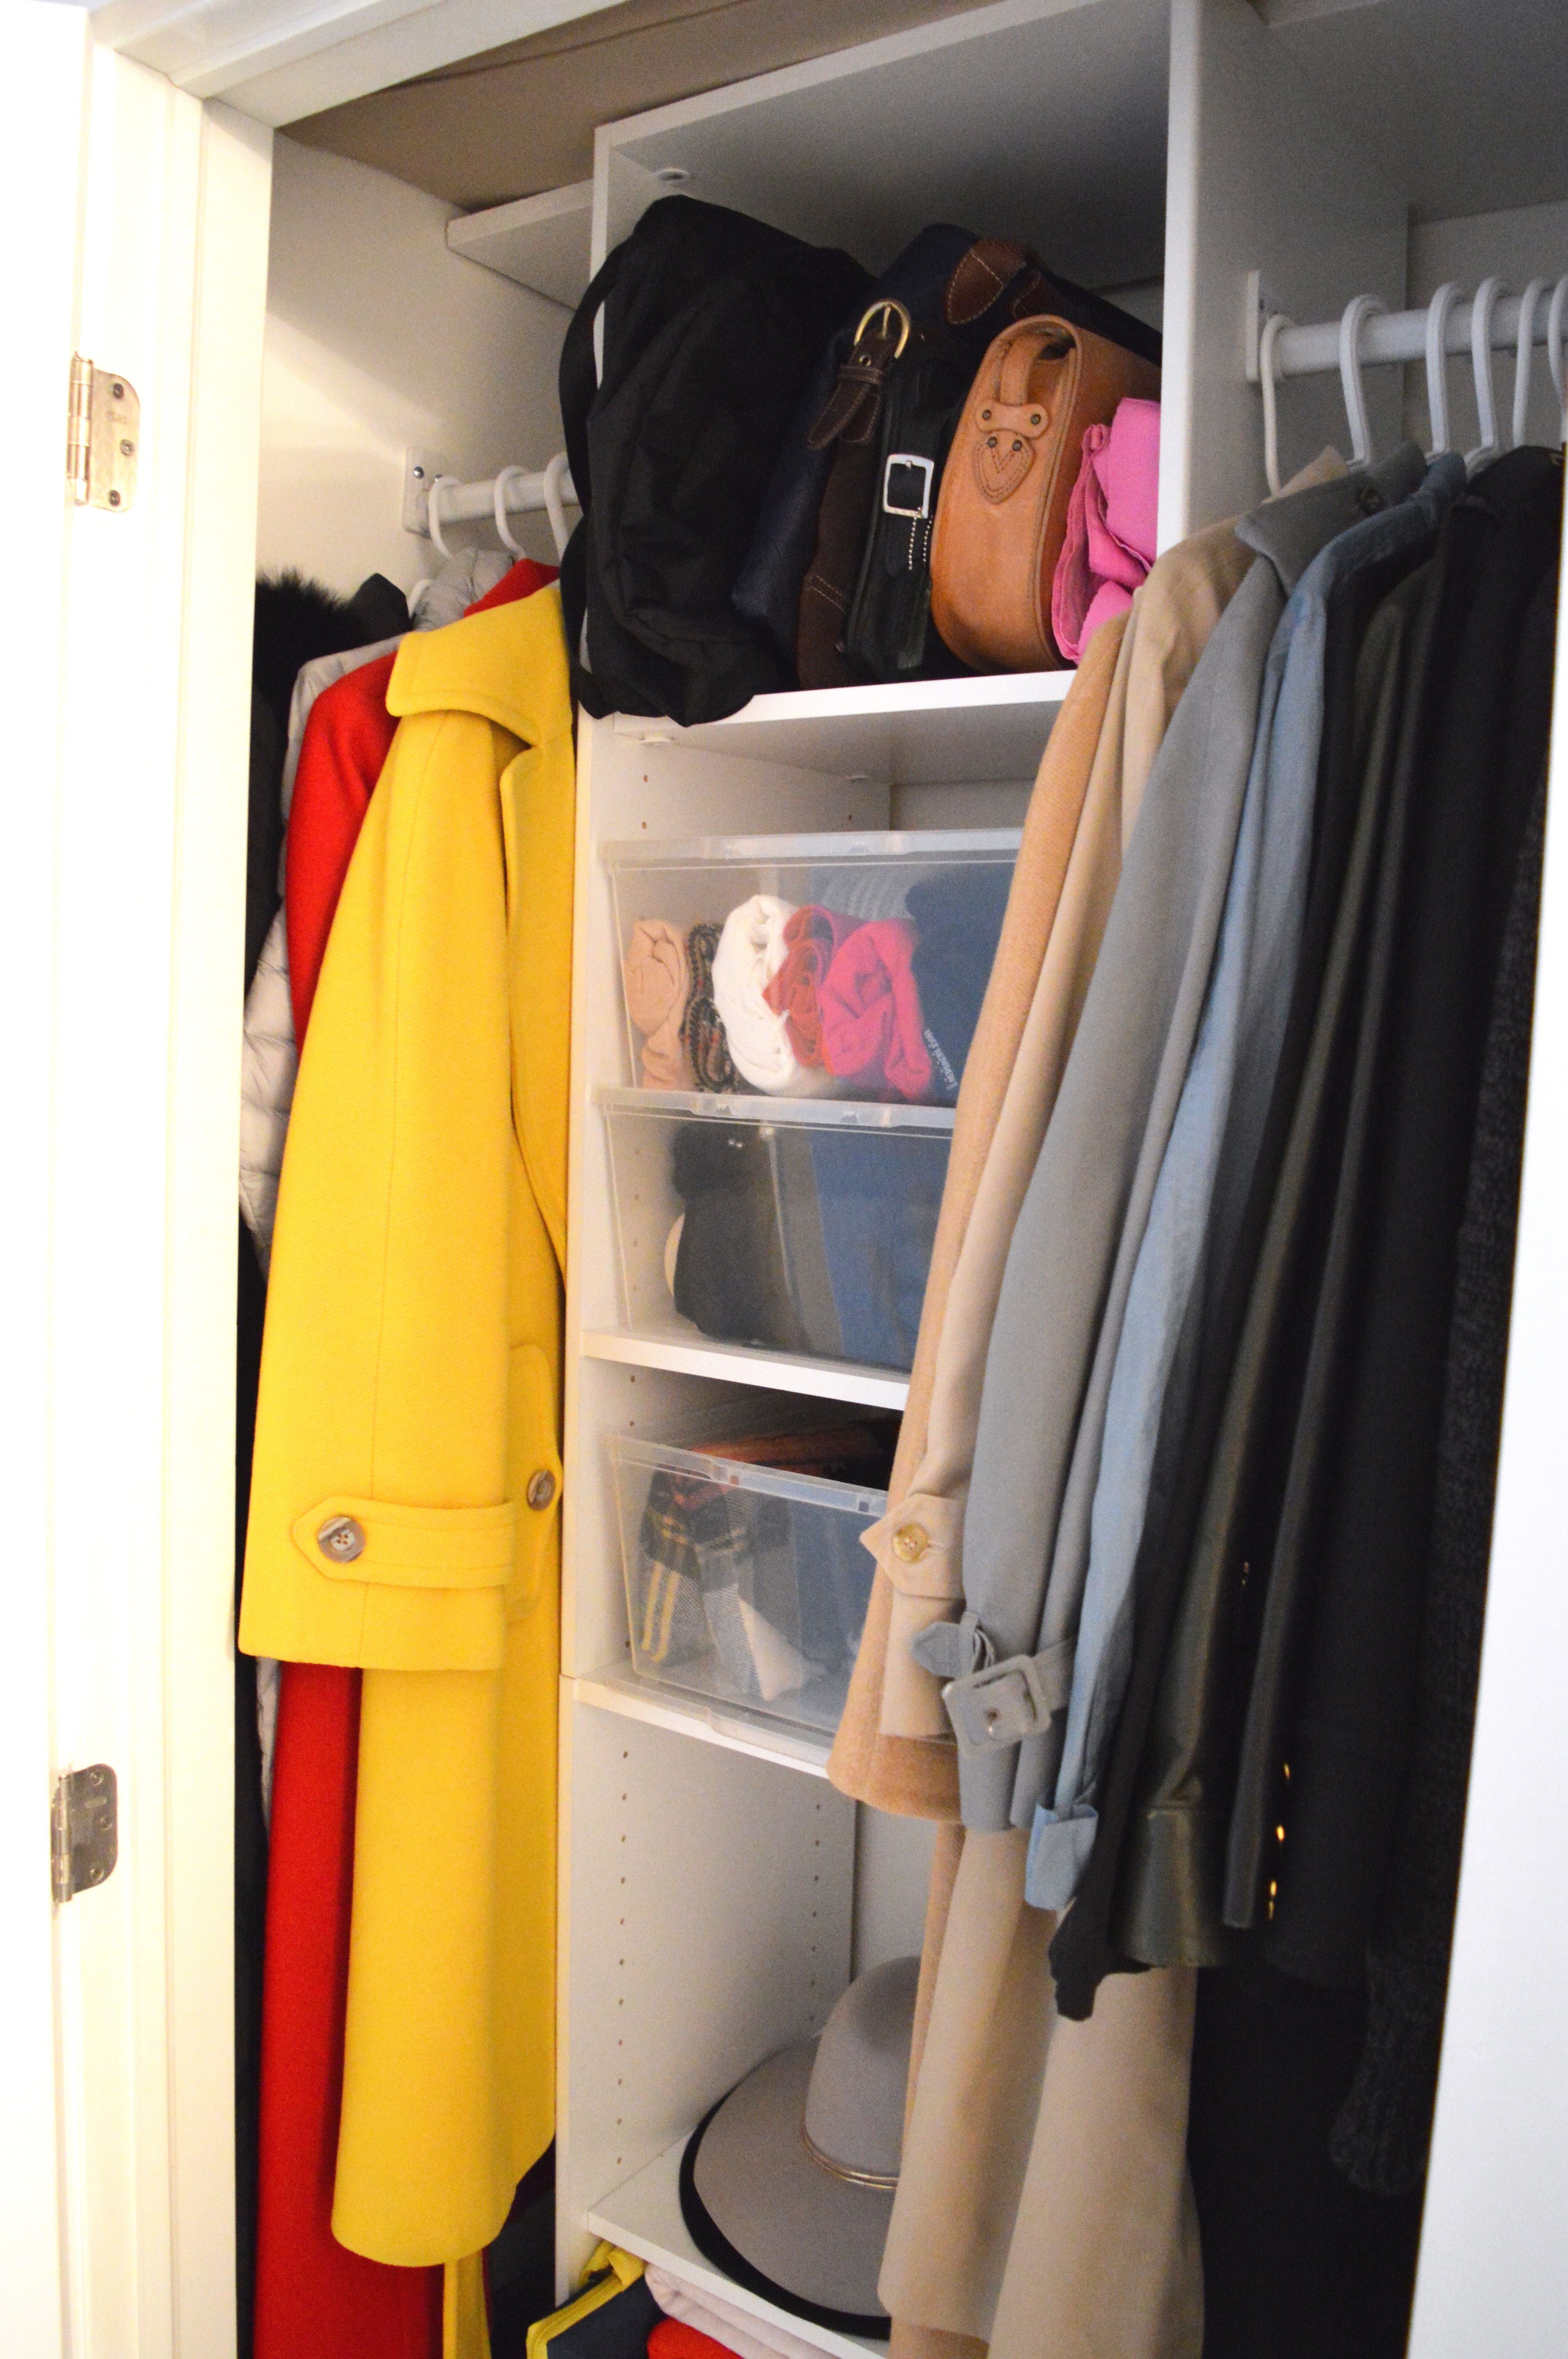
My long coats are on the left side of the shelving unit. At the moment, there is room for four large winter coats. On the right side, you’ll notice my shorter coats that take me through spring and fall. I have other coats stored away in another closet, but that has always been the case. The ones in regular rotation have always been in this hallway closet.

The shelves hold my every day as well as my only-in-certain-seasons items. On the top shelf are purses I regularly rotate. Under those, I have winter accessories (scarves, hats, mittens) in clear storage boxes. Then I have a fairly empty shelf that houses two hats. The bottom shelf has my grocery/shopping bags and my blankets for my patio. Oh – and something you can’t really see in these photos – my patio cushions are on the very top shelf about the full unit. They fit perfectly, which was a pleasant surprise! I have really maximized the function of this little closet!

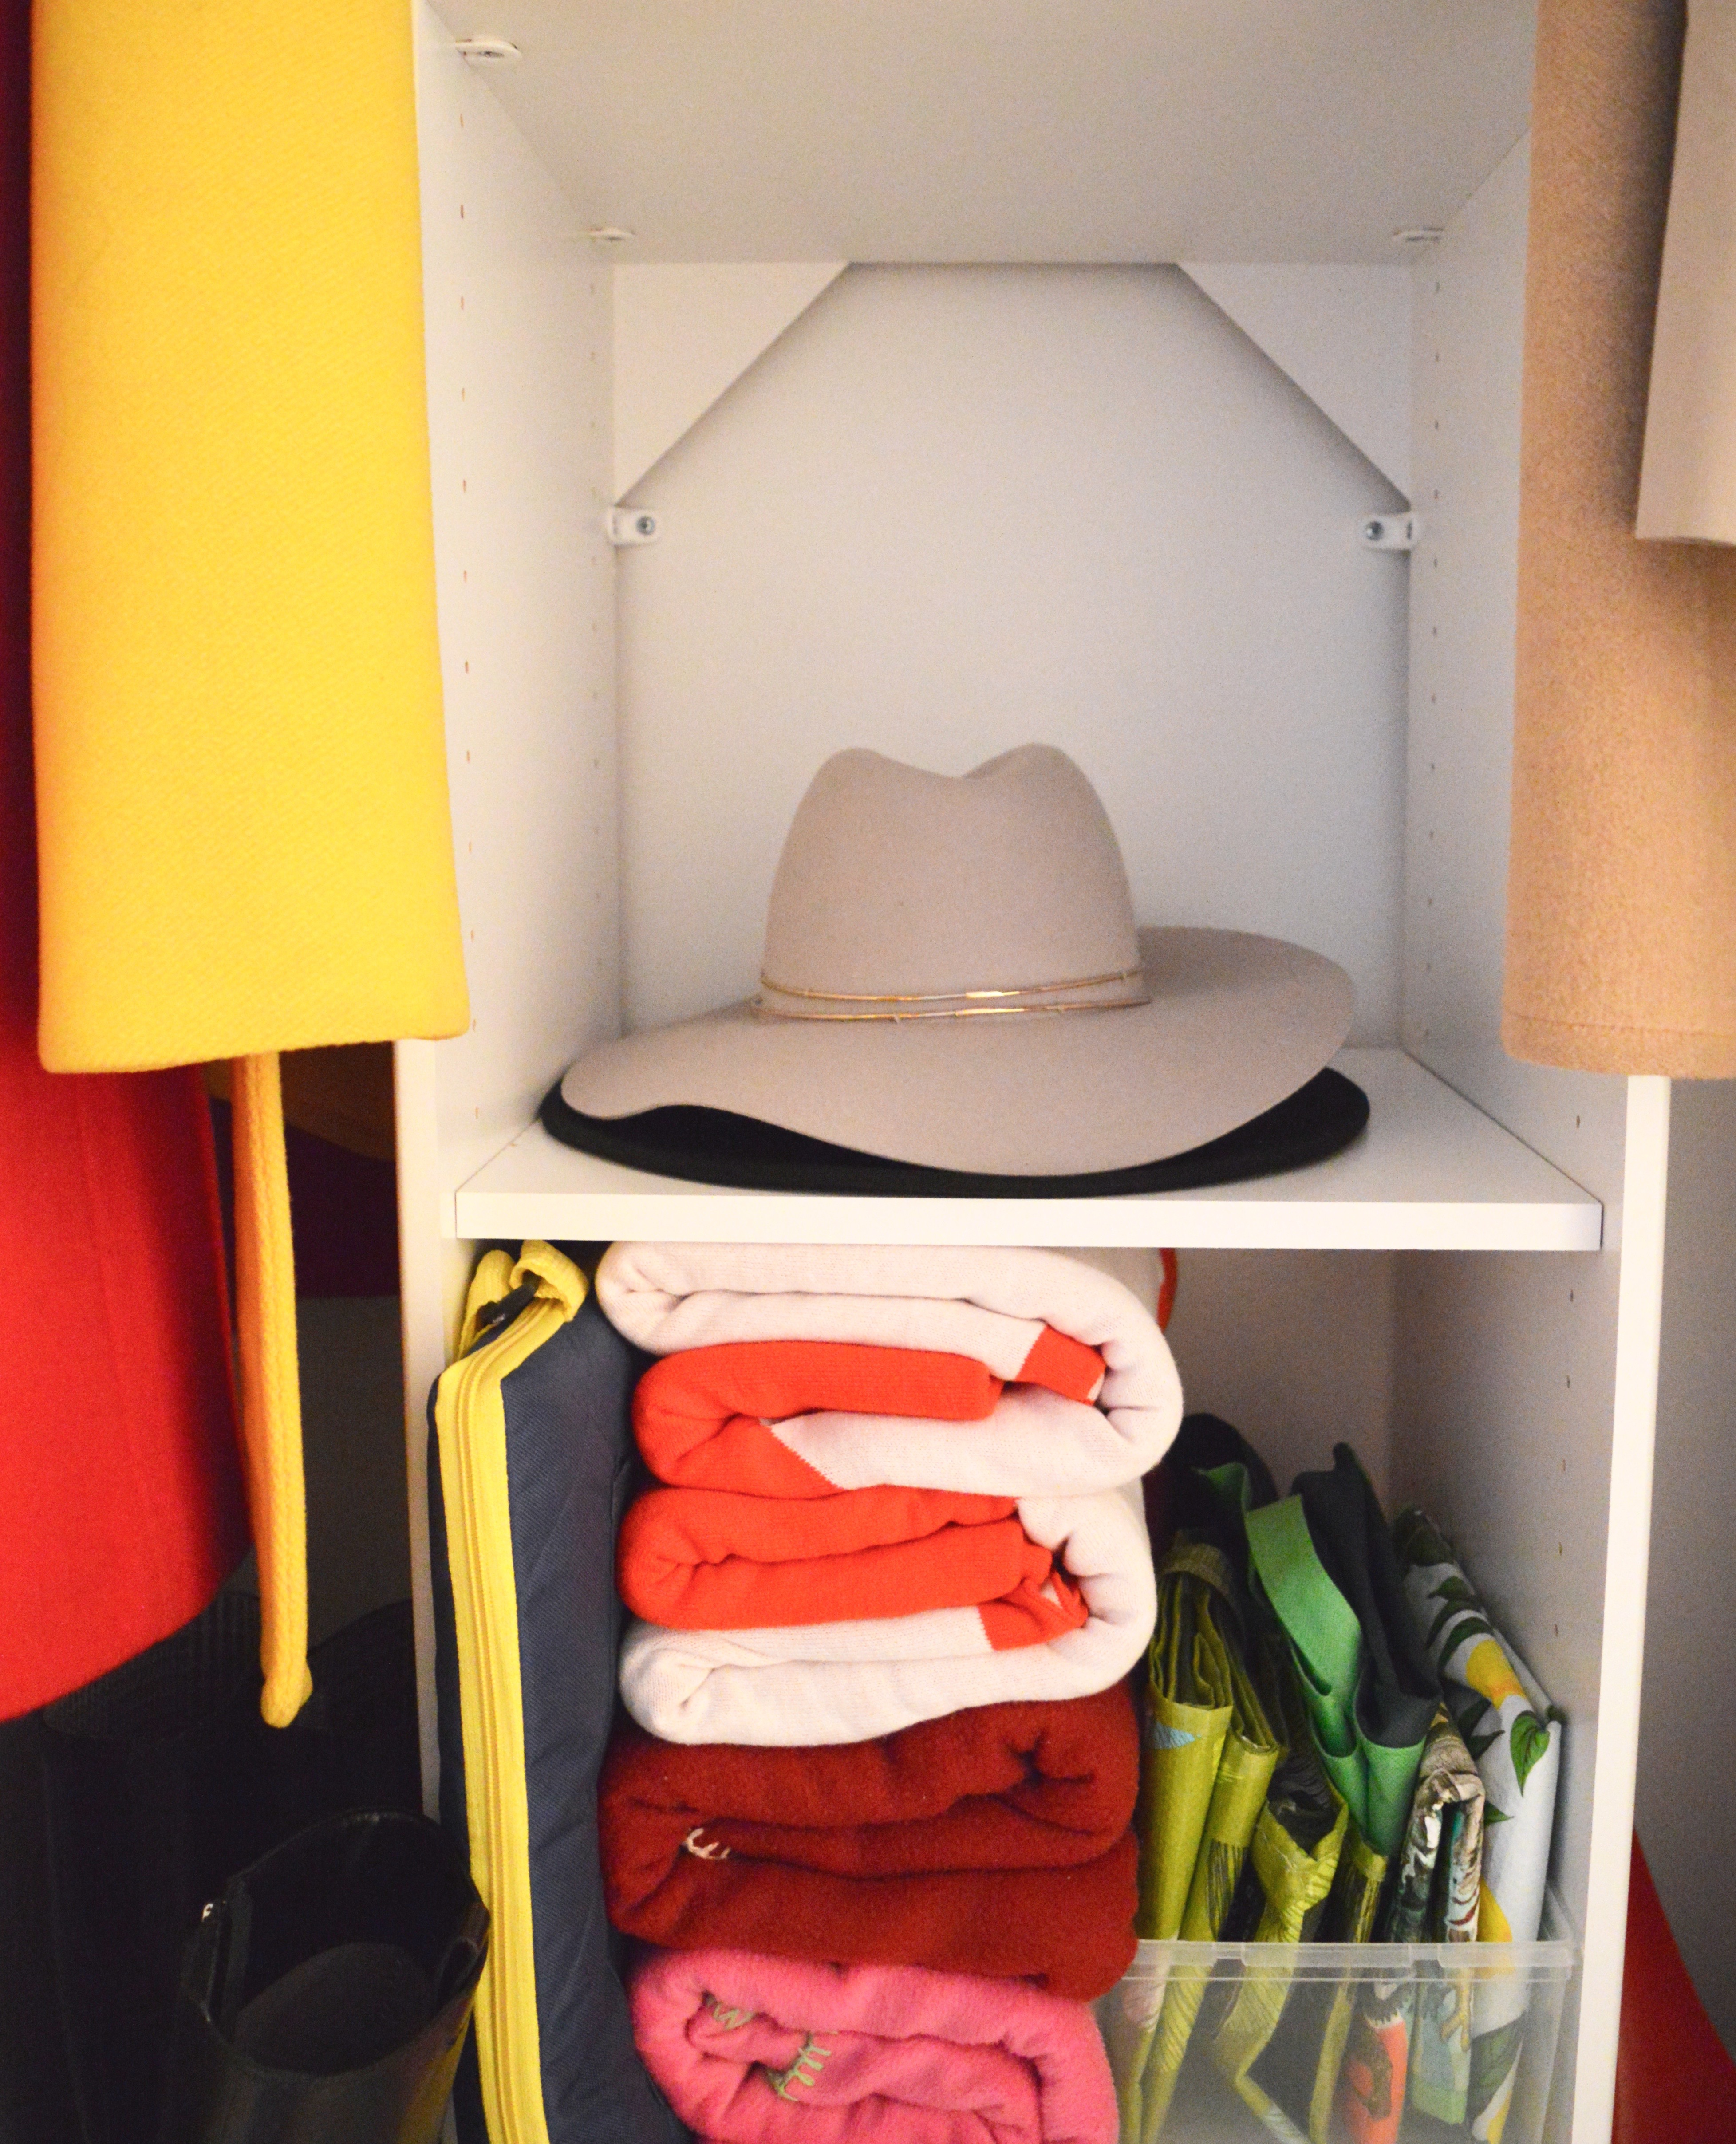
I considered styling this closet, so the photos would be ridiculously pretty, but then it wouldn’t be a representation of real life, so I opted for realness. The items that you see in this closet were in the before photos. These are things that I use daily, and I didn’t want a “just for show” closet to share with you. In true Jordana style, I did arrange my coats by colour.

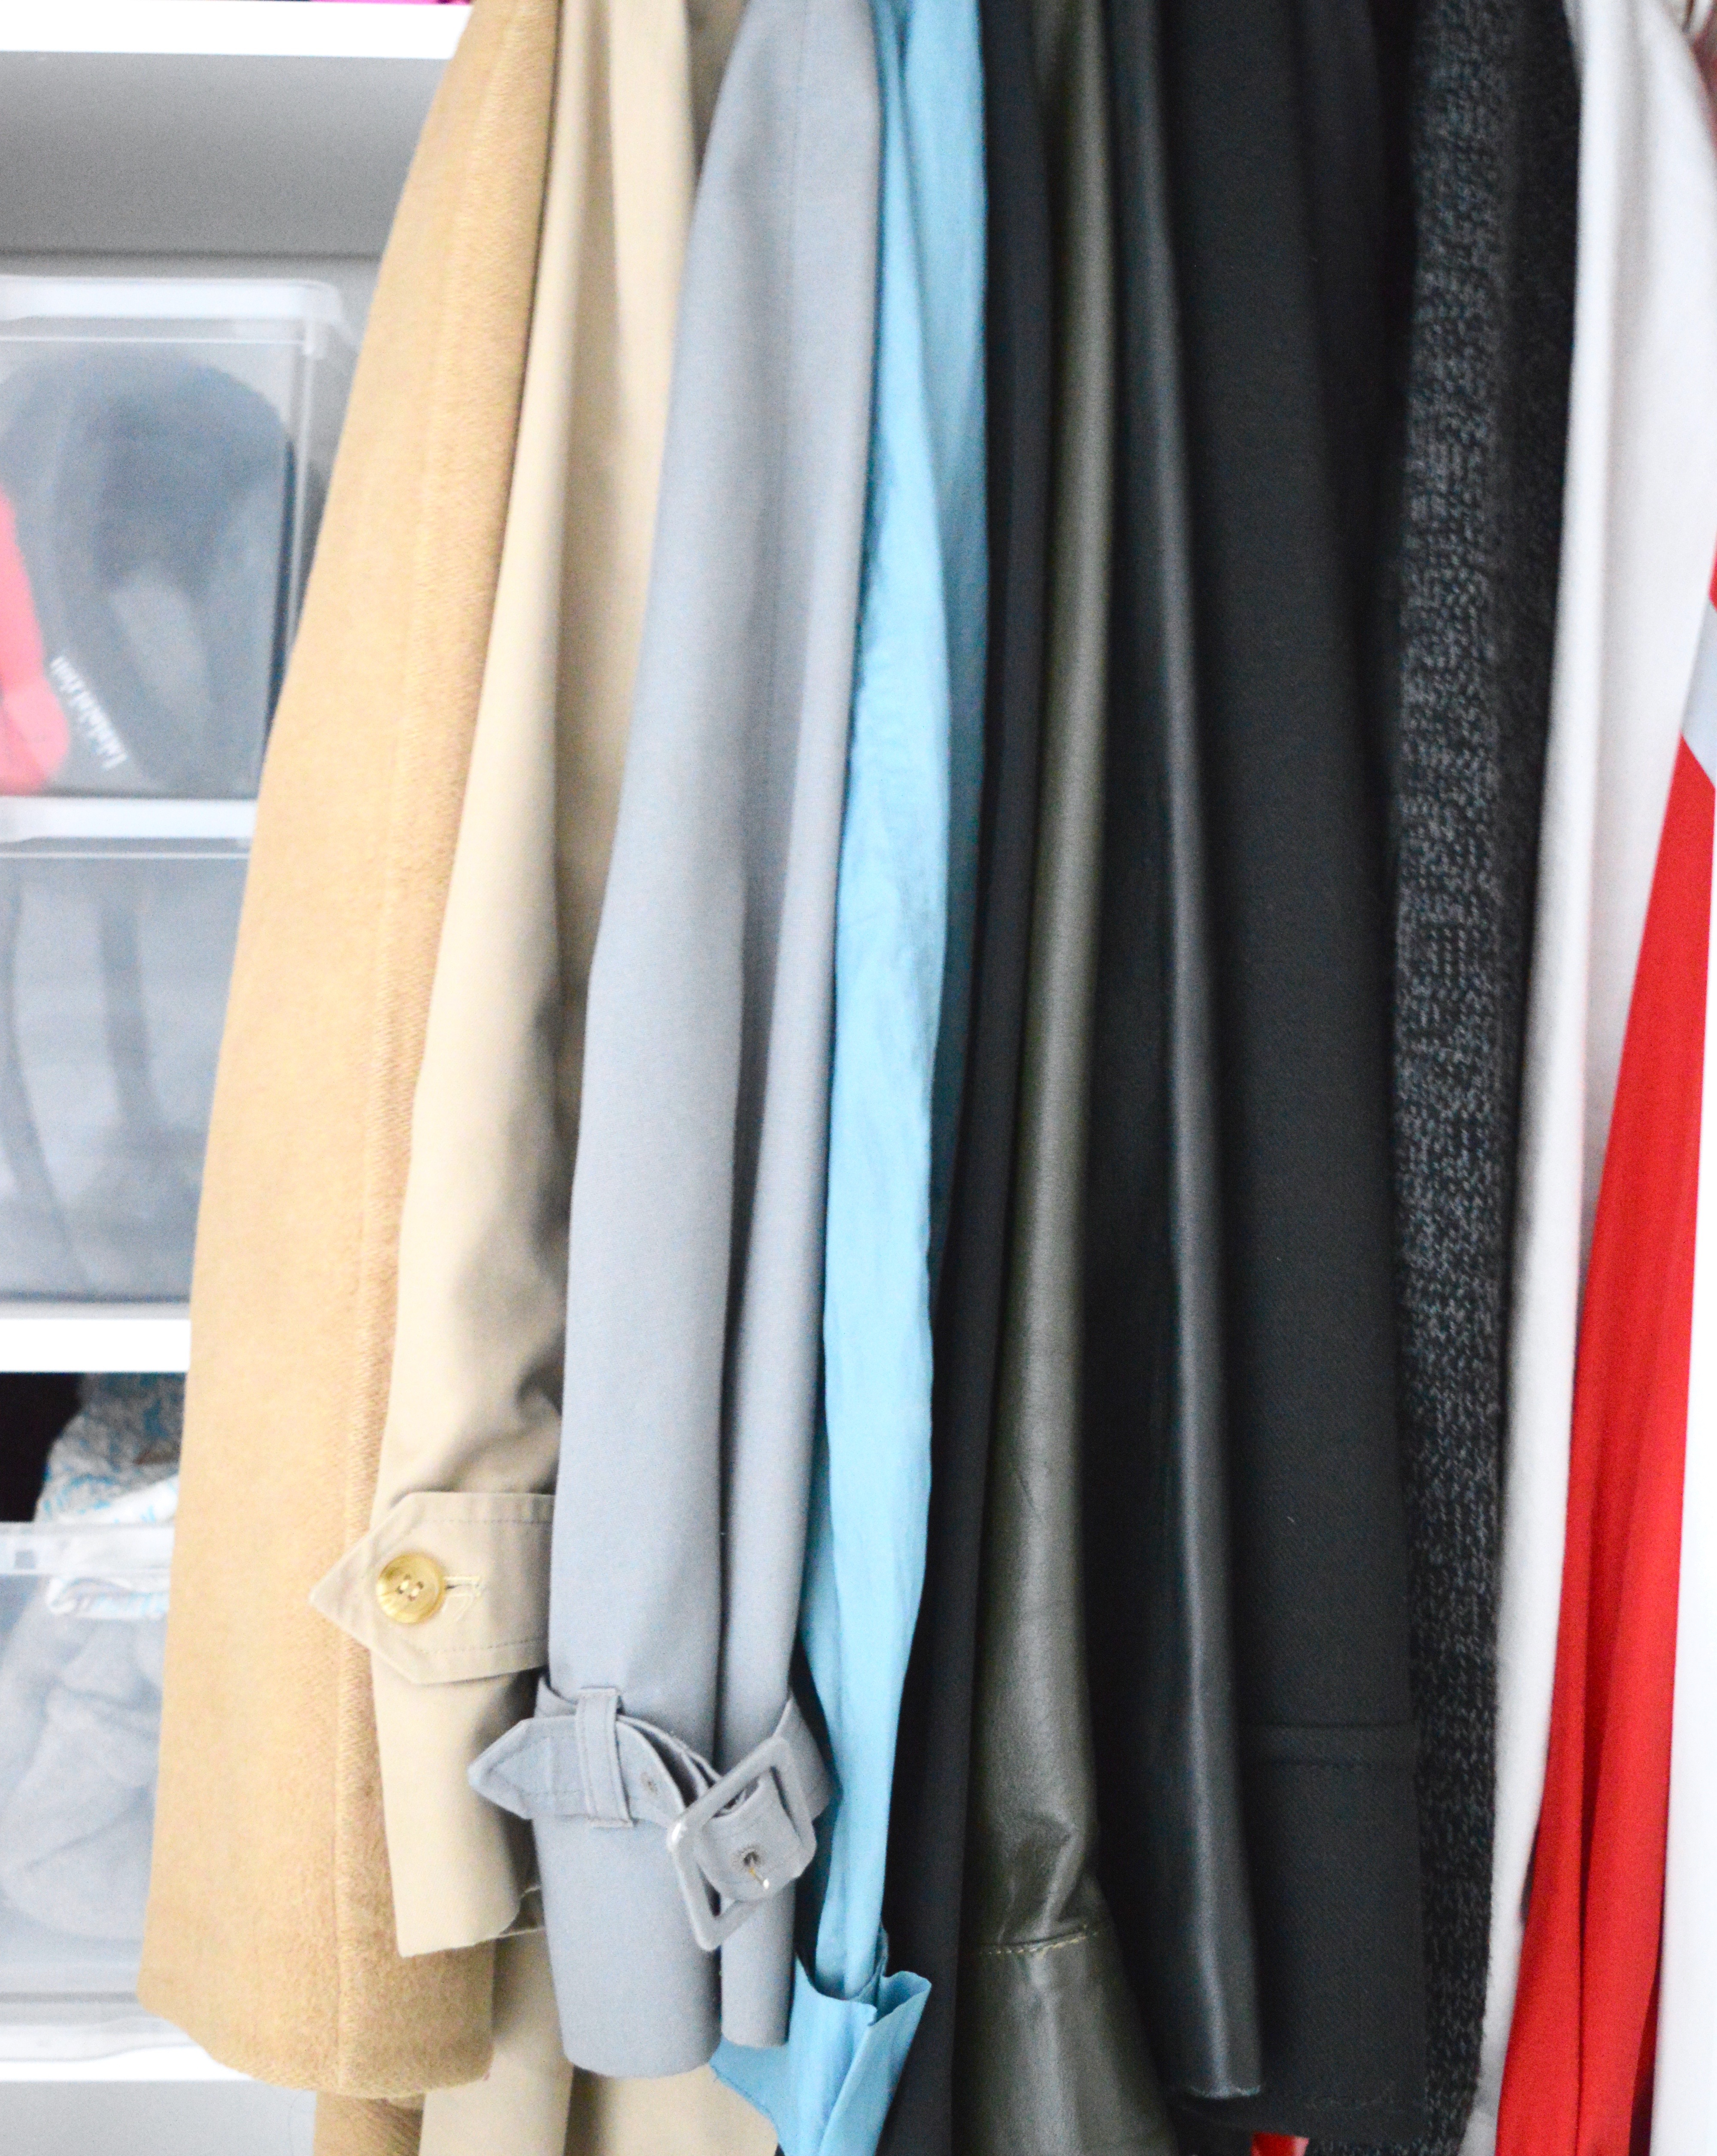
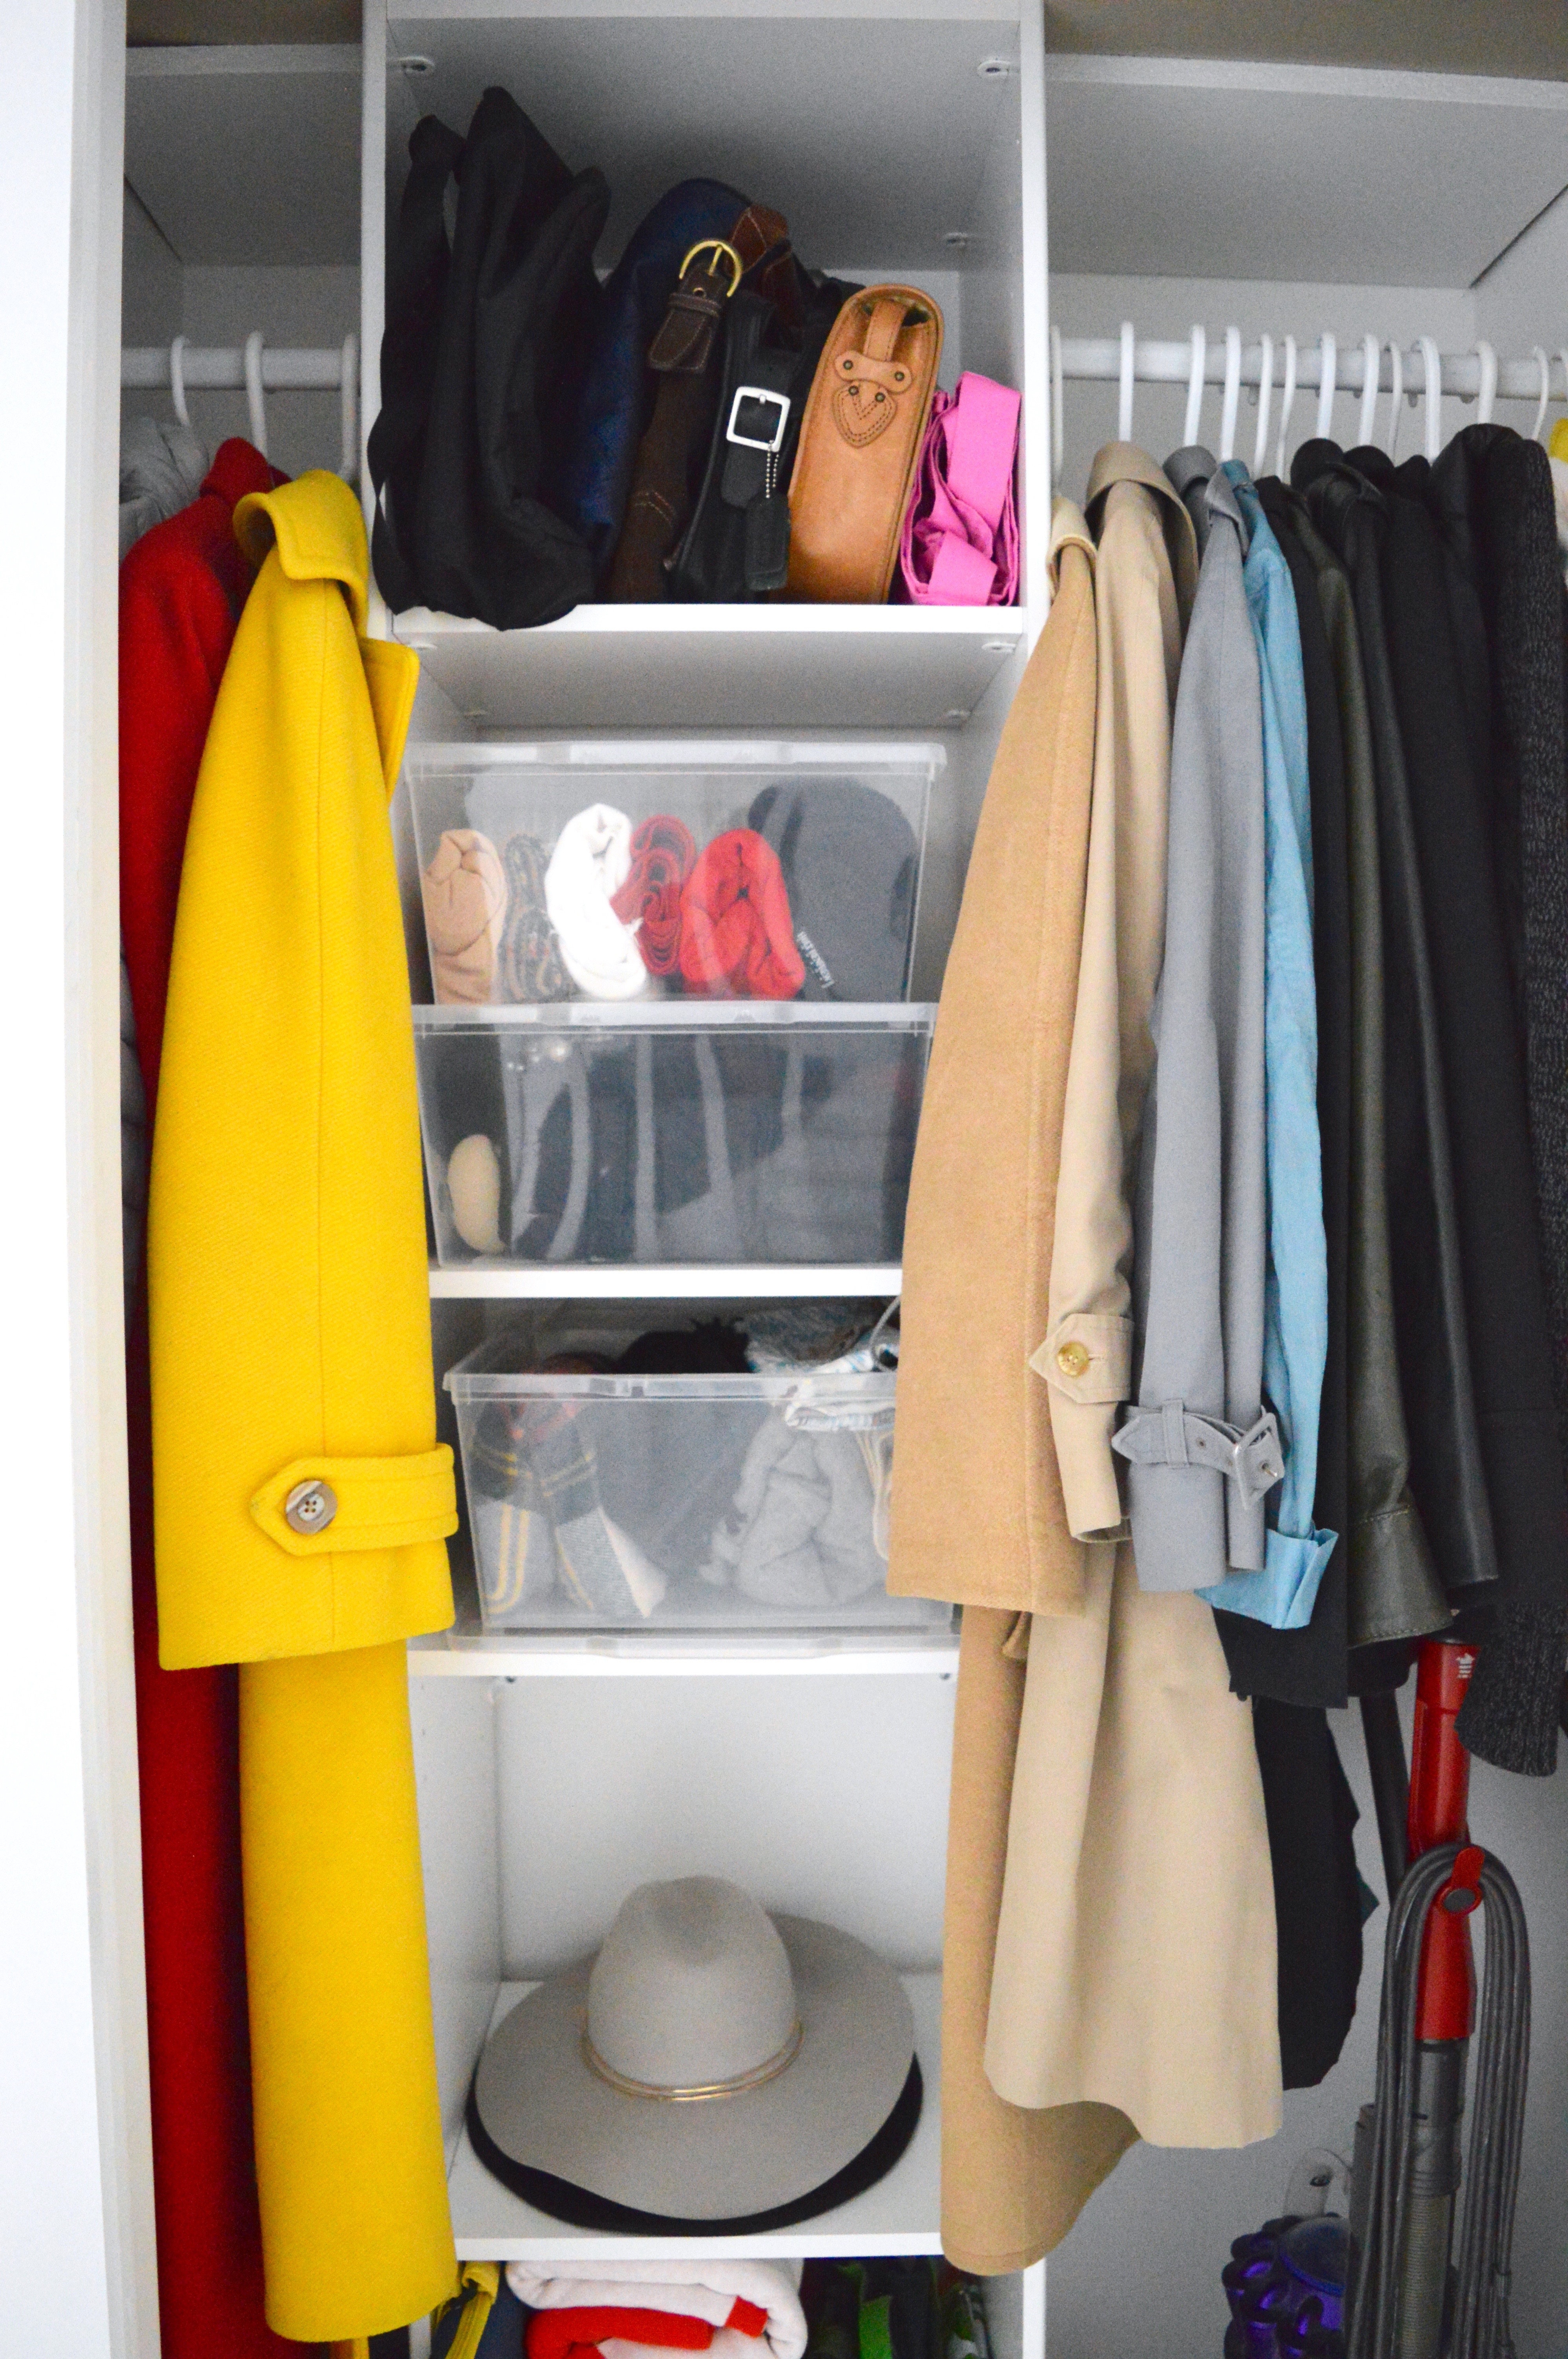
There’s room for everything in here now, and even a bit of room to grow. The clear storage containers (clear shoe box and clear utility box) will keep my winter accessories clean and organized when not in use.

Believe it or not – just about all of the items that were falling out of the closet in this post and in the before picture made their way into the after closet. I did remove two bags of bags (useless) and a couple of pairs of shoes, but I did add in two knee-high boots. It’s been great to experience the difference an organizer has made to the look and function of this closet! I’m glad the lovely outside makes way for the tidy inside!

Thanks to Home Depot Canada for sponsoring this post. All opinions and photos are my own.

Travel: Grey County, Ontario – Day 2

As you may recall, last month, I had the opportunity to explore Grey County (see what I did on day 1). Day 1 ended at the Pretty River Valley Country Inn. And here’s where I’d like to continue to share my travel story with you.

My loft at the Pretty River Valley Country Inn was spacious and comfortable. I fell asleep listening to the crackling fire. When I woke up, the first thing that came to my mind was the incredibly deep sleep that I had just had. I could not believe it. Interestingly, during breakfast at the inn, I met a couple who said the exact same thing! We agreed that our deep sleeps were due to a combination of a very comfortable Tempurpedic mattress, the warmth of the fire, and the fresh country air.

Breakfast was served in the main house at the Inn, and everything was freshly made. I ate by the fireplace, naturally.

After breakfast, I took a little tour of the property and surrounding trails. The day was bright, and I loved who I met along my little stroll in the snow…reindeer and Icelandic horses! I had never seen reindeer in person. Have you? What an awesome treat! All the animals at the Pretty River Valley Country Inn are absolutely beautiful.

the reindeer at Pretty River Valley Country Inn

the horses at the Pretty River Valley Country Inn

After my trail walk and visits with all the animals, I loaded up my car and took a short drove to the sweet village of Kimberley. Here, met up with Amanda from Grey County Tourism for lunch at Justin’s Oven. This restaurant is full of charm! The wood decor reminded me of a Swiss chalet or in a Cabane à Sucre. The restaurant is open only a few days a week: Thursday pub night, Friday pizza, Saturday dining, and Sunday brunch. My breakfast crêpe was tasty and service was friendly. I would easily make a return trip for Friday pizza! And I can imagine how fun it would be it in the summer with the windows open!

at Justin’s Oven

Right next door to Justin’s Oven is the Kimberley General Store. Every nook of this store exudes charm. The products are carefully curated – many of them local, too! It’s a great spot for little gifts, chocolate, and fresh bread, too! I picked up some garlic (grown right on the property).

goodies at the Kimberley General Store

It was wonderful to chat with Stacey – owner of the Kimberley General Store – and the other staff. Everyone was friendly and proud of all that the area has to offer its residents and visitors.

From Kimberley, I took a quick drive to Blue Mountain for a few outdoor activities. I hadn’t been to Blue Mountain for decades! I’m not a skier, but I was up for trying other activities at the resort. The newest attraction is the mountain top skating trail. I had brought my skates to give this a try, but the weather affected the ice conditions, so the trail was closed during my visit. Instead, I braved the Ridge Runner – a 1km-long mountain coaster. Honestly, I was scared. I had control of the little cart, and I was safely buckled in, but I was still scared. All the kids around me though – not so much! Ha ha!

the Ridge Runner at Blue Mountain

I also walked over to the other side of the resort to do the Hike n’ Tube. The cheers and screams from people tubing down the hill were hilarious! After the Ridge Runner, though, I found the hike n’ tube so calm! I don’t think I uttered even one little scream as I slid down the hill in my donut tube! It was fun though. I probably would do both activities again.

After a couple of hours outside in the winter weather, I was ready to check-in to my hotel. On this second night in Grey County, I checked into the Westin Trillium House Blue Mountain. The hotel was so busy, but check-in was smooth. This hotel has all the amenities that anyone could want. I was booked into a great suite – a one bedroom plus den with a living room, kitchenette, large bathroom, and a balcony. Oh – and a fireplace, too. My room overlooked the village and icy pond (check out this day/night comparison). I took the opportunity to spread out all of my stuff and to dry all of my outdoor winter clothing.

I stopped in at Oliver & Bonacini – on the first floor of the Westin – for a quick dinner before I headed over to the Scandinave Spa.

I was curious about the Scandinave Spa in the winter. I have been several times before in warmer weather (see this post and this post), but outdoor baths in the winter? How was this going to turn out? Well, let me tell you. Although the baths routine is hot-cold-rest, there was no way that I was brave enough to plunge into anything cold in freezing cold winter weather. The warm baths, on the other hand, were absolutely enjoyable! I was so relaxed! And after a day of outdoor activity, being in the baths was perfection! And I wasn’t cold at all!

And this brings me to the end of my second day in Grey County. Can you tell that I really enjoyed myself? I definitely did!

All photos by Jordana.
Thanks to Grey County and Amanda P. for sponsoring my trip. All opinions are my own.

Travel: Georgian Hills Vineyards, Grey County

I recently had the opportunity to pick frozen grapes from the vines at Georgian Hills Vineyards in Blue Mountains, Ontario. Sounds a bit random, doesn’t it? I mean, who goes grape picking? And in the winter? I was originally set to visit the Georgian Hills Vineyards to enjoy a tasting and a snowshoe tour, but because the weather was just right for picking, I was able to join a group of about 30 volunteers to pick frozen grapes. I jumped at the opportunity!

The team of volunteers gathered around 9 am, and while we sipped on coffee and treats, we learned about the process for making Frozen on the Vine. This is Georgian Hills Vineyards’s brand of Icewine (the term “Icewine” is assigned and approved only to VQA-designated viticulture areas). Since the temperature had hovered consistently around -8 to -10 degrees Celcius for several days, the grapes were perfect for picking. Robert Ketchin, one of Georgian Hills Vineyards’s partners, explained that after the grapes were picked, they would be pressed right away to release all the sugar.

volunteers are ready to begin

grapes from Georgian Hills Vineyards’s Frozen on the Vine

Robert led us through the picking process. Each person was given cutters and a basket, and once our basket was full, we emptied it into a larger bin, which would then be carried away and emptied into massive blue bins by the Georgian Hills Vineyards’s staff. We worked side by side, moving along the rows, which resulted in a very social grape picking experience! I enjoyed meeting people from the area;  many of us were enthusiastic first-timers. Photos were snapped as we moved through the rows, and we were encouraged to try the grapes, too. Frozen grapes are such a sweet snack.

The green nets you see protect the grapes as they grow. We moved them aside, of course, to get at the grapes. We cut the grapes from the main stem and everything got dumped into the baskets. The grape press does not let the stems and leaves pass through, so we didn’t need to worry about being so perfect.

I wore many layers for this outdoor activity. I wore four top layers, wool leggings and snowpants, two pairs of gloves, my long L.L.Bean coat, big blanket scarf, and my trusty Sorel boots with two pairs of socks. I was warm. Better to be warm and happy than cranky from the cold when you’re out picking grapes!

We worked through rows of Vidal and Riesling grapes, and without noticing, the hours flew by. When we took a group break, we warmed up with cider, hot chocolate, and more treats. The Georgian Hills Vineyards’s team were gracious hosts and very appreciative of everyone’s time and energy.

massive blue bins of frozen grapes that are ready for the press

the press

winemaker Vanessa at work

the bladder (the black thing in the middle) pushes the grapes against the wood frame to release the sugary juice

the wood slats will come together as the bladder presses the grapes against them

This year’s sweet Frozen on the Vine will be bottled up and ready next year. I guess that means I need to make a return trip to Georgian Hills Vineyards to grab a bottle two of the sweet winter wine with the grapes that I picked this month.

Besides catching the “picking frozen grapes” day at Georgian Hills Vineyards, the winery is open year-round for visitors. Check out the range of winter experiences (e.g., snowshoe tour) and summer packages. (e.g., helicopter tour). In addition to the sweet winter Frozen on the Vine wine, Georgian Hills Vineyards offers white, red, and rosé wines as well as a variety of ciders.

another Georgian Hills Vineyards sweet dessert wine – Ida Red – made from frozen apples (available at the LCBO)

I have many words of thanks today. Thanks to the Georgian Hills Vineyards team for welcoming me to this grape picking party! Thanks to Allison Davies for taking my photos! Thanks to Amanda P. and Grey County Tourism for arranging my trip.
See more of my trip to Grey County at #WhiteCabanaGoestoGreyCounty.

Marketplace: A Minted Christmas

This post has been sponsored by Minted. All opinions are my own.

If you’ve been a long-time reader of White Cabana, then you’ll likely know some of my favourite brands. Minted, the online marketplace for cards (and now art, fabric, and more!) has been one of my fave brands for quite some time. In fact, it was one of my first brand partnerships way back when White Cabana was just a newbie blog. While I have normally ordered cards and artwork, last year, I took a chance and ordered some fabric for my chaise. The fabric is beautiful. (You can read about my chaise makeover if you’d like.) I feel grateful that I can continue to work with Minted because I’m continually impressed by the work of Minted’s very talented artists.

Since it’s holiday time, it only makes sense that I now turn my attention to Minted’s collection of holiday items. I’ve worked with Minted for the last several years on my holiday card order. My favourite part of the ordering process is browsing through the card designs. This usually takes me a few days because I save a lot of designs in my favourites folder, and then eliminate them as I narrow down my preferences. I definitely put the filters to use to limit the designs by type (e.g., no photo, folded card) and colour (heavy on the white).

Once I’ve chosen my design, the rest of the ordering process takes minutes. Since I have an account, I simply need to write my greeting, review my saved-from-last-year recipient address list, and ensure my return address gets automatically printed on the back. Poof! Done! The order of cards arrives within days. Beautifully and safely packaged, I may add.

This year, I opted for the painted wreath designed by Baumbirdy of Chicago. You can see that the bow from the wreath is also printed on the envelope above the recipient’s address. How pretty!

While the original design had a holiday greeting in the middle of the wreath, I opted to remove it altogether, so that I’d have more white space on my card and the focus would be on the pretty wreath. I put my well wishes on the inside of the folded card. If you’ve ordered Minted cards before, then you’ll know that the text is quite customizable – wording, font, colours, spacing.

The pre-printed recipient and sender addresses option is amazing. I would recommend to pay the extra money for this option because not only is it beautiful, but it saves time. I’m a big fan of this option. Big. Huge. (Insert “Pretty Woman” emphasis.)

Besides these particular holiday cards, Minted’s holiday collection is lovely.

These non-photo cards were in my favourites folder for a long while.

Wintergarden by Kelly Hall

Merry Christmas, My Deers by Jinseikou (This one has been in my favourites folder for two years in a row. Look at this post from last year!)

Peaceful Reindeer by Gwen Bedat

A Nutcracker Christmas by Alexandra Dzh (this ended up being my runner-up option)

If you like minimalist photo cards, one of these designs might be for you. You’ll notice that you can even customize the card backing and envelope (at an extra cost).

Merry All Year by Pink House Press

Instant Gallery by Olivia Kanaley

In the business category of holiday cards, I like the following designs.

Stars by Lori Wemple

 Delicate Fern by Nicolette Myslinski

Holiday Wishes by Susan Moyal

Magnolia Wreath by Jennifer Postorino

If you’re feeling a touch overwhelmed by the holiday card selection process, why not order more than one design? I haven’t done this myself, but I have considered it. Can I also suggest that you order more cards that you think you need, too? Even though my address list is saved in my Minted account, I always seem to run out of cards. (Hmm…maybe I should spend more time working on adding things up more precisely.)

If you’re not sure how to upload and save recipient addresses, Minted has this guide to holiday cards which provides an easy overview of shapes and styles. I know there are a lot of cards to choose from, and uploading addresses may seem tedious, but once you’ve done it once, it’s done!

As I mentioned, Minted now offers much more than holiday cards to mark special celebrations. A few years ago, I ordered some table decorations to celebrate the completion of my PhD. The collection has now expanded beyond paper table runners. Now, for Christmas, Minted offers a cute selection of tree skirts, stockings, and wrapping paper.

Snow Covered Woods tree skirt

garden lights stocking

Christmas Trees by My Splendid Summer

Birds and Flowers by Leanne Friedberg

I know the holidays are right around the corner, so you may have already purchased holiday cards and decor. On the other hand, if you’re behind schedule, have no fear. Minted’s delivery deadline schedule will help guide you, so you can reach your shopping goals!

Happy shopping!