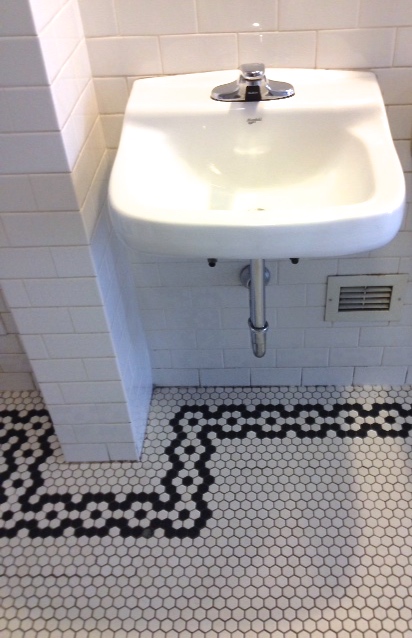
I’m pleased to announce that I have now completed the tile work in my powder room. I ordered the grout – smoke grey – from Twin City Tile and grouted the floor over the Thanksgiving long weekend. I am SO incredibly pleased with the floor and I am SO glad I decided to rip out the vinyl.
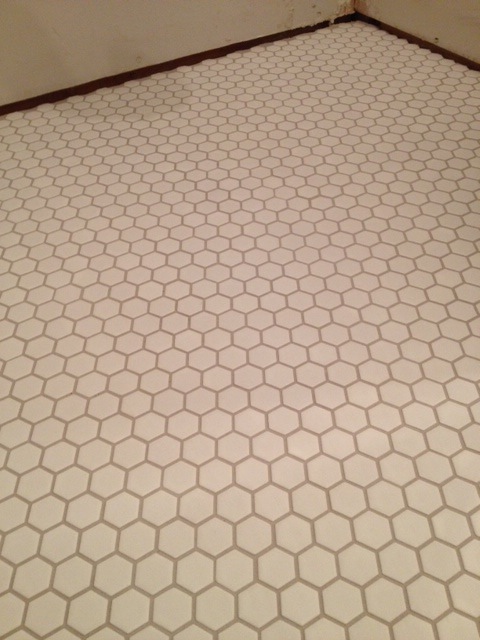
Grouting was easier than laying the tiles down. I was certainly less stressed about this part of the process. How did I get the job done? I followed the directions on the grout package as well as the instruction I received from the Home Depot tiling workshop I attended and the mini lesson I received from Silvano at Twin City Tile. I mixed the grout powder with water and stirred it all up (with a paint stick – it was a small batch so this was good enough) so it had the consistency of pudding or icing (tiling and grouting is just like icing a cake!). I used the spatula (grout spreader) and moved the grout into the spaces like I’ve seen on TV (honestly!). I let the grout dry for about 10-15 minutes and then spent quite a bit of time (over an hour maybe) cleaning the tiles very carefully. I knew I couldn’t leave any grout residue on the tiles otherwise my floor would be ruined. I spent so much time wiping the grout off with a damp sponge just as I had been taught (one direction, rinse the sponge after each wipe, etc.). It was time consuming but very satisfying. I then let the grout dry for a few days (I think it only needed 24 hours) before I actually stepped on the floor.
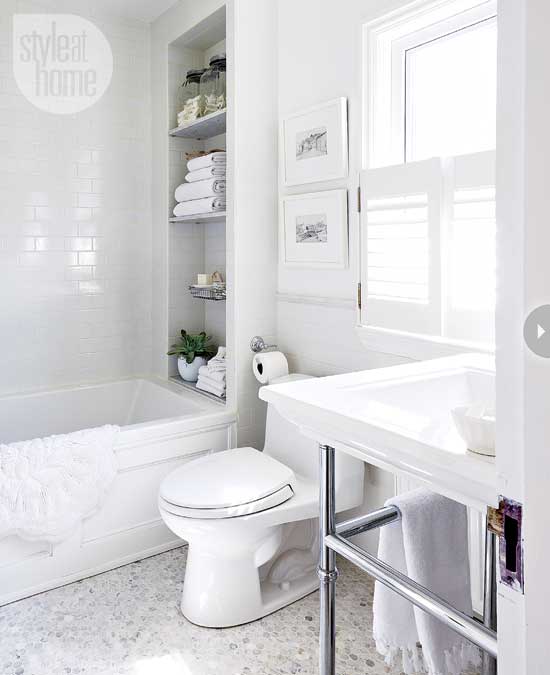
The room is almost done. Since the last powder room progress update I bought a new toilet (dual flush – so fancy) and a new mirror. I (and my handy parents) now just need to…
– sand the walls
– prime the walls
– paint the walls
– buy baseboards
– install baseboards
– install vanity (this one)
– install faucet (this one)
– install toilet
– install light fixture
– install mirror (from here)
And then the room will be ready for a big reveal!