Marketplace: Coffee Time

How much coffee do you drink per day? I drink it pretty regularly. Two lattes, to be precise. I have one in the morning with breakfast and another mid-morning at work. On some days, I might sneak in an extra espresso, cappuccino, or a drip coffee, but these aren’t part of my regular routine. I enjoy more than just the taste of coffee – I like the whole coffee making and drinking experience. Yes, I know, I’m particular. I’m happy to drink it in various forms, but nothing so jazzy – just coffee and milk. That’s that.

A while back, my ol’ classic Braun carafe broke, and I was bummed. I debated replacing just the carafe, but then I thought that an investment in a new, programmable coffee maker might be a wise move.

When I reached out to Bed Bath & Beyond, the company has generously offered to send me a shiny new machine to solve my lack-of-drip-coffee-machine problem (Yay! Thanks so much BB&B!). Here are the ones that I’m considering.

Coffee-makers-Bed-Bath-Beyond

KitchenAid 12-cup coffee maker, Krups 12-cup Savoy, Cuisinart Brew Central, Cuisinart 12-cup coffee maker

Do you have any of them? If so, please share your review!

While all of these coffee makers have received good reviews online, I am mostly drawn to the KitchenAid 12-cup coffee maker and the Cuisinart Brew Central. Here is my thinking – the KitchenAid is white, I’ve had good luck with KitchenAid, and it would match my trusty stand mixer. The Cuisinart Brew Central has received great reviews, and my sister and brother-in-law have had this machine for 10 years (ten!). The stainless Cuisinart would match my stainless fridge.

What do you think I should go for?

Thanks again to Bed Bath & Beyond for sponsoring this post (and my coffee habit)! Thanks, Leah, for your help in arranging this!

In the Kitchen: Making Pasta (again)

Remember when I first attempted making fresh pasta with my KitchenAid stand mixer and pasta attachments? I started with the recipe that was in the KitchenAid recipe book. I failed. It was horrible. I then tried out my mom’s very vague recipe and it worked perfectly. Well, some of my family members thought I shouldn’t have been so harsh on the KitchenAid recipe and that, surely, it was my fault and I did something wrong. (I followed the recipe exactly, but noone seemed to want to take my side.) Anyway, when my parents were over last weekend, I tried the KA recipe again (under my mom’s supervision). The recipe calls for: 4 large eggs, 3.5 cups all-purpose flour, and 1 tbsp water. My mom suggested that I reduce the amount of flour by 1/2 a cup. So I did. I followed the exact recipe but I only used 3 cups of flour. I let the stand mixer do its job, and me and my mom watched over the bowl. I could tell something wasn’t right. After a bit of mixing, I dumped the dough out onto the counter and I knew it wasn’t right. It didn’t feel like it was supposed to feel. My mom was pretty surprised (“but you followed the recipe, you reduced the flour”, she said). At this point, I added a bit more water, then a lot more water, then more flour. It wasn’t coming together the way it should have. I gave up. I left my mom to knead the dough for maybe another 5-10 minutes. There was a lot of kneading involved. In the meantime, I started a new batch with her trusted (and very vague) recipe. It worked out perfectly. She was still kneading the original batch of dough, while I was done with my new batch. White-Cabana-pasta-1

here’s mom hard at work White-Cabana-pasta-2

here’s mom still trying to fix the broken dough, my new version is in the mixer

White-Cabana-pasta-3

dough 2.0 is done and mom is still kneading dough 1.0

I tried to measure her recipe this time and it’s something like this: – 1 egg per person – 3/4 cup of flour per egg – a bit of water (I think I may have used about 1 tbsp) – a bit of salt (I might have used 1 tsp) Dump all the ingredients into the bowl with the paddle attachment. Mix for 2 minutes. Dump the dough out onto the counter and knead for 1 minute. After Mom finally got the first version of dough to the right texture, I got to work with the pasta attachments. First, I used the flat one to stretch out long flat pieces of pasta. I set the knob on the cutter to position 1 and then worked my way to number 5. I set the mixer speed to 3 or 4 and the whole process was quick and easy. white-cabana-pasta-6white-cabana-pasta-7white-cabana-pasta-1 When all the dough had been passed through the smooth stretcher attachment, I attached the fettucini (and then the spaghetti) cutter to the mixer (quick and easy) so that I could pass the long sheets of pasta through to make the noodles. I floured the pasta sheets before passing them through the cutter. white-cabana-pasta-5white-cabana-pasta-10white-cabana-pasta-3white-cabana-pasta-4white-cabana-pasta-9 white-cabana-pasta-11 I like twisting the pasta into round spirals, but I flour the heck out of them before doing this to avoid sticky strips. The pasta (both versions) turned out very well, and it was delicious paired with fresh tomato sauce (I tried my mom’s sauce recipe, which she thought was almost as good as hers…tough crowd). In the end, neither of us are sure of the amount of ingredients that my mom used to adjust the KitchenAid dough, but if I try the recipe again, I’ll start with 2 cups of flour and add more as needed. KitchenAid sent over another version of the recipe when they heard I was in pasta-making distress (via Twitter, naturally), so I may give that one a try too.

Thanks, Mom, for your help and for snapping some great photos!

In the Kitchen: Lemon Poppy Seed Cake

I hosted my parents this past weekend and I just had to show off my KitchenAid stand mixer. (I’m a Leo. We like attention.) I decided to test out this lemon poppy seed cake recipe that Joanna Goddard featured earlier last week. To everyone who is reading – this cake was super easy. If you like lemons and cake and poppy seeds, you should make it.

My KA stand mixer worked brilliantly and made the whole cake baking process go really quick and smoothly. For beautifully styled food photos, have a look at Joanna’s post. For photos of my version, keep reading…

photo 1 copy

photo 2 copy

sugar, flour, and poppy seeds are measured out

photo 3 copy

butter and sugar are creamed together with the KitchenAid paddle attachment

photo 4 copy

flour is added once the sugar and butter are creamyphoto 1

photo 5 copy

eggs, milk, poppy seeds & lemon zest are added at the end

photo 2

photo 3the dough is poured into a buttered & parchment lined loaf tin

photo 4

after about 40minutes in the oven, the cake is ready

photo 5

a sugary lemony icing is poured and poppy seeds are sprinkled on top

Here’s the complete recipe – from April Carter of Rhubarb and Rose (via Cup of Jo):

Recipe: Lemon Poppy Seed Loaf Cake

For the cake:
¾ cup unsalted butter, at room temperature 
¾ cup sugar
1 ¼ cup all purpose flour
2 tsp. baking powder
pinch of salt
2 eggs
¼ cup milk
¼ cup poppy seeds
Zest of 2 lemons

For the glaze:
1 cup powdered sugar
Juice of ½ lemon
Poppy seeds, for sprinkling

Heat the oven to 350F and butter and line a one pound (4½ x 2½ x 8½ inch) loaf tin with baking parchment. Place the butter and sugar in a bowl and beat with an electric mixer until pale and creamy. Sift in the flour, baking powder and salt. Add the eggs, milk, poppy seeds and lemon zest and beat until just combined, scraping down the sides of the bowl with a rubber spatula as you go.

Spoon the mixture into the prepared loaf tin and bake for 40 to 45 minutes or until a skewer inserted into the center of the cake comes out clean. Allow the cake to cool in the tin for 10 minutes, then turn out onto a wire rack and remove the baking parchment.

While the cake is cooling, make the glaze. Use a spoon to beat the powdered sugar with enough lemon juice to form a runny but opaque glaze. Set the cooled cake on a wire rack and drizzle over the glaze. Sprinkle over the poppy seeds and allow the glaze to set for a few minutes before packaging up. 

Let me know if you give this recipe a try. I would love to know how it turned out for you.

In the Kitchen: Making Pasta with the KitchenAid Stand Mixer

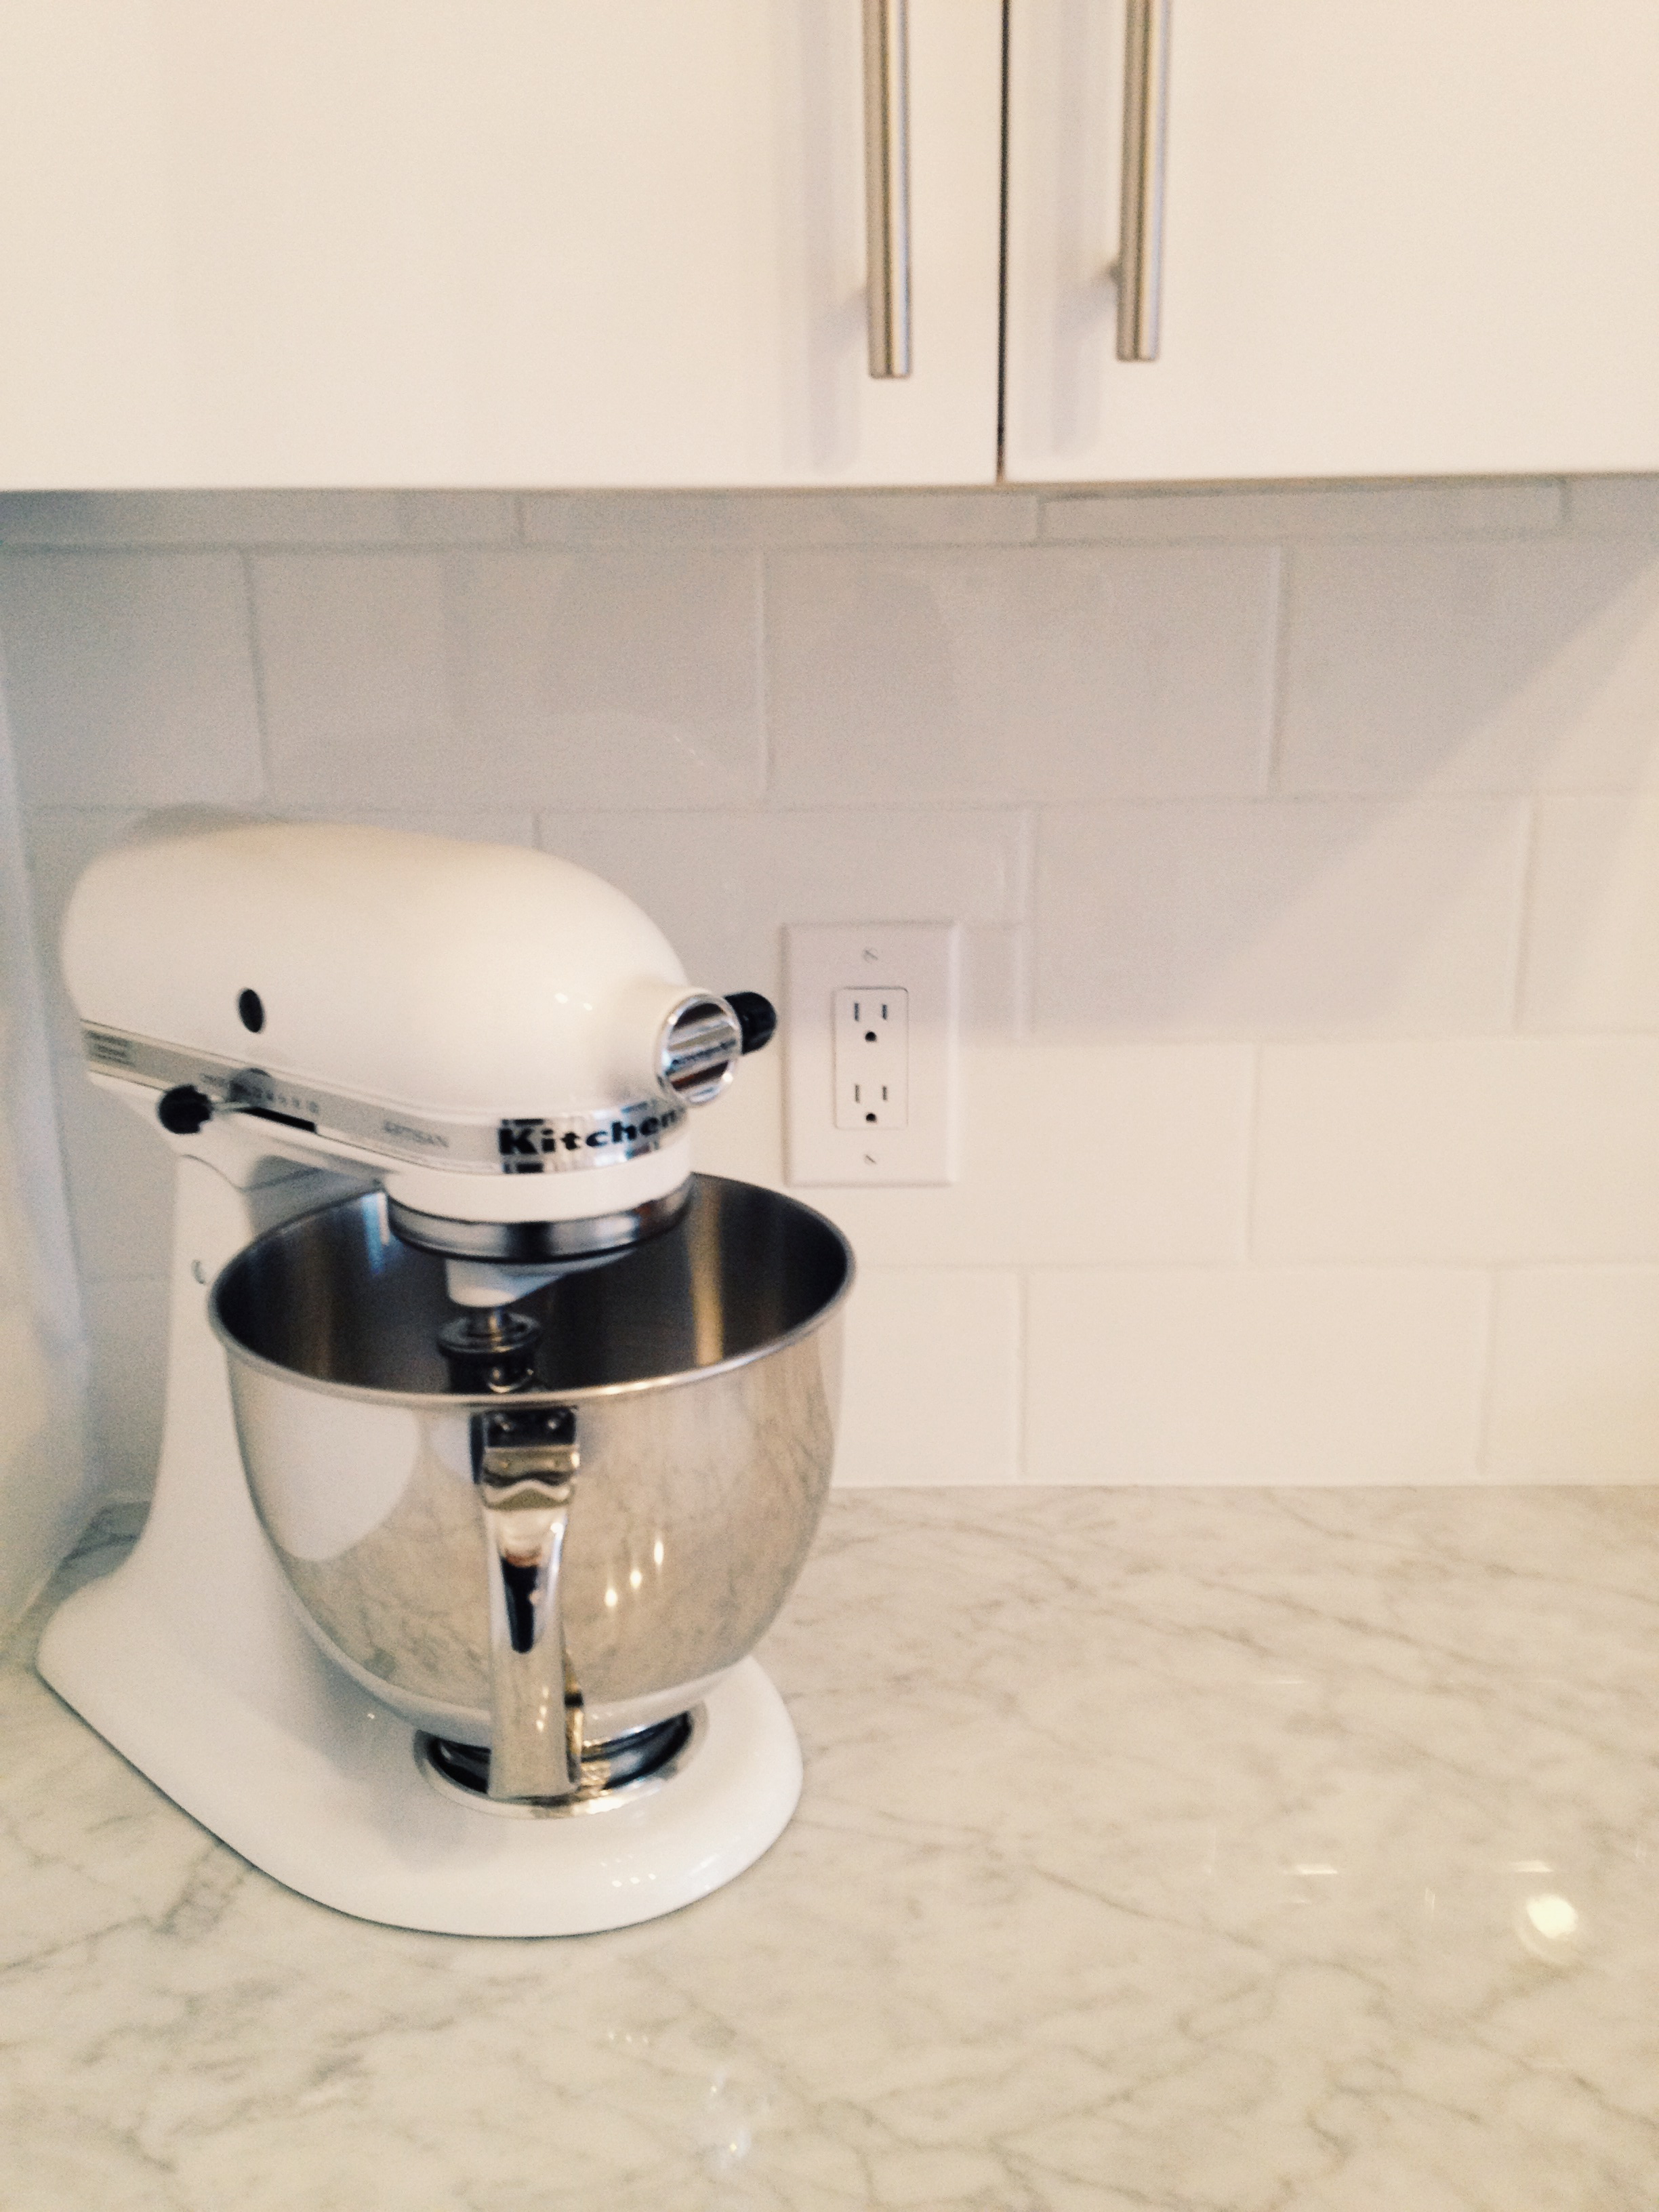
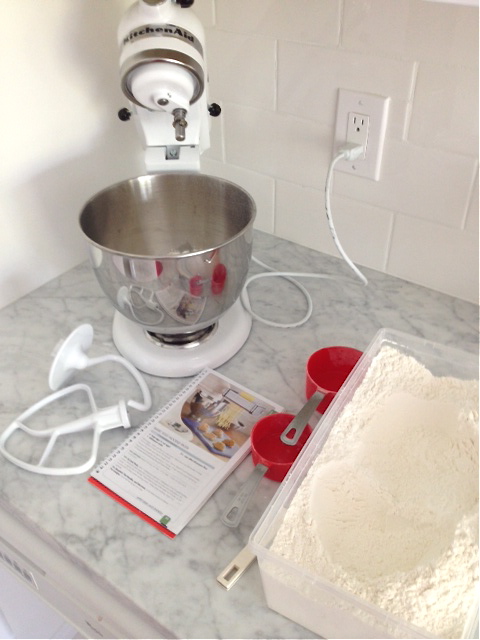
I’m in love with my KitchenAid stand mixer. I’ve used it several times and it hasn’t let me down. It’s pretty darn mighty! After baking up a few delicious treats over the last couple of weeks, I thought it was time for me to make some pasta. KitchenAid generously sent over the pasta cutter trio and I was pretty excited to test them out. Short story – I love them. Long story – keep reading.

Kitchen-Aid-pasta-17

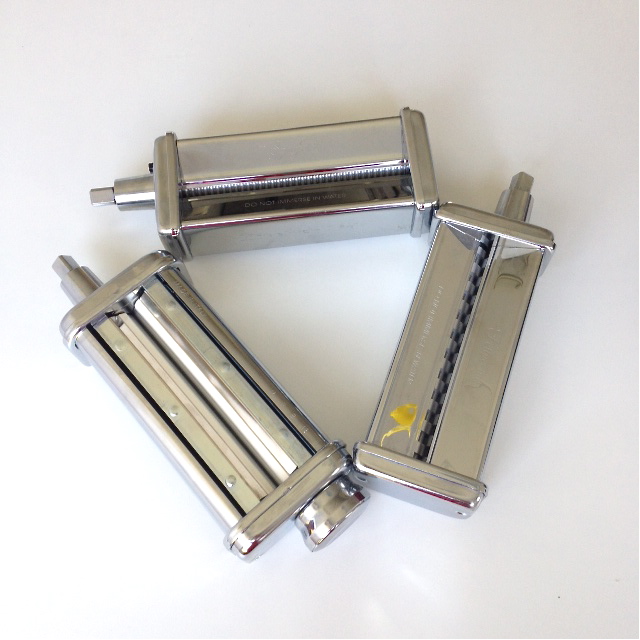
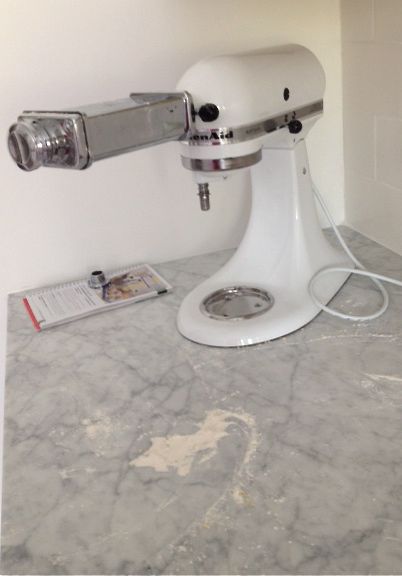
KitchenAid’s pasta roller & cutter set

I grew up helping my mom make pasta with the classic Italian crank pasta machine. My mom always took the lead on the dough making, and I was on crank and fluff-with-flour duty. I’ve made pasta with my own machine, too, even though my Italian parents were pretty shocked when I told them that my cheaper machine was Made in China. “You need one that’s Made in Italy, Jordana.”, they said. Um, yeah, it’s a touch life, I lead, I know.

Anyway…

Fast forward to last week when I opened the KitchenAid package and learned that the pasta roller and cutters were Made in Italy. Awesome. Way to go, KitchenAid!

Kitchen-Aid-pasta-16

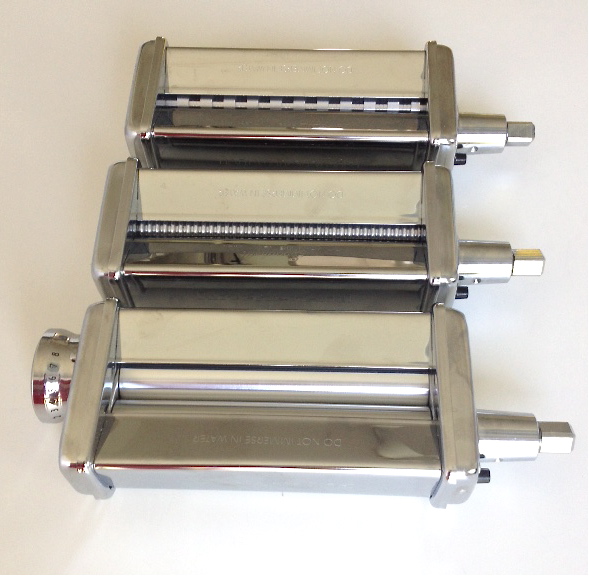
top to bottom: fettucini cutter, spaghetti cutter, pasta roller

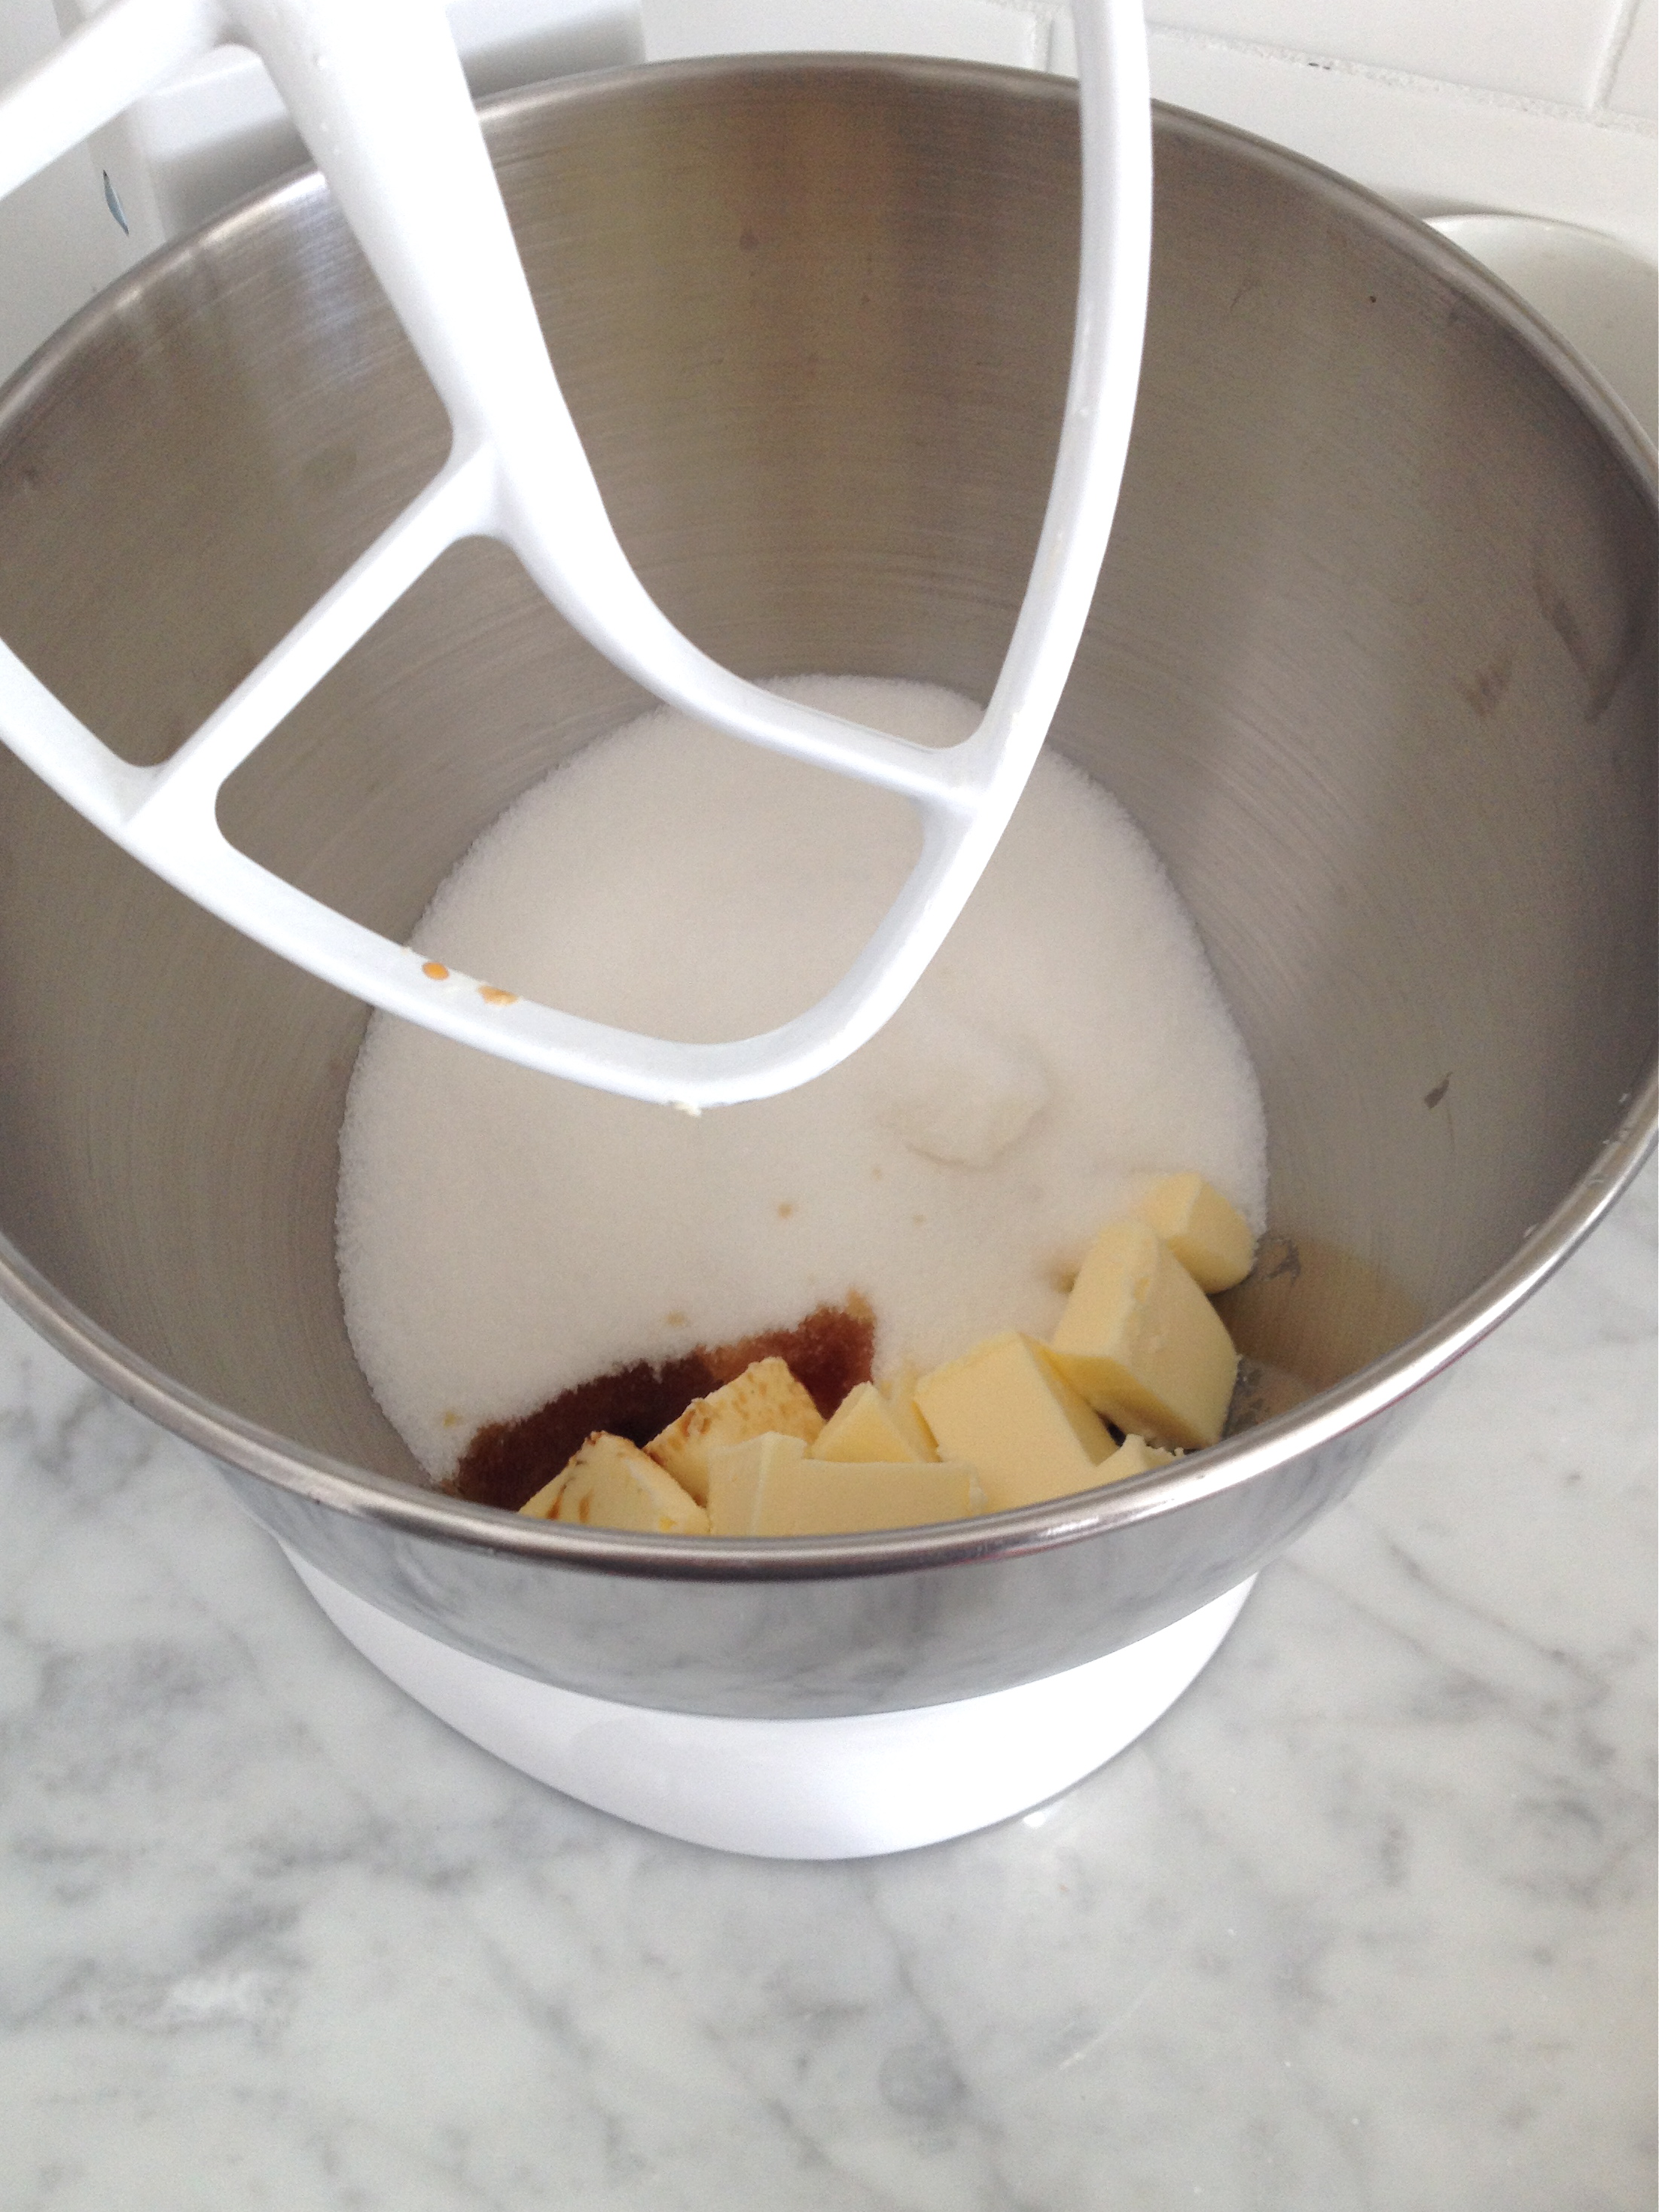
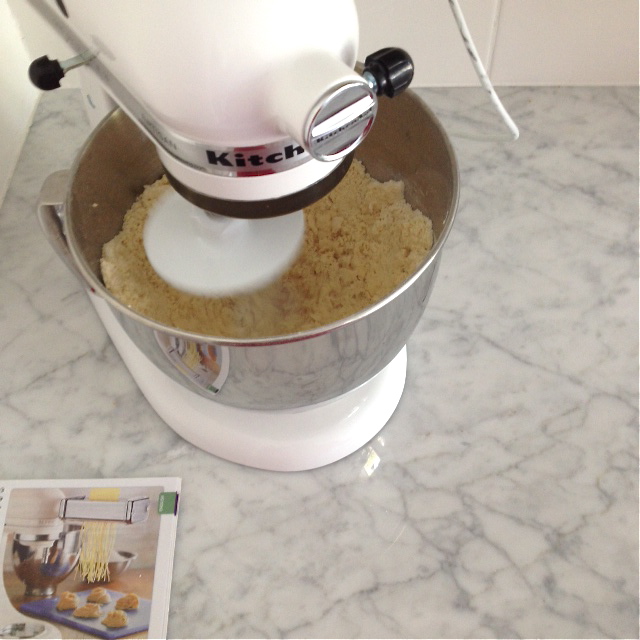
I decided to use the pasta recipe that was in the KitchenAid recipe book…4 eggs, 3.5 cups of flour, 1 tbsp water…mix with dough hook for 2 minutes…etc.

Kitchen-Aid-pasta-4

Kitchen-Aid-pasta-5

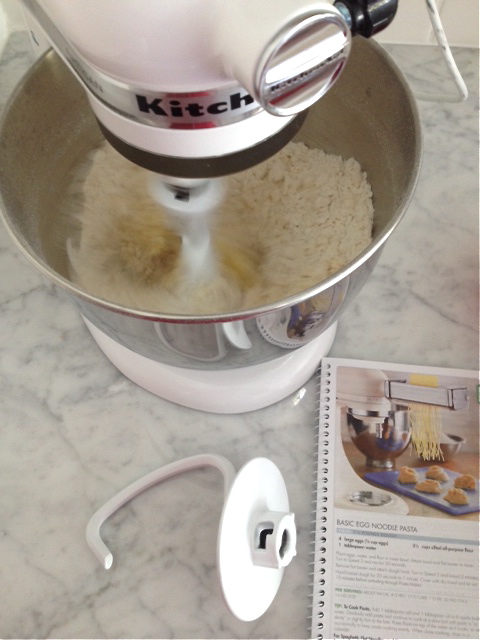
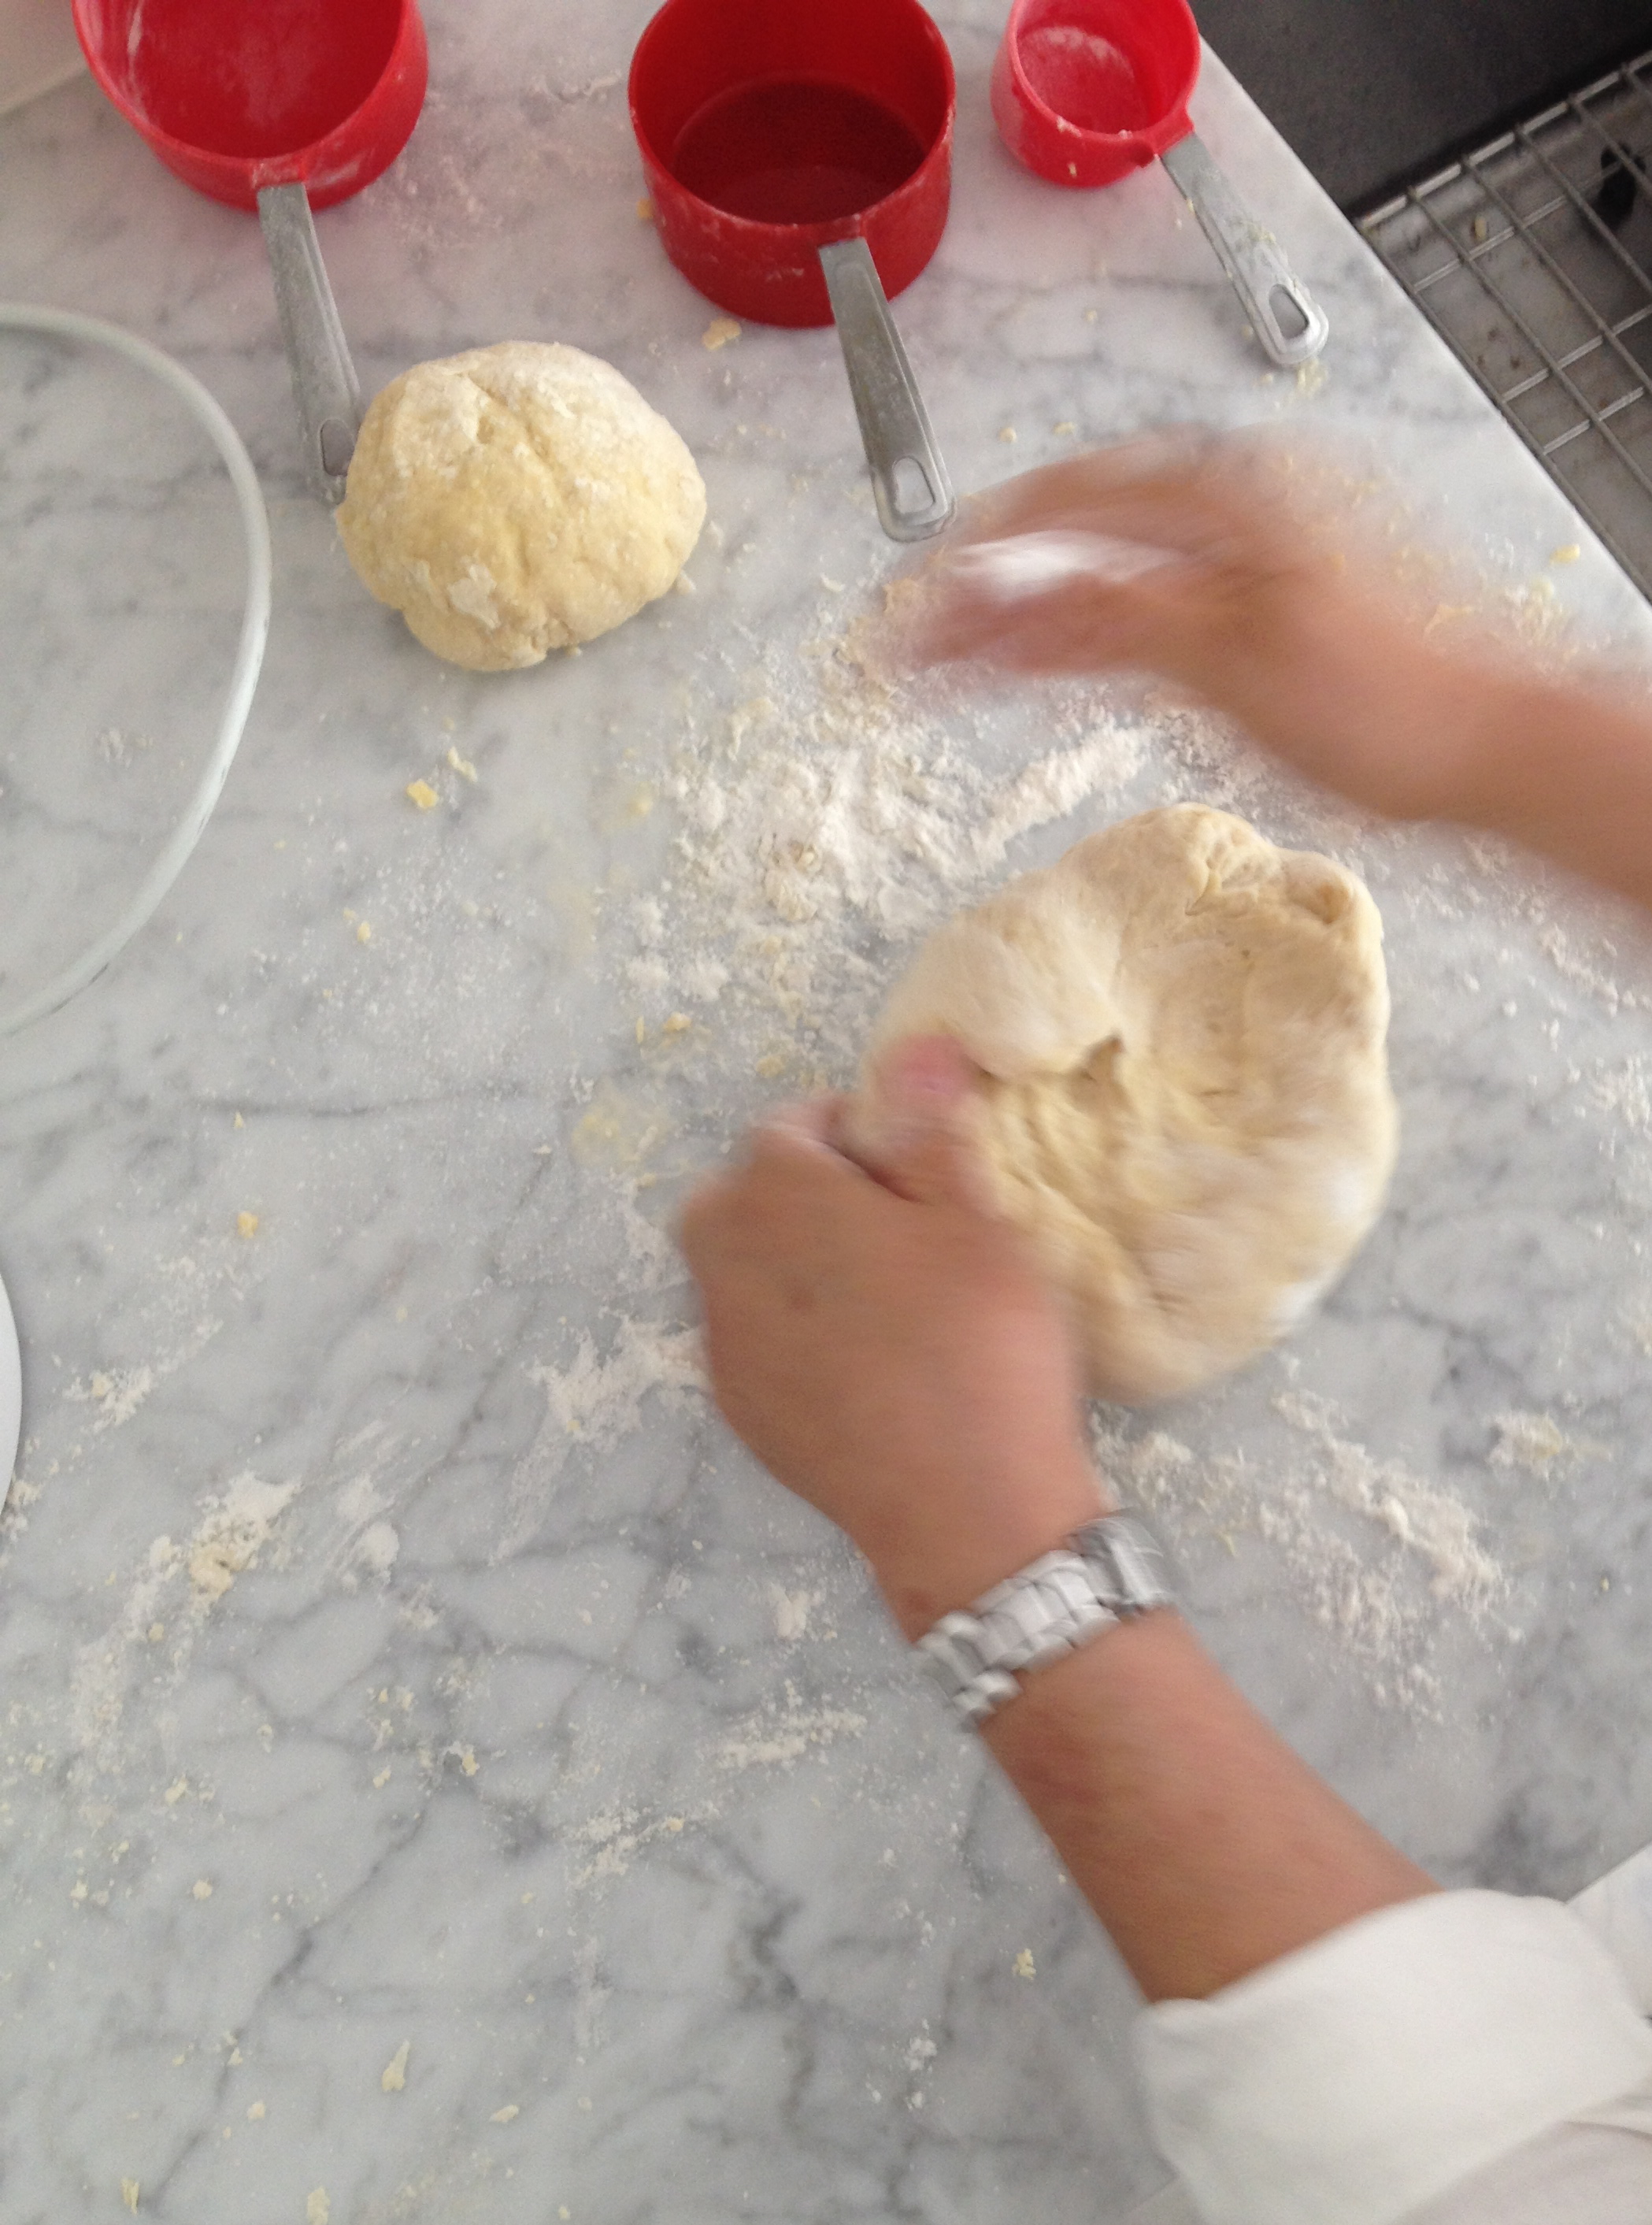
Unfortunately, this recipe didn’t work out for me. It was a big fail. My dough, even after more than 2 minutes with the dough hook, was so darn crumbly! Not sure exactly why. I tried adding more water, then another egg. It was a mess.

Kitchen-Aid-pasta-12

crumbly dough

Kitchen-Aid-pasta-13

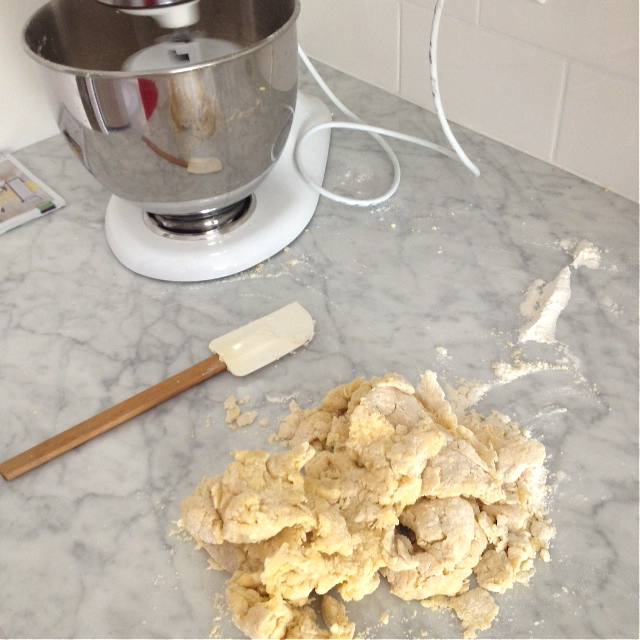
I couldn’t save this dough

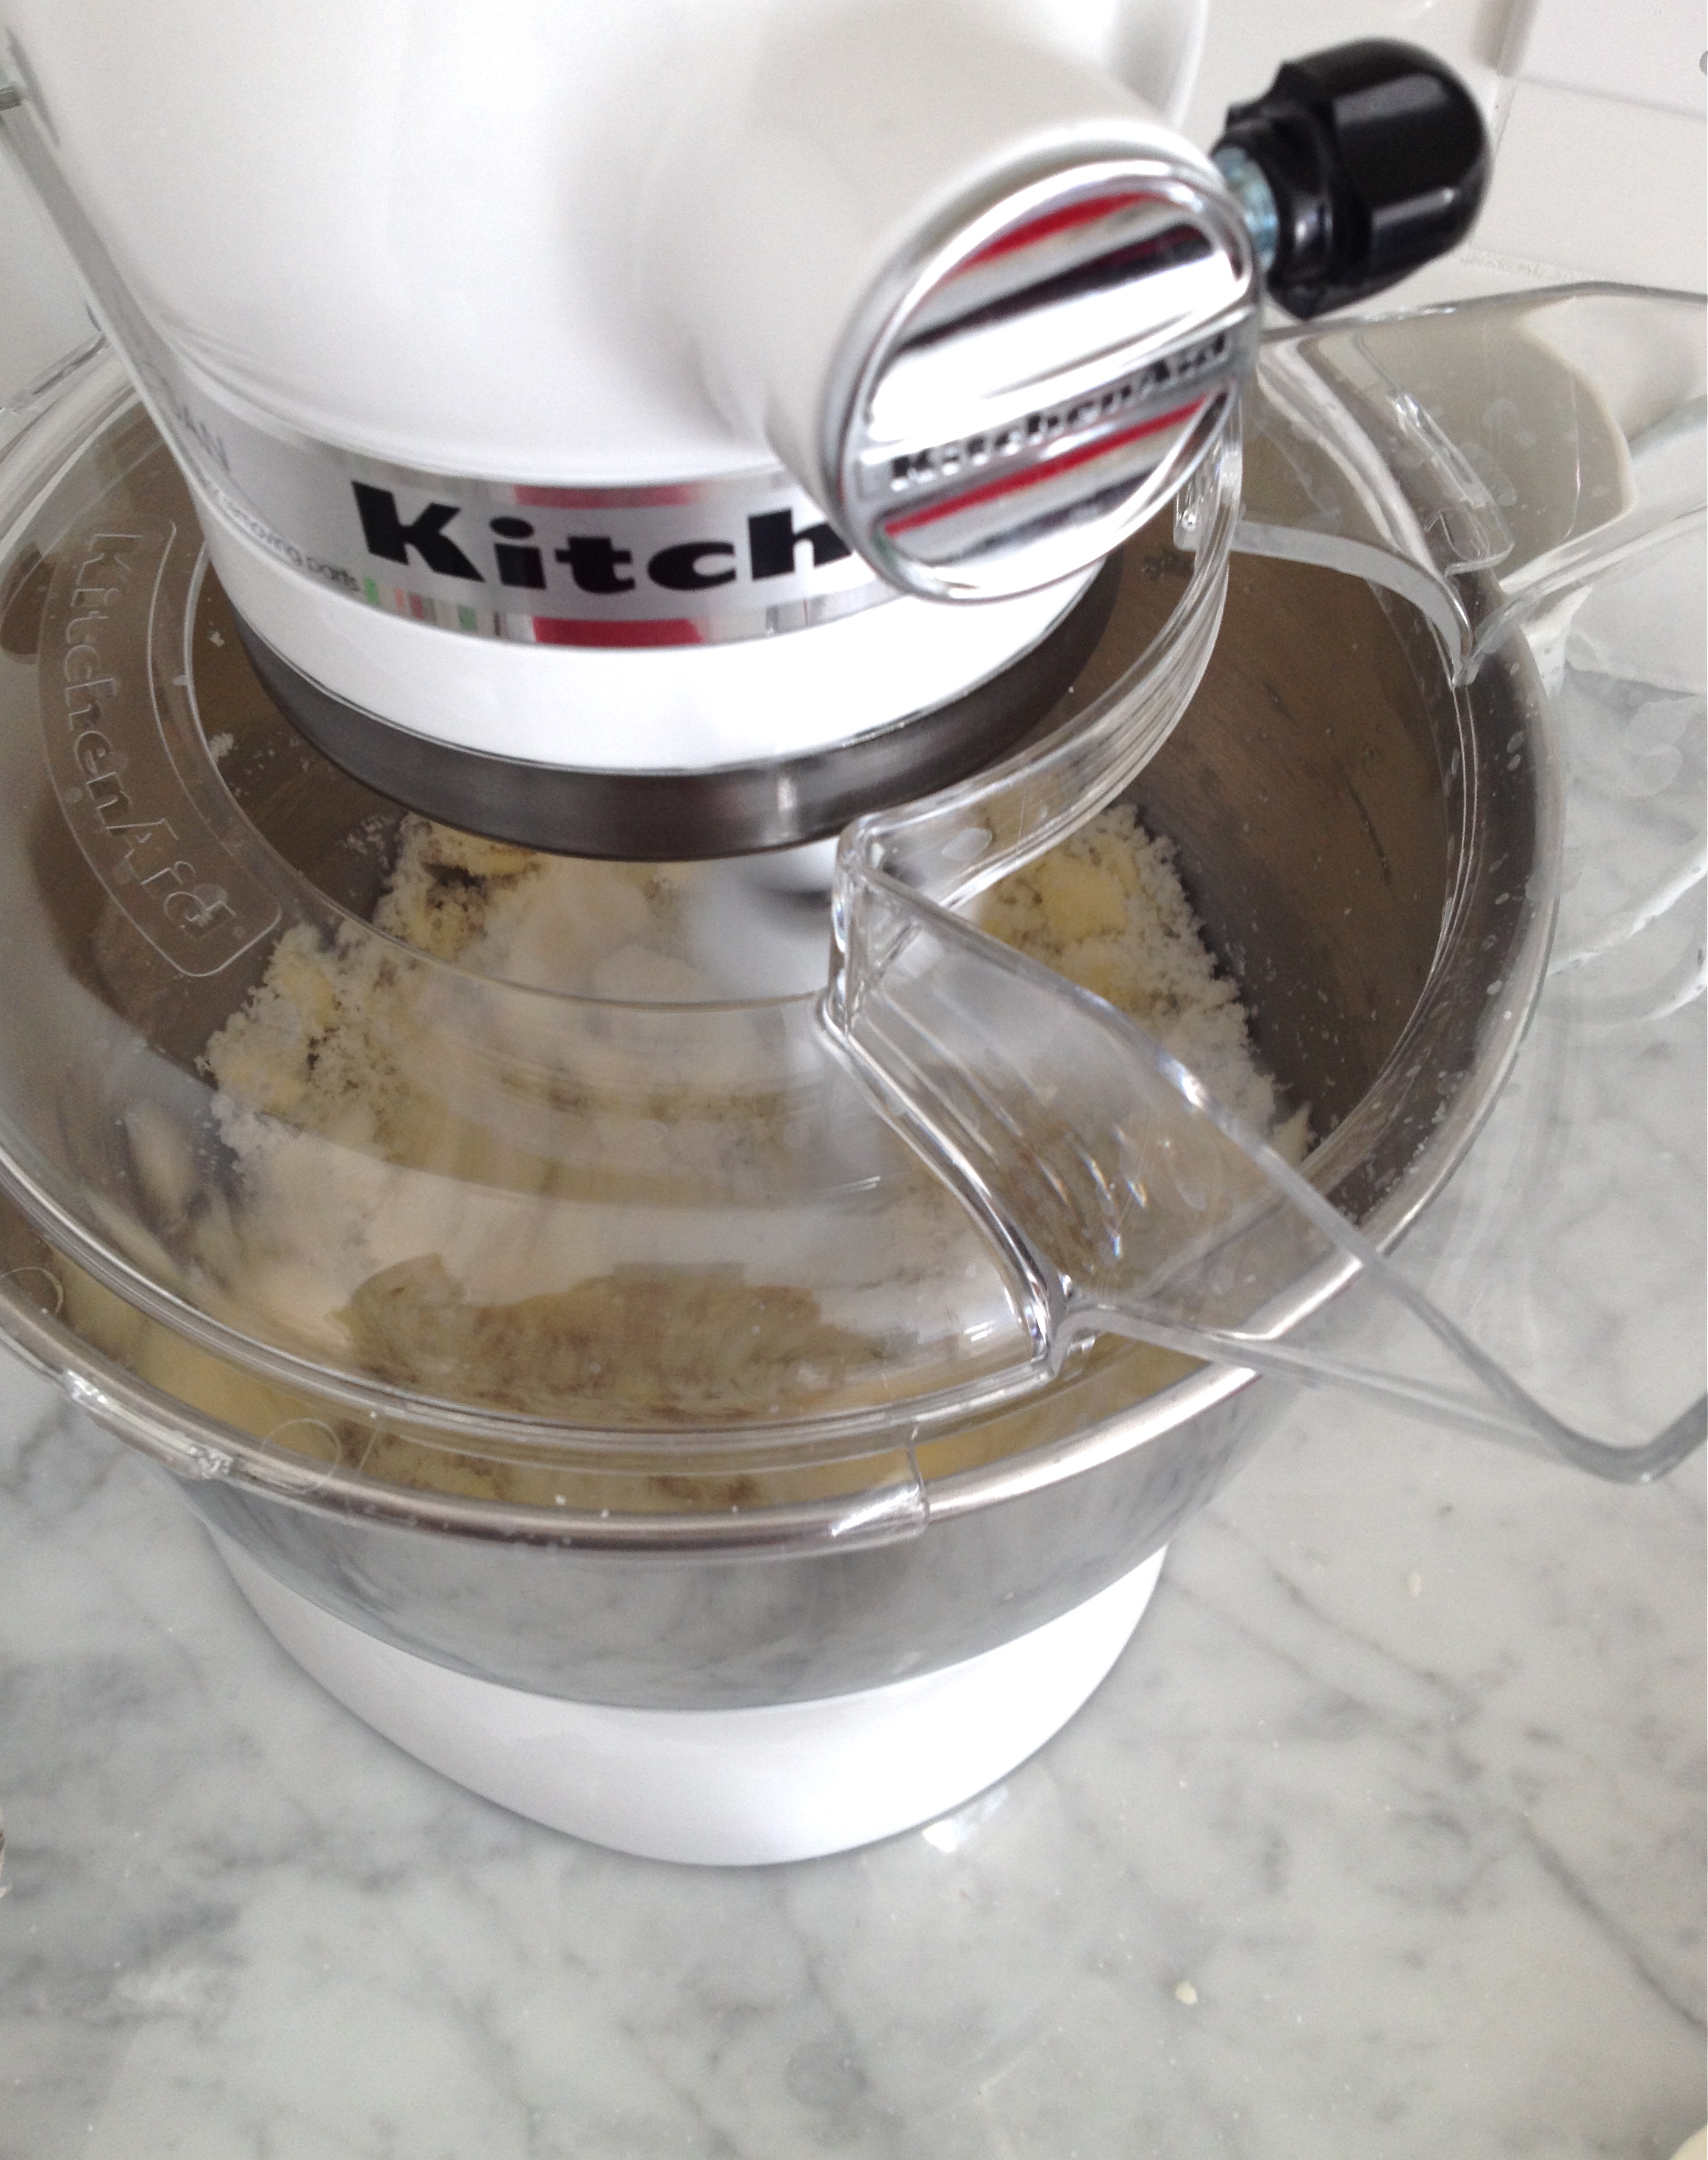
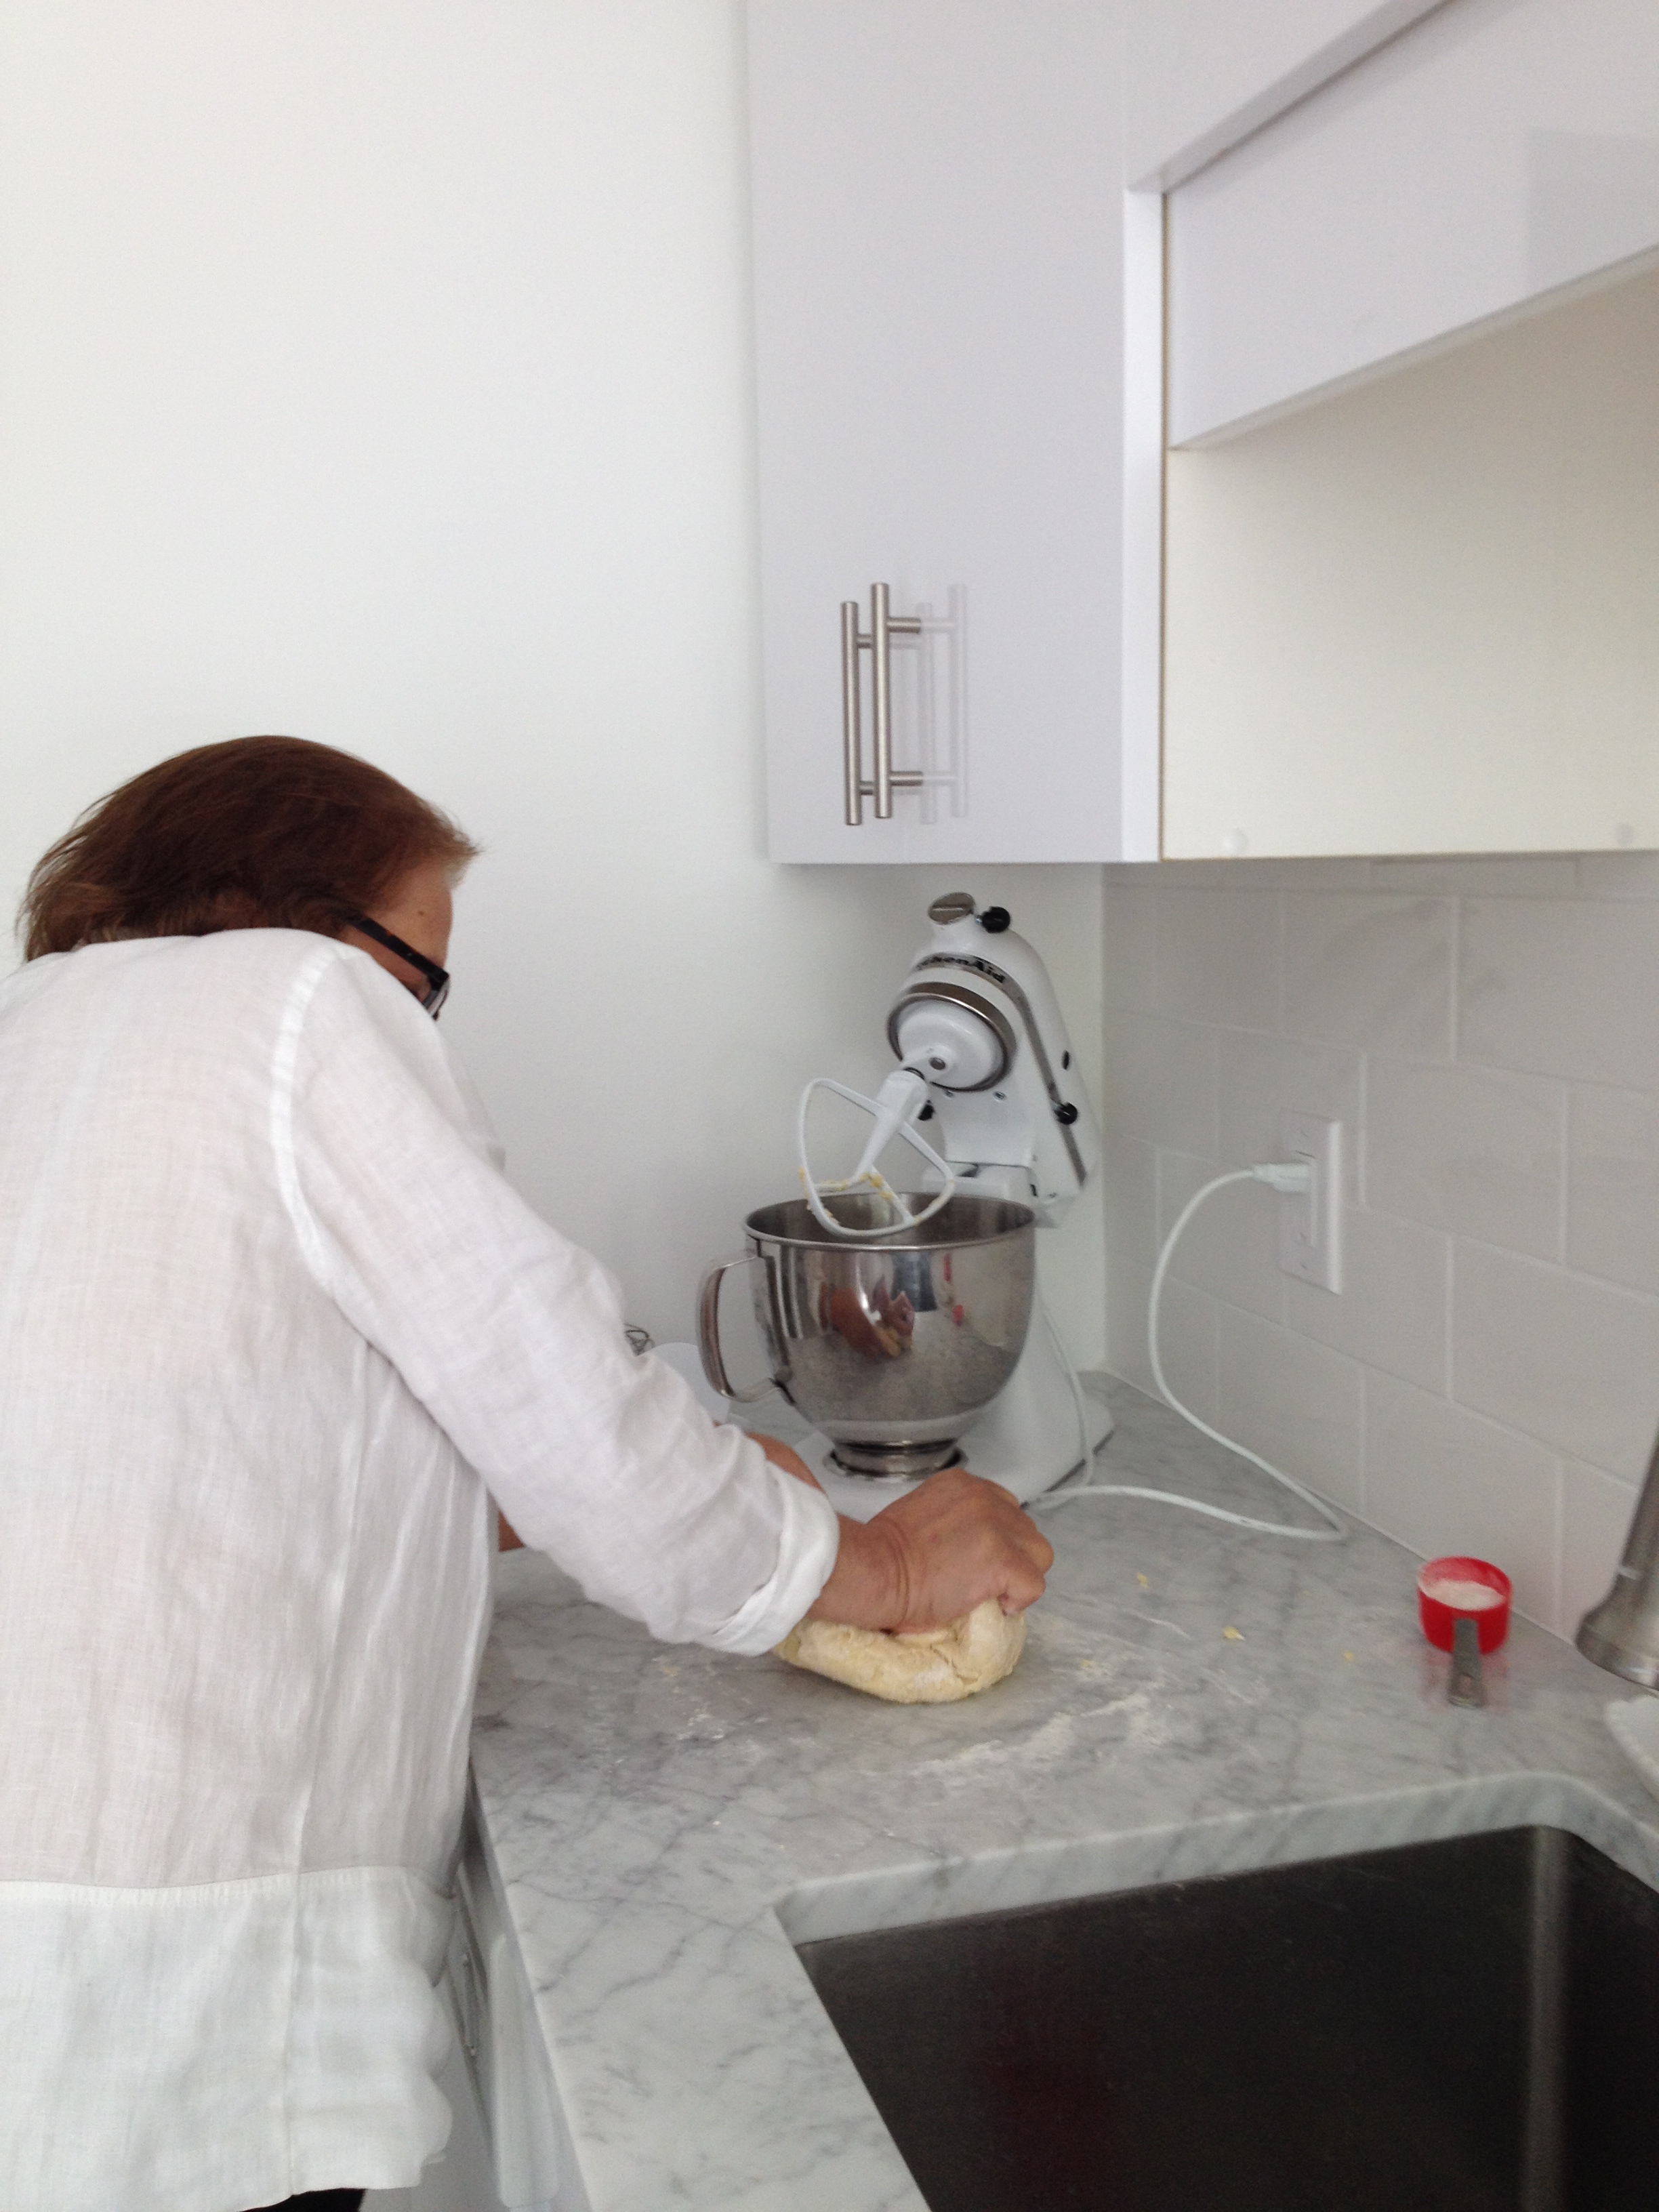
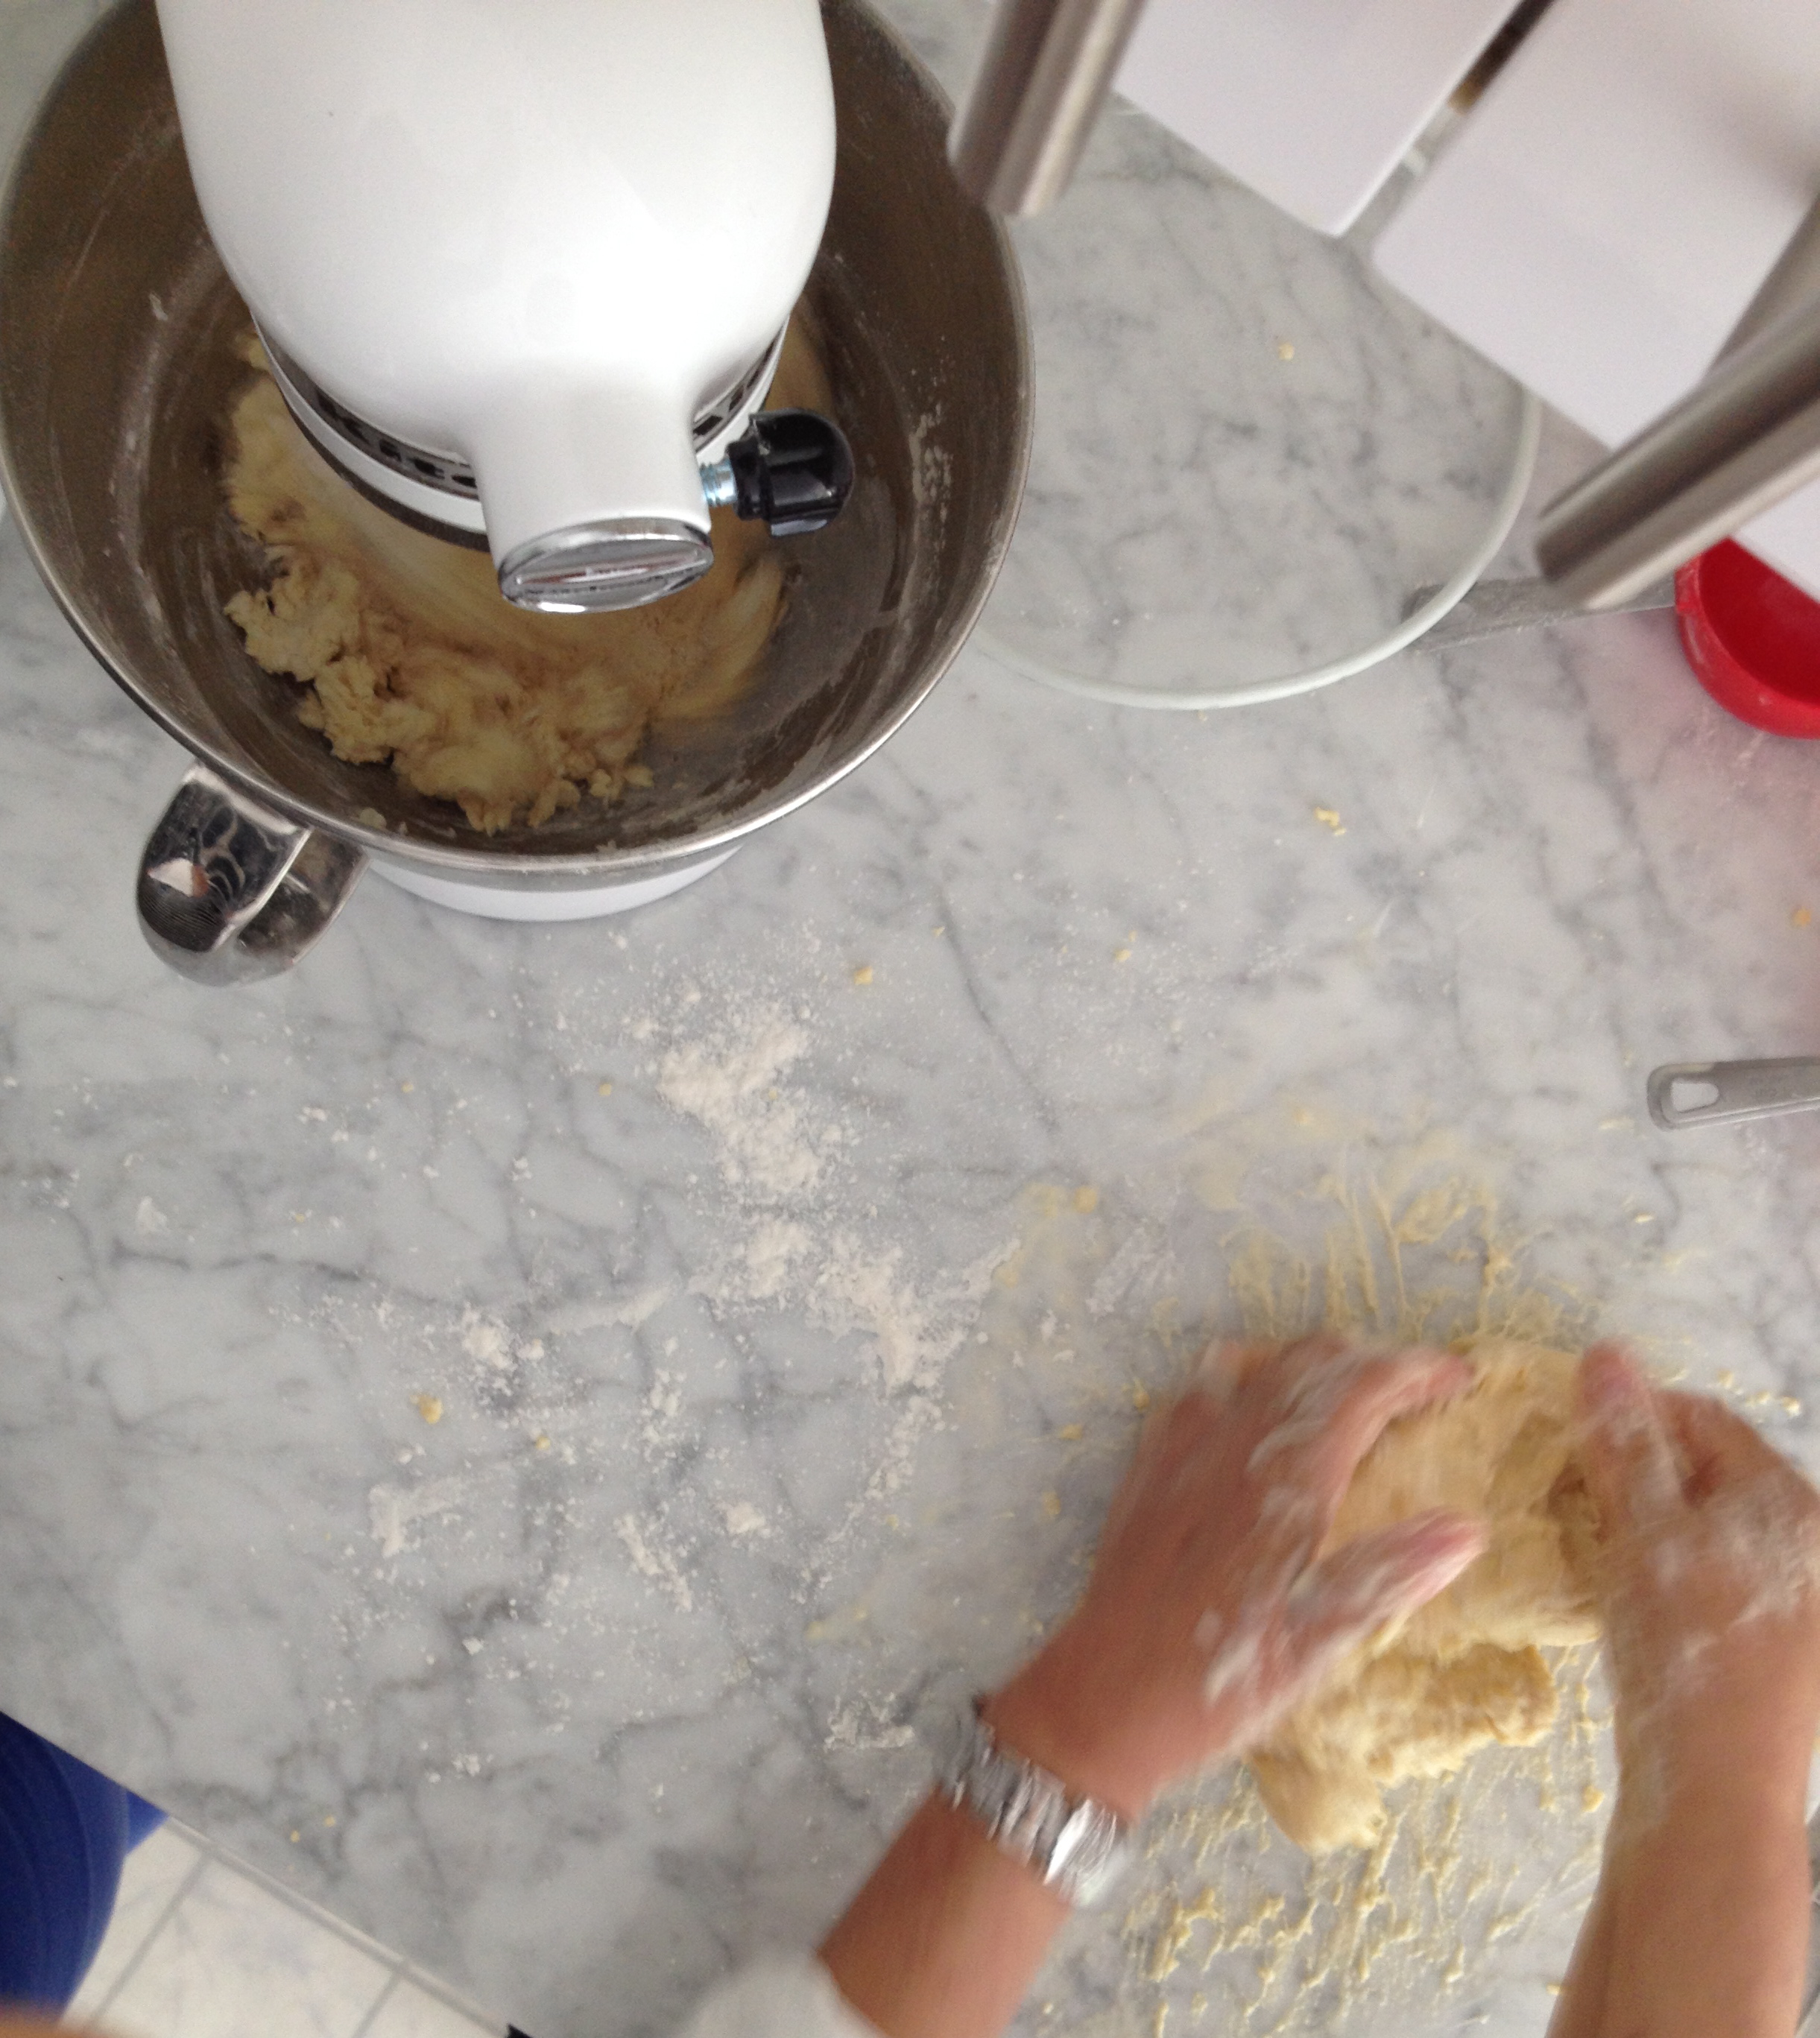
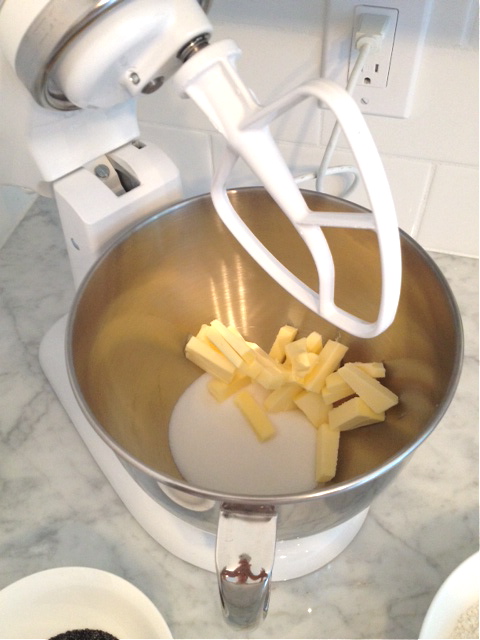
I didn’t give up, though. Instead, I tried out my mom’s recipe. It goes something like this…an egg per person, some handfuls of flour, just enough water. So vague, I know. This is what all of her recipes are like! But, just like probably every Italian Nonna has ever said, you just need to feel the dough and recognize when you’ve hit the right consistency and texture. Anyway, I put the ingredients in the mixing bowl, attached the dough hook, and gave it a spin for a couple of minutes. Things were looking pretty darn good! I then spent a minute (or less) kneading the dough by hand.

Kitchen-Aid-pasta-9

Kitchen-Aid-pasta-15

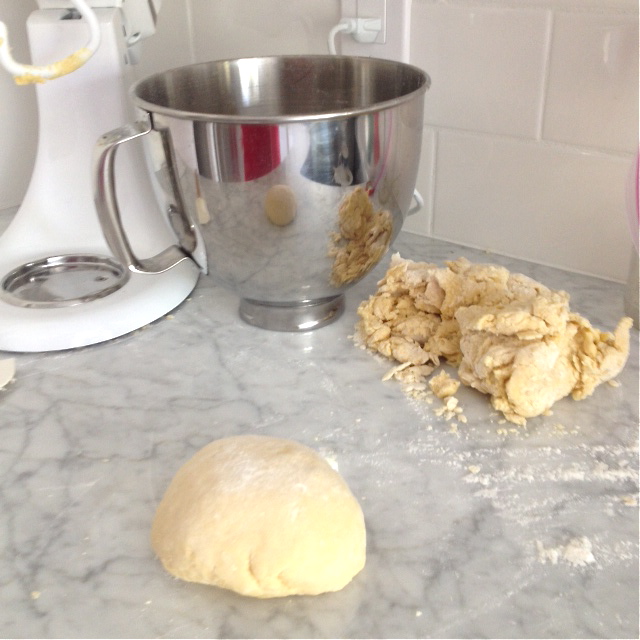
after kneading – top: my failed project;
bottom: my mom’s winning recipe

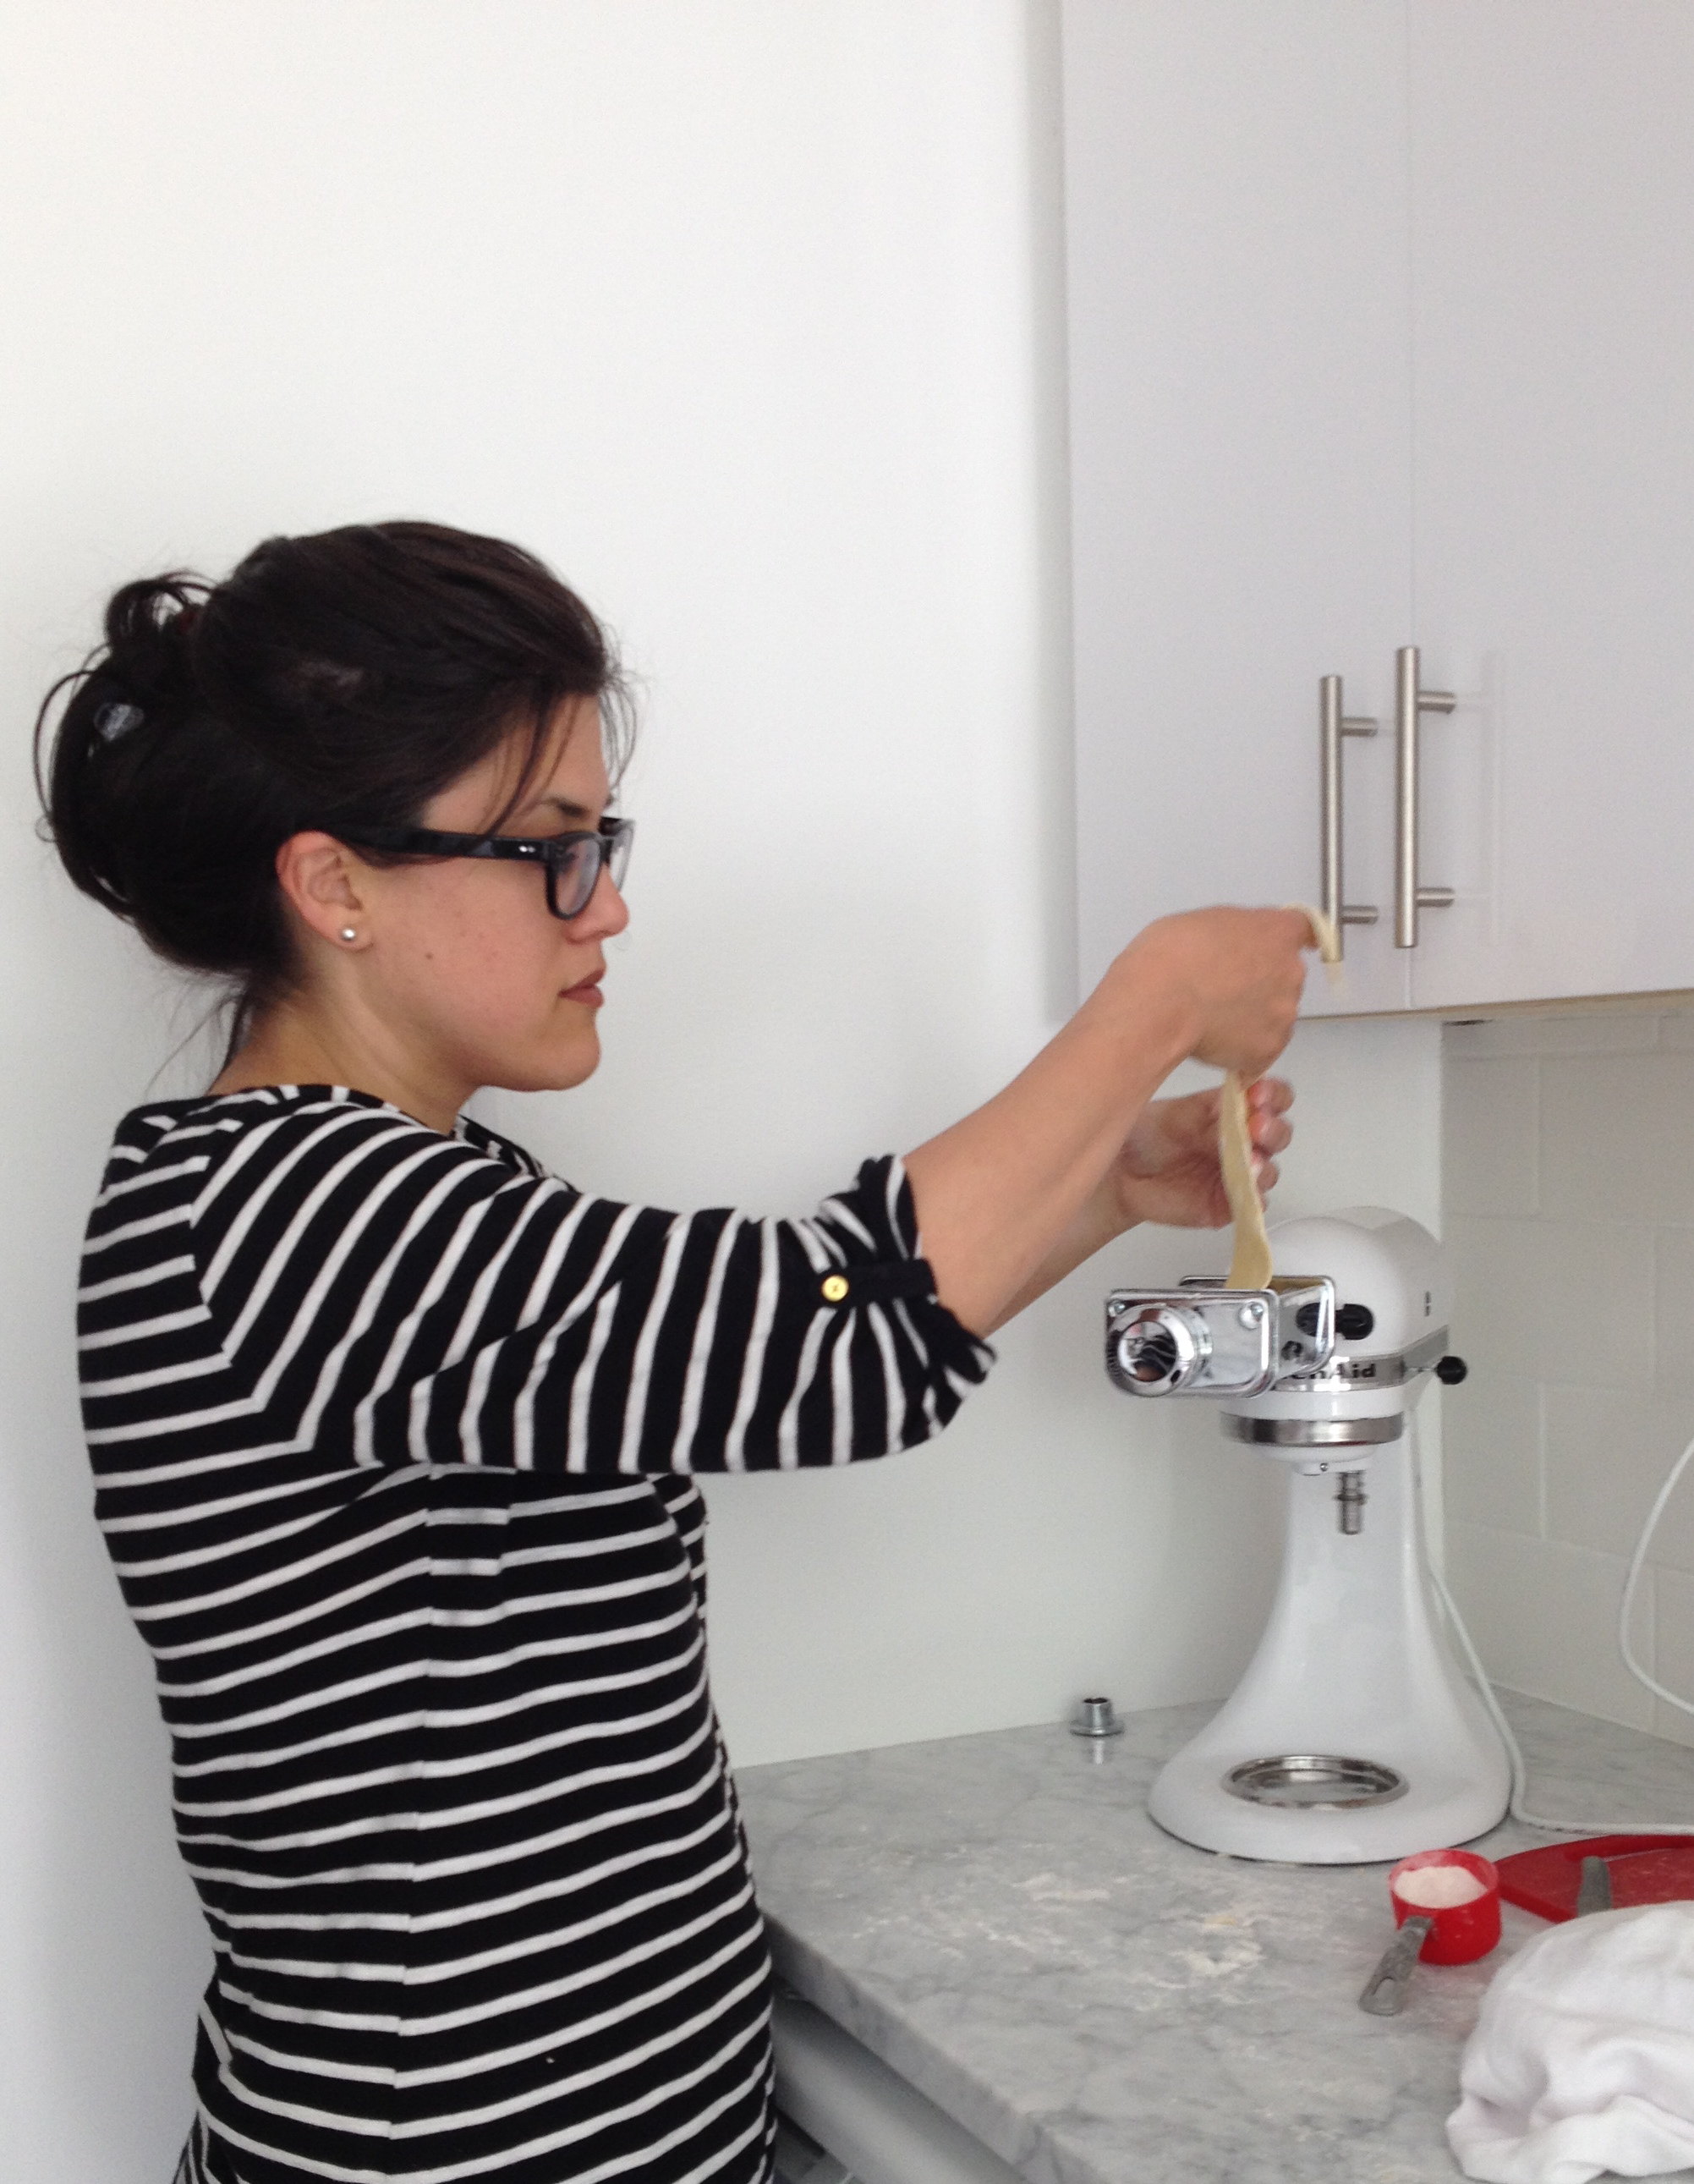
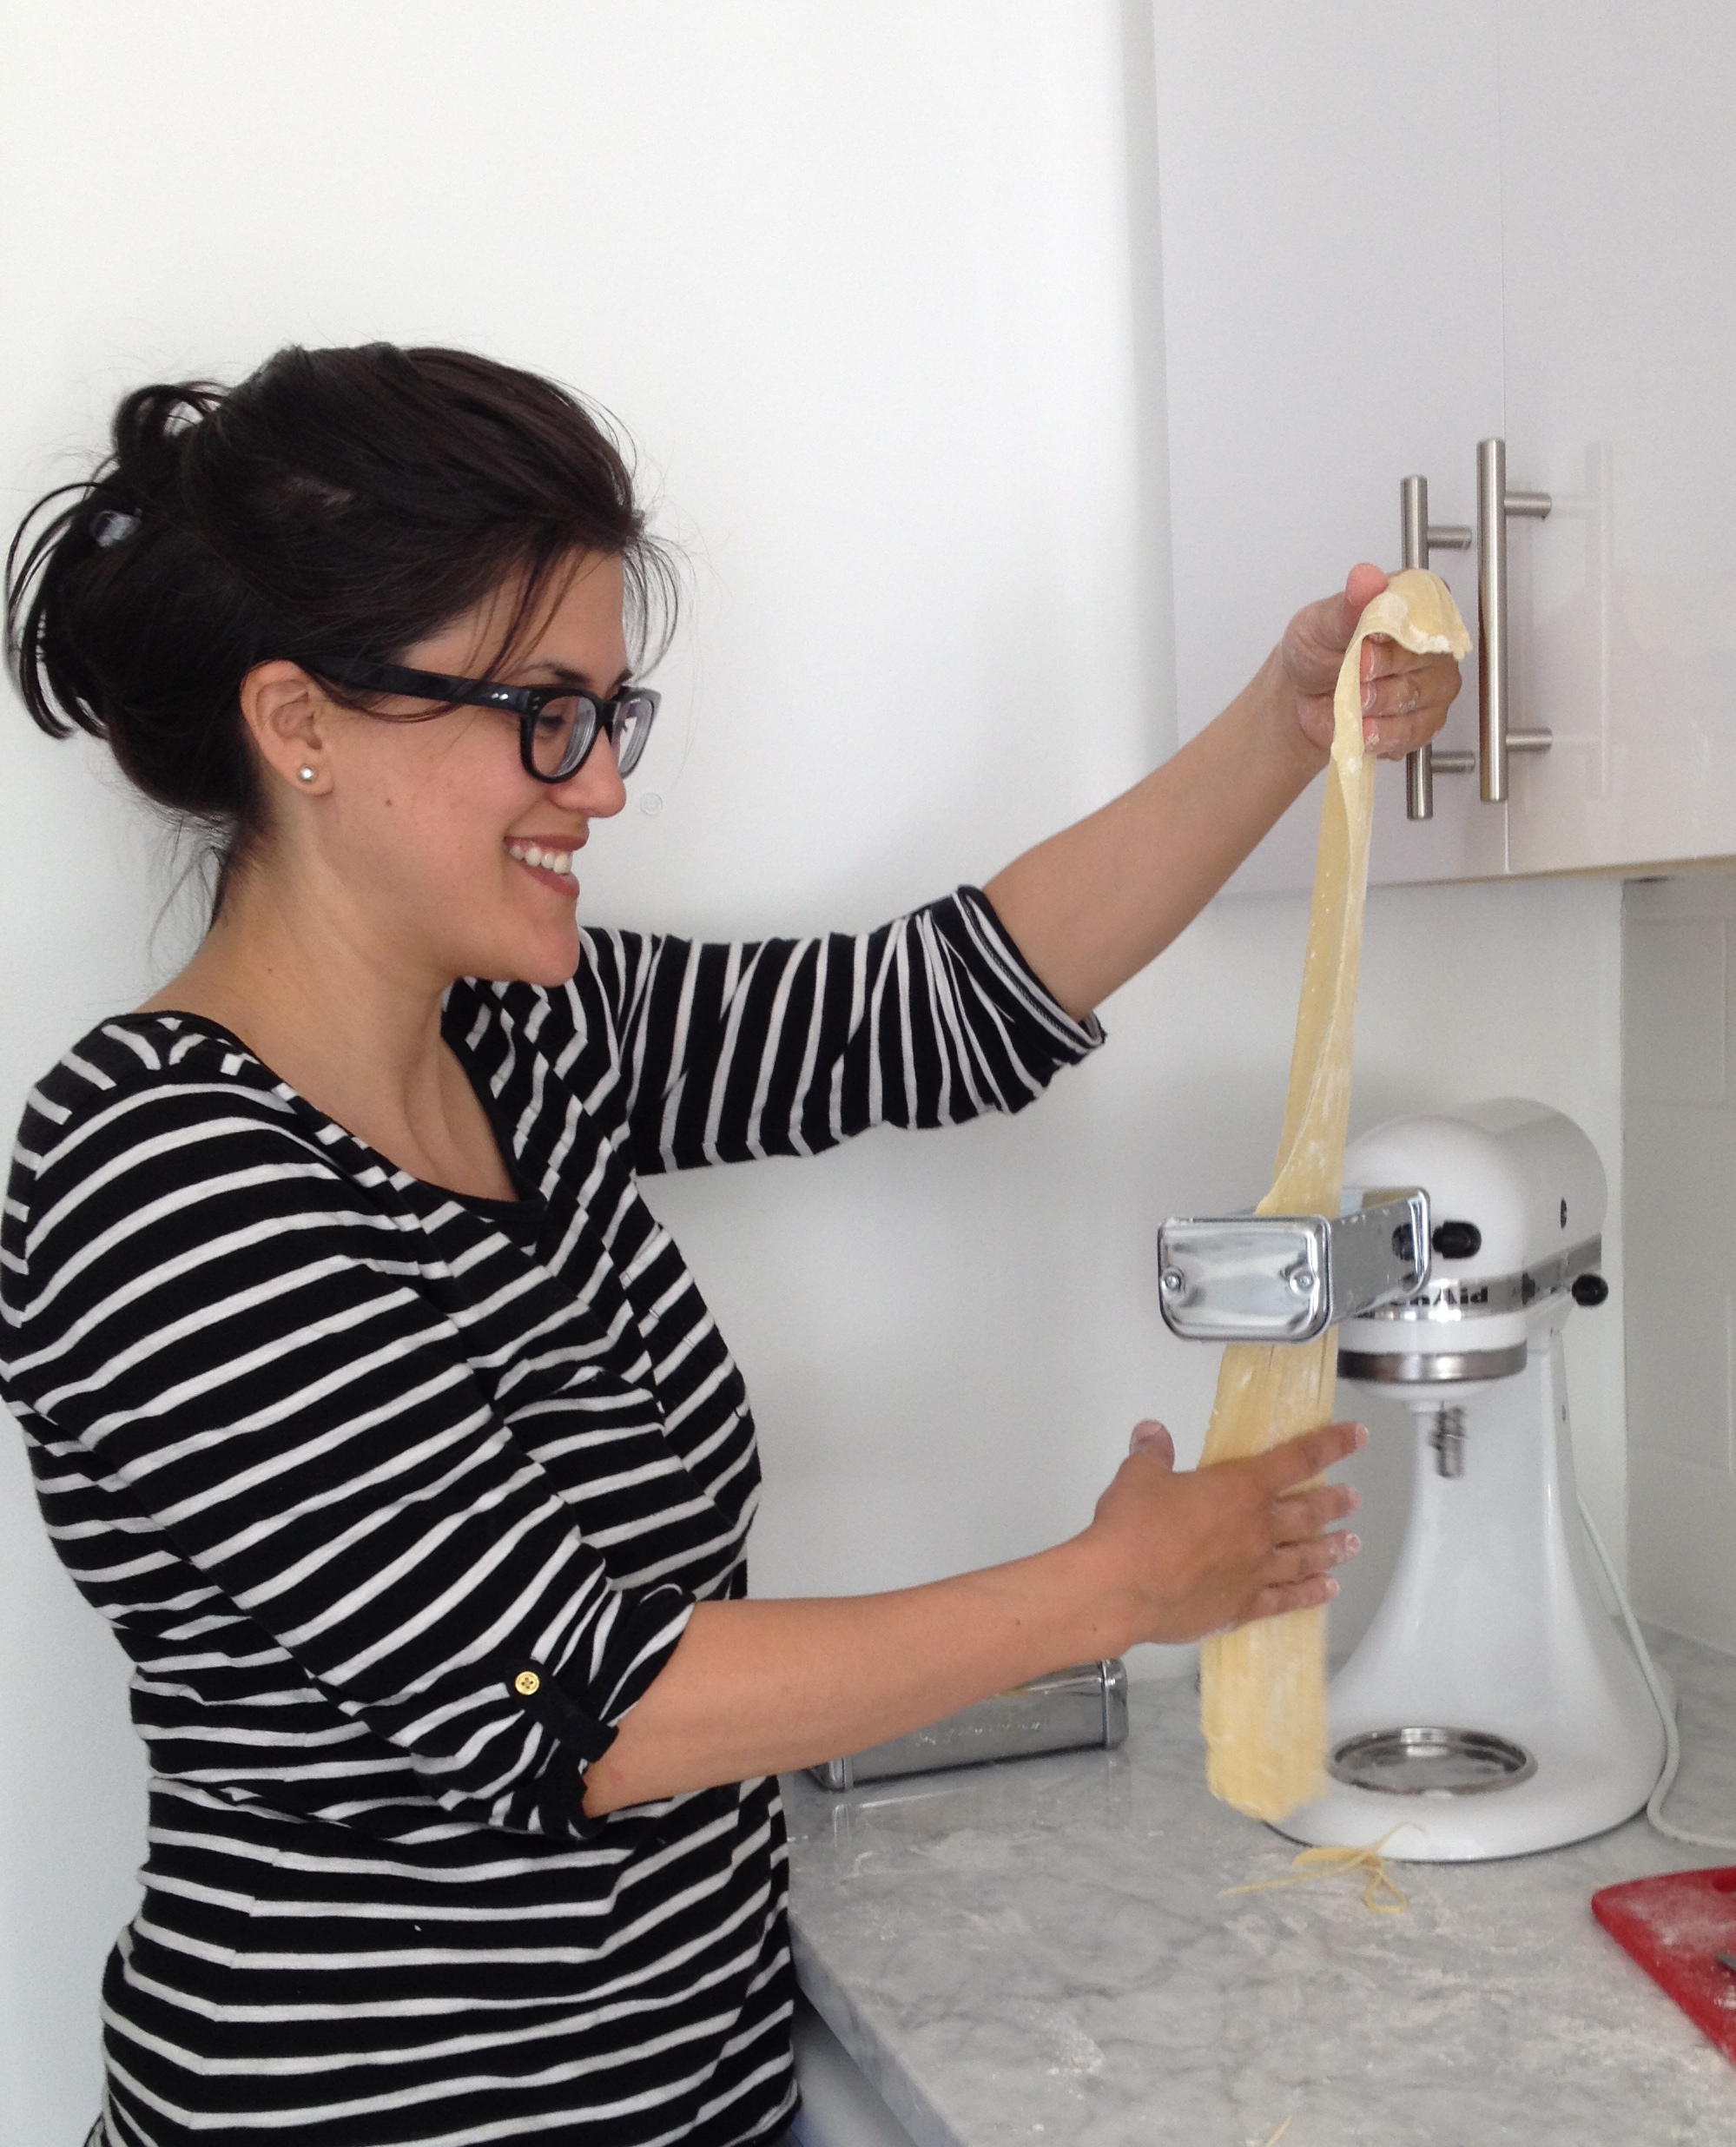
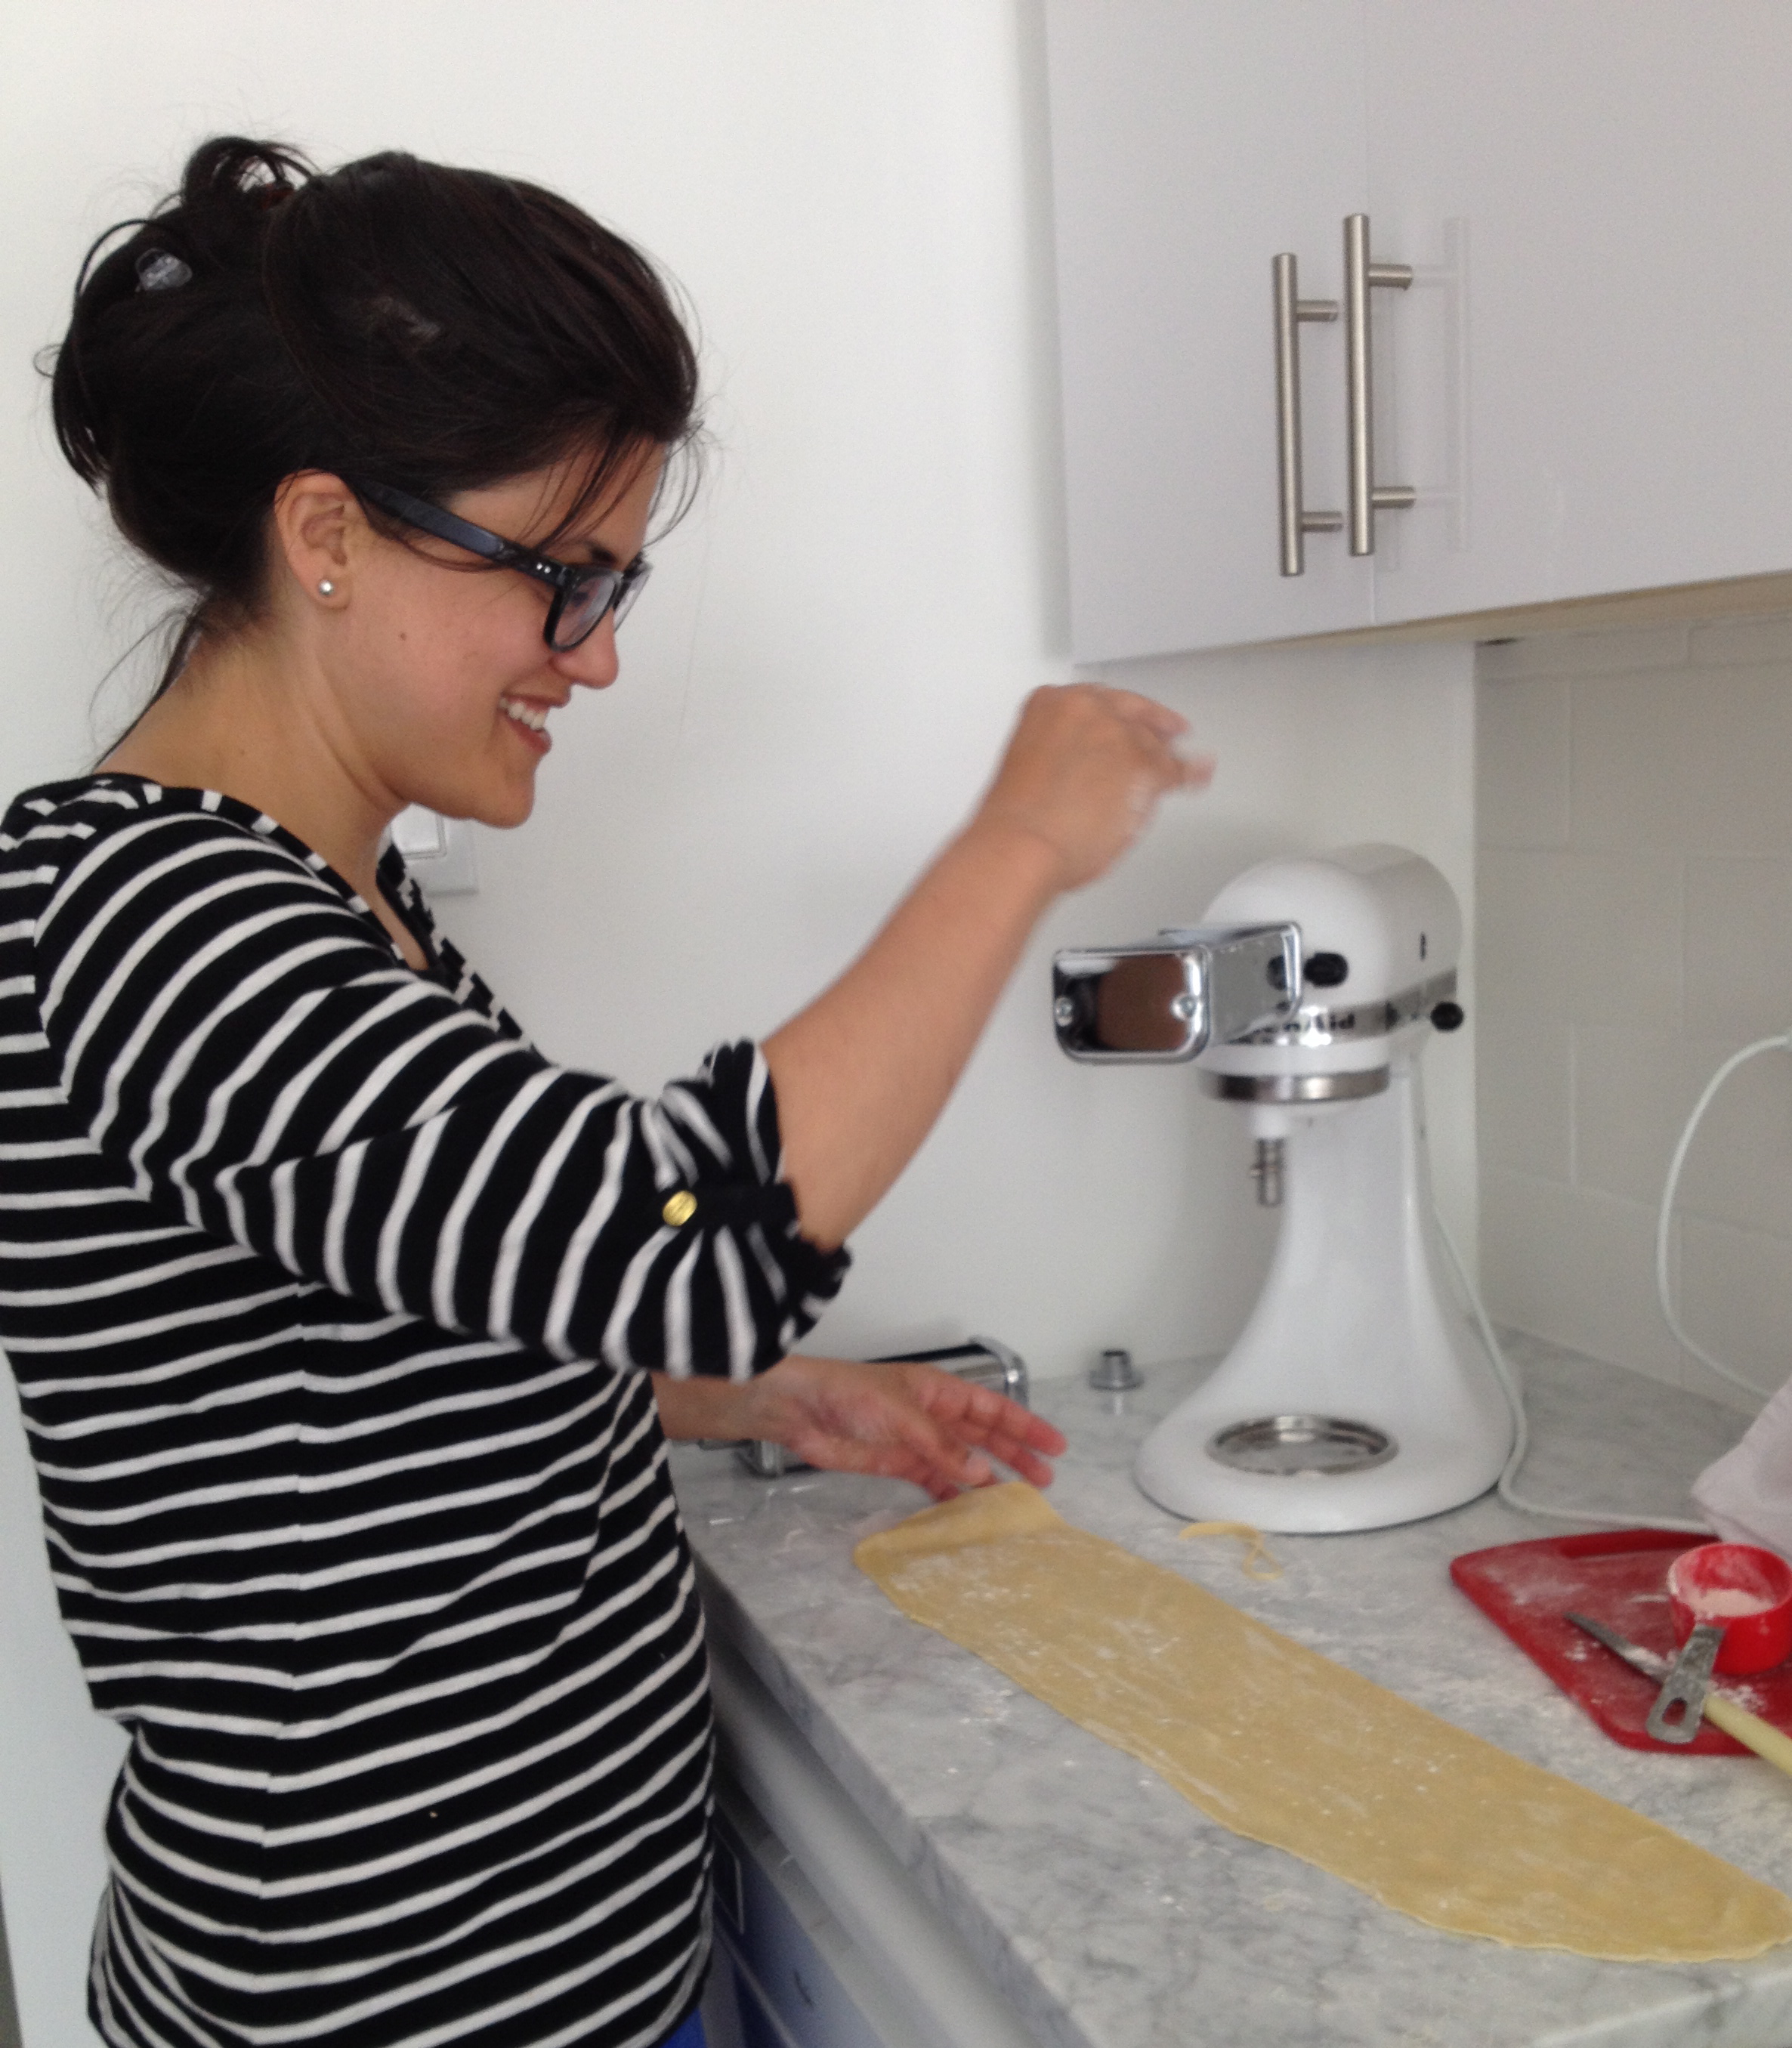
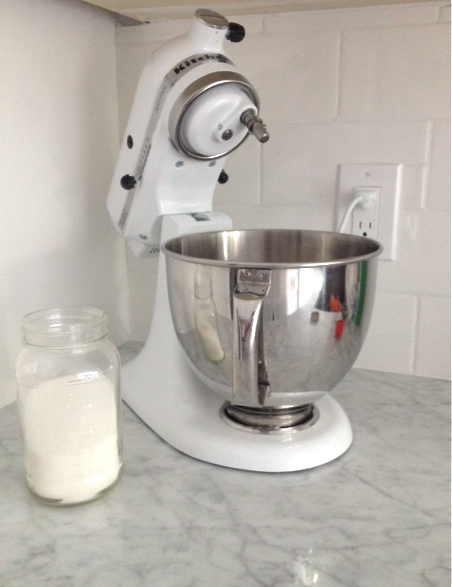
When I reached the right texture (smooth, not too wet, not too dry), I knew I was ready to move on to the attachments. The instructions that came with the attachments & stand mixer were clear, and inserting the attachments was really easy and straight forward. No problem there.

Kitchen-Aid-pasta-21

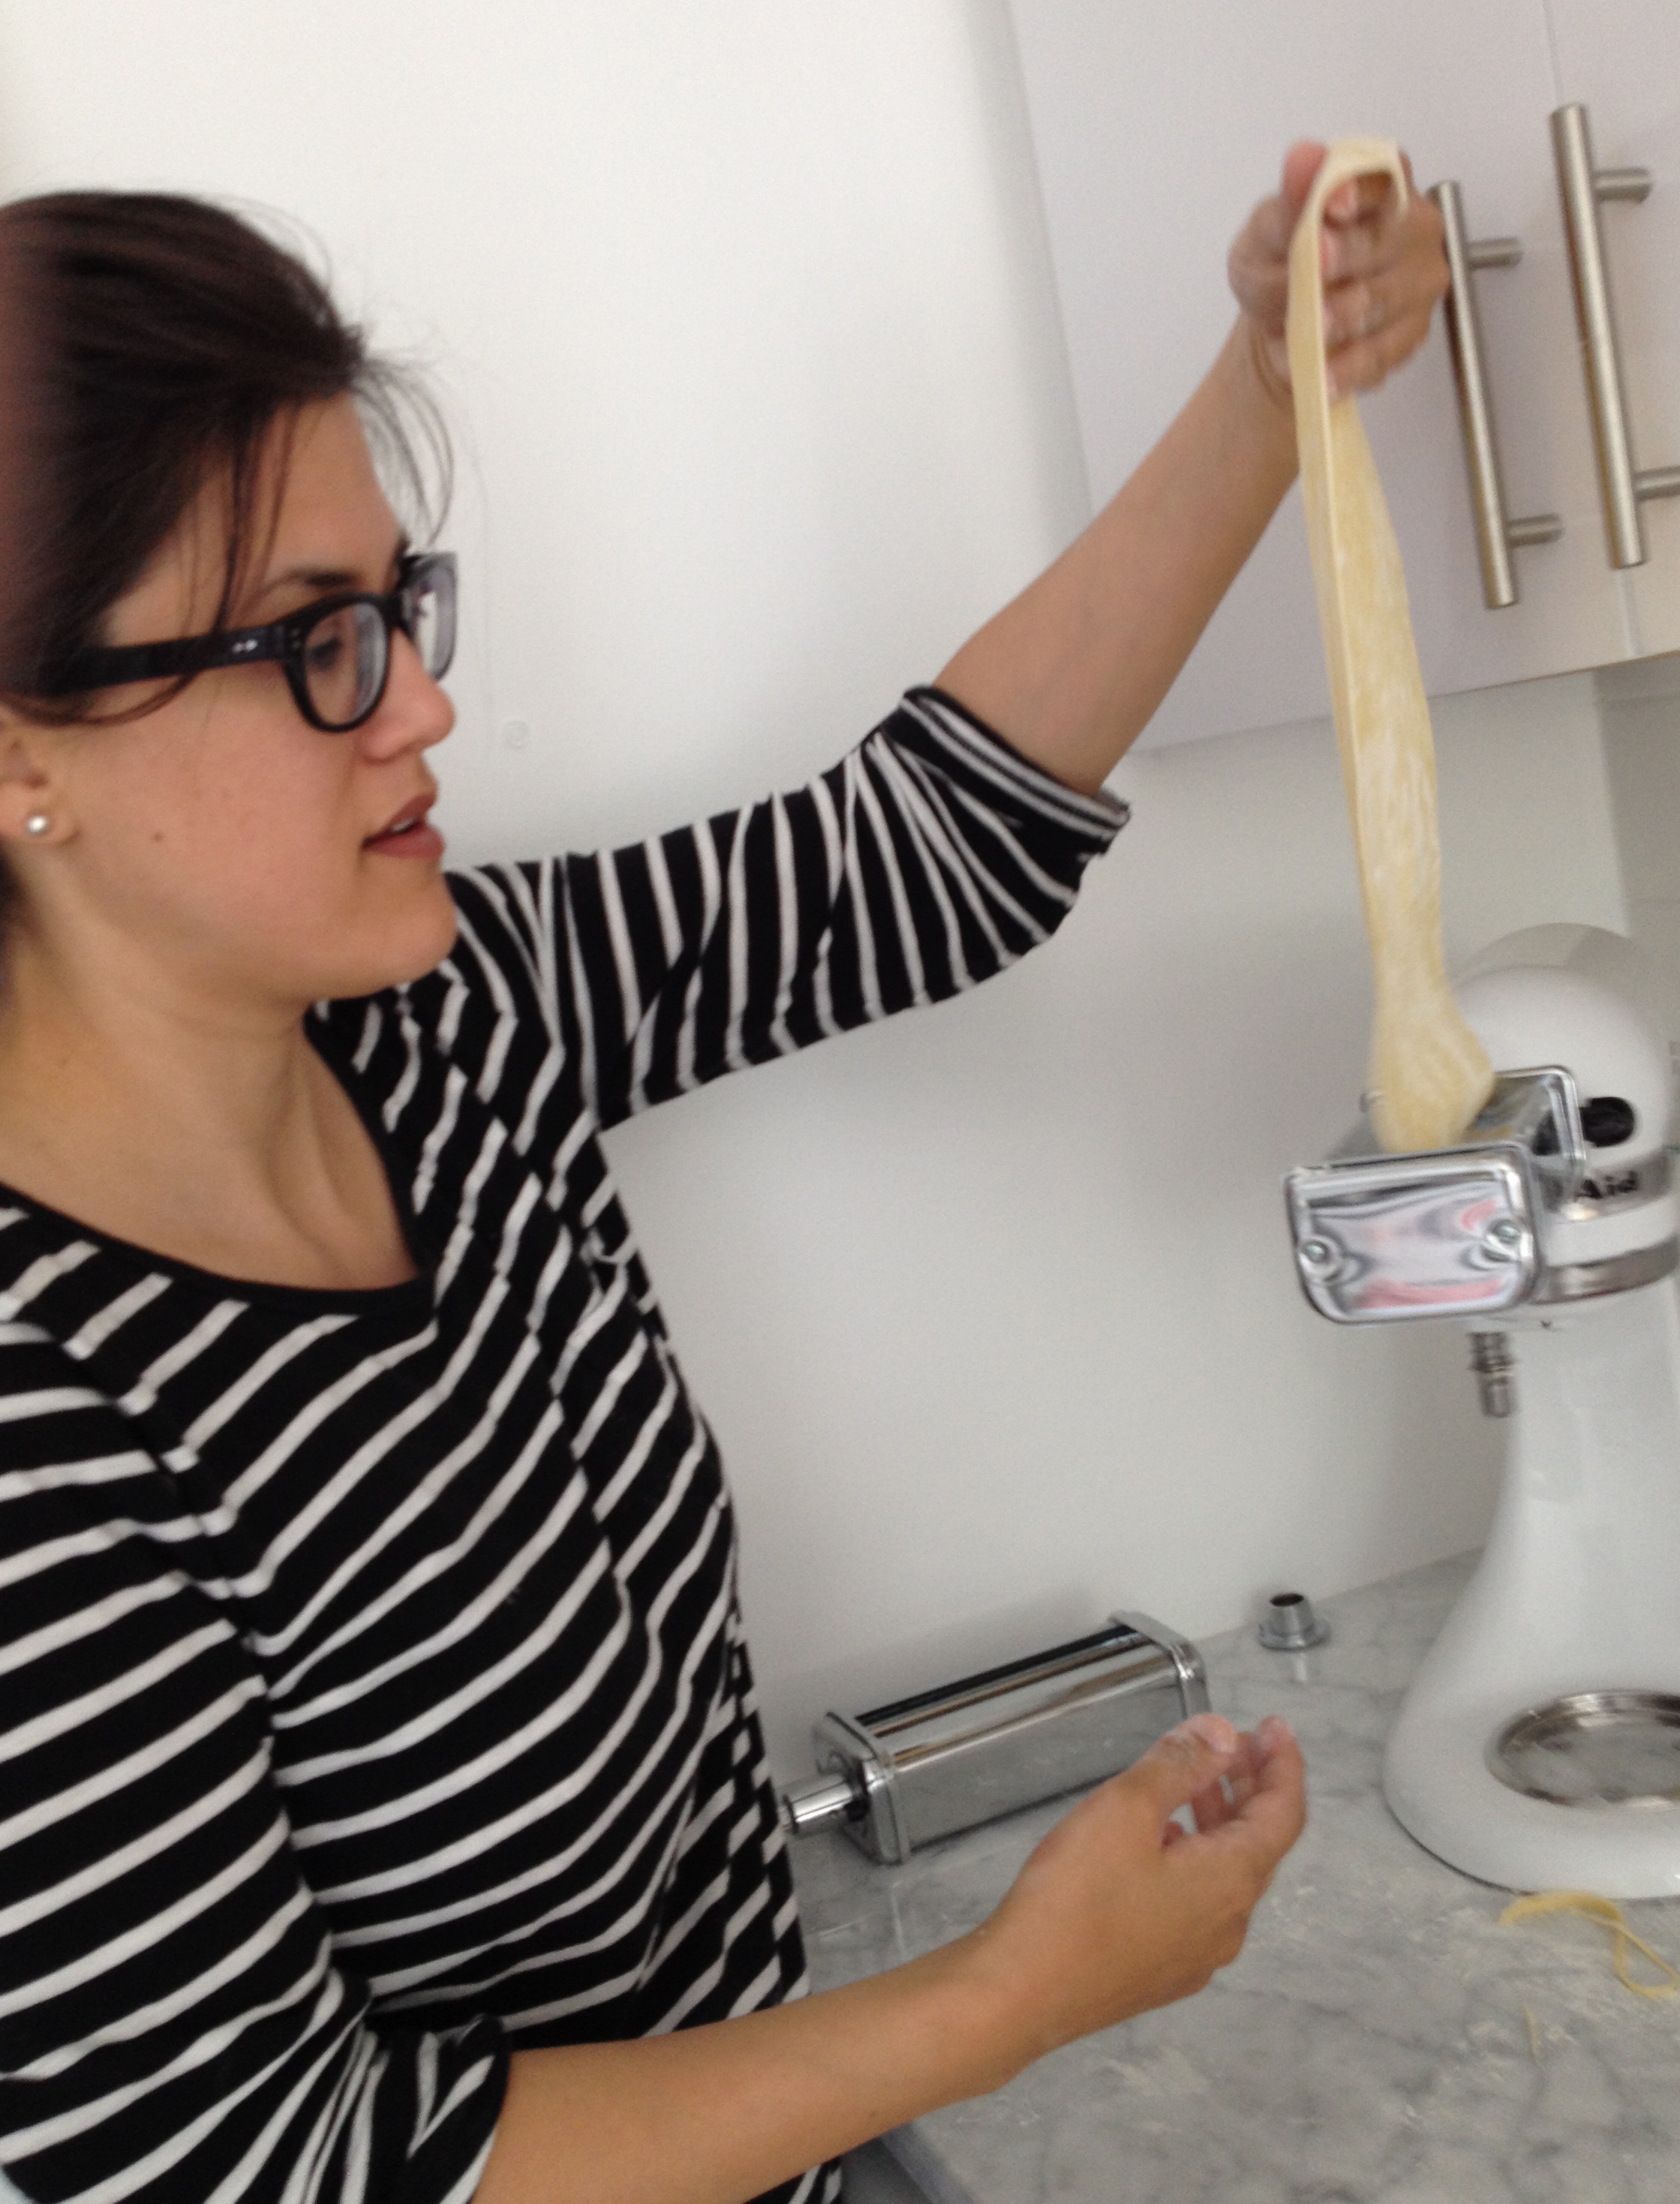
First, I used the pasta roller to flatten out chunks of dough. I started with the knob at 1 (widest space between rollers), and then worked my way to 5 (much smaller space between rollers). I set the machine to level 2 – not too fast, not too slow. Once the machine was on, the rollers got a-rollin’.

Kitchen-Aid-pasta-19
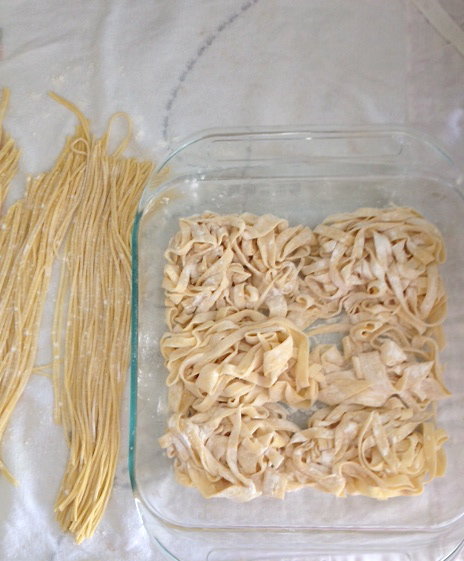
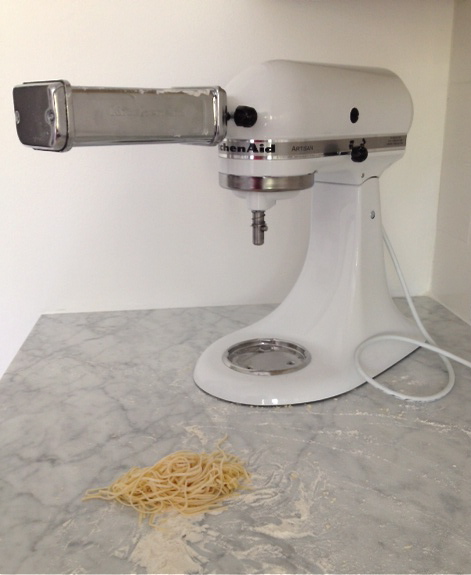
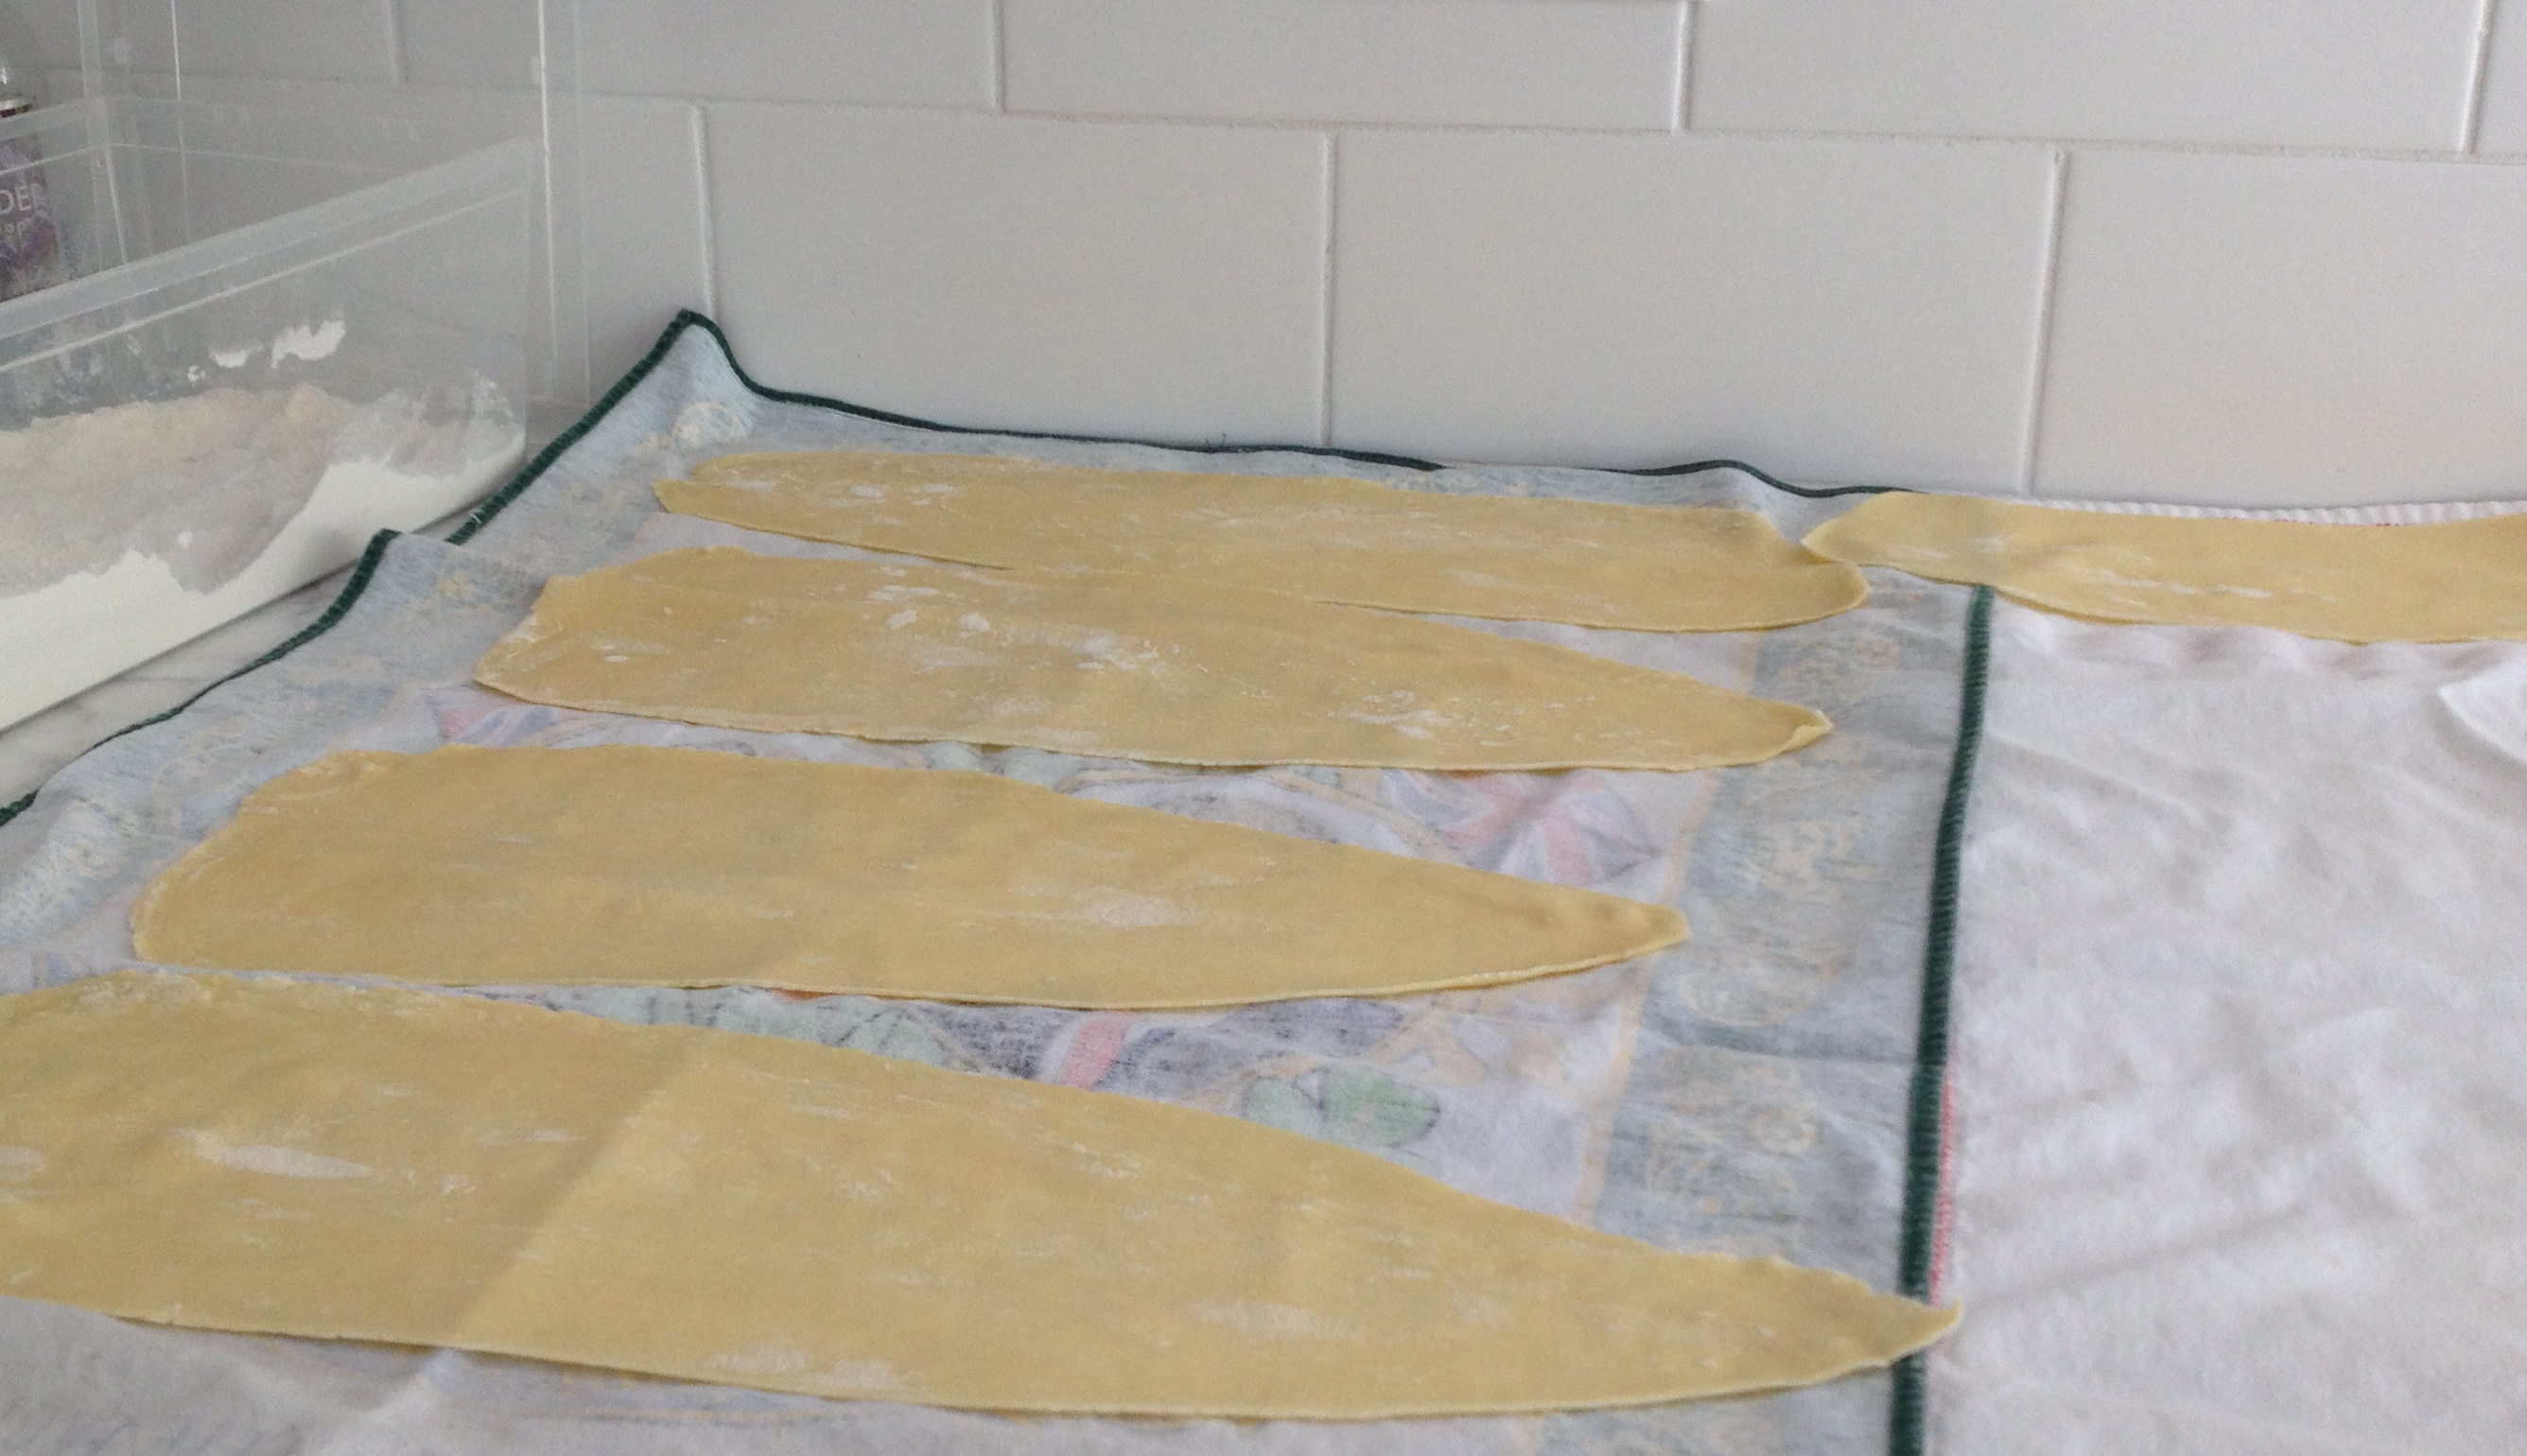
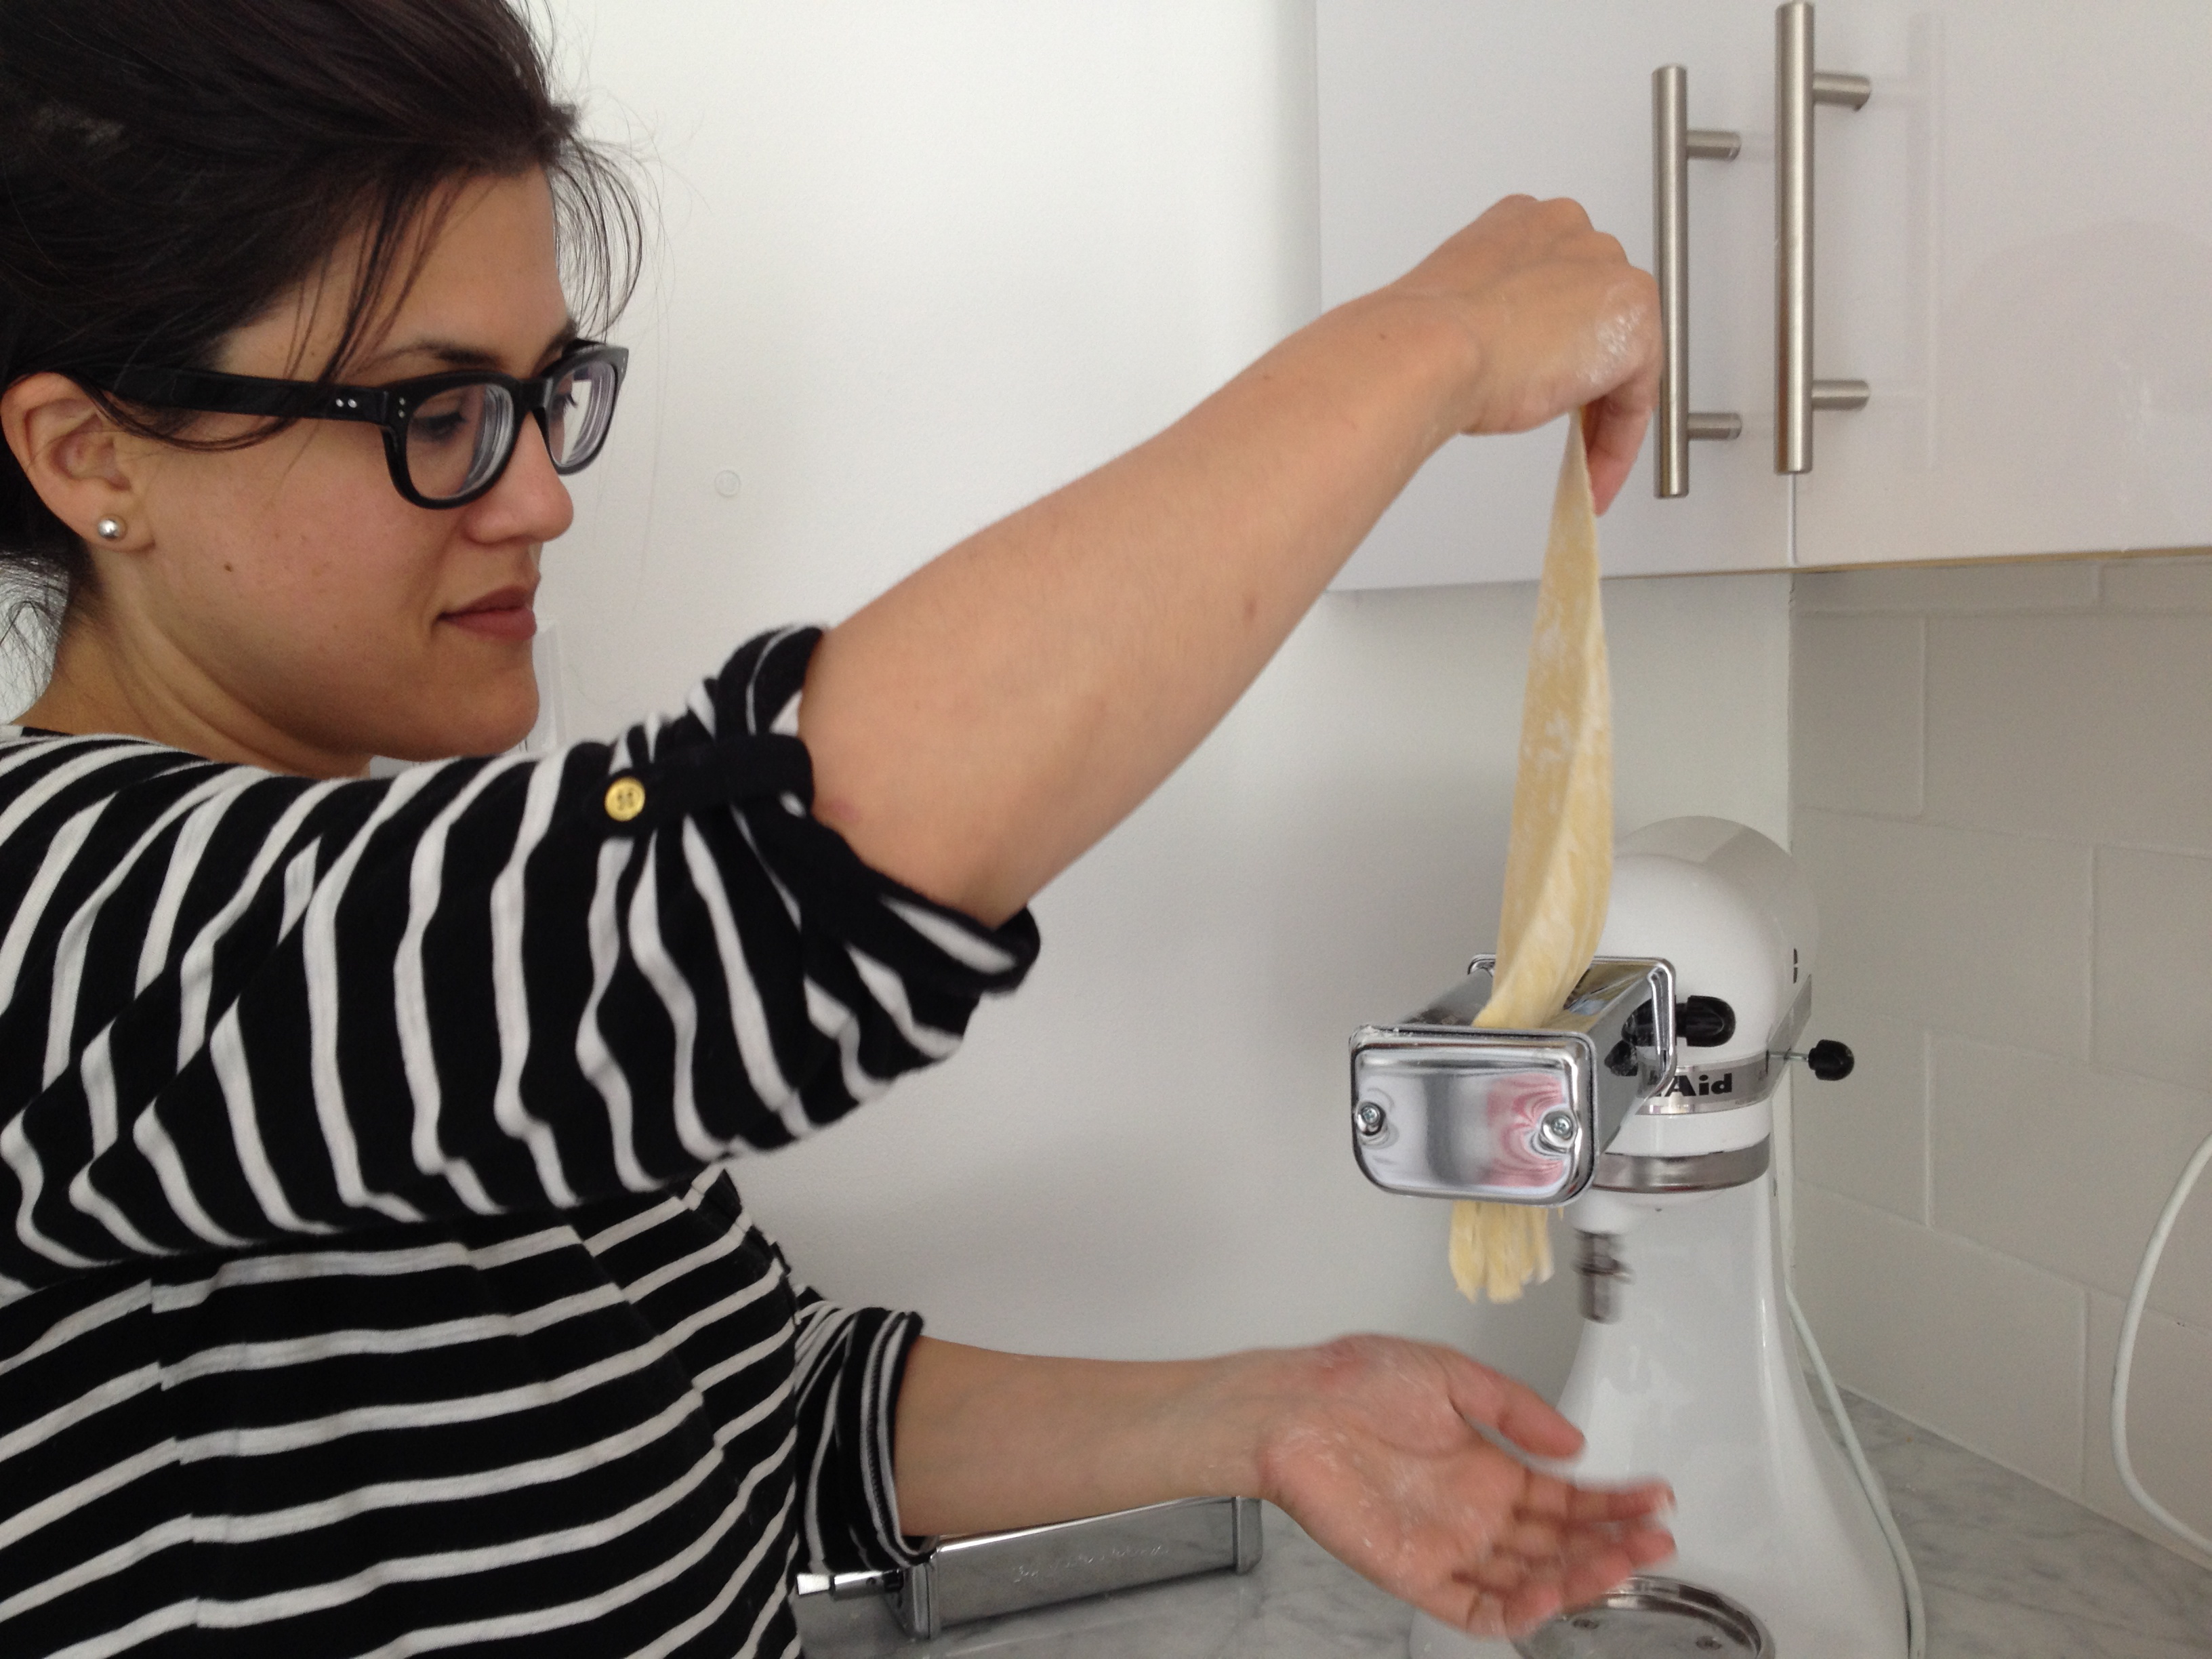
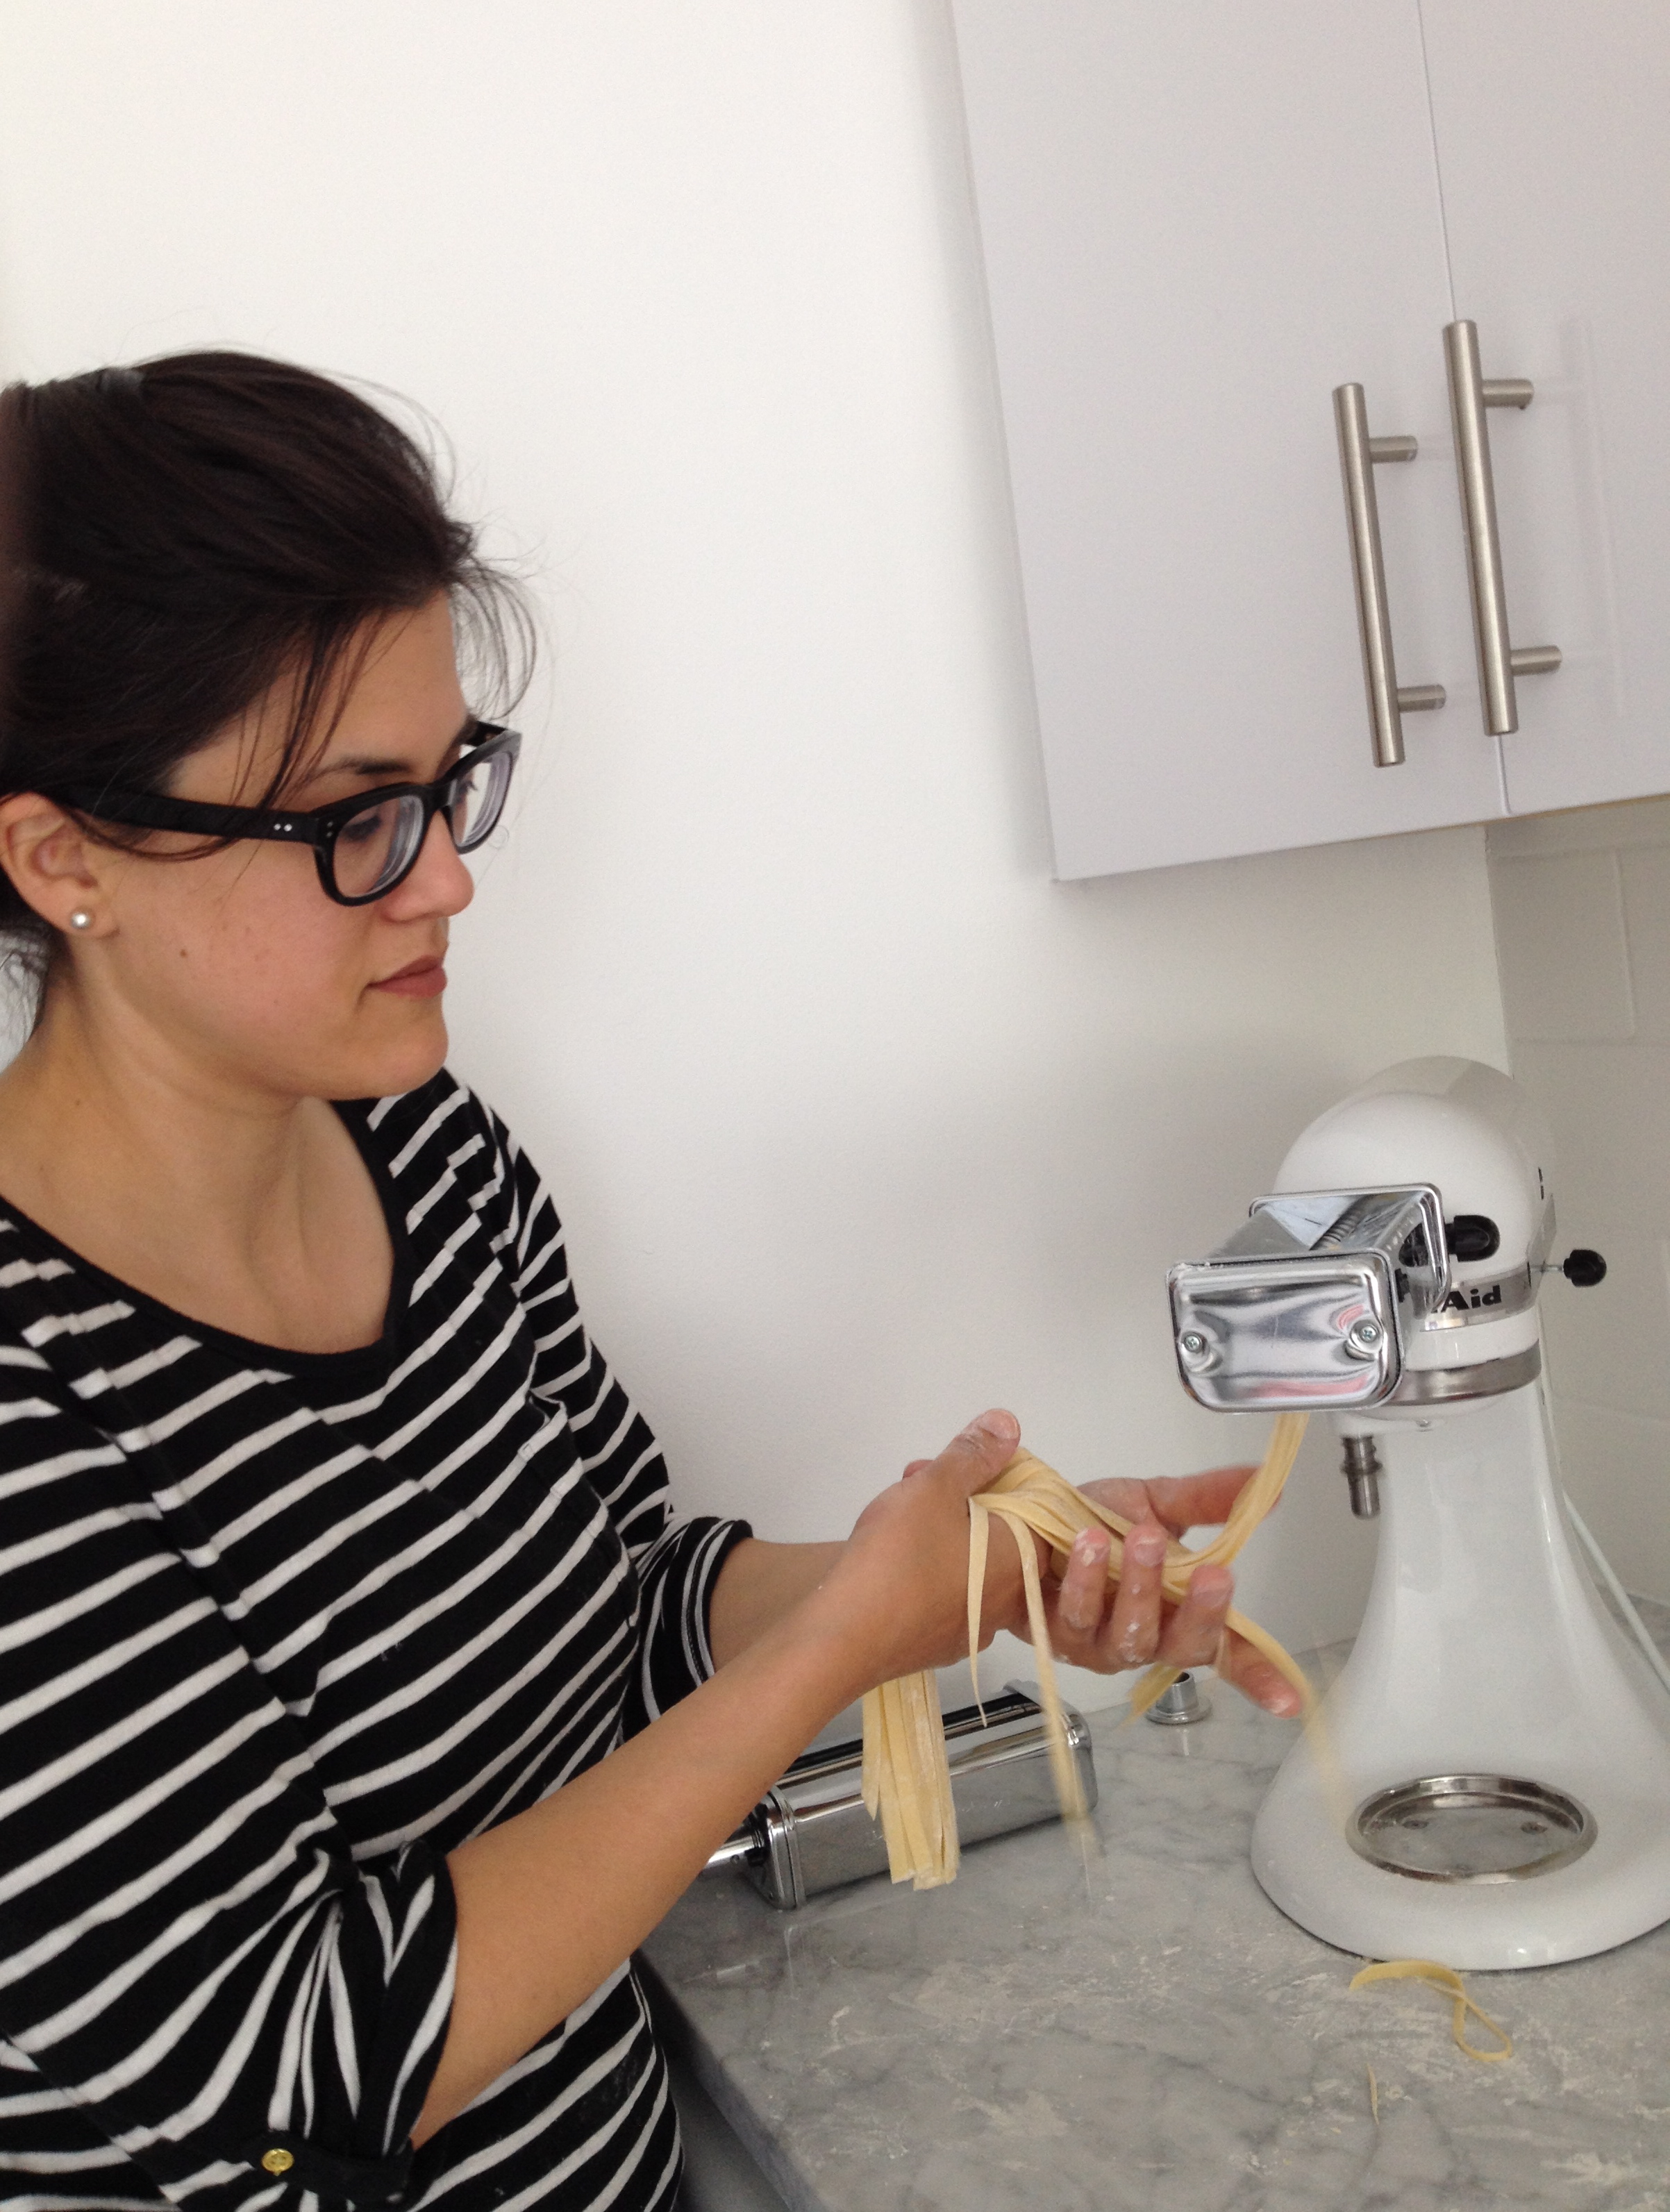
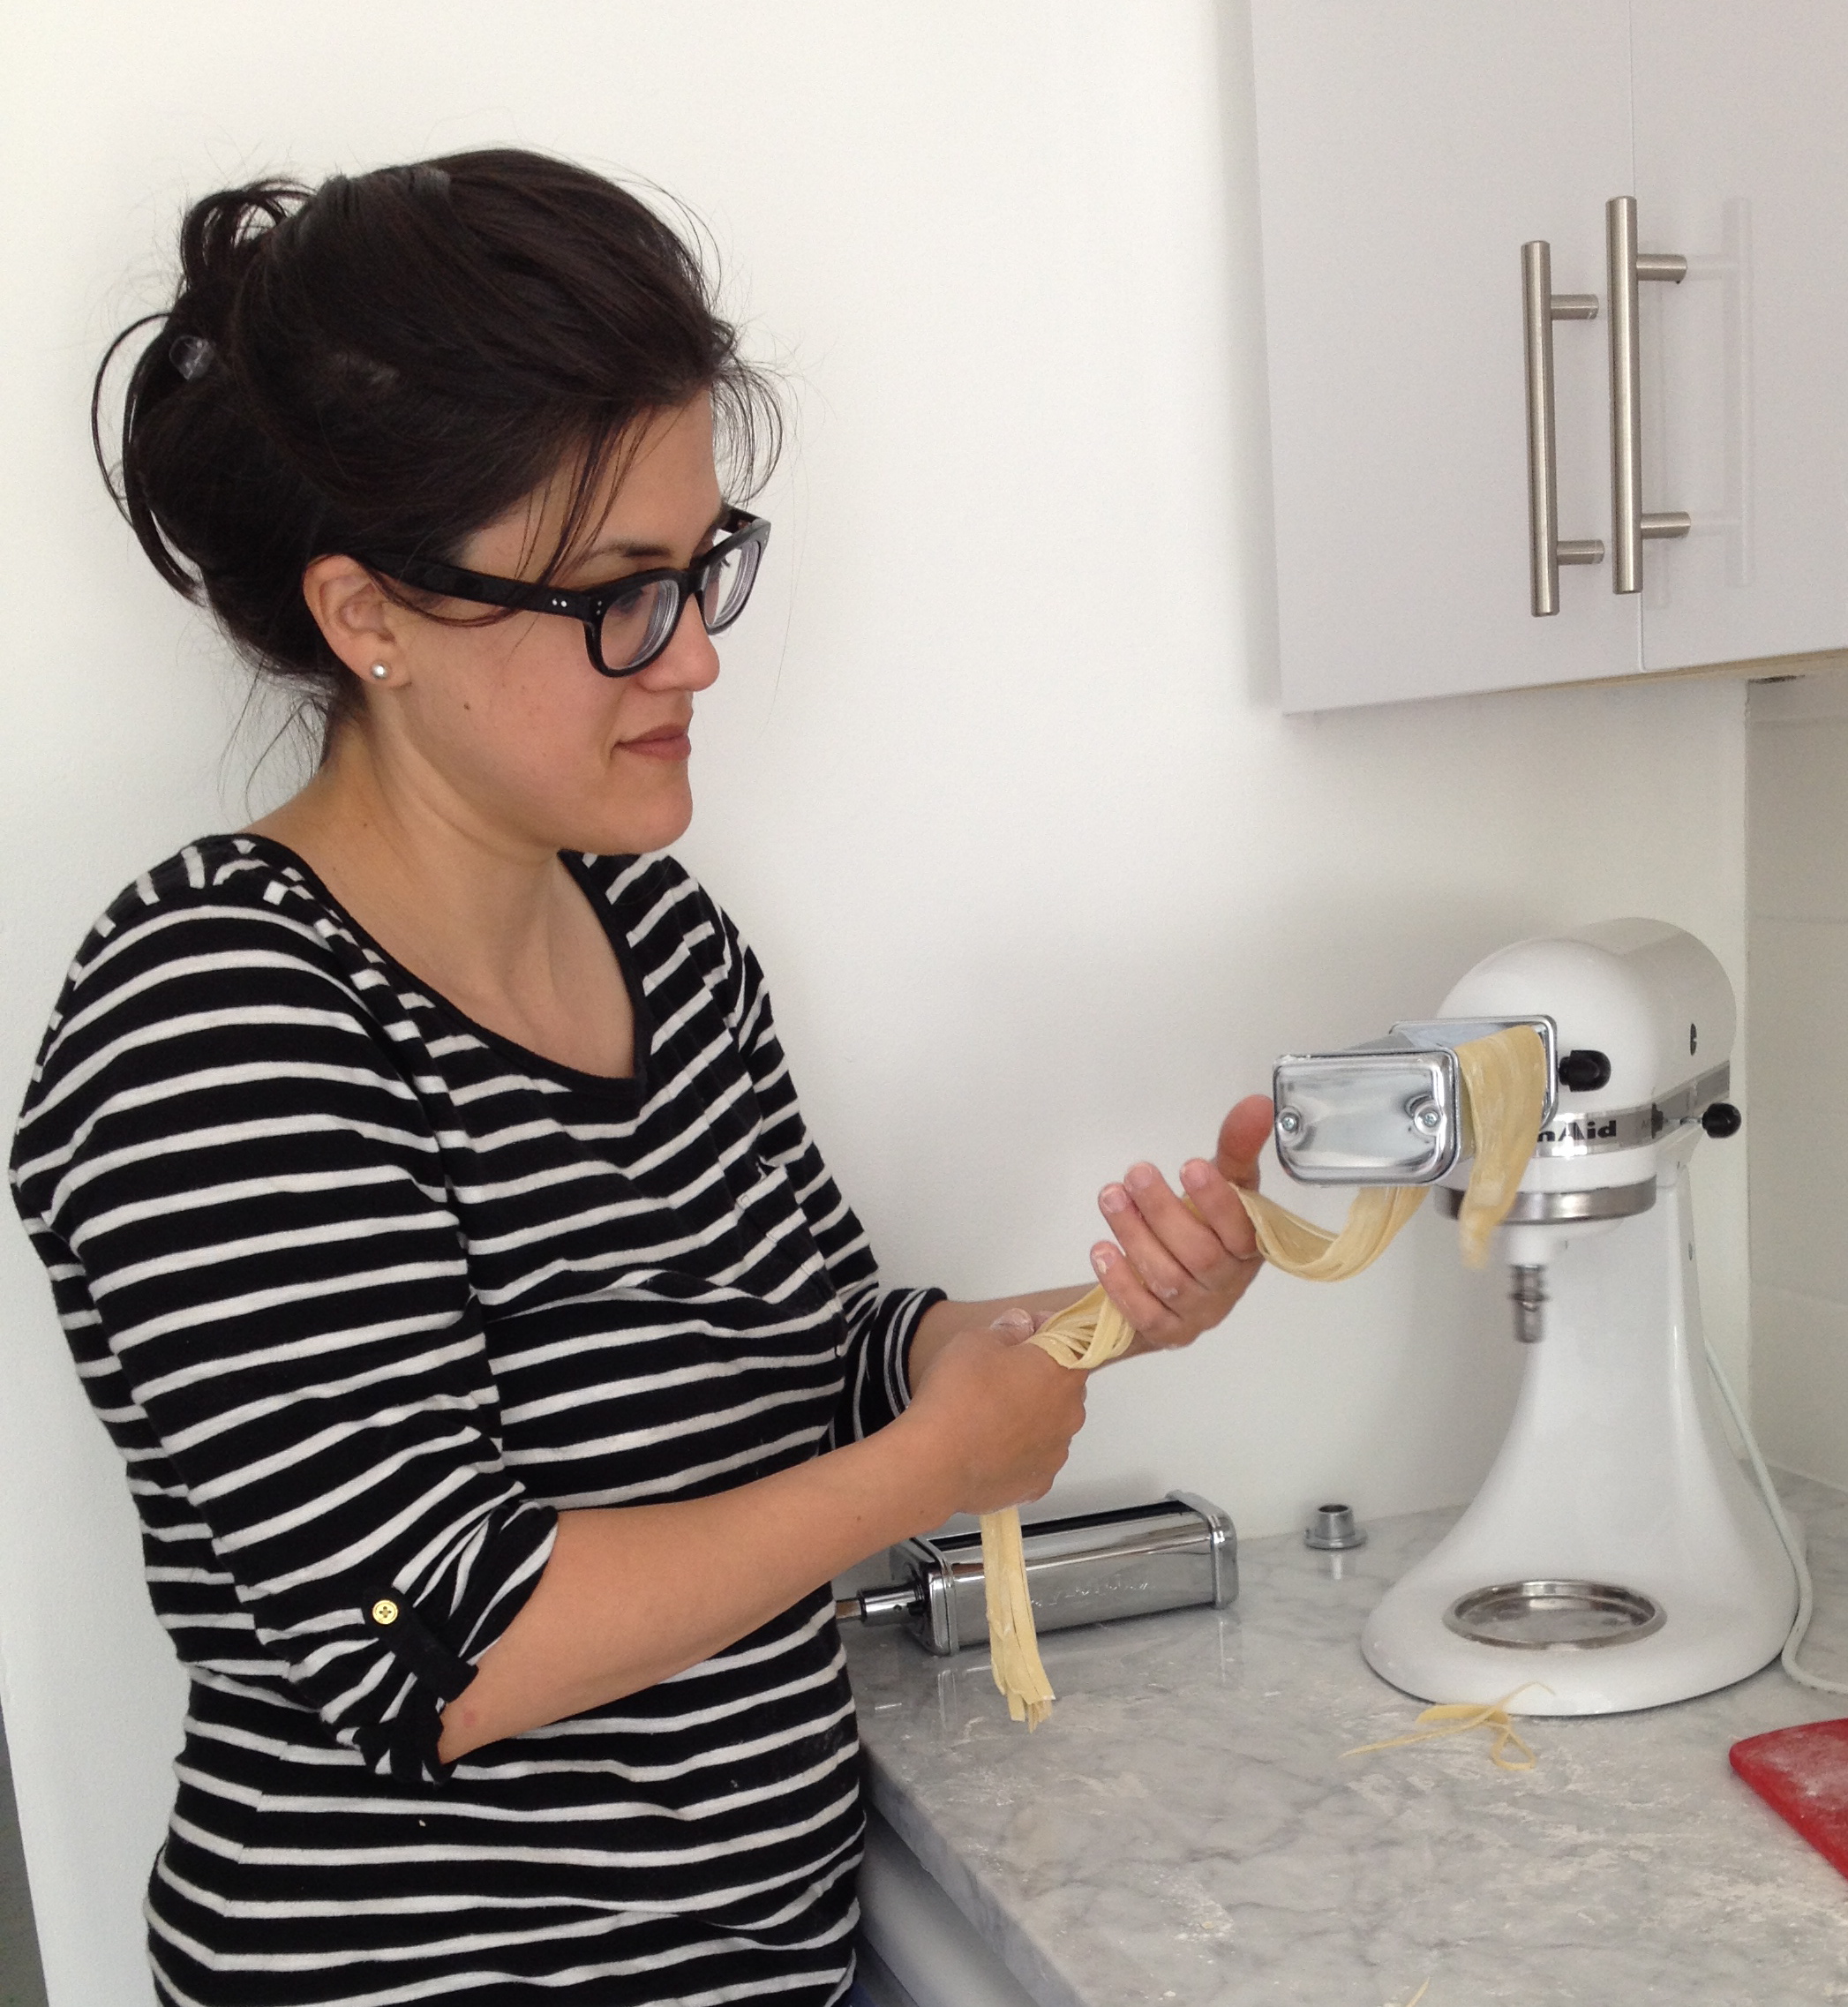
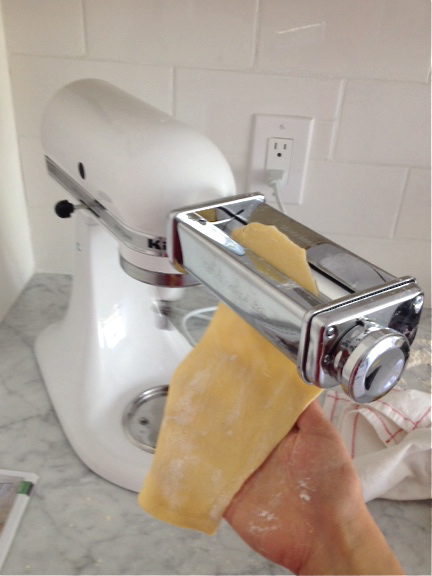
Next, I switched attachments to make spaghetti and fettucini. I floured everything up so that nothing would stick.

Kitchen-Aid-pasta-27

Kitchen-Aid-pasta-22

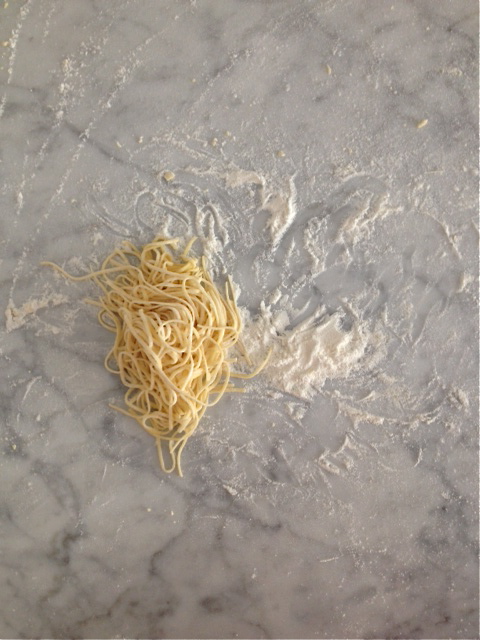
I ate some for dinner (I made pasta carbonara), obviously, and I froze the rest. Amazing.

Kitchen-Aid-pasta-23

The pasta roller and cutter attachments make easy work of pasta making. Let me tell you, they’re really awesome and work so quickly. Incredible. I thought about my Nonna who used a wooden roller the size of a dining table to roll out the dough and then cut it into strips all by hand. Gosh, I don’t think I could have done it her way – I’m much too impatient!

Kitchen-Aid-pasta-24

Oh – and I also could never be a no-carbs gal. I’m too much of a pasta fan!

Many thanks to KitchenAid  & Hayley for sending me the pasta roller and cutter set.
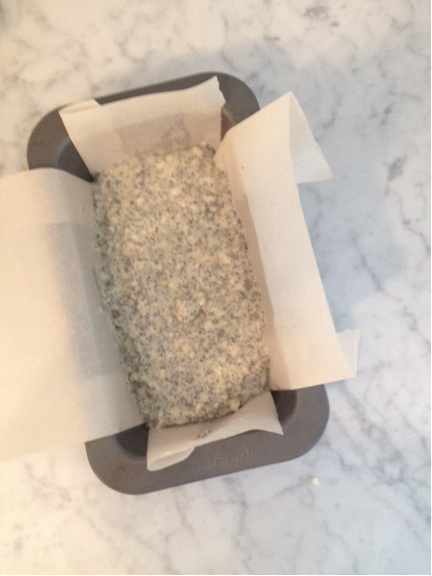
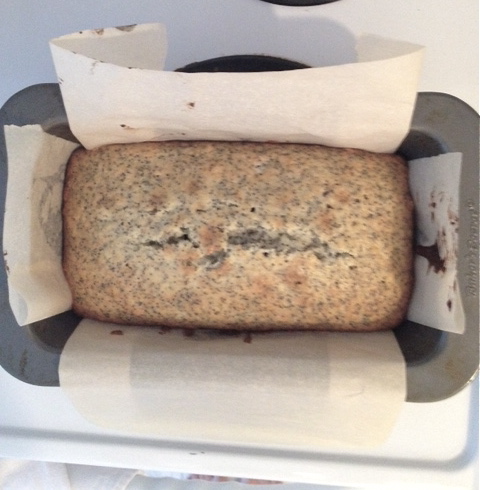
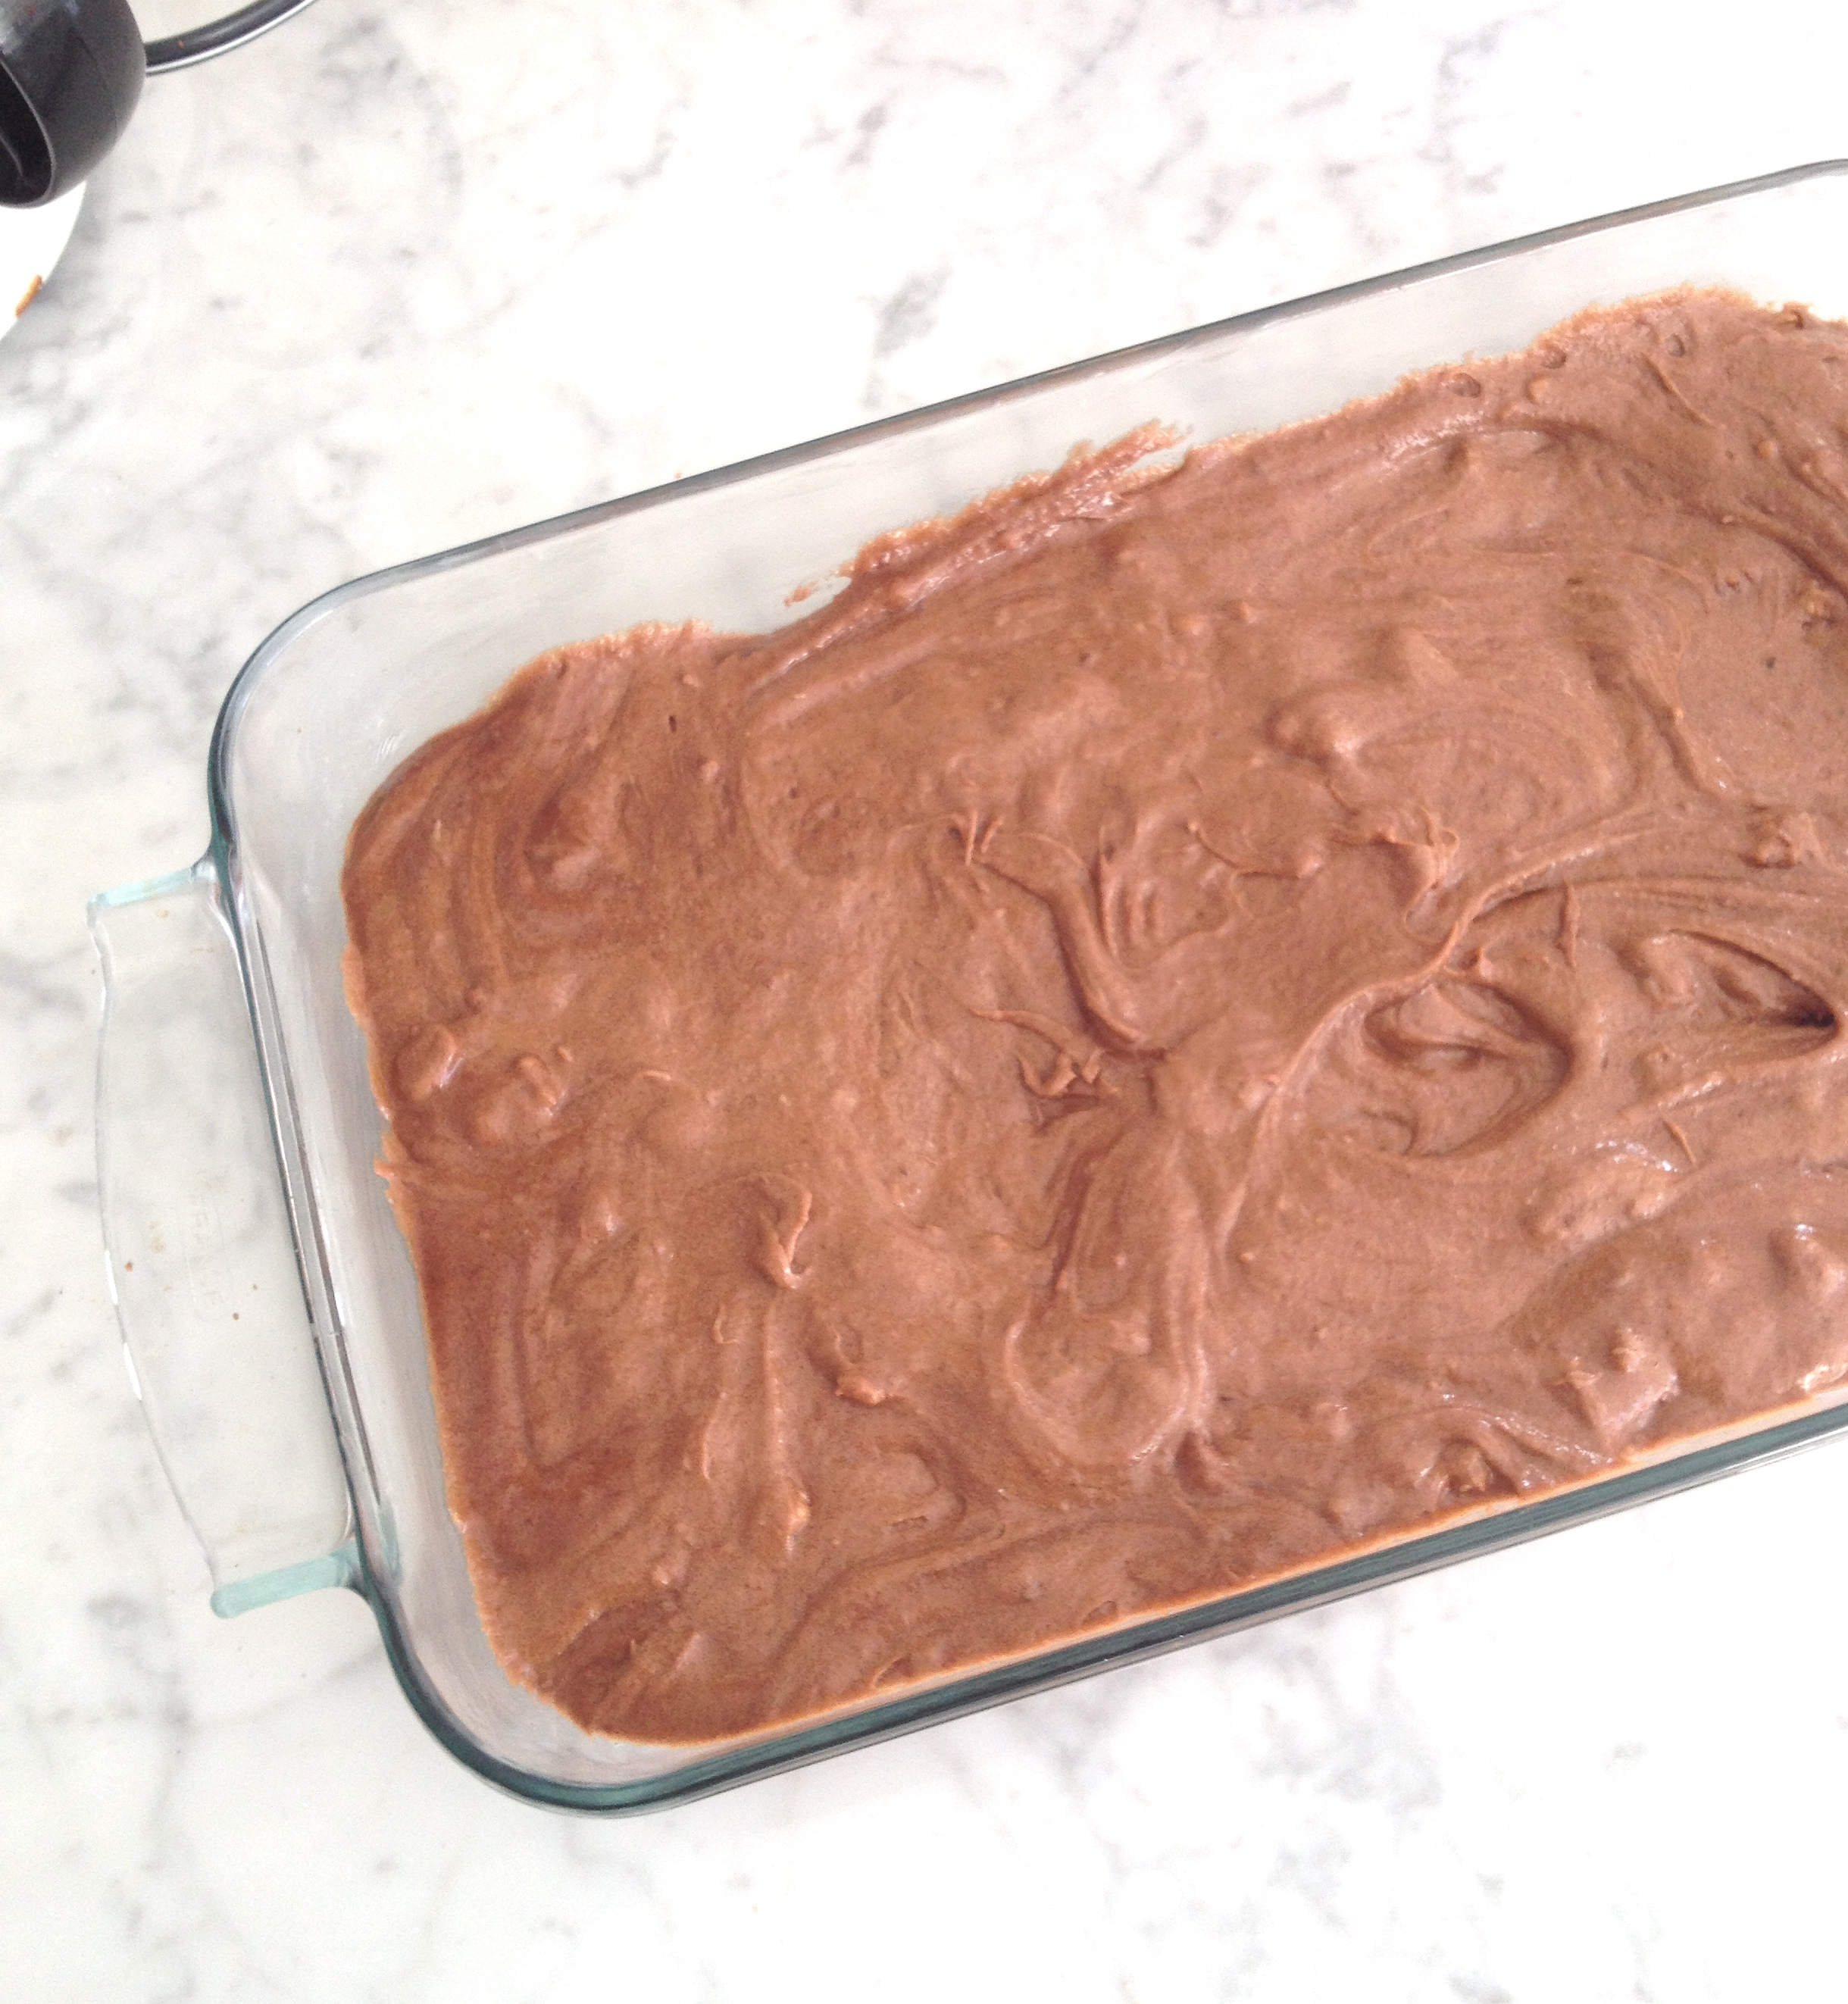
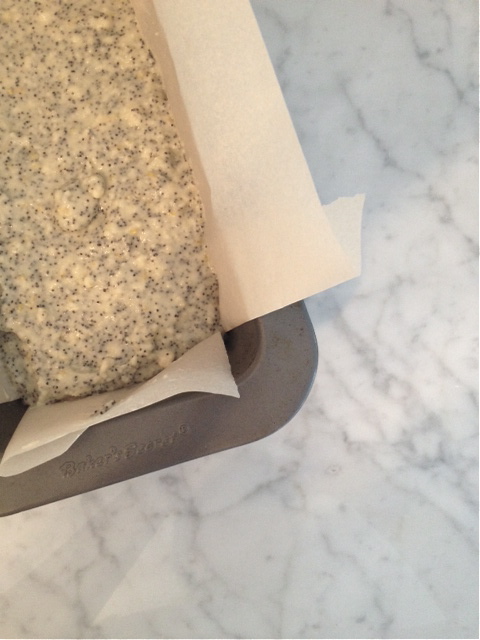
 

In the Kitchen: The KitchenAid Artisan Stand Mixer

Although I’ve been thinking about the KitchenAid stand mixer for some time now, I only finally bought myself one last week. Everyone and their brother/mother/sister/friend seems to have one and they all rave about how great it is, so I had little doubt that it would be fabulous. There are plenty of colours to choose from, but it was an obvious choice for me. I’ve used my KitchenAid Artisan stand mixer twice already and it’s worked out very well! No surprise there, right?

White-Cabana-KitchenAid-stand-mixer-1 White-Cabana-KitchenAid-stand-mixer-2 White-Cabana-KitchenAid-stand-mixer-3

The first thing I ended up baking with the stand mixer was the brownie recipe that was listed in the instruction/information booklet that came with the mixer. It was very easy and straightforward and the end result was ab fab chocolate goodness. I also made madeleines and they turned out perfectly. I love the fact that the mixer can do the work while I measure out the ingredients. The convenience factor is awesome!

White-Cabana-KitchenAid-stand-mixer-4 White-Cabana-KitchenAid-stand-mixer-5

I used the plastic pour guard at one point, but I didn’t really need it. I was just trying to use as many gadgets/attachments as possible. I used the paddle attachment (above) for the brownies, but I used the whisk attachment to whip up the eggs for the madeleines. Switching the attachments is easy and quick, as is cleaning them.

White-Cabana-KitchenAid-stand-mixer-6 White-Cabana-KitchenAid-stand-mixer-7

I am very happy that I opted for the lift-arm mixer rather than the bowl-lift mixer. The arm lifts at the flick of a switch and the bowl attaches securely and simply to the base.

White-Cabana-KitchenAid-stand-mixer-8

Here are the brownies before I put them in the oven:

White-Cabana-KitchenAid-stand-mixer-9

It’s a stylish machine, yes, and it looks wonderful on my counter (a stylish appliance? really? this is what I’m talking about these days? how old am I?), and so it seems I’m joining the “it’s so great, everyone should have one” club. I’ll share a few more photos in the upcoming weeks as I’m eager to try the pasta roller/cutter attachments!