I have been thinking about trying a juice cleanse for quite a while now, but it wasn’t until after Easter weekend that I finally decided to go for it. My stomach had been making grumbling noises for a couple of weeks – probably because my eating habits haven’t been great – and a weekend of eating chocolate at Easter made me feel full and uncomfortable. As such, I thought it was a good time to spring clean my body with a cleanse.
Cleanses get mixed reviews. Some people like them because they give our body a break, give us many nutrients intensely, and give us a fresh start. Others say that cleanses aren’t necessary and as powerful as they claim. I can see both sides of the story. I generally try to take the “everything in moderation” approach so that I can eat crepes one day and not feel like I have awful nutritional habits. And I thought that a cleanse could only help my body.
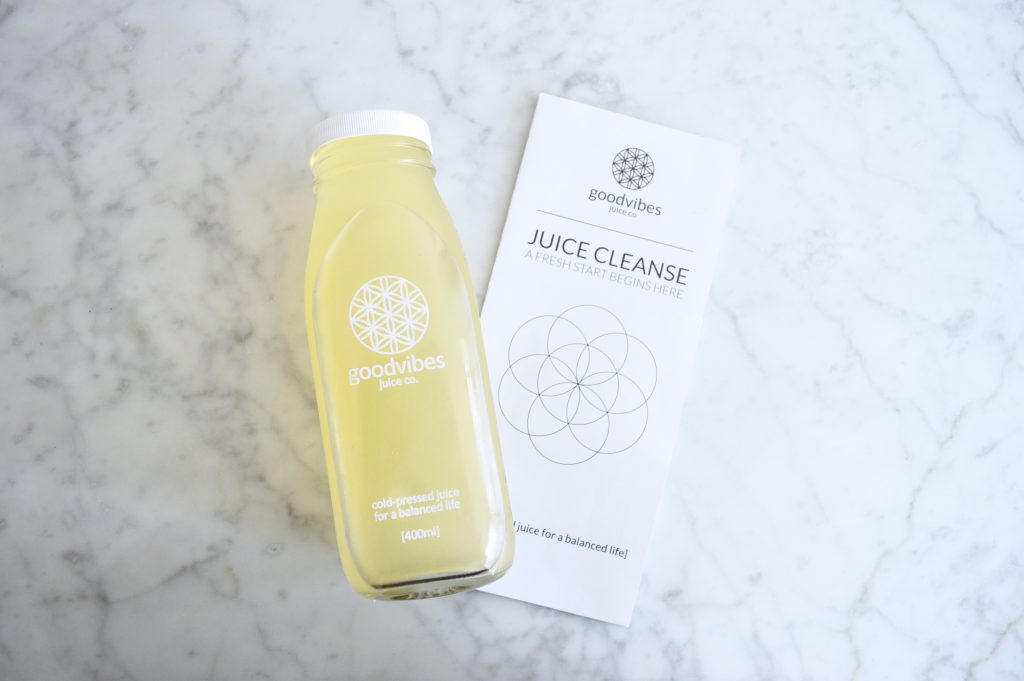
So, moving on to my actual juice cleanse experience. After doing a Google search for juice cleanses in Waterloo (since I didn’t want to do all the prep work on my own!), I came across Good Vibes Juice Co. I recognized the branding from seeing the juices at Vincenzo’s, and since I’m a sucker for beautiful design, I was hooked into the Good Vibes website and read all about the cleanse options.
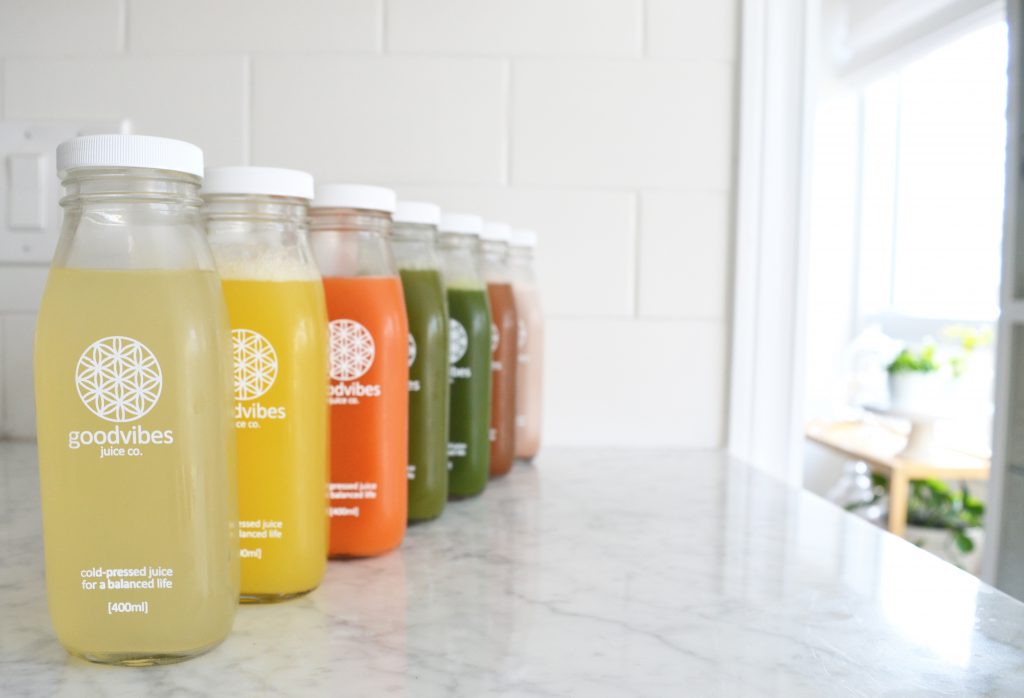
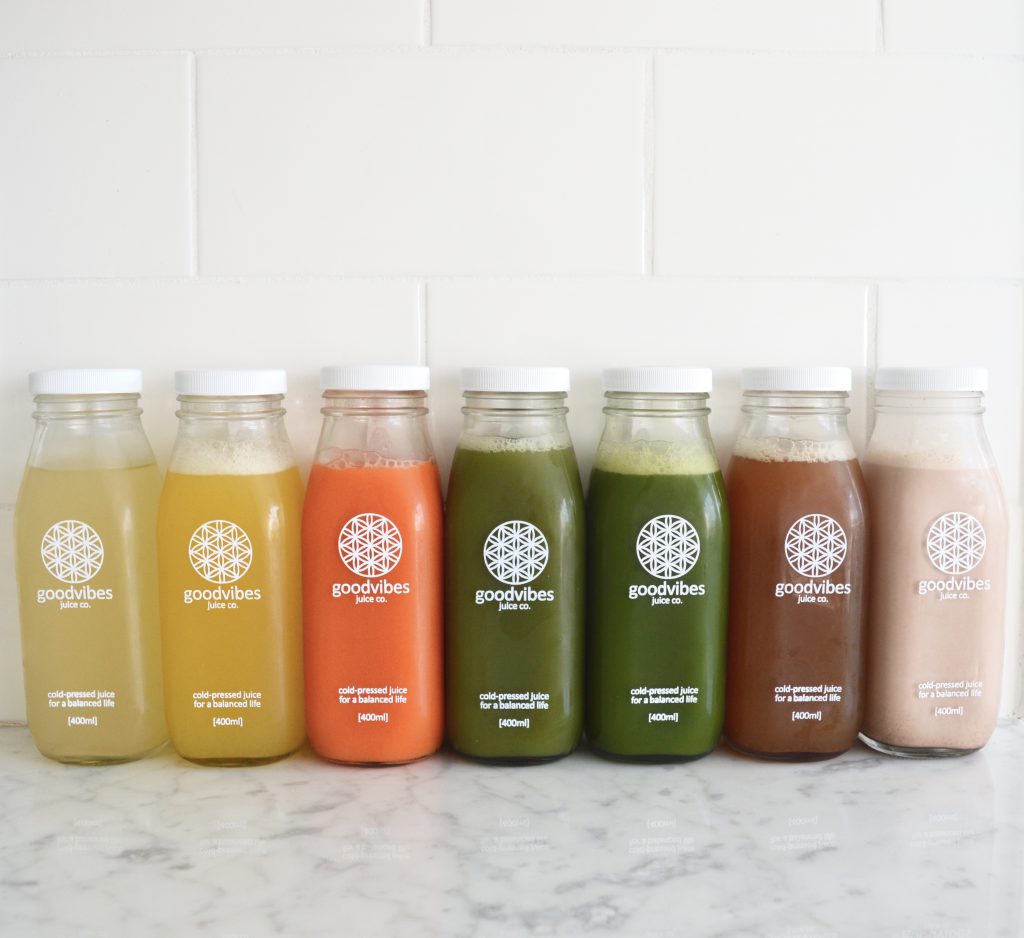
I mentally prepared for a 3-day cleanse, went into the Good Vibes shop early Tuesday morning, met with the owners, Lloyd and Drew, and left with 24 bottles of juice. Each day, I was to drink 8 bottles (400ml each) of juice in the suggested order: Lemonade, Eby Apple, The Cool, Heartbeet, Sunkiss, Tiger, Envy, and Cocoagood.
Day 1
I was excited to get started. The first juice was basically lemonade, so it went down easy. The same was true for the second juice – Eby Apple – which was a really delicious apple-based juice. I reached my third juice – The Cool – just after noon, and this juice, along with juice number 4, took me hours to drink. The Cool is a green juice, and while I didn’t mind the taste, I didn’t love it. Juice 4 – Heartbeet – is a beet-based juice and I didn’t like it at all. In fact, I only drank half of it because I didn’t want my taste buds to suffer.
I drank a lot of water throughout the day – as per Good Vibes’ recommendation and as per my usual habit. It really helped me wash down the Heartbeet juice (the beet-based juice) actually!
I had juice 5 – Sunkiss – around 6pm, and it was a delight. By this time in the evening, I wasn’t actually hungry (as I thought I would be), and I was feeling energetic and awake (no coffee all day, by the way). I still had three juices to go before bedtime!
Before I grabbed juice 6 (Tiger), I had a handful of almonds. I wanted to get rid of the taste of the other juices before I went for another juice. Drew and Lloyd told me that if I was hungry, almonds or raw veggies would be good options.
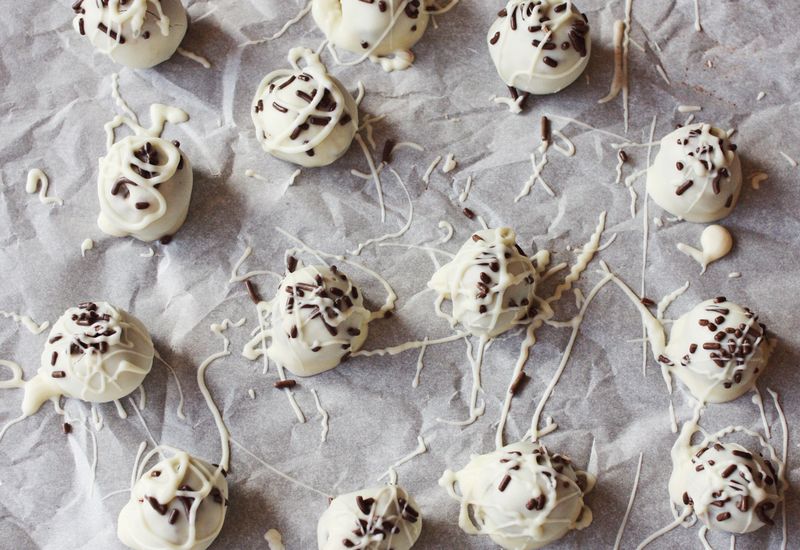
I skipped juice 7 (Envy), and I was quite excited for juice 8 (Cocoagood), which is made up of almond milk, maple syrup, and cocoa. Yum! I was excited for my “reward” at the end of the day, but I ended up only drinking half of it. I wasn’t hungry. This was certainly unexpected!
Day 2
I thought I would wake up starving, but I didn’t! The first two juices (Lemonade and Eby Apple) went down easily on day 2. The third (The Cool) was easier to drink on day 2 than it was on day 1. I struggled through the rest of my beet juice from day 1, and I ended up giving away my two unused Heartbeet juices to friends who appreciated the flavour much more than me!
Again – I wasn’t so hungry during the day, which surprised me. I did have another handful of almonds around 2pm. And I drank a lot of water throughout the day.
After work, I came home for the Sunkiss, then followed it with a bit of the Tiger (a carrot-based juice). Like on Day 1, I couldn’t actually finish all of the Tiger. I guess my taste buds are not so used to these flavours!
Again, I was really looking forward to the “reward” drink at the end of the evening. I definitely liked the sweeter drinks more than the healthier ones! Good Vibes provides the nutritional information online, and I discovered that my favourite drinks were the ones that were higher in sugar. Go figure.
Day 3
Last day! Hooray! The end is in sight! The cleanse has been doable even if I’m complaining about the taste of some of the juices.
My day was similar to day 2. I had a few almonds mid-day, and I made it through about 6 of the juices again…leaving out Heartbeet and Envy. I know that by skipping juices, I missed out on some of the nutrients, but I accepted this. I wasn’t hungry, and I was feeling energetic throughout the day.
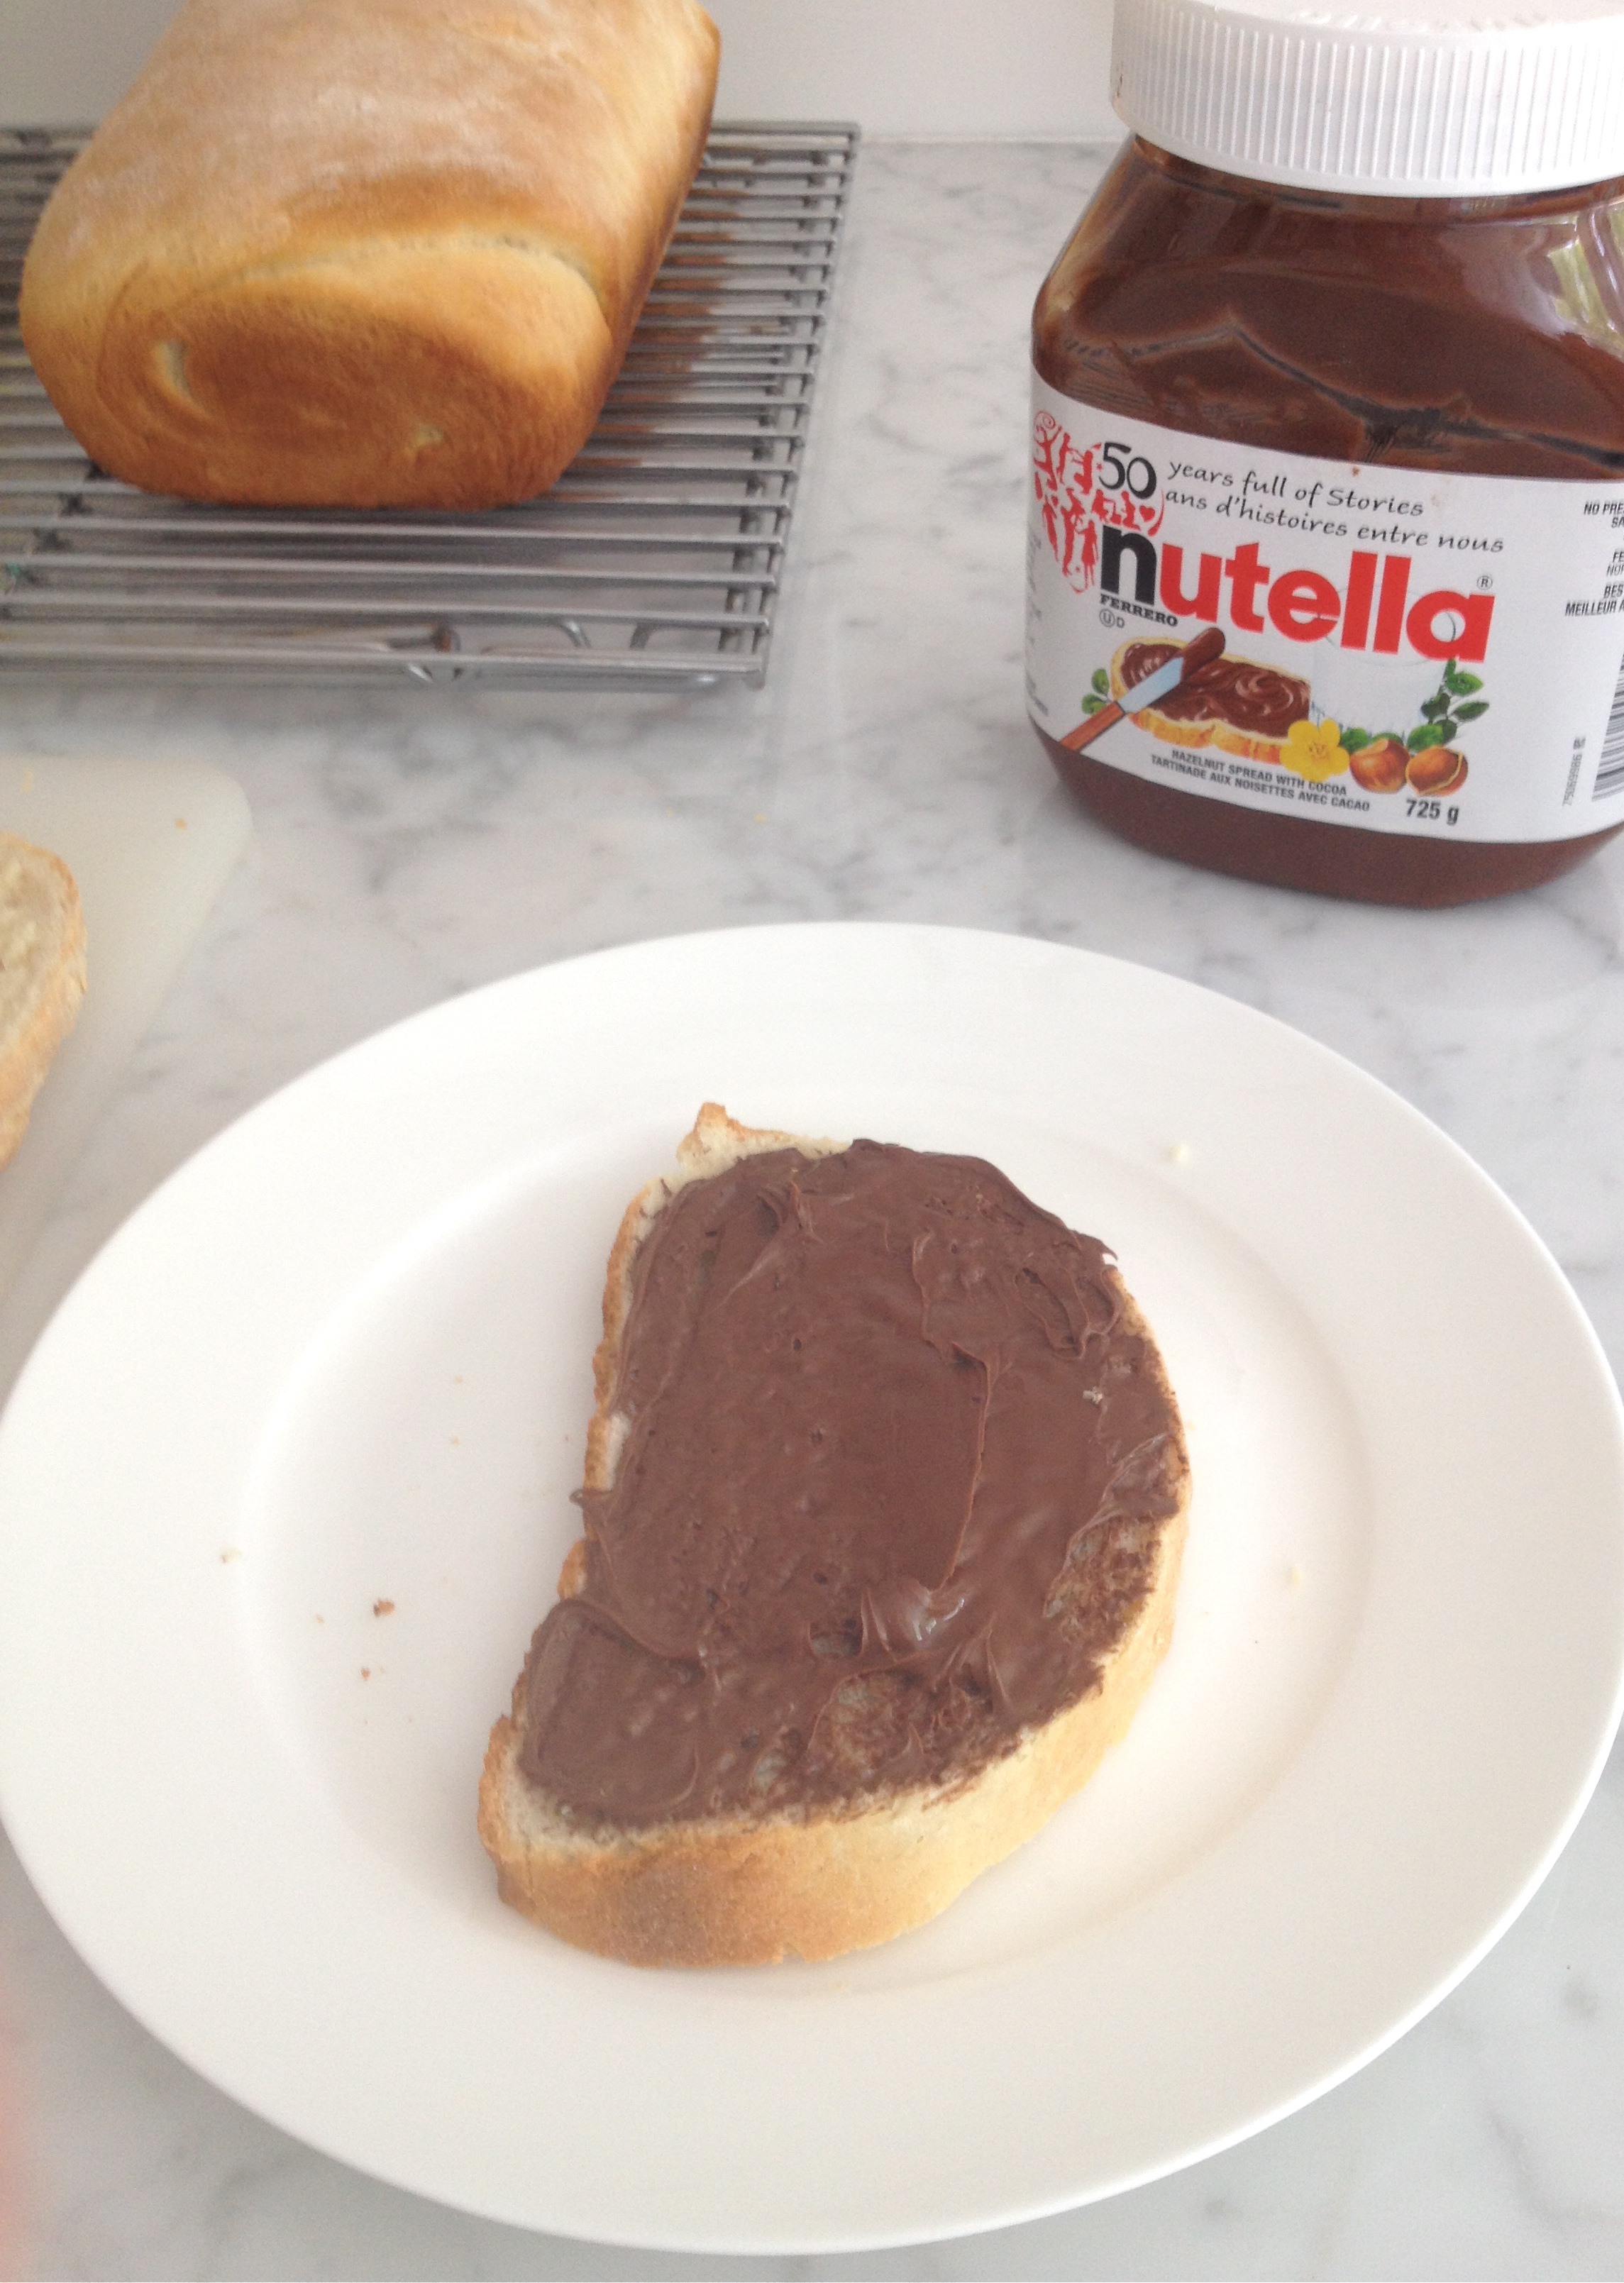
I enjoyed my last drink – Cocoagood – around 8pm on day 3, and I felt great. While I wasn’t craving any of my usual favourite foods (pasta! pizza! Nutella!), I was looking forward to a nice latte the following morning!
Would I do a cleanse again? Yes.
I would do a 1-day or 3-day cleanse easily once or twice a year. Maybe even 4 times a year to go with the change of seasons. More than that – I’m not sure. The timing of this cleanse was perfect considering my work/life schedule, and I think that this helped me stay focused.
Would I recommend Good Vibes Juice Co.? Yes.
The opening hours of the store is convenient for me. This honestly made my decision an easy one. Beyond this and the gorgeous packaging, I appreciate all the ingredient and nutritional info that is provided online about the juices.
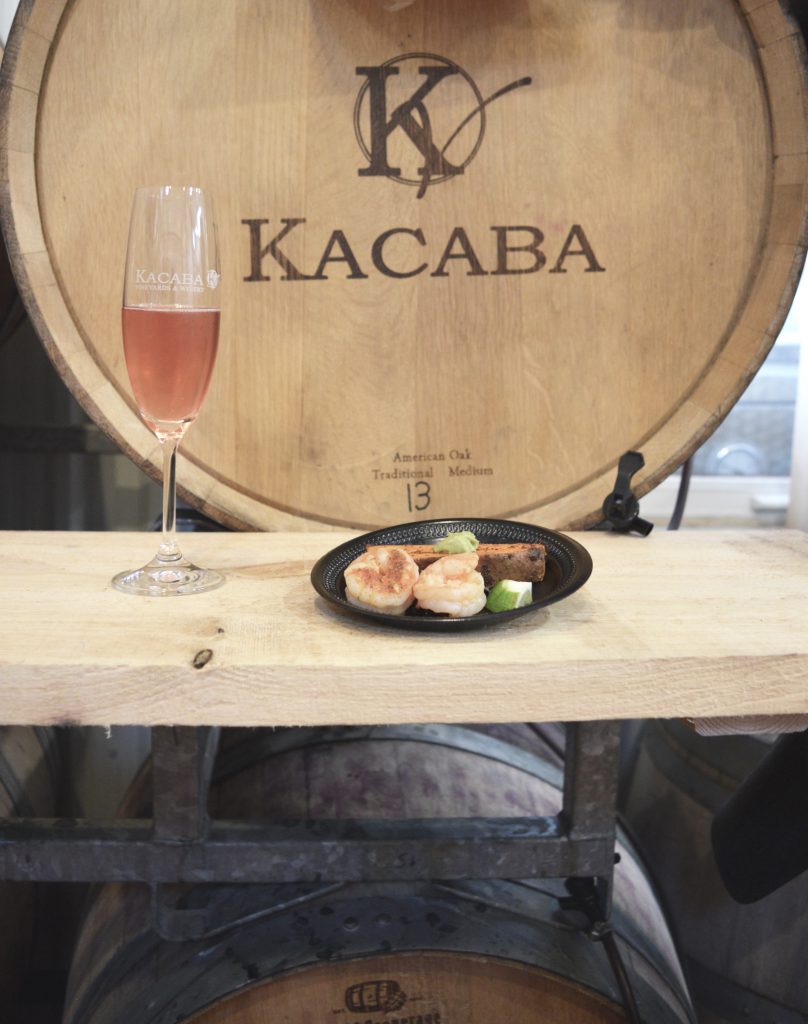
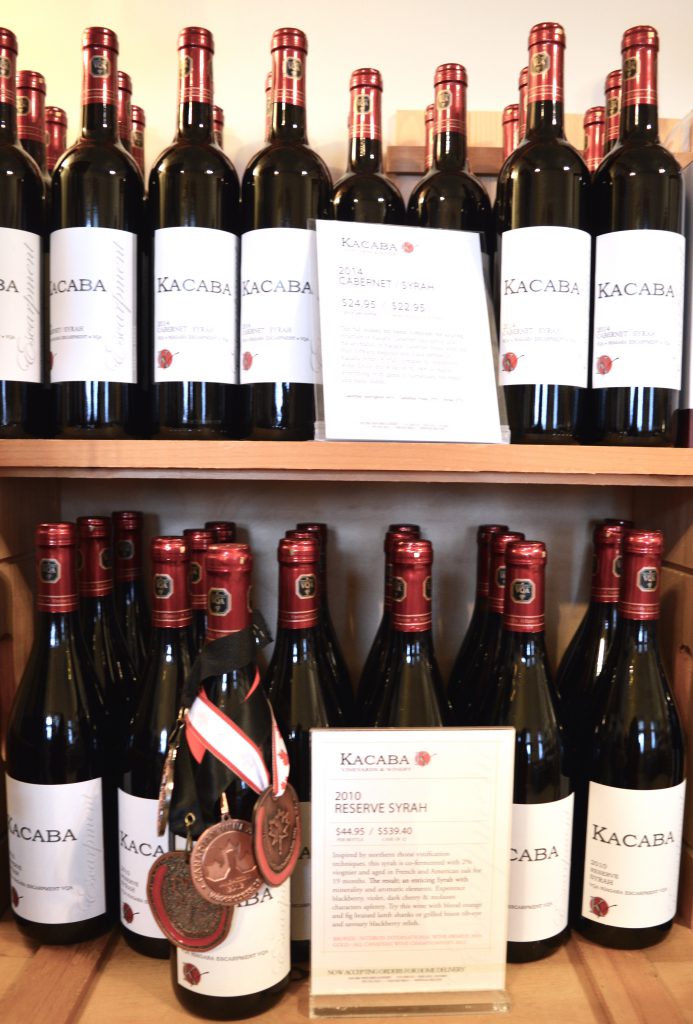
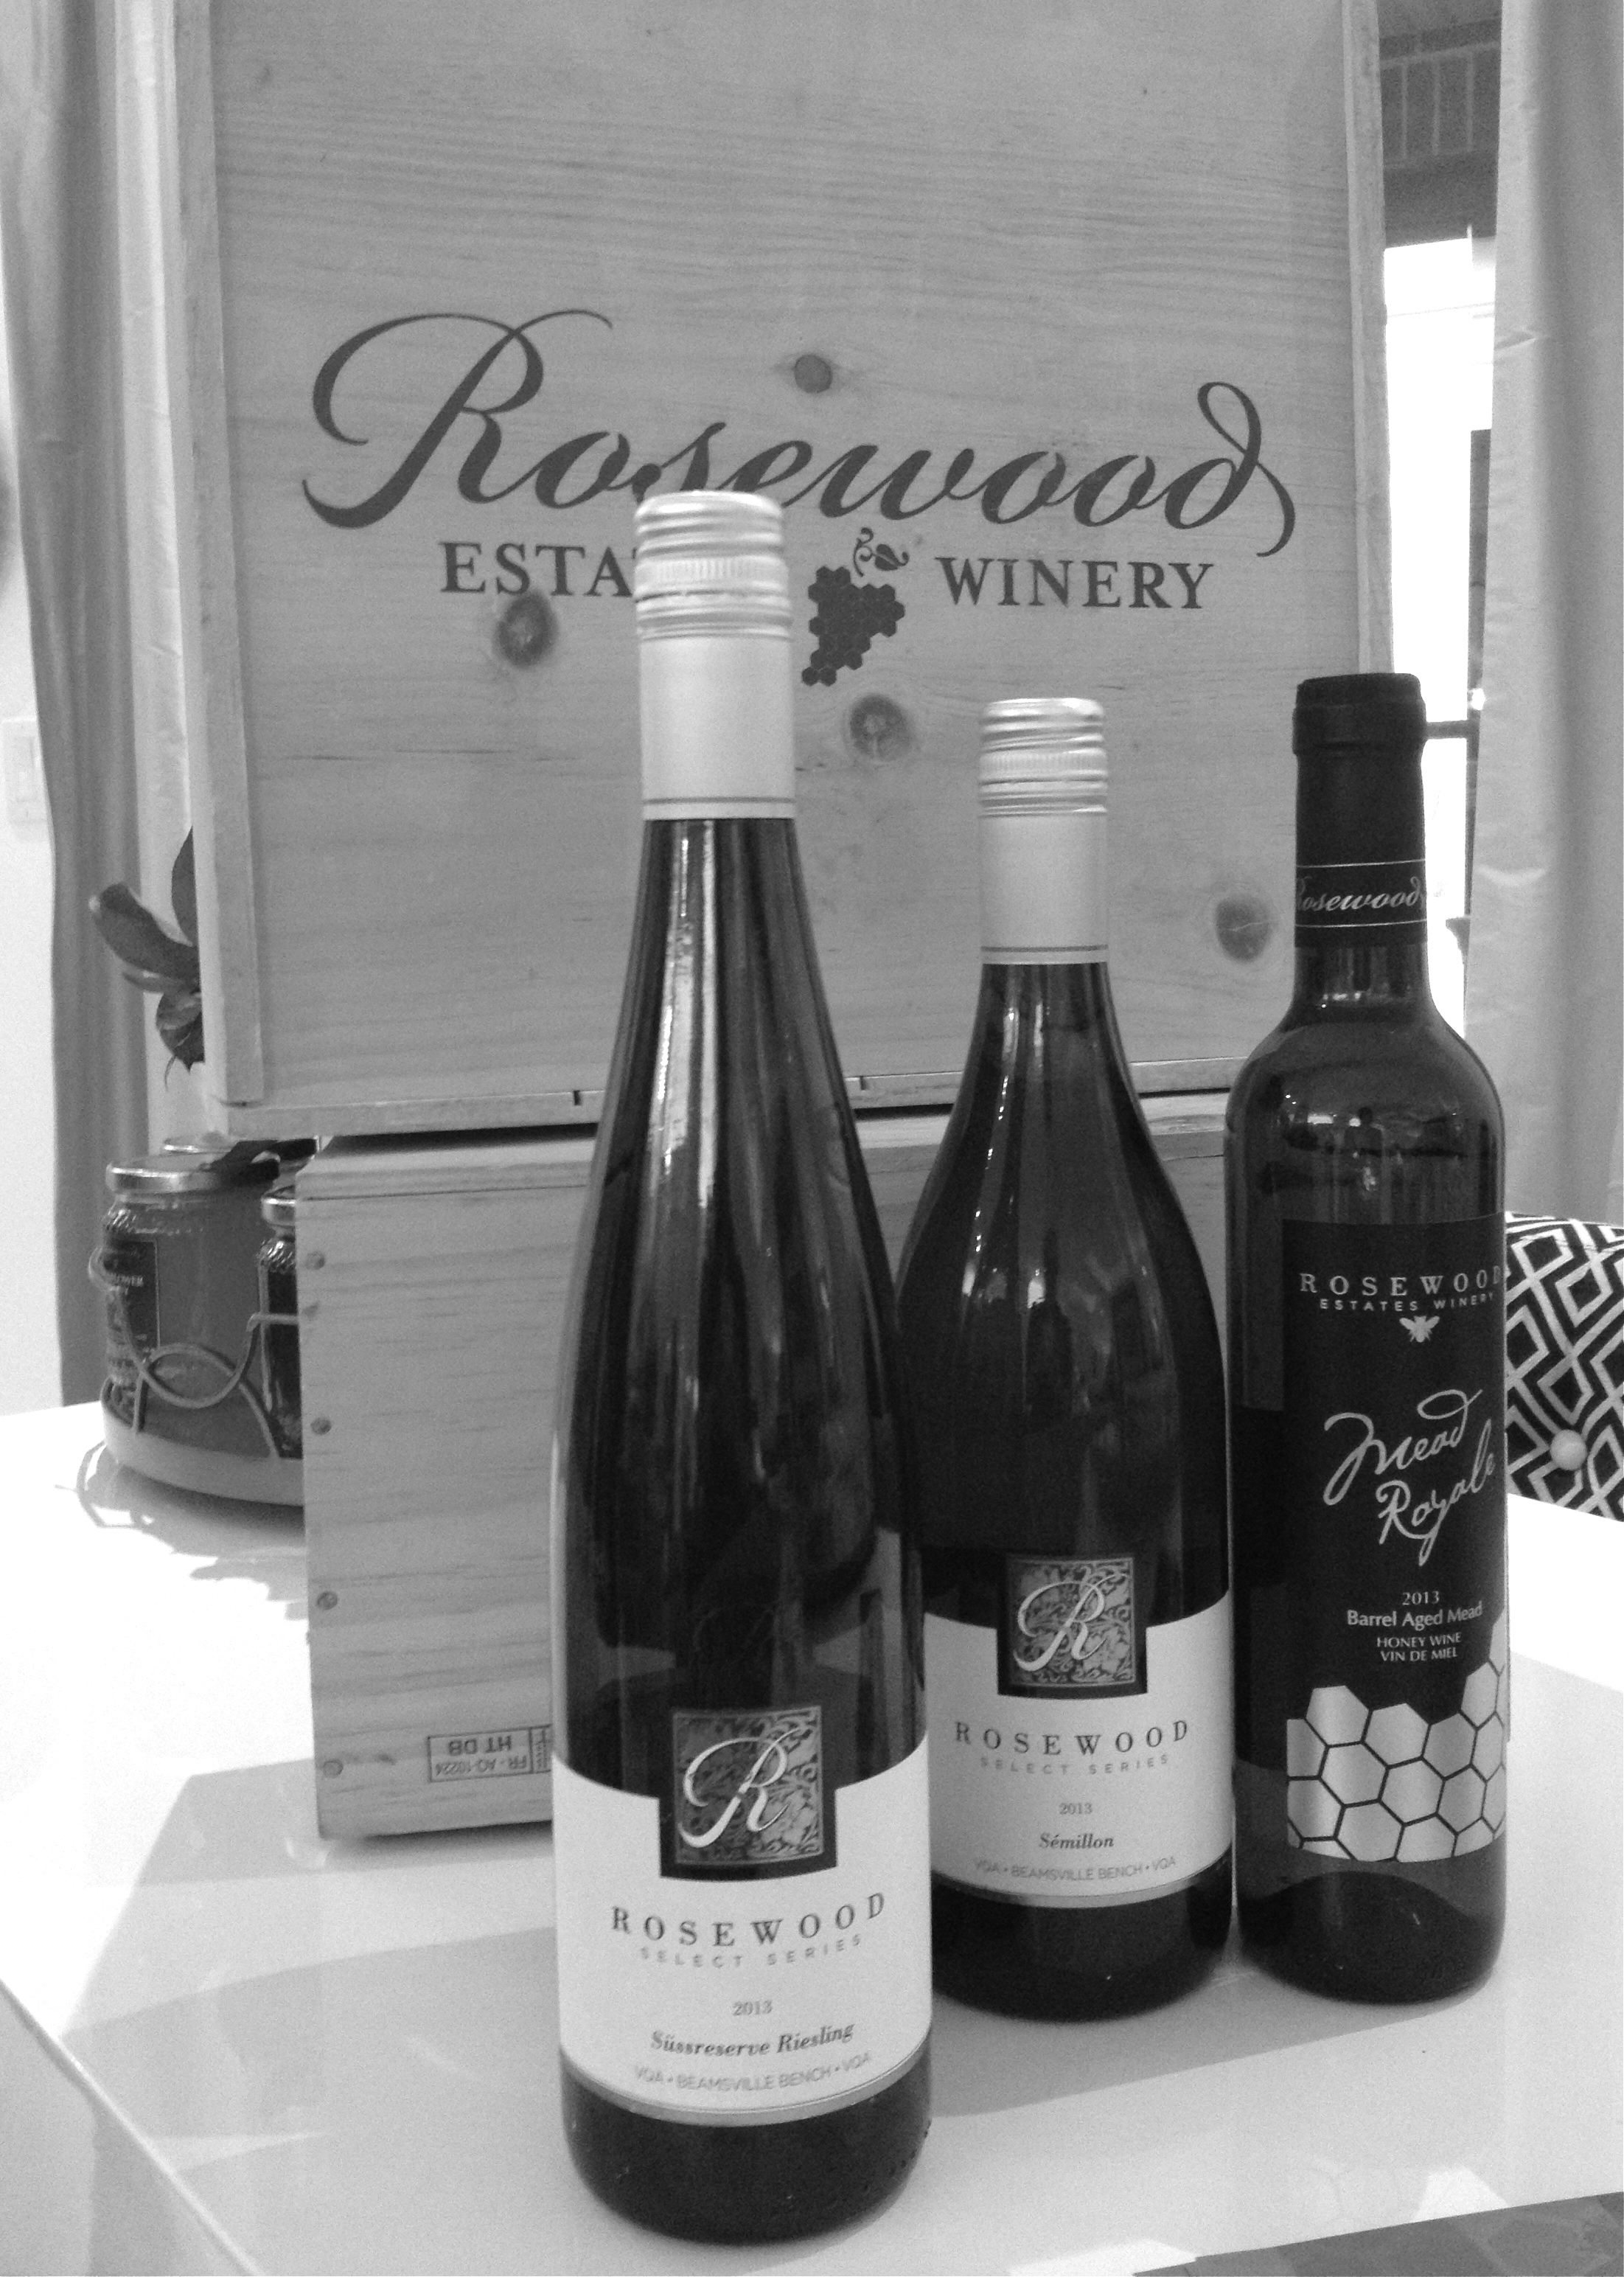
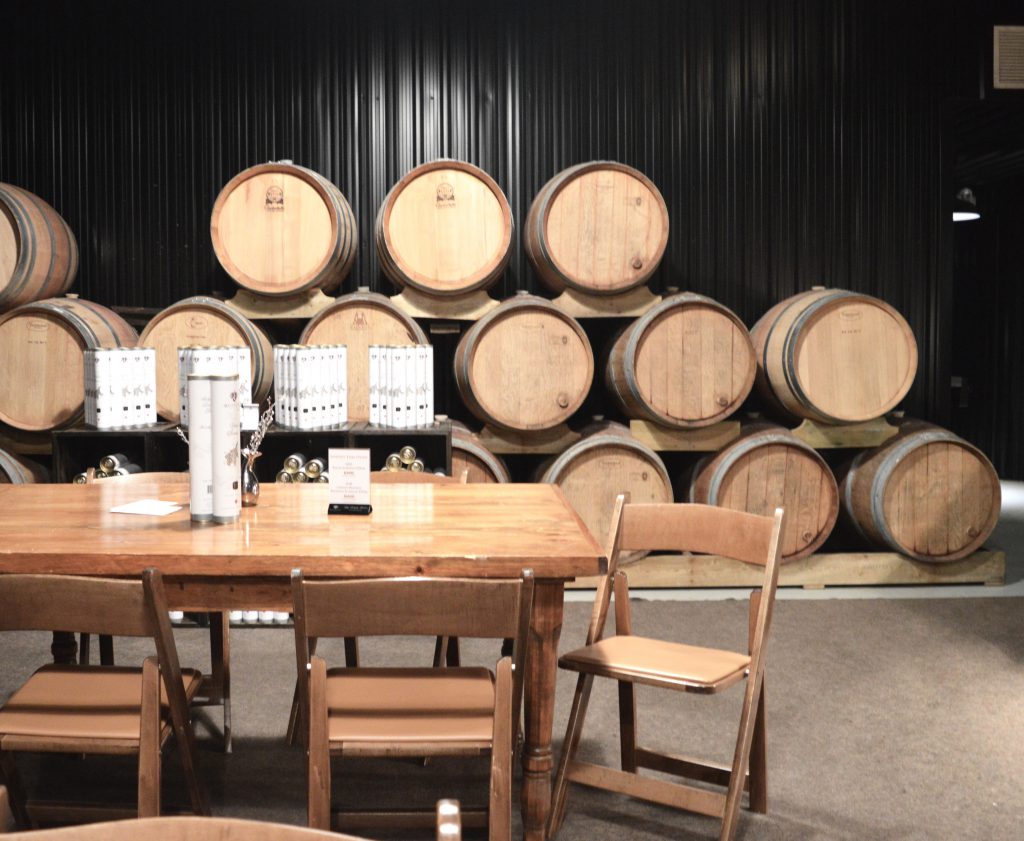
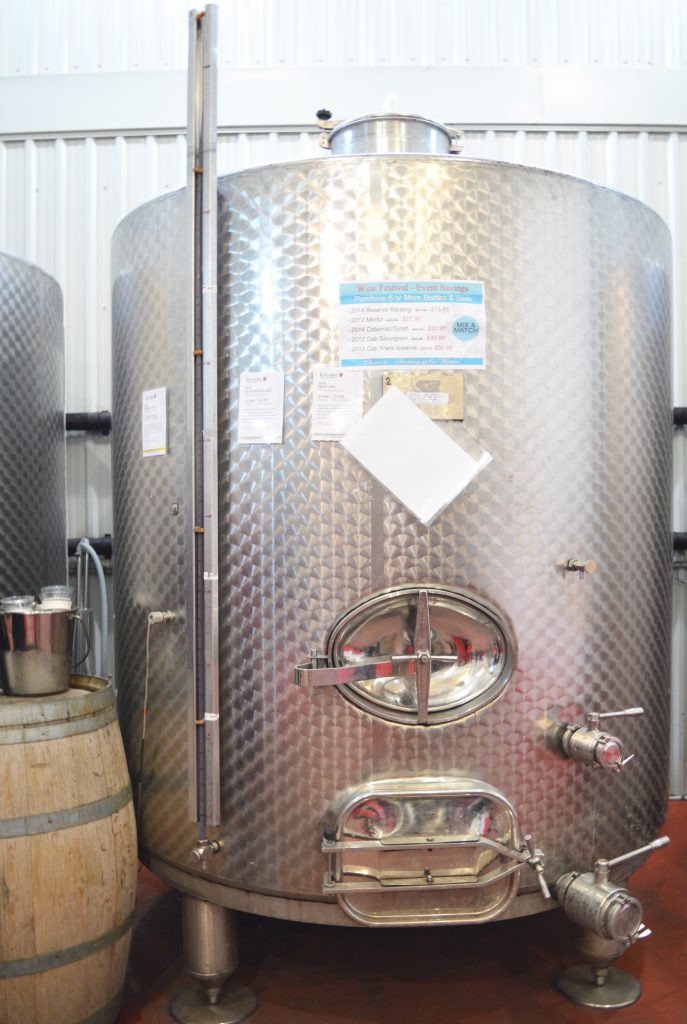 From Kacaba, we headed to

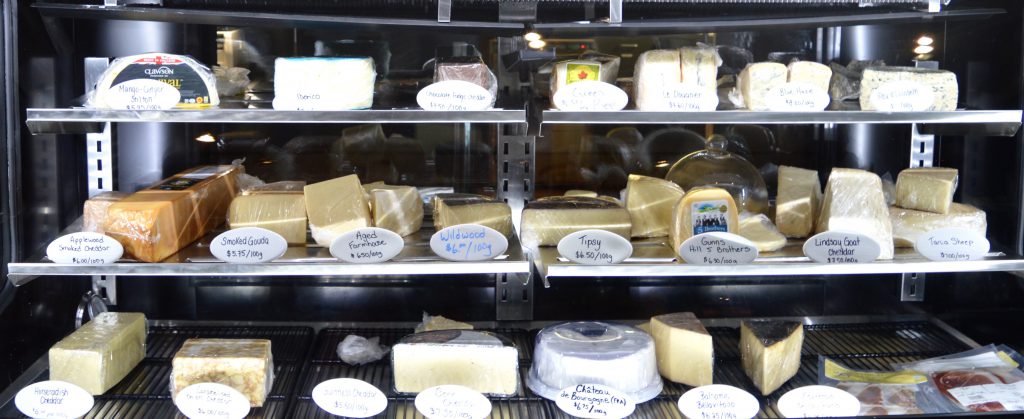
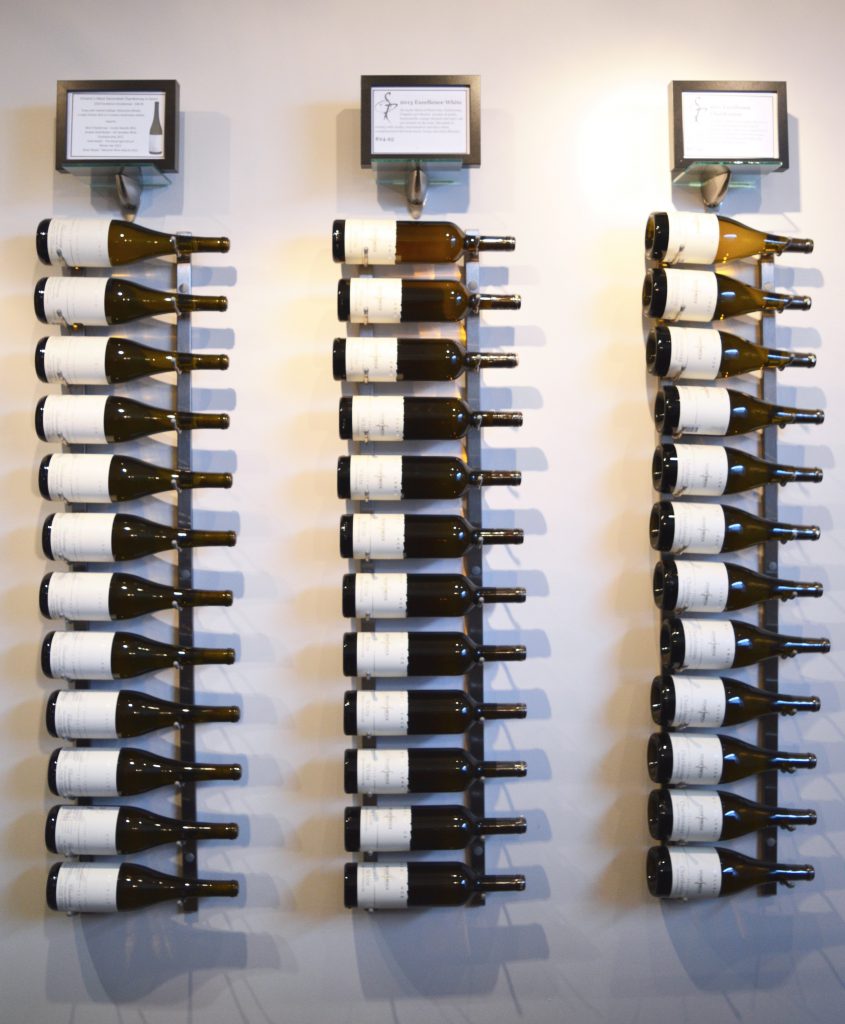


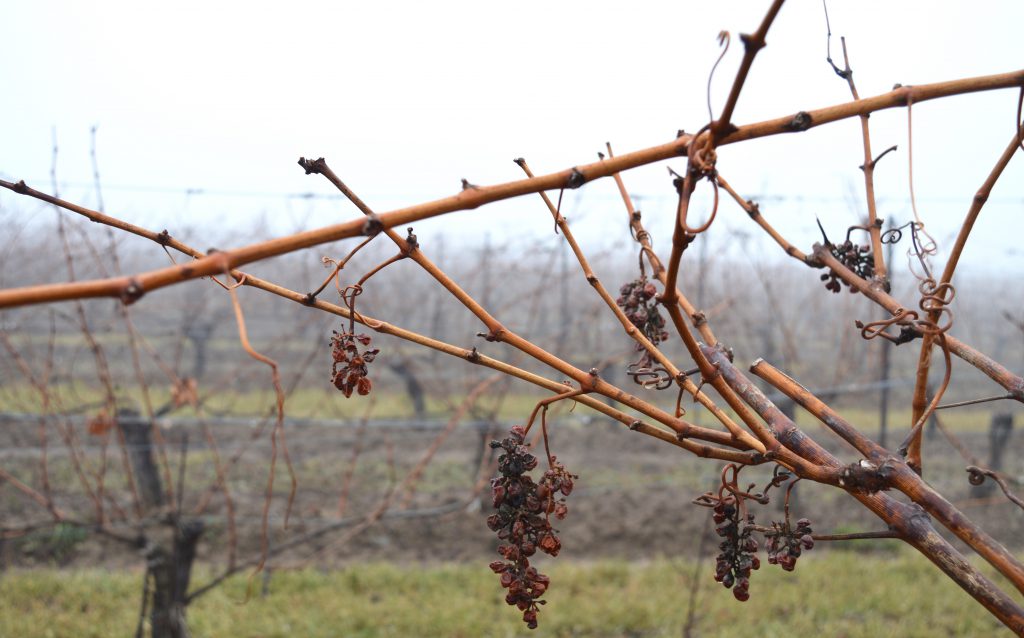
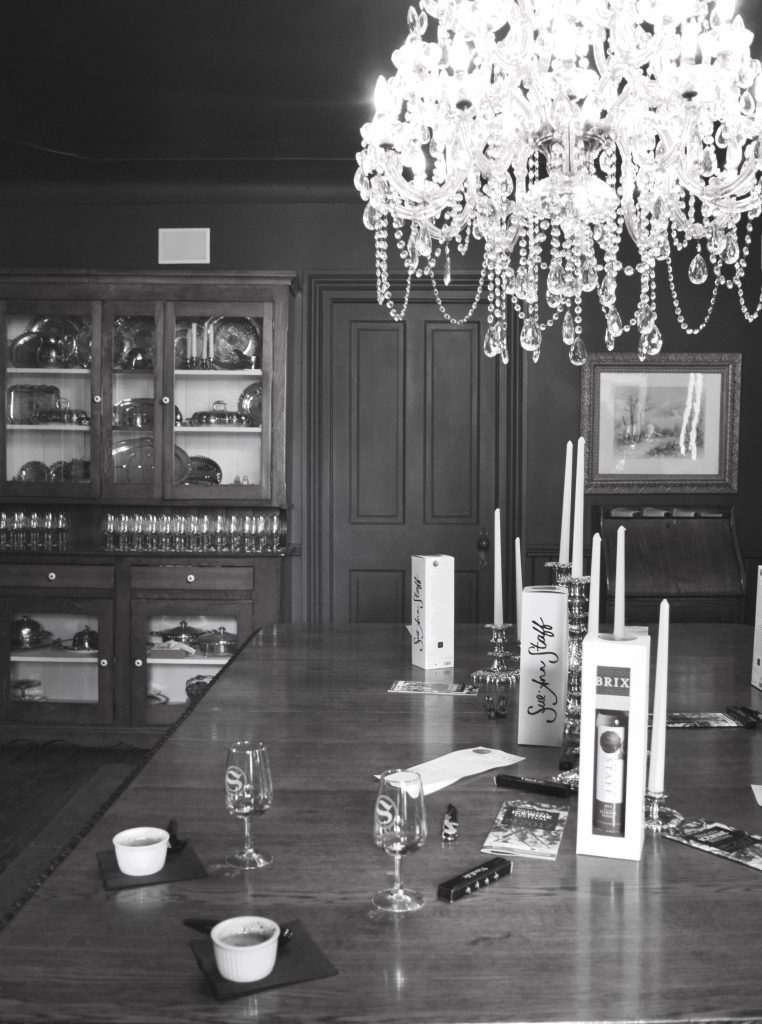
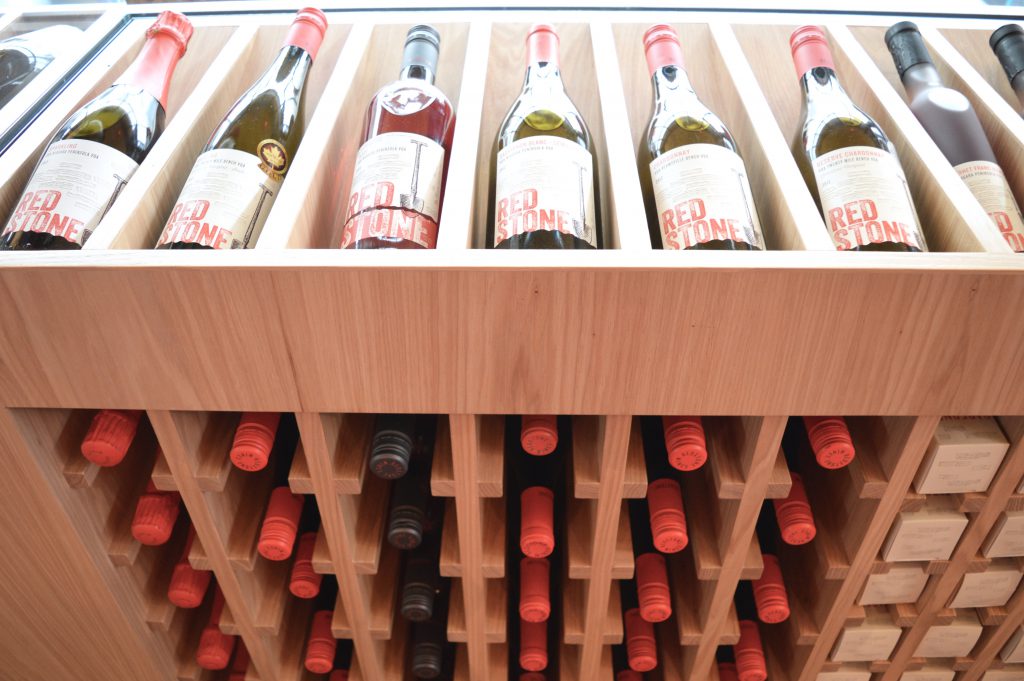
 We made another stop at
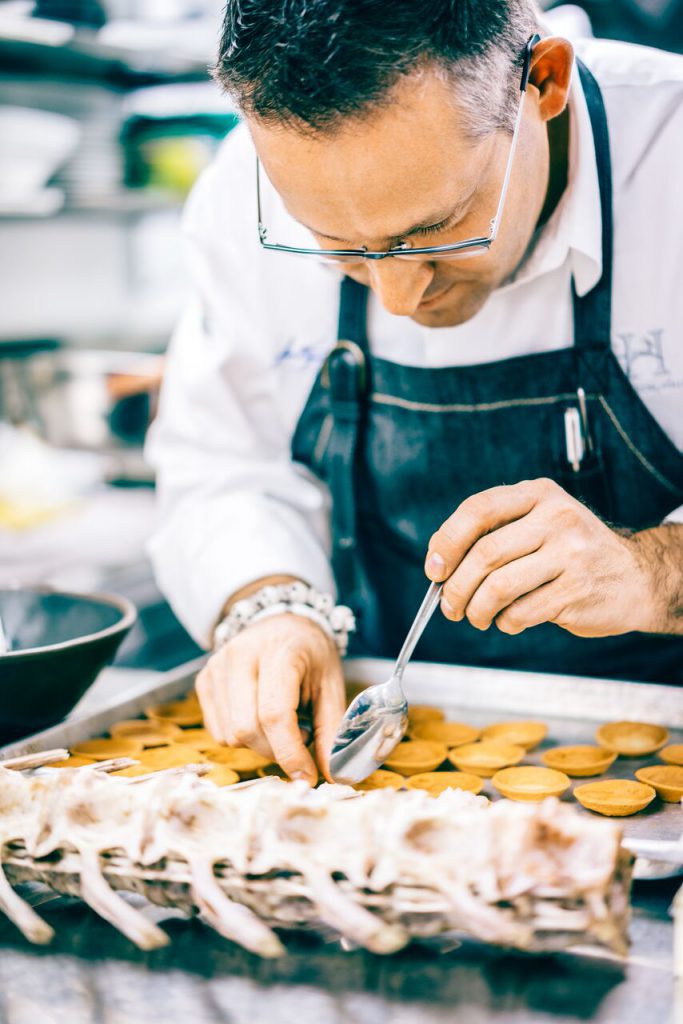
 So after these stops in the area of Vineland, we headed to Niagara-on-the-Lake for a hearty lunch before our next tour.


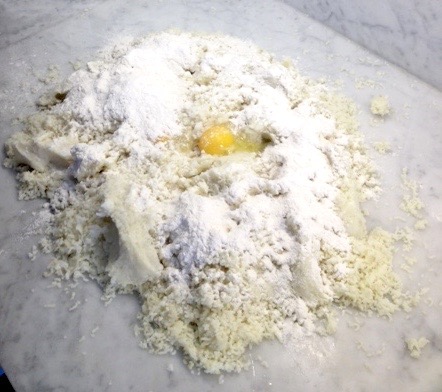


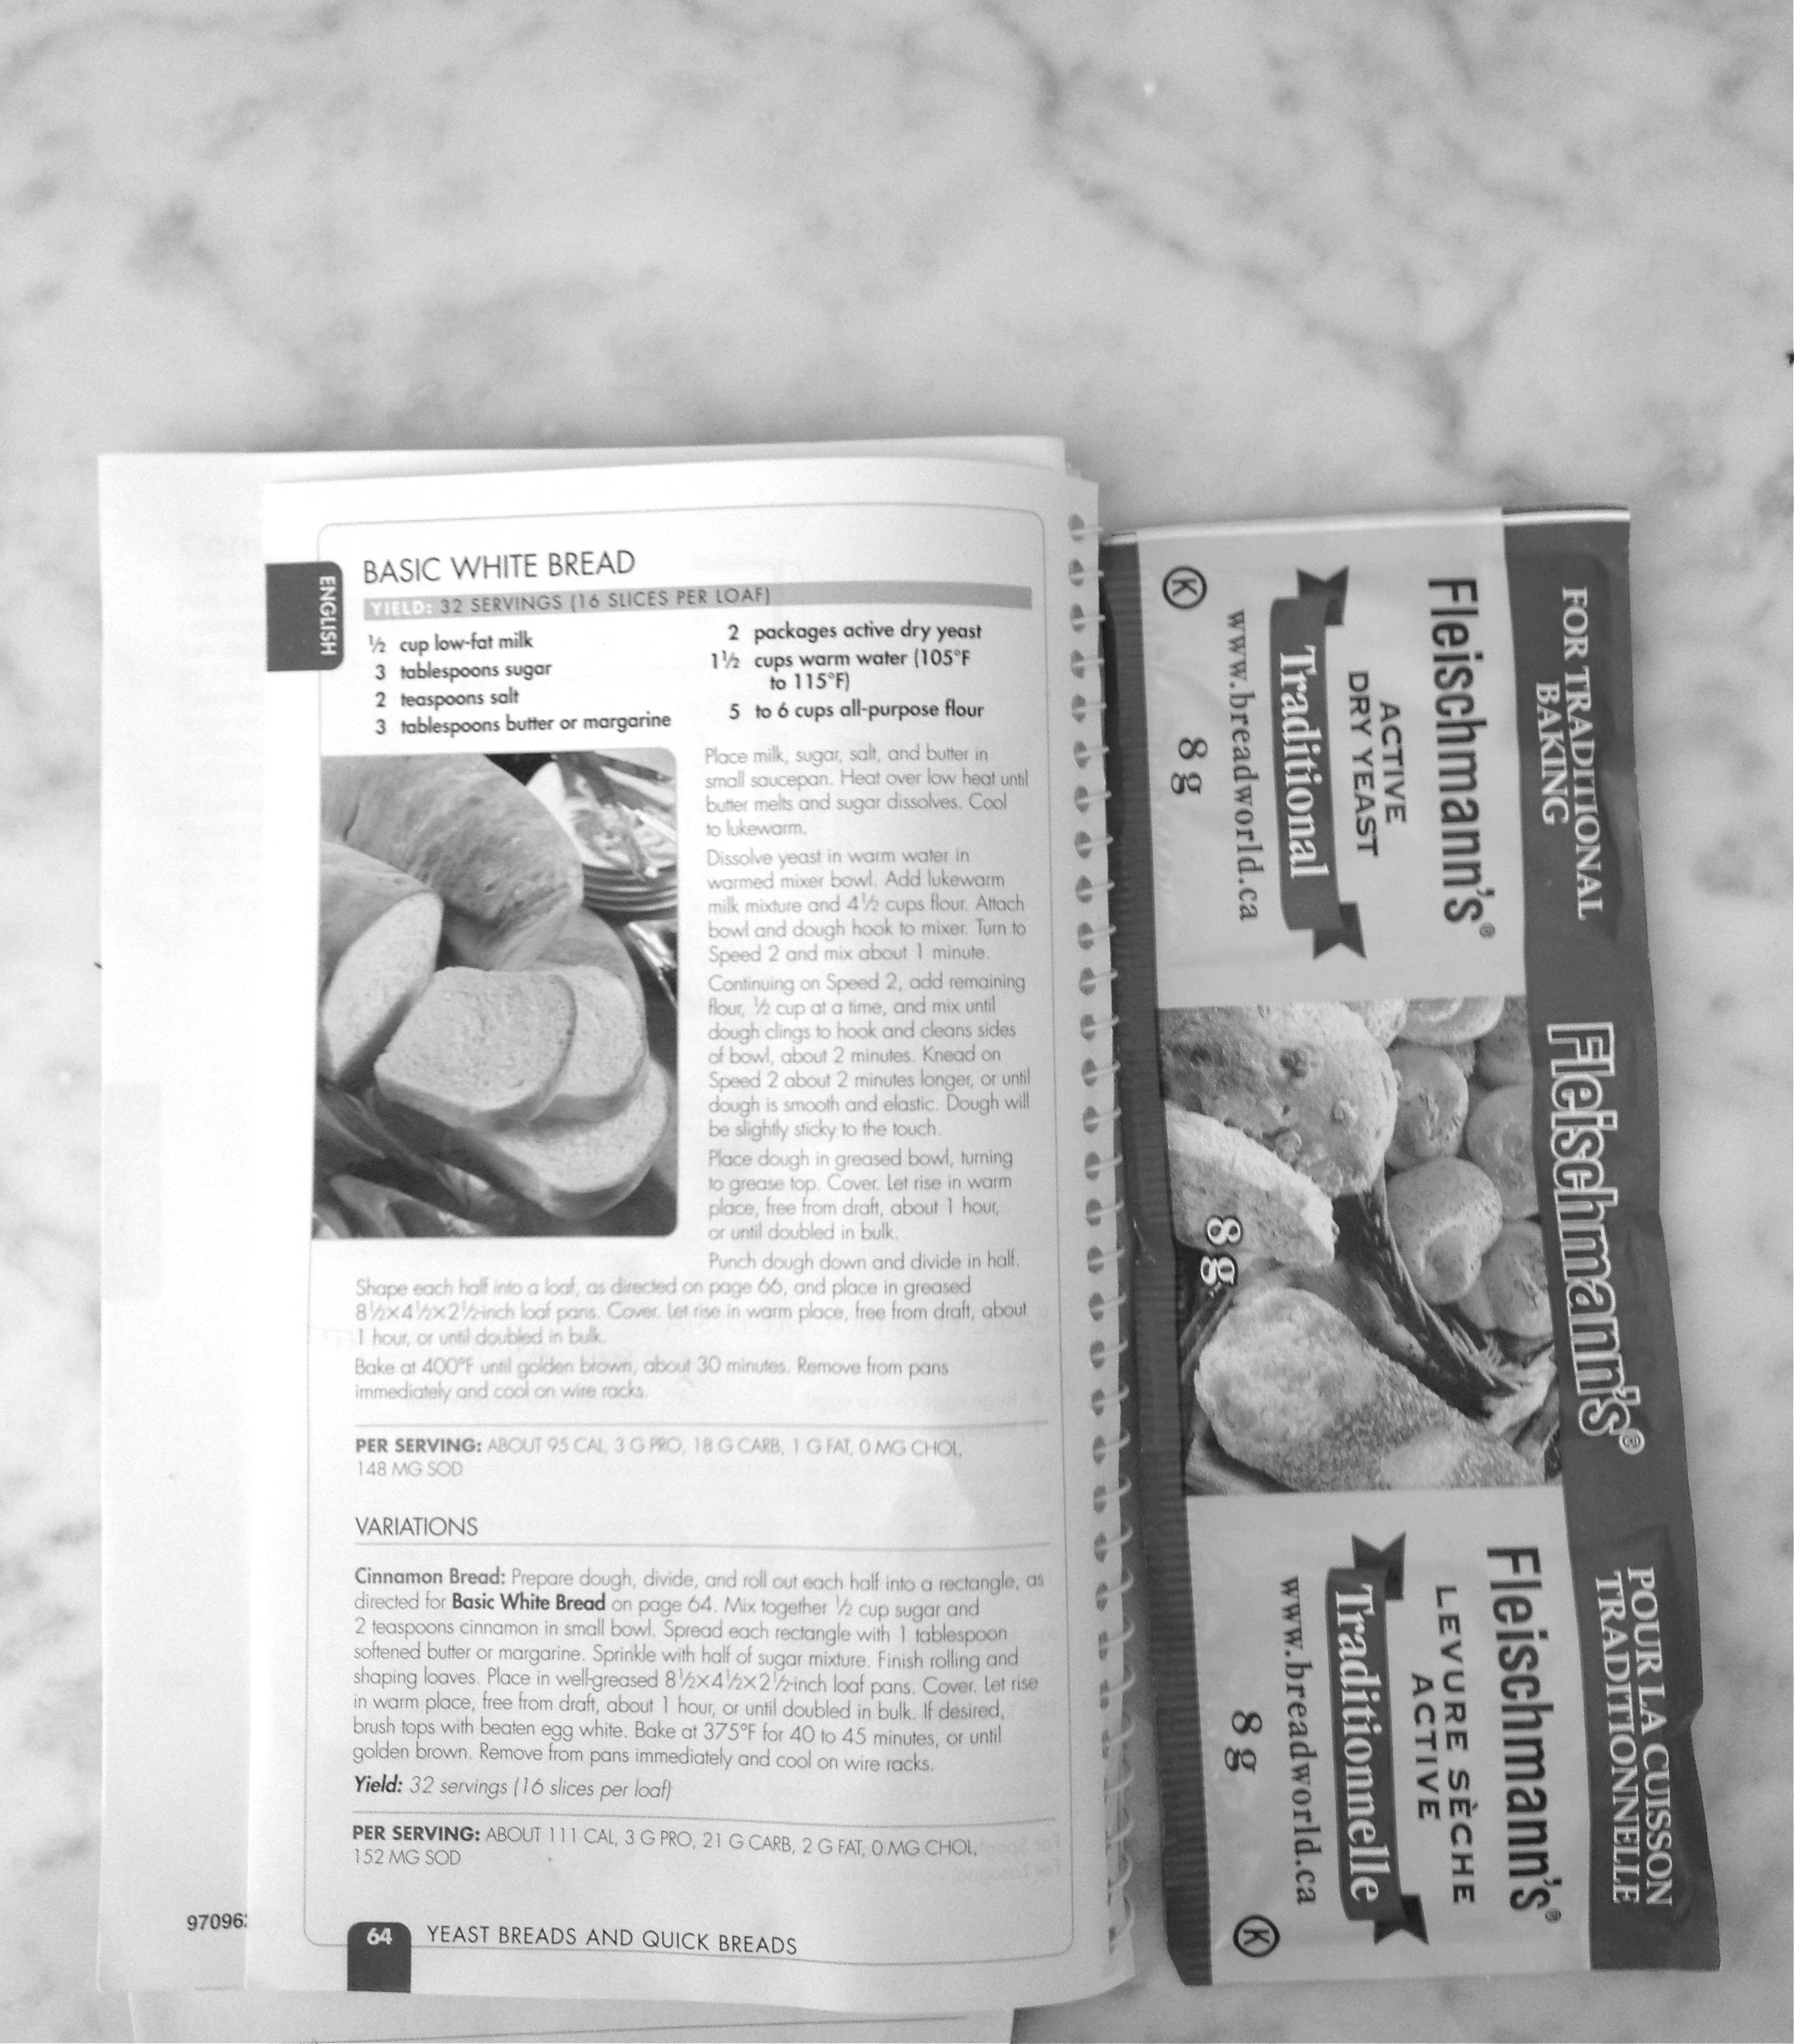


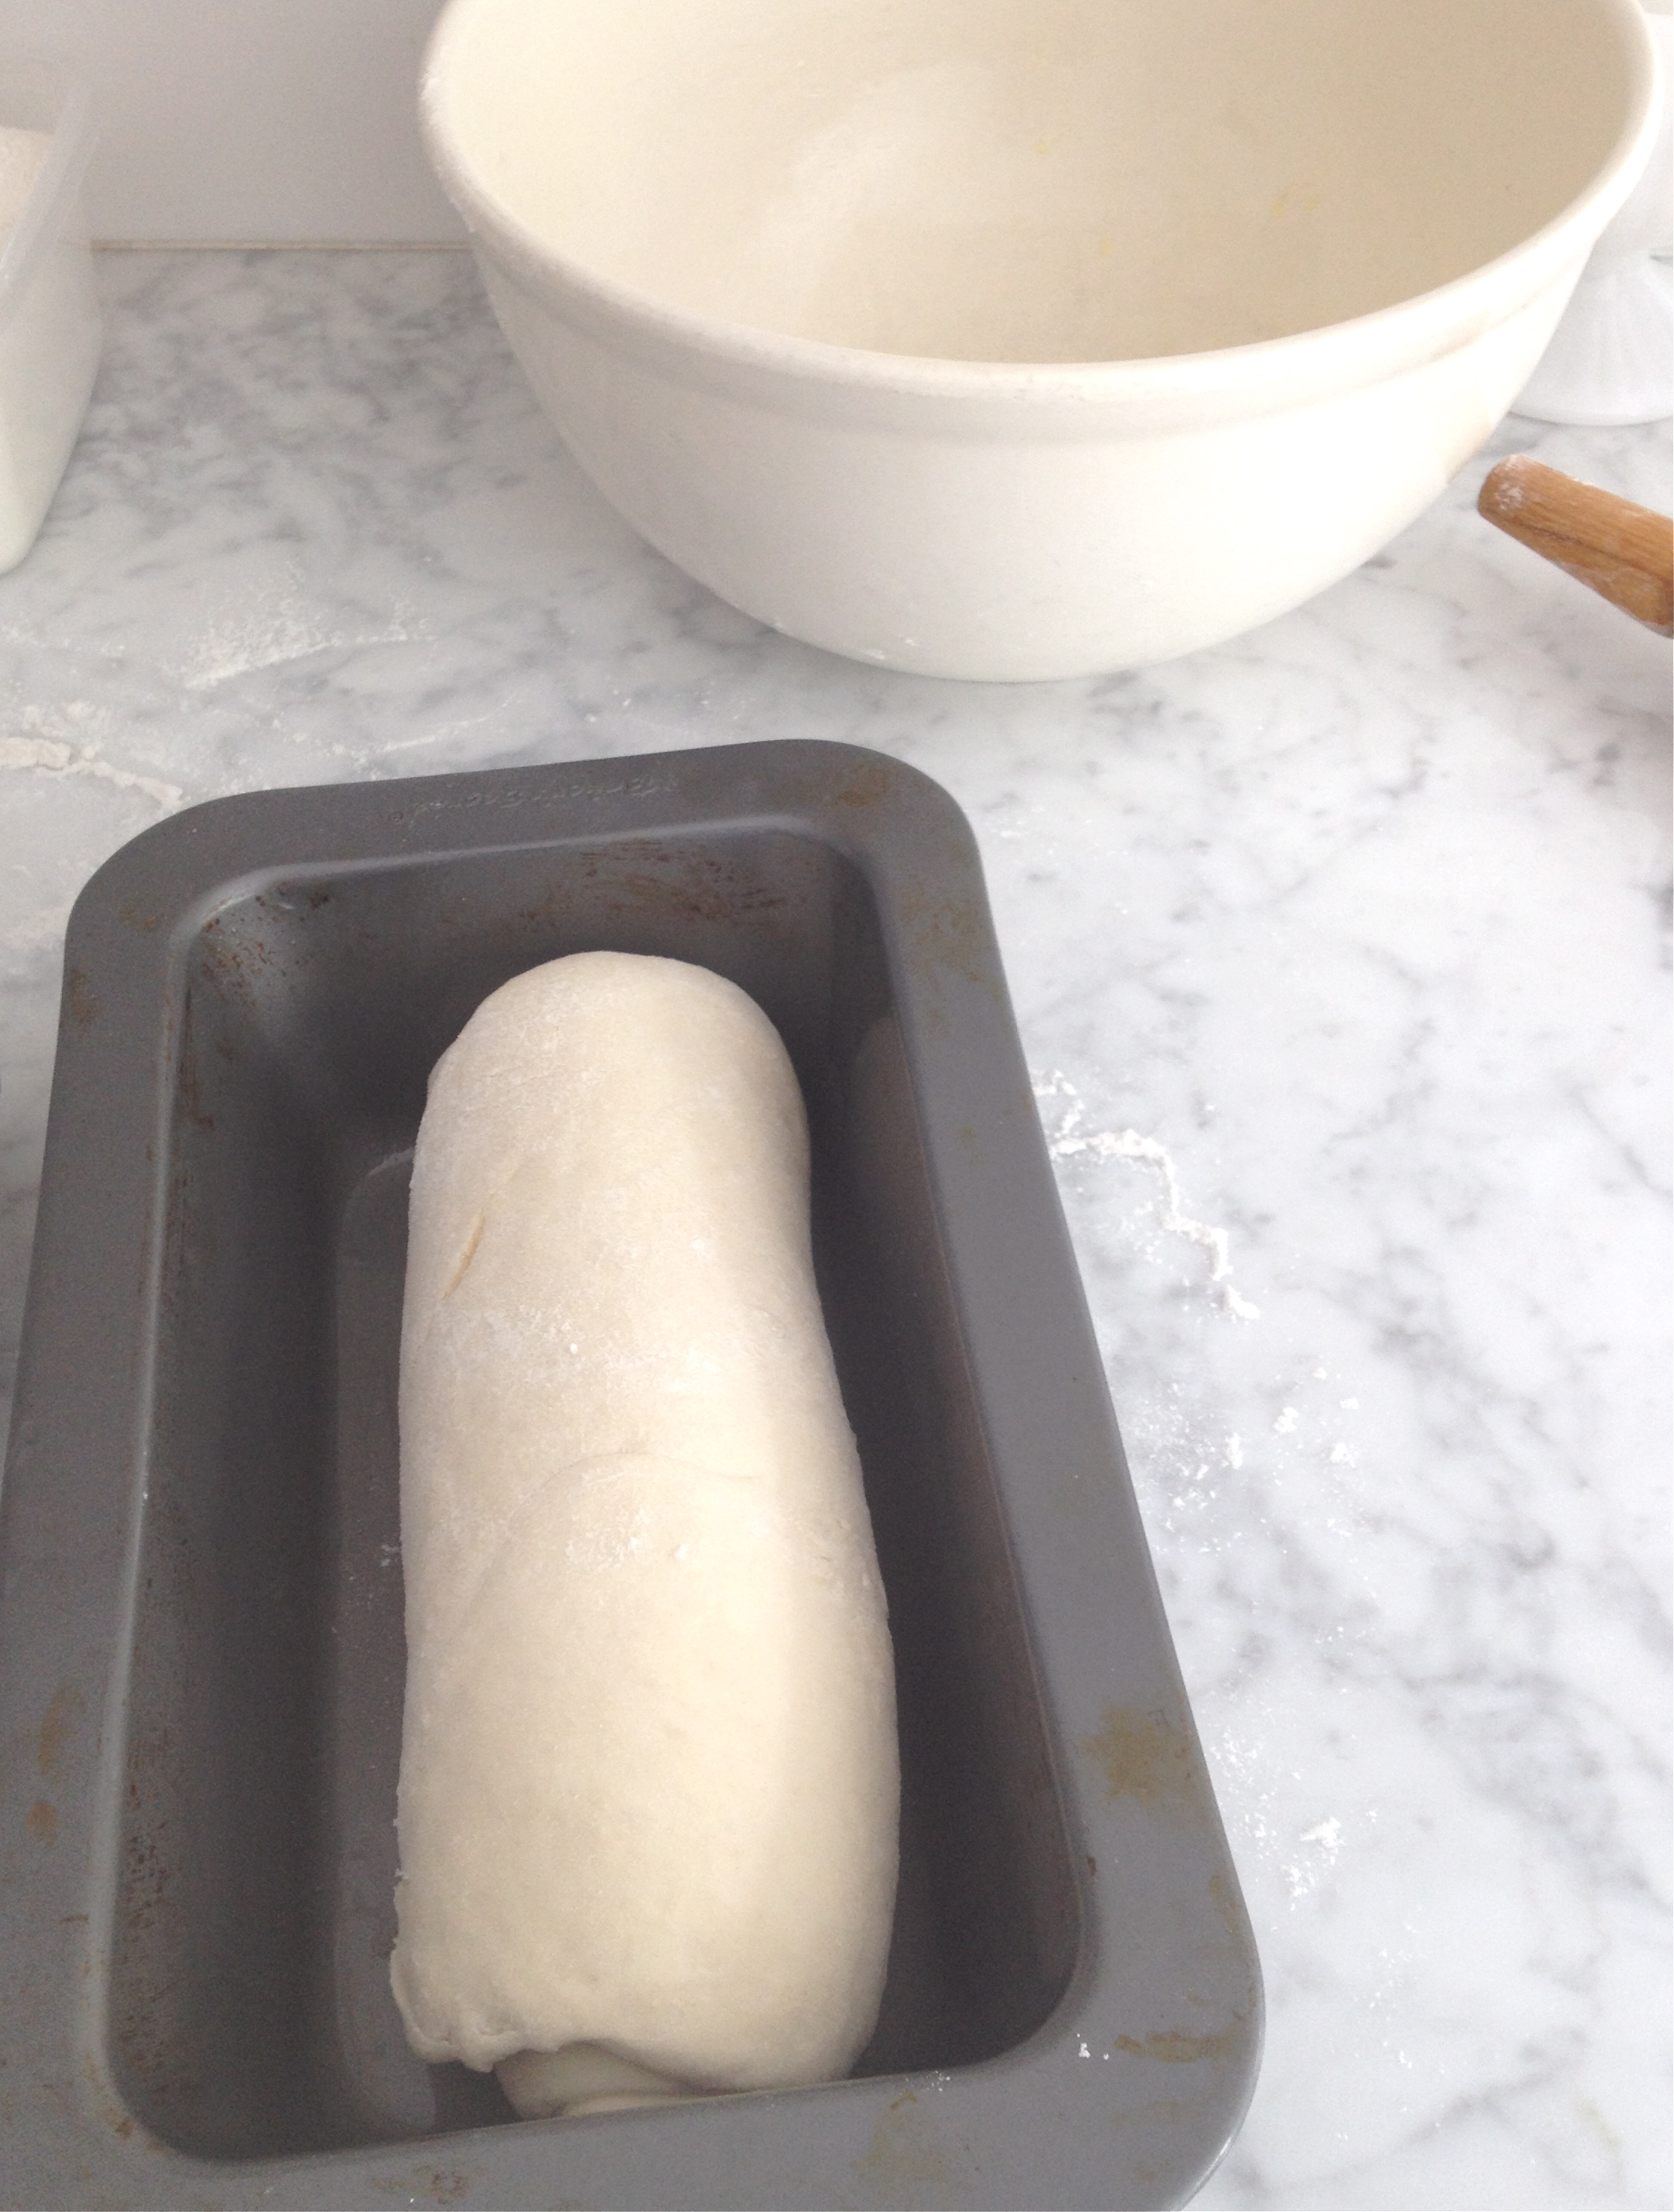
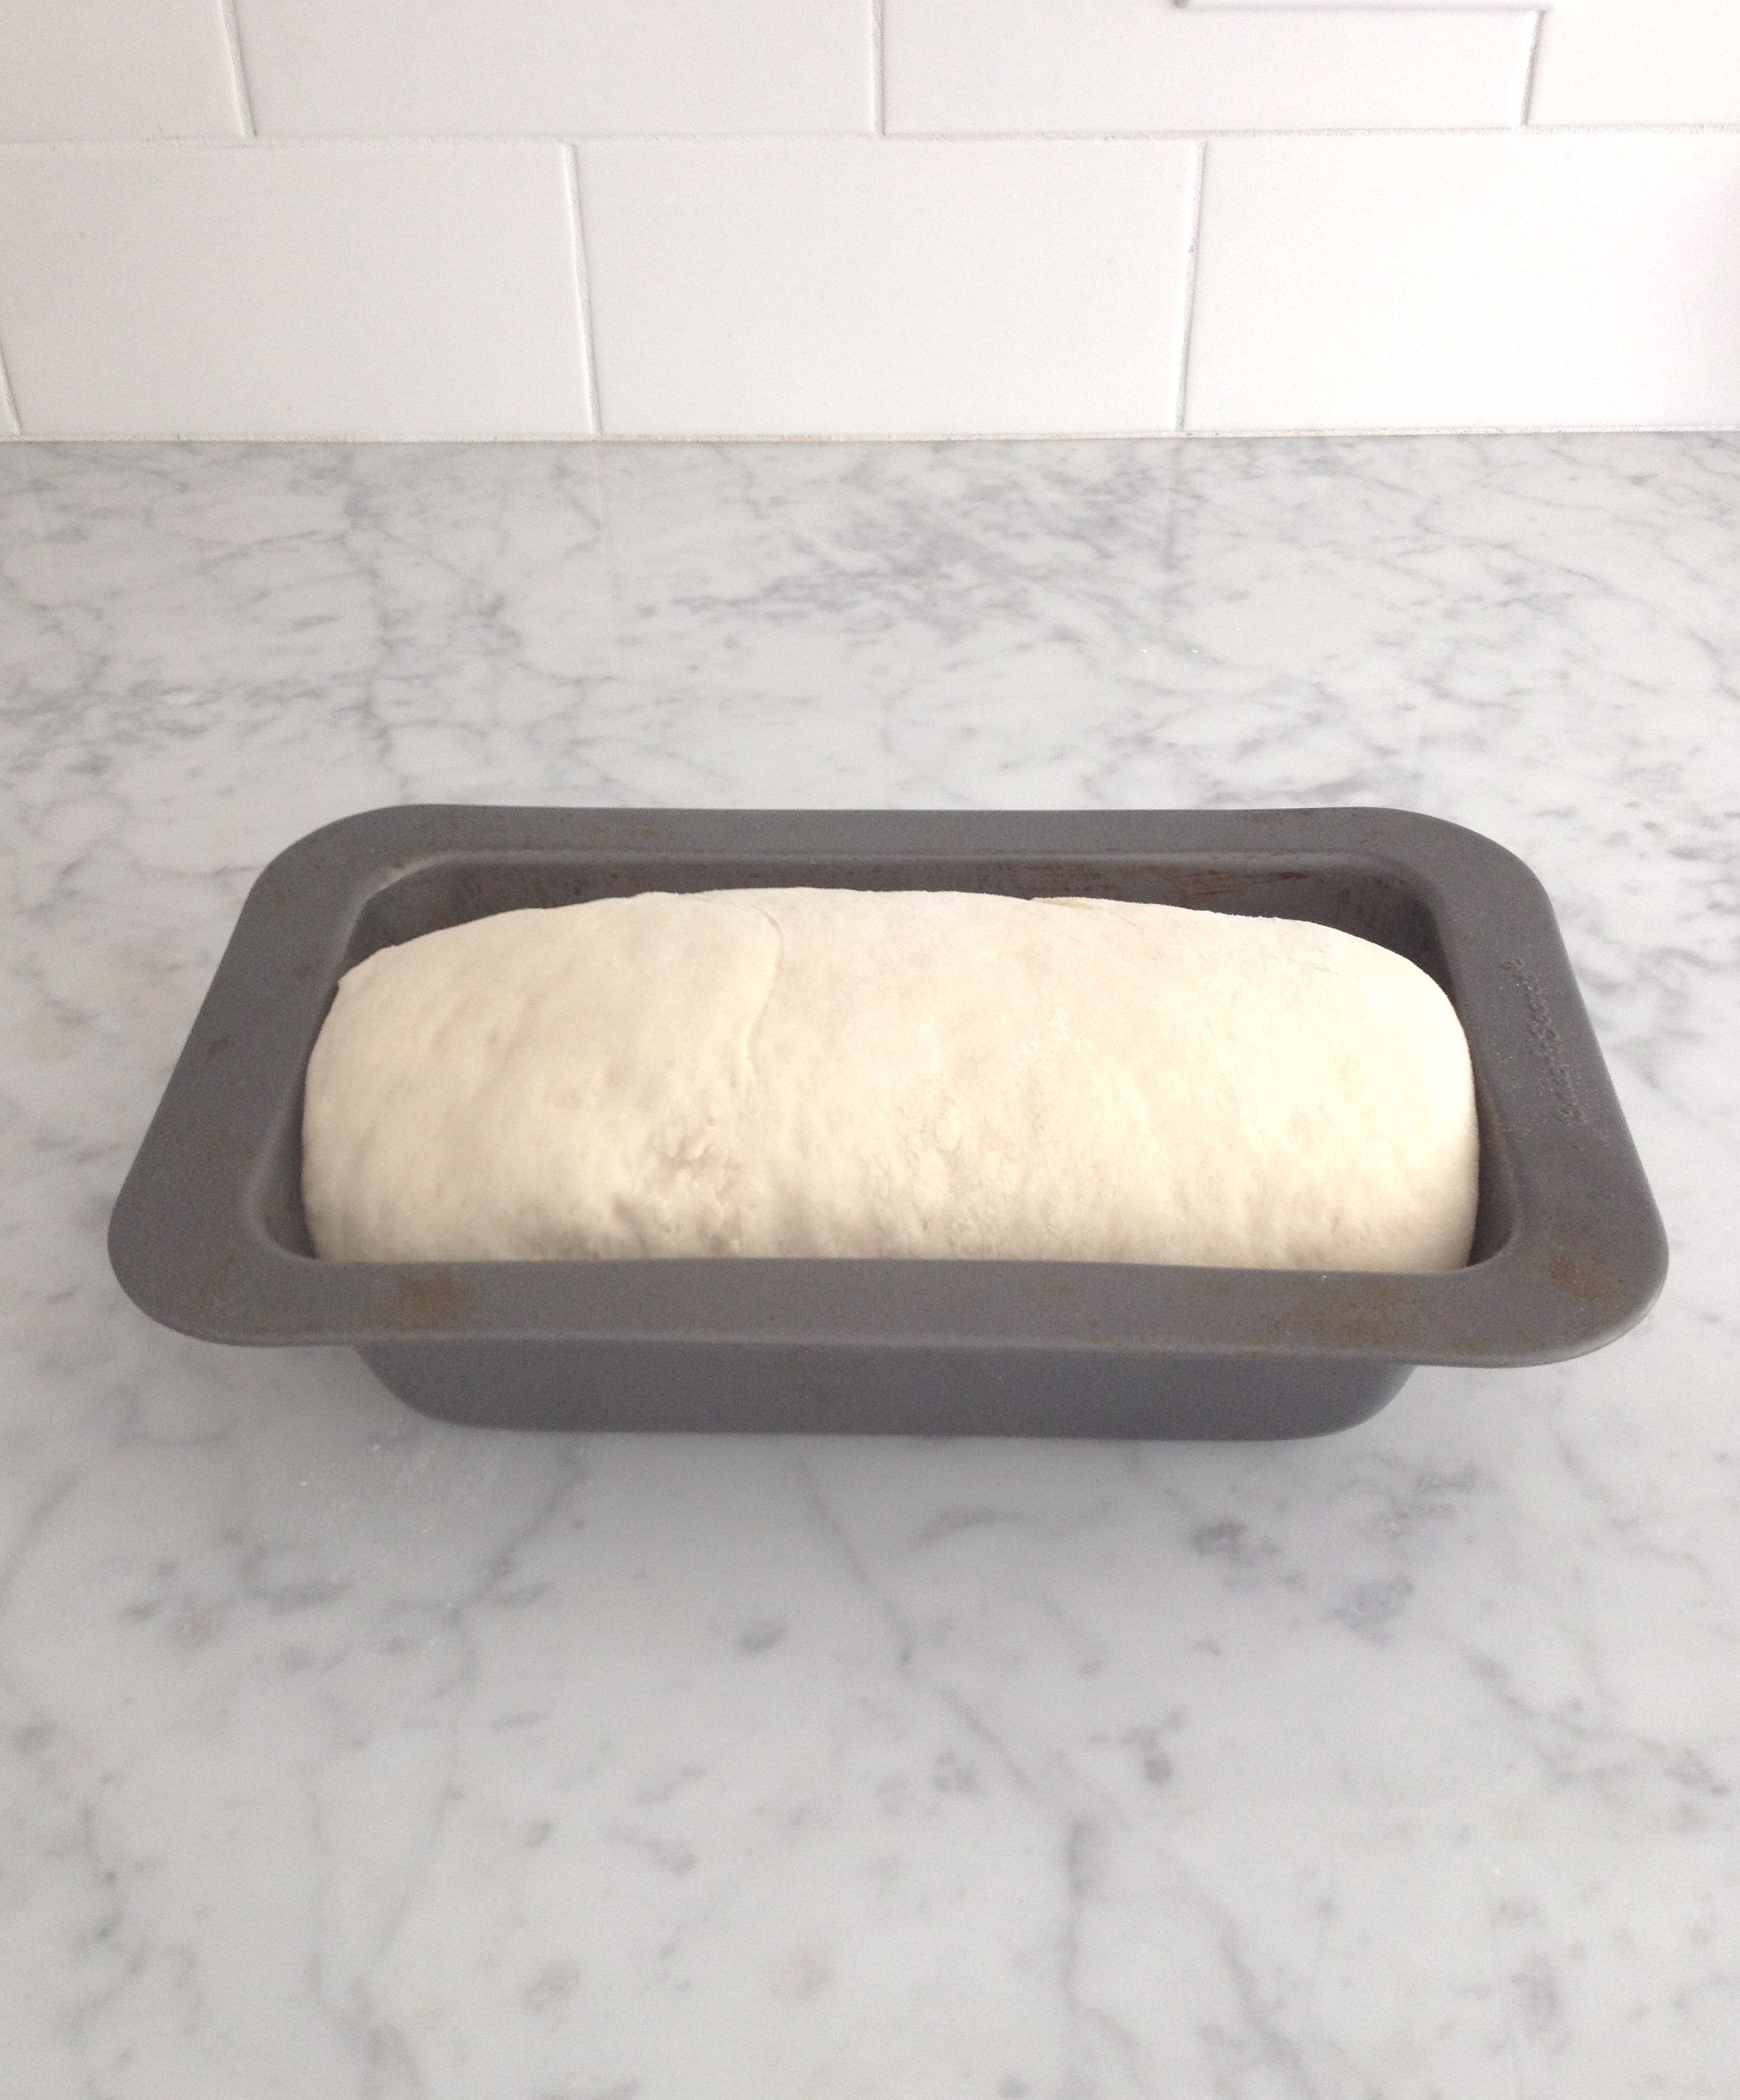
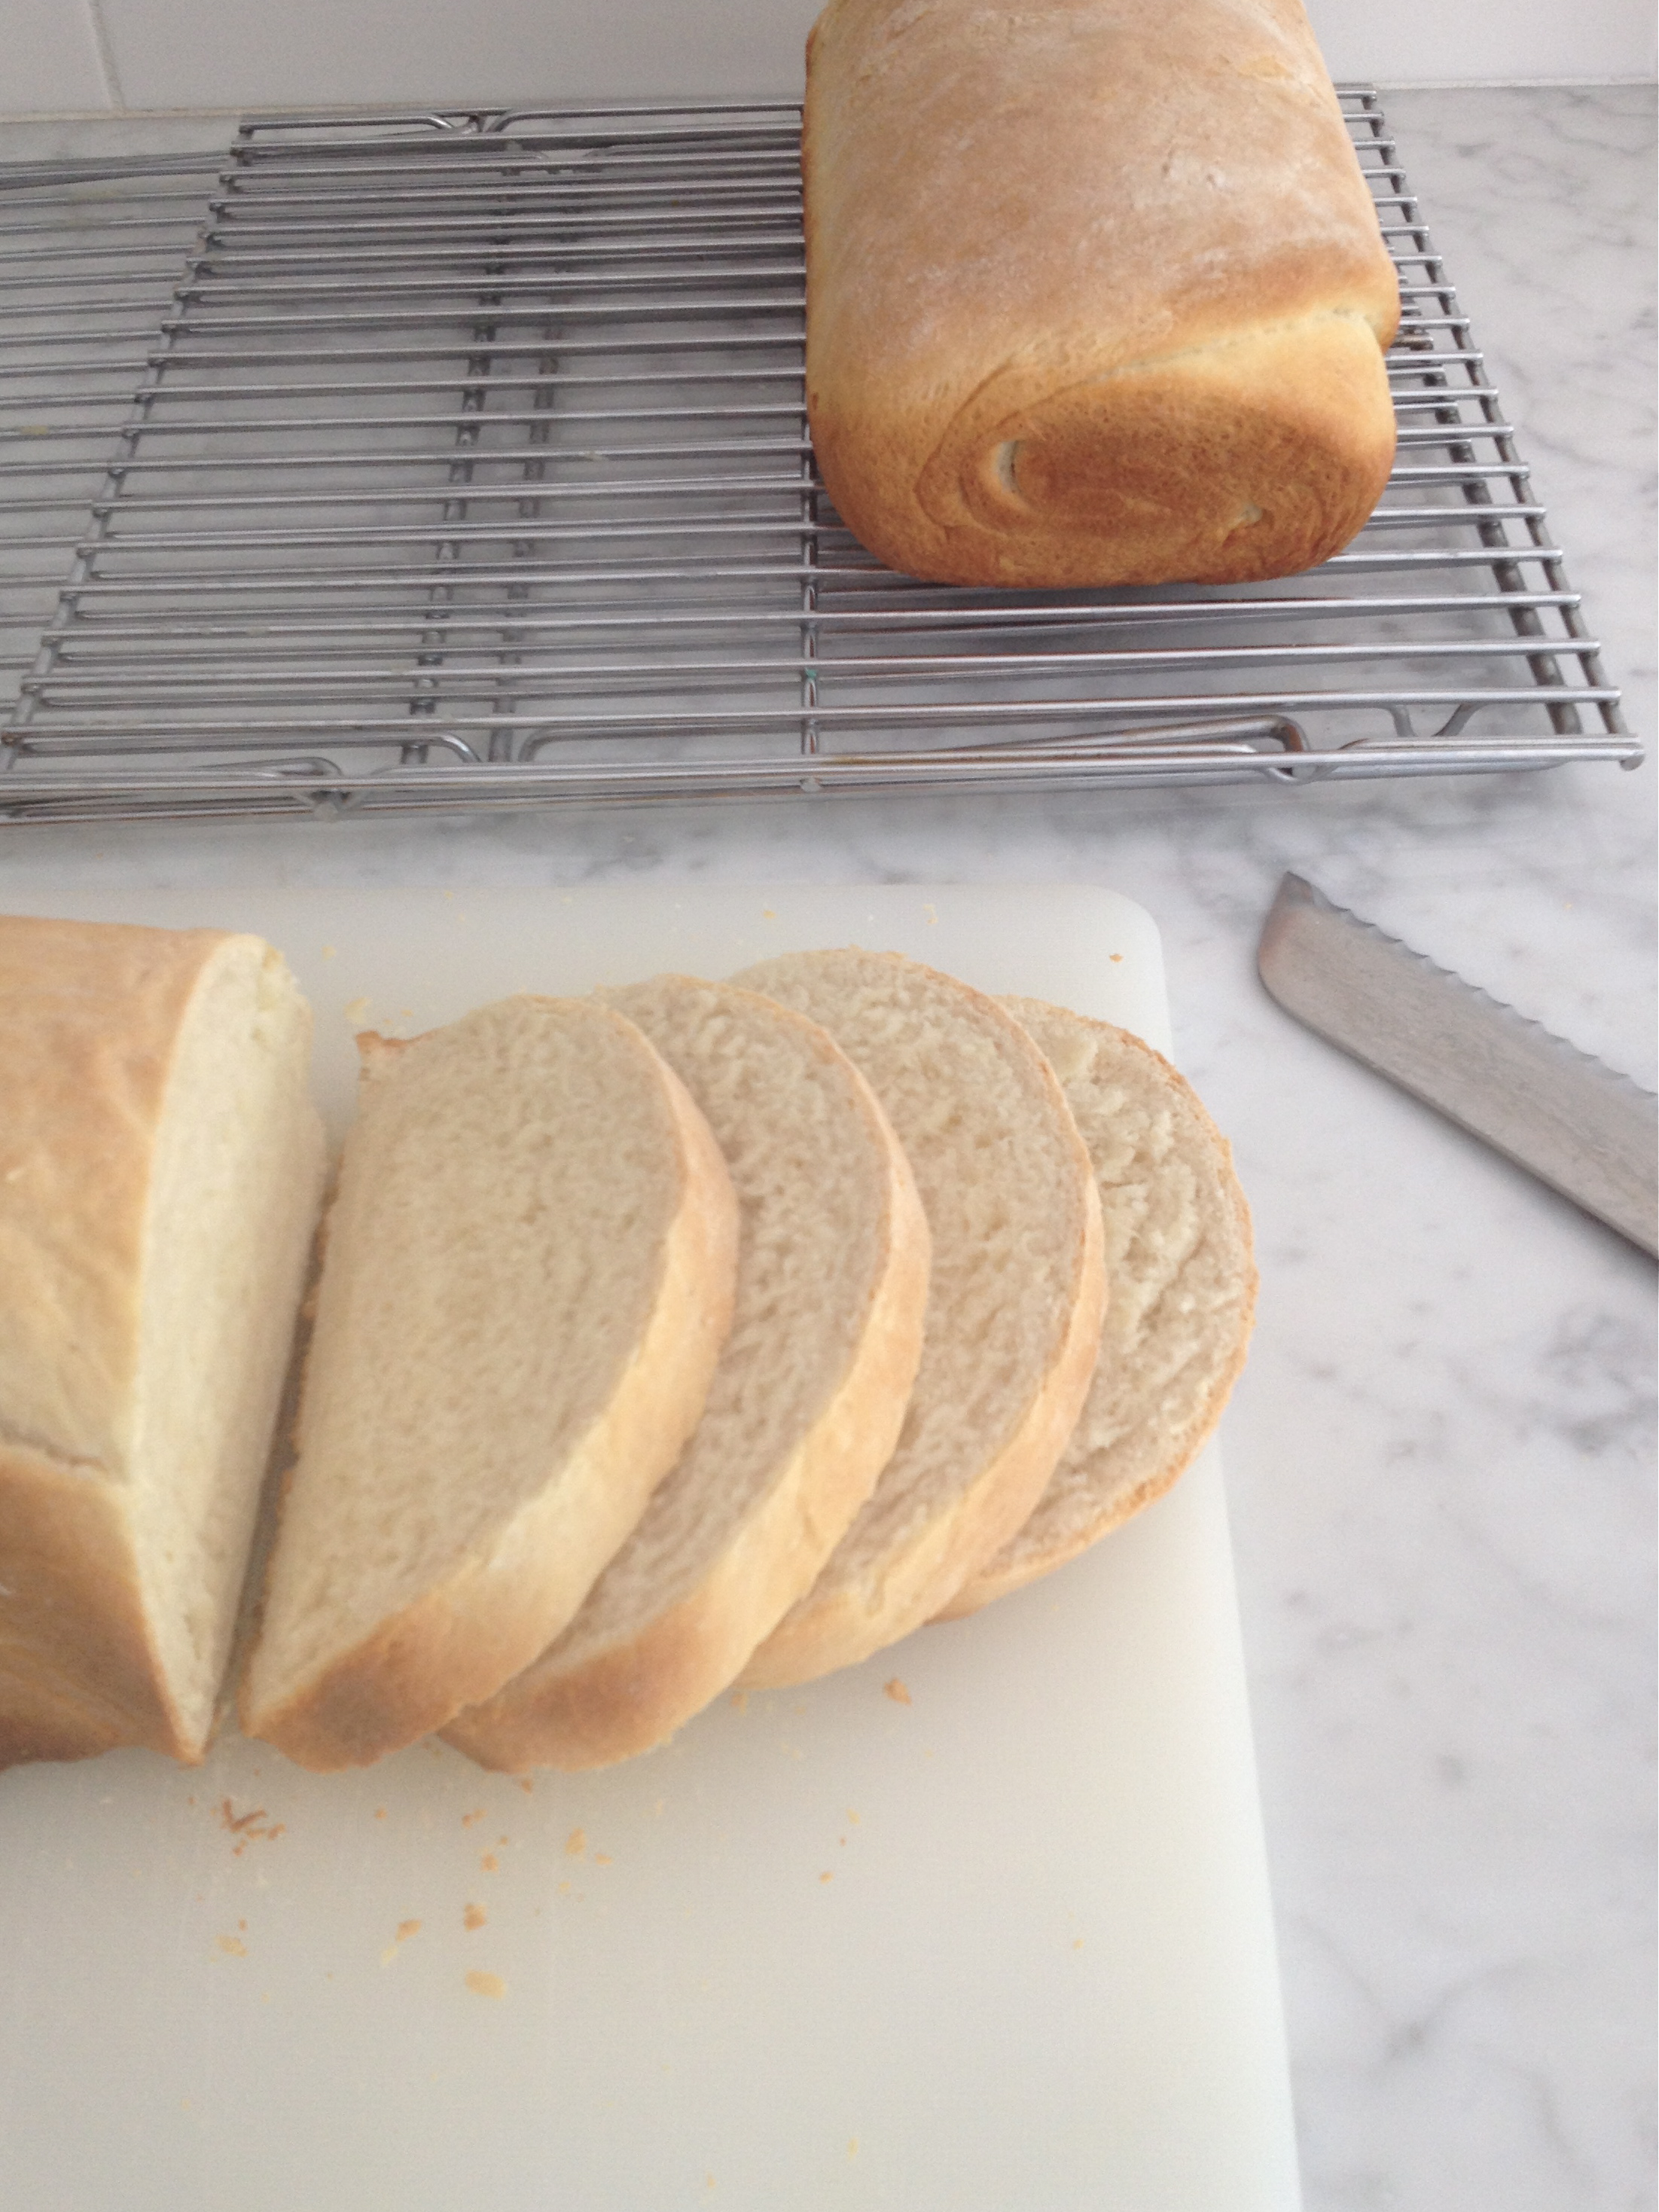


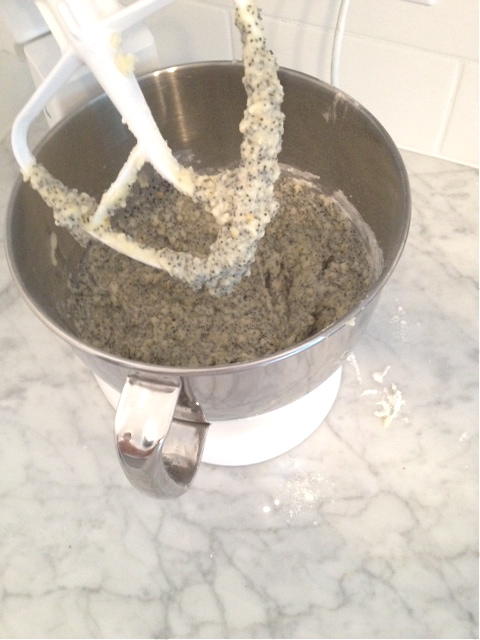
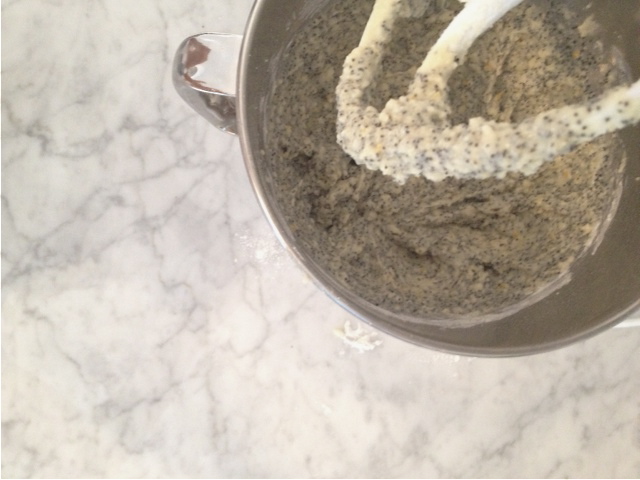
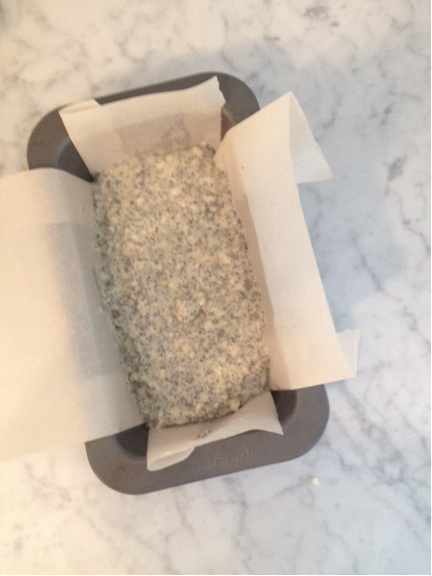
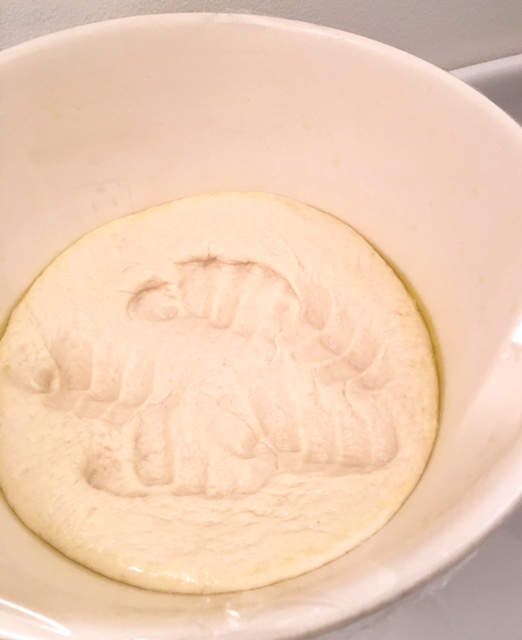
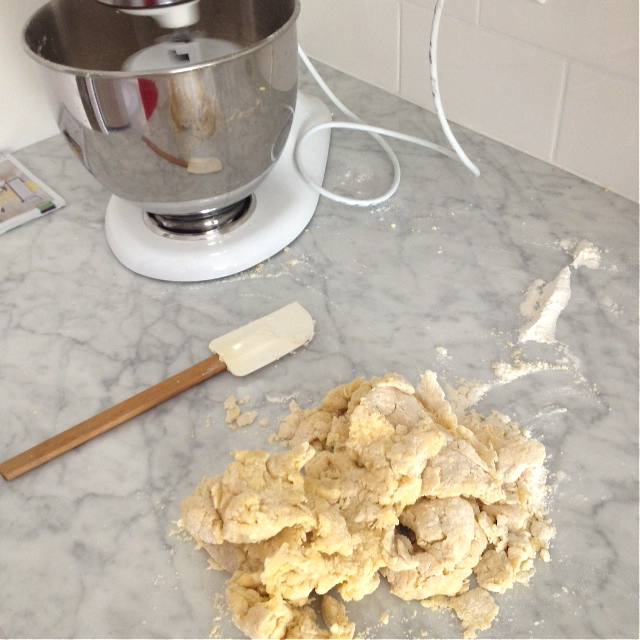
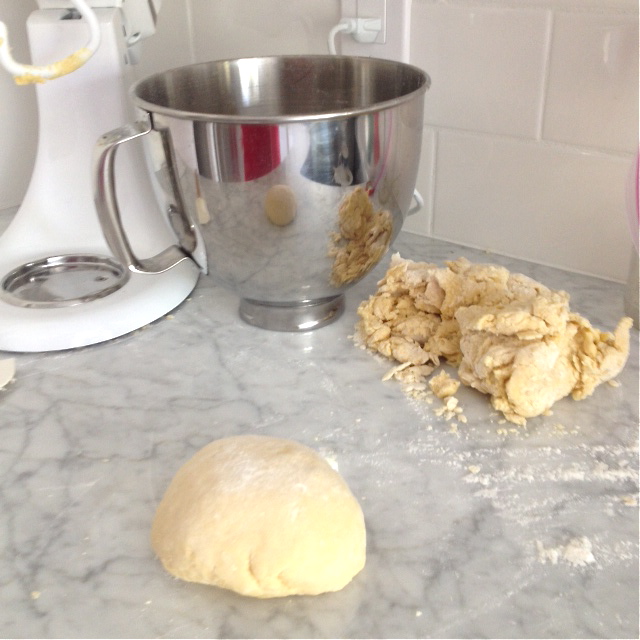
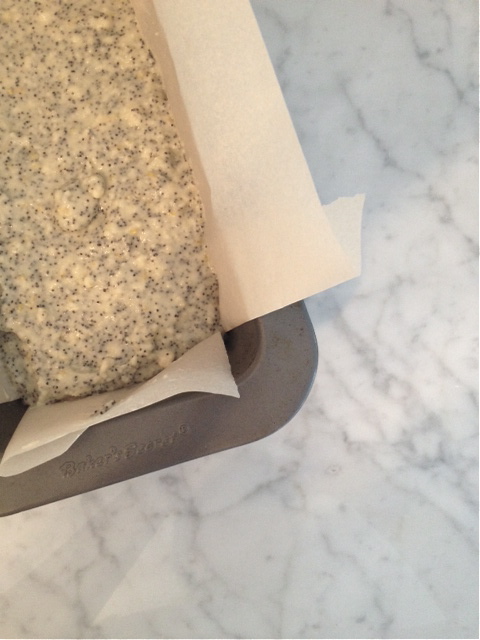 the dough is poured into a buttered & parchment lined loaf tin
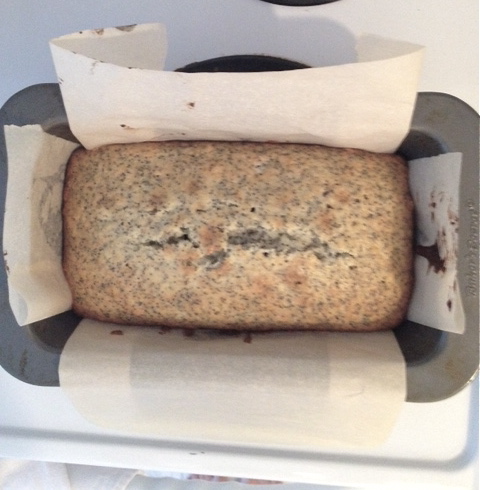
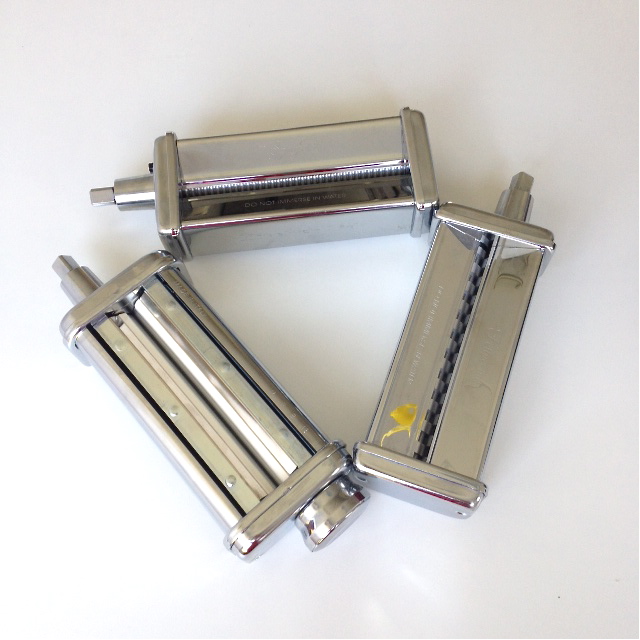
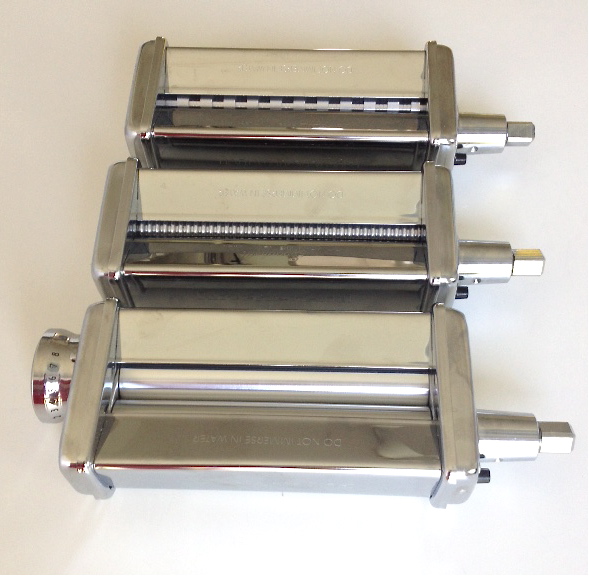

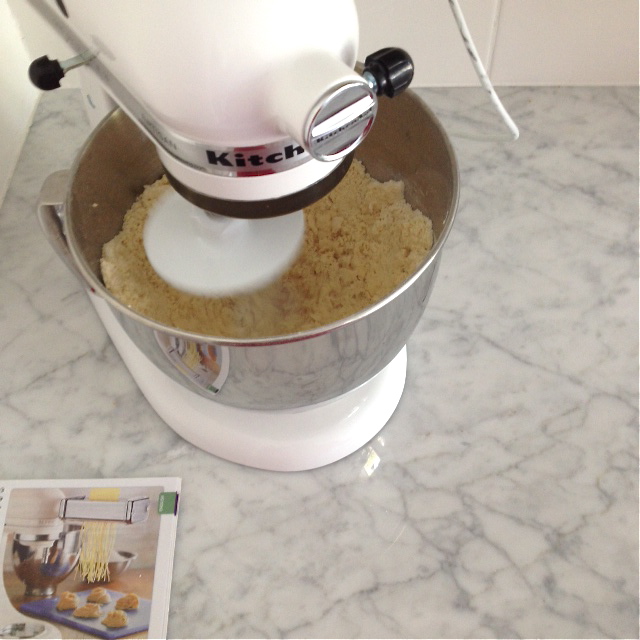
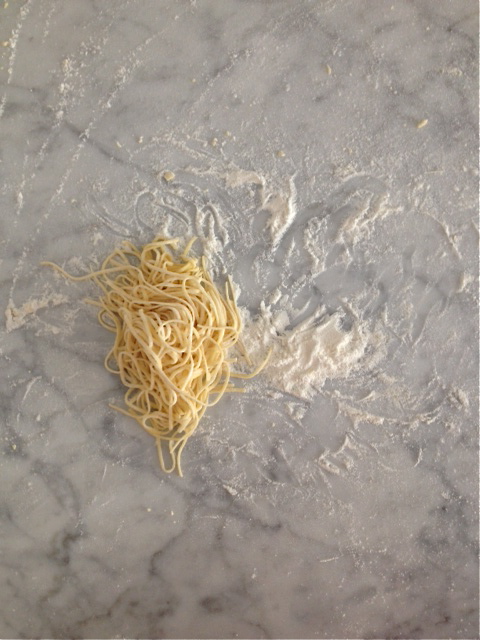
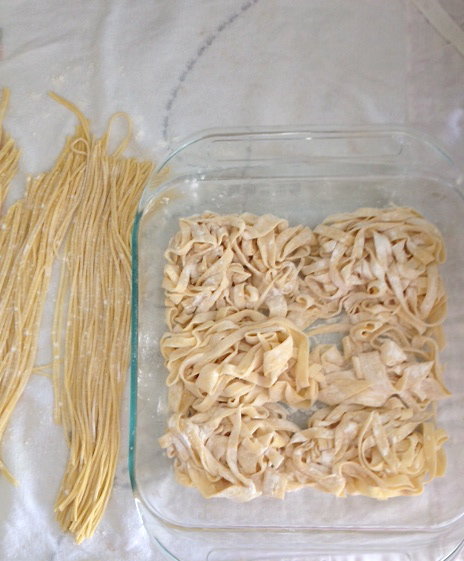
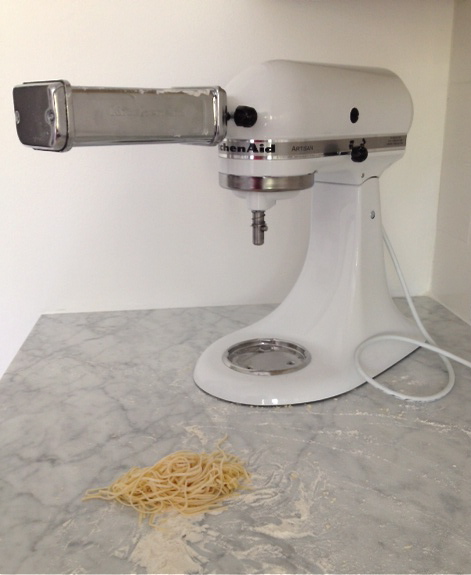
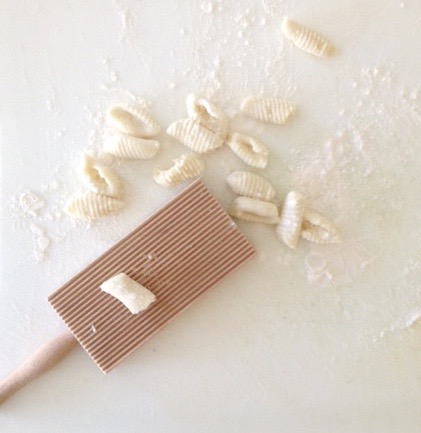
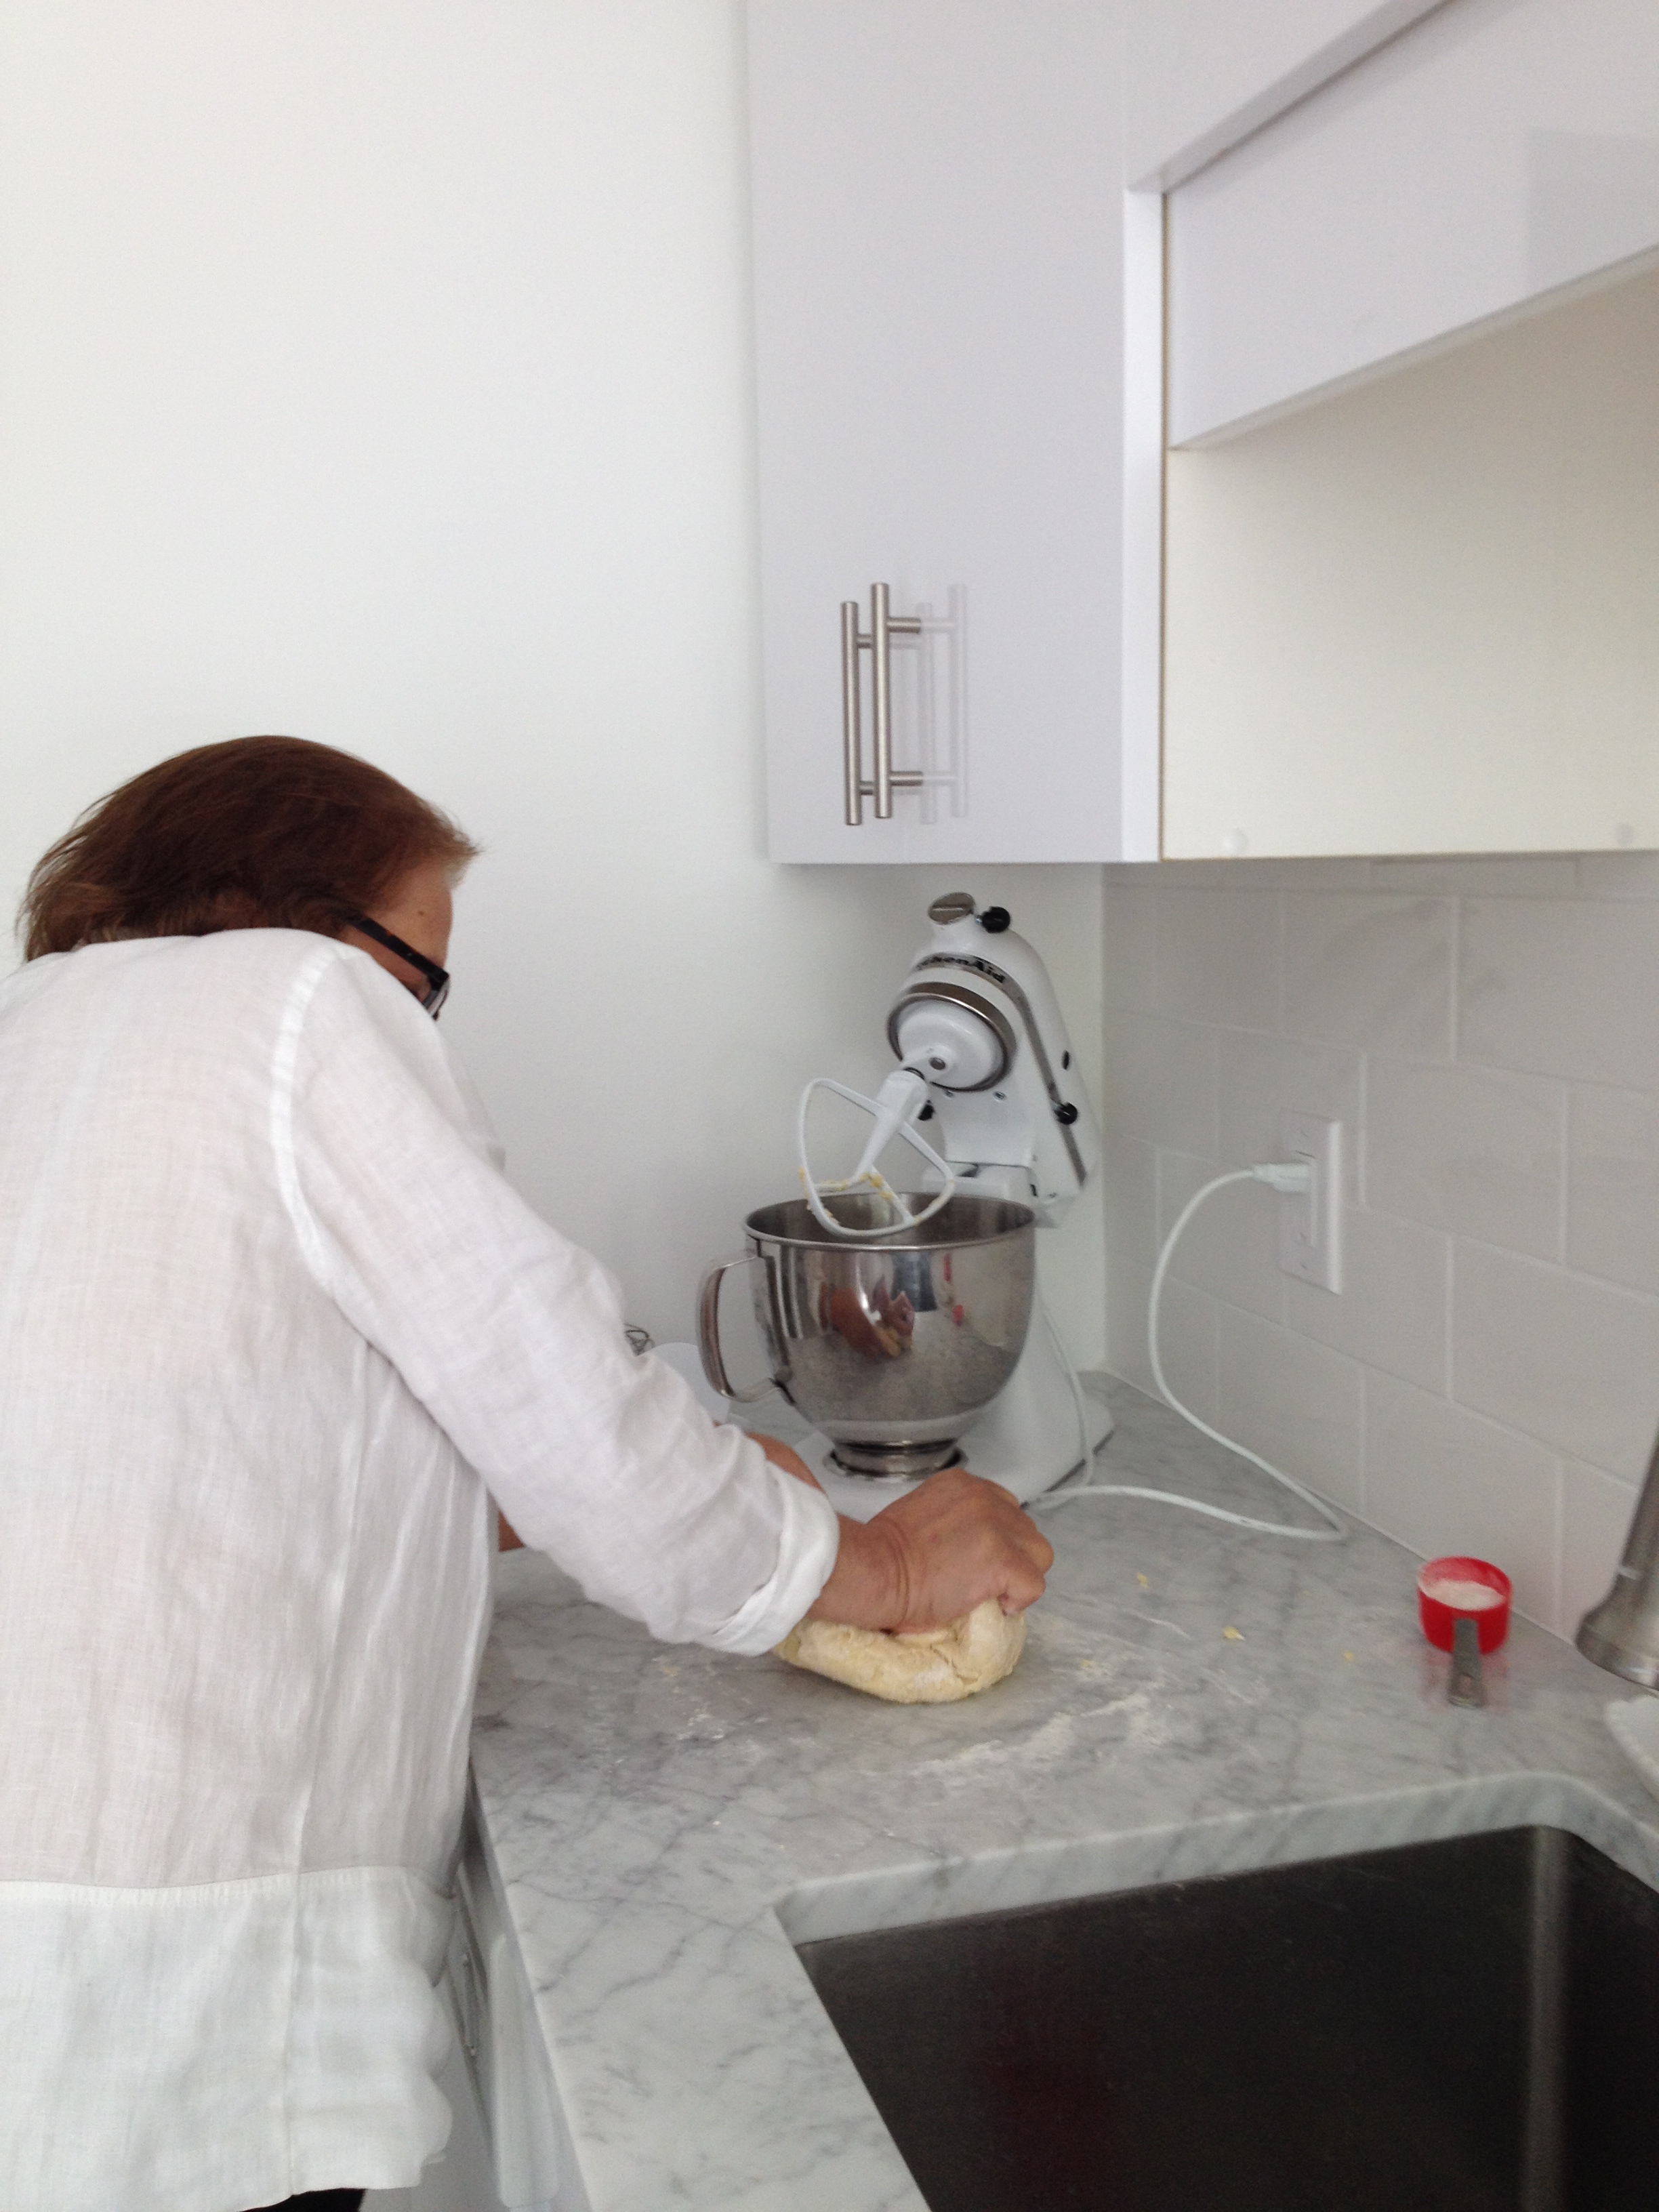
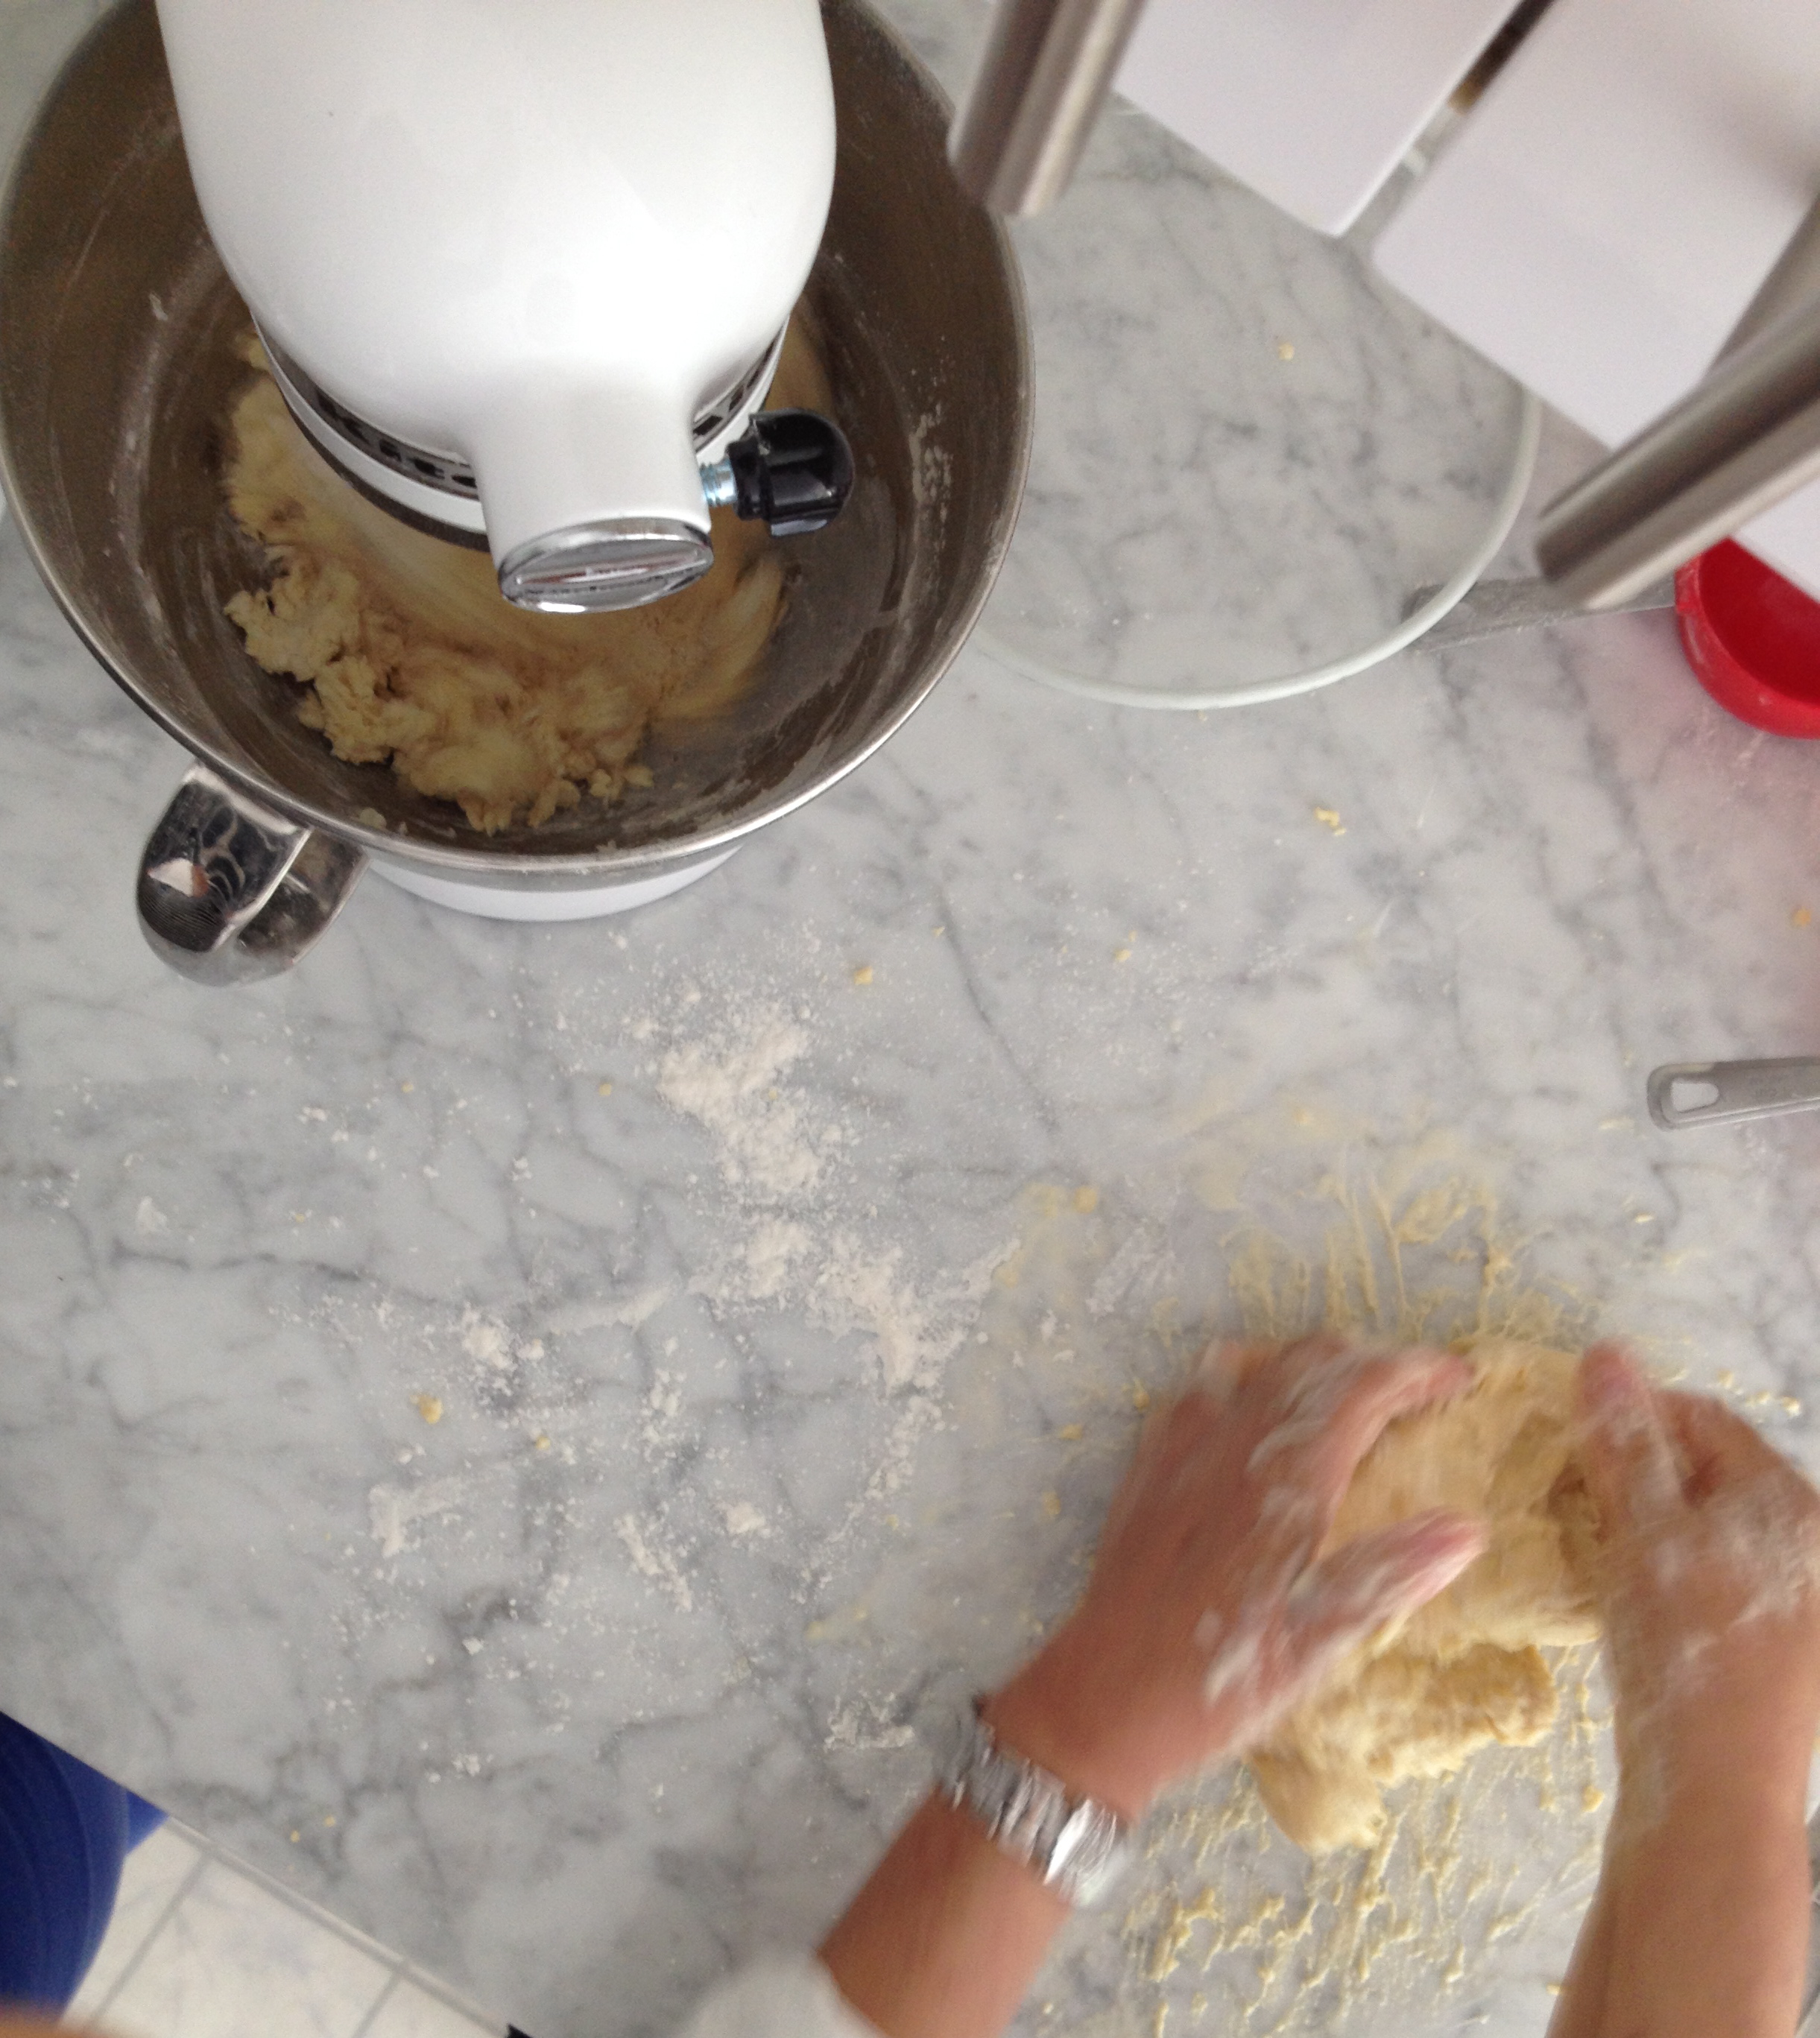
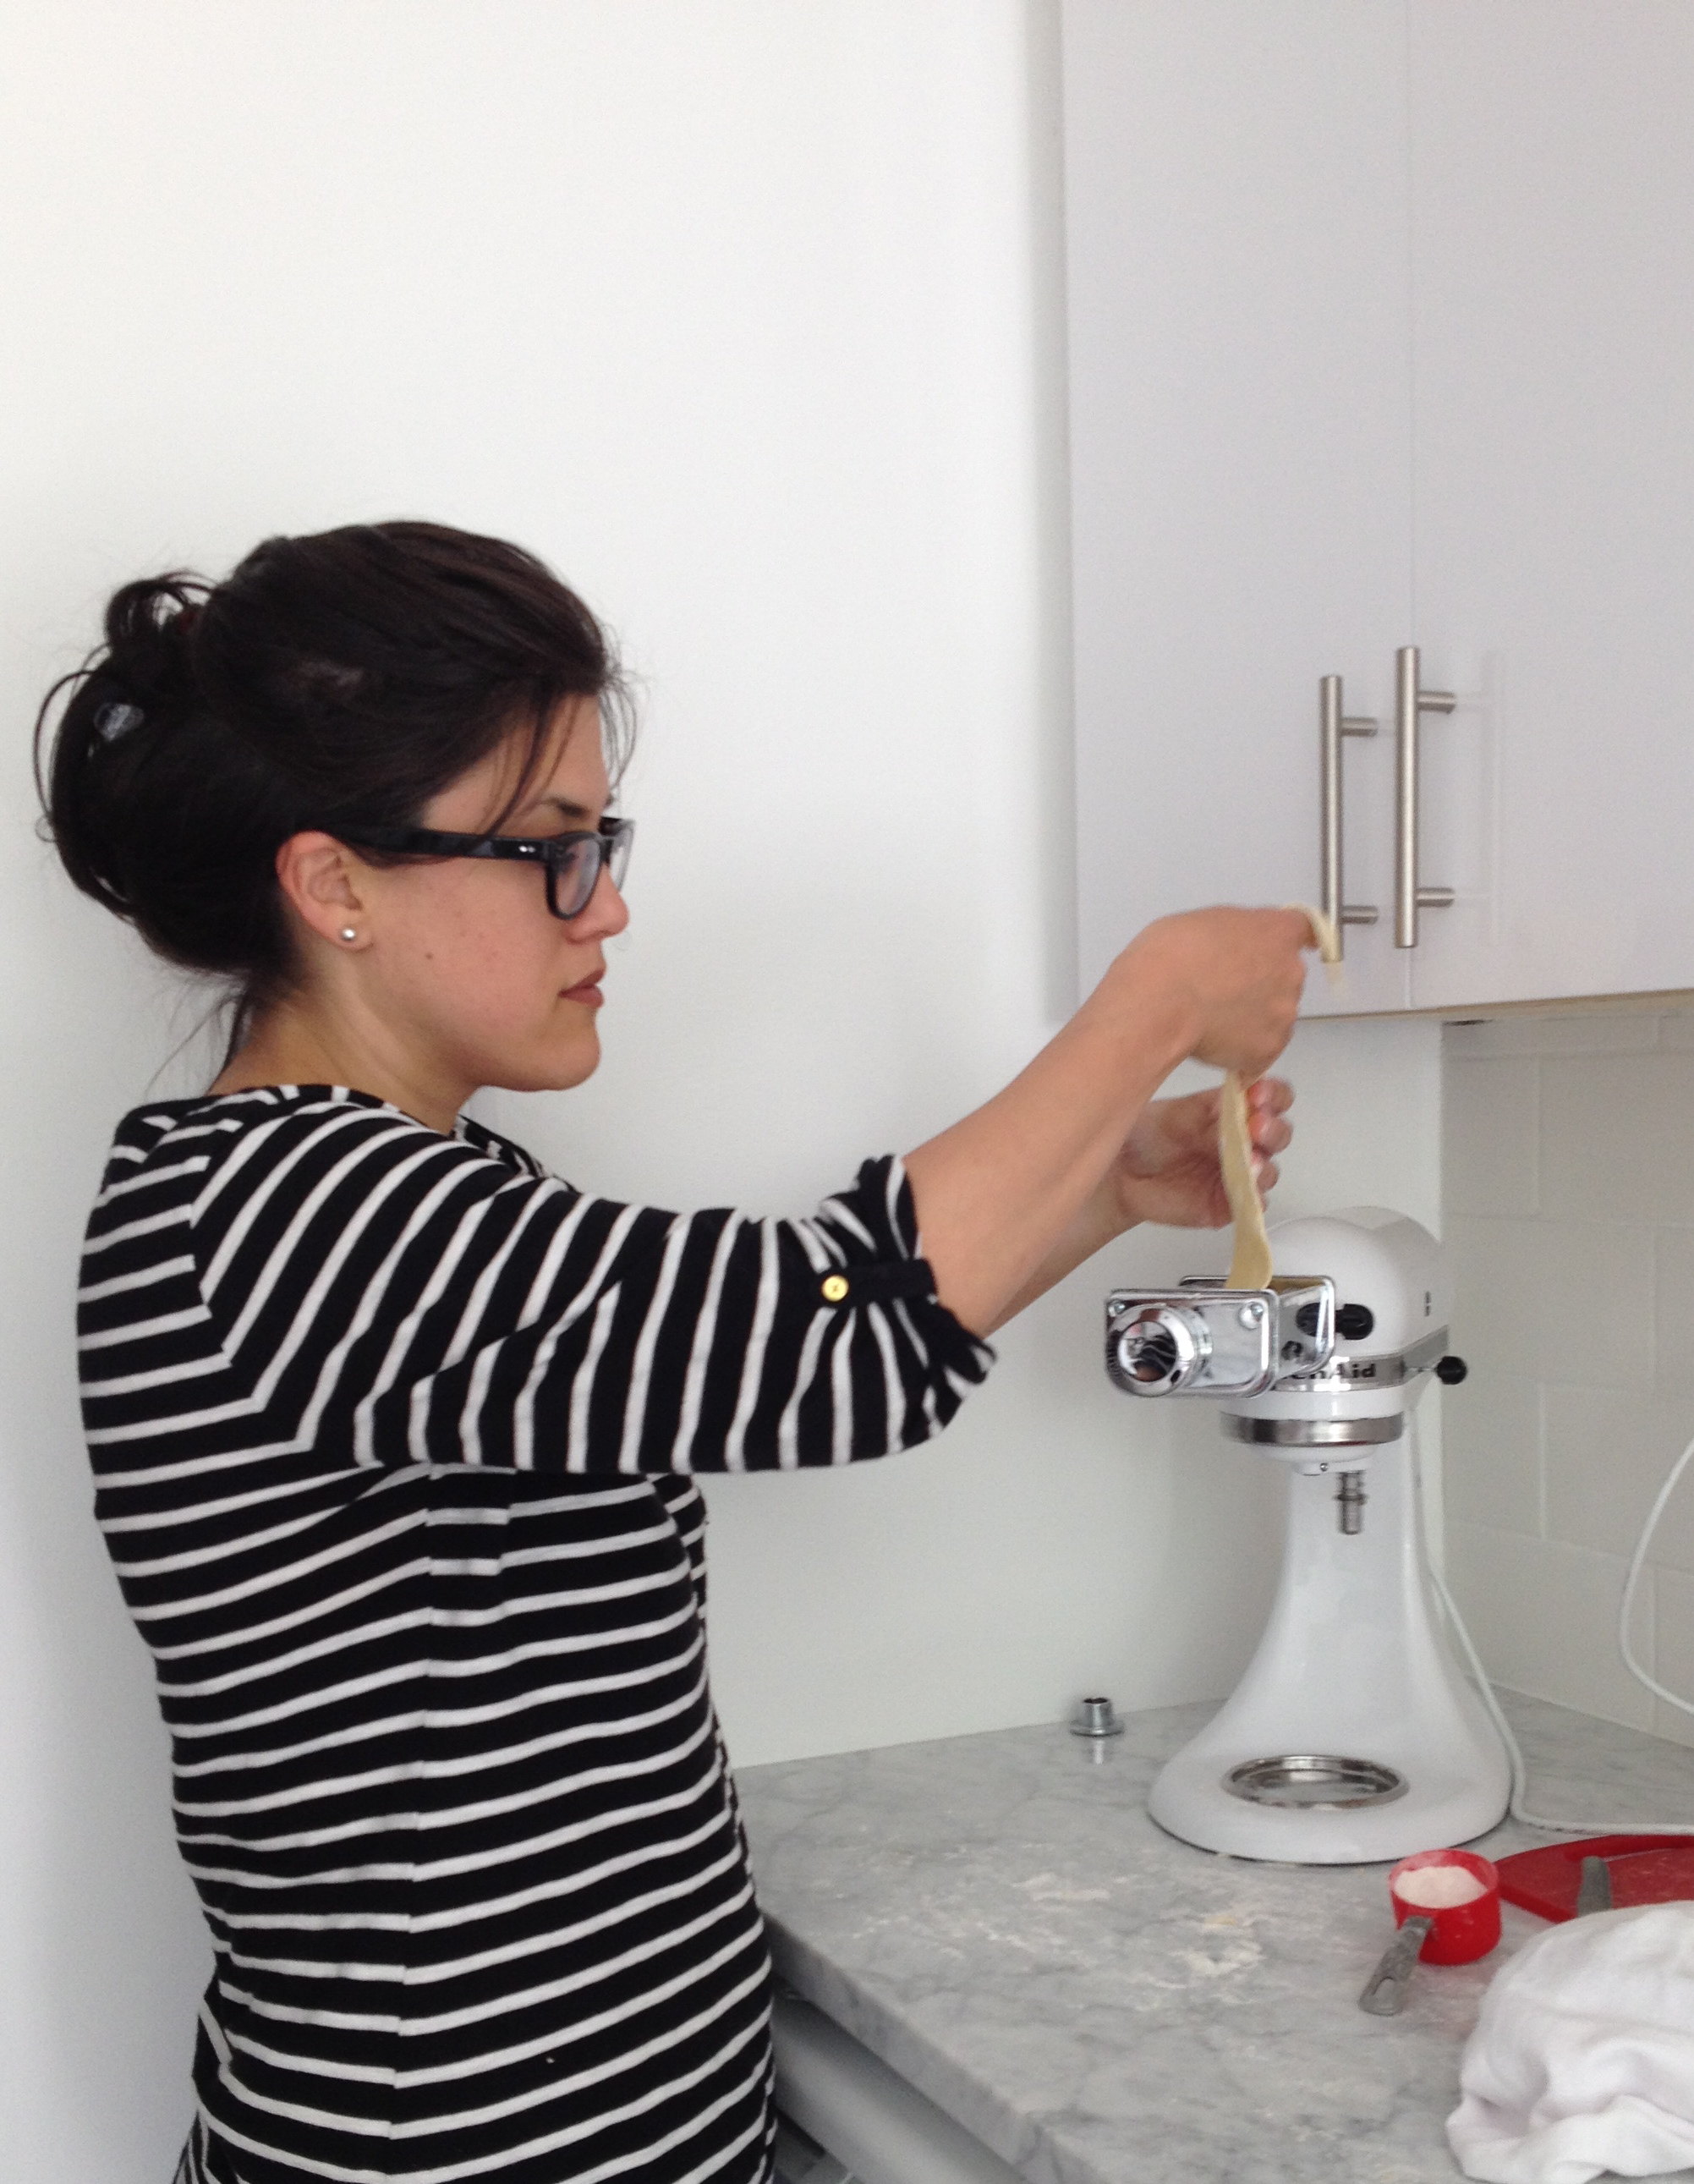
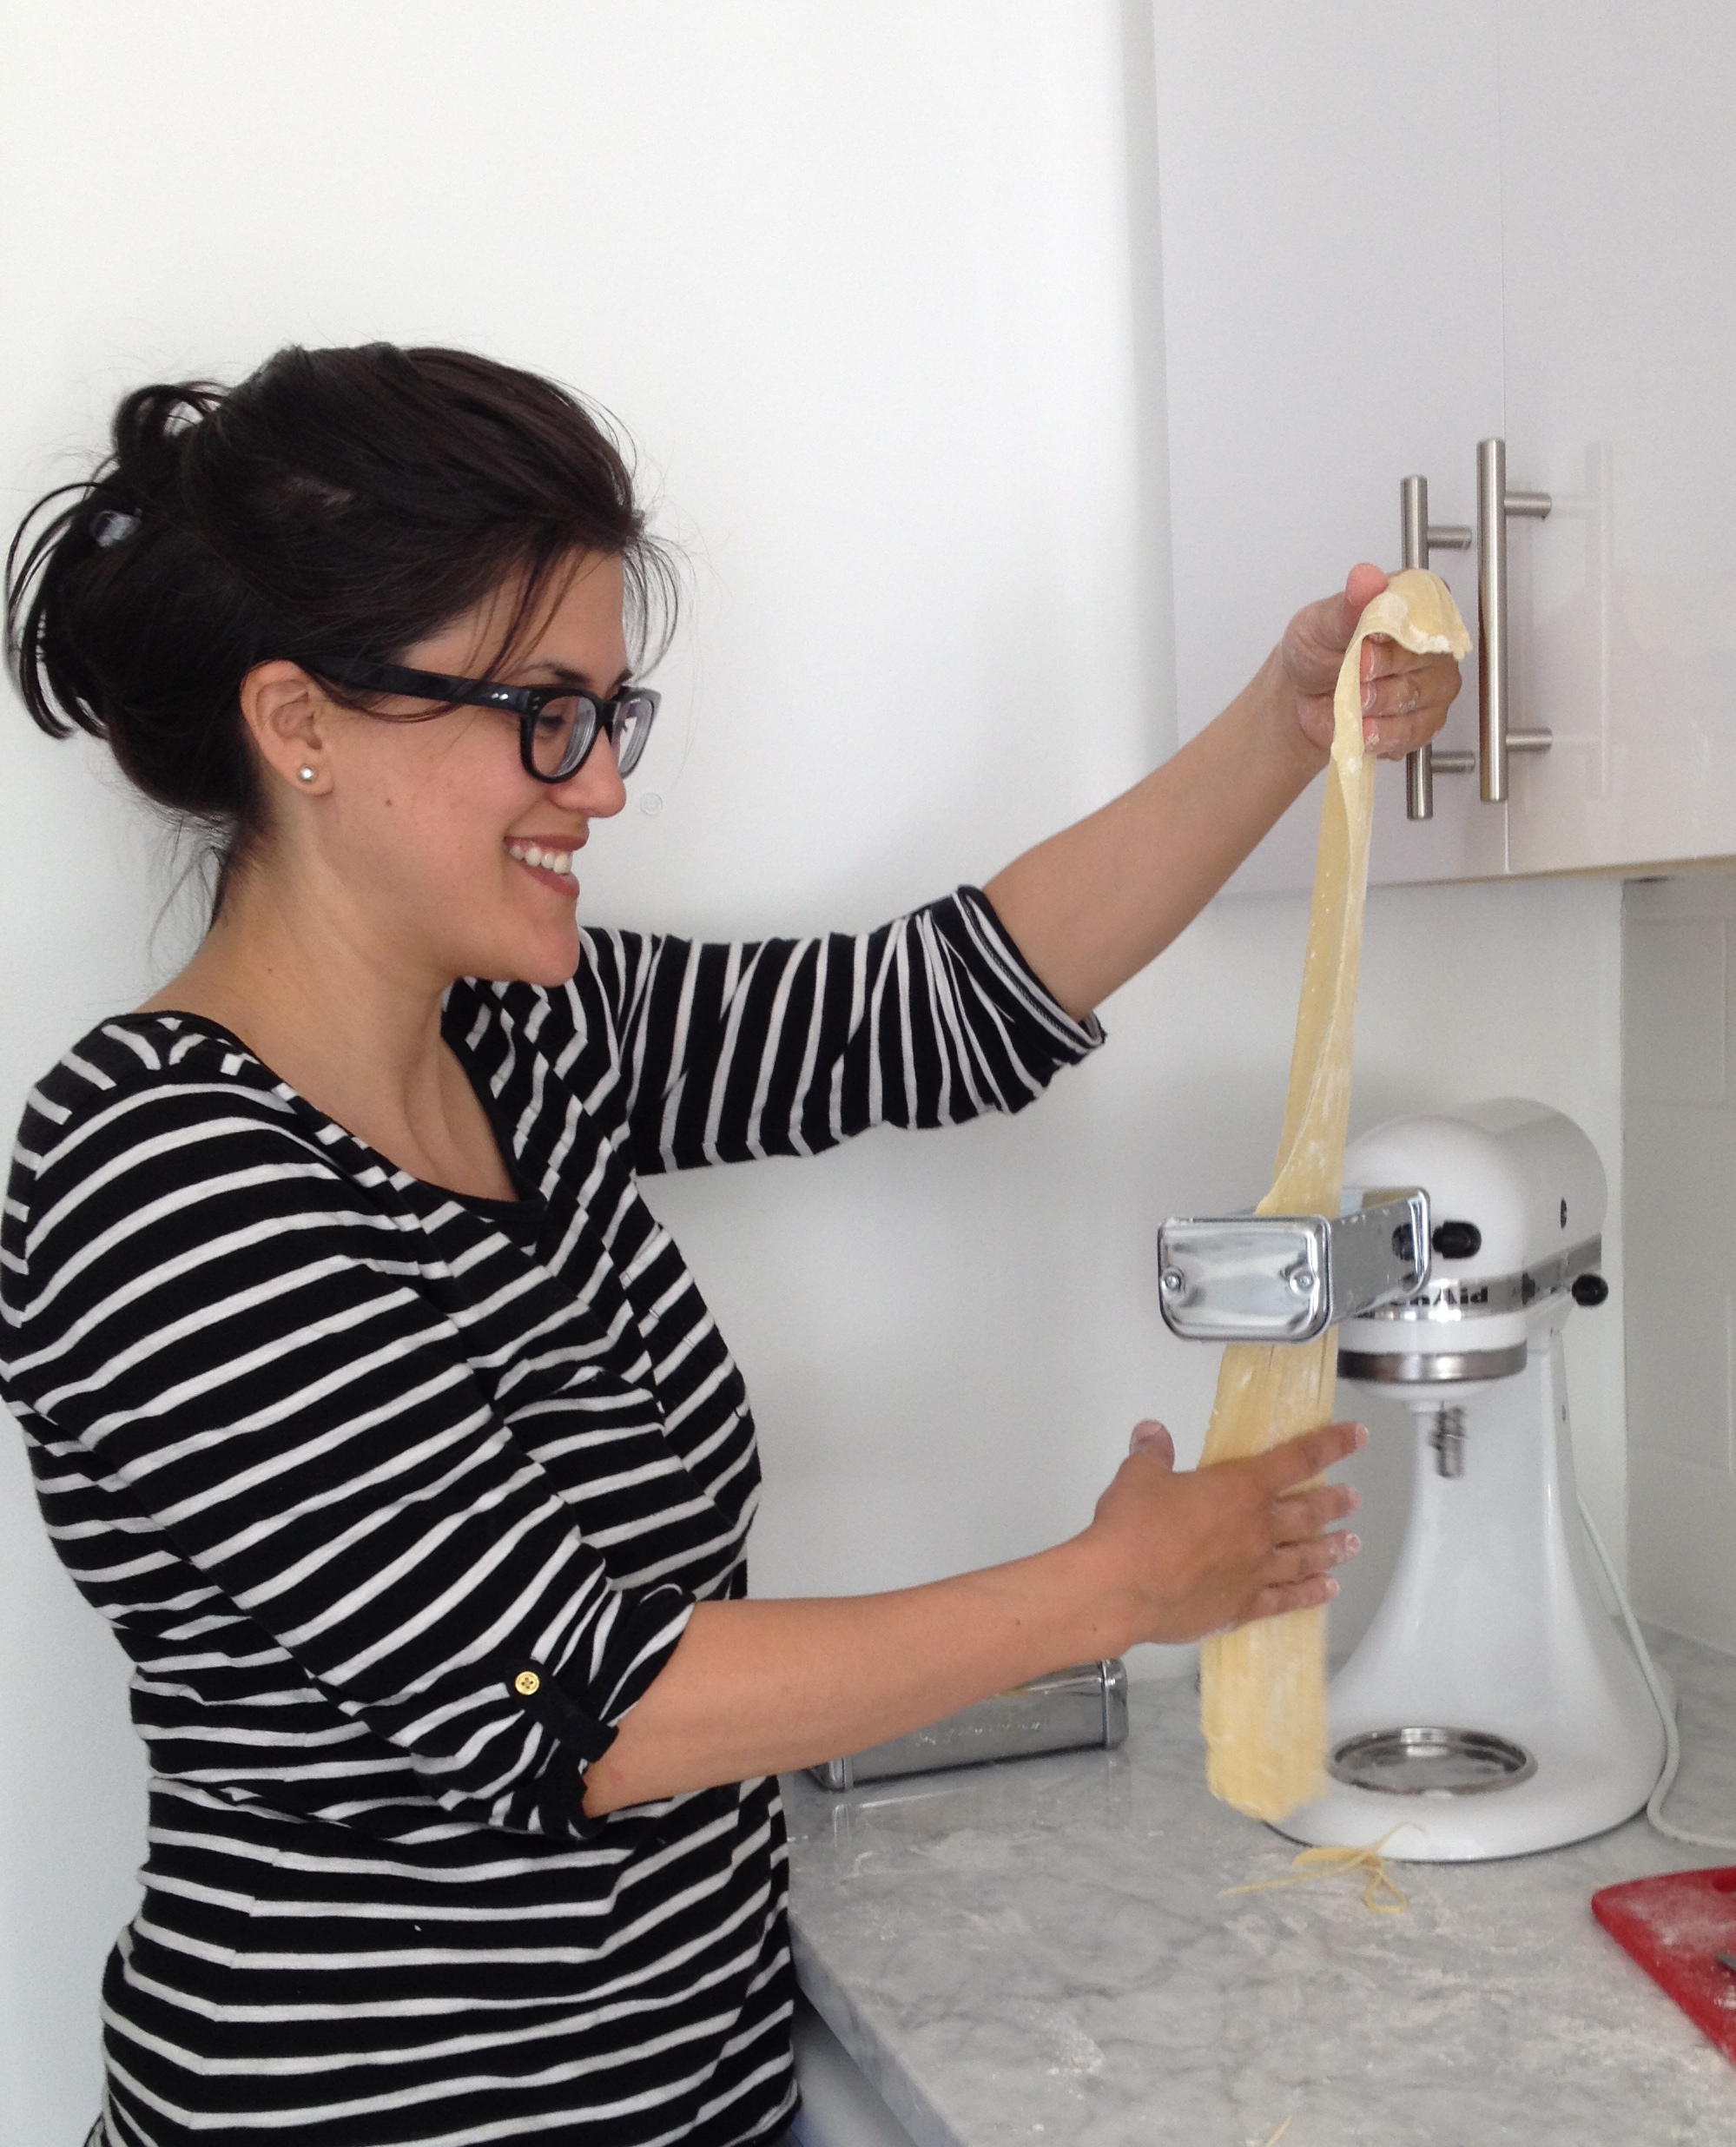
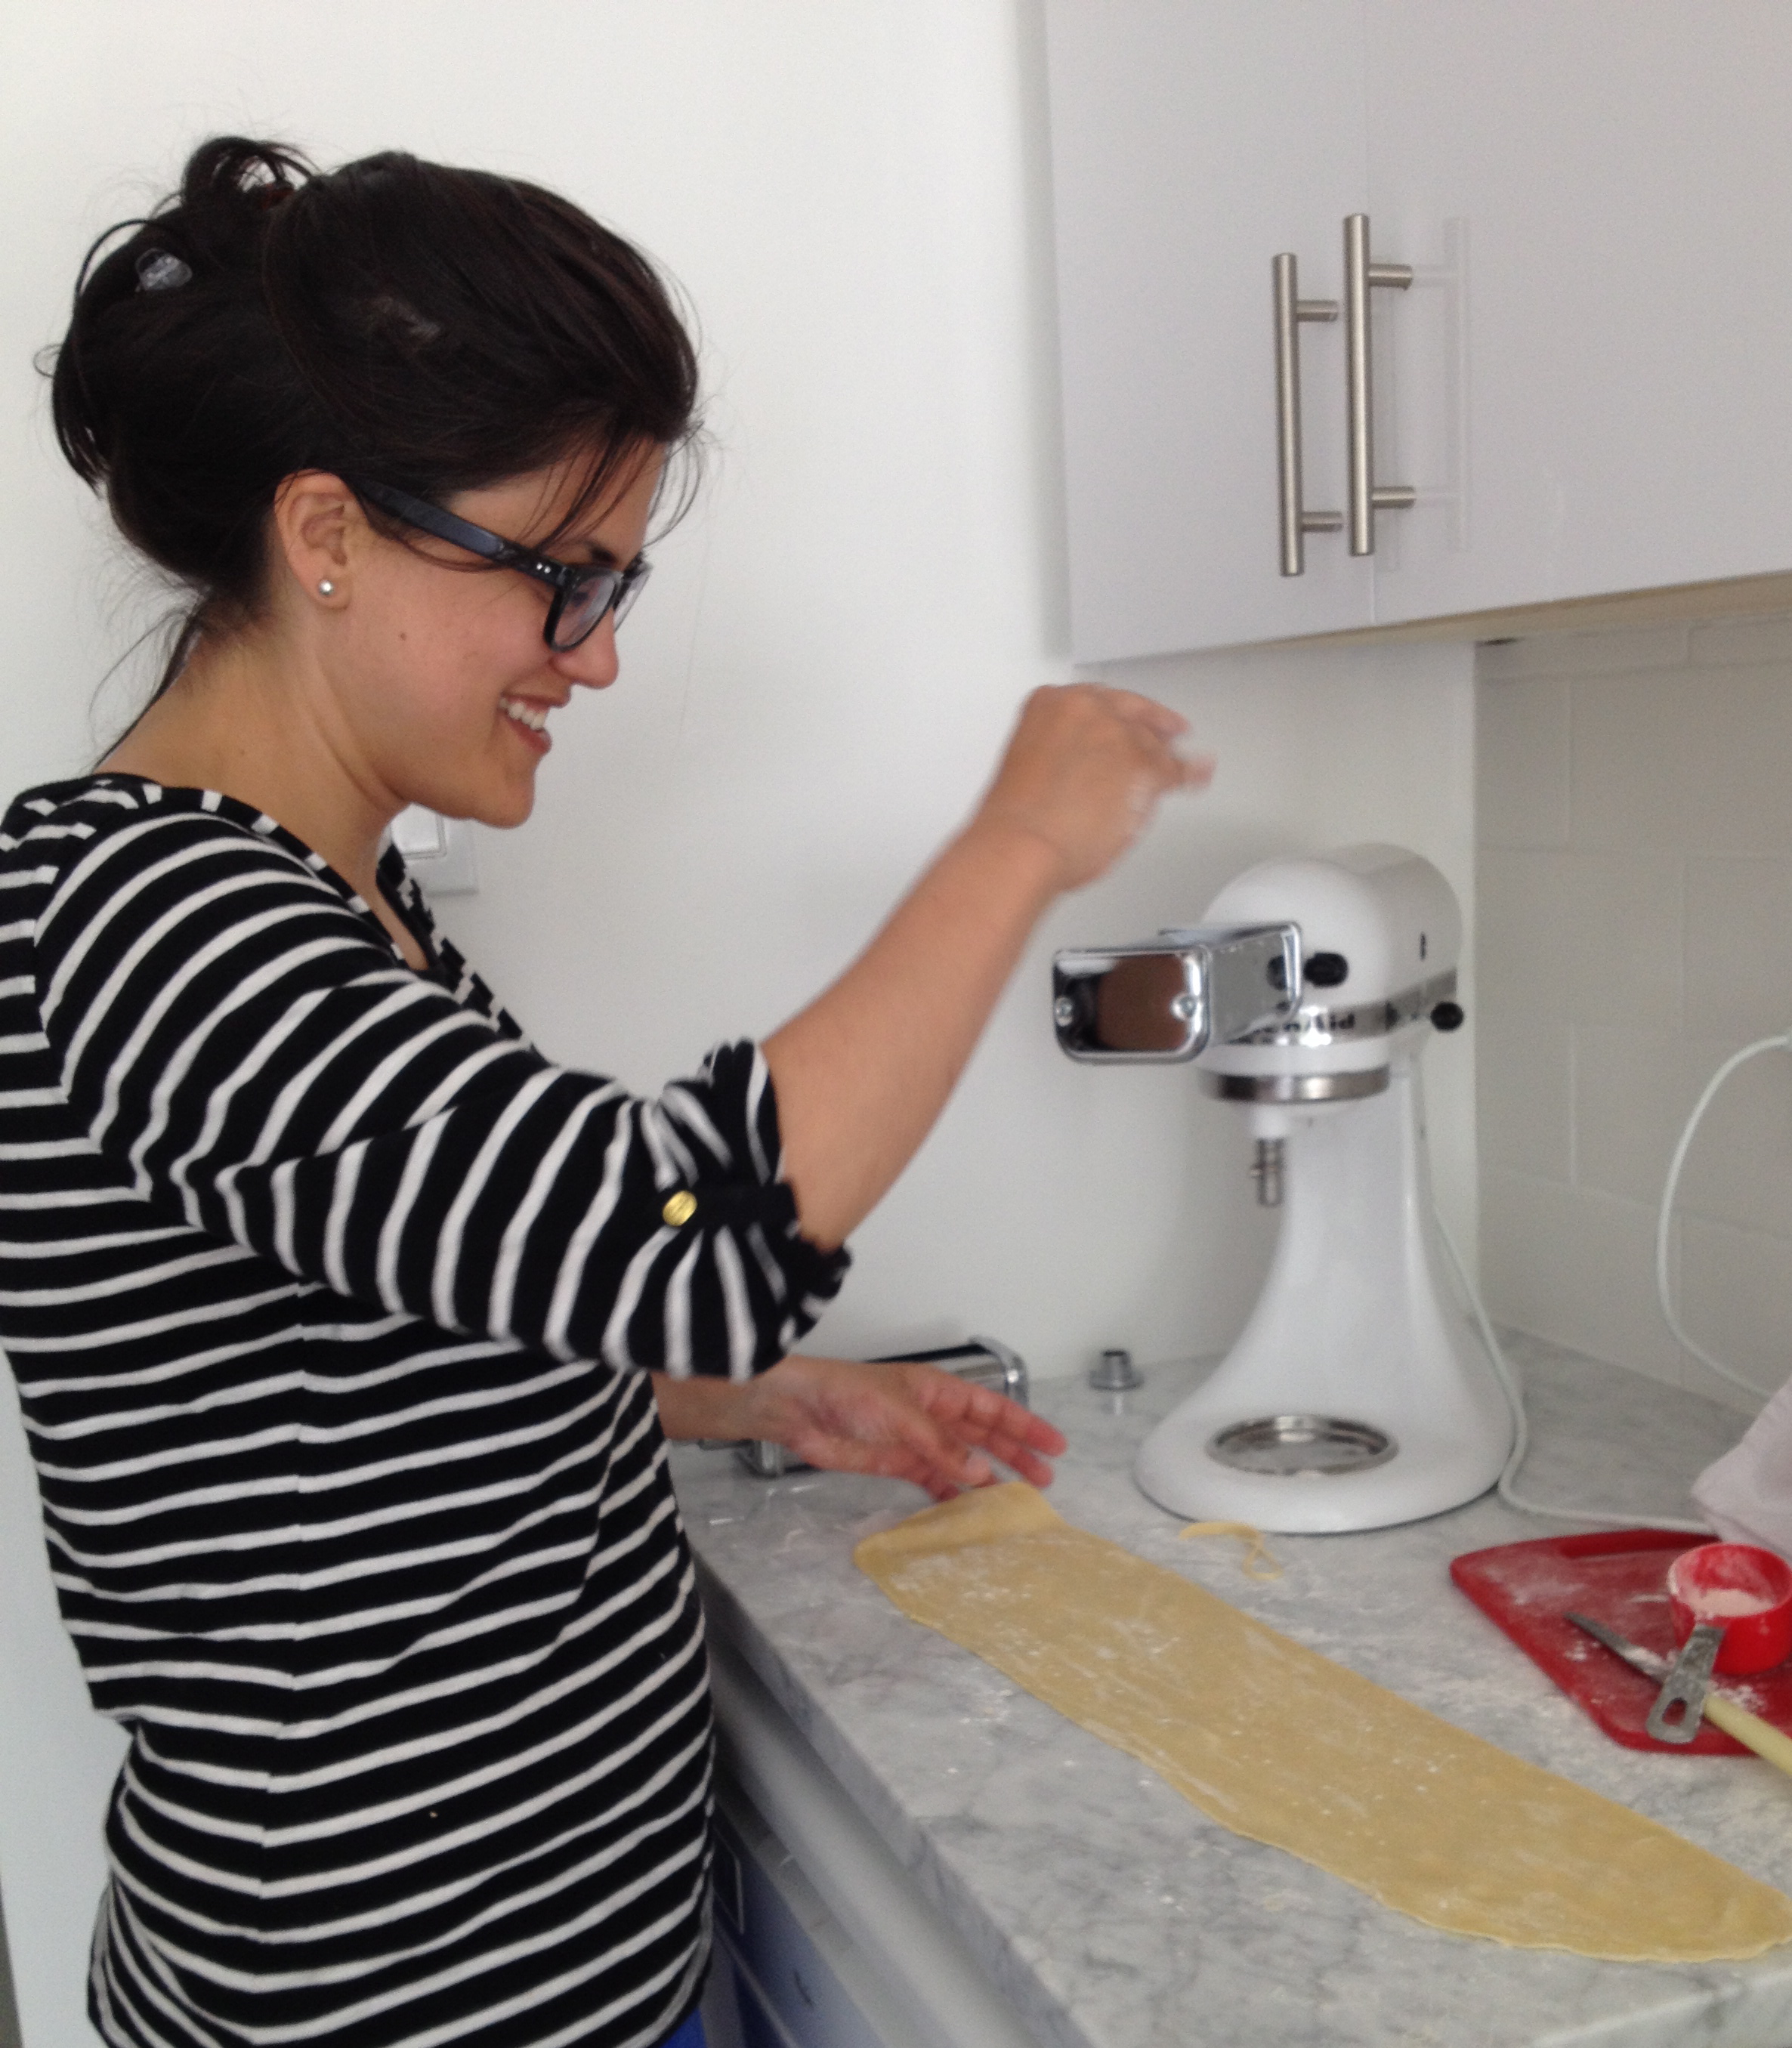
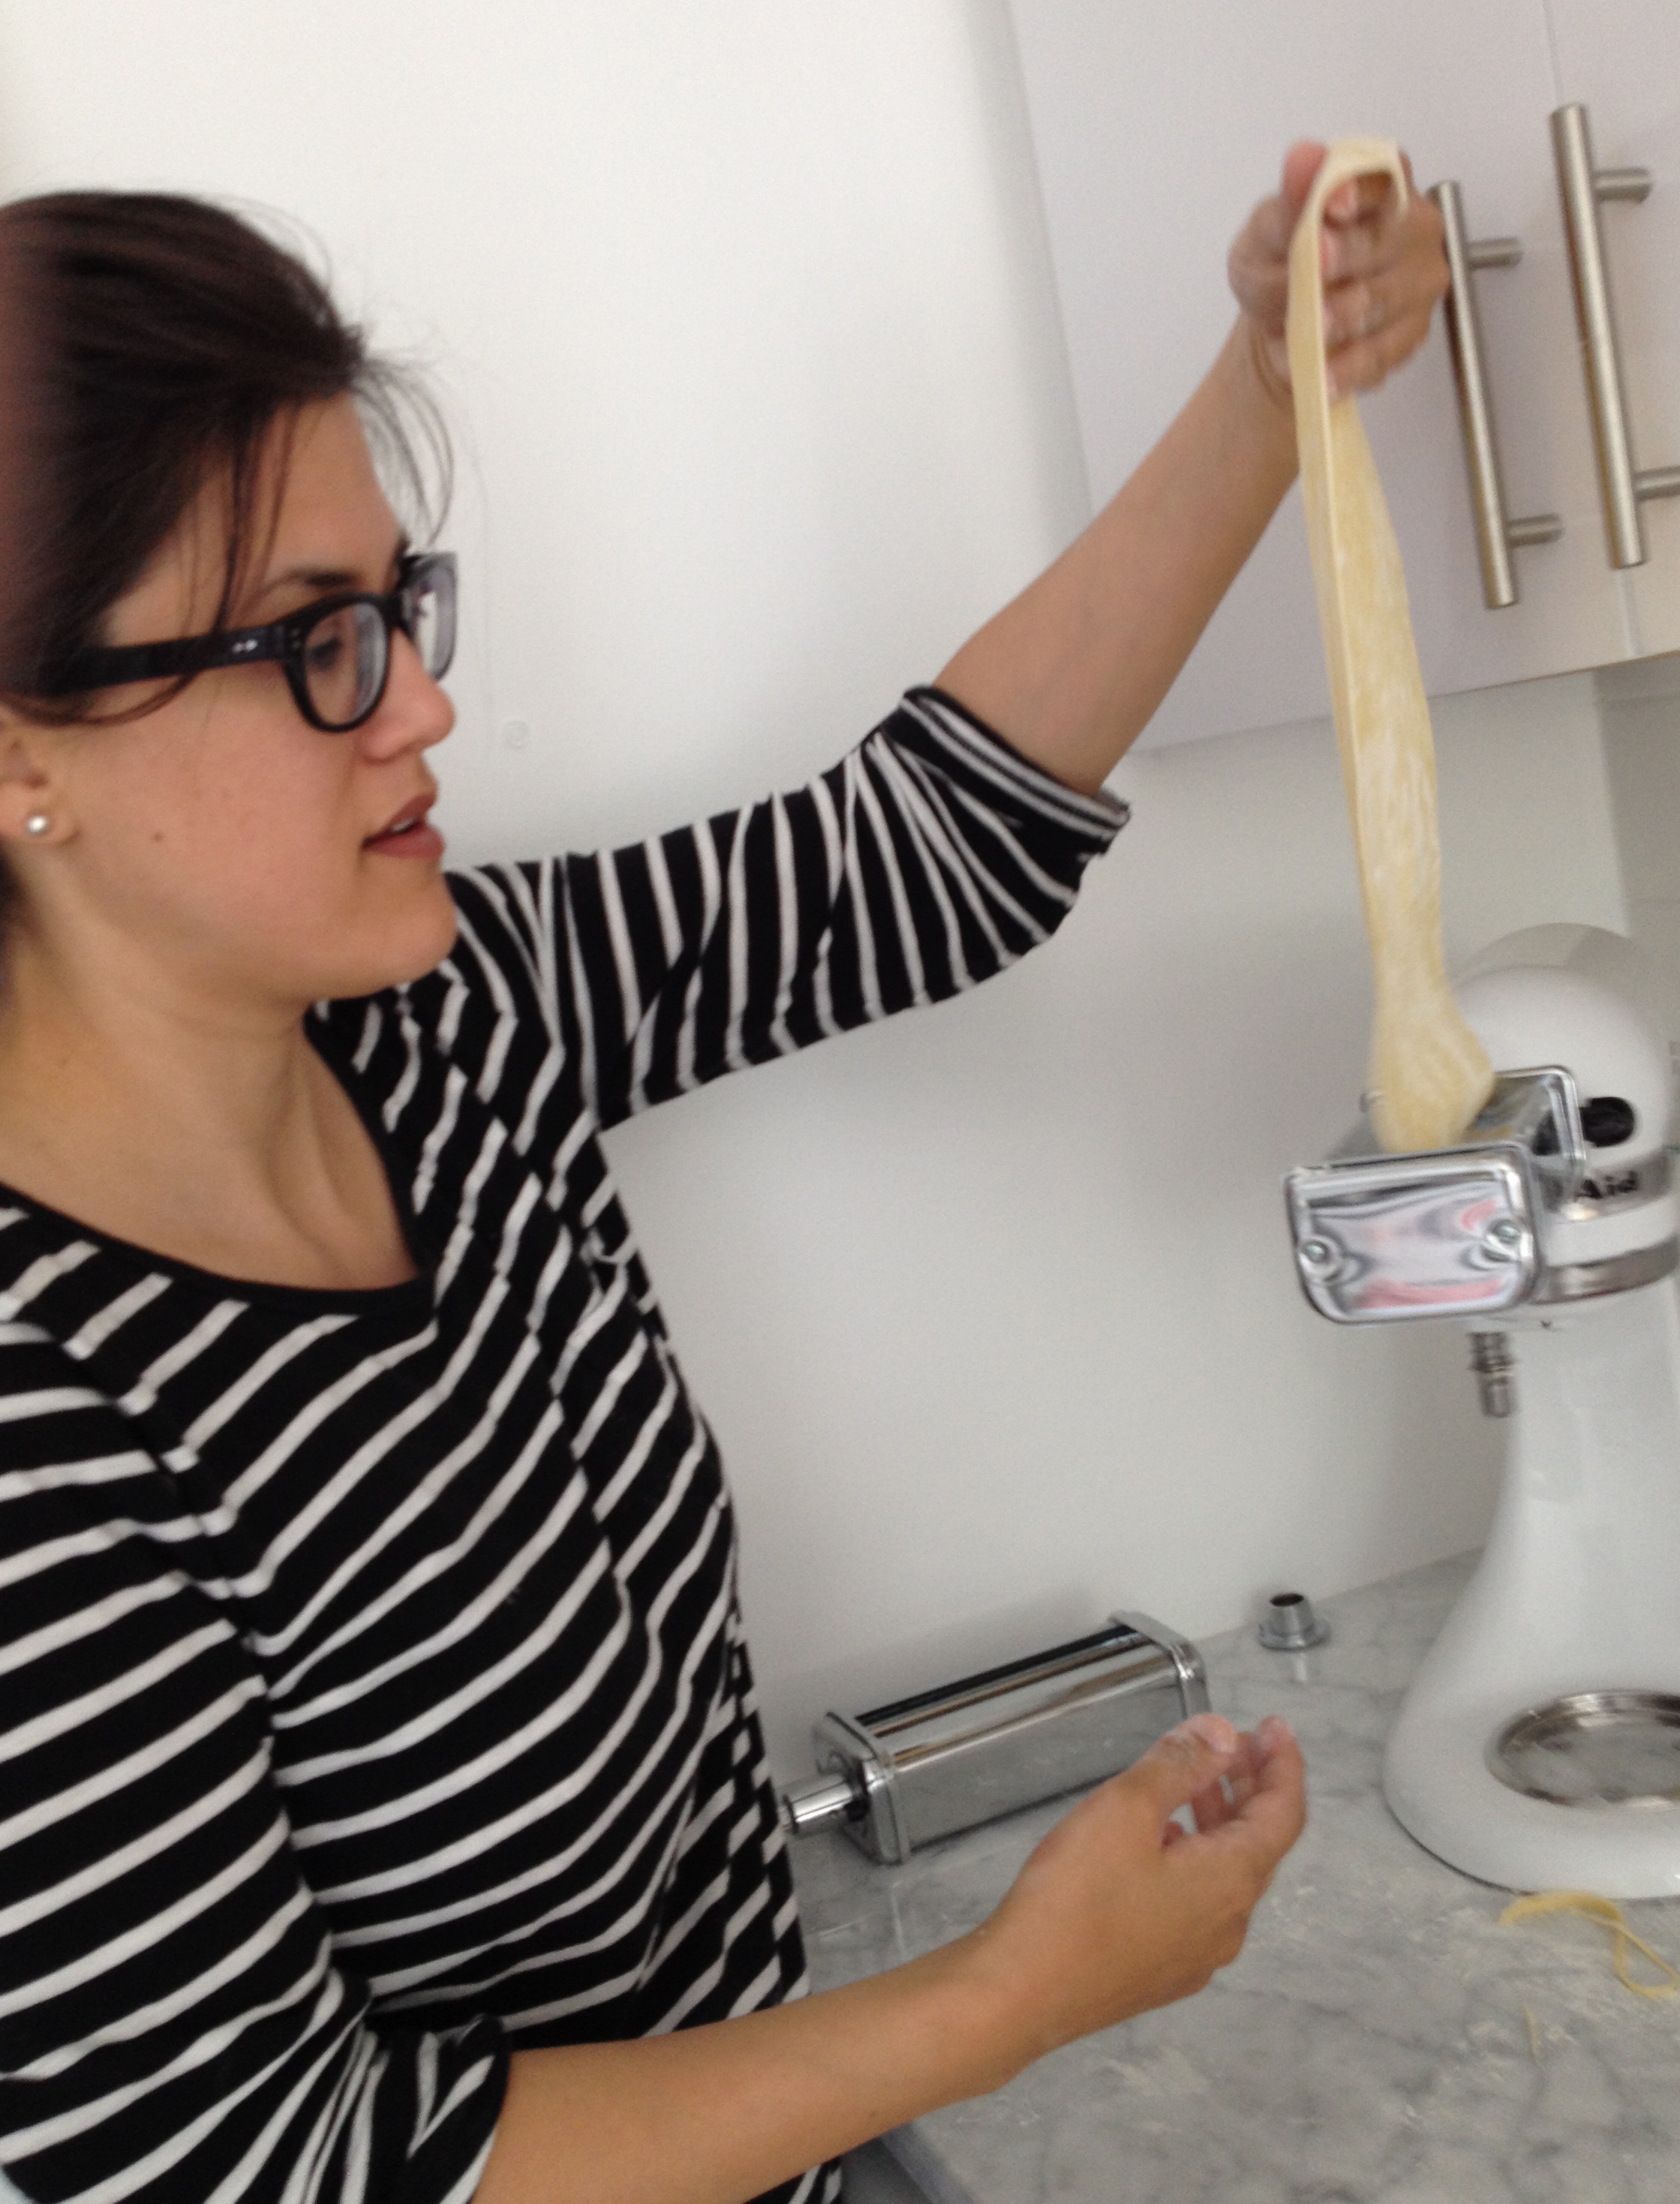
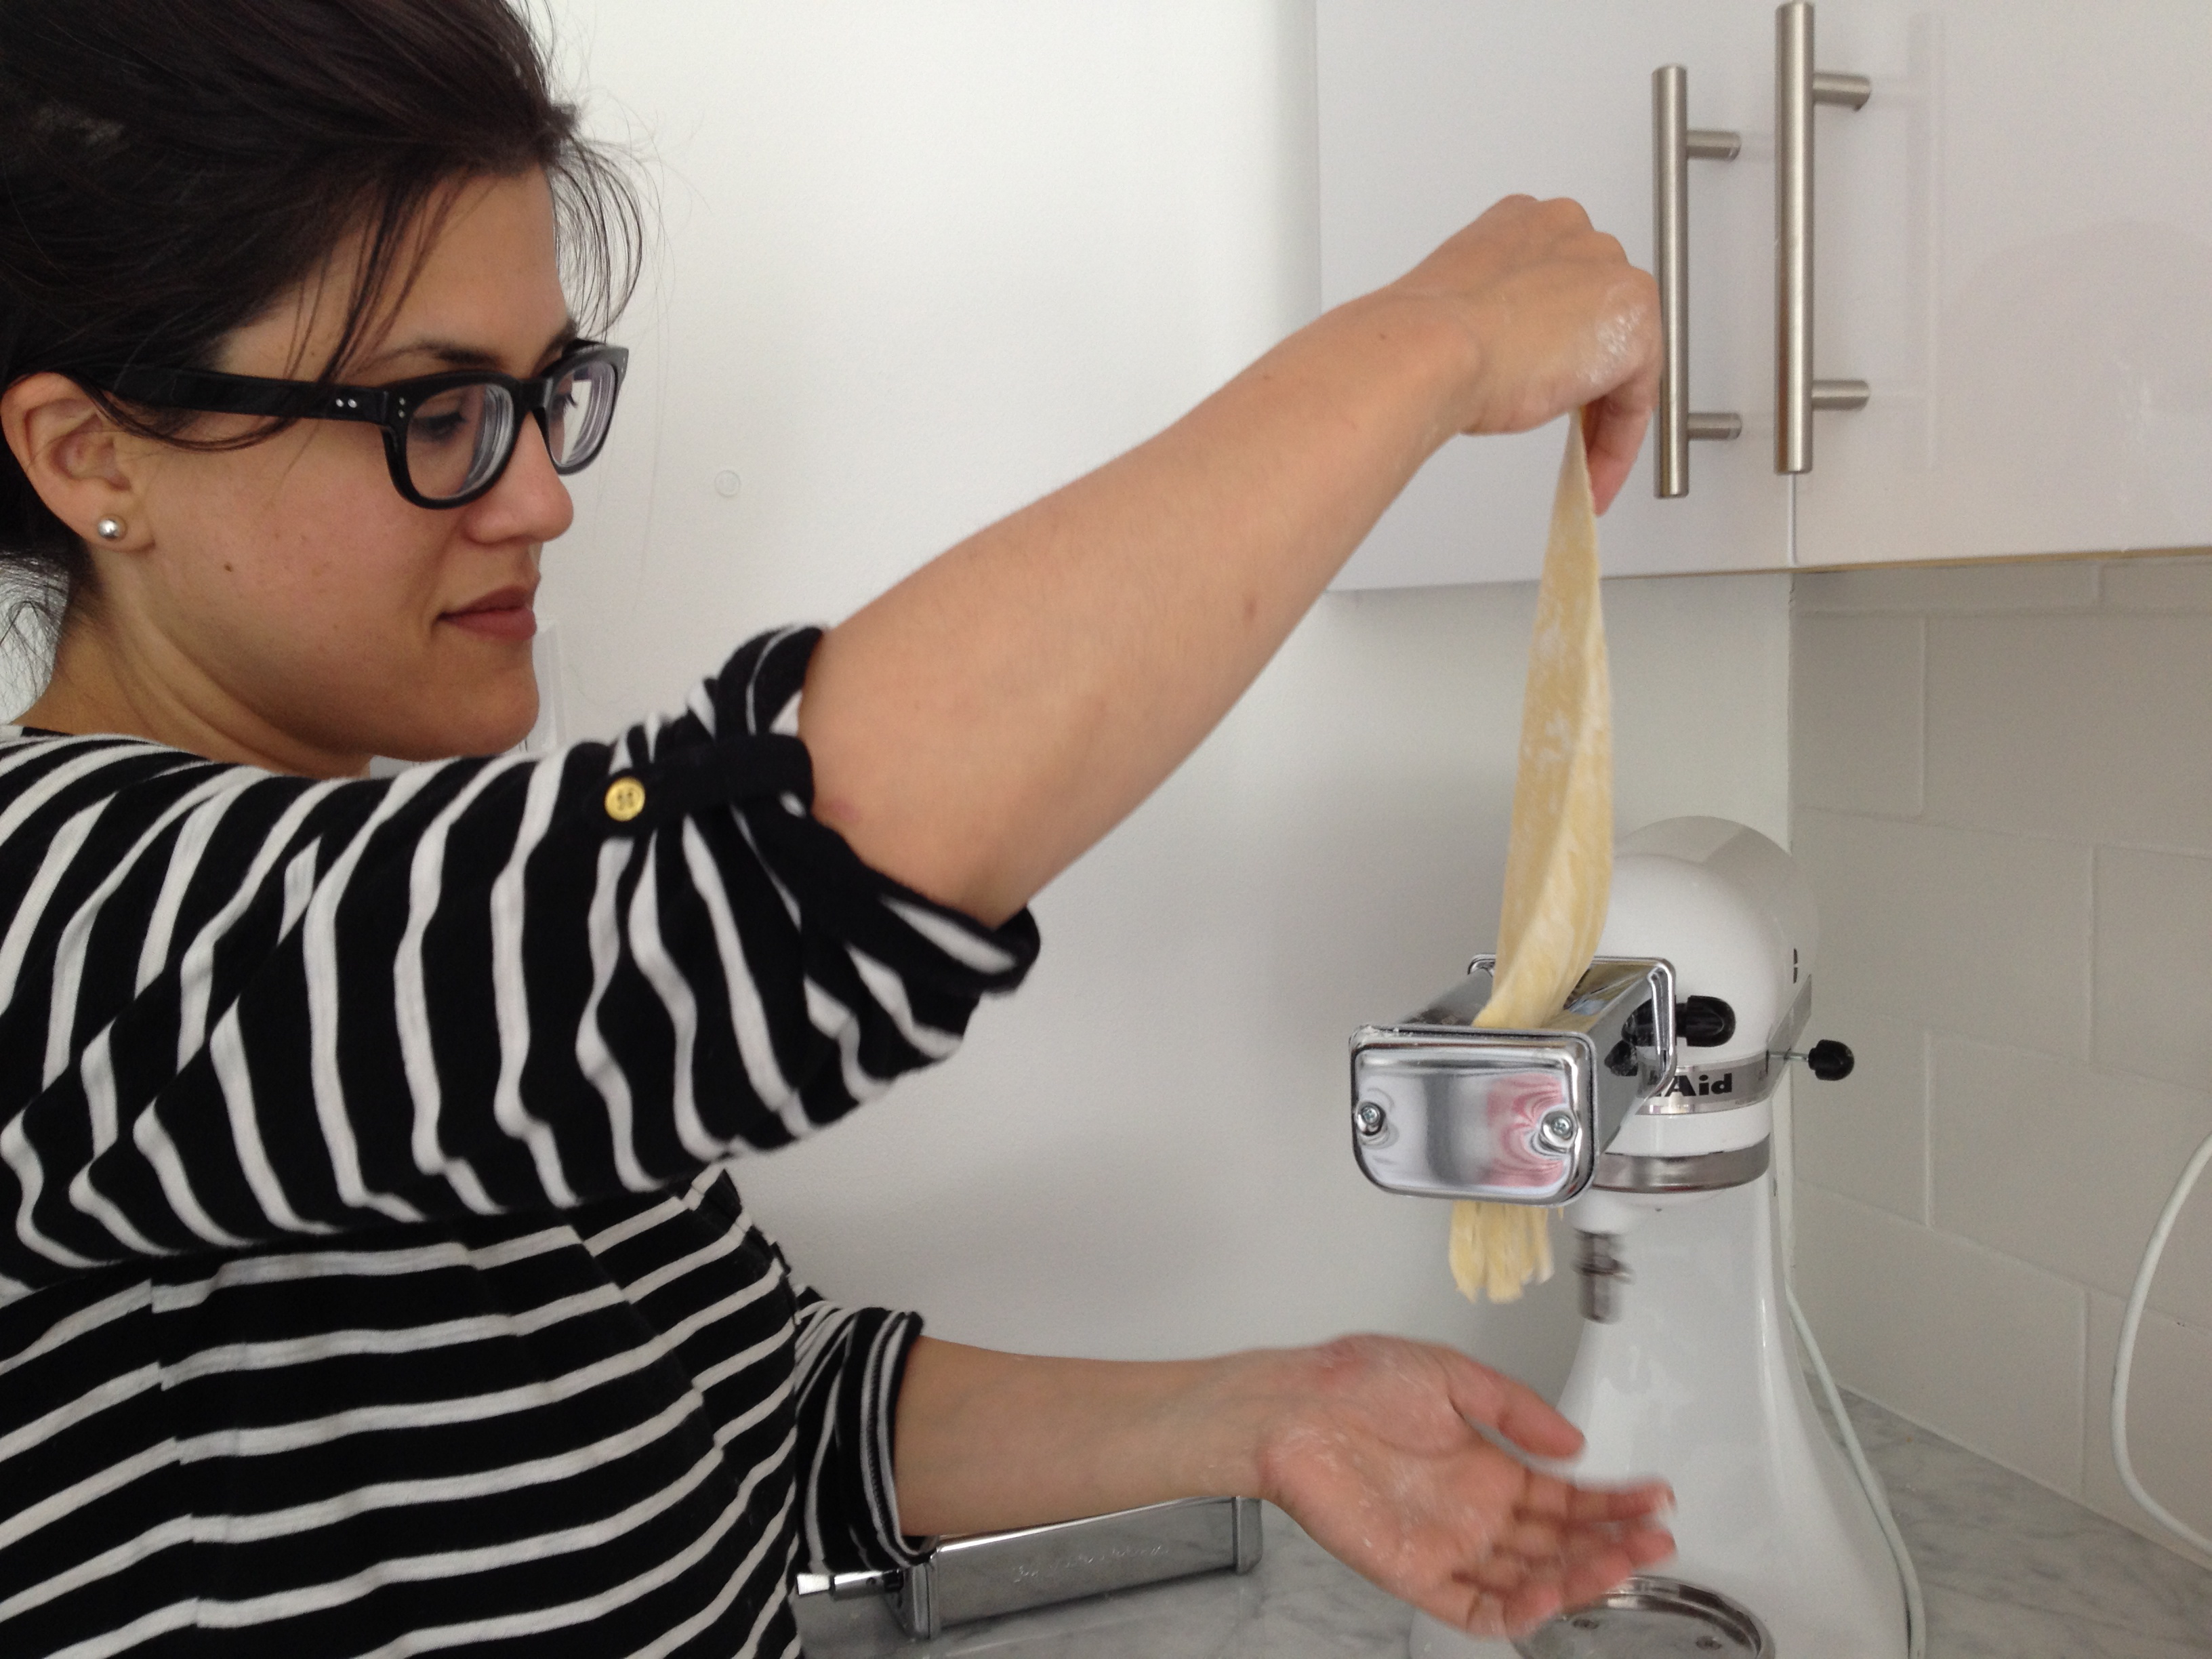
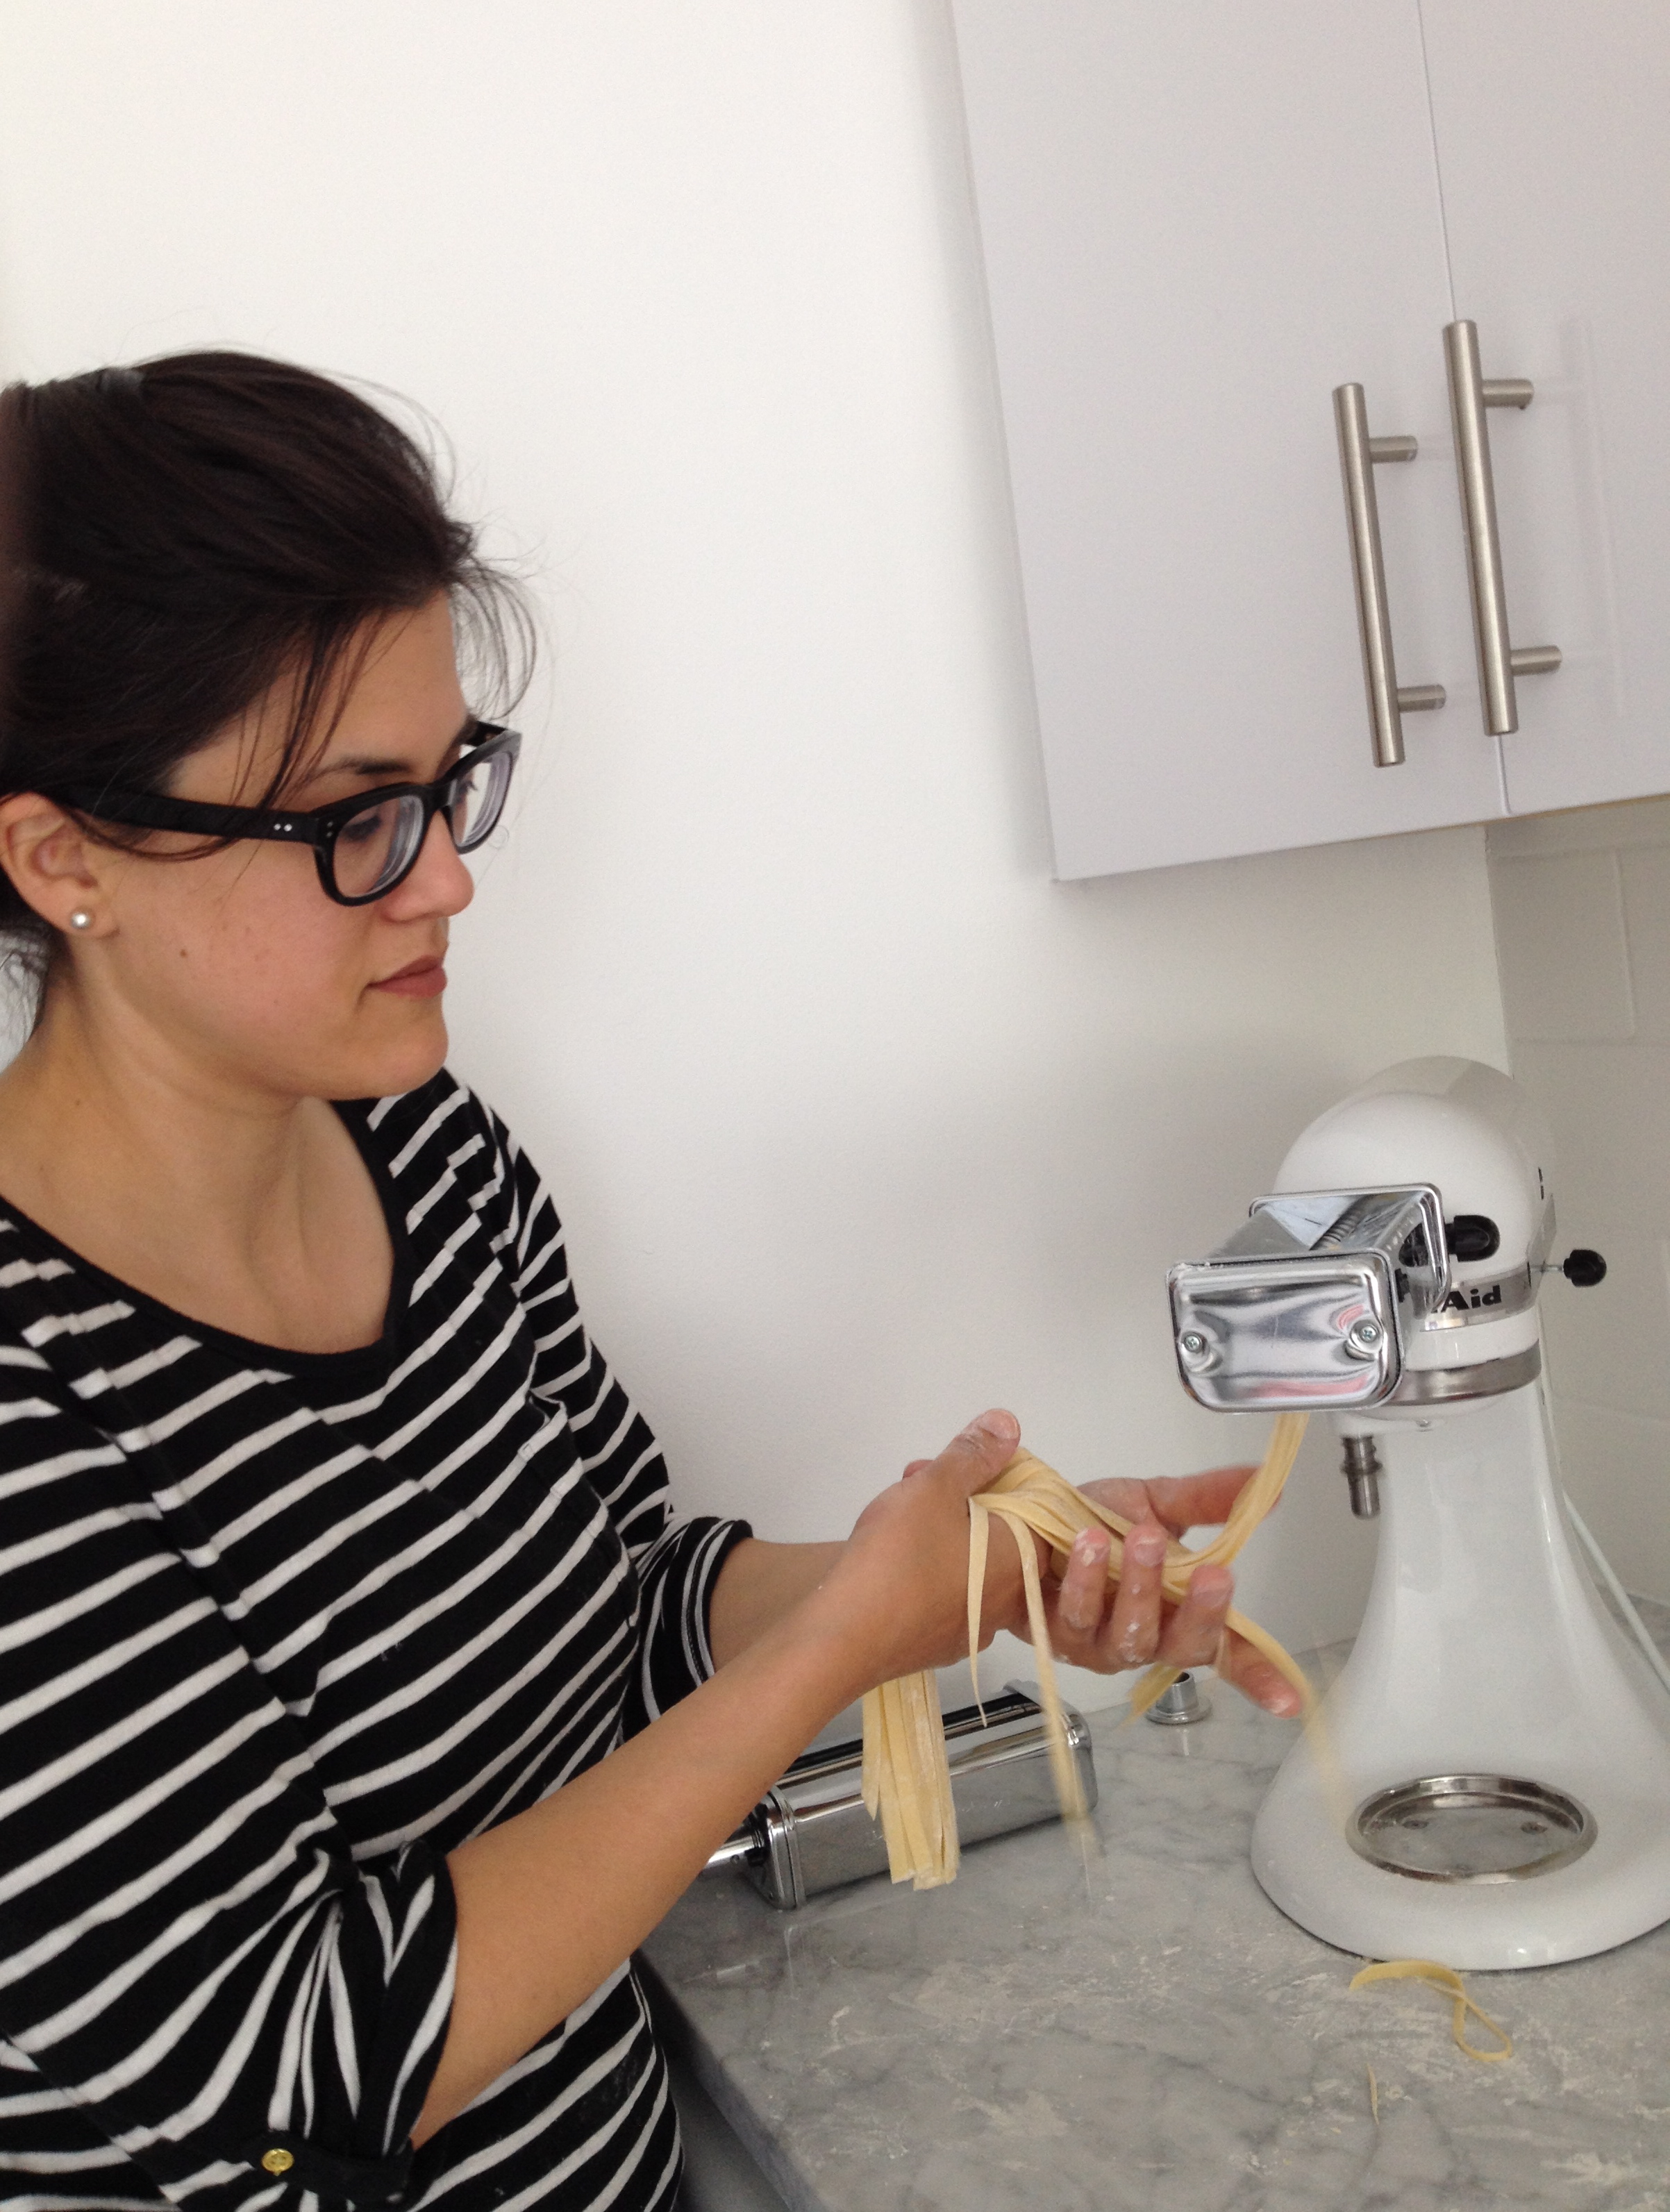
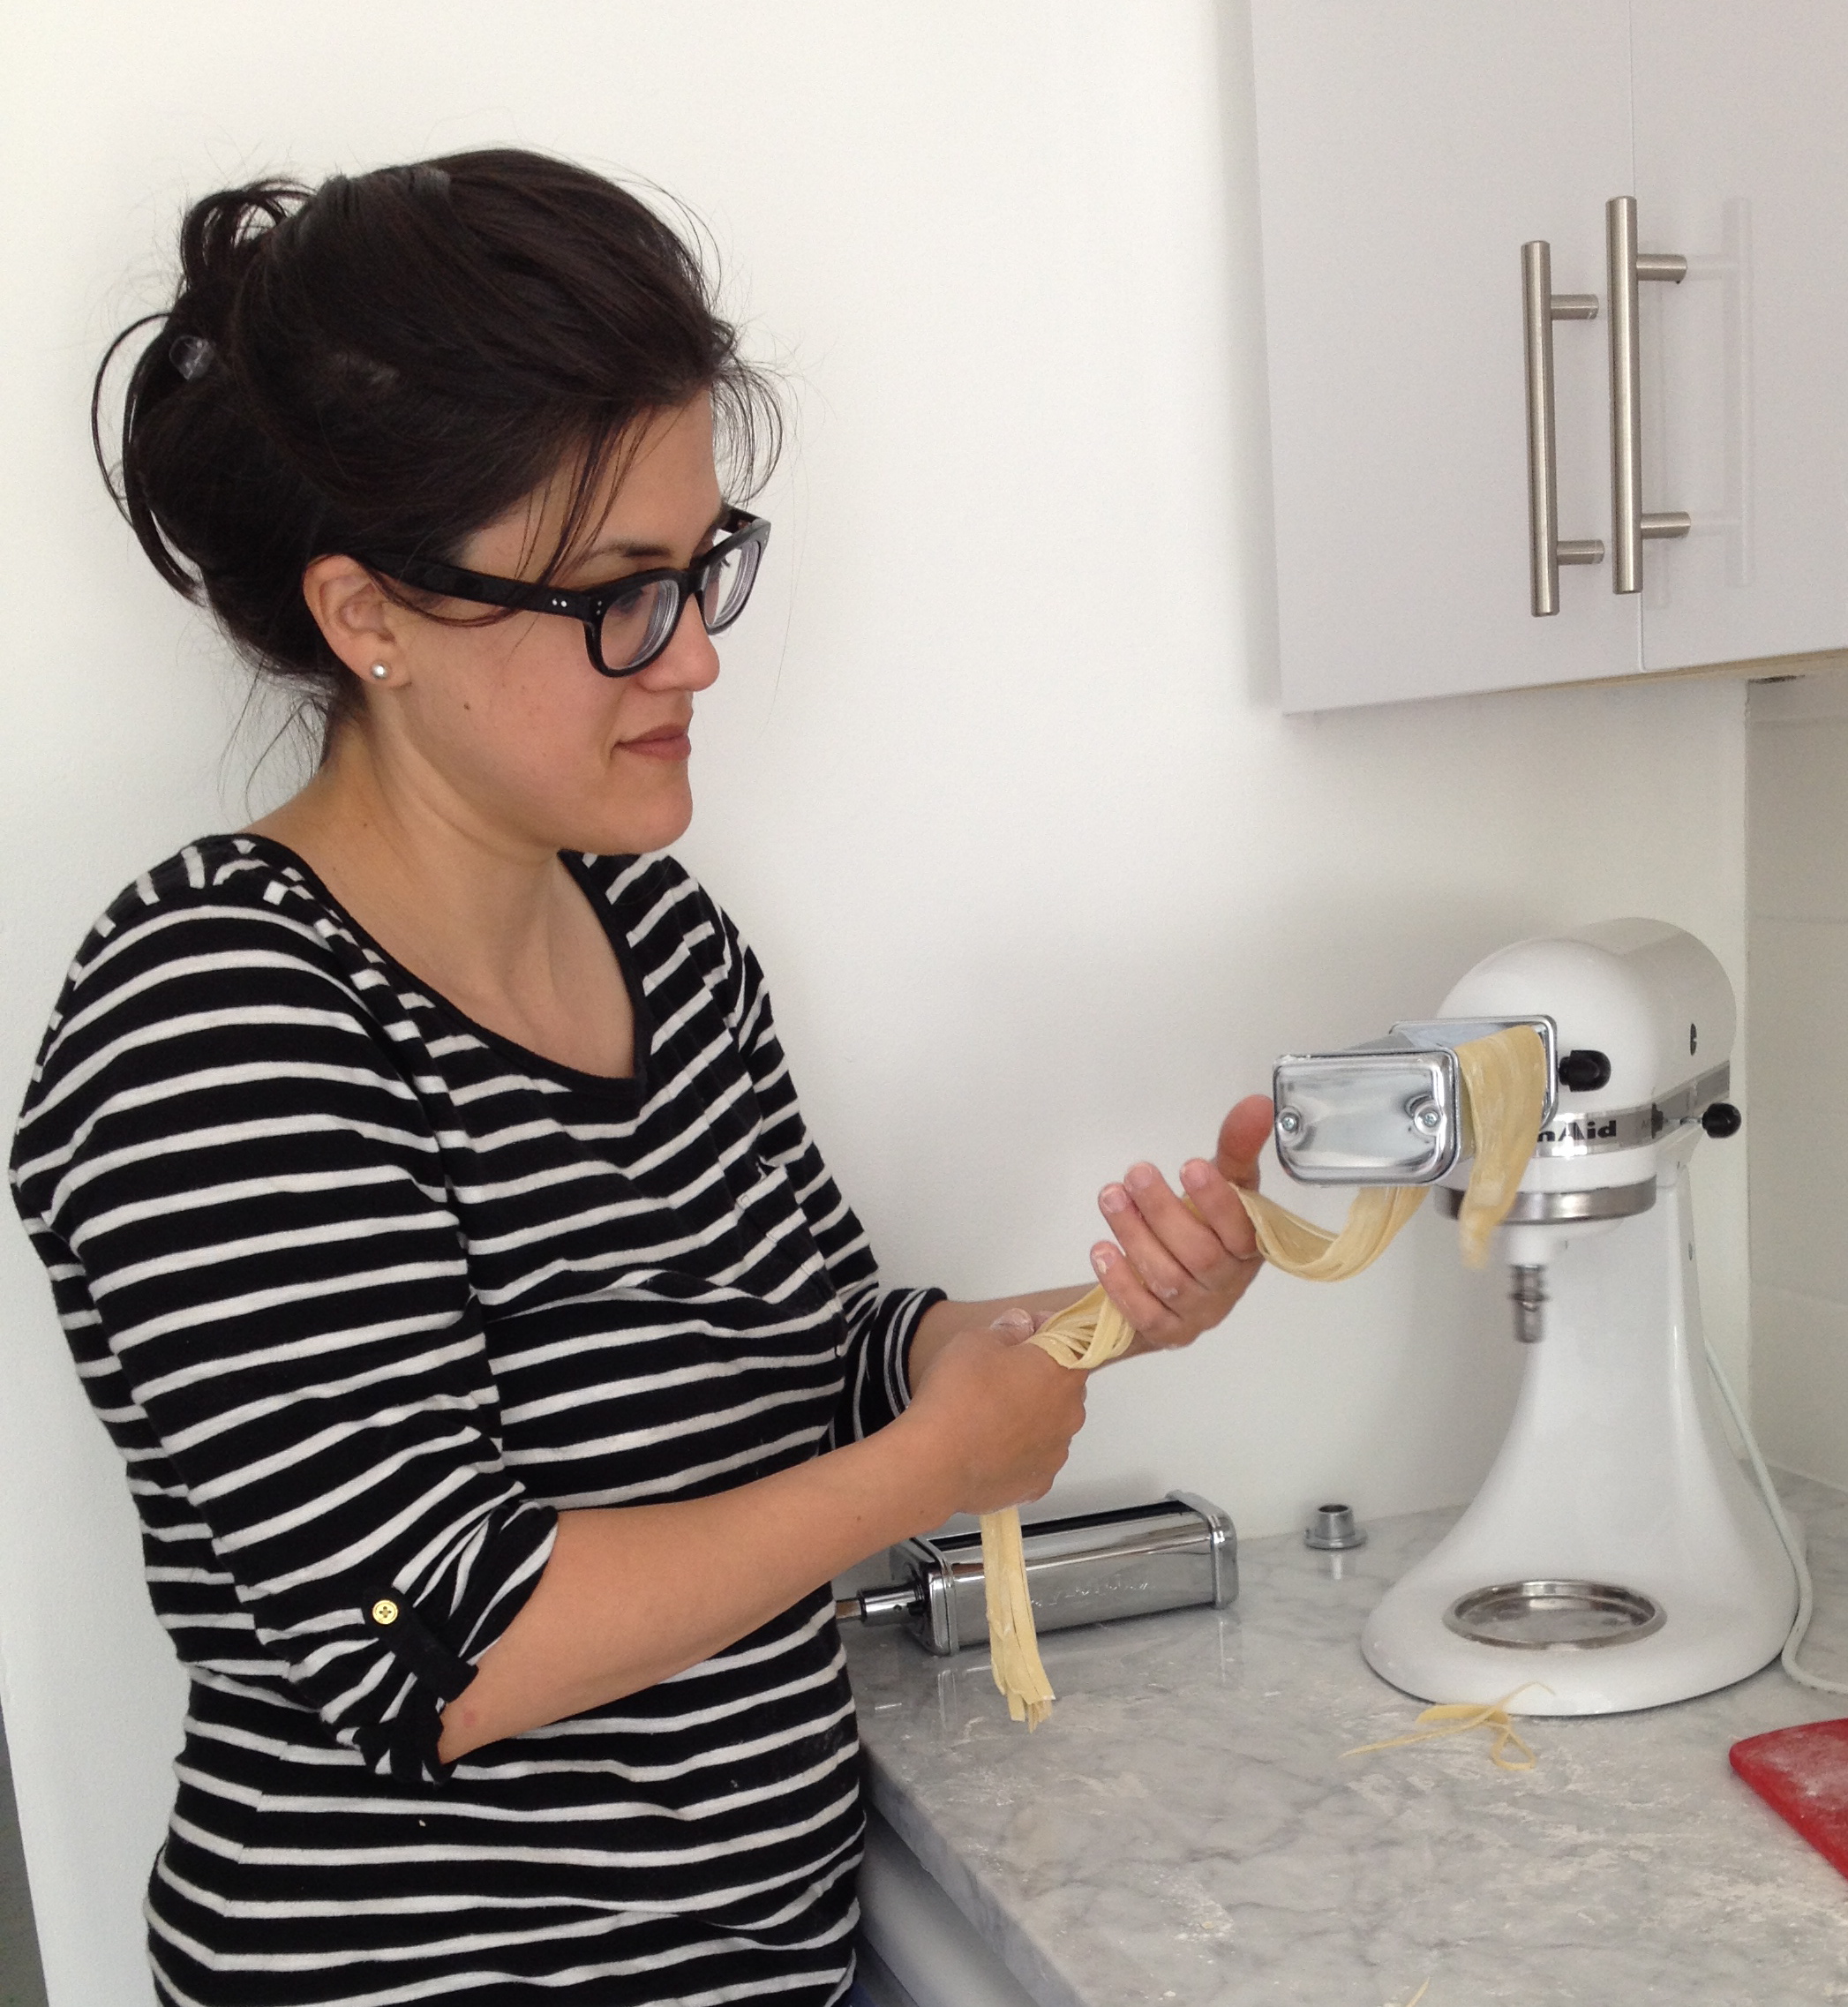
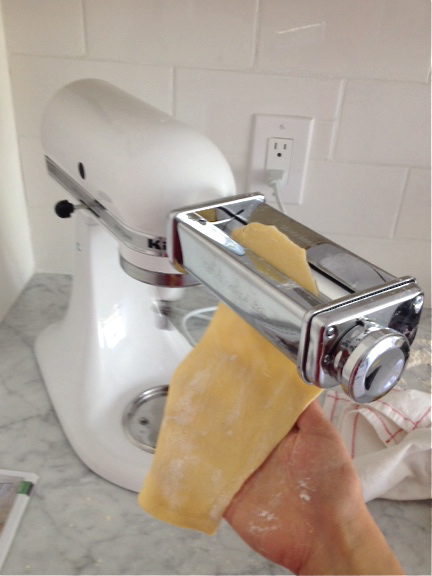 Next, I switched attachments to make spaghetti and fettucini. I floured everything up so that nothing would stick.