DIY

Uptown: Scenes from My Weekend

Well – the long weekend brought with it a visit from my dad and a whole lot of progress on my home renos. There was a wall that needed to come down, furniture to be moved, plants to be planted, electrical work to be tackled, and a lot of heavy duty cleaning to be done.

IMG_5676

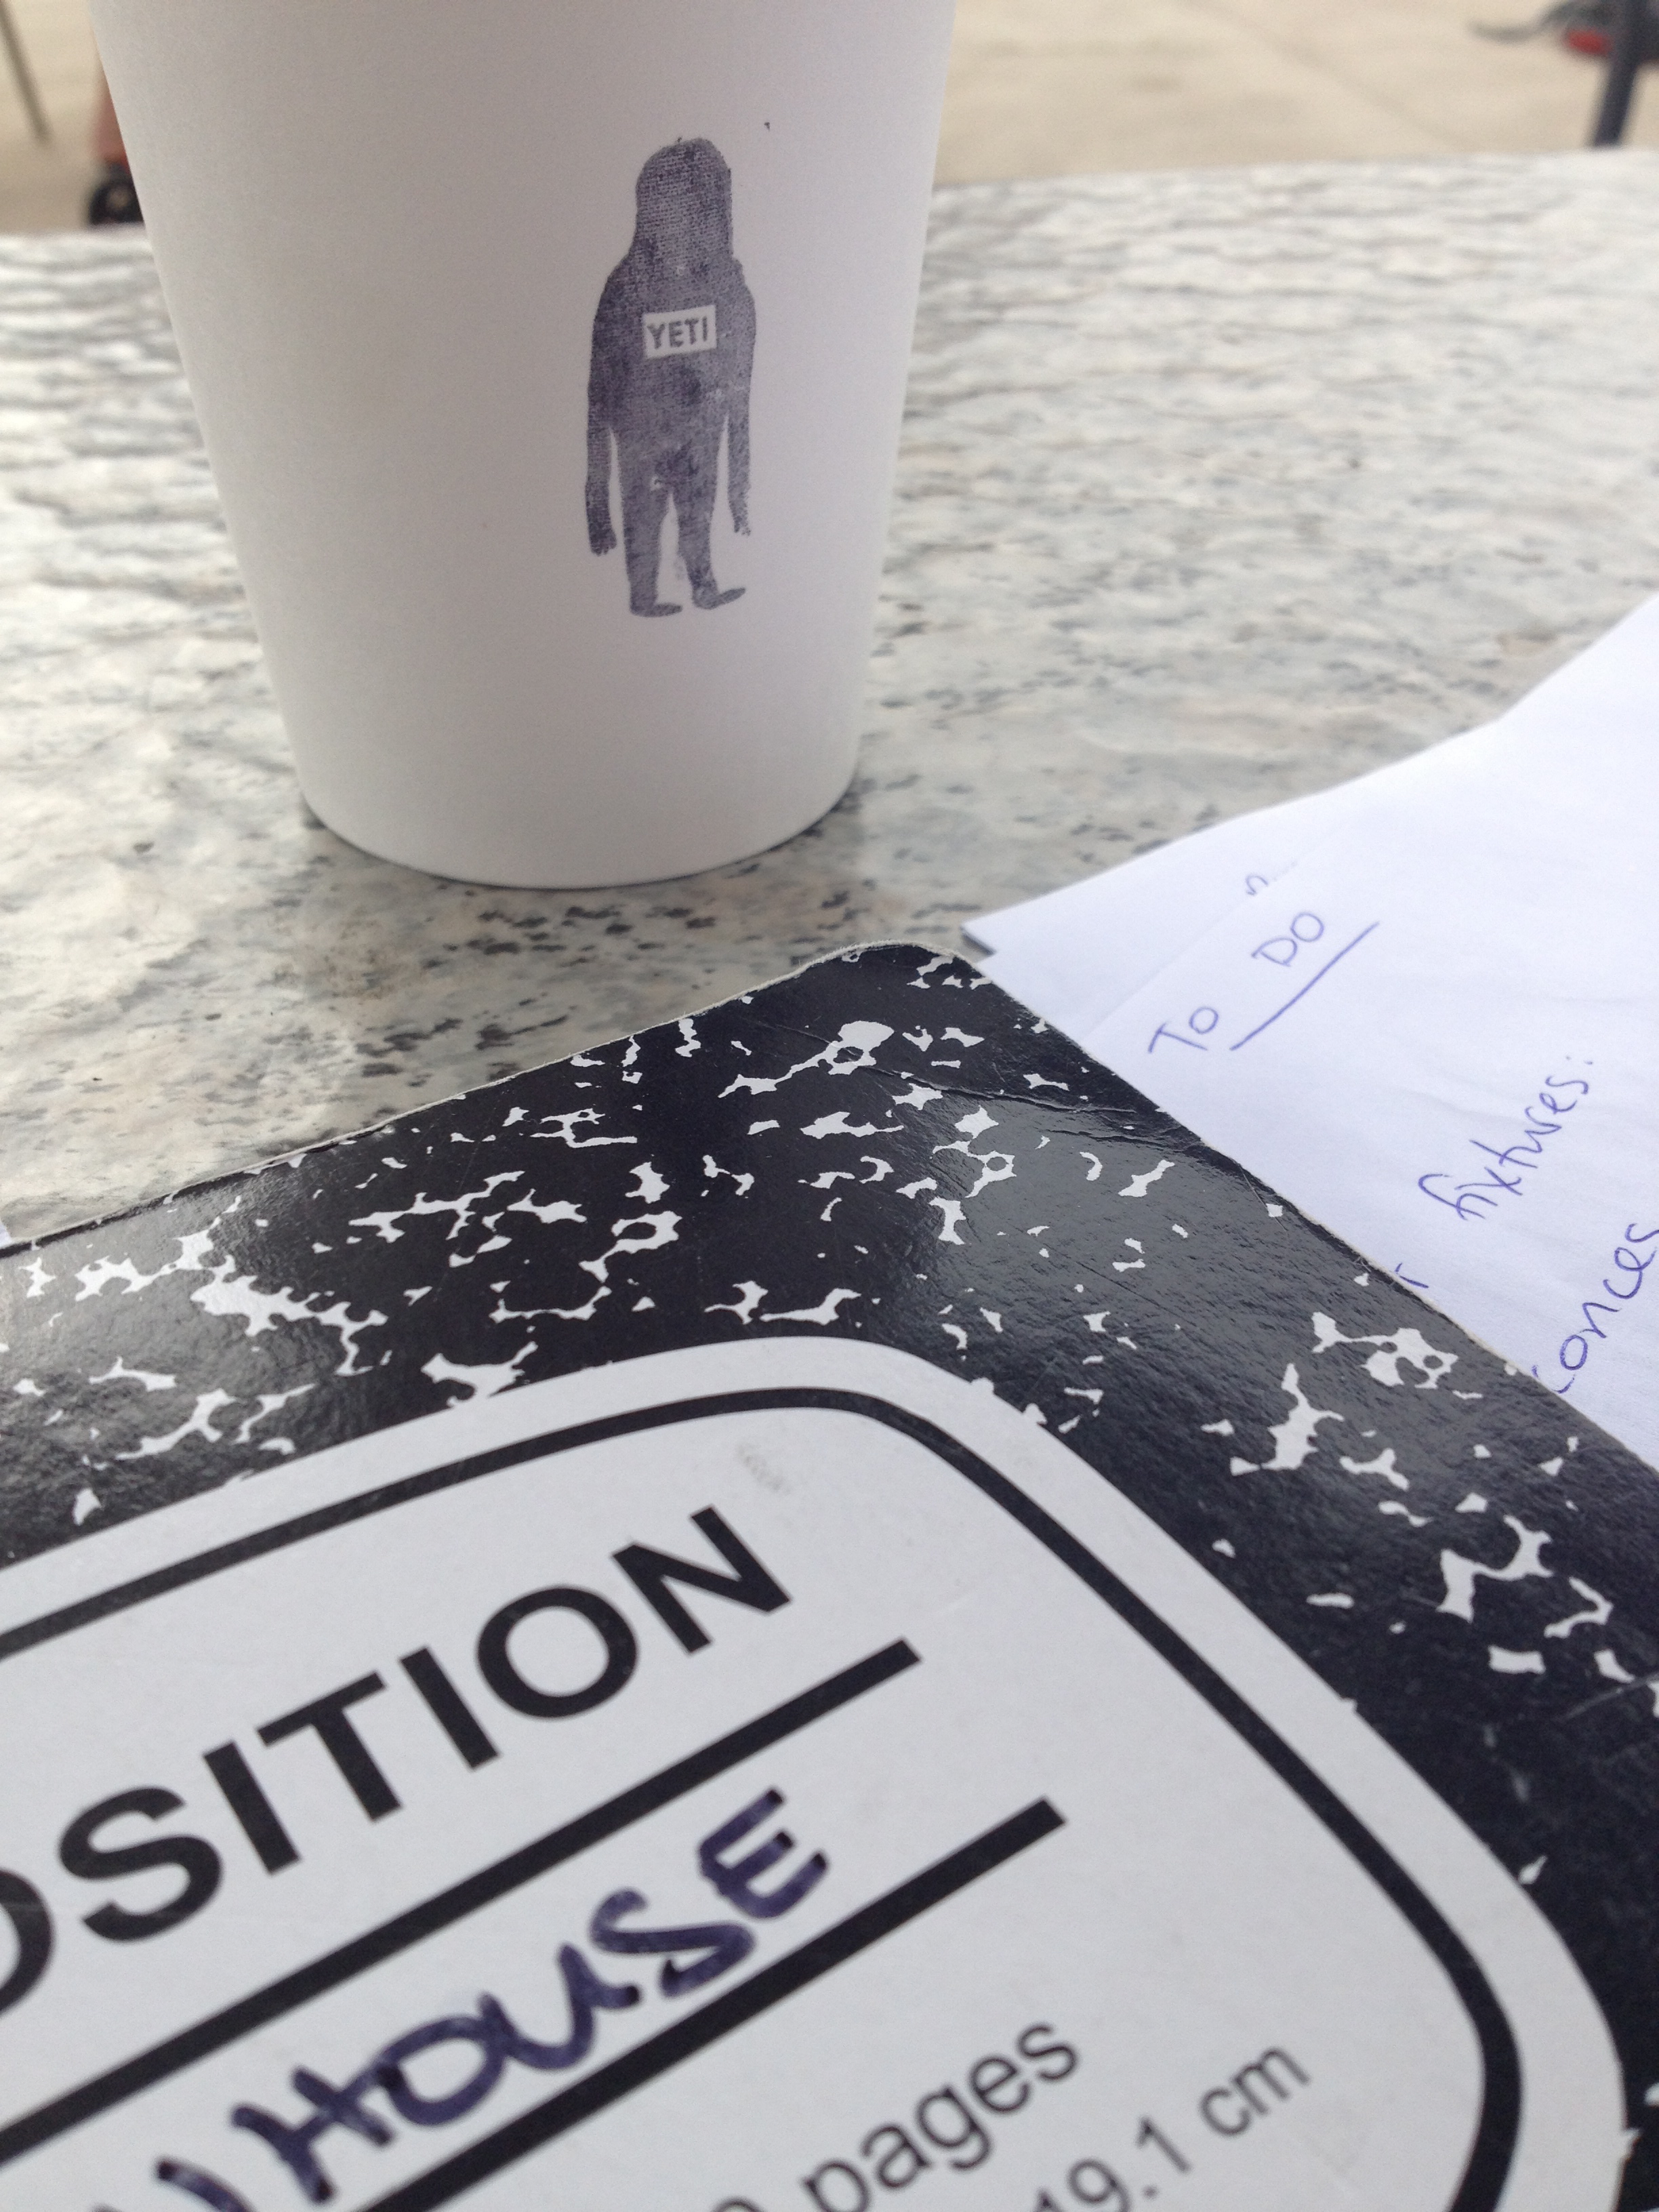
In preparation for the weekend o’ work (and beyond), I made two lists: one for dad and one for me. His list includes a lot of my electrical wishes (and some of his too) and my list includes a lot of “buy major piece of furniture/lighting/vanities/things” and “make a decision about paint/furniture/lighting/vanities/things”. Needless to say, his list now has more crossed off of it than mine.

I learned how to remove a wall this weekend. My dad did most of the work but in between scrubbing everything in my kitchen, I watched what he did. What a big job that was. But now it’s done! I have full access to my dining room from living room and kitchen and the flow in the house is so much better. Awesome.
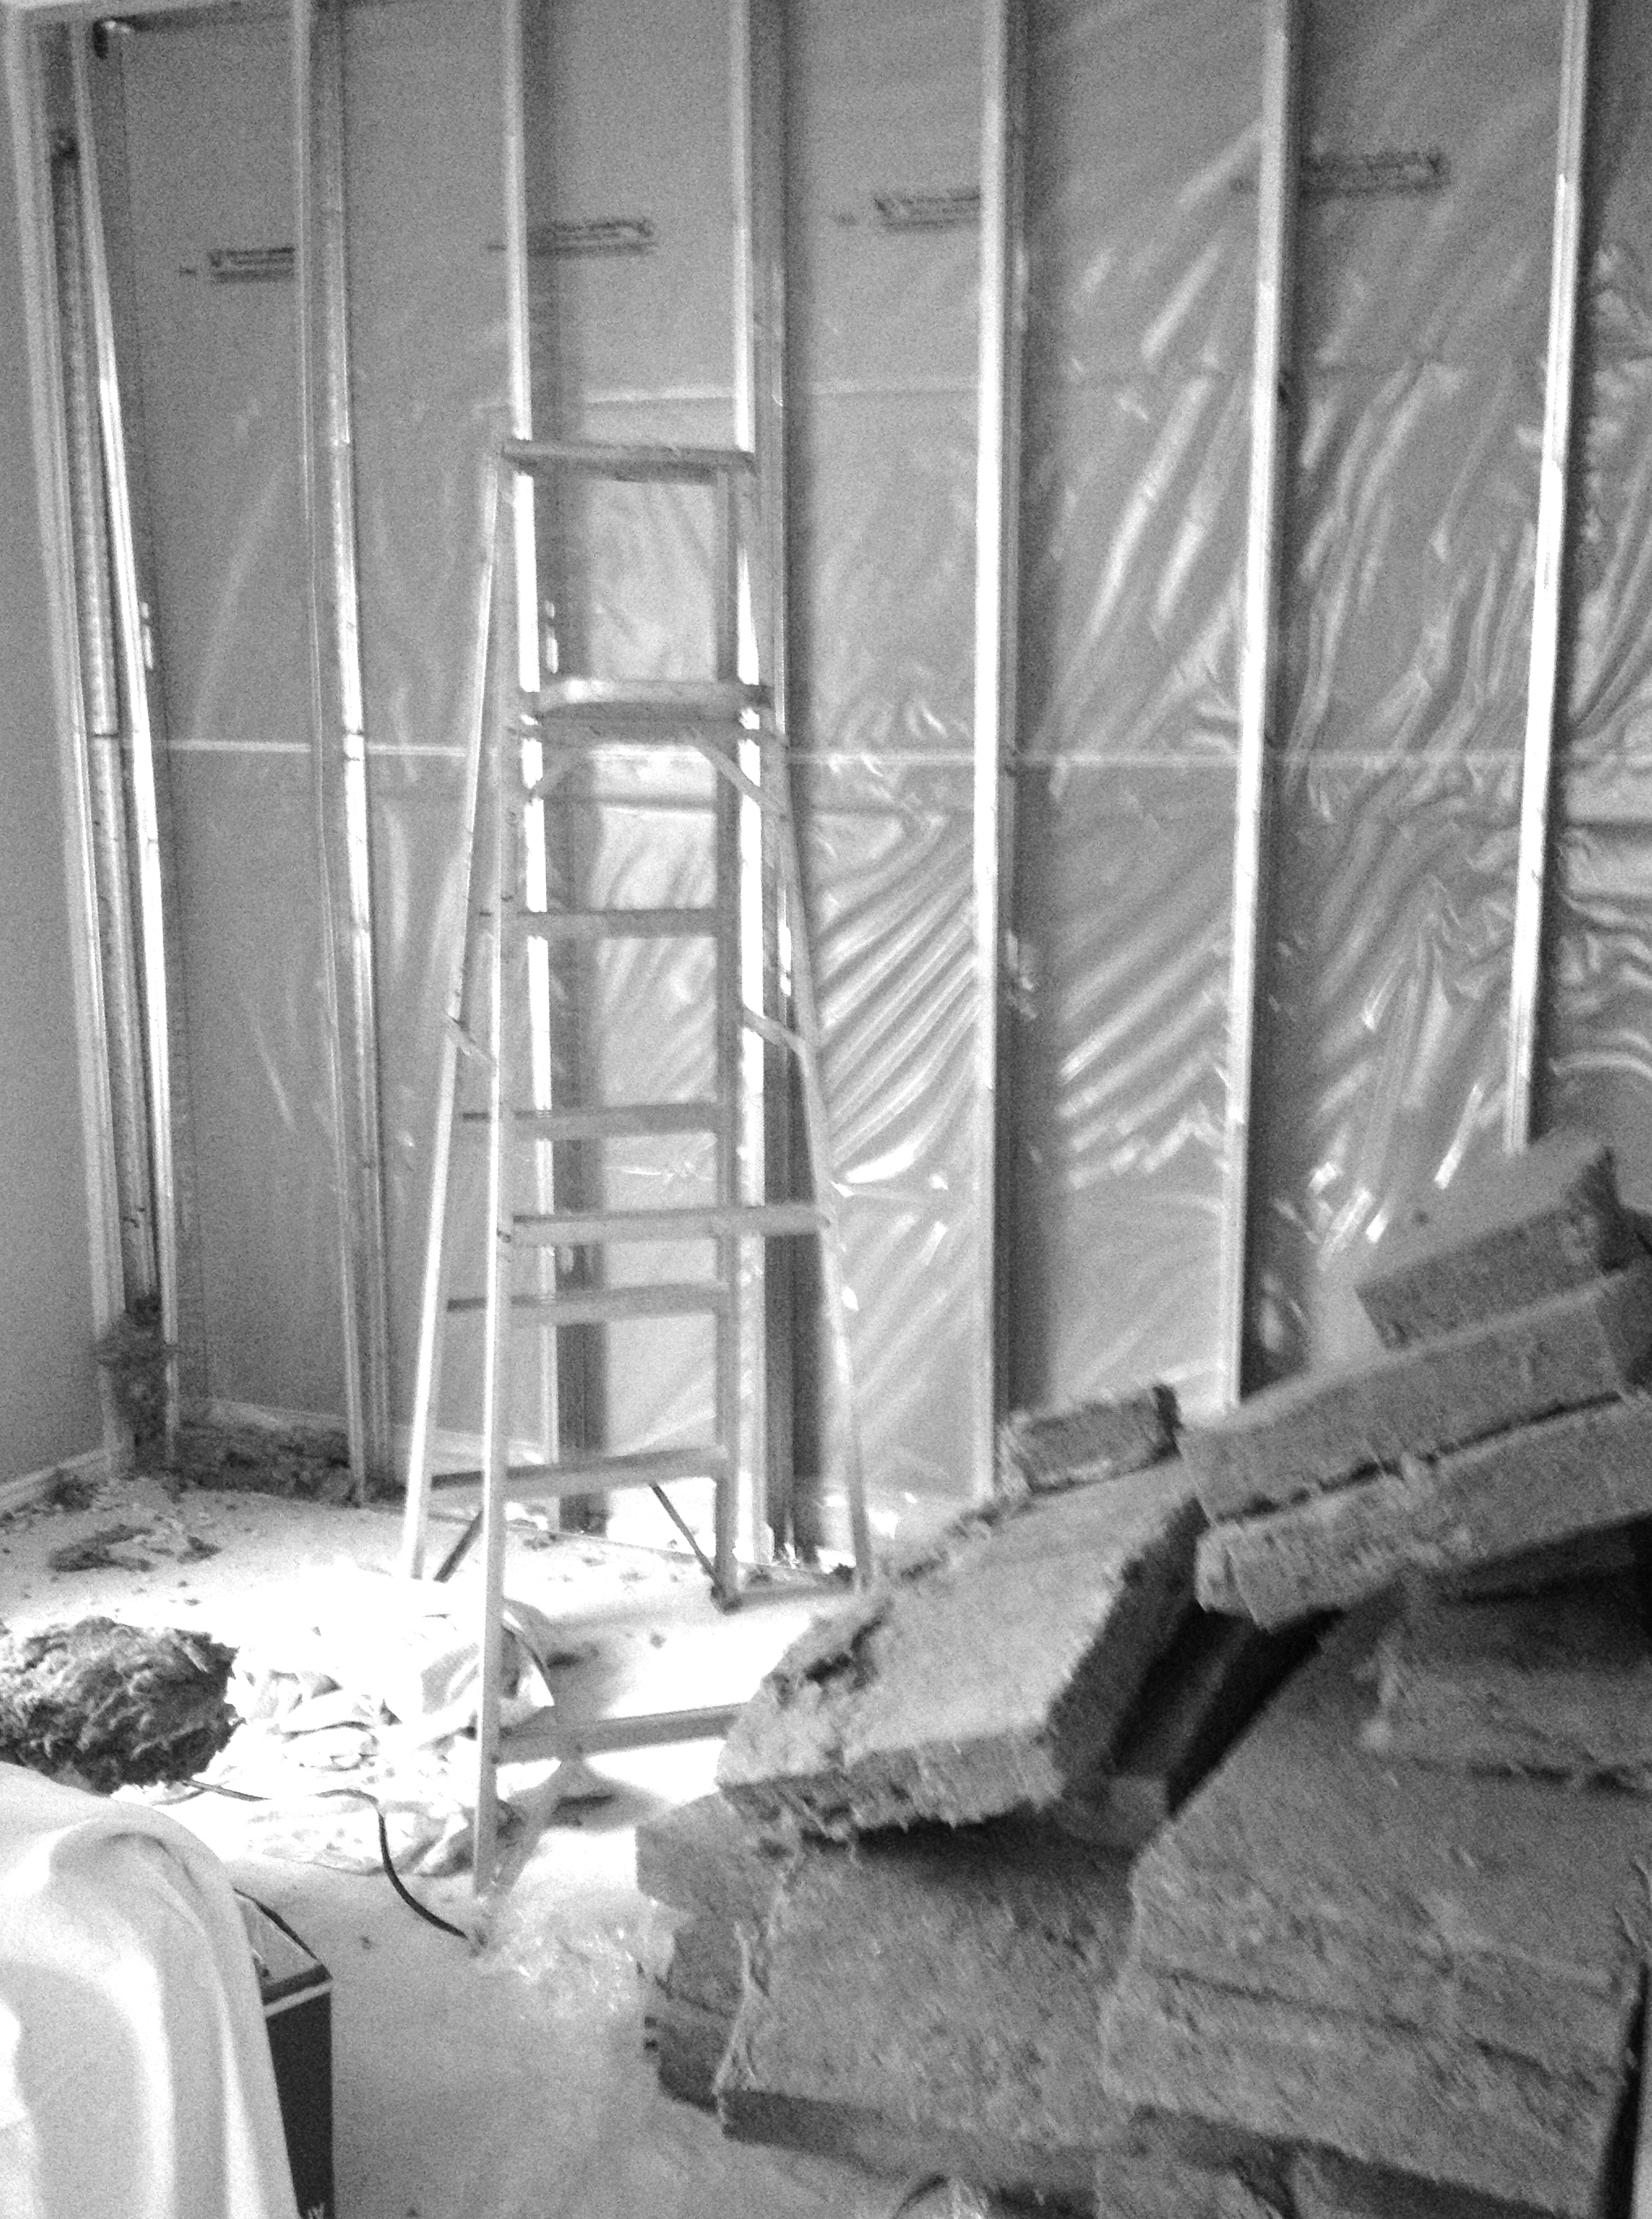
IMG_5707_2

 breaking the wall

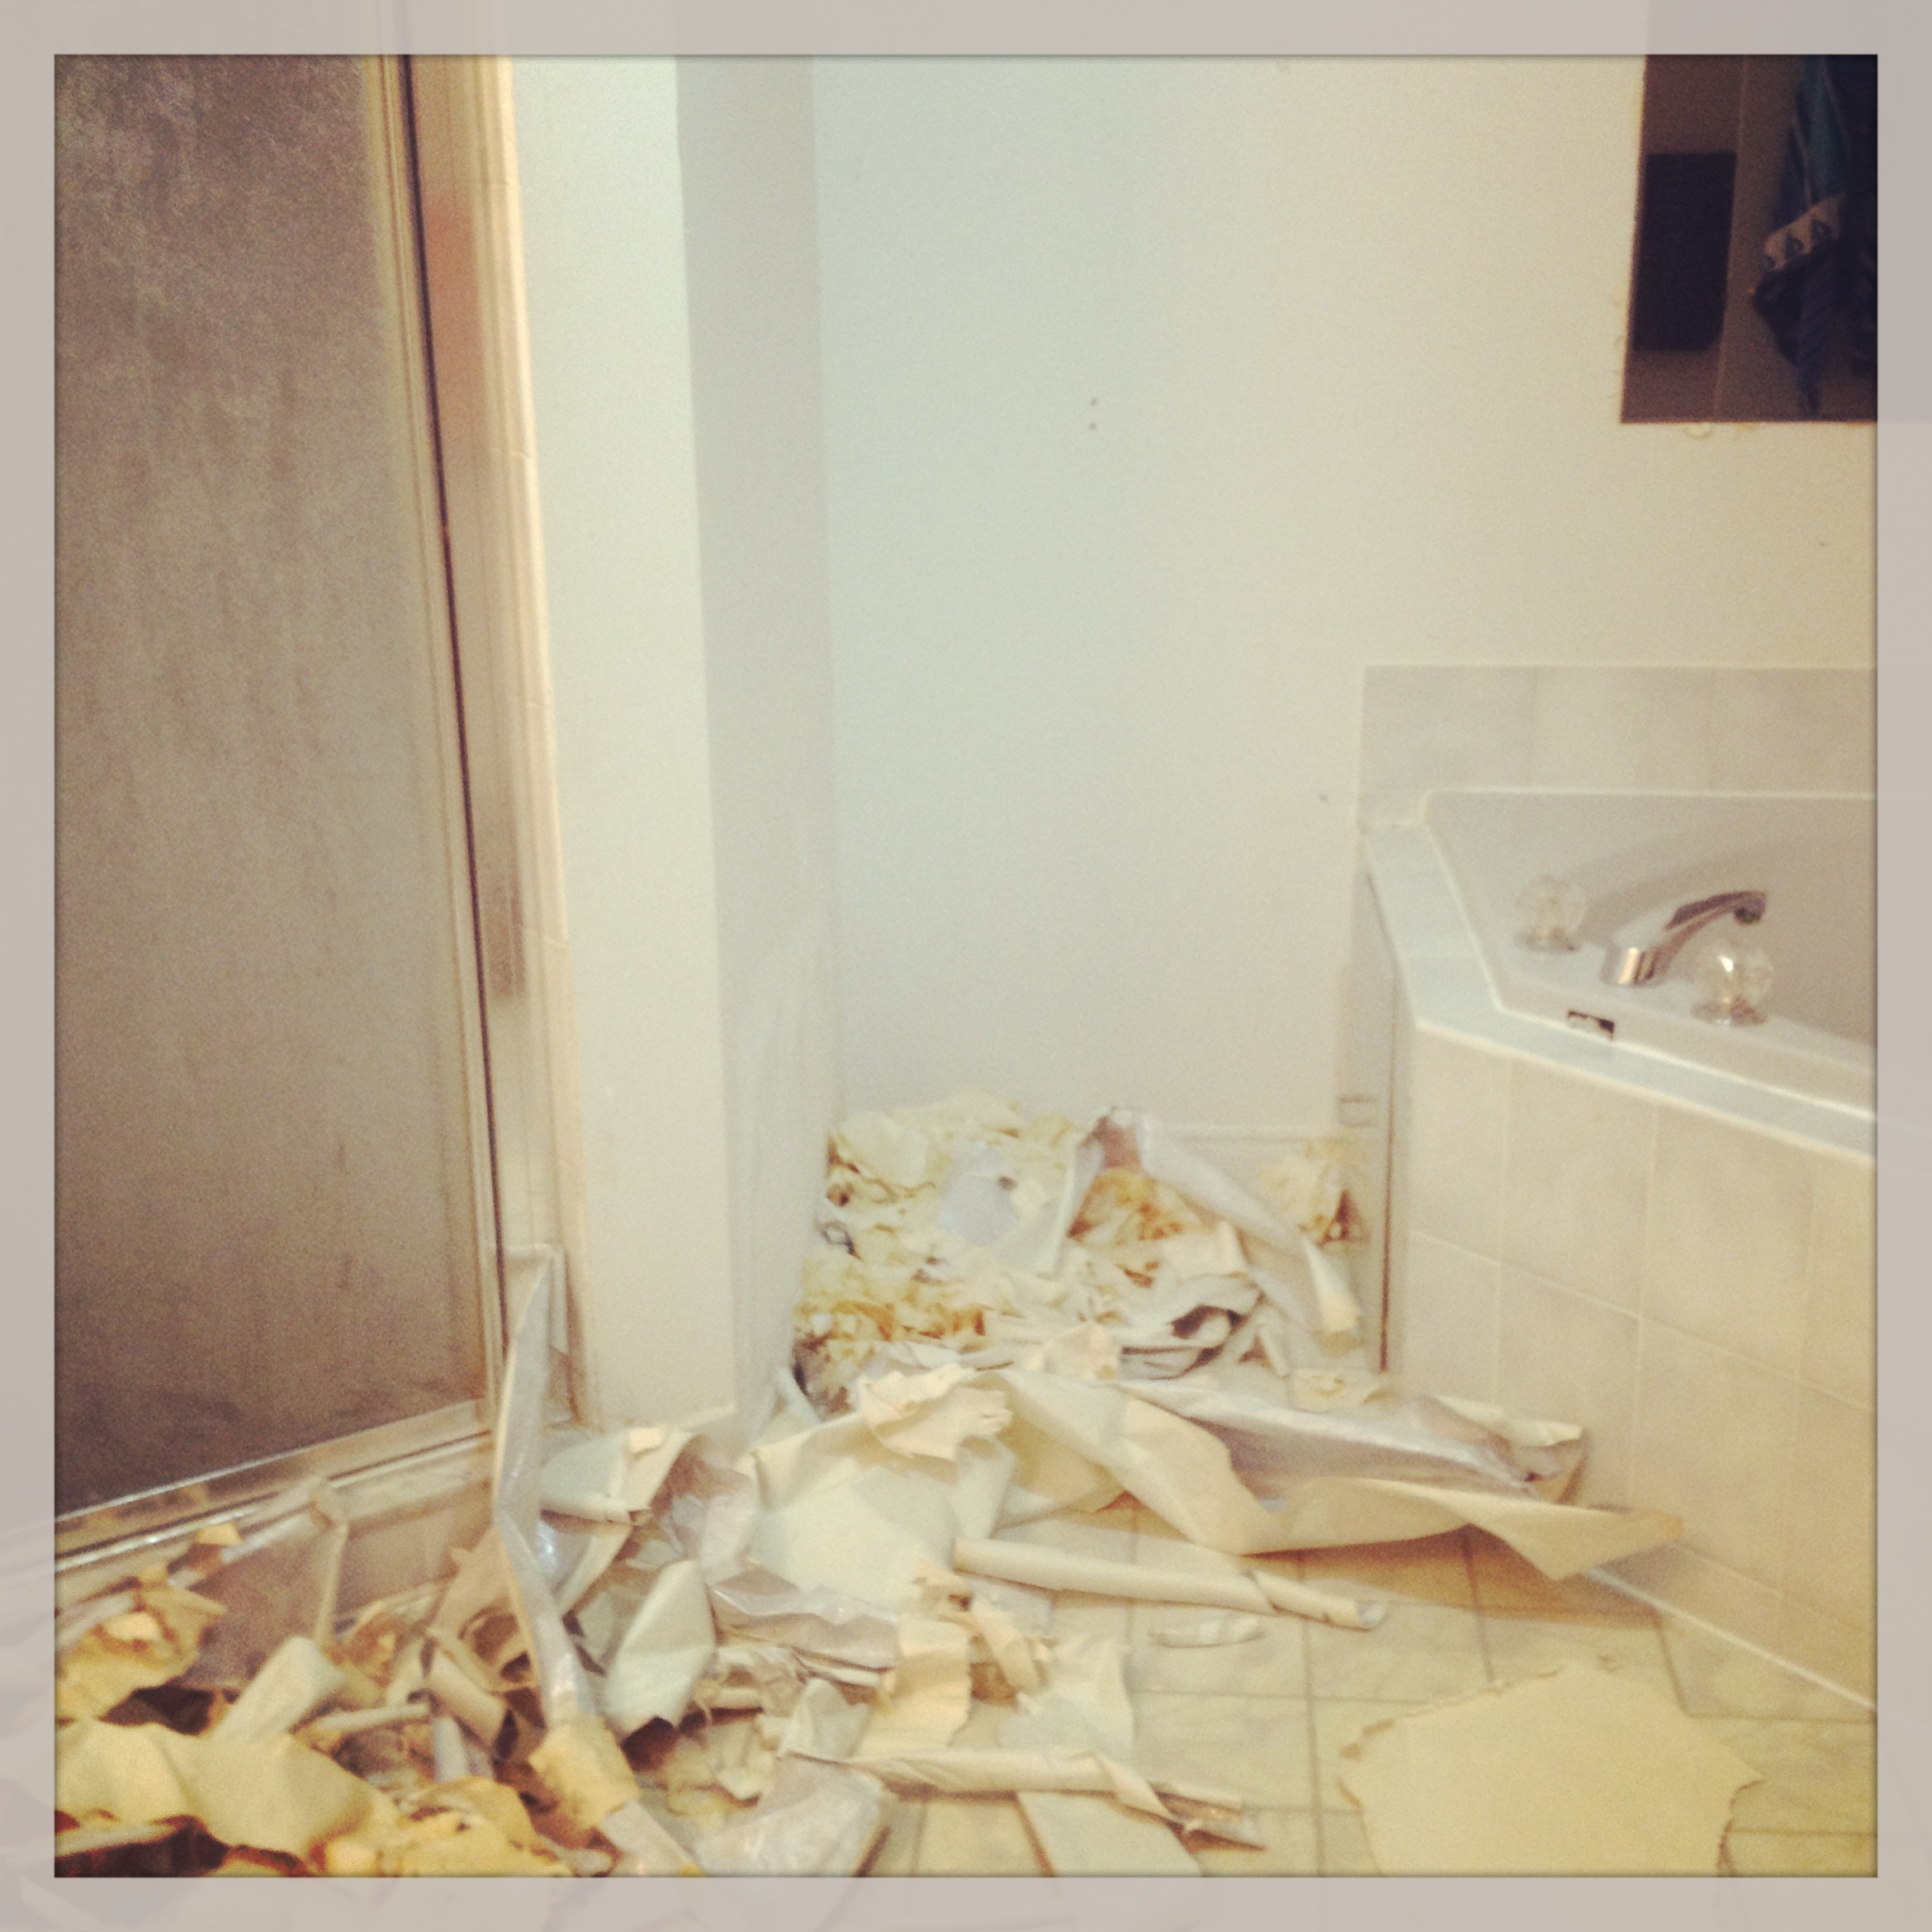
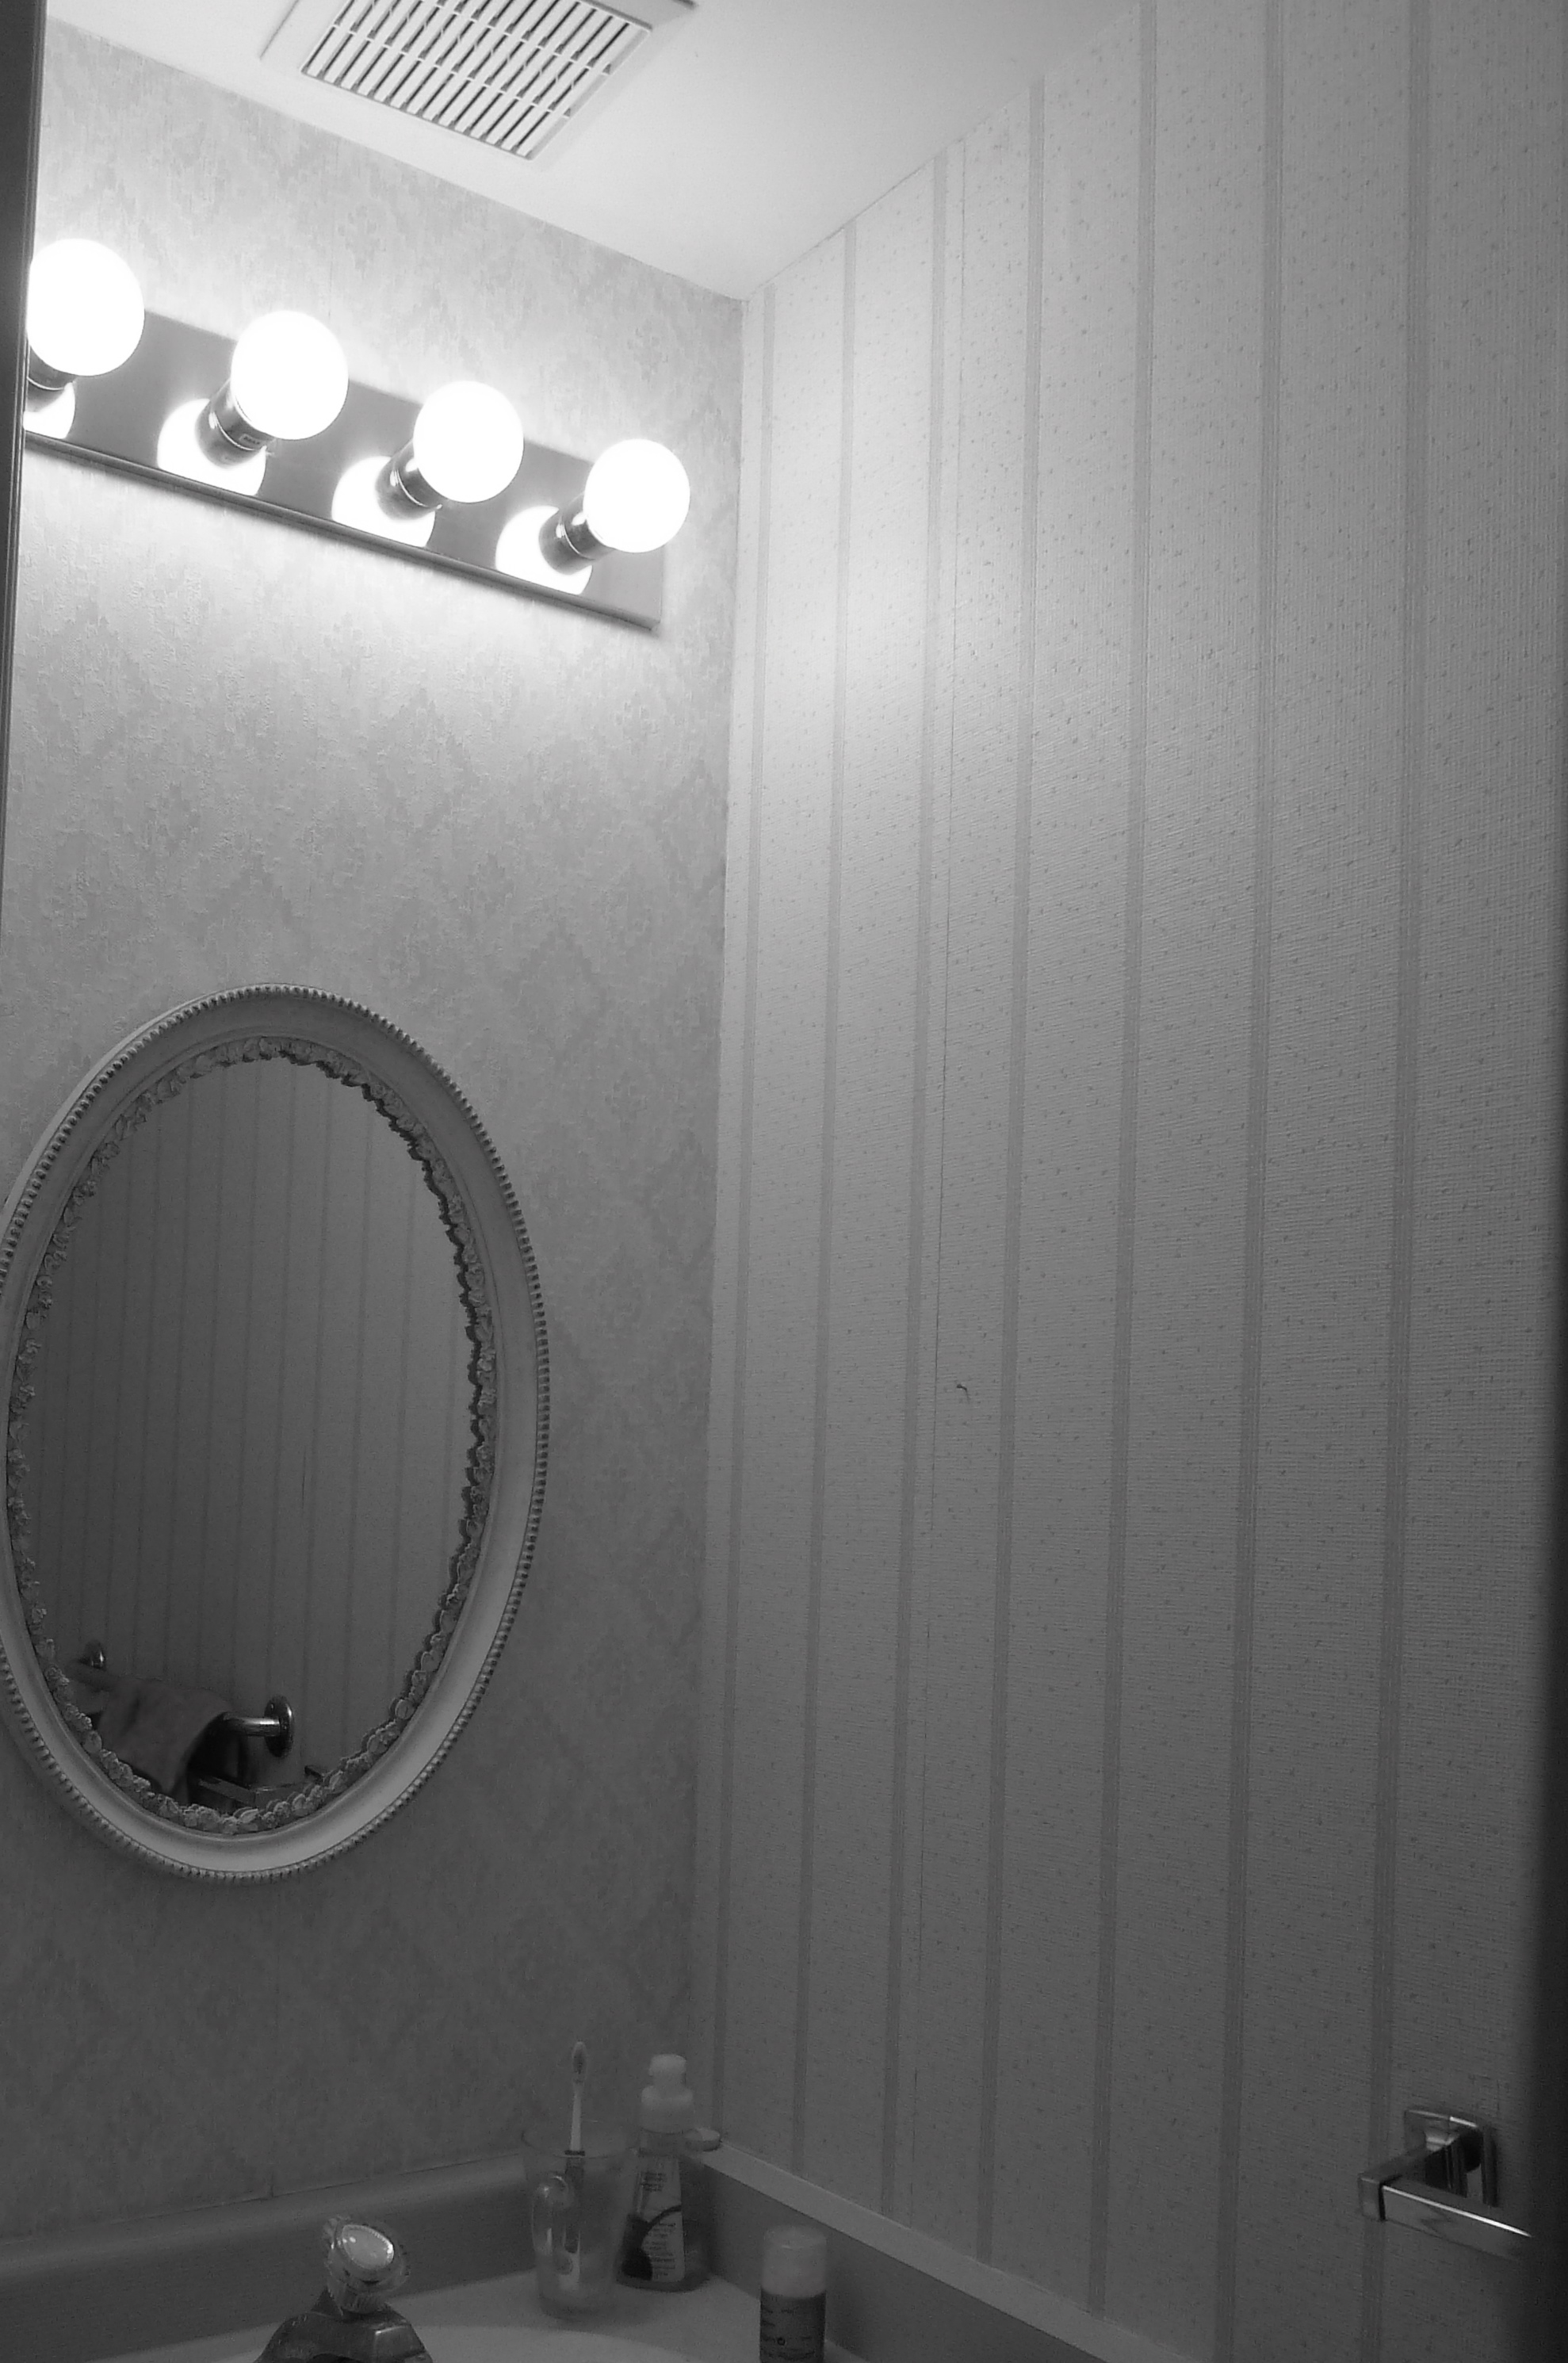
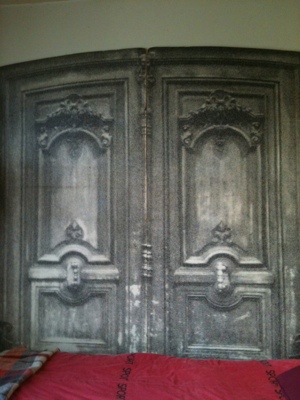
My dad and I took down the two large mirrors that were in the upstairs bath. (Gosh those things were heavy.) Doing this meant that I could take down the last of the wallpaper (hiding behind the mirrors) in this bathroom. I felt like I needed to pop open some champagne to mark the occasion. What a task that was. And, yes, I still hate wallpaper. I will never put wallpaper up. Ever.

IMG_5751

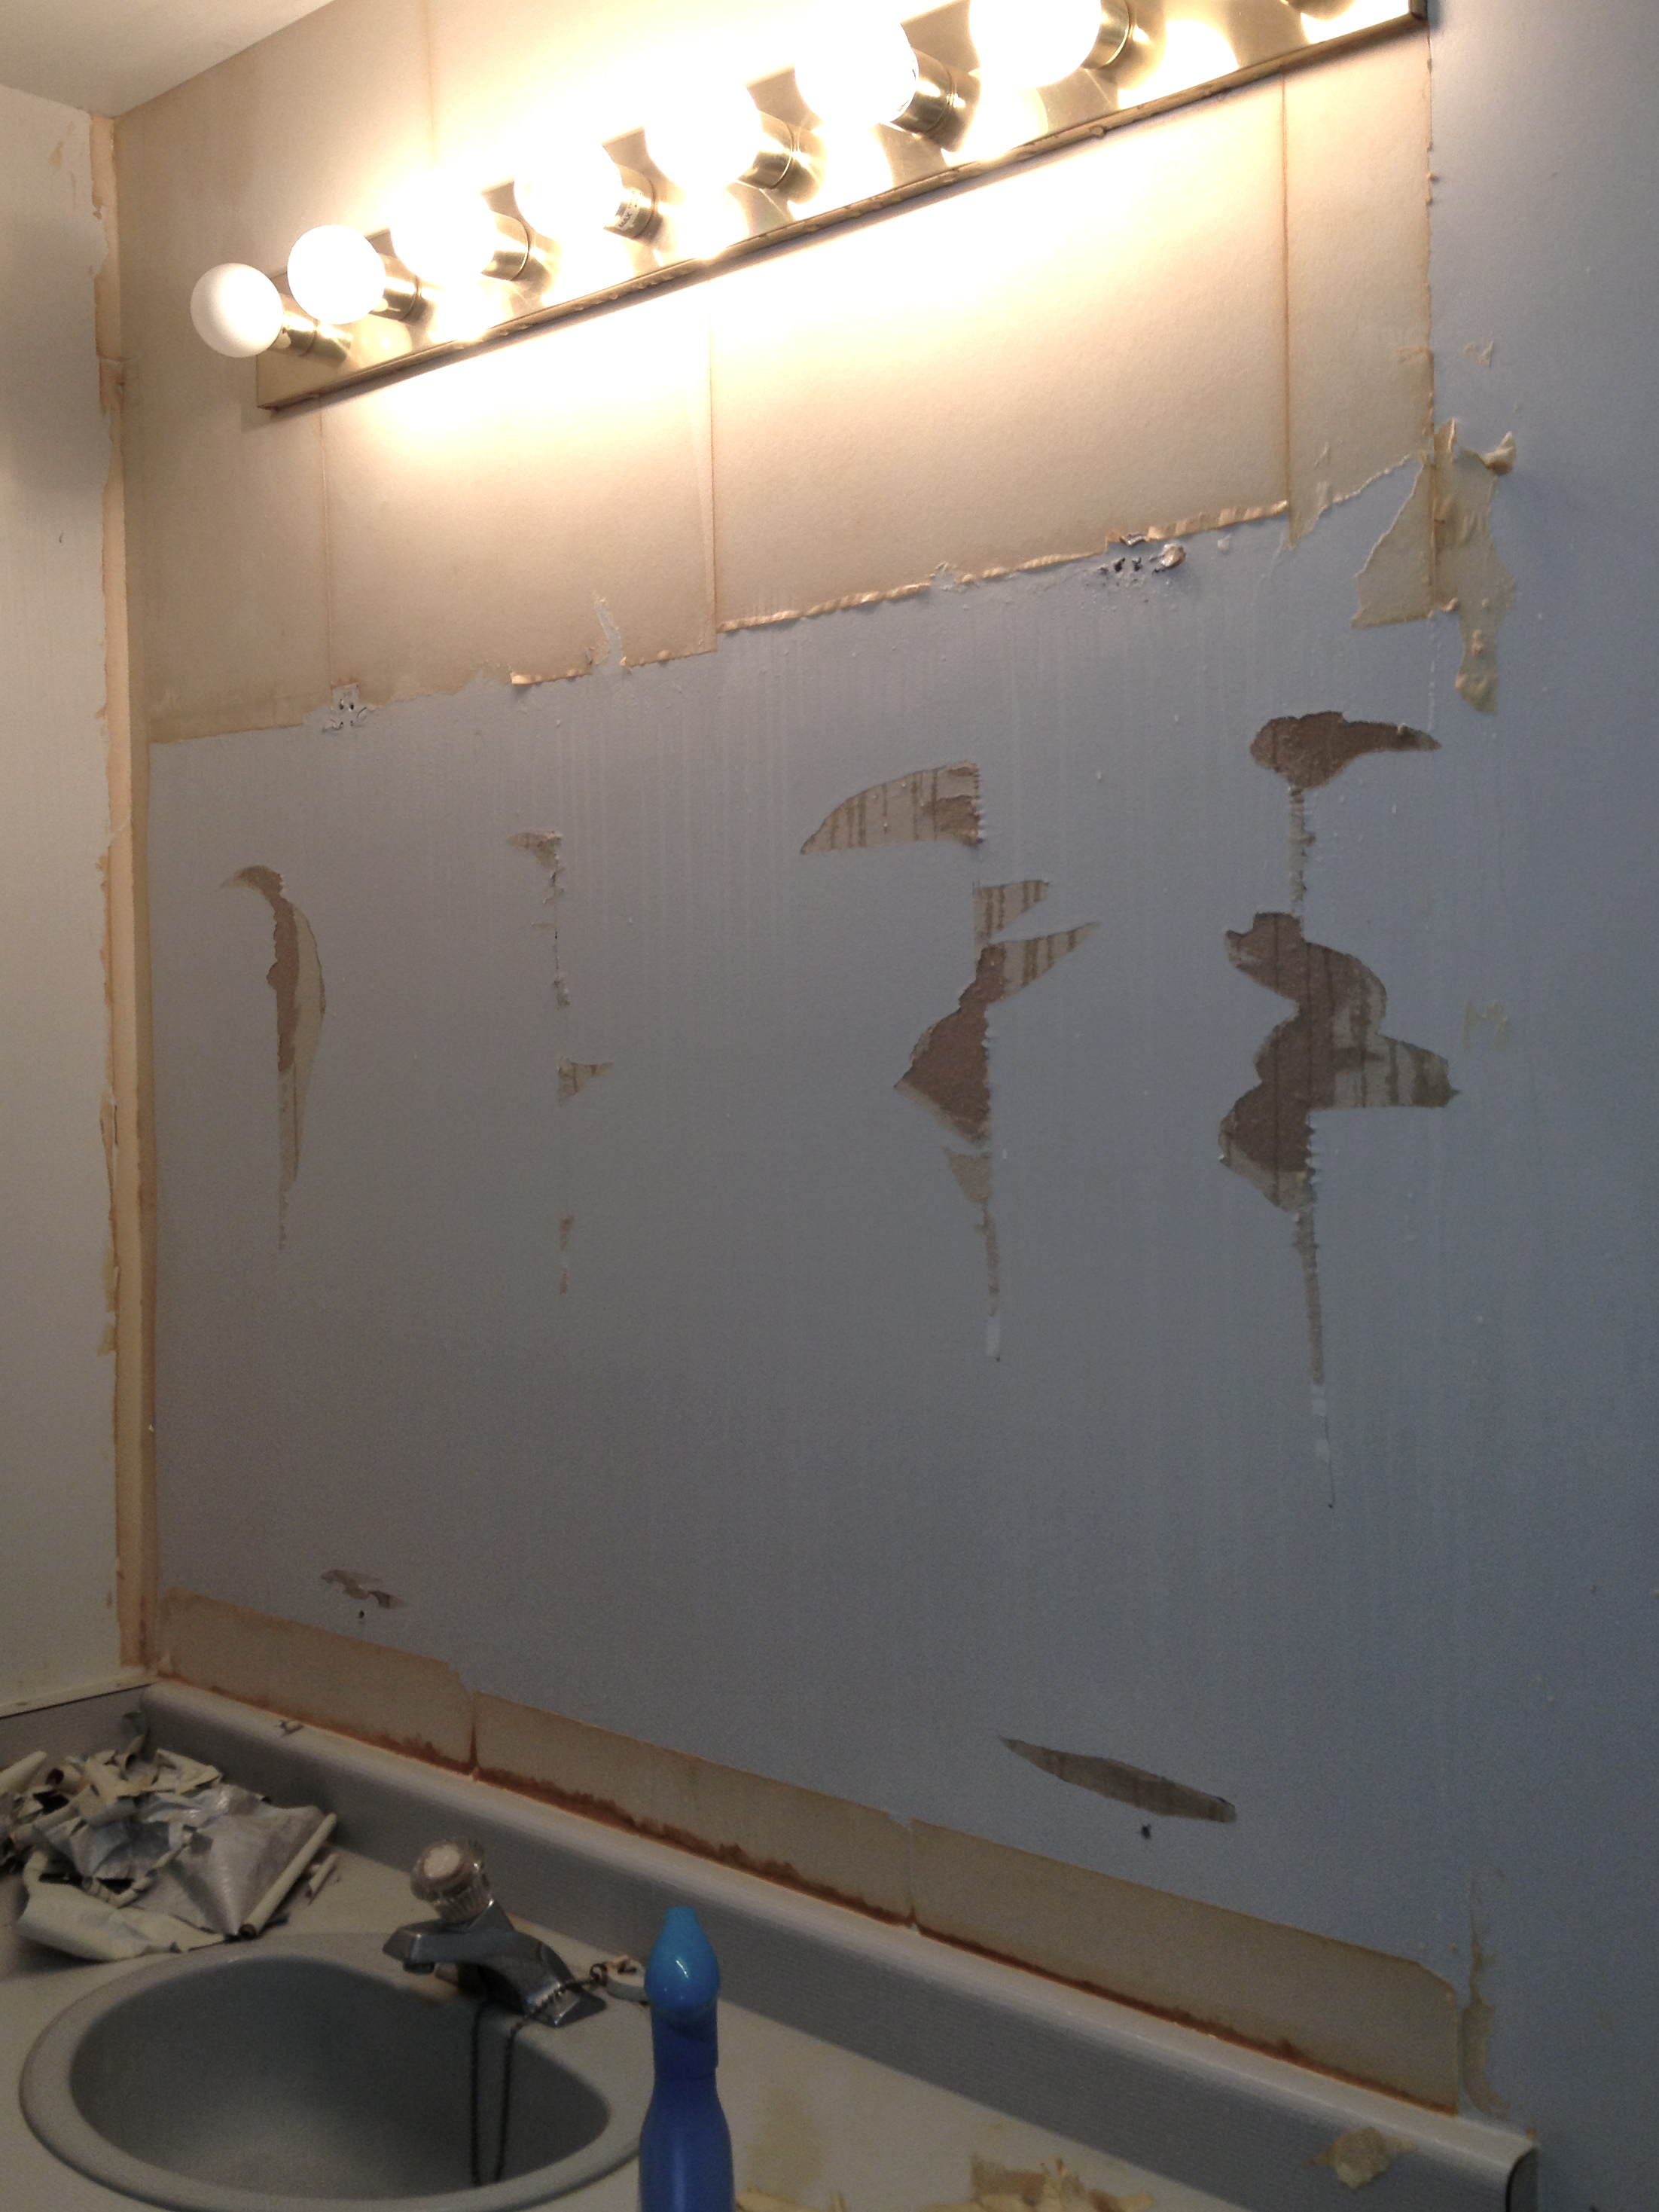
upstairs bath – progress; mirror removed, wallpaper almost removed

IMG_5775

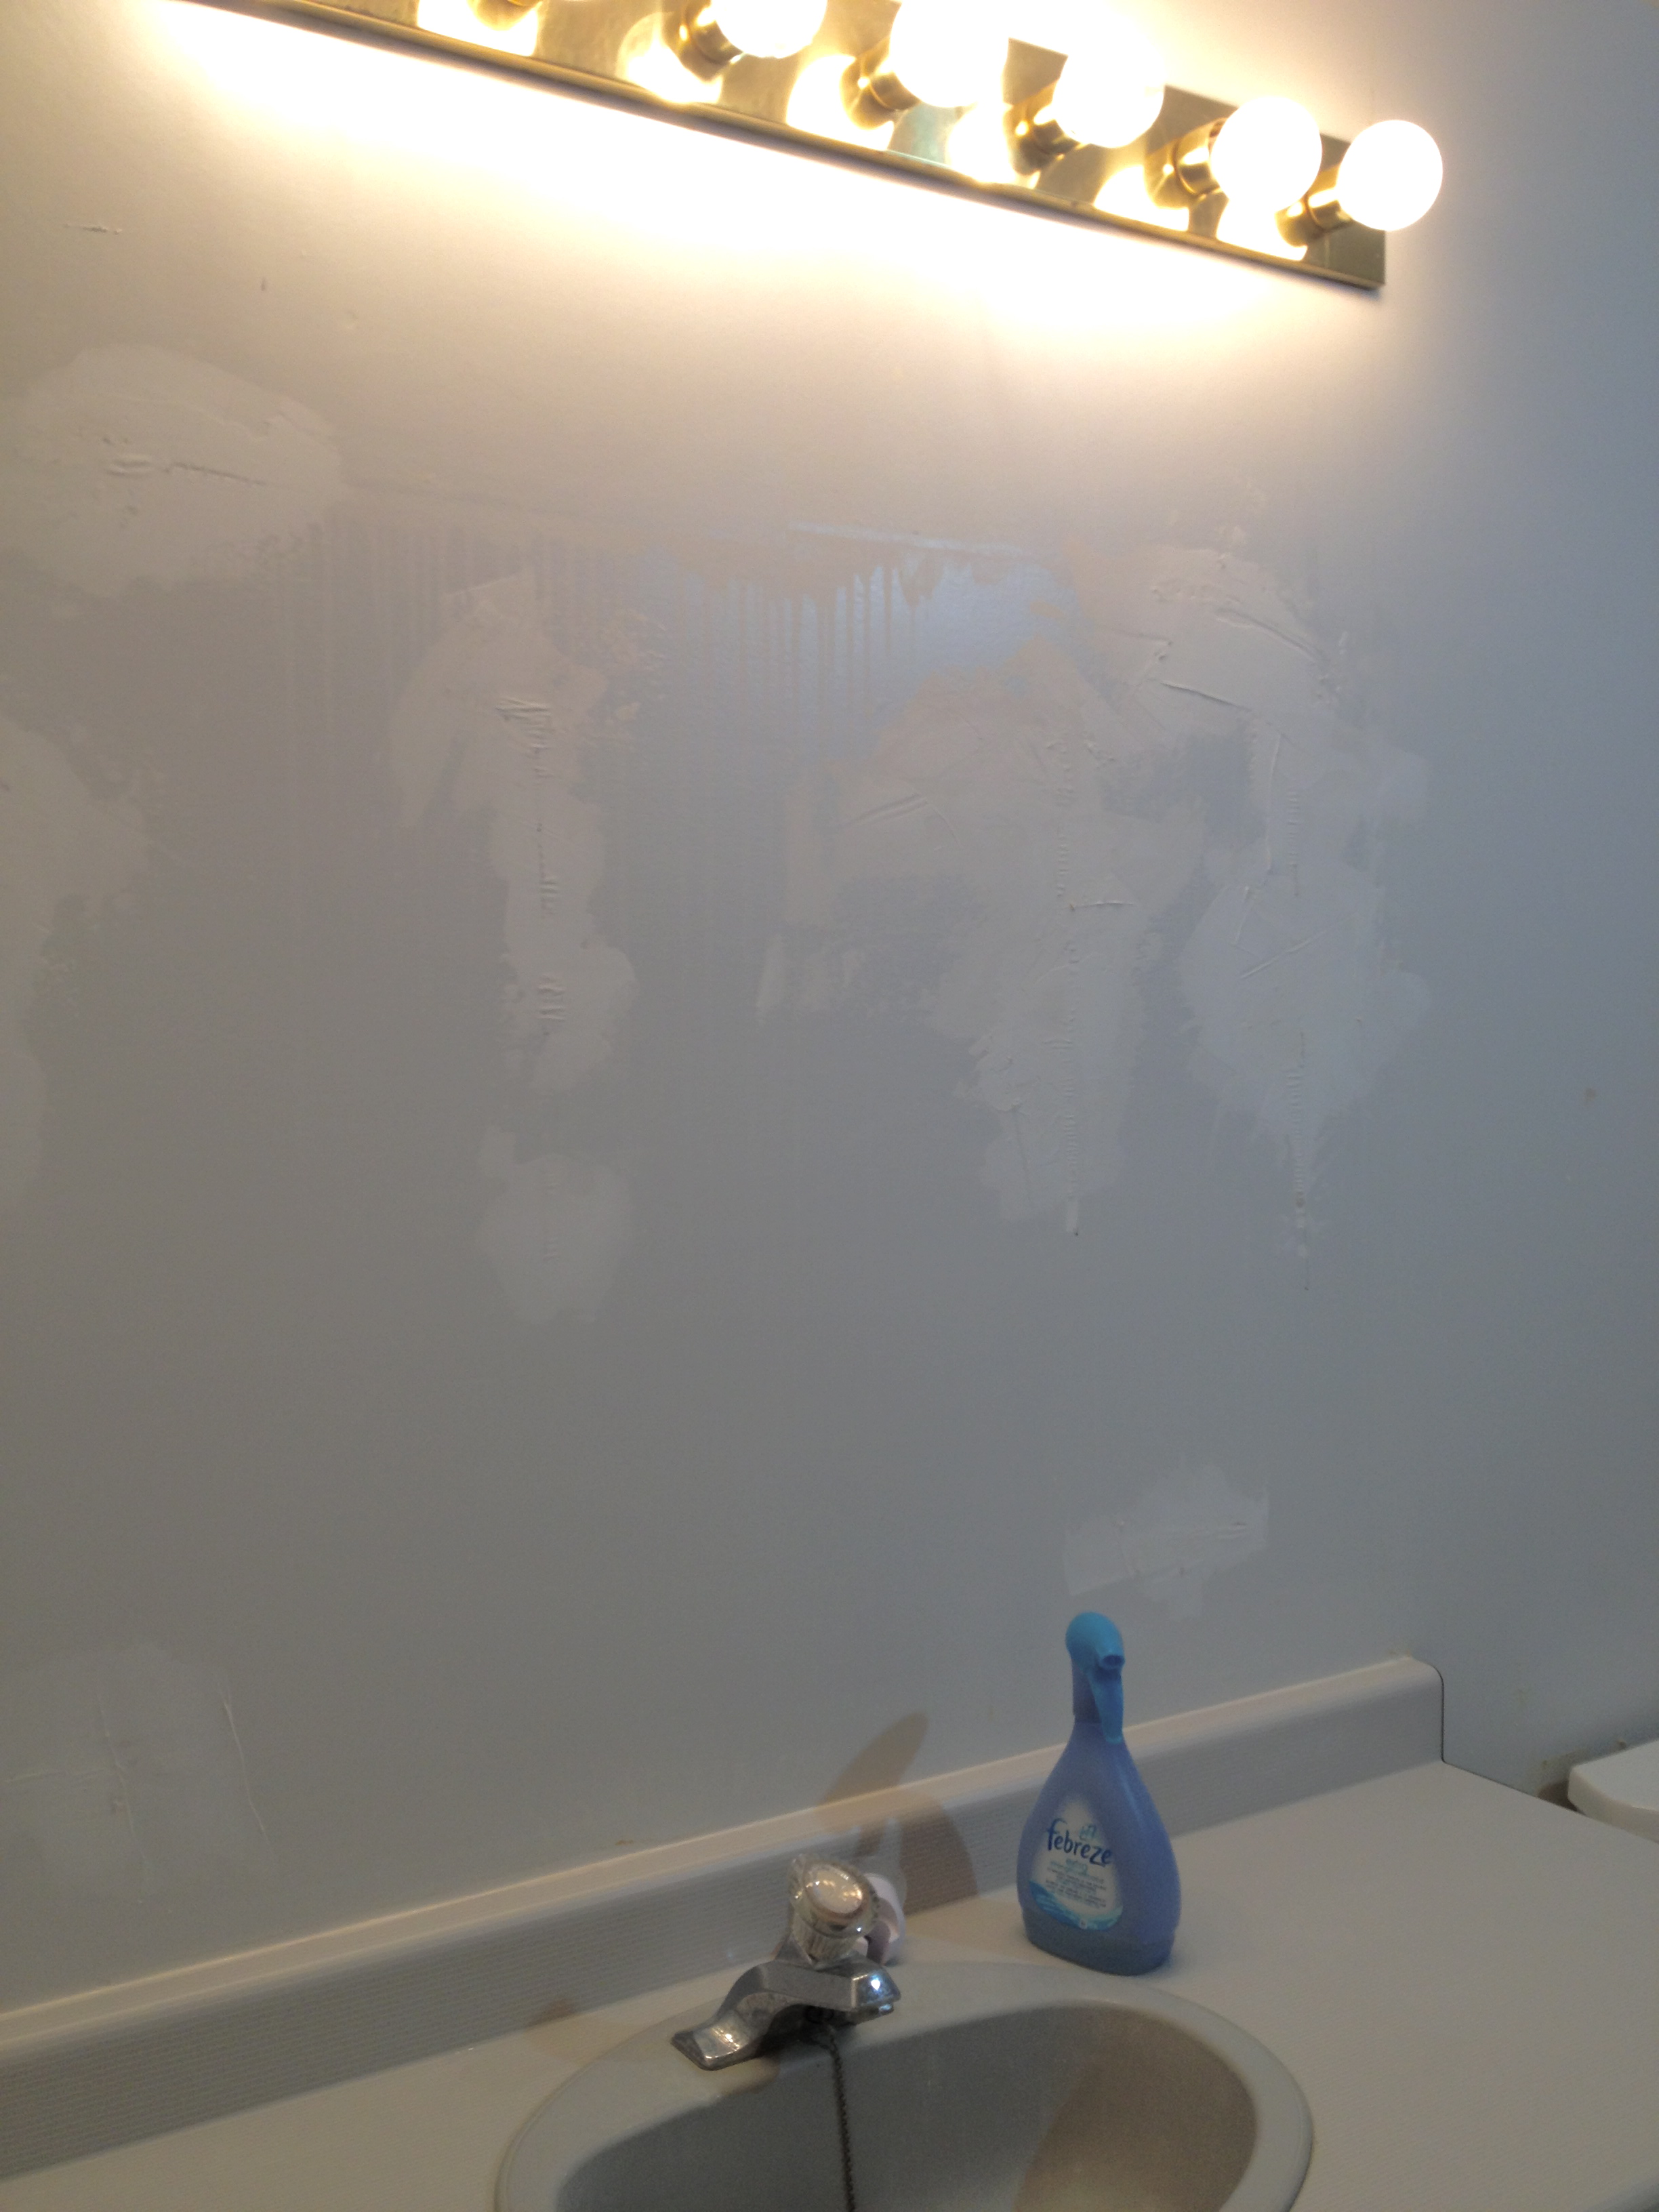
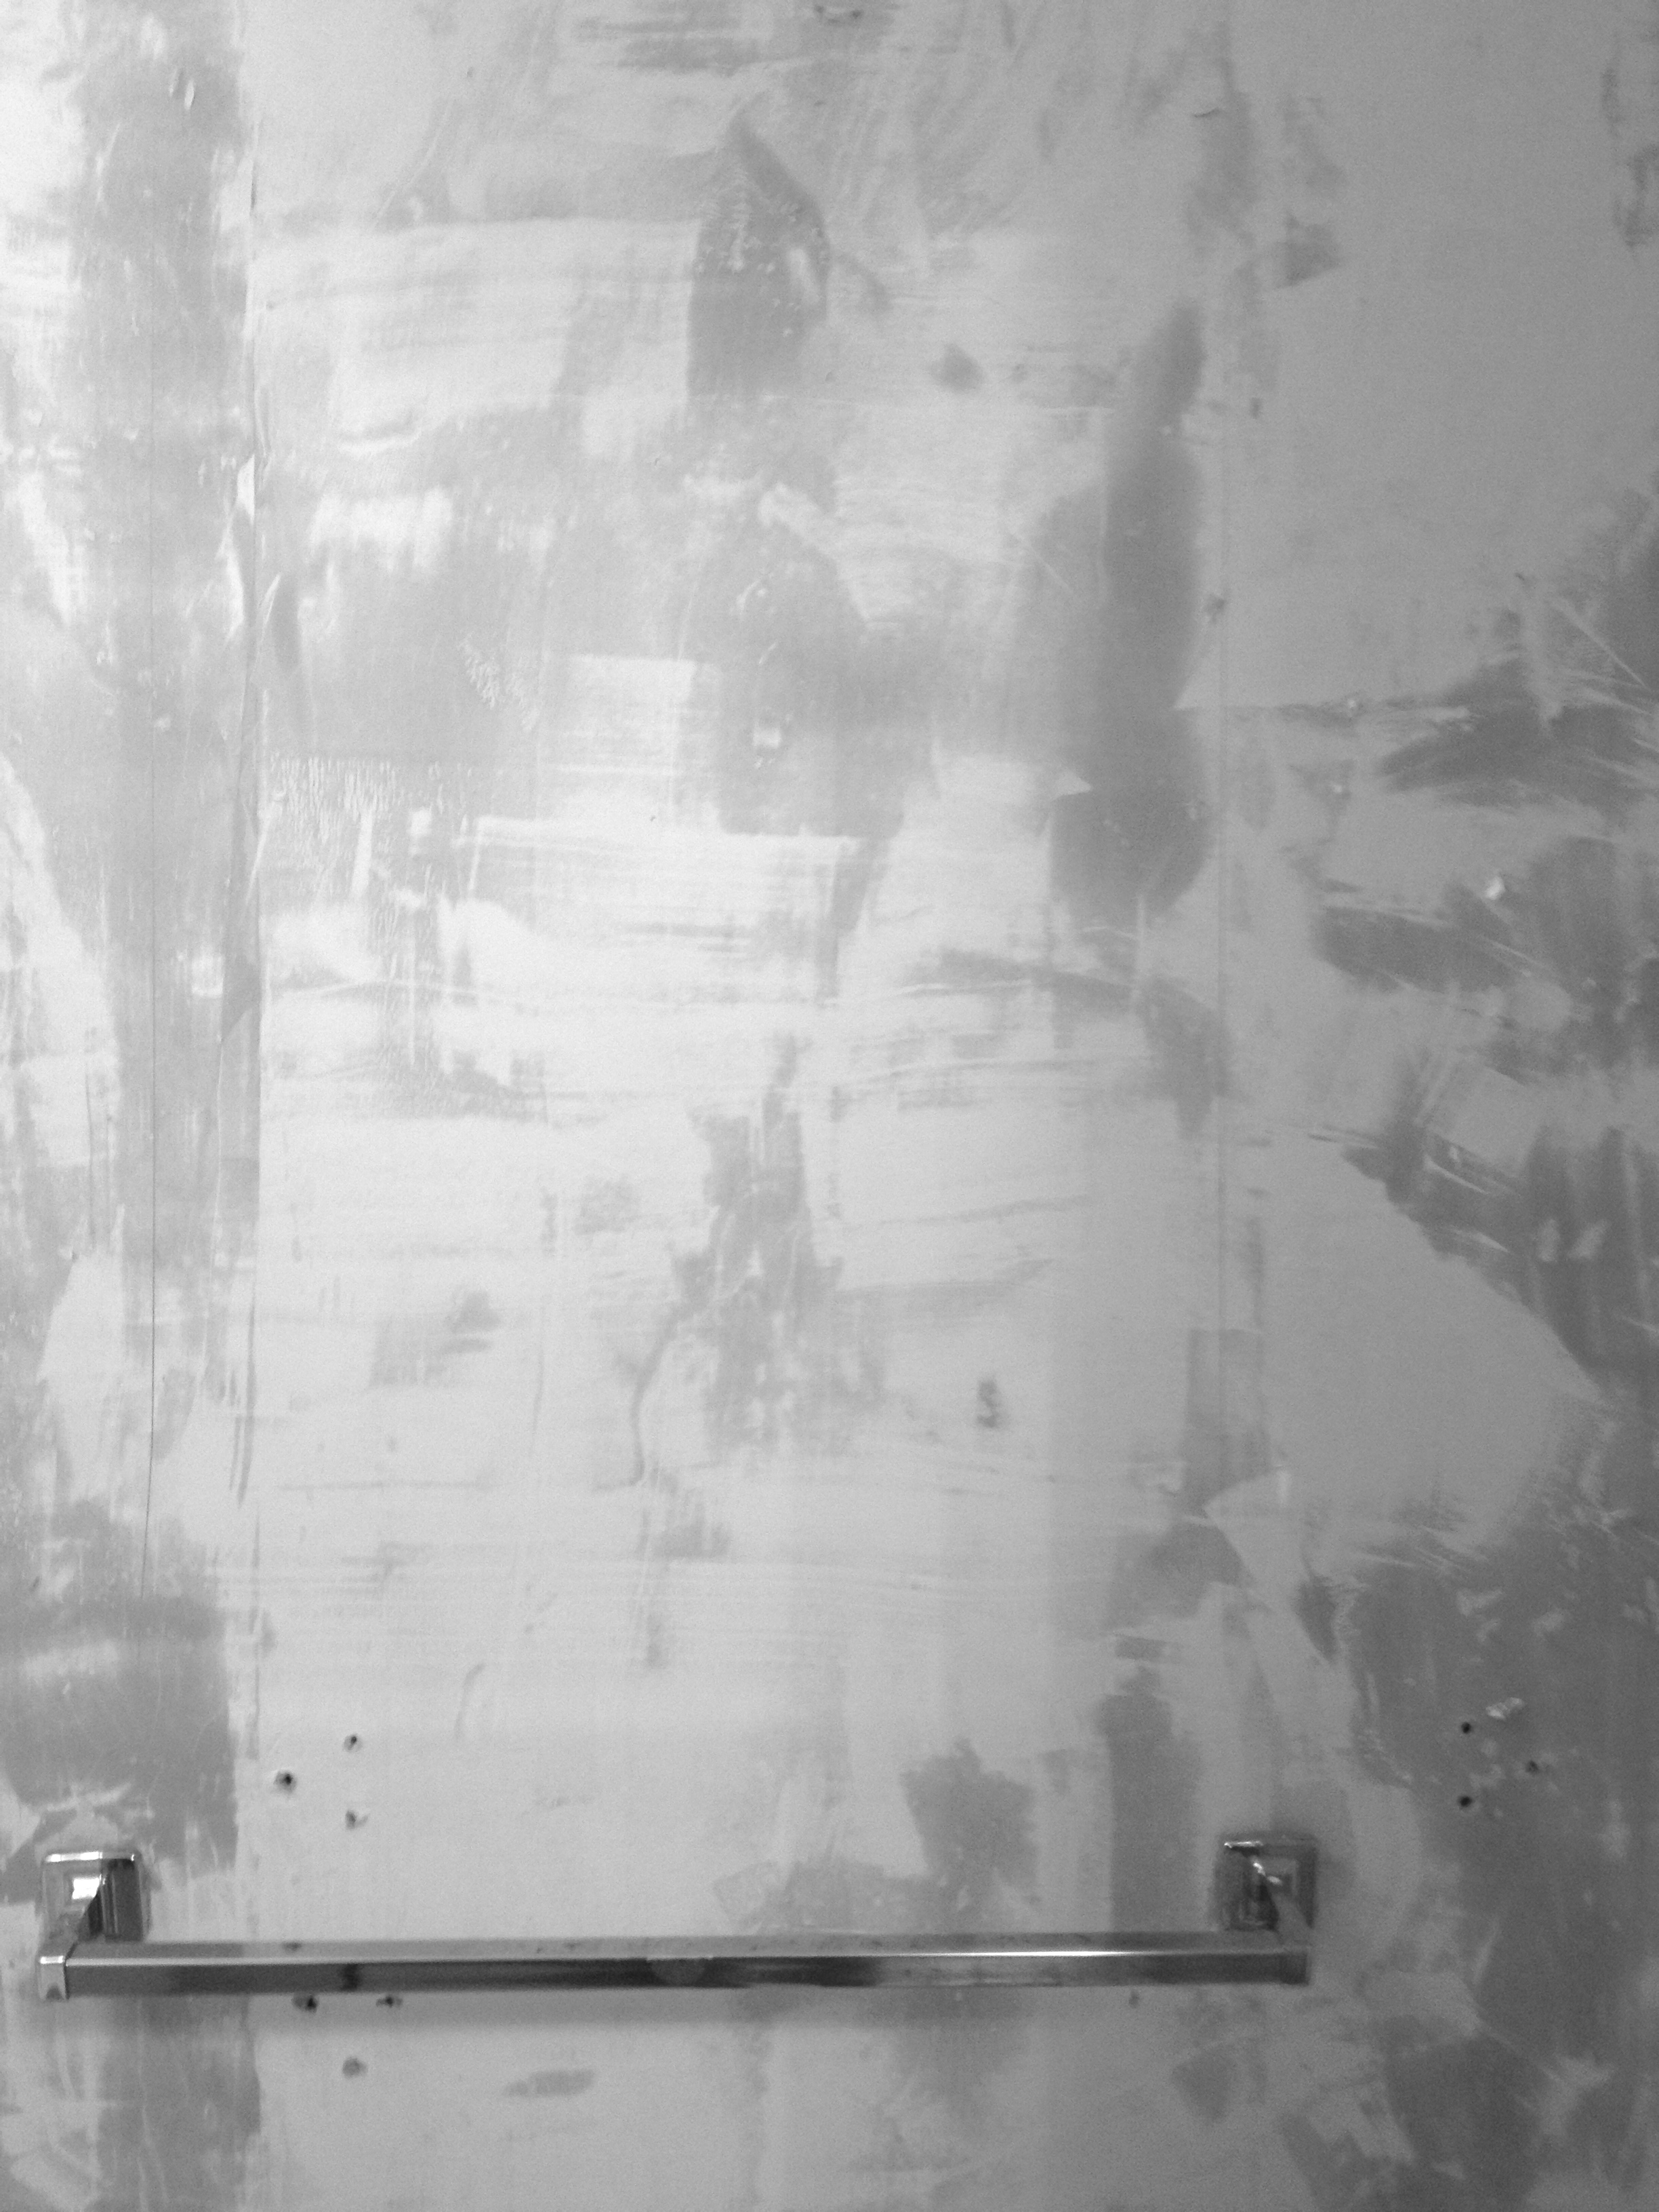
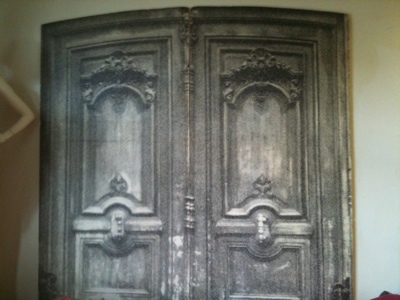
upstairs bath – all patched up; light to be removed soon; vanity to be replaced soon

I cleaned the heck out of my kitchen. As in – it took me 2 hours (or more?) to clean my fridge. Another 2 hours to clean my stove. And no, I don’t think I’m exaggerating. While the kitchen cleaning tasks were time consuming, they were also extremely satisfying. My fridge is especially beautiful.

IMG_5704

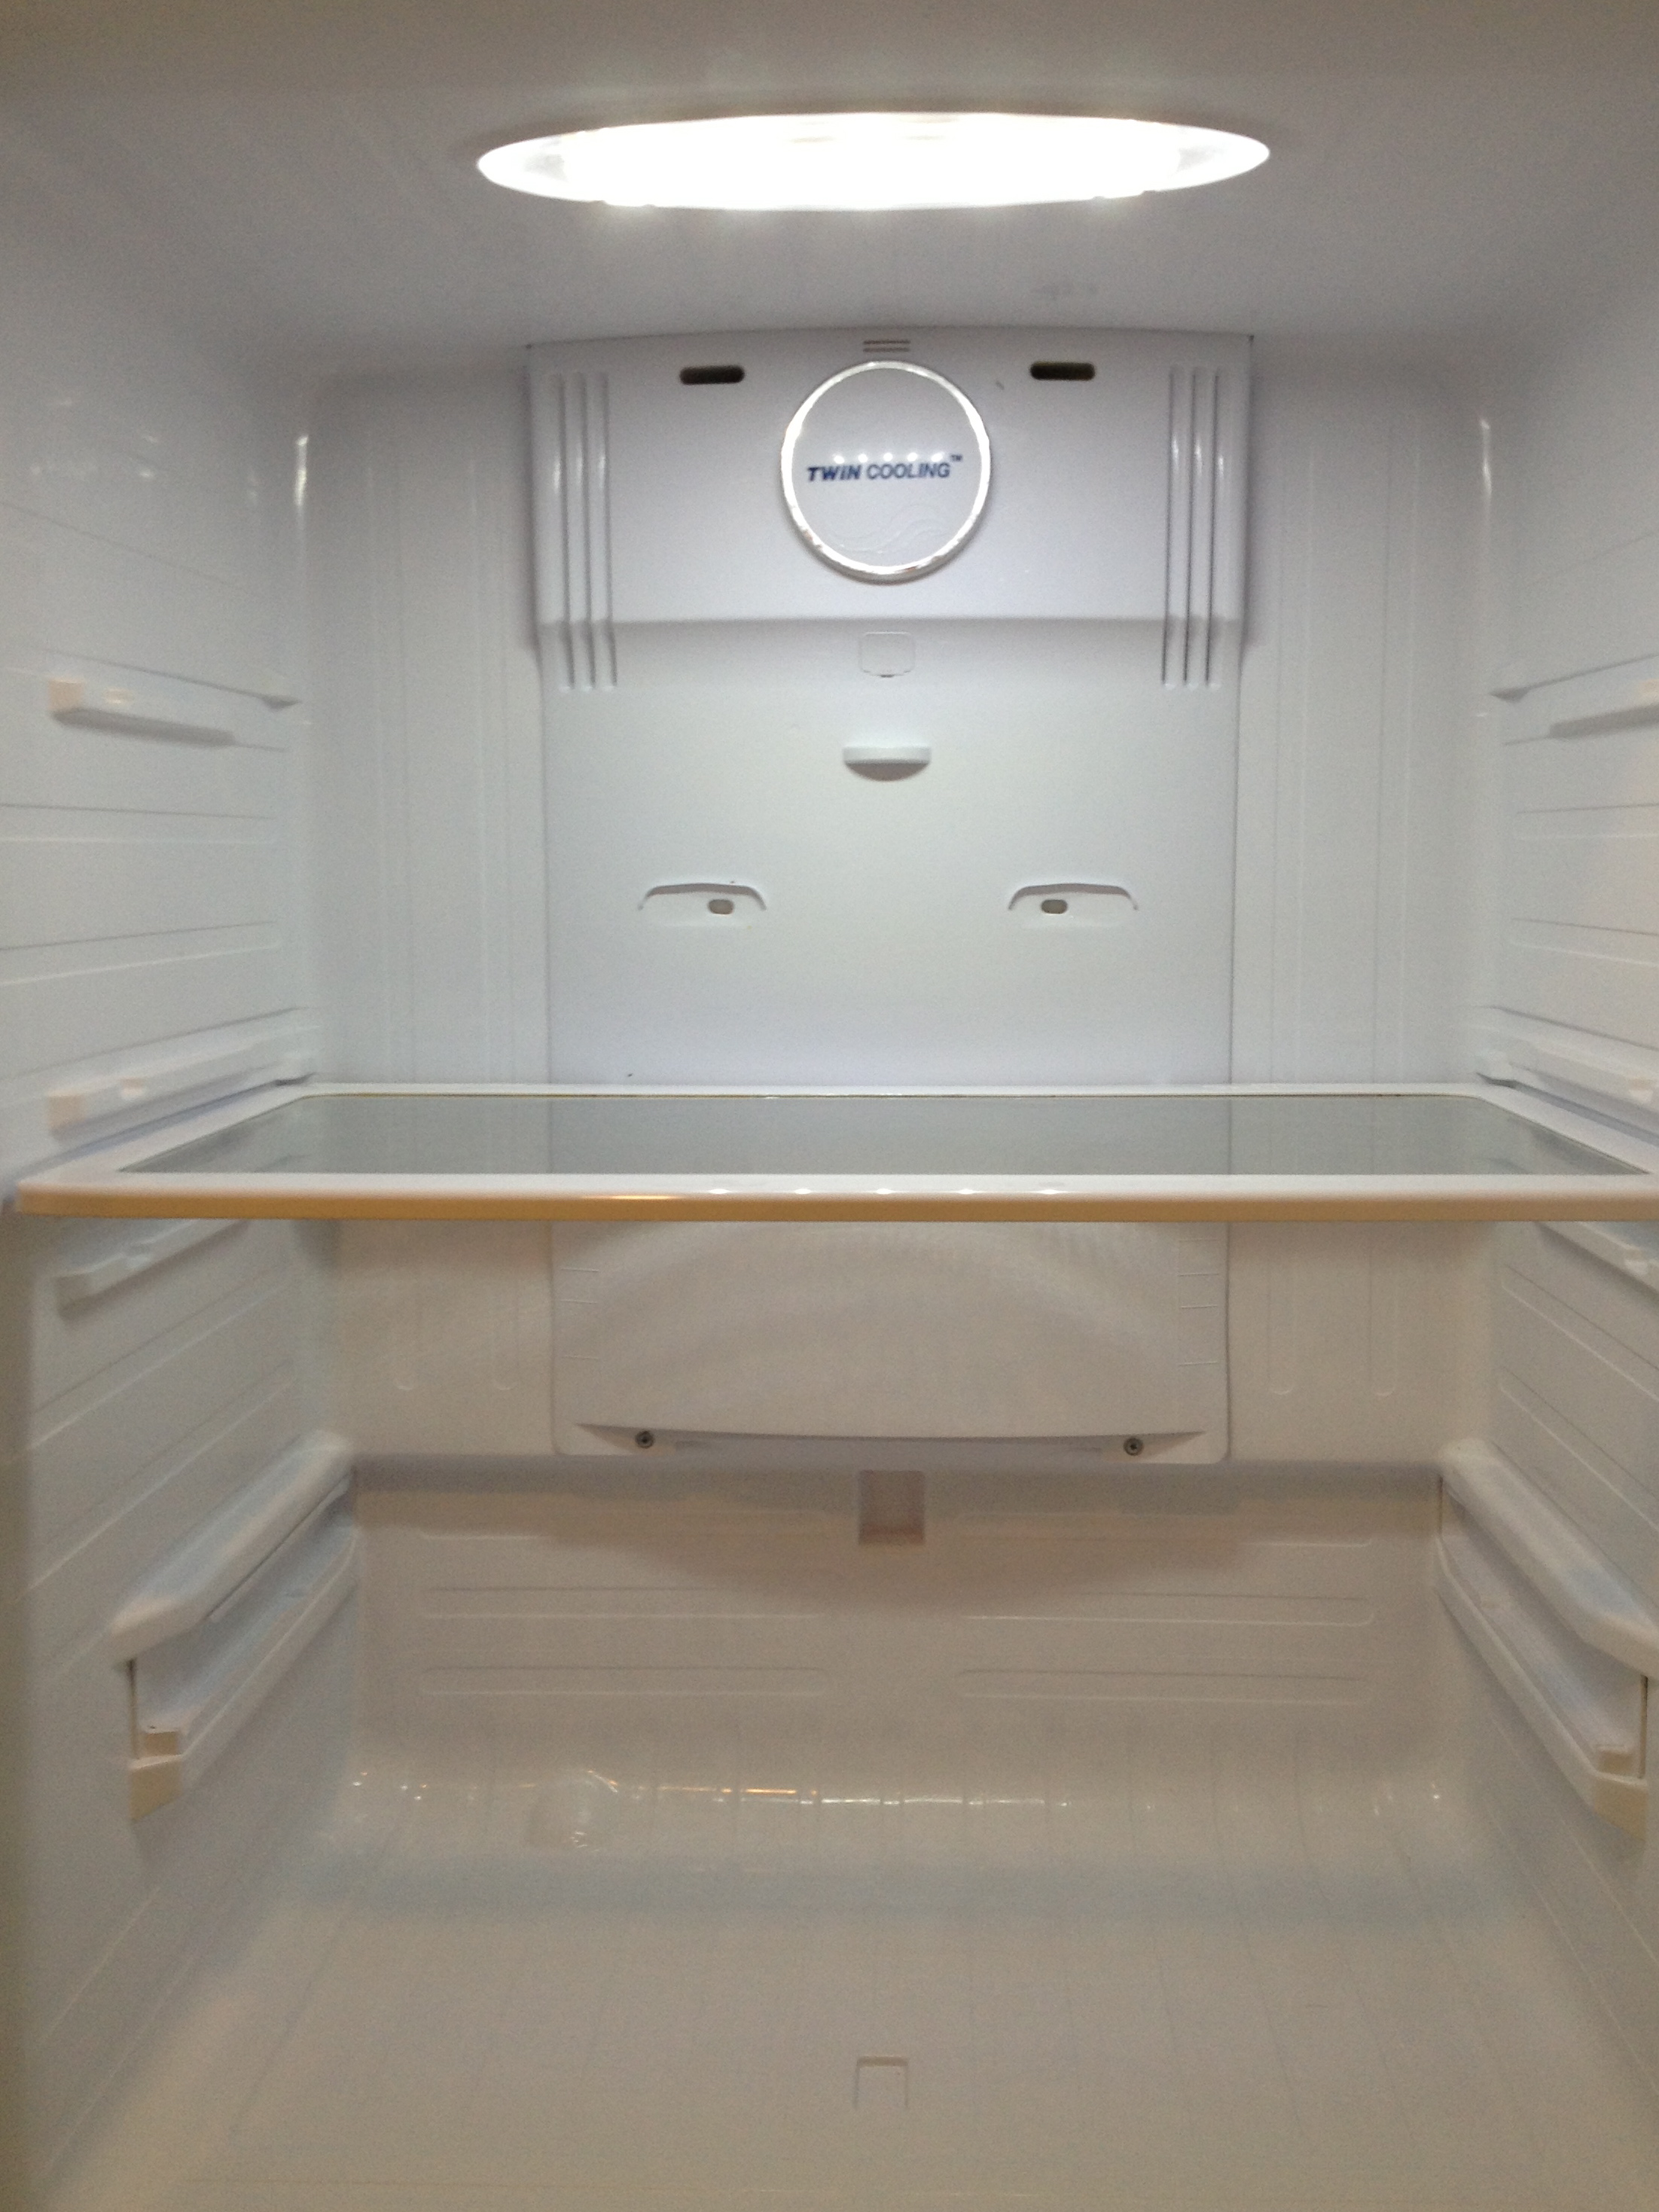
deep cleaning of the fridge

While I’m talking about the fridge – I would like to share my satisfaction with my fridge. It’s a Samsung. That’s all I know about the make of it. The fridge is on top and the freezer drawers pull out. So convenient and such a step above anything I’ve had in my previous rentals.
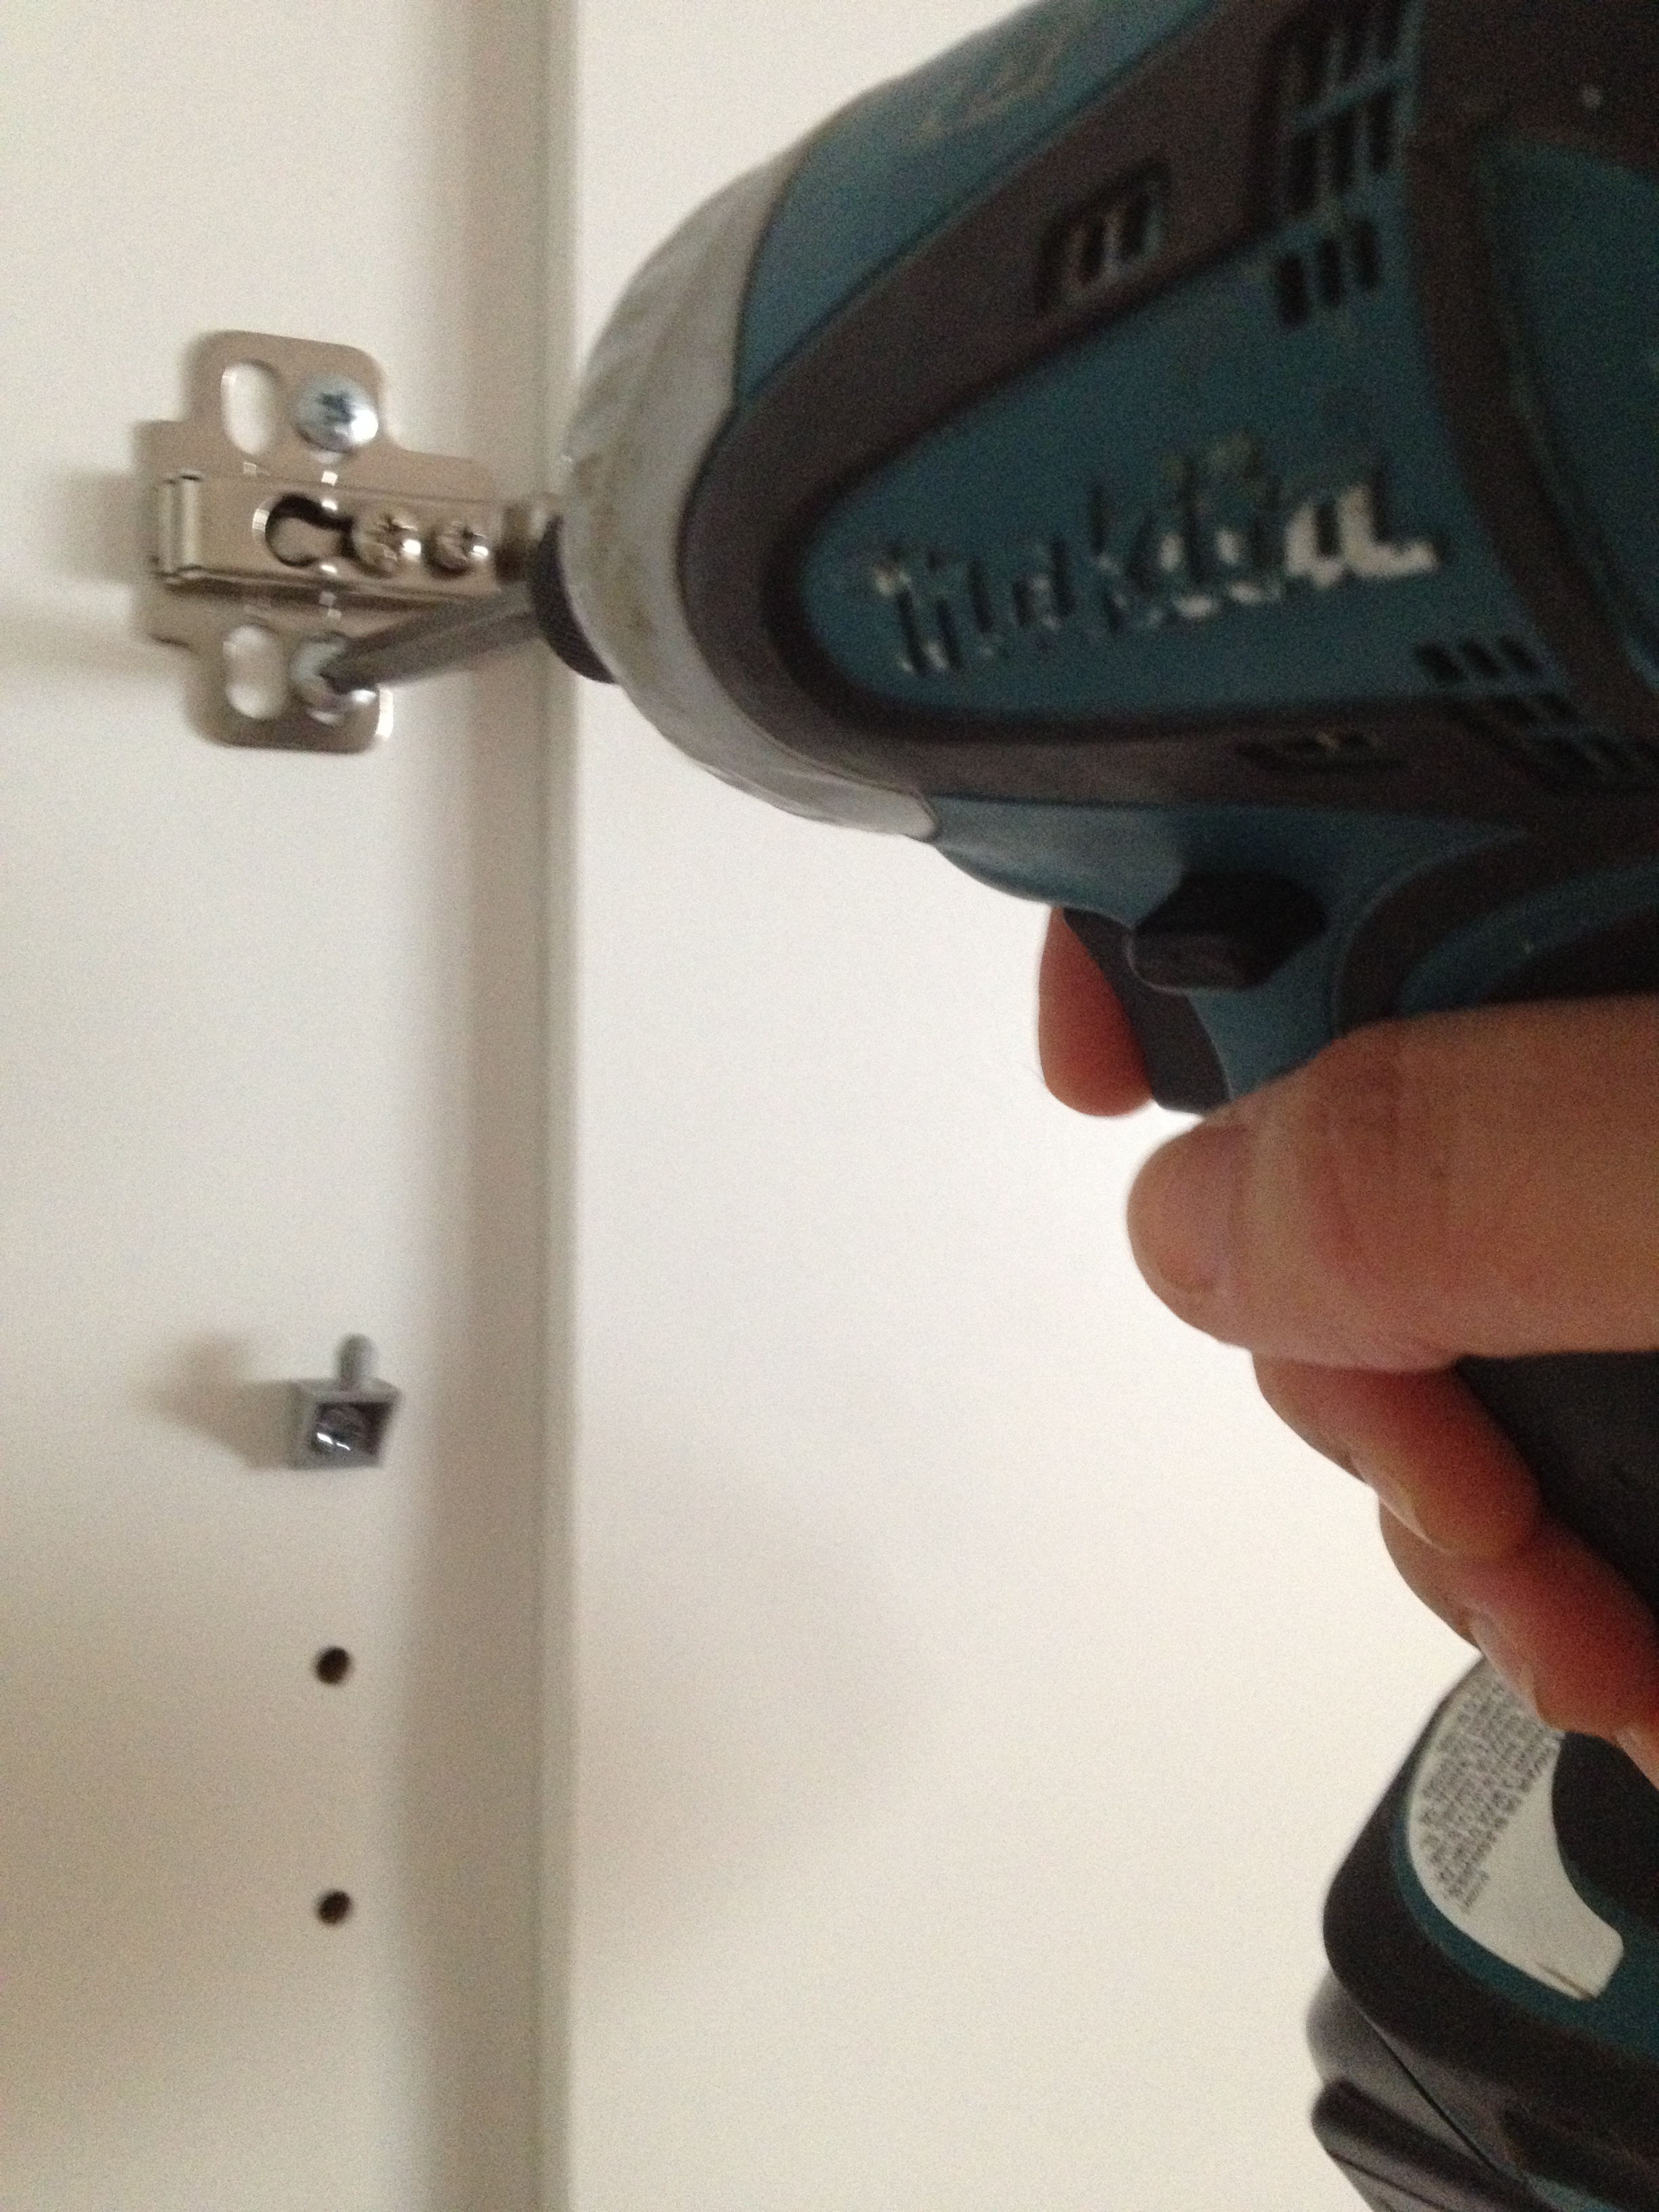
IMG_5761using power tools

I grabbed my dad’s electric screwdriver (with a little light at the end of it!) to put a cabinet back together. His screwdriver was awesome. I want one but it’s not in my  budget. Glad to have been able to borrow his. He loves it and is definitely not ready to donate it to me.

IMG_5783

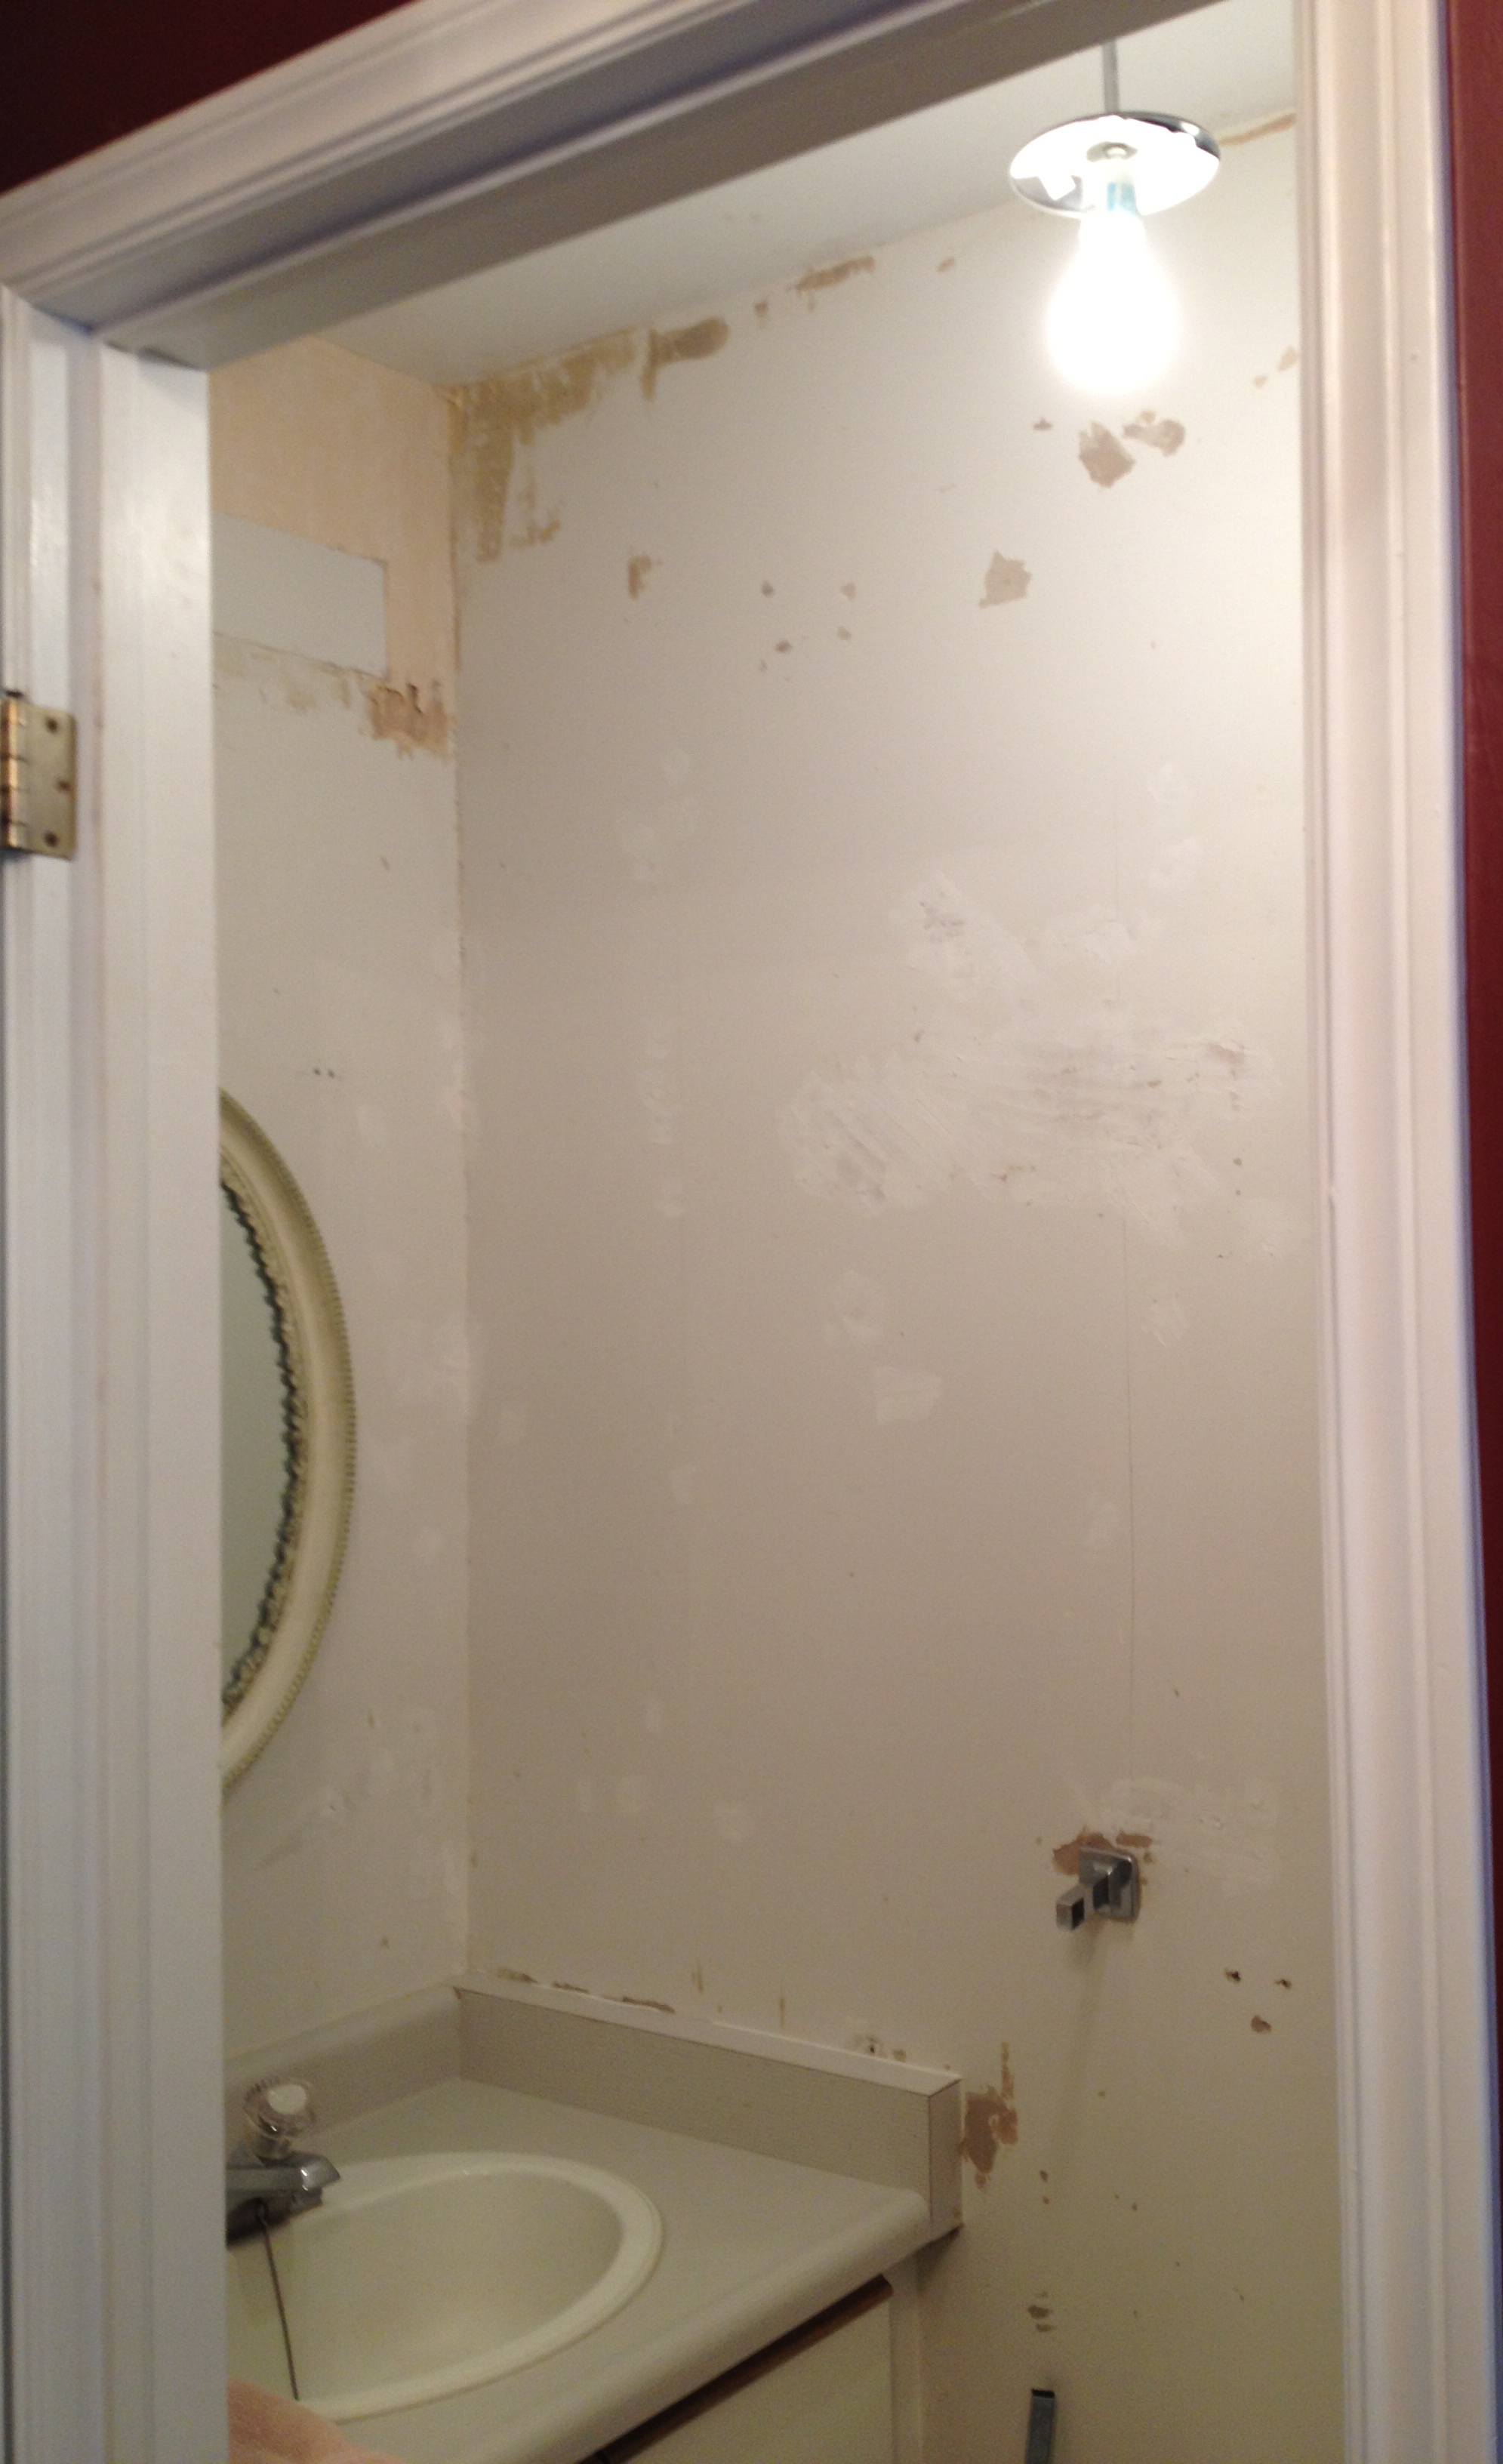
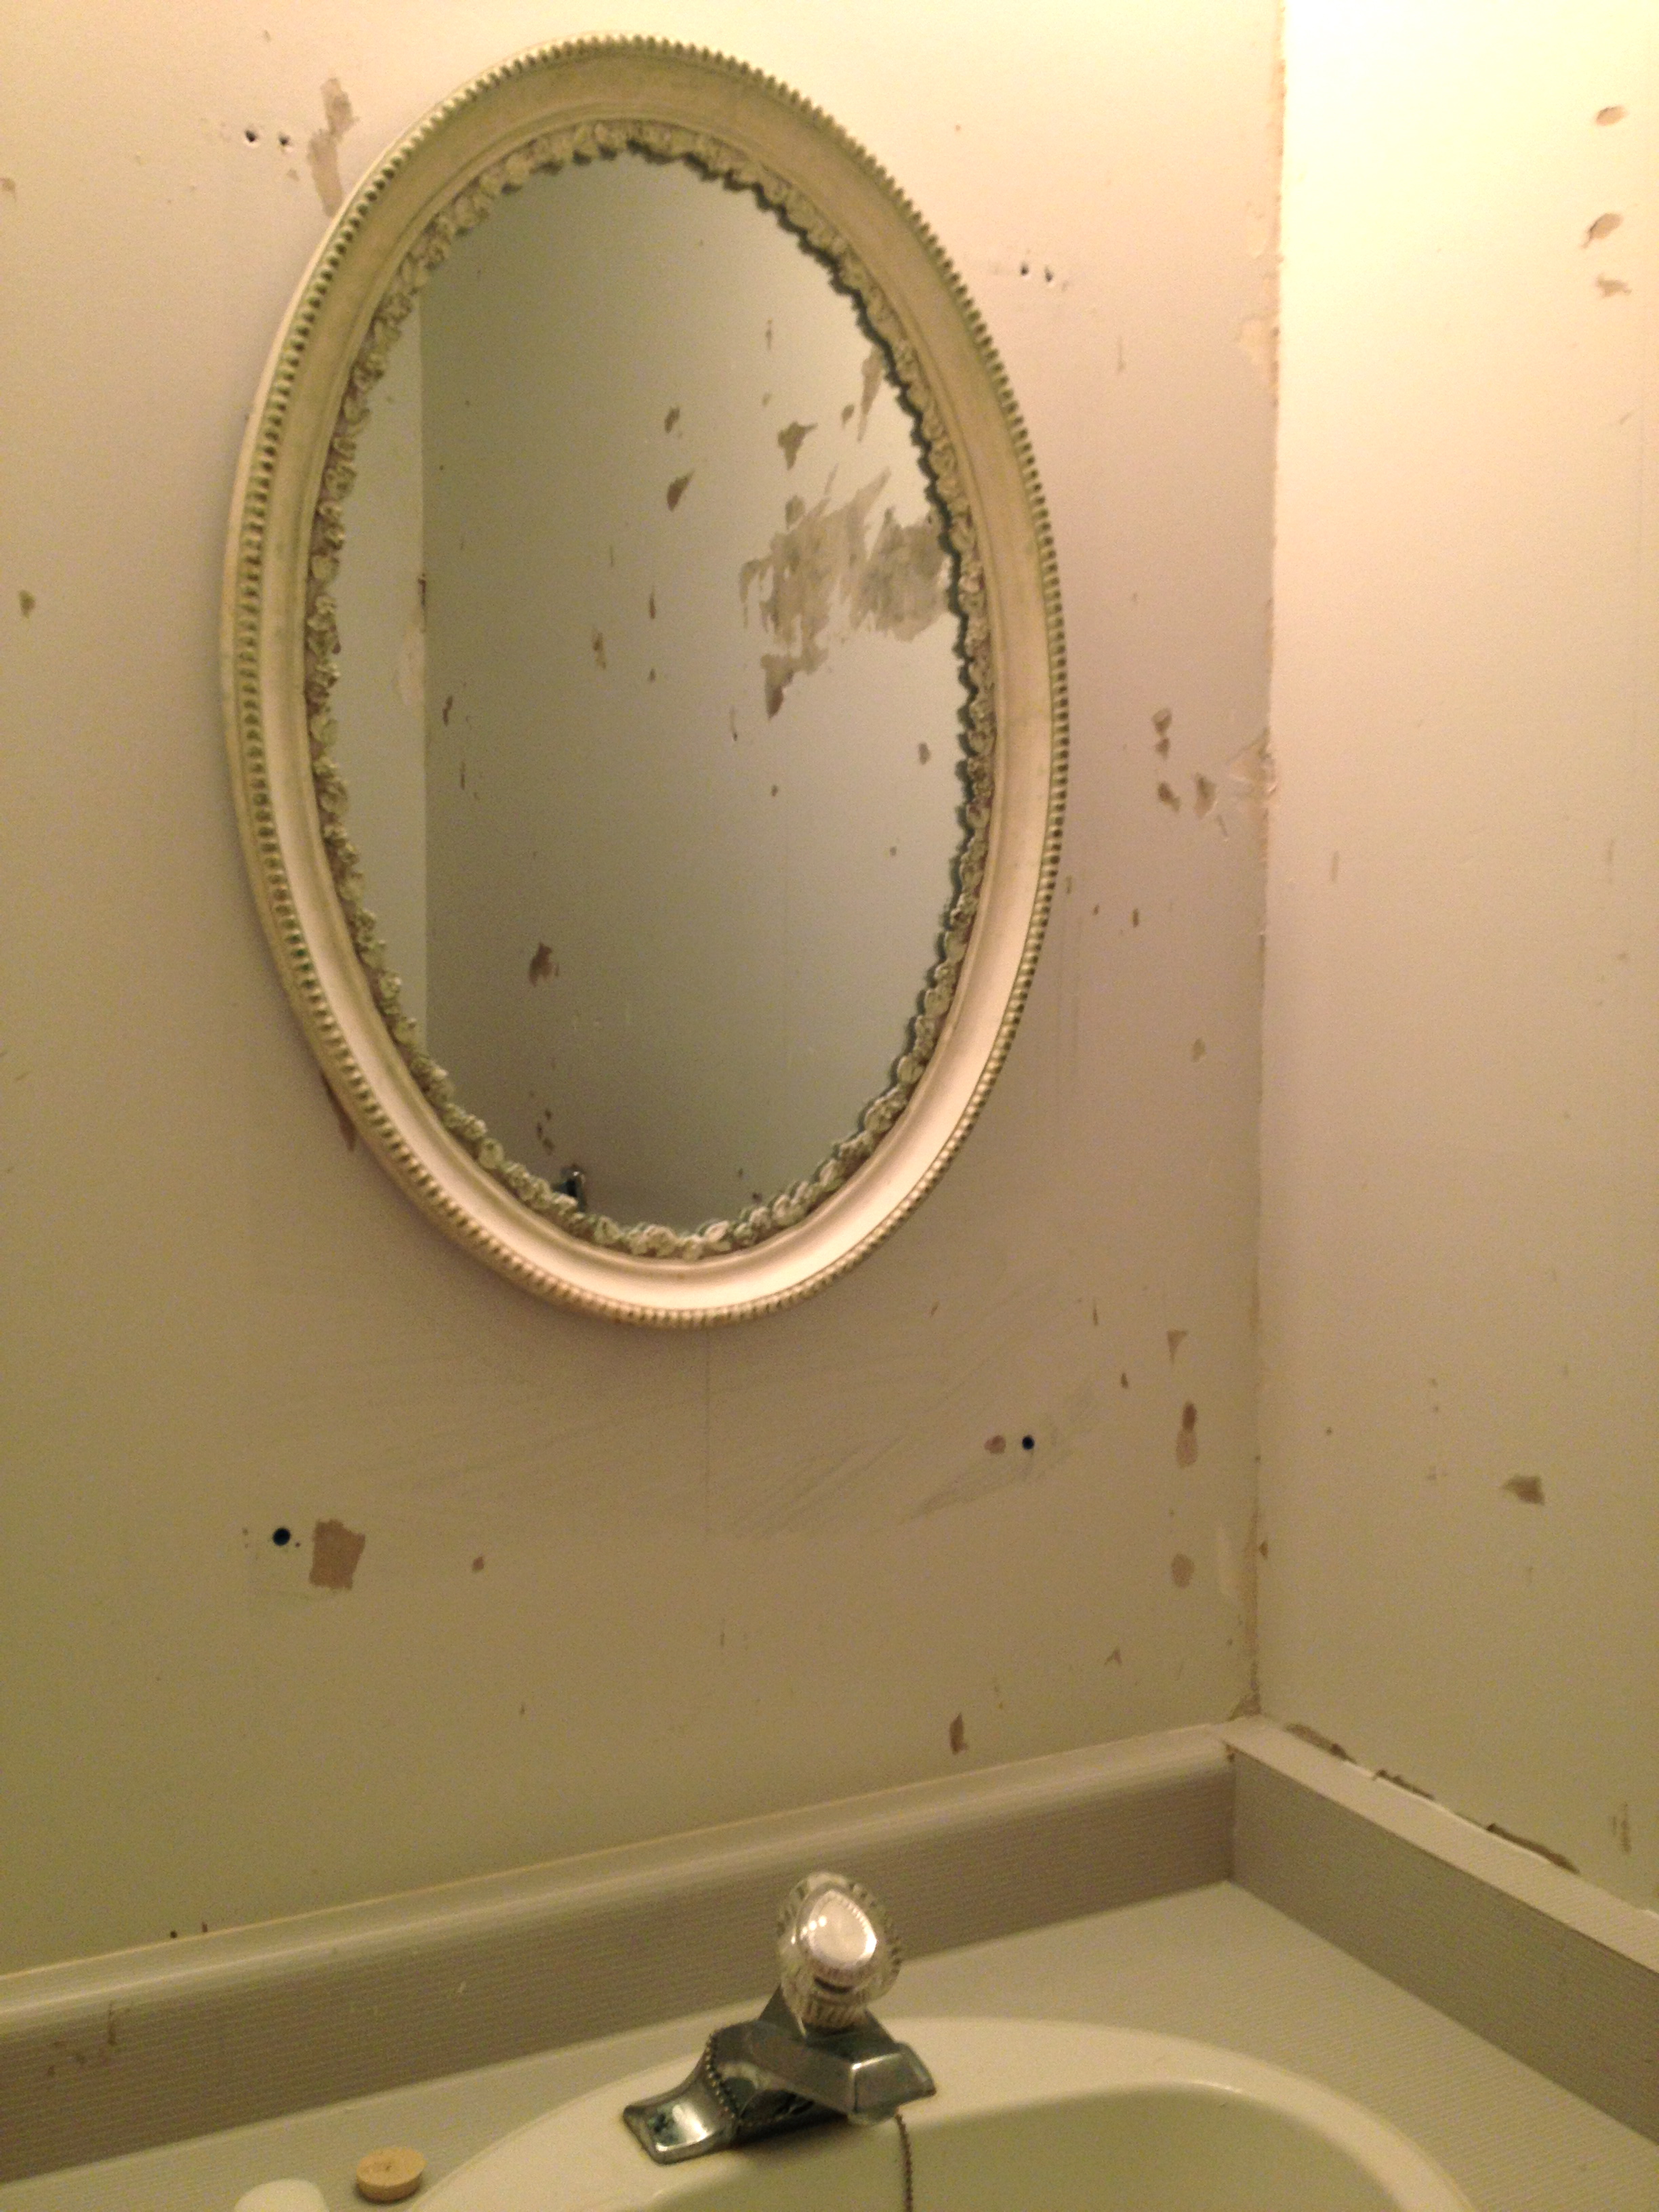
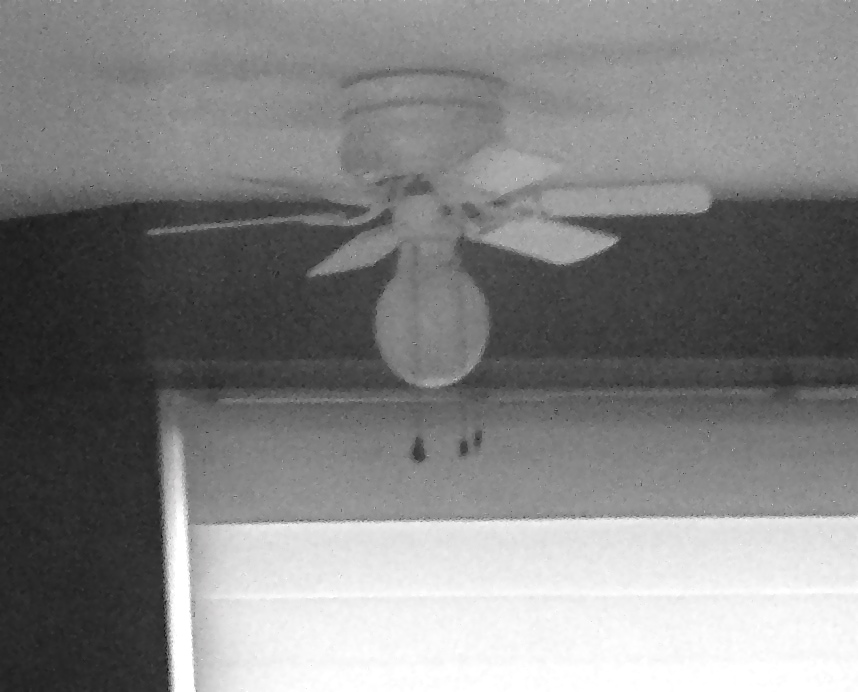
You may remember that I took down the wallpaper (and the enormous amount of leftover wallpaper paste) in the powder room. I patched up a lot of the wall damage but there’s still a bit more to deal with. But never mind that. This weekend dad removed the vanity wall light and created a new light box outlet thing in the middle of the ceiling. I haven’t settled on the light fixture yet (remember all the decisions I still have to make?) but at the moment I’m thinking either a plain globe light or a small crystal chandy. There is still a lot to be done in this small room. I will replace the vanity, prime and paint the room, install a new light, and hang a new mirror (maybe this one).

What a satisfying weekend of home repairs and organization. I’m thrilled with how things are shaping up around the house.

***

Interested in reading more about my reno? Keep your eye out for posts titled “Uptown”.

Uptown: A Little Bit of Progress

I thought I would take a moment to talk about the updates I’m making around my house Uptown. It feels great to be in Kitchener-Waterloo and I’m really loving so many things about my new house. I’m learning new things about renos and home repairs, I’m getting to know every home improvement store in KW, and little-by-little I am making my house feel more like me.

There are three bathrooms in my house. They’re great spaces but they are all covered in wallpaper. The wallpaper in the upstairs bath came off quite easily and left no wallpaper paste residue. The walls up there are in great shape and just need some minor touchups (of that plaster/putty stuff) before they get primed and painted.

upstairs-bath-wallpaper

upstairs bath – wallpaper removal fun

The powder room was a whole other story. The decorative paper came off without any trouble. But…the wallpaper paste decided to stay behind. The look was disgusting. The removal was a major pain.

powder-room-before

powder room – before – two patterns of pink & cream wallpaper

wallpaper-removal-progress

powder room – the wallpaper paste disaster

My dad bought and applied some wallpaper paste removal but that didn’t work. Then I found two solutions via Google so I alternated between them: (a) hot water + fabric softener + baking soda, and (2) hot water + vinegar. The vinegar solution worked better in the end, I think, but the fabric softener solution smelled better so I kept using it. There was A LOT of scraping involved. And A LOT of rubbing with a rough sponge. And A LOT of cleaning up with a soft sponge. It was time consuming*. The walls look half-way good now but of course there are (more than) several areas that need putty. The powder room looks much brighter so that’s definitely something to celebrate. Removing the wallpaper in this room was a huge job and I’m glad it’s over. (One more bathroom to go.)

IMG_5448_2

My parents came for a visit this past weekend and with my mom’s help I’ve narrowed down my paint colours down to two! Huge accomplishment! I’ve been staring at the paint chips in every room in the house in different lights over the last month or so. Now I’m going to buy small test cans of each colour and paint large patches in each room. I hope by doing this, I’ll come to a final decision about the colour. In case you didn’t know – I’m painting my whole house white. All of it. Yes.

paint-choices

paint options with tile and carpet

I picked up pretty white tiles that I will eventually use for my kitchen backsplash**. The tiles look great with the paint options and the existing cabinets (Ikea I think). So far.

I’m still dating my couch options. I love the Lee couch but I priced it out for two fabrics and one will be $3000 and the other one will be $3800 (plus tax & delivery). I’m not sure I feel like spending $4000 on a couch.

Lee-Industries-English-sofa

Lee Industries sofa

I am really fond of the following two sofas from sofa.com but I have to do the final pricing on each. They’ll likely come in around $2500 or so.


The Saturday Sofa

The Saturday Sofa

The-Snowdrop-Sofa

The Snowdrop Sofa

Restoration Hardware has a nice option too. It would like be around the $3000 mark. I haven’t yet seen this one in person but I will soon enough. I really would prefer two large seat cushions but I don’t the the RH sofa has this option.

prod1622099

Restoration Hardware sofa

Alternatively, I could also go the more affordable route with Ikea’s Karlstad in a couch or sectional style.

Karlstad-sofa-Ikea


The Karlstad is a good-looking and comfortable sofa but it has a different feel than the ones above. It would change the whole look of my living room. Oh – and I’m aiming for a light grey fabric for my future sofa. Thoughts?

My parents helped me plant outside. I’m leaving all the gardening choices up to my mom since she is a retired florist. She knows what’s what. I only requested that hostas be in my garden since (a) I think hosta is a funny word, and (b) it seems like everybody is always talking about where they planted their hostas, the colour of their hostas, and how their hostas are growing. I think it’s hilarious…and I want to be part of the hosta club. I don’t have a big garden but I have just enough patches of land to let me play around.

flowers-garden-White-Cabana

new white flowers & some of my new hostas

My proudest moment so far in this reno business has been installing a new kitchen light. I wasn’t sure I could manage it on my own but I did! I watched a few how-to videos online (and over the years I’ve observed my dad change a few) and then I got to work. I learned about my Breaker Box and I made sure I shut off the right breaker switch for the kitchen light. I set up lamps around the room so I could see what I was doing (I decided to change the light at 9pm or so?!). I used one screwdriver in the whole process. So handy. After the electricity was shut off, I removed the existing fan/light fixture and unhooked the wires. Once the fan was down I put up my new light. Black wire to red wire and white wire to white wire. I used plastic screw caps to attach the wires. A few screws later and my light was up! When I switched the power back on I really was praying that I’d have light. And guess what? I did! I honestly couldn’t believe it. Changing a fixture is not hard at all but it is a little scary, what with the electricity bit. But as long as the electricity is off, there’s nothing to worry about. Right? So, one light installed and about 15 more to go! (I haven’t narrowed down the choices for the other rooms.)

IMG_4103_2

before

IMG_5407

 after

So there you have it – a few updates from around the house. Much more to come so stay tuned!

*Note to self: Never install wallpaper. Ever.

**You may be wondering why I bought backsplash tiles before doing anything else? I found them for a super deal on Kijiji and I couldn’t let them go! More on that in a future post.

***

The Uptown series documents my experiences as a new homeowner. Fun times ahead!

20 Below: Not a Spatula

So…there’s some wallpaper to take down in my new home. The first layer of the printed paper comes off easily and then there’s a second layer – the adhesive layer? – that needs a bit of elbow grease. It hasn’t been that bad actually because I’ve used a wallpaper remover concoction made up a spray bottle full of warm water mixed liquid fabric softener (thanks for the tip Anita!). Once the adhesive layer is nice and damp, I take a spatula to it!

Stanley-wall-scraper


Stanley wall scraper, $7.49US, Staples

I recently learned that the official name of this handy gadget is “wall scraper”. Should’ve known.

The Friday Five: Buntings

Bloggers love buntings. And I’m sure a lot of readers do too. They are an easy DIY (using everything from colourful crepe paper to doilies) that can be on temporary or permanent display.

felt-foliage1

felt foliage garland via A Subtle Revelry

79ideas-delicate-decoration

via 79Ideas

IMG_4384

via KoJo Designs

white bunting & pompoms

source unknown

IMG_5270

via Forever Love

What are your thoughts about buntings? Where would you use one?

Happy Friday everyone!

The Friday Five: Paper Crafting

My friend Adrienne is not only a wiz at cross-stitching (it’s more advanced that just crosses, though, let me say) but she is an excellent paper crafter. She makes such thoughtful cards for me that feed my obsession with white. Today’s Friday Five are some of the cards that have inspired her to try new techniques and create lovely cards for friends and family. My favourite is the second one with polka dots!

JT Card Making_whiteLess is More

Just Jingle_white cardJust Jingle

Cheiron Brandon_white card

Cheiron Brandon

Sending Hugs_white CardSending Hugs

happy-birthday-white-paper-card

Libby Stampz

Have a wonderful weekend everyone!

Many thanks to Adrienne S. (paper crafter extraordinaire) for sending this my way.


20 Below: DIY Tennis Dresses

I started tennis lessons last night. Oh, what fun! I’ve played tennis before but I’ve only ever taken lessons once as a child. I was happy to discover that my moves on the tennis court are decent but I’m definitely looking forward to improving my backhand as it’s beyond weak at the moment.

So it may come as no surprise that last night’s tennis lesson has provided the inspiration for today’s post. Aren’t these vintage tennis dress patterns awesome? I spent more time than I meant to browsing the pattern selection on Etsy this morning. It’s so interesting to see how the styles change over the years. The white fabric options remain pretty consistent (woohoo!).

tennis dress pattern_1968

tennis dress pattern (1968), $7

tennis dress pattern

tennis dress pattern (1960s), $12.55 

tennis dress pattern_2

vintage tennis dress pattern (1975), $4

tennis outfit pattern

retro tennis outfit pattern (1971), $4.50

tennis dress pattern

vintage tennis dress pattern (1973), $5

tennis dress pattern

tennis dress pattern (1970s), $6.25

tennis dress pattern 1978

tennis dress pattern (1978), $7

Let’s face it – half the fun of tennis is the outfits. Right?

Paper flower inspiration

Happy first day of spring!

As we wait for the season’s fresh blooms, I’m totally in love with and inspired by Balushka‘s over-sized paper flowers. Easy décor for any wall- but I think I’d like to place these in a hallway where people tend to just wiz through.

Wouldn’t these give you reason to pause?

balushka paper flowers 3

Balushka’s beautiful paper flowers are available for sale or rent here

balushka paper flowers 1

balushka paper flowers 2

balushka paper flowers 4

All images courtesy of Balushka.


Foldable paper animal glow lamps

Aren’t these simply amazing? Leave it to Etsy to have the coolest, most unique stuff on the web.

Over here at White Cabana we do love our white animals. For about $50 CAD one of these lovelies by mostlikelyShop can be yours to fold and glow. Perfect for any room and making a very architectural and functional presence.

owl lamp paper

owl lamp litwolf lamp paperwolf lamp litpenguin lamp paperpenguin lamp litAll images courtesy of mostlikelyShop where you can purchase a lamp (or two!)


20 Below: Planning a Cloth Napkin DIY

Anyone who has eaten a meal at my place or has eaten lunch with me at work knows that I use cloth napkins for everyday – not just for “fancy” times. I switched to cloth napkins about five years ago and I have two main sets – both white (one set from my mom and one set from Johanne – they both know me so well!). I find cloth napkins really nice to use – why wipe your mouth with rough paper napkins when you can use cotton? I wash them often and I iron them sometimes.

I’m now inspired to make myself a new set of (mostly) mis-matched napkins like Elsie did from A Beautiful Mess. She bought her fabric from Etsy shop Stash Modern Fabric and so I obviously had to browse the shop to see what fabrics might suit me.

s Canvas

Painter’s Canvas

Summersville fabric

Summersville Spring Collection

architextures_fabric

Architextures Collection

Metro LIving Circles

Metro Living Circles

Prices for half a yard of each of these fabrics range from $4.50-$5.00 (USD).

I haven’t yet decided if I’m going to order fabric directly from this Etsy shop or from Fabricland but I do know that my new napkins will be black and white (surprise!). And if I’m feeling wild, I might just add some red. Woah.

The Friday Five: Winter Wreaths

I know a lot of us are focused on our trees right now…but how ’bout them wreaths? Do you hang up a wreath (or several) for the holidays? I have one with white wool pompoms (easy DIY) on my front door…it stays up all winter long.

via Dust Jacket

via Sweet Paul

DIY book pages wreath – via See Kate Sew

via Willow Decor

DIY pinecone wreath – via Casa Sugar

Wishing you a wonderful weekend.

The Friday Five: Advent Calendars

Well, okay, tomorrow is December 1st so I guess it’s appropriate to start the Christmas countdown. When I was growing up the only advent calendars that I ever had were of the chocolate variety – yum! Has an advent calendar been part of your Christmas tradition? Have you crafted one this year or do you have a store bought one?

via A Few Things from My Life

DIY advent calendar by Muffins in my Backpack

advent calendar votive set, $168, terrain

advent calendar, (sold), Pi’Lo

advent calendar by Charm Stitch

Have a wonderful weekend and enjoy a wonderful beginning to December!

More advent calendar ideas here. Many thanks to Boba for sending me photo #1.

20 Below: Penny Paper Co. Packaging

The Penny Paper Co. is a Toronto-based stationery supply company owned by Lindsay Stephenson (of Little House Blog and BlogPodium fame). I’ve had my eye on her custom stamps for a while but I have only recently noticed these sweet cream-coloured drawstring bags.

large cotton drawstring bag, $6.25

Use them plain for wrapping small gifts or personalize them, fill them, and use them as party favours. Time to get crafty!

The Friday Five: Family Trees

I have been working on my family tree on and off for at least five years now. It’s nowhere near complete. It keeps growing as I meet more family members (which is always nice) who can provide more information about relatives. Sometime in the future I need to go to the small Italian villages where my parents were born to learn more about my family history. For now, I’m happy to fill in names and dates as I learn them. My family tree is in very rough form and I never have a paper that’s large enough to fit all the info so I keep taping on paper extensions…

my family tree: this is only my mother’s side…I have another paper roll for my father’s side.

Maybe one day I’ll work it out so that my family tree is as pretty as one of these…

Diamonds Family Tree by Martha Stewart

Family tree by Melinda Beck via Martha Stewart

Inspired Goodness

family tree, Martha Stewart

How about you? Have you ever worked on your family tree? Any tips?

Forging French doors

This week I had the most exciting time meeting and getting to know one of Canada’s foremost window dressers, Philip Minaker. Having created hundreds of major storefront windows during more than 25 years as a style director for many iconic Canadian and international retailers in Toronto and his home town of Winnipeg, Philip is a fascinating individual unlike any other.

His boundless creativity and problem-solving know-how are only surpassed by his sweet and fun personality. Philip is a fashion force and he’s put on countless runway shows and deconstructed trends working for various styling and retail roles at The Bay, BCBG, Lipton’s, Eaton’s, Mondi, Parachute, and the list goes on and on.

He is known for his stunning sales-boosting windows and his ‘let me show you’ philosophy about sharing his fashion knowledge. His windows are known to increase sales; a job well done, then. Look for his work coming up at Toronto’s downtown Josephson’s in the next few weeks- he told me that he’s currently fabricating the set pieces for the fall windows.

Beyond having a keen eye for styling, trends and balance, Philip is an incredibly talented artist and he creates much of what you see in his displays. Today’s French doors featured below are an example of his incredibly simple take on getting what you need: make it yourself.

When I met Philip on the weekend during his first of two moving sales, he invited me in his home where he has these gorgeous antique French doors behind a bed (those aren’t for sale, though, sorry! but just DIY for these and drop in on Philip’s second sale for other very cool stuff).

These gorgeous French doors are not real; they’re two large format prints of doors that are glued to large pieces of foam. The antique look is truly outstanding and the quality of the print here is just right, working in favour of achieving that natural aged look that the doors have.

The best part about all this is that they weigh nothing! They’re made of foam! You know, the inch-and-a-half rectangle sheets of white foam from the craft store. So simple. Philip told me that he cut the print and foam in the curved shape at the top and he has another piece that creates an archway to really bring it all together. I think they are spectacular just like this.

20120829-093357.jpg

20120829-093603.jpg

Images courtesy of me via Philip Minaker

You’ll want to be there for Philip’s second moving sale in a few weeks, September 13-16: he is parting with some of his window dressing treasures including props, decorative urns, industrial art, art hangings and artist canvasses, art that he has created, beautiful vintage mannequins, and so much more.

You’ll love meeting Philip- just drop in to say hi and check out all the fascinating pieces of his career that he’s selling to new good homes, and meanwhile take a look at his moving sale ad on Kijiji– lots more pics there to see what he’s got on the floor (including Herman Miller La Fonda chairs…).

20 Below: IKEA Greenhouse

Did I ever mention that I’m currently attempting to grow basil, parsley, and tomatoes…in a sunny corner in my apartment (for now)? It’s been fun to watch everything grow from seeds and I really didn’t have much faith that anything would come up.

If I really discover my green thumb this spring, I’d love to try out a greenhouse like this inexpensive version from Ikea. I imagine it would help the plants out right from the initial stages.

Socker greenhouse, $19.99

Have you grown anything indoors before? What’s worked? Do you have a mini greenhouse for your herbs?

Christmas: Advent Calendar

Well, yes, I know we’re already a week into December and many of you have already begun your advent calendars but I just can’t resist posting these three amazing white ones. Aren’t they pretty? I must remember these for next year!

via Sally J Shim

via Emmas DesignBlogg

via Say Yes to Hoboken

Do you have an advent calendar? With gifts or chocolate?

Glowy night

I came across a few fun things for fall over at our fave paper peeps, Paper Source. Is it too early to think about Halloween? Maybe it is.

Well, in that case, how about this fun glow-in-the-dark glitter? It’s probably the coolest thing I’ve seen in crafts in a while, but, then again, I’m not often searching for crafty how-tos (I remember getting very excited when I found out about pinking scissors). It comes as little surprise that the ghostly glitter is made by the creative genius that is Martha and her design team. 

Glow-in-the-dark glitter, $15.95 at Paper Source


I would use the glow-in-the-dark glitter on my face and body for party play (well now!) but I suppose it’s really meant for paper crafts and other projects.

Since it’s a grainy, powdery texture, you’ll need glue or stamp ink to affix it to your creations. I think it would be a lovely coating to a birch tree branch display indoors or out, or glued to pinecone tips for a table centrepiece this fall. Of course, it would easily light up any old tired mask or costume for a Halloween surprise.

Any thoughts as to how you would use it?

20 Below: IKEA Textiles

It’s no secret that I love IKEA. I’m a truly devoted fan. This is why I’m so happy to spread the news about IKEA’s new textiles Although there is plenty of colour in the collection, it is the black and white JULITA that really catches my attention. It’s like one big glorious doodle.

JULITA fabric, $4.99/metre, IKEA

In the past I’ve used IKEA fabric to sew carry-on bags, beach totes, makeup cases, baby blankets and a yoga mat bag. I’ve also used it to recover my teak chairs. It’s been durable and so easy to work with.

What have you made lately with IKEA fabric?

Little Booties Go for a Stroll

My friend Kate had her baby shower a couple of weeks ago and her extremely talented mom Margaret (or Cousin Margaret as I like to call her) created origami booties as a token of thanks for all the guests. She made my gift in keeping with the theme of White Cabana. How thoughtful, right? Thank you so much Cousin Margaret!

The pair of white baby booties came in a beautiful box with a perfect red crane closure. Such a beautiful work of art.

I was so smitten with the design and workmanship of this sweet little gift that I decided to have a little fun and try making a stop-motion video. These booties are made for walkin’! Here’s my very first video:

[youtube http://www.youtube.com/watch?v=Z_JM4GOd6ys&w=640&h=390]

Photos and video by Jordana.

DIY: Paper Flower Wreath

Earlier this week Johanne featured this beautiful paper flower wreath by Alisa Burke. I wanted to make it on the weekend but I was too eager and made it the night after Johanne’s post. Here’s the finished product:

It wasn’t hard to make at all but it was time consuming. Wrapping the Styrofoam form was the most annoying part for me but crumpling the paper (to add texture) was kind of stress relieving. Next time I would make flowers of different sizes, just as Alisa suggested in her tutorial. I completely overlooked this detail. Oh, and I used white printer paper instead of butcher paper.

I’m putting it on my door this weekend to welcome spring and all my springtime guests!

Photos by Jordana.

Love Letters

by Johanne

Since I’ve already shared with you how much fun you can have with a hearty hole punch, how about a heart-shaped font to use and print on your paper?

Lovedrops is a font made of hearts and it is available for free for personal use (like Valentines, love letters, or everyday correspondence- why not?):

Here is where you’ll find the Lovedrops font for download.

Thanks to How About Orange for featuring this font- we <3 it!

Image courtesy of FontSpace.

Hermes DIY: Affordable Stocking Stuffer

It’s not very often (or ever) that we see affordable and Hermès in one sentence. Have you always wanted (or wanted to give) a Hermès cuff but you’ve already blown your Christmas budget? No worries – Hermes has a DIY for you!

To download the template, visit Hermès and click Travel the World of Hermès. Once the page is loaded, click Surprises from the orange bar at the left. Et voilà! Bonne chance!

Image courtesy Hermès.

Holiday Gift Wrap

Embellished gift wrapping, via This is Glamorous

Pretty wrapping makes a gift extra special. I’ve had a good browse online and in stores for some extra sweet wrapping supplies. What do you think?

Snowflake Flurry wrapping paper, $11.99, The Container Store

Gift wrap sheet, $4.50, Paper-Source

Silver glitter wrapping paper, $3.95-$9.95, Paper-Source

SNÖVITA, $1.99/pack of 12, IKEA

Tin, $4.49, The Container Store

Snowball ribbon, $4.99, The Container Store

White paper twine, $5.00, PaperPhine

Faux bois cards, $16.50, Paper-Source

Letterpress gift tags, $3.00/set of six, Hijirik

Woven pom-pom flower tie on, $5, Kate's Paperie

Peace & Joy tie-on, $2.49 each, The Container Store

Images courtesy of Hijirik, IKEA, Kate’s Paperie, Paper-Source, PaperPhine, The Container Store, This is Glamorous.

The Friday Five: Holiday Place Settings

Oooh…there are so many beautiful ideas for holiday decorating! Here are five gorgeous options for a holiday (or any occasion, really) table.

Little white flowers, via Once Wed

Acorn & Leaf, via Fairyfolk

Monogrammed napkins, via This is Glamorous

Lovely lace table setting, via Martha Stewart

White table setting, via Country Living

Via Country Living, Fairyfolk, Martha Stewart, Once Wed, This is Glamorous.

Heart of Goodness

Last week I wrote about my love of coffee. Turns out that Johanne (Fashion in Motion editor and White Cabana contributor) has a talent for making hearts in her latte! Who knew?

Made with love: I spy a heart!

p.s. I know – the cup/saucer combo is pretty cool too!
p.p.s. Johanne swears this is an easy DIY. Perhaps we can convince her to share the step-by-step how-to!

Photo by Johanne.

Stamping White

Frost White Ink is a shimmery white pigment ink perfect for stamping. $6.61, at Stampin' Up!

With the fall season breezing in this month I’m proposing a white stamping option for your paper projects.

I’ve had a thing for stamps since I was but yay tall (as they say) and my stamps are still kicking around in a shoebox, waiting for a fresh coat of shimmery white ink to modernize their rubber faces.

As it turns out, white ink can be hard to find and I was delighted to stumble upon Stampin’ Up!‘s Frost White pigment ink (pictured, top). I really like the idea of using white ink instead of coloured ink because:

1. White ink will look fab on coloured paper.

2. White ink will add a certain texture and sheen to white card stock.

3. I love white.

I’m also coveting some new additions to my informal stamp collection. Here are my best picks for fall’s paper projects:

Woodgrain rubber stamp, $13.95 at Paper Source

Bird trio stamp set, $15.95 for three stamps at Paper Source

Oak leaf stamp, $8.00 at Paper Source

Pinecone rubber stamp, $5.50 at Paper Source

If you’re thinking of going all-out with fall’s lovely warm colours, might we propose this fall colour wheel (which includes a white ink pad- of course.)

Colorbox inkpad, $16.95 at Paper Source.

Images courtesy of Stampin’ Up! and Paper Source.

Deelish Inside Out

Doily-wrapped cupcakes are my idea of a white tea party treat

This Wednesday I offer you a very easy do-it-yourself project to make a pretty treat even more fun. Use these white cupcake wrappers at your next gals’ night in and you’ll earn major domestic goddess points.

I found this little project featured one of our favourite blogs, How About Orange, who in turn found it at Intimate Weddings. I reproduced the instructions here to show you just how easy it is to create these lovely white cupcake wraps. To make the doily cupcake wrap you will need to download the semi-circle pattern shape here.

What you need:

Doilies (About 11 inches across, makes two cupcake wrappers)

Everyday tools: paper, scissors, glue stick

How to make the cupcake wrapper (3 super easy steps):

Step 1: Trace inner part of the the semi-circle pattern on the doily (see images A and B below). Semi-circle pattern available for download here from original source.

1 Paper doily approx. 11 inches across

Trace the inner semi-circle pattern on the doily. Trace the side edges. One pattern tracing = 1 cupcake wrapper.

Step 2: Cut out the inner circle and sides.

Cut your doily along the semi-circle pattern line you traced.

Step 3: Glue the edges of the wrapper together.

Use a glue stick to glue the edges together.

And voila.

Happy tea party!

Images and instructions courtesy of Intimate Weddings, as seen on How About Orange where you can get your doily fix with a post today rounding up of doily projects (!). Happy doily day!