Uptown: Lighting around the House

It’s a civic holiday today, which means I get to spend an extra day at home doing projects, seeing friends, and exploring Waterloo. Happy Monday to you all!

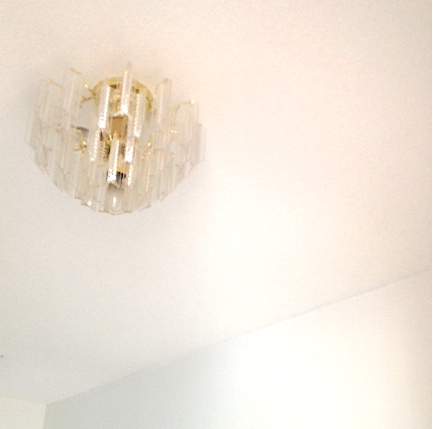
Way back in the fall, I wrote about Venini lighting. I also shared the fact that I had acrylic versions throughout my house, and that I had wanted to get rid of them right away. I have a massive one in my foyer that I hated, but once I painted the walls white, the light fixture completely grew on me. That one light (and the matching versions in the hallways) started a domino effect in terms of the lighting for my home. Let’s take a tour, shall we?

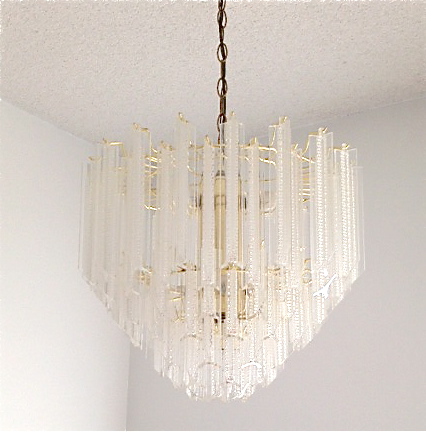
The foyer chandelier came with the house. It is big, and it has a gazillion light bulbs.

venini-1

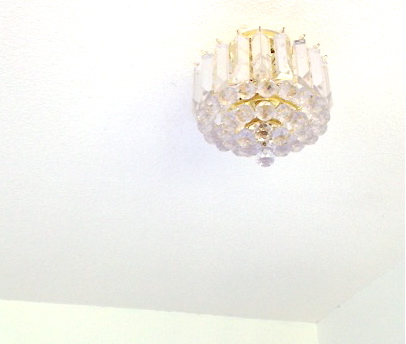
All the hallway lighting came with my house as well. I have a few of these smaller versions, and they take a few lightbulbs each.

venini-5

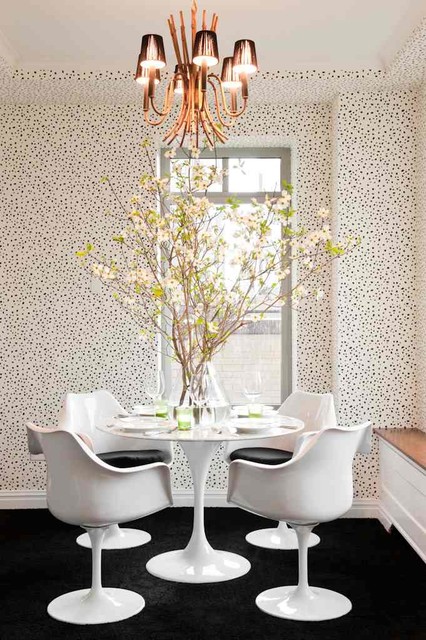
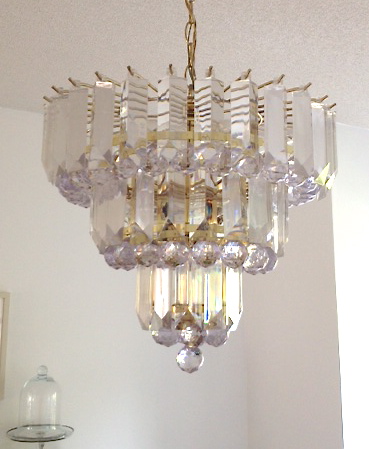
I knew I wanted to replace the dining room chandelier and my bedroom fan, so when my mom and I found this amazing chandelier at the Habitat ReStore, I grabbed it. I love the little balls on this version, and it ties in nicely with the hallway lighting.

venini-4

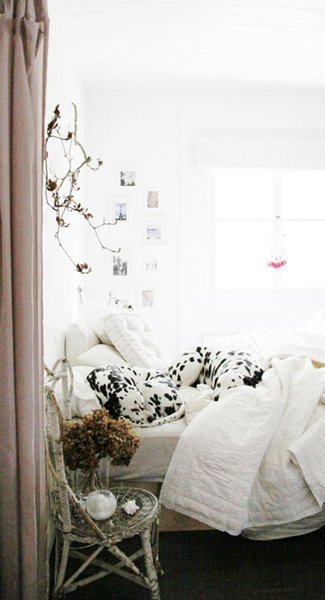
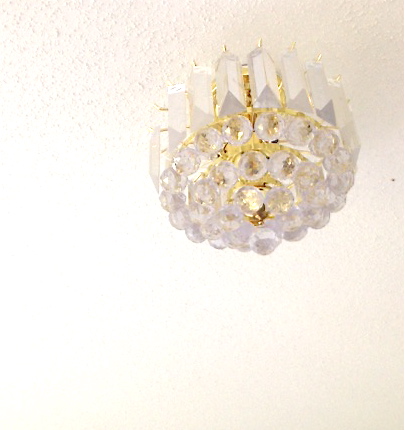
In my bedroom, I have two smaller versions to match my dining room chandelier. These ones are my favourites. They’re sweet, little, and a little less 80s glam than the others.

venini-2 venini-3

Do I want to invest in the crystal version of these? Maybe one day if I find them on super sale.

Personal: A Birthday Week

It was my birthday last weekend, and while there were no balloons or sprinkles à la every-Pinterest-party-photo, I had a few days of celebratory fun.

birthday-1

my birthday crown

birthday-2

lazy morning patio time

birthday-3

a birthday selfie – wearing my new favourite sweatshirt

birthday-4

Cutting pizza with scissors – doesn’t everybody do this?

birthday-5

flowers from the Kitchener market

birthday-6

homemade chocolate cake by my mom – delicious!

birthday-7

Elora, Ontario

birthday-9horse & buggy parking only – Elora, Ontario

Design: Dalmatian Dots

No, I’m not getting a dog. But I do think dalmatians are beautiful, and I love how dalmatian dots inspire art and interior design.

contemporary-dining-room

via Houzz

dalmation-stapler-anthropologie

Dalmation stapler, $24, Anthropologie

a6a99bf37794e713b111d17b2f496354

via Pinterest

il_570xN.549121544_63s5

dalmation photograph, $27, Etsy

naomi-campbell-dalmatians-vogueus_90

Naomi Campbell, photo by Peter Lindbergh for Vogue US 1990; source

Milly-dalmatian-tote

dalmatian tote, $225, Milly

29079355567

via Twirling Clare

882709111146_hi

Dalmation print, $7, Chapters-Indigo

fabric_with_spotted_lampshade

via Inside Out Design

51b6b155fb04d67b4a001e06._w.540_s.fit_

via The Design Files

DIY: How to Make an Inkblot Gallery Wall

My big bathroom was a disaster when I moved in to my house last year, but I knew I couldn’t spend a whole lot of money on a full bathroom reno. Instead, I opted to make minor, but high-impact changes, to the space. I ripped off the silvery wallpaper (ugh!), painted out the wood trim on the 80s vanity, installed a new countertop and over-mount sink, and replaced the faucet, mirror, and lighting. I also cleaned the heck out of everything. The renos definitely improved the space, but the grey/cream linoleum flooring and the grey tub and tile surround were distracting. Rather than trying to change these things, I decided to create a high-impact gallery wall to divert people’s (and my) attention. I think it’s working, too!

I’ve been slowly filling in my Rorschach-inspired gallery wall as I come across frames of different sizes in thrift stores, yard sales, and stores. When I’m out and about, I try to find frames that might fit an empty space on the wall. When I have a few frames, I start painting the inkblots. And then I hang them where I feel they might look best (I only created one extra mistake hole so far…yay). I can be quite impatient so I didn’t wait until I had all the frames/art to start hanging them up. I constantly add to the wall. Here’s what it looks like now:

White-Cabana-Rorschach-gallery-wall-art


inkblot-wall-White-Cabana

The upper left corner still needs to be filled in. Other than that, the wall is just about done.

Making inkblot art is super easy. Here’s my step-by-step process:

1. Find a frame (I only use black frames or borderless frame).
2. Cut a piece of white paper to fit inside of the frame. (I tend to use bristol board because it’s strong and thick and the paint won’t seep through.)
3. Fold paper in half.
4. Plop/drip/spread gobs of black paint on one half of the paper (I use artist’s acrylic paint, but craft paint from a dollar store also works fine).
5. Refold the paper in half.
6. Rub your hand over the folded paper. Smoosh the paint around through the paper.
7. Unfold the paper. (I love this step!)
8. Surprise! What do you see? (This is the best part!)
9. Let the paint dry.
10. Frame your art.

What do you think? Do your eyes – or your brain – hurt from staring at the wall too long? What do you see in the inkblots on my wall?