Last week, Gabrielle from Eye Candy Popper invited us into her kitchen. Today, she is back and sharing her office and bathroom with us.
***
Hi! ECP, aka Eyecandypopper, here again. I hope you got a chance to visit my kitchen last time (where the healthy cooking magic happens for my blog). As I mentioned, I cared about integrating eco-conscious design into my tiny home renovations 4 years ago, so the use of natural and long lasting materials were of utmost importance. Quality over quantity! You’ve probably seen a bit of my office in the kitchen pictures already. It’s a small addition in the back, which we thought about ripping off, but my ever-so-smart sister convinced us that we would miss that little space if it wasn’t there. She was right. I transformed it into a small office and mudroom, and it works really well. 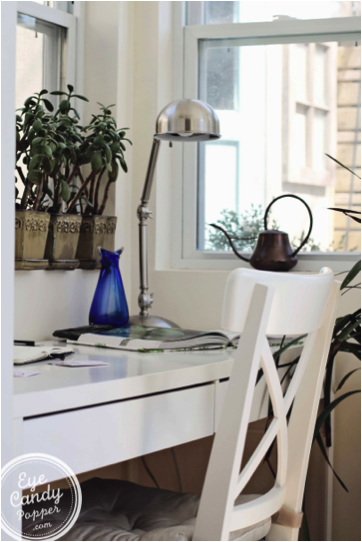 Because I work from home (on top of blogging, I’m also a freelance copy editor and translator), I spend a lot of time in this space, and I quite enjoy all the natural light coming in from all angles. My cat enjoys taking naps on the chair behind me while I’m working. It’s small and cozy, but a great space!
  We kept the same classic design used throughout the house in the bathroom as well. I live in a charming yellow brick cottage house that was built in 1847. That’s right! 1847!!! Isn’t that amazing? We love the old charm of it, and we appreciate the solid construction of it, too. Double brick walls are amazing! Despite being old, we luckily didn’t have to modify any of the structure. The bones were good; we just had to make cosmetic renovations, which is always such a time and money-saver. We did our best to preserve as much of the old classic character as possible, but wanted to give it a contemporary twist as well. We were not able to preserve the old trim in this area of the house, so we decided to use modern trim as a crisp contrast to the old character! I love it!
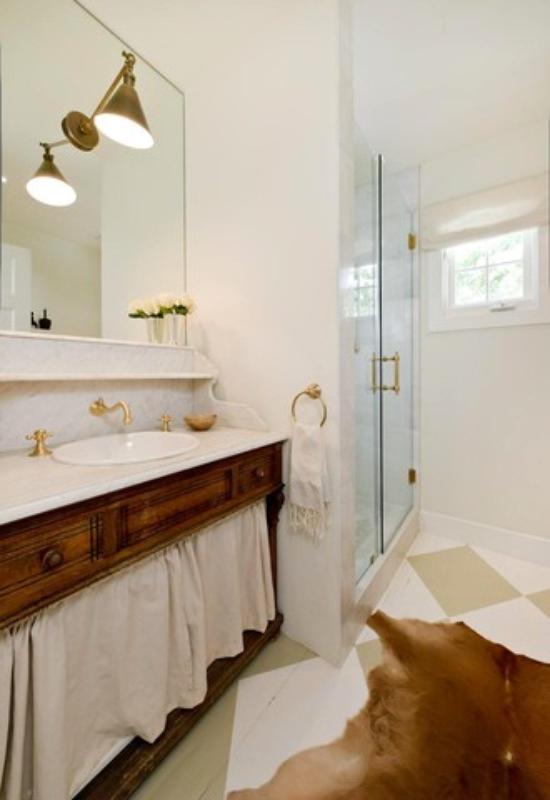
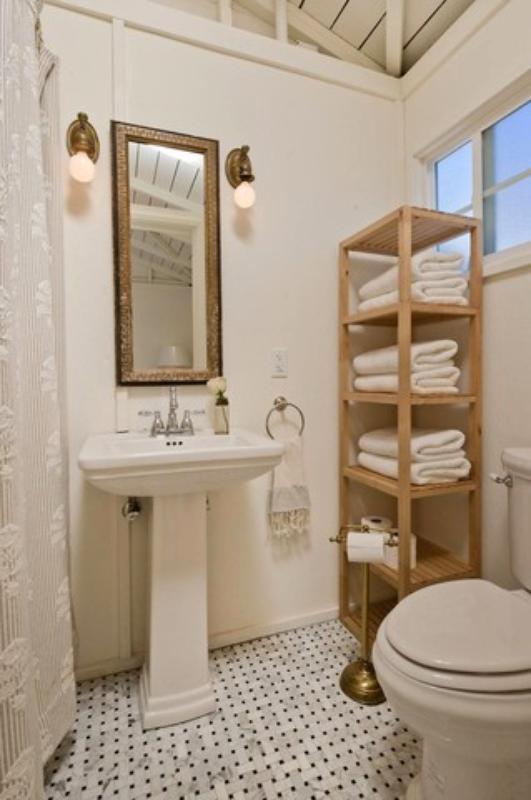
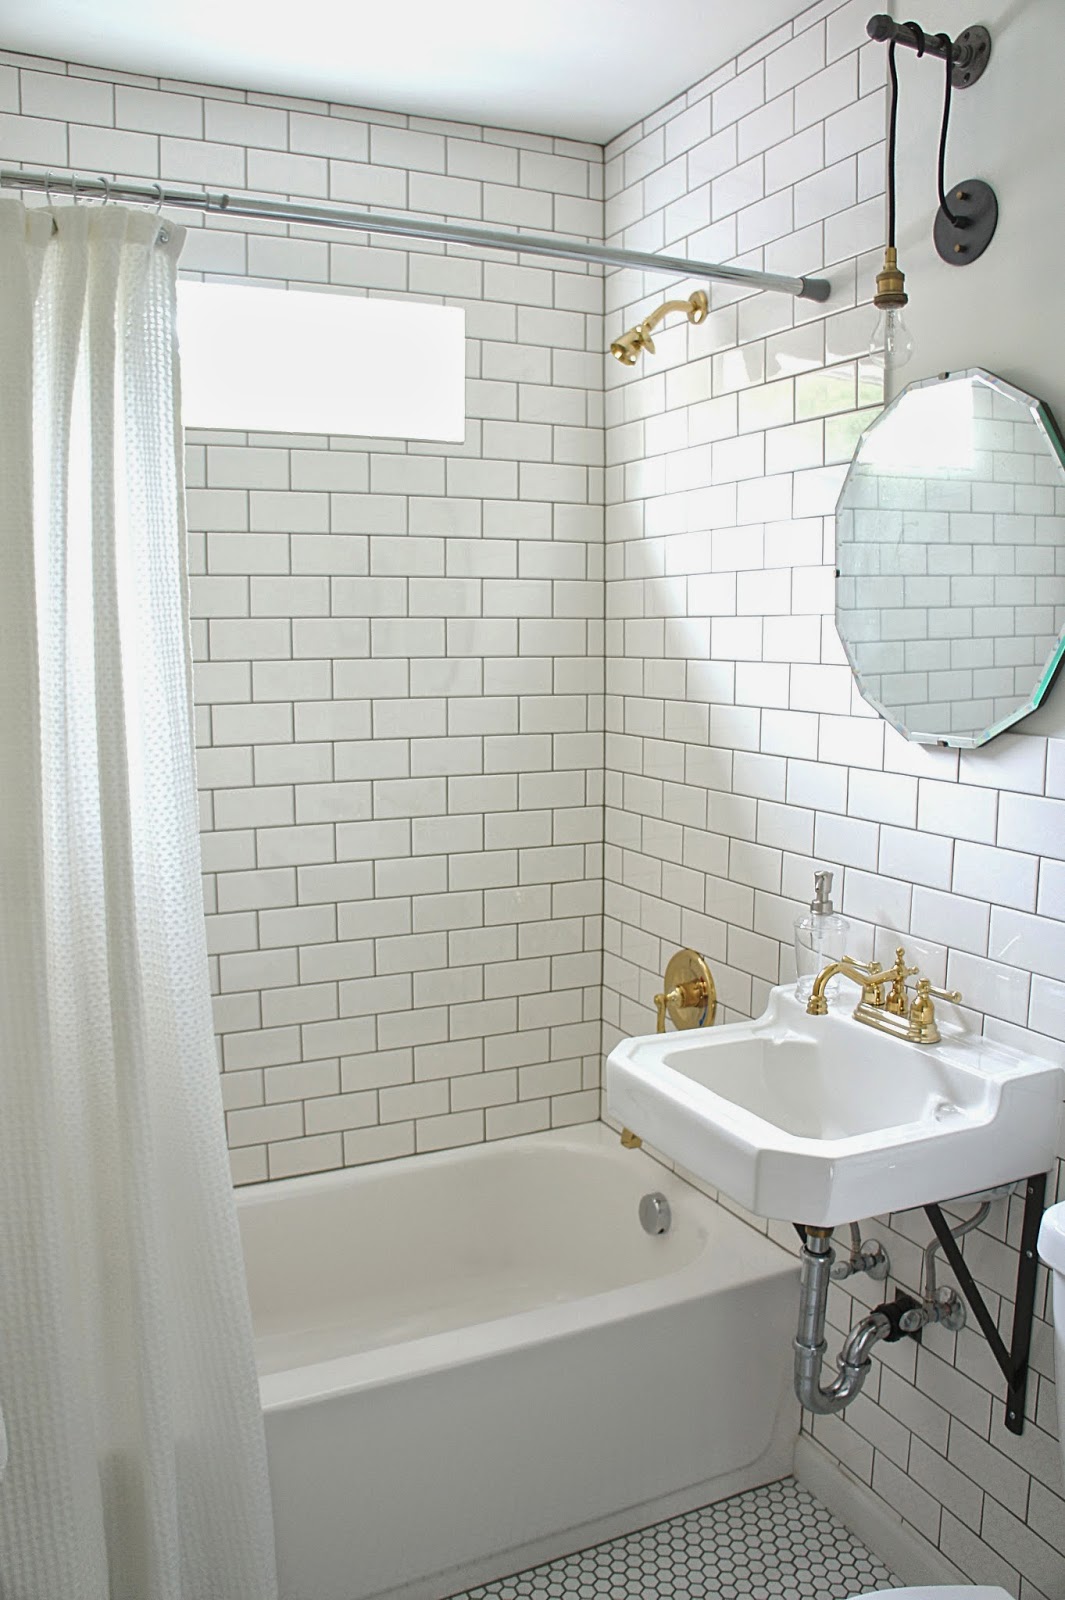
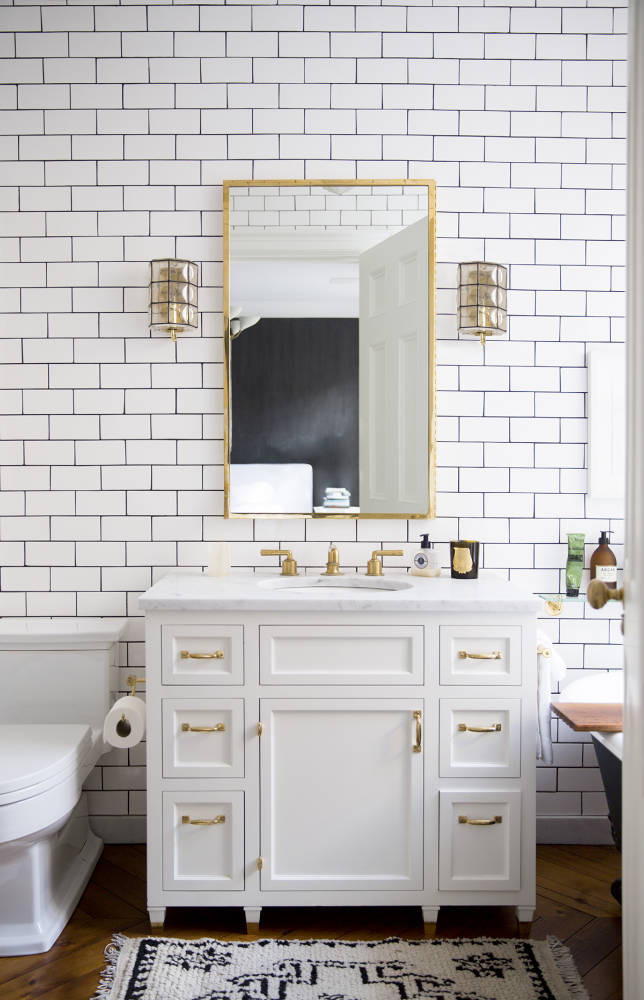
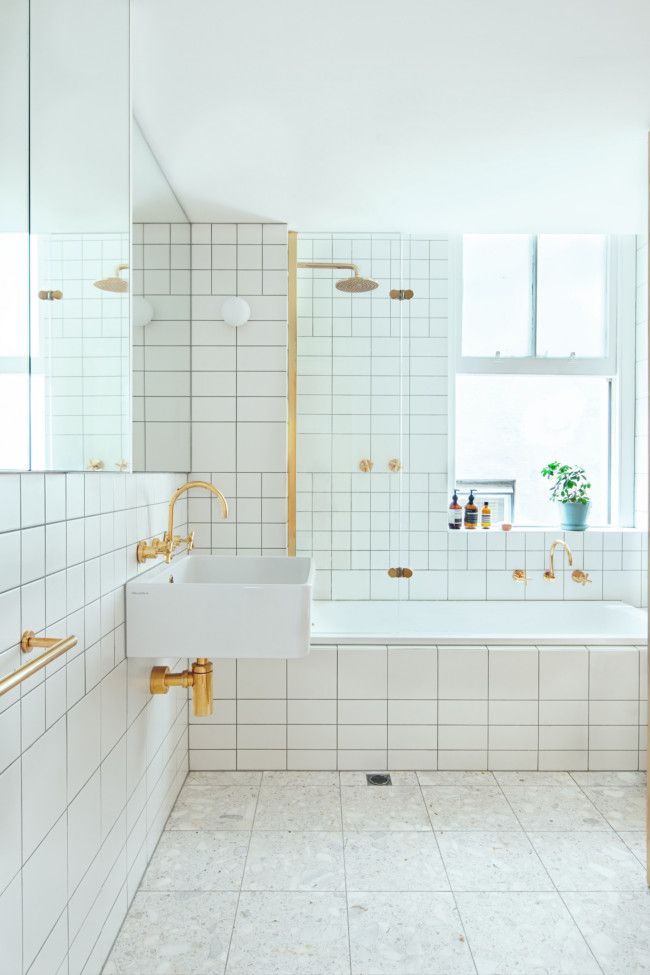
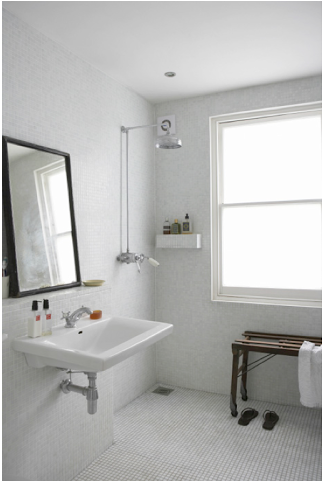
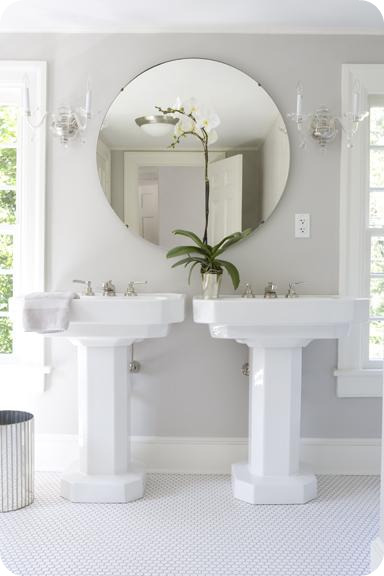
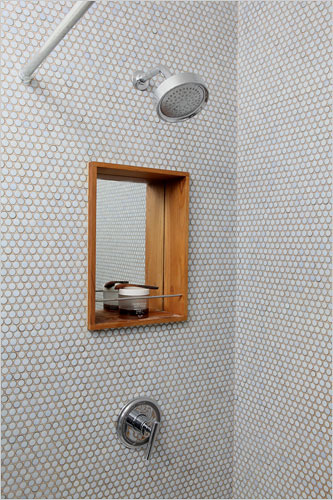
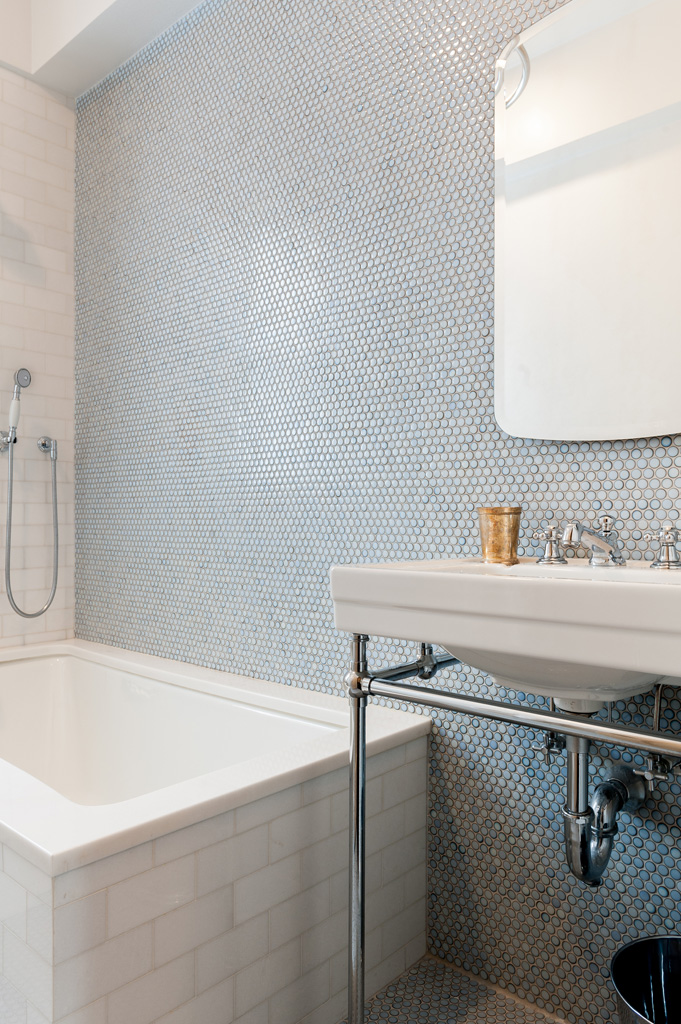
 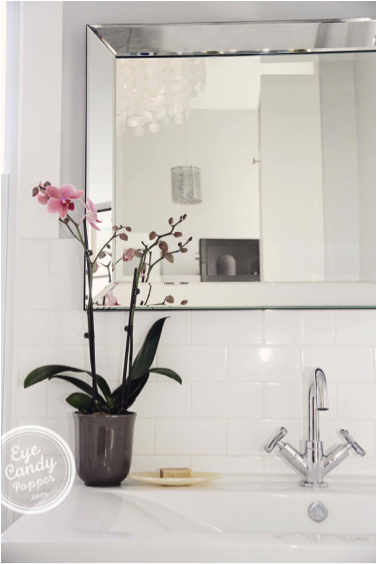 In the bathroom, we used classic elements like the white ceramic subway tiles up to shoulder height all around the bathroom, and high quality chrome faucets and accessories. We’ve added tall white cabinets to add loads of storage, and to act as a visual separation between the bathroom space and the laundry area, which is in the same room (stacked washer and dryer). It feels very European to do that, and not everyone is used to it, but I think it works perfectly in this small space, instead of having 2 cramped rooms. The high ceilings help a lot too.
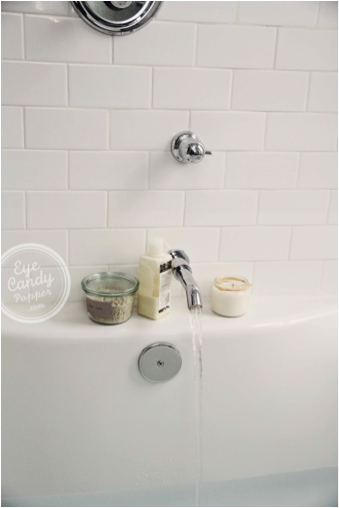
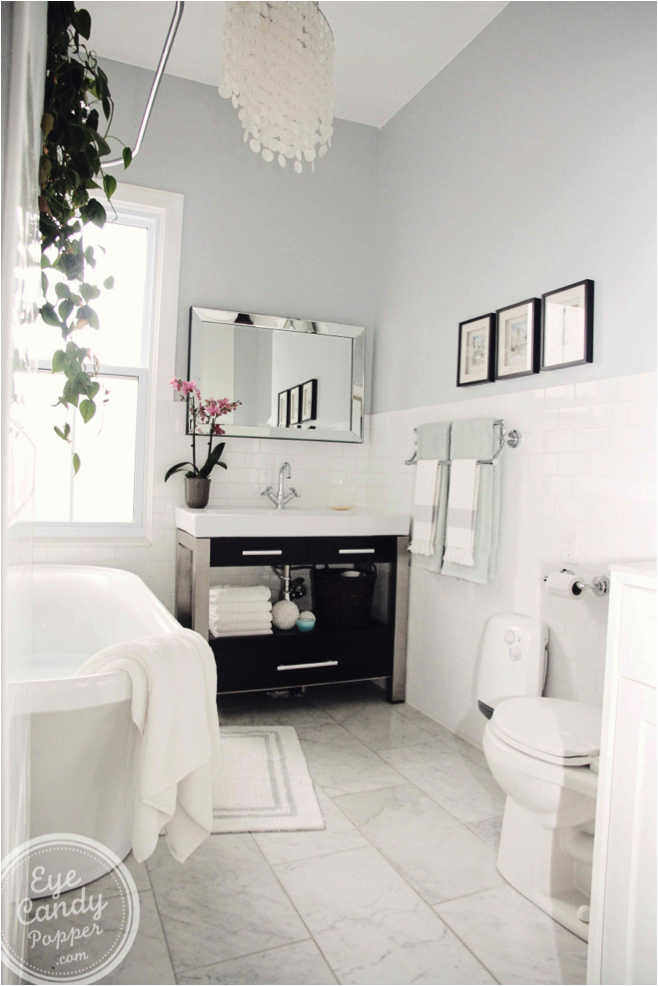 Being eco-friendly and eco-conscious, all of our towels are made out of certified organic cotton, which is something important to me to support organic agriculture, every chance I get.
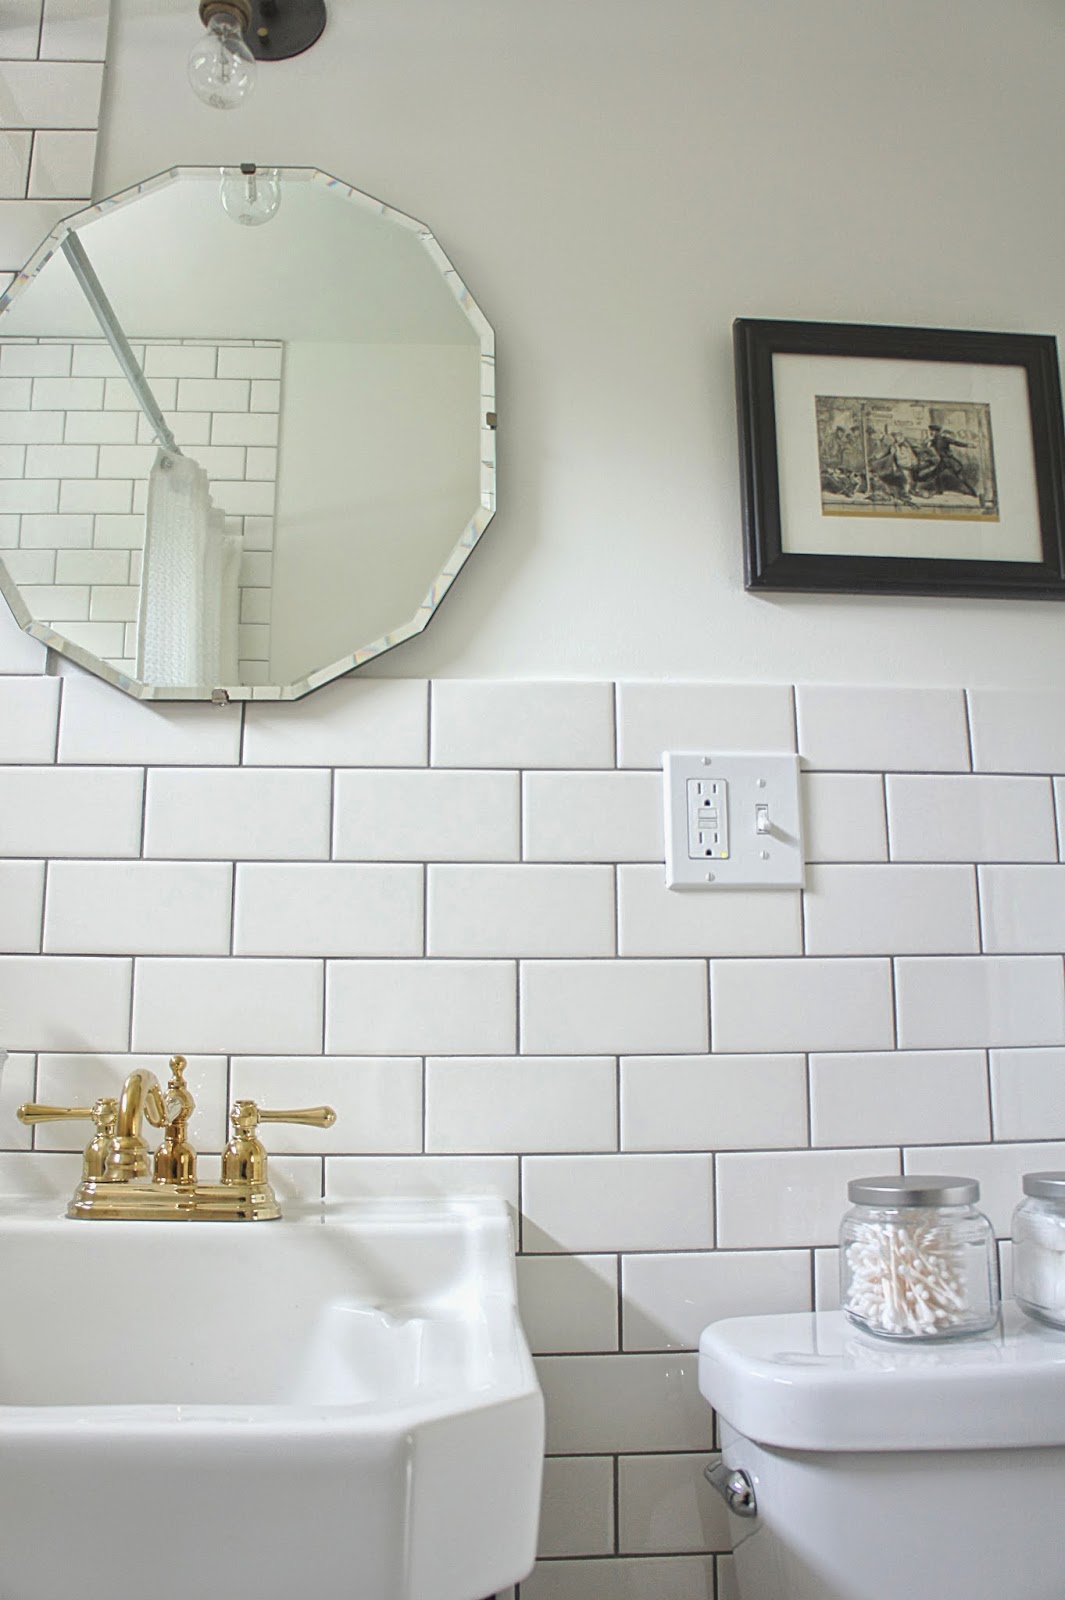
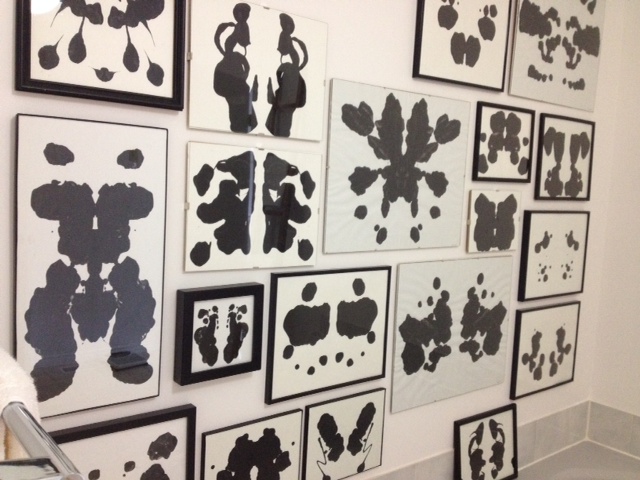
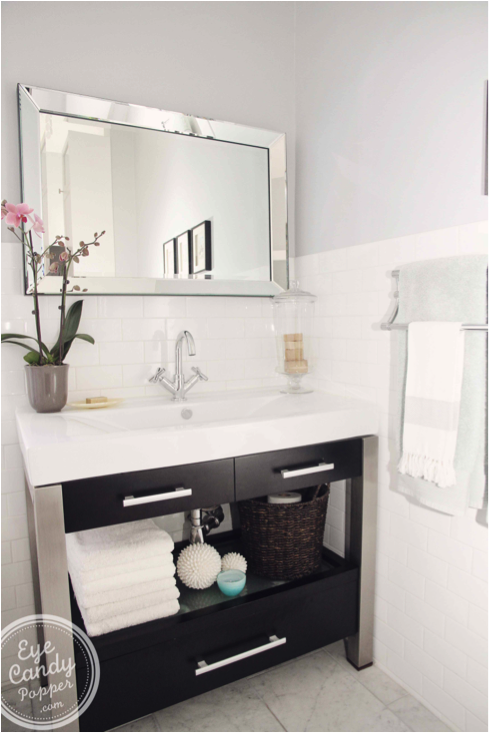 Again, I love objects that are double-duty and useful, so I used souvenirs brought back from various trips to decorate the space, like the 3 picture frames brought back from Capri Island (Italy), or the giraffe made in Kenya by a women cooperative (bought at the San Diego zoo on a trip with my niece many years ago), and the 2 dishes used for the soap and jewelry were brought back from Egypt. Because I make a lot of my own natural beauty products, I also like to use pretty jars and display them right on the counter instead of hiding them away in cupboards. I love the homey feel it creates.
 Well, that’s it! I hope you enjoyed visiting parts of my house as much as I enjoy living in it! Drop by for a visit on my blog, I’d love to see you! ECP xo
faucets and shower set: Riobel
sink/vanity and light fixture: Rona
towel rack and paper holder: Restoration Hardware
cabinets: Home Hardware
organic towels: aqua – House & Home eco collection (discontinued), white – Anna Sova Design
marble floor tiles and subway tiles: Olympia Tiles Toronto
photos courtesy of Aya Photography & Design.
***
Thanks for opening up your home to us, Gabrielle.