In the Kitchen: Lemon Poppy Seed Cake

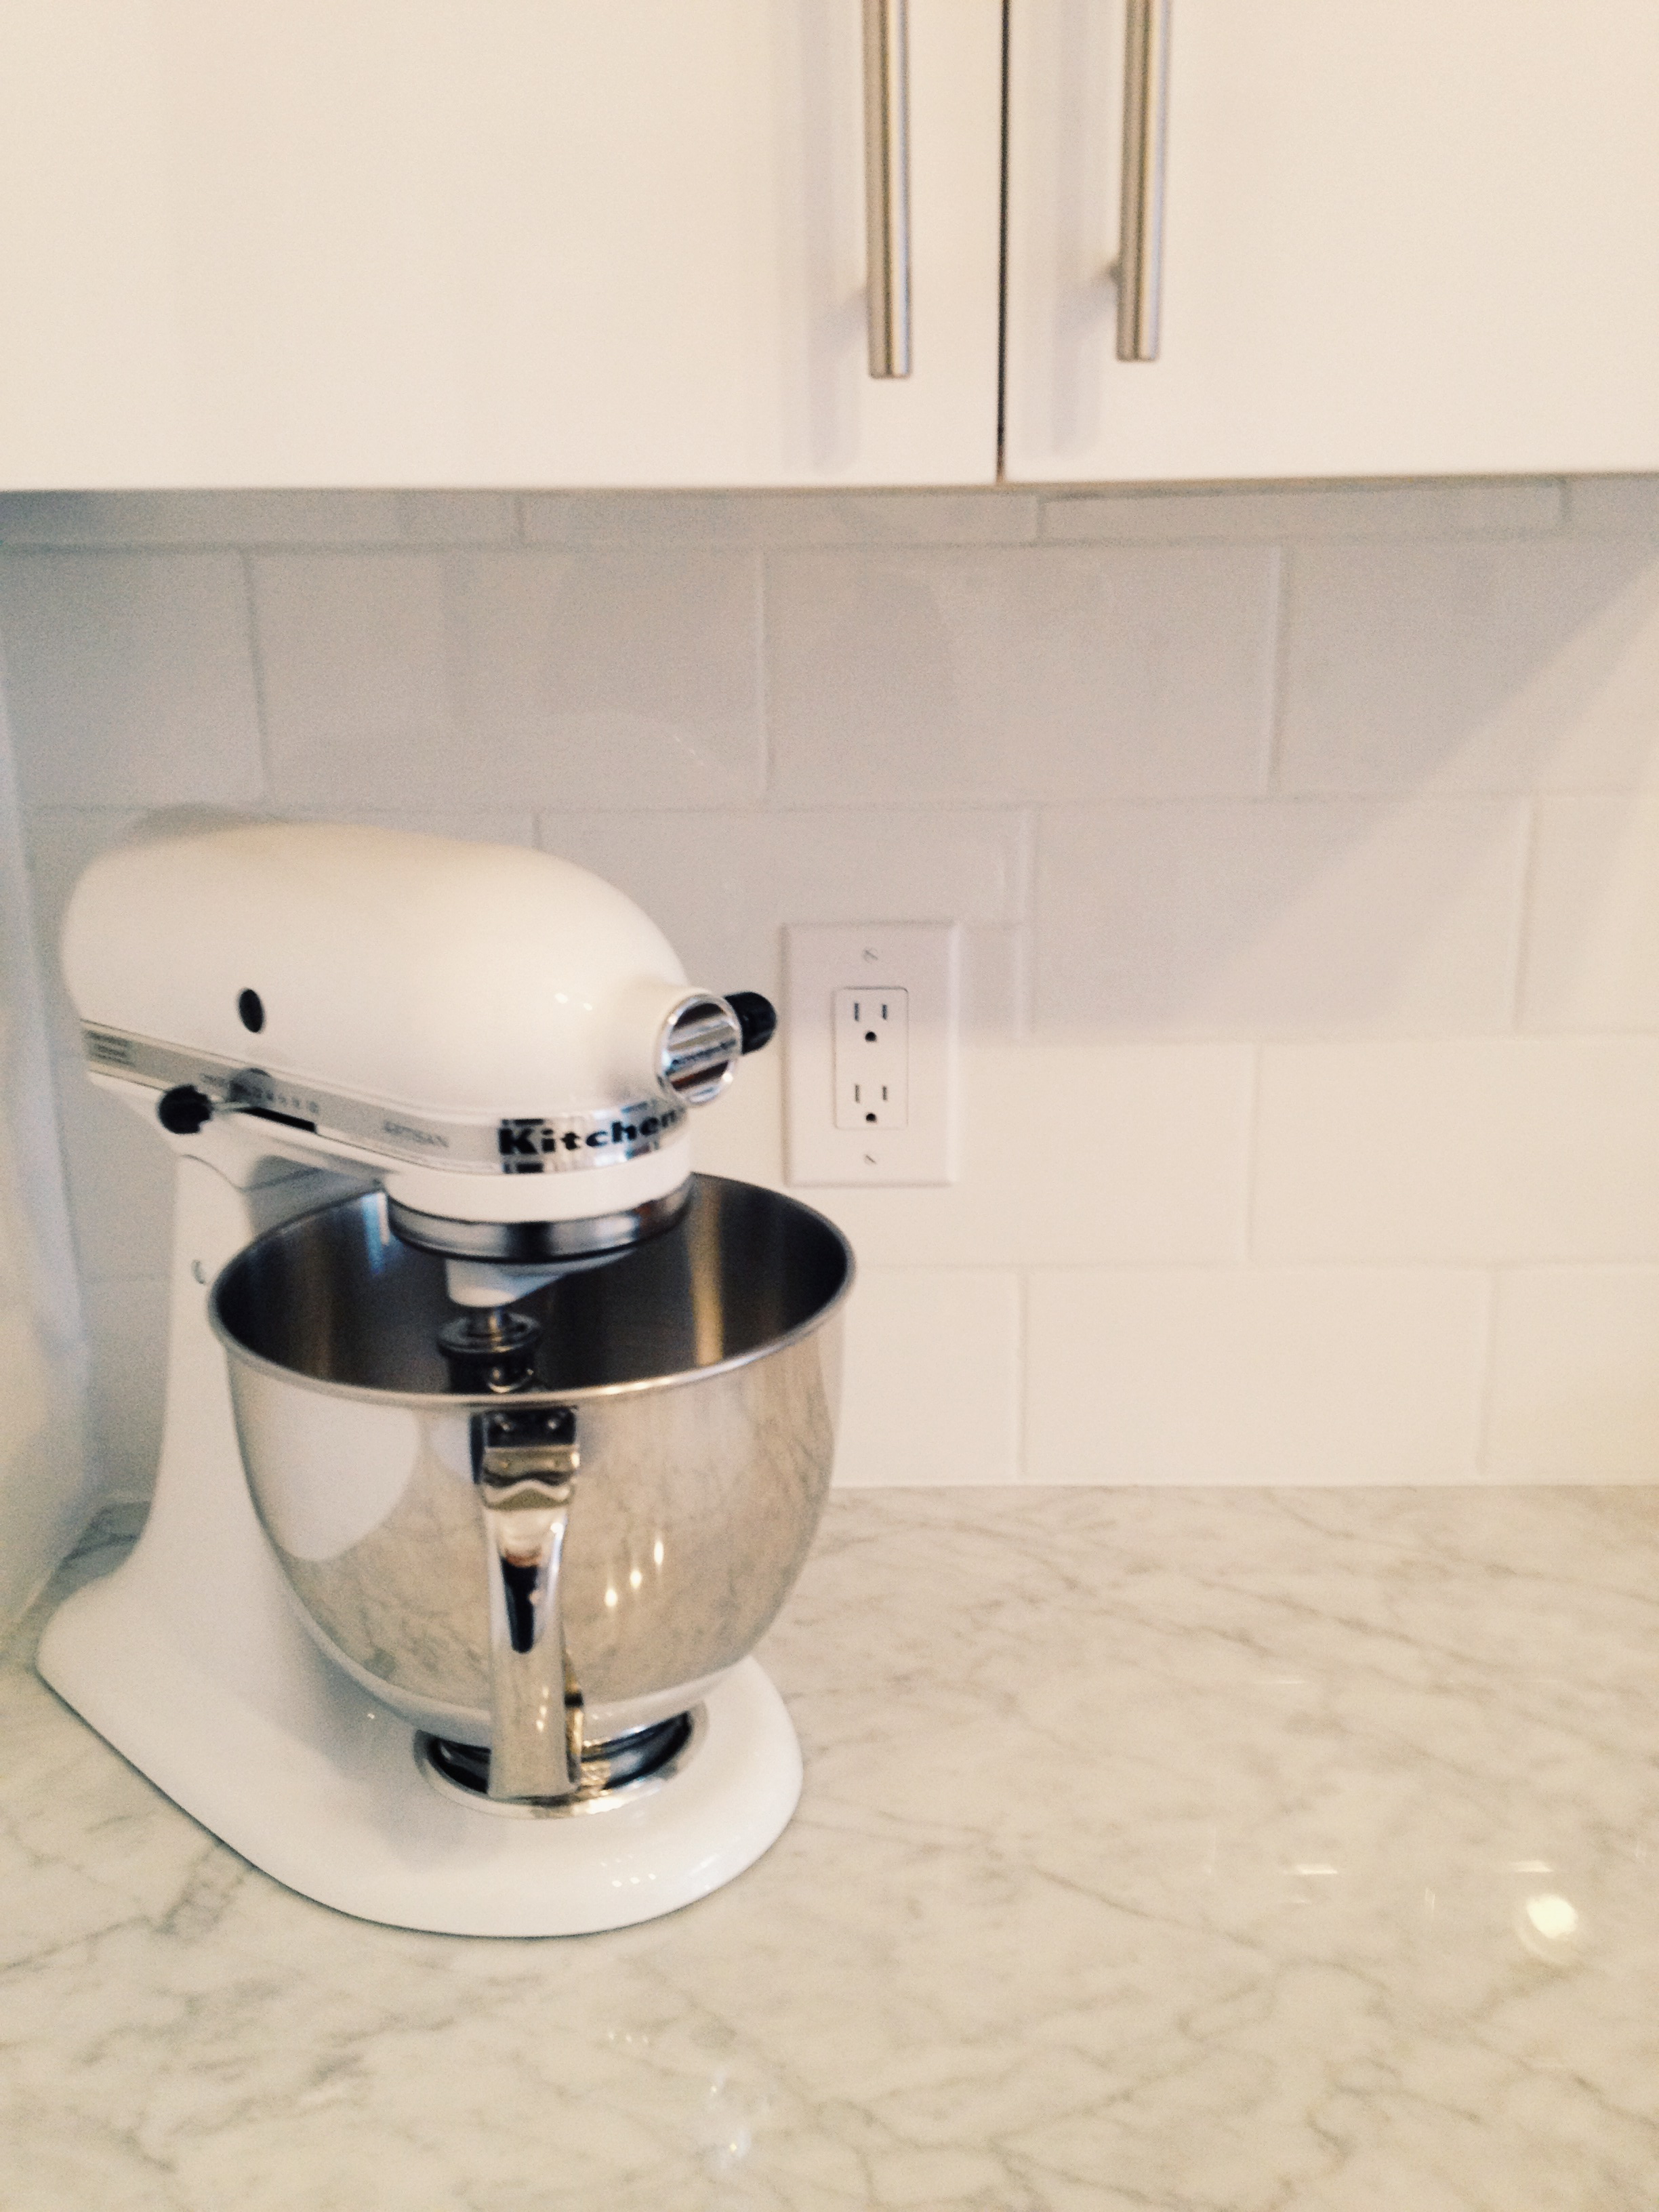
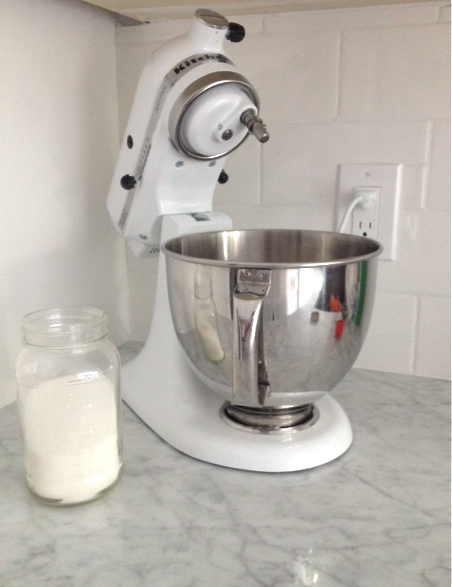
I hosted my parents this past weekend and I just had to show off my KitchenAid stand mixer. (I’m a Leo. We like attention.) I decided to test out this lemon poppy seed cake recipe that Joanna Goddard featured earlier last week. To everyone who is reading – this cake was super easy. If you like lemons and cake and poppy seeds, you should make it.

My KA stand mixer worked brilliantly and made the whole cake baking process go really quick and smoothly. For beautifully styled food photos, have a look at Joanna’s post. For photos of my version, keep reading…

photo 1 copy

photo 2 copy

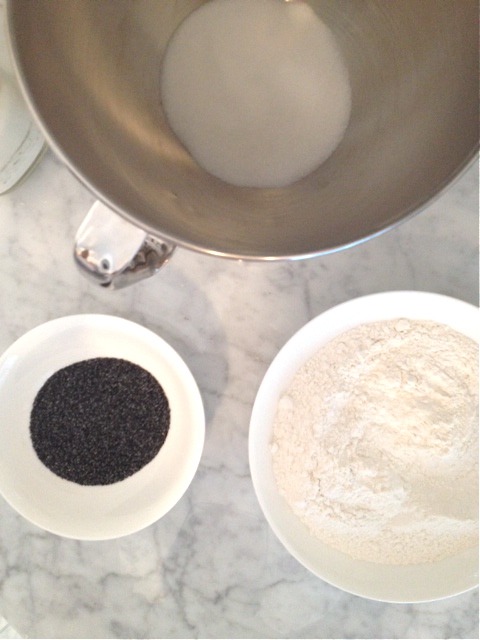
sugar, flour, and poppy seeds are measured out

photo 3 copy

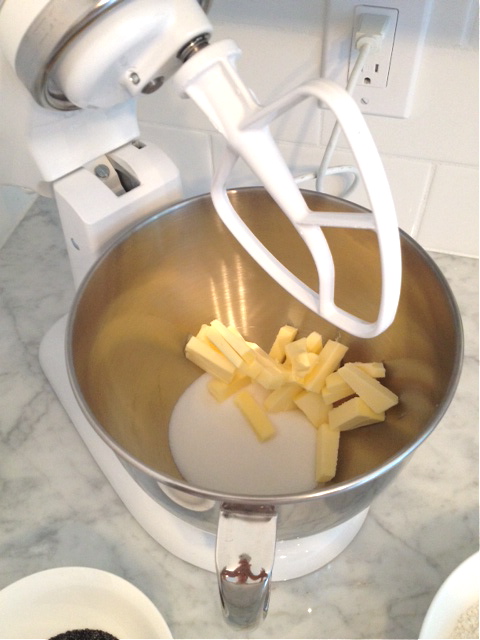
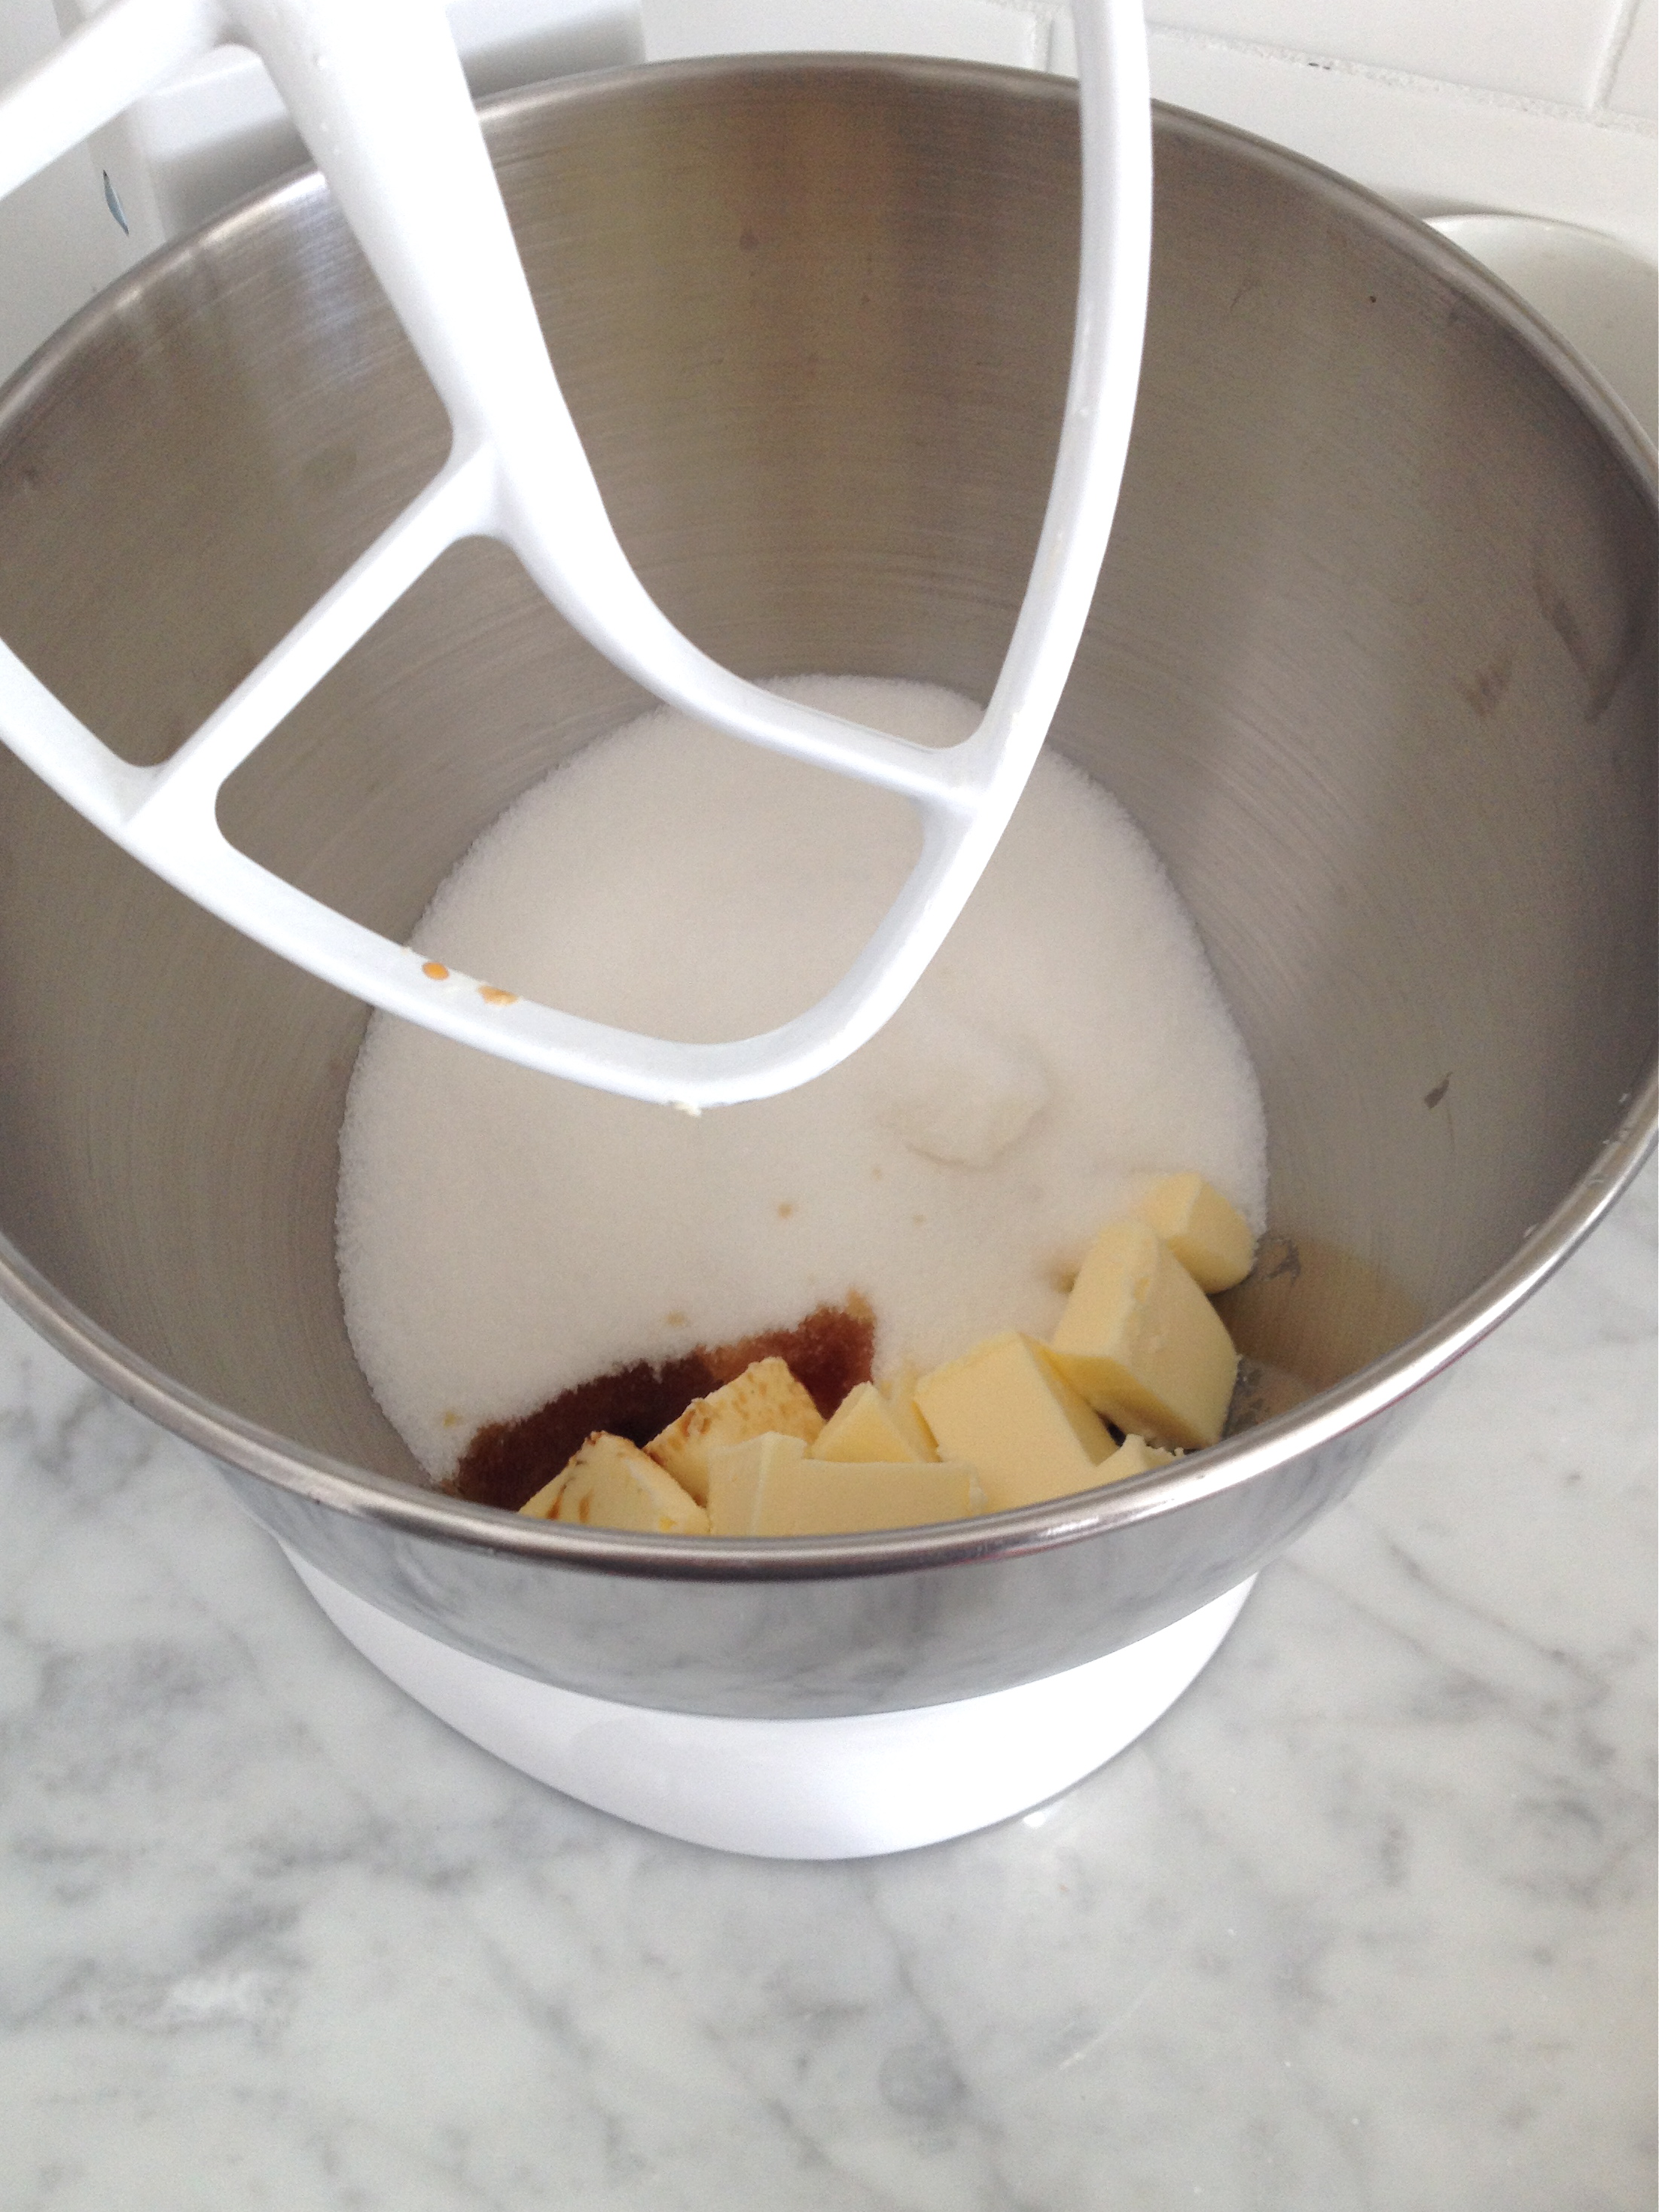
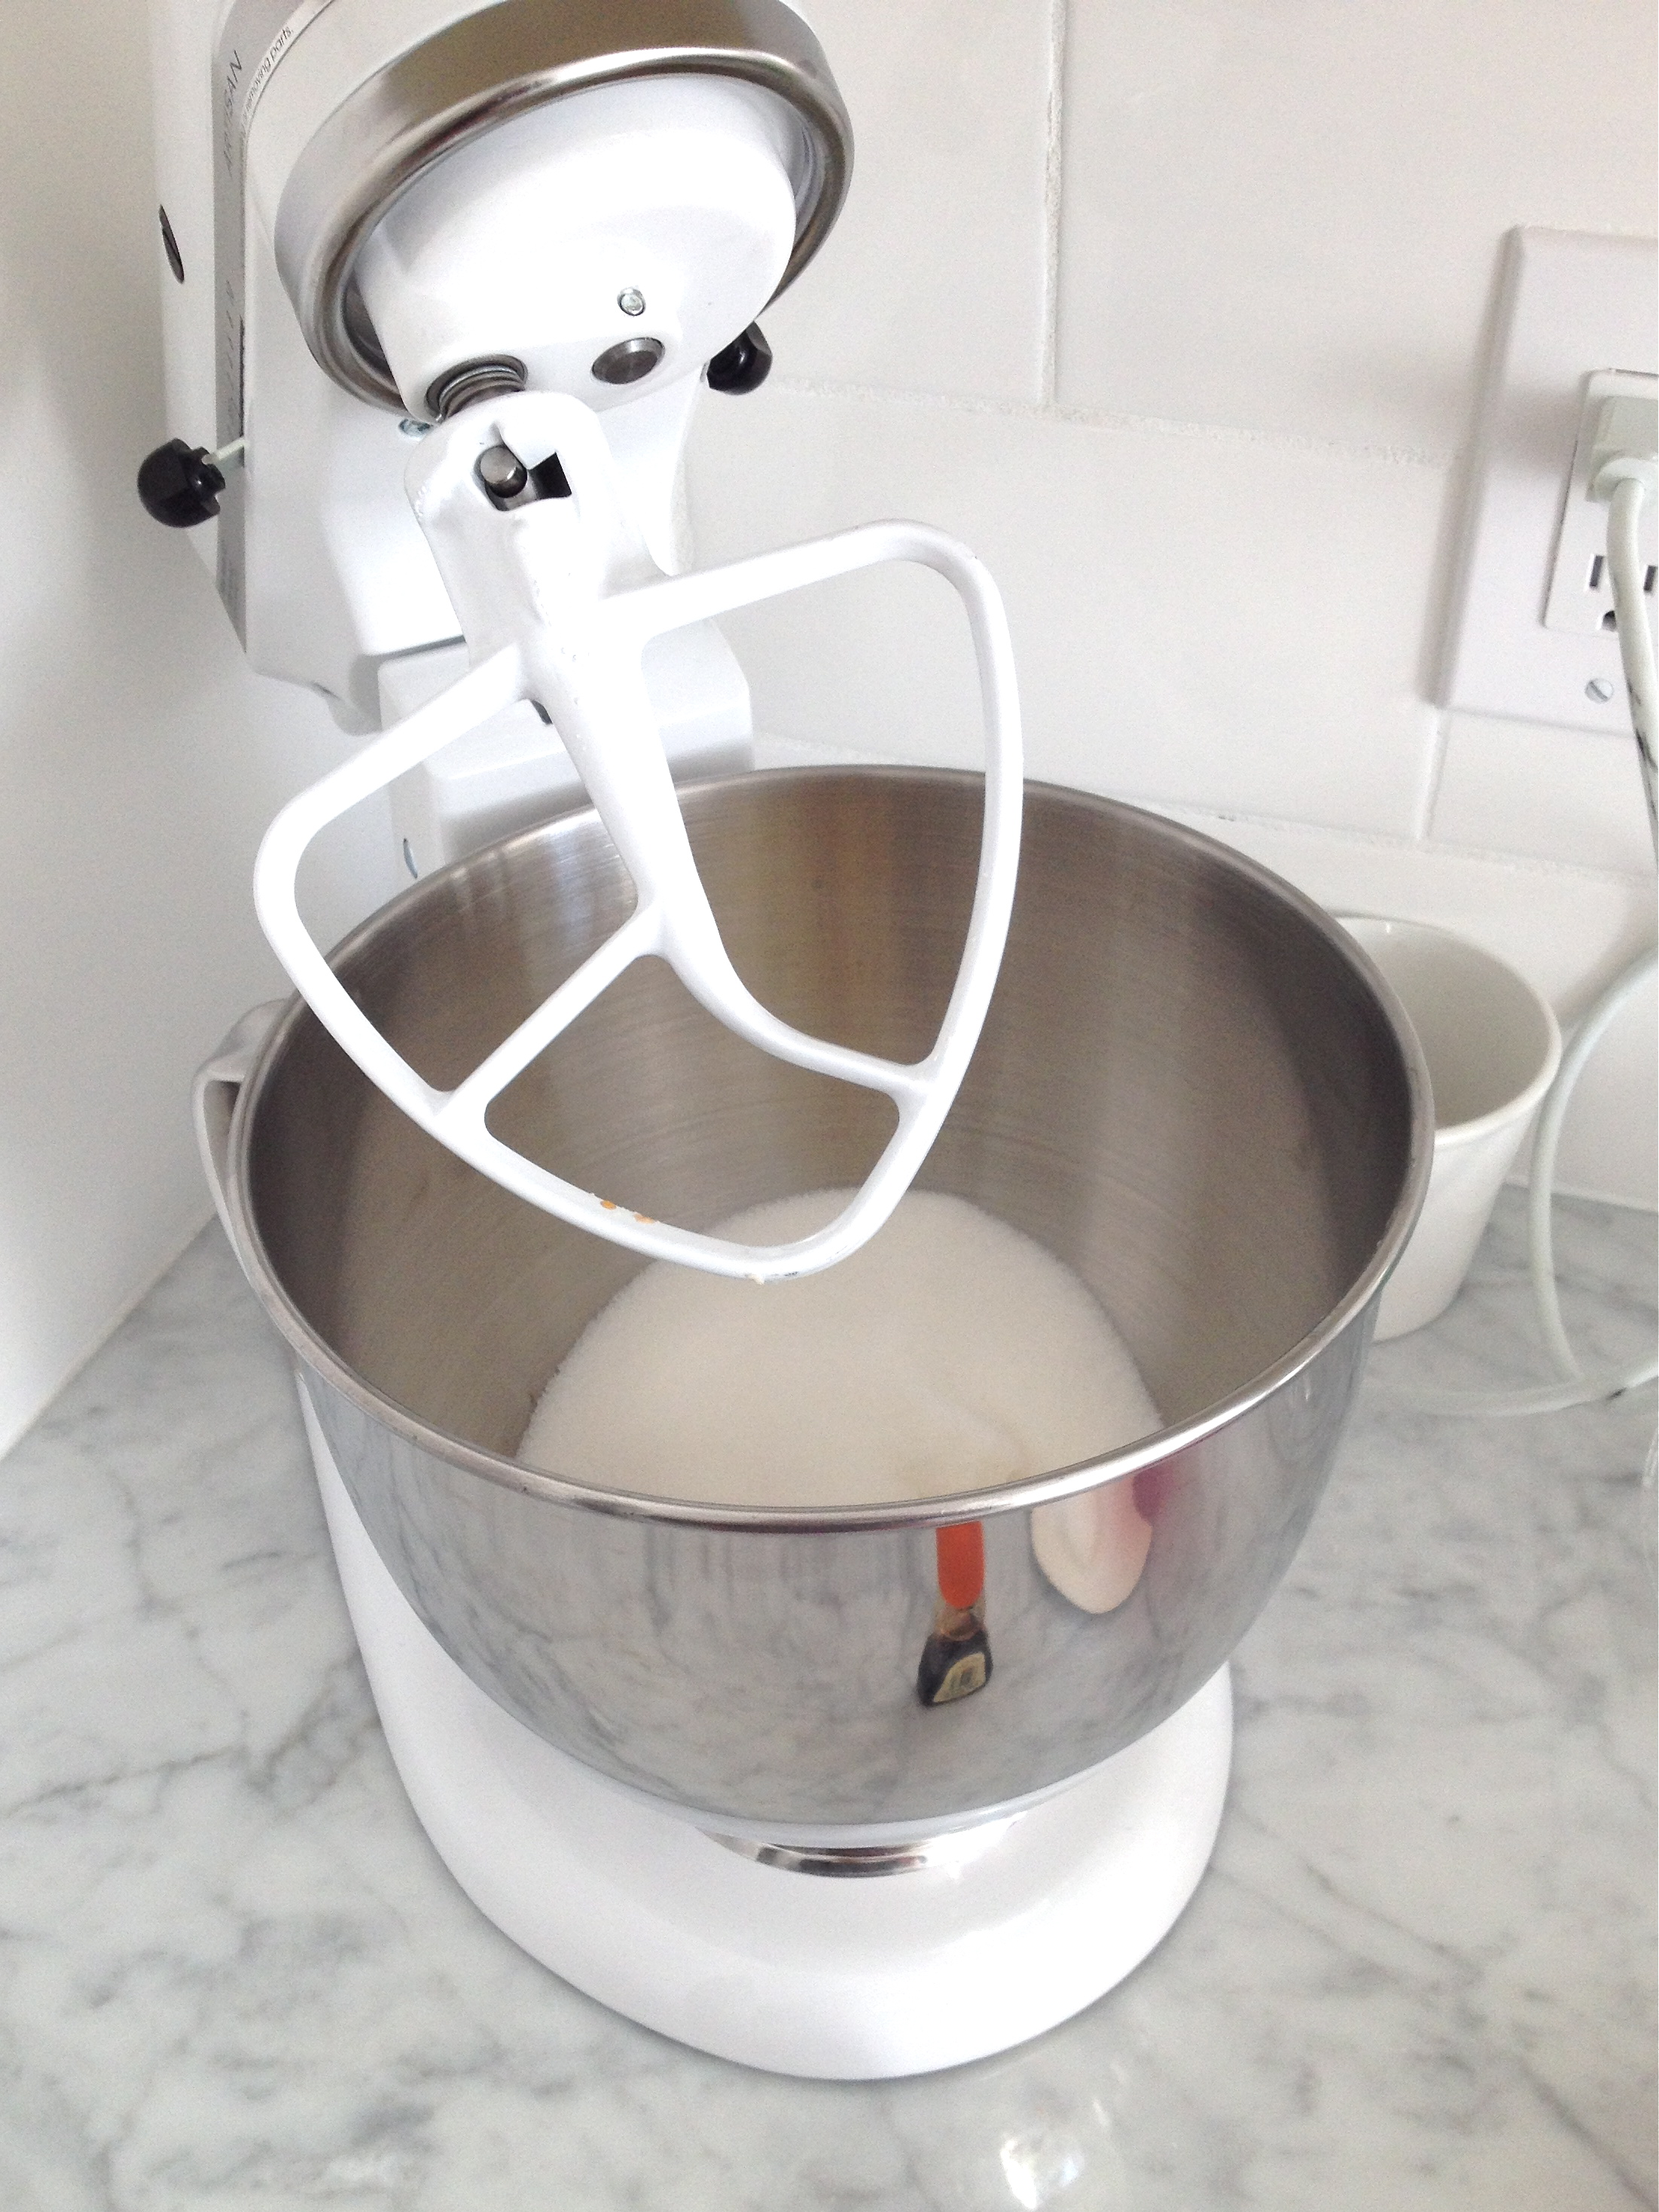
butter and sugar are creamed together with the KitchenAid paddle attachment

photo 4 copy

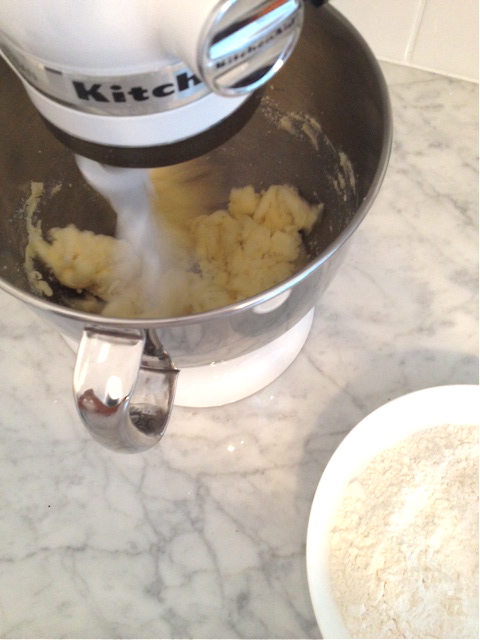
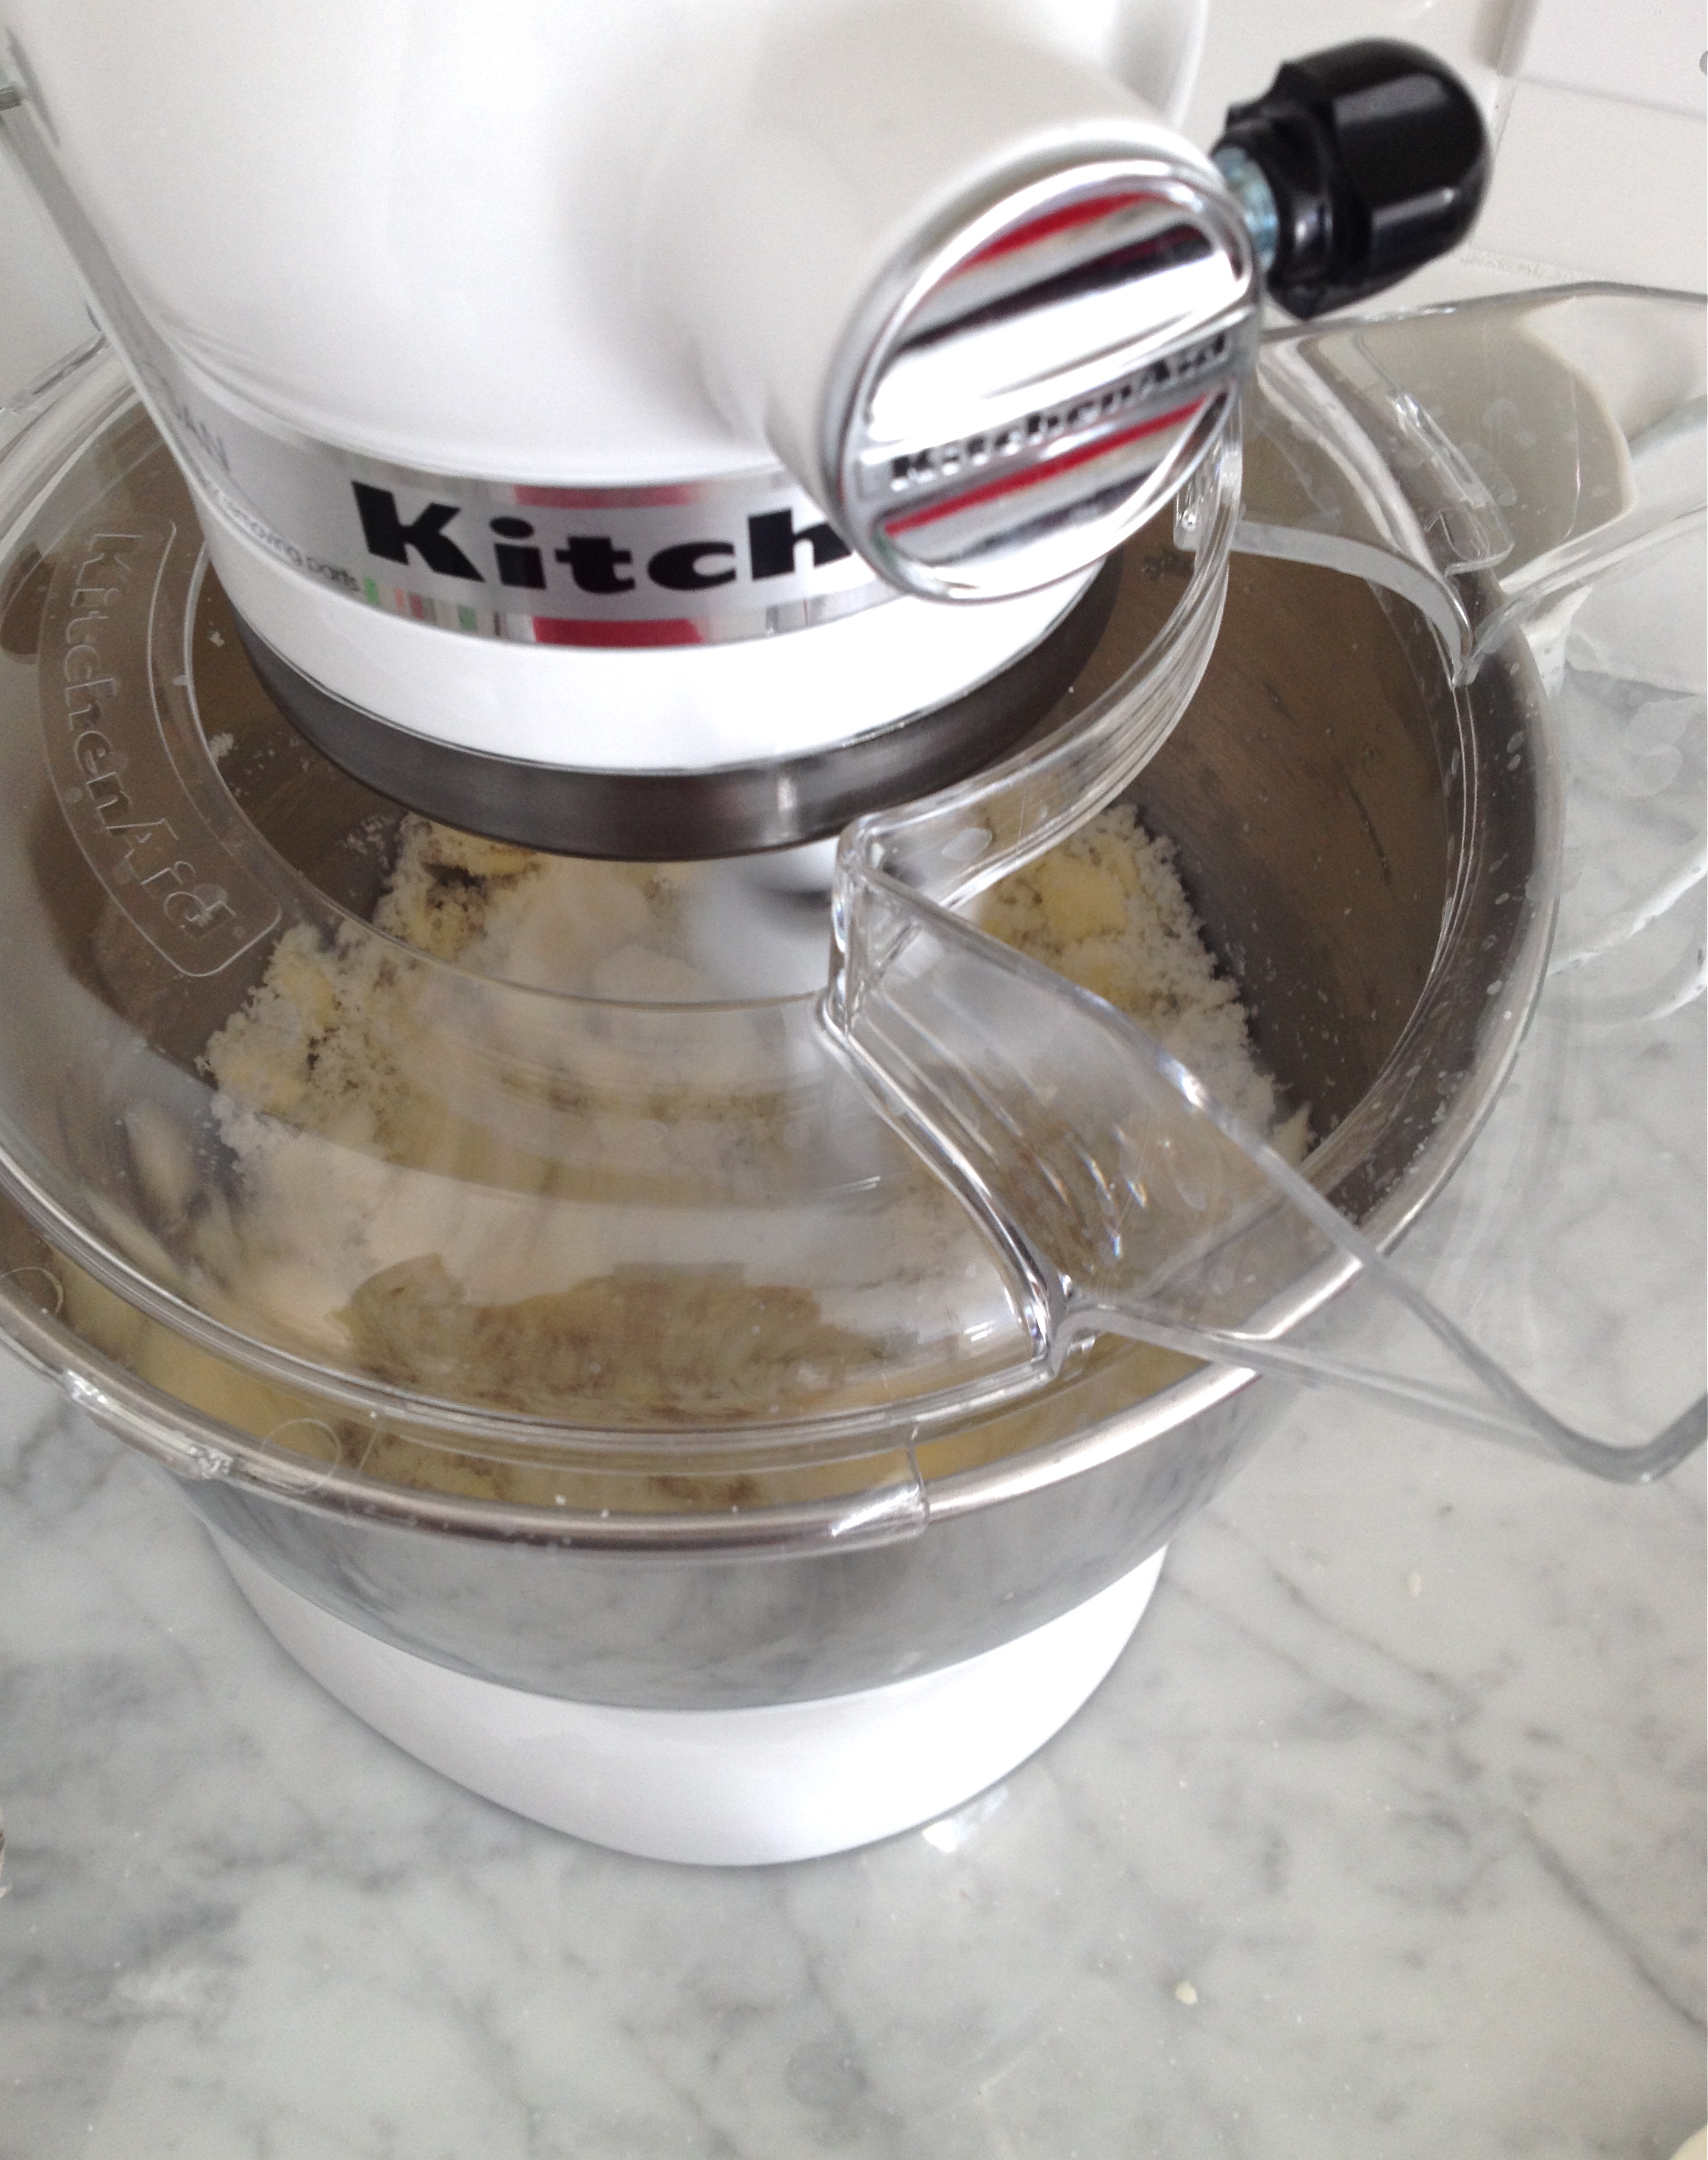
flour is added once the sugar and butter are creamyphoto 1

photo 5 copy

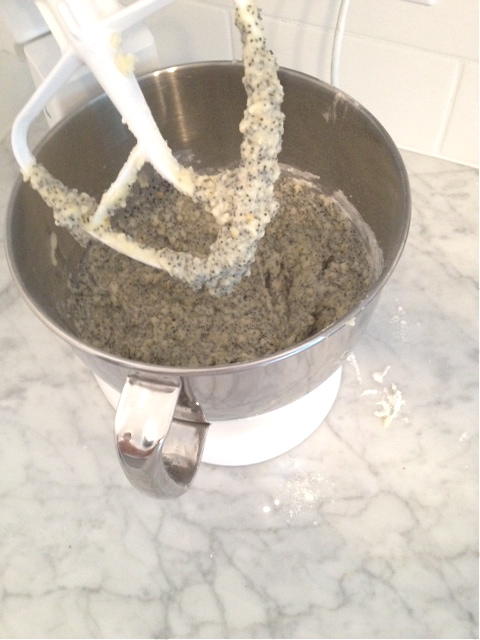
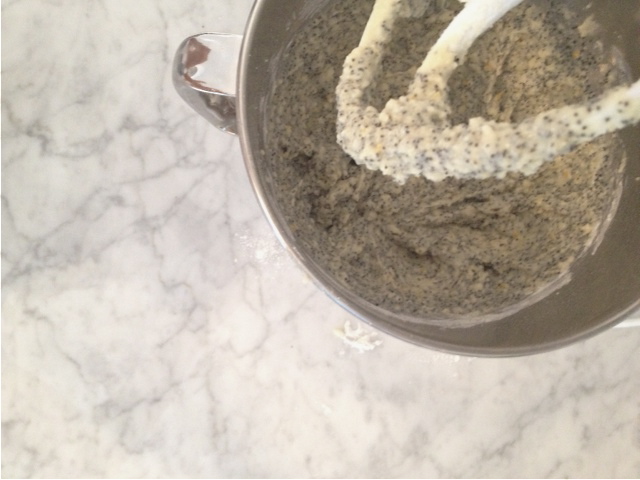
eggs, milk, poppy seeds & lemon zest are added at the end

photo 2

photo 3
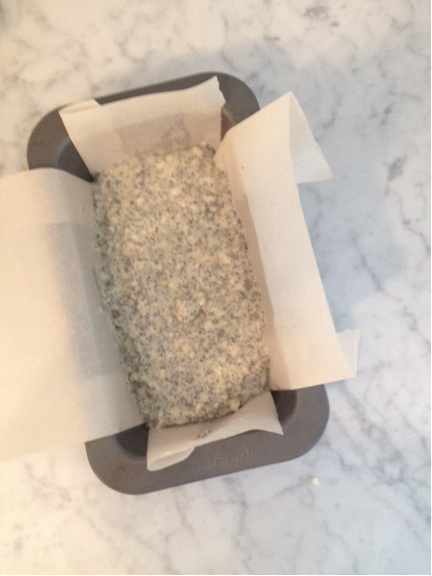
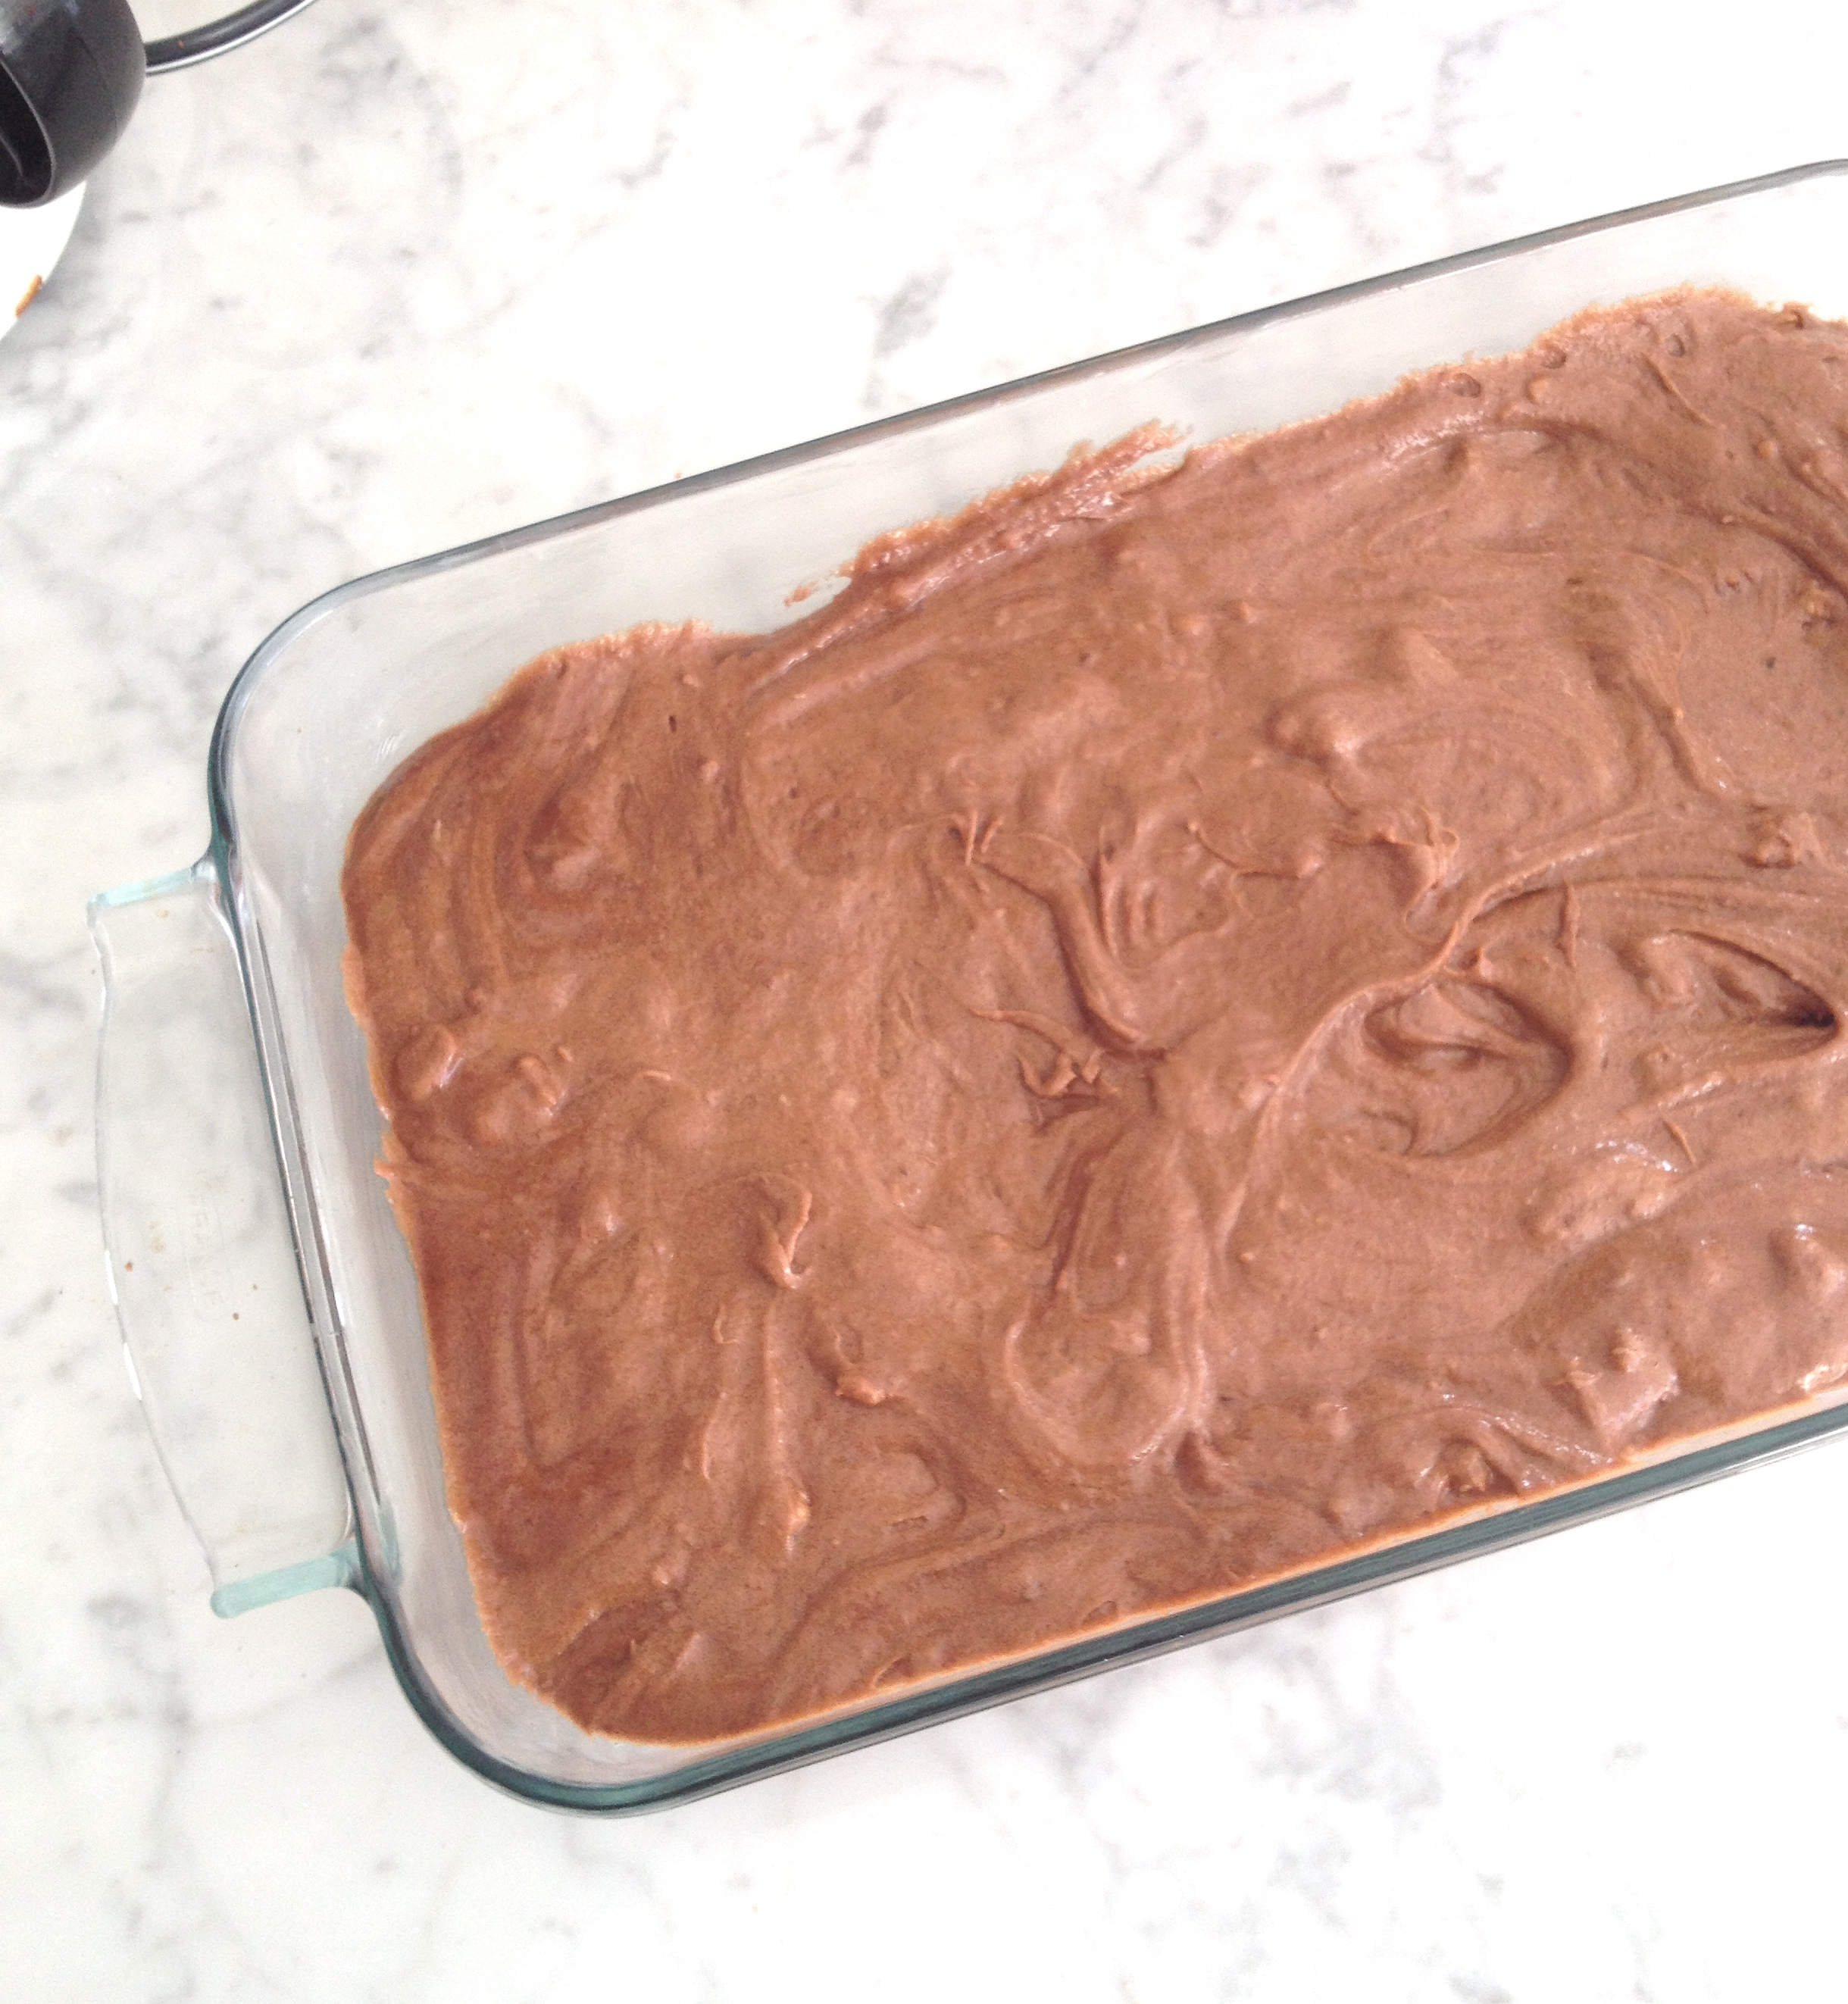
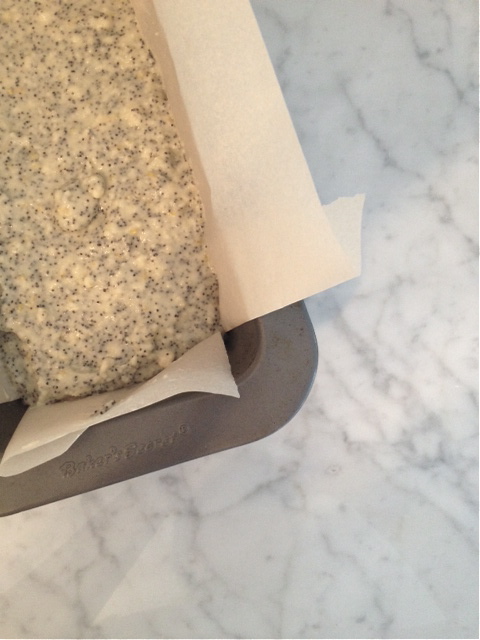
the dough is poured into a buttered & parchment lined loaf tin

photo 4

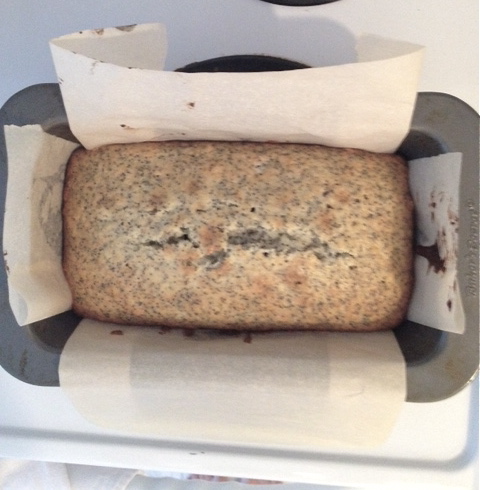
after about 40minutes in the oven, the cake is ready

photo 5

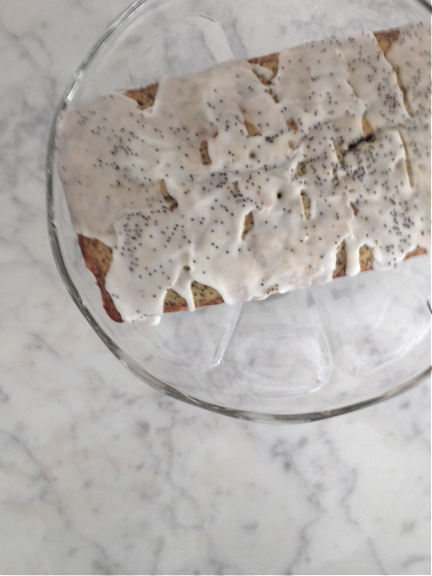
a sugary lemony icing is poured and poppy seeds are sprinkled on top

Here’s the complete recipe – from April Carter of Rhubarb and Rose (via Cup of Jo):

Recipe: Lemon Poppy Seed Loaf Cake

For the cake:
¾ cup unsalted butter, at room temperature 
¾ cup sugar
1 ¼ cup all purpose flour
2 tsp. baking powder
pinch of salt
2 eggs
¼ cup milk
¼ cup poppy seeds
Zest of 2 lemons

For the glaze:
1 cup powdered sugar
Juice of ½ lemon
Poppy seeds, for sprinkling

Heat the oven to 350F and butter and line a one pound (4½ x 2½ x 8½ inch) loaf tin with baking parchment. Place the butter and sugar in a bowl and beat with an electric mixer until pale and creamy. Sift in the flour, baking powder and salt. Add the eggs, milk, poppy seeds and lemon zest and beat until just combined, scraping down the sides of the bowl with a rubber spatula as you go.

Spoon the mixture into the prepared loaf tin and bake for 40 to 45 minutes or until a skewer inserted into the center of the cake comes out clean. Allow the cake to cool in the tin for 10 minutes, then turn out onto a wire rack and remove the baking parchment.

While the cake is cooling, make the glaze. Use a spoon to beat the powdered sugar with enough lemon juice to form a runny but opaque glaze. Set the cooled cake on a wire rack and drizzle over the glaze. Sprinkle over the poppy seeds and allow the glaze to set for a few minutes before packaging up. 

Let me know if you give this recipe a try. I would love to know how it turned out for you.

In the Kitchen: The KitchenAid Artisan Stand Mixer

Although I’ve been thinking about the KitchenAid stand mixer for some time now, I only finally bought myself one last week. Everyone and their brother/mother/sister/friend seems to have one and they all rave about how great it is, so I had little doubt that it would be fabulous. There are plenty of colours to choose from, but it was an obvious choice for me. I’ve used my KitchenAid Artisan stand mixer twice already and it’s worked out very well! No surprise there, right?

White-Cabana-KitchenAid-stand-mixer-1 White-Cabana-KitchenAid-stand-mixer-2 White-Cabana-KitchenAid-stand-mixer-3

The first thing I ended up baking with the stand mixer was the brownie recipe that was listed in the instruction/information booklet that came with the mixer. It was very easy and straightforward and the end result was ab fab chocolate goodness. I also made madeleines and they turned out perfectly. I love the fact that the mixer can do the work while I measure out the ingredients. The convenience factor is awesome!

White-Cabana-KitchenAid-stand-mixer-4 White-Cabana-KitchenAid-stand-mixer-5

I used the plastic pour guard at one point, but I didn’t really need it. I was just trying to use as many gadgets/attachments as possible. I used the paddle attachment (above) for the brownies, but I used the whisk attachment to whip up the eggs for the madeleines. Switching the attachments is easy and quick, as is cleaning them.

White-Cabana-KitchenAid-stand-mixer-6 White-Cabana-KitchenAid-stand-mixer-7

I am very happy that I opted for the lift-arm mixer rather than the bowl-lift mixer. The arm lifts at the flick of a switch and the bowl attaches securely and simply to the base.

White-Cabana-KitchenAid-stand-mixer-8

Here are the brownies before I put them in the oven:

White-Cabana-KitchenAid-stand-mixer-9

It’s a stylish machine, yes, and it looks wonderful on my counter (a stylish appliance? really? this is what I’m talking about these days? how old am I?), and so it seems I’m joining the “it’s so great, everyone should have one” club. I’ll share a few more photos in the upcoming weeks as I’m eager to try the pasta roller/cutter attachments!

Always nesting

Do you ever tire of seeing sets of nesting bowls? I certainly don’t. Ditto for nesting tables.

Today’s collection is a special set of four pieces by Mud Australia for Goop. These are perfect for baking, serving, displaying and just about any other idea you can think of. I love a low bowl. You?

mud nesting bowls


Mud Australia for Goop nesting bowls, $285 

mud nesting bowls made

Glimpsing into the Mud Australia factory