The Friday Five: #HappiMess with Delta Faucet Canada

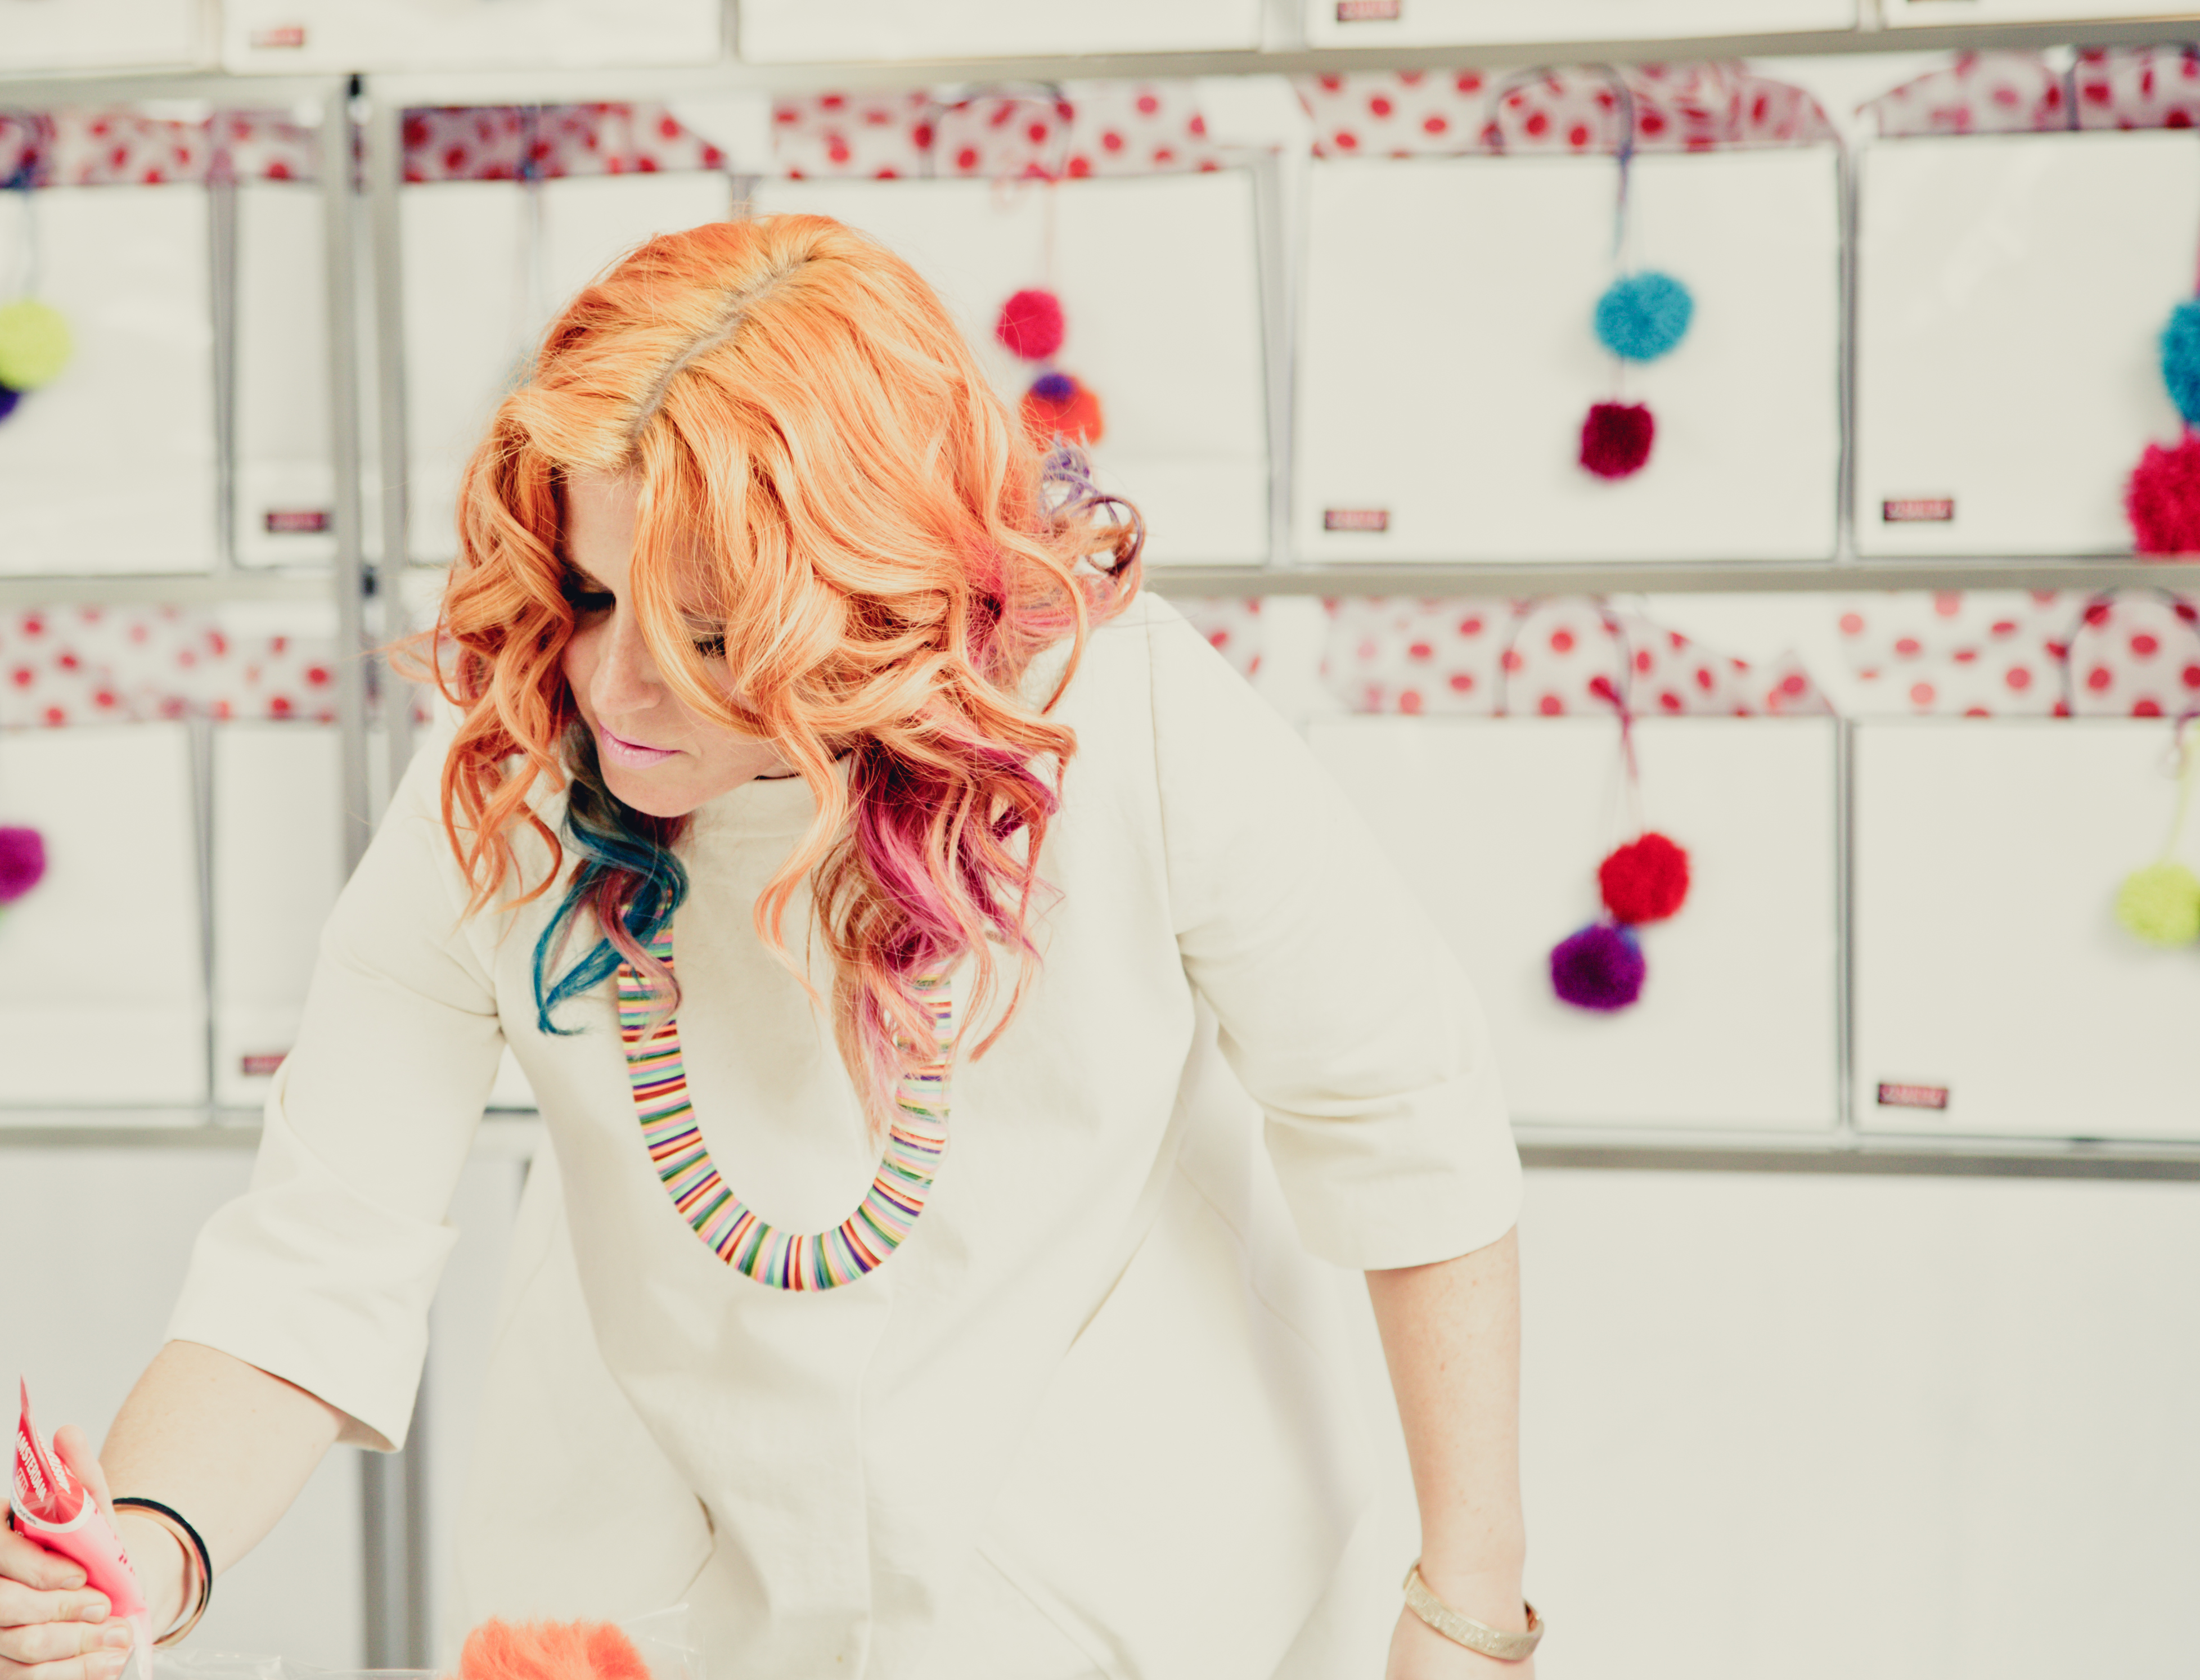
My life this fall has been slightly chaotic. Sometimes I do wonder why I decide to take on so much work and extracurricular and blogging activities. Why, oh why, do I do this to myself? Then I realize that I have so much fun doing what it is that I do that I have no reason to complain about my sometimes-overly-packed days. A couple of weeks ago, for example, I headed to Toronto to join the very colourful Tiffany Pratt and about 20 other bloggers and influencers to create a #HappiMess sponsored by Delta Faucet Canada. Here’s my recap in five points…

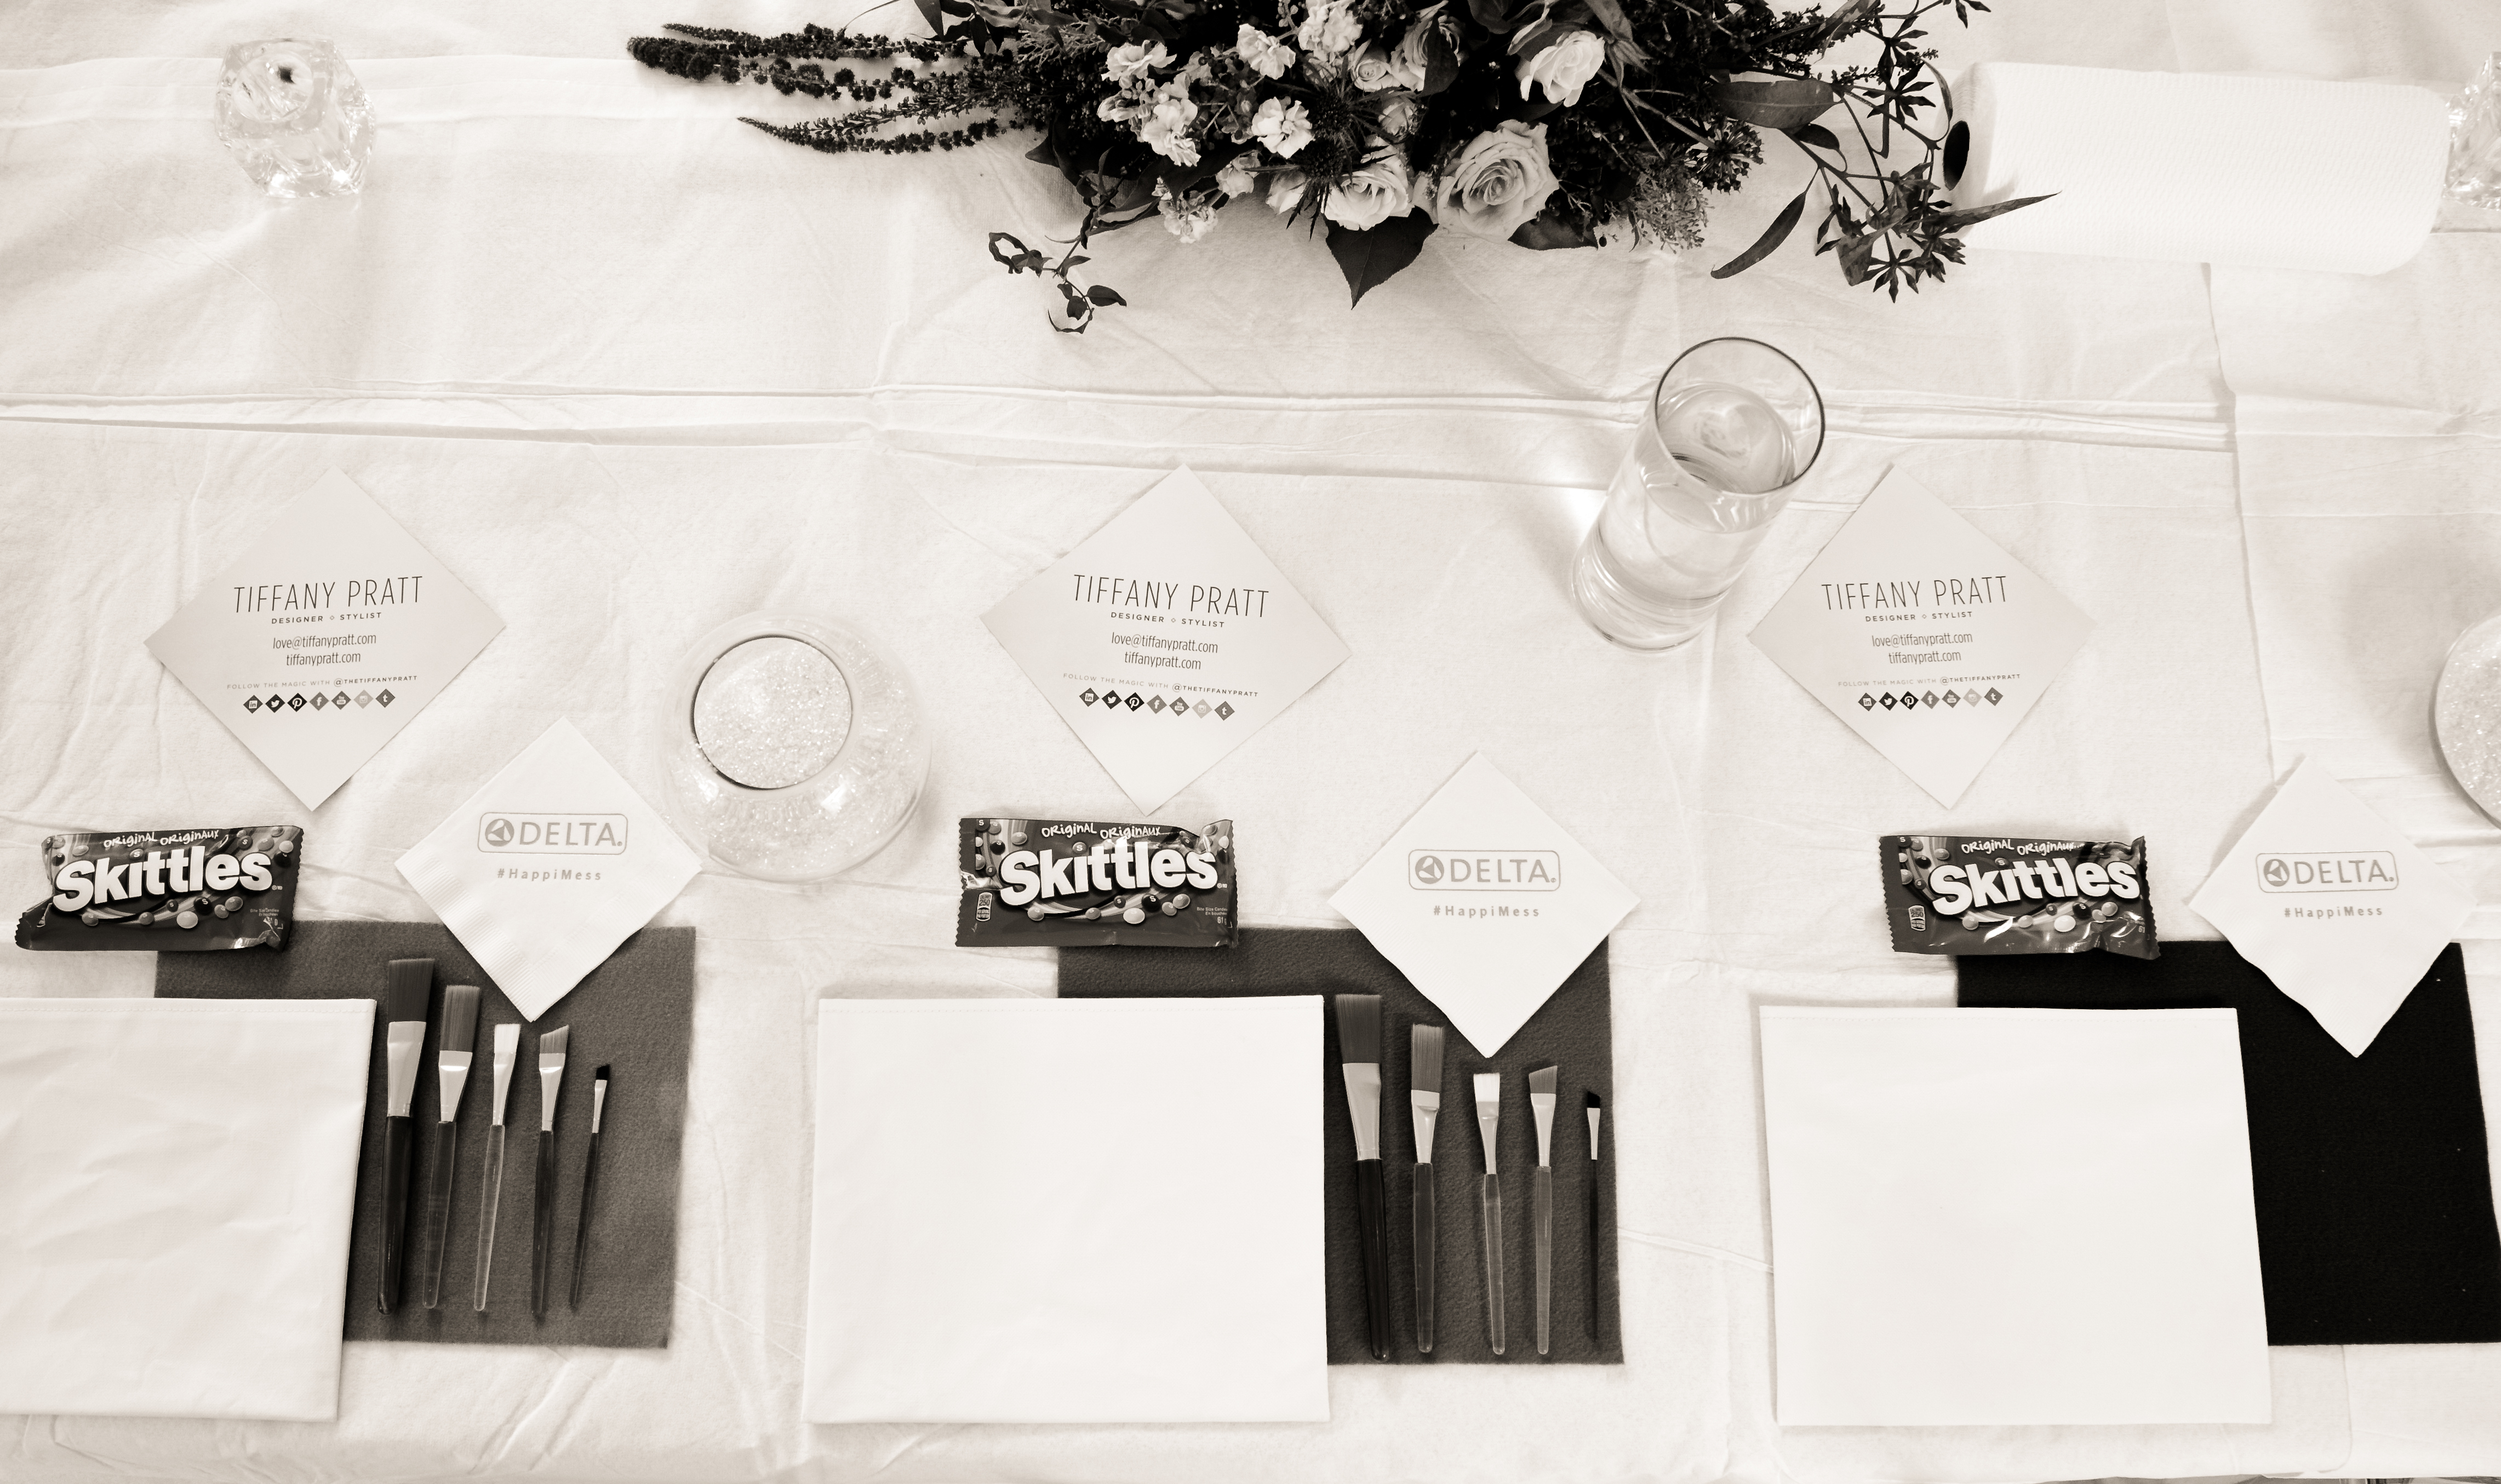
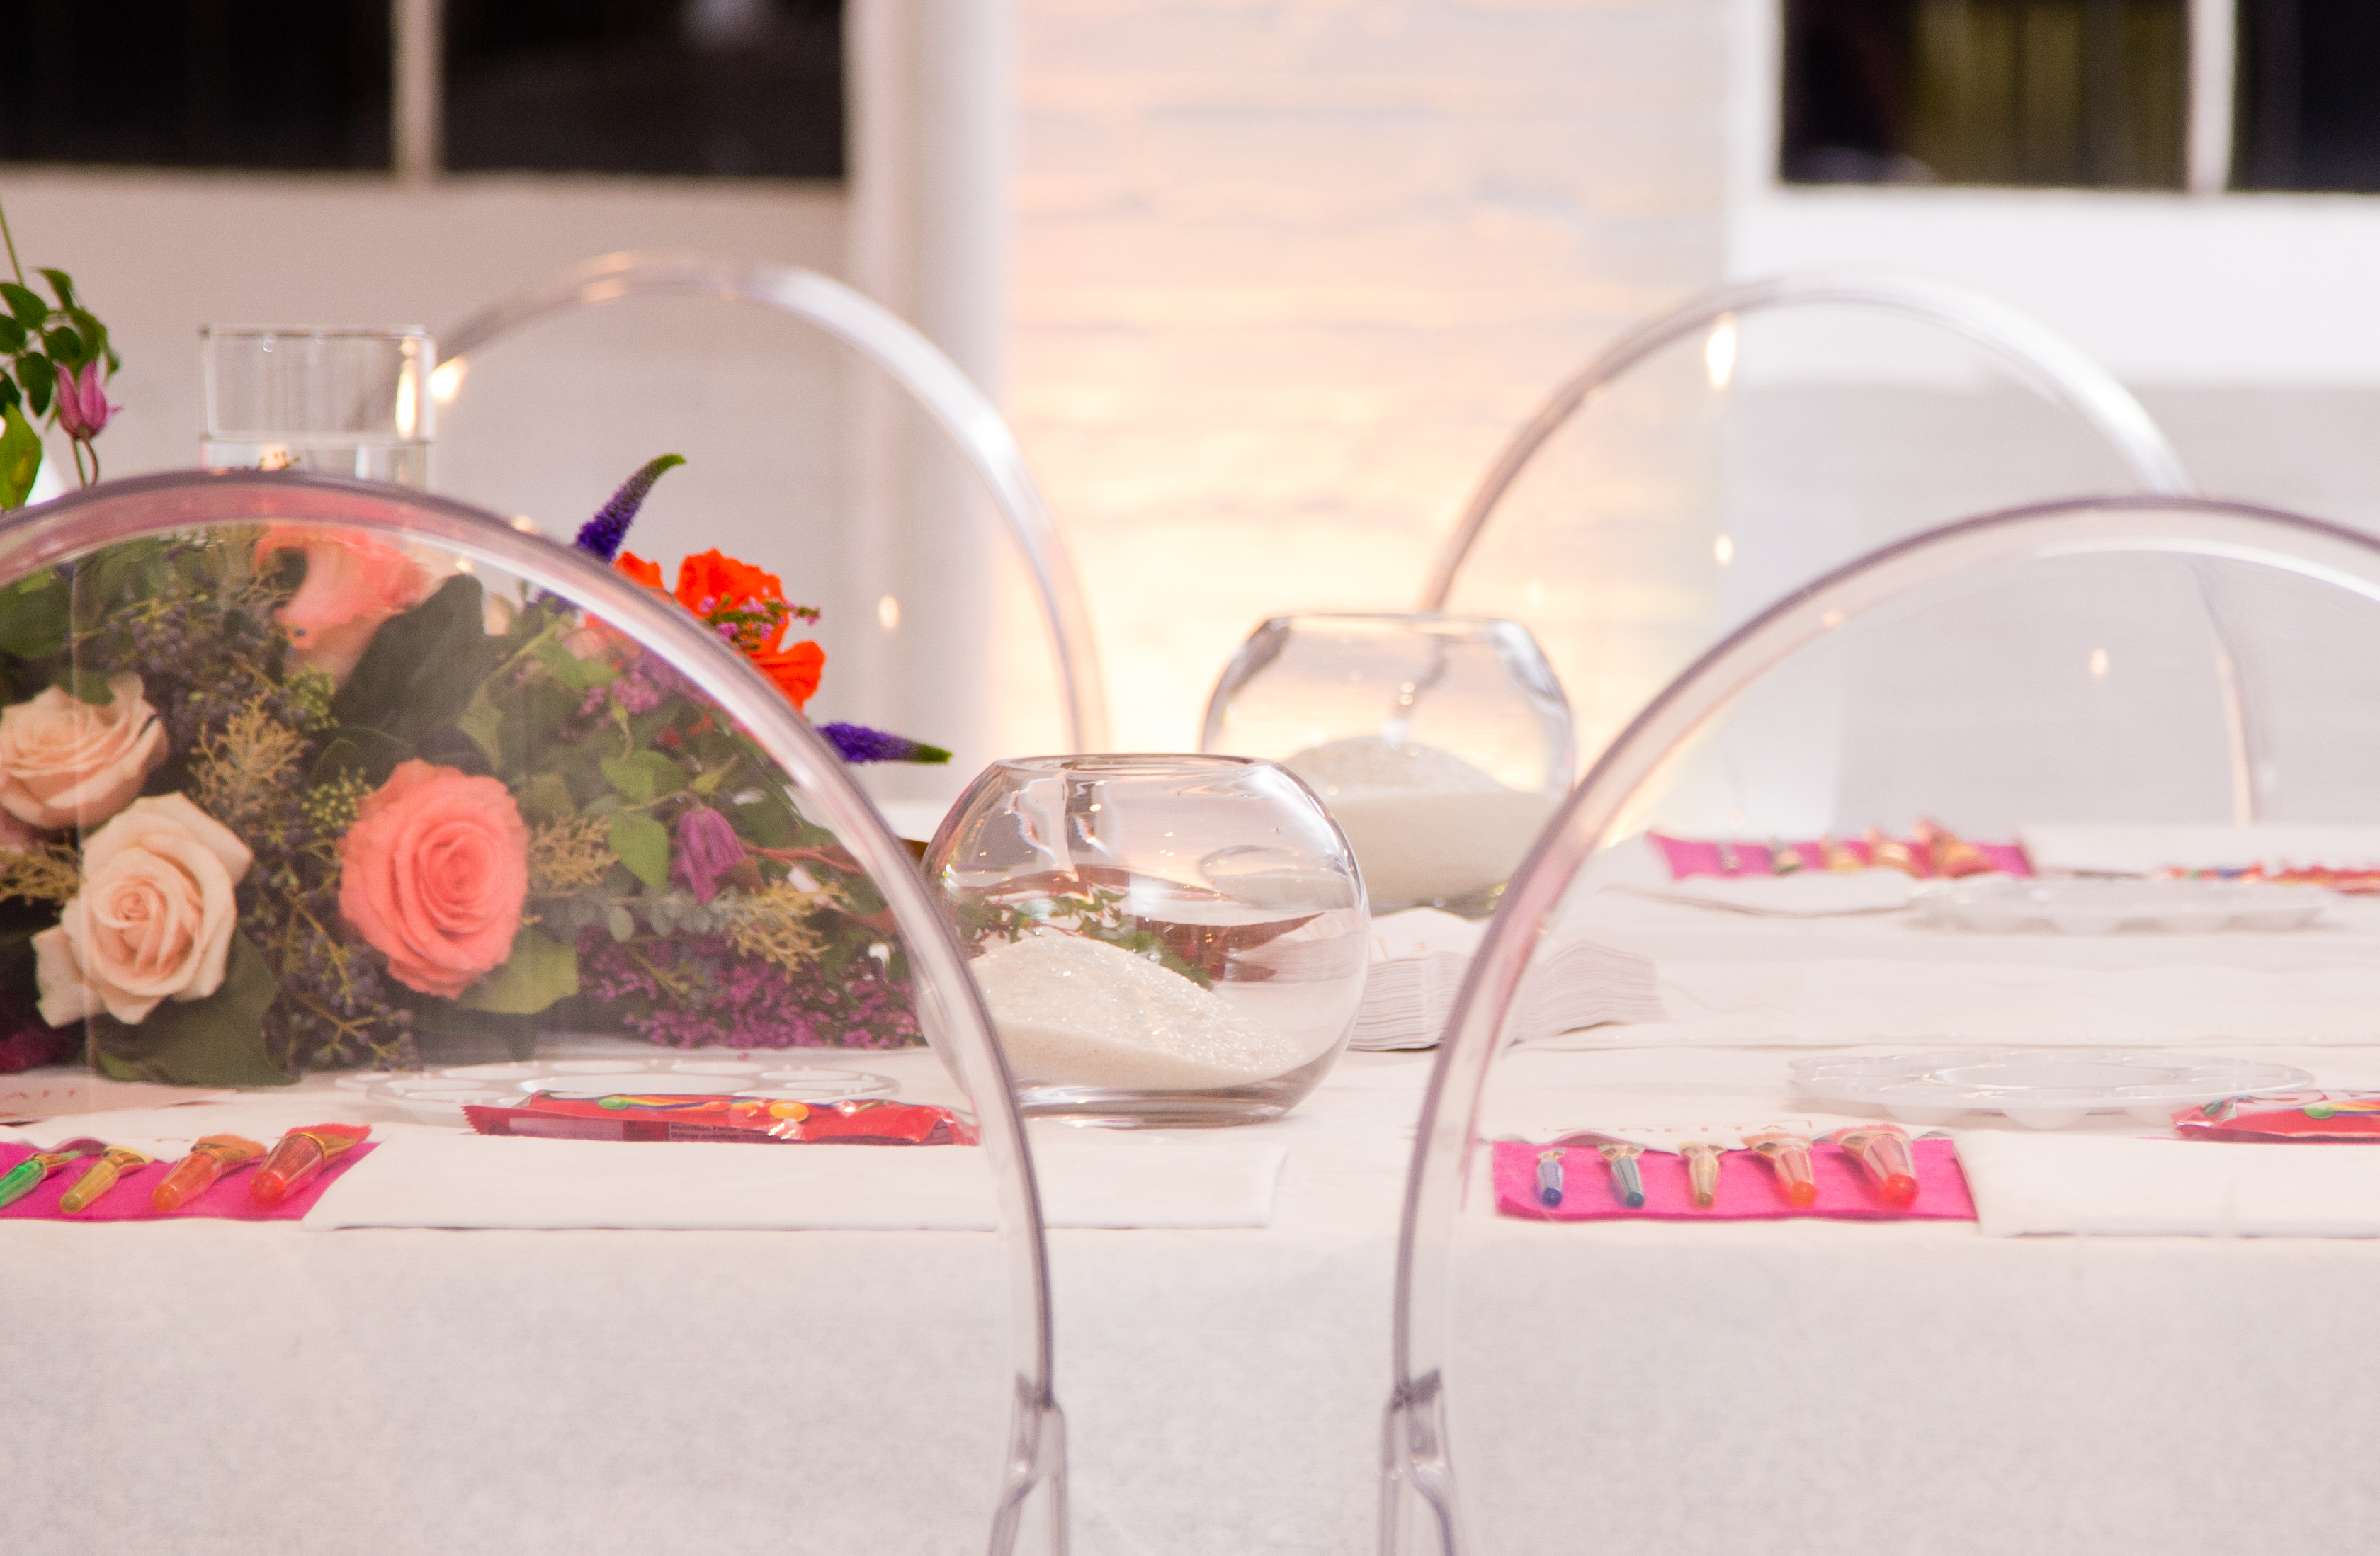
1. Delta Faucet Canada welcomed us into a very white event space at Andrew Richard Designs. The long white table was all set with artsy materials.

DELTA060

DELTA022-2

2. Tiffany encouraged us to create and paint and sparkle up a unique clutch. I was totally frozen when I saw the palette of colourful paints. Luckily, the Tiffany and the PR crew had a spare tube of black paint, and I put it to very good use. I definitely felt more at ease once the black paint made an appearance! (Thanks, team!)

DELTA088DELTA152DELTA166DELTA203-2DELTA274

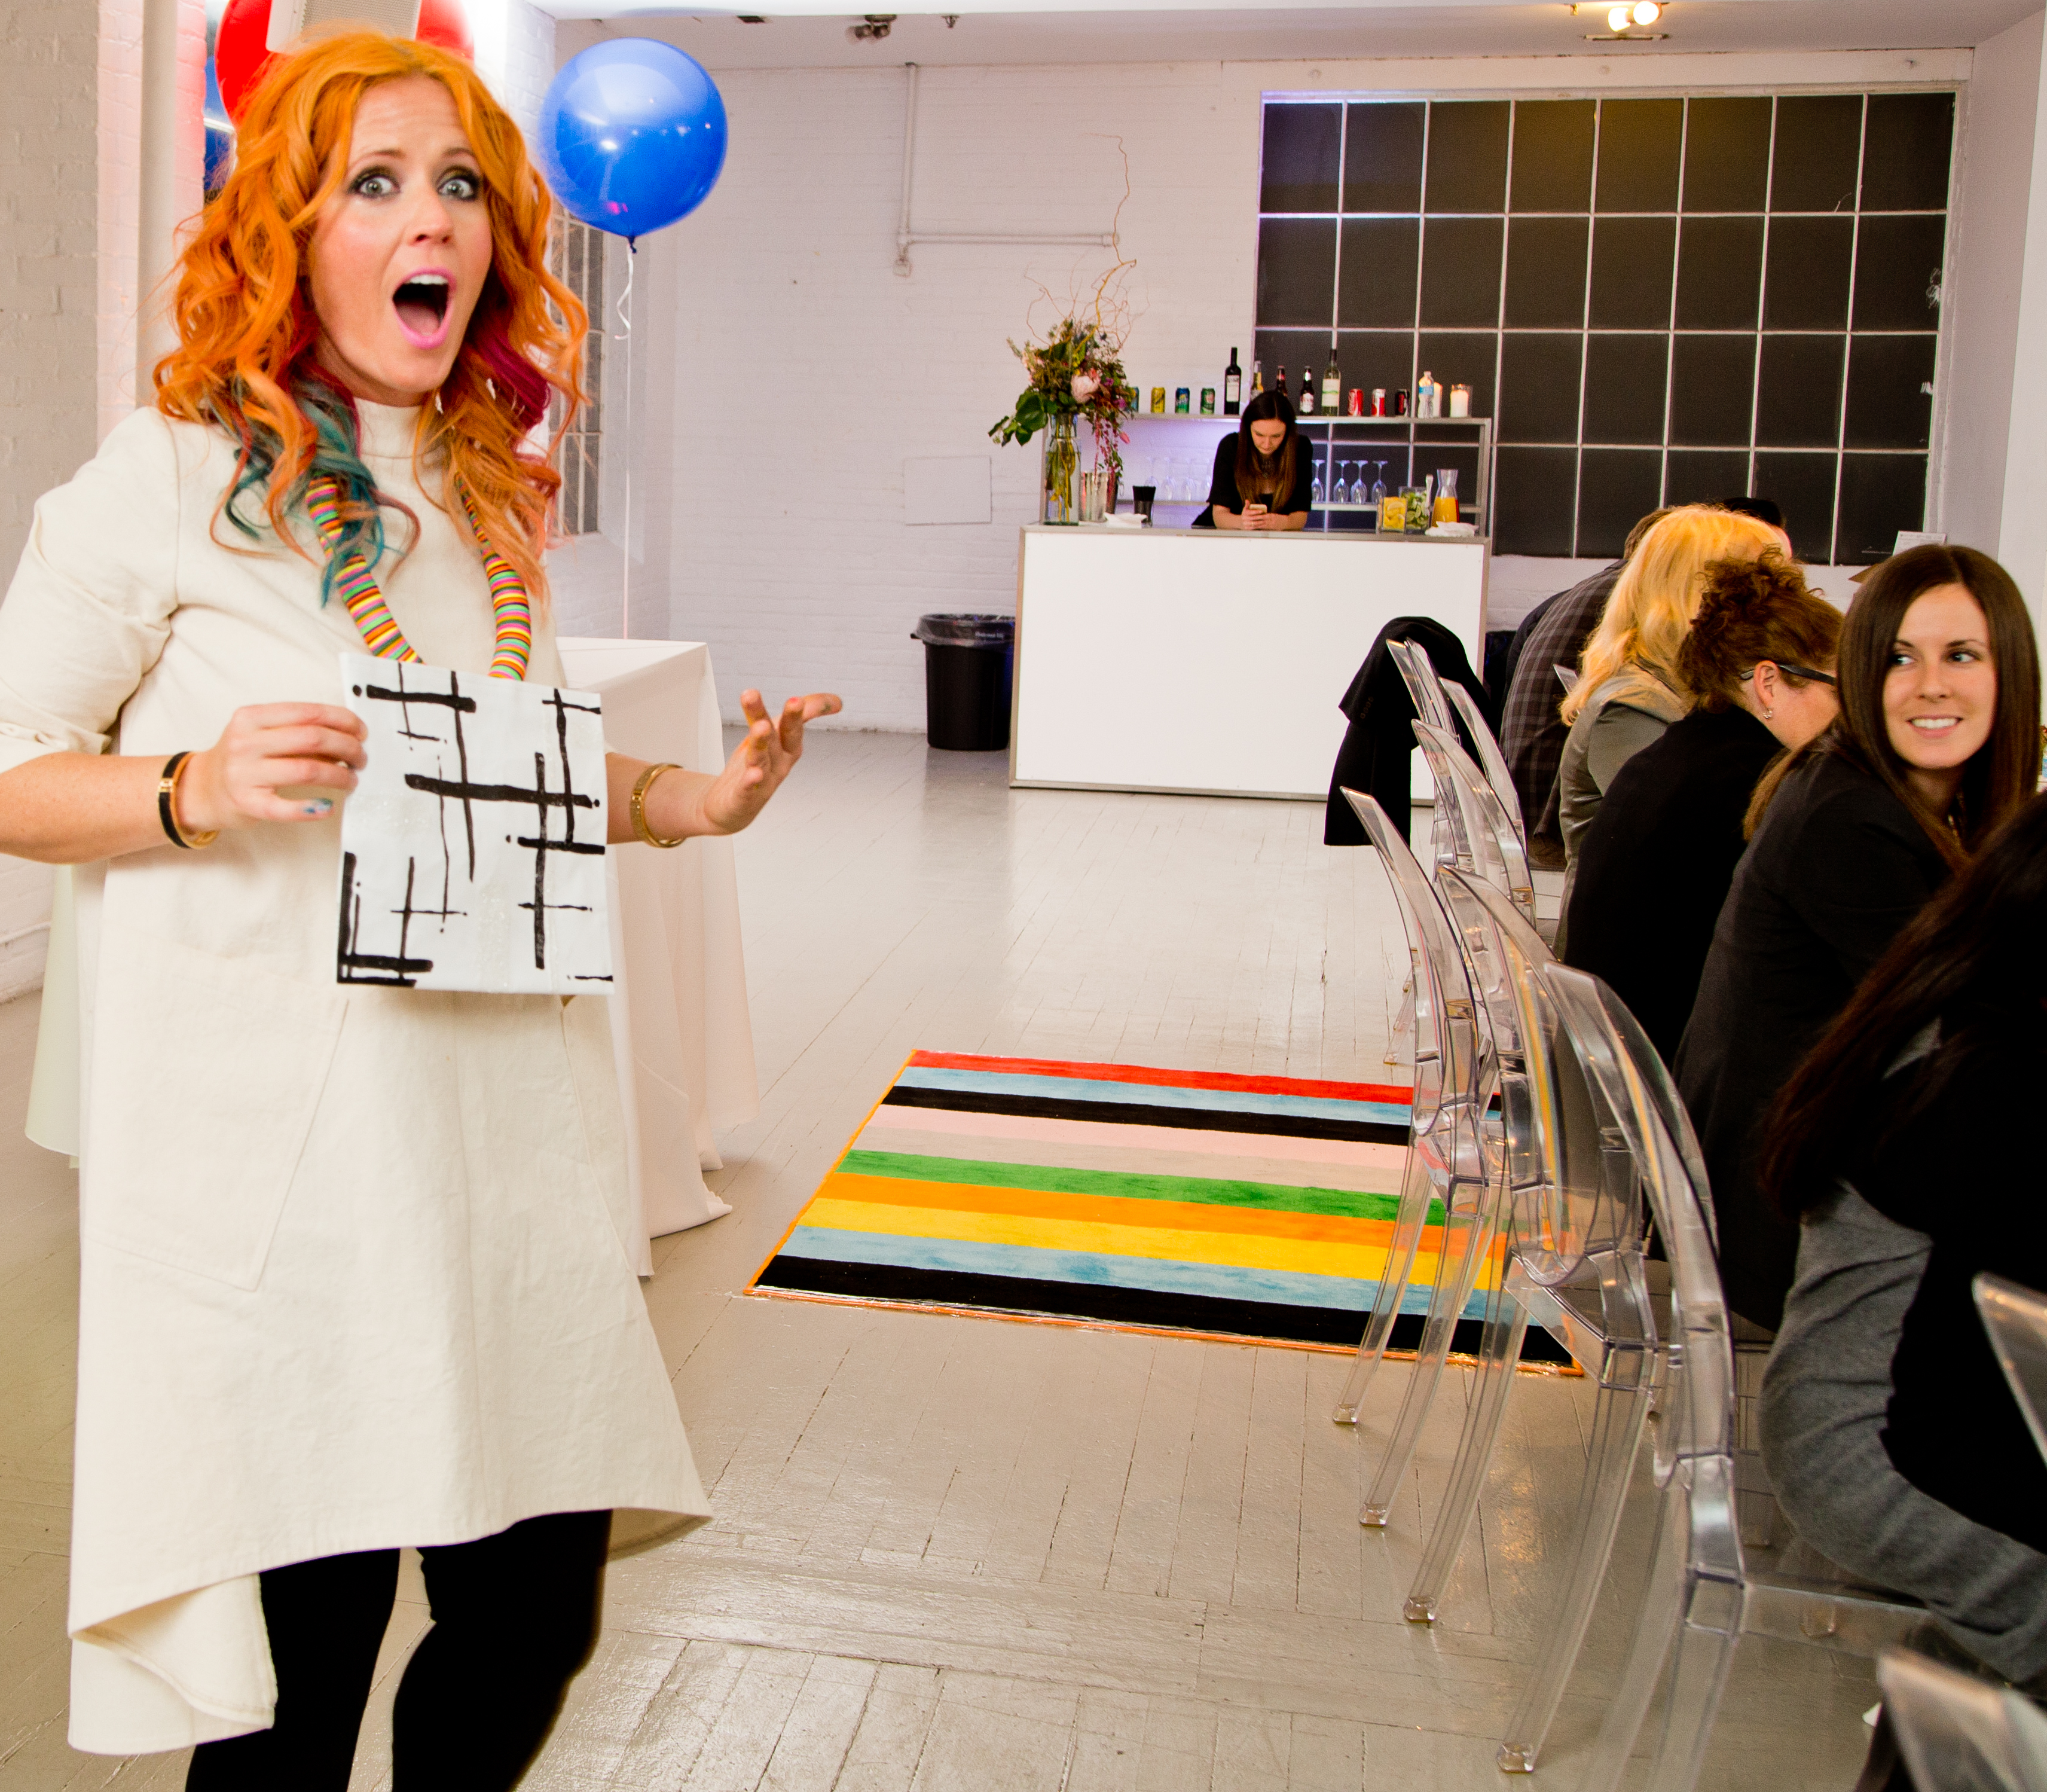
That’s my clutch! (It sparkles more in real life!)

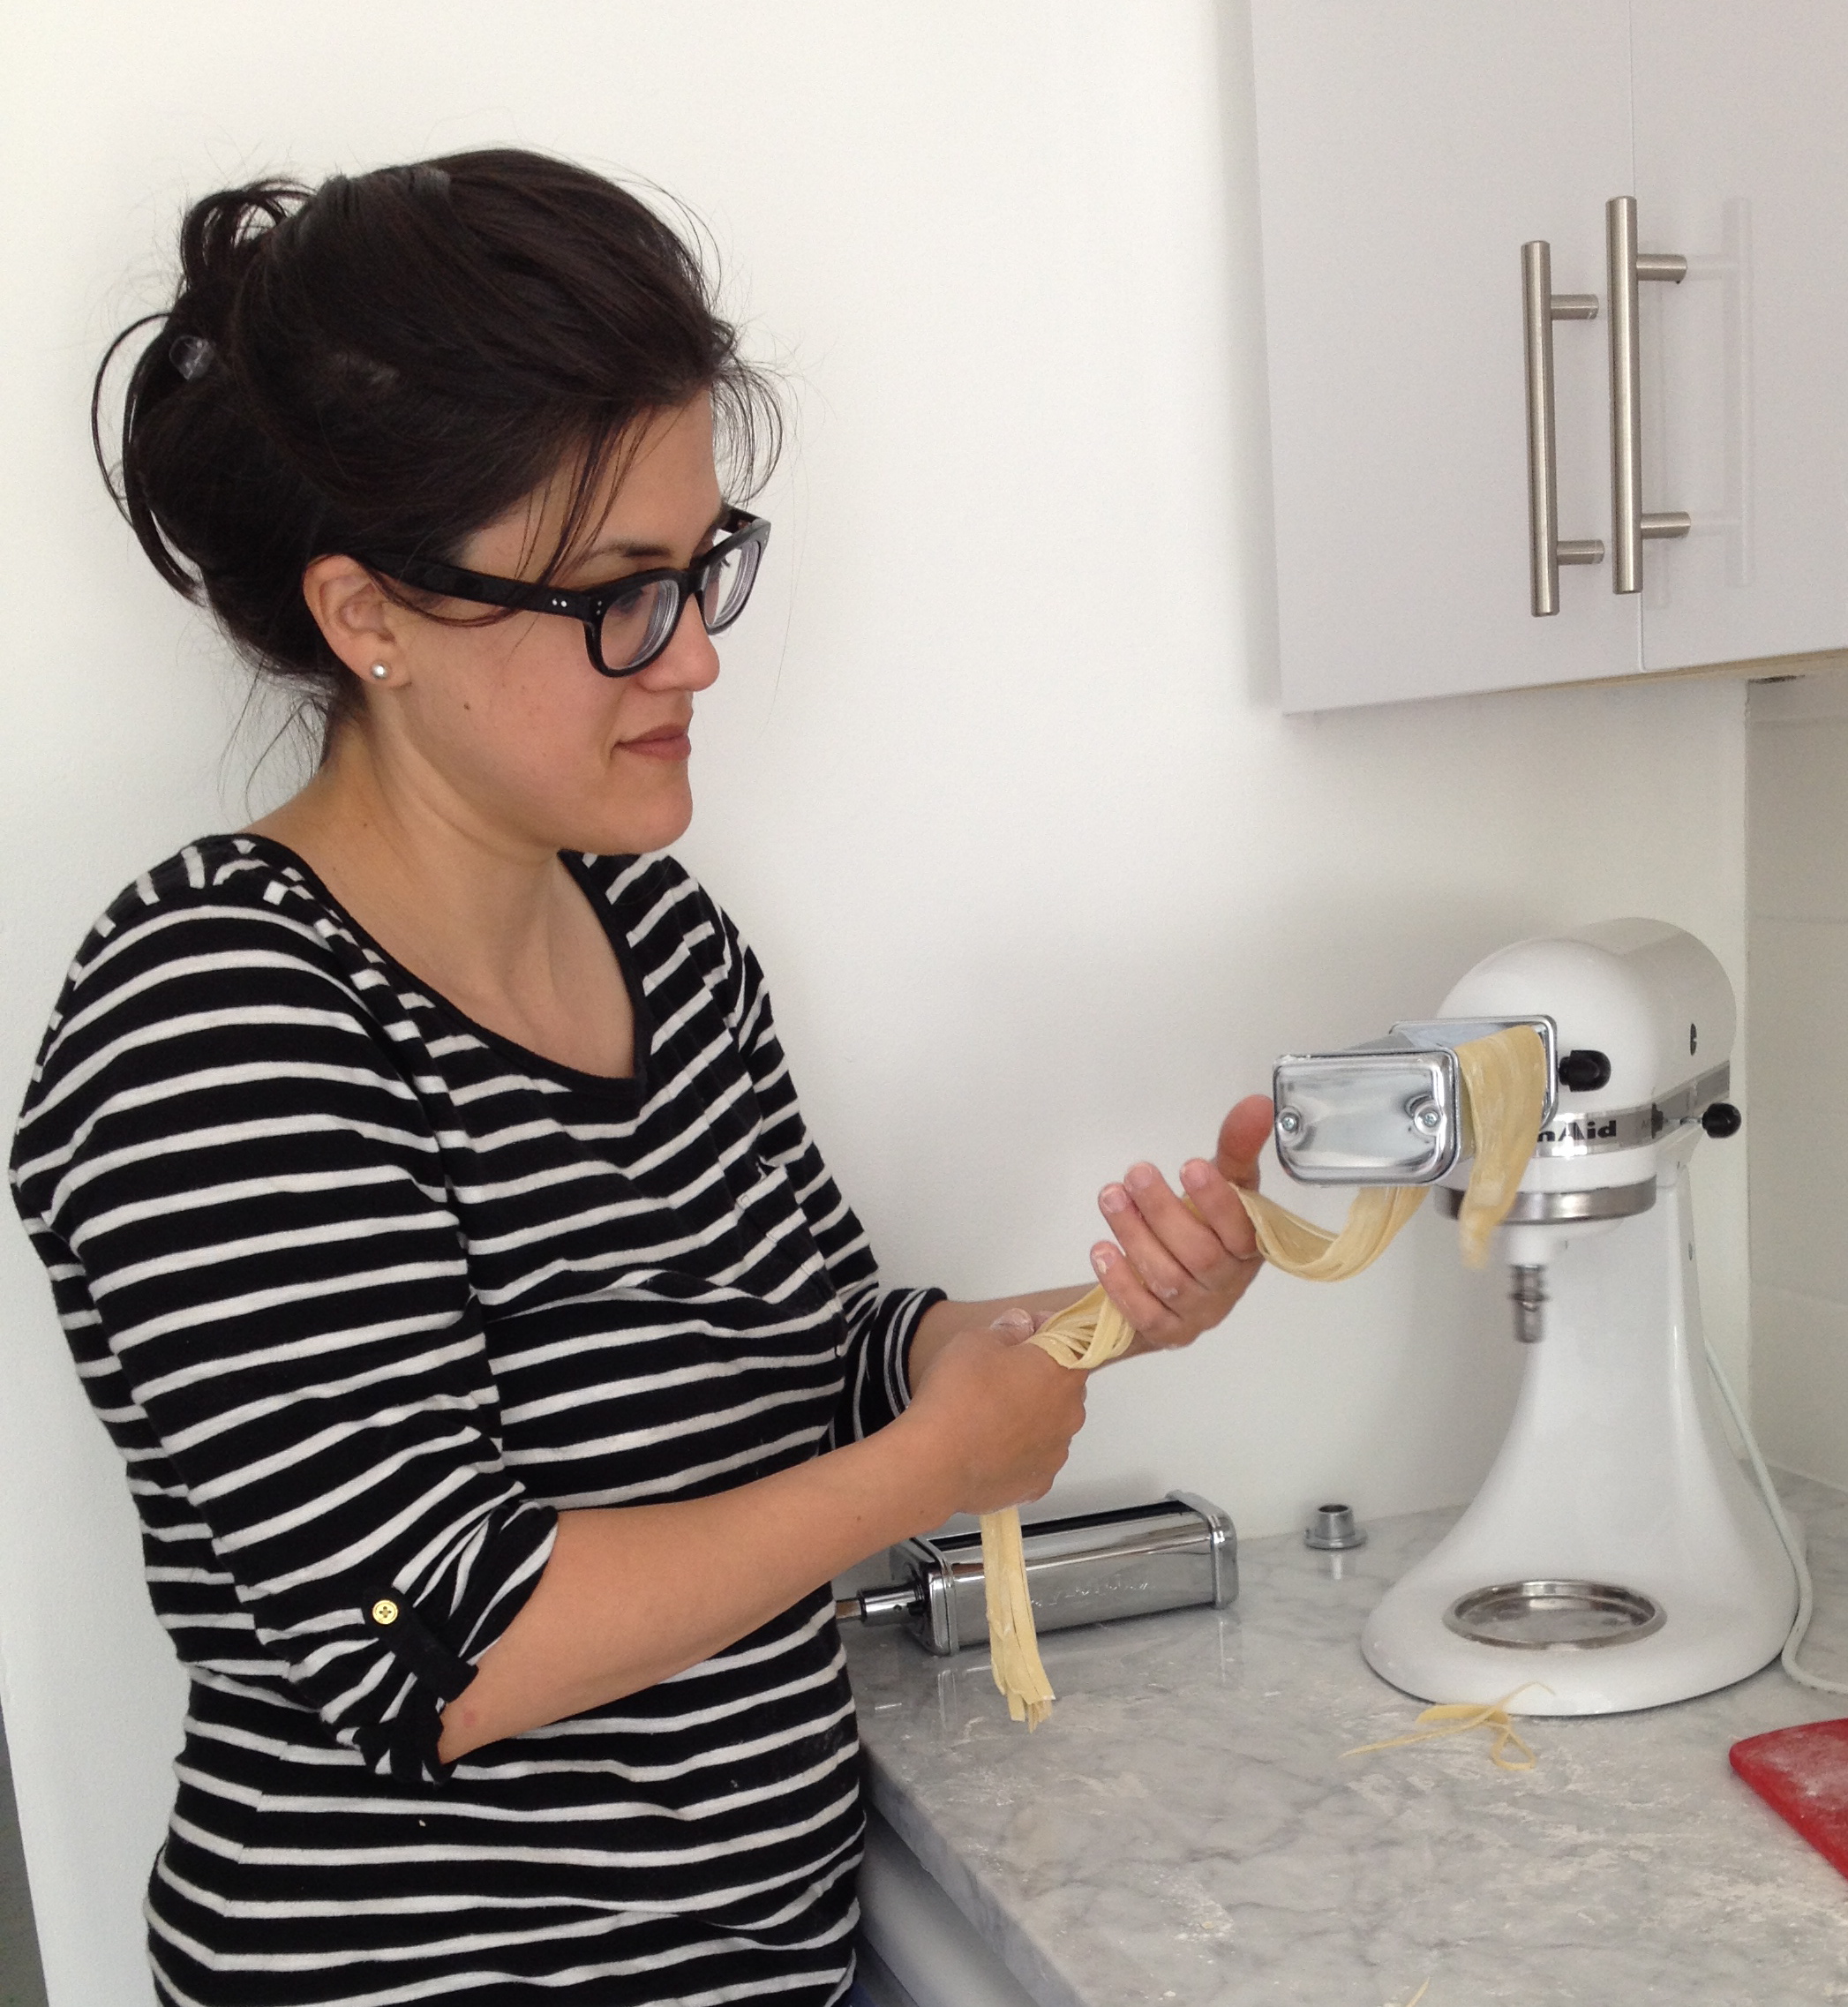
4. We mingled and laughed and played with paint. And then washed our hands…obviously. Here I am washing up (and pretending to be a hand model):

DELTA346DELTA347DELTA348

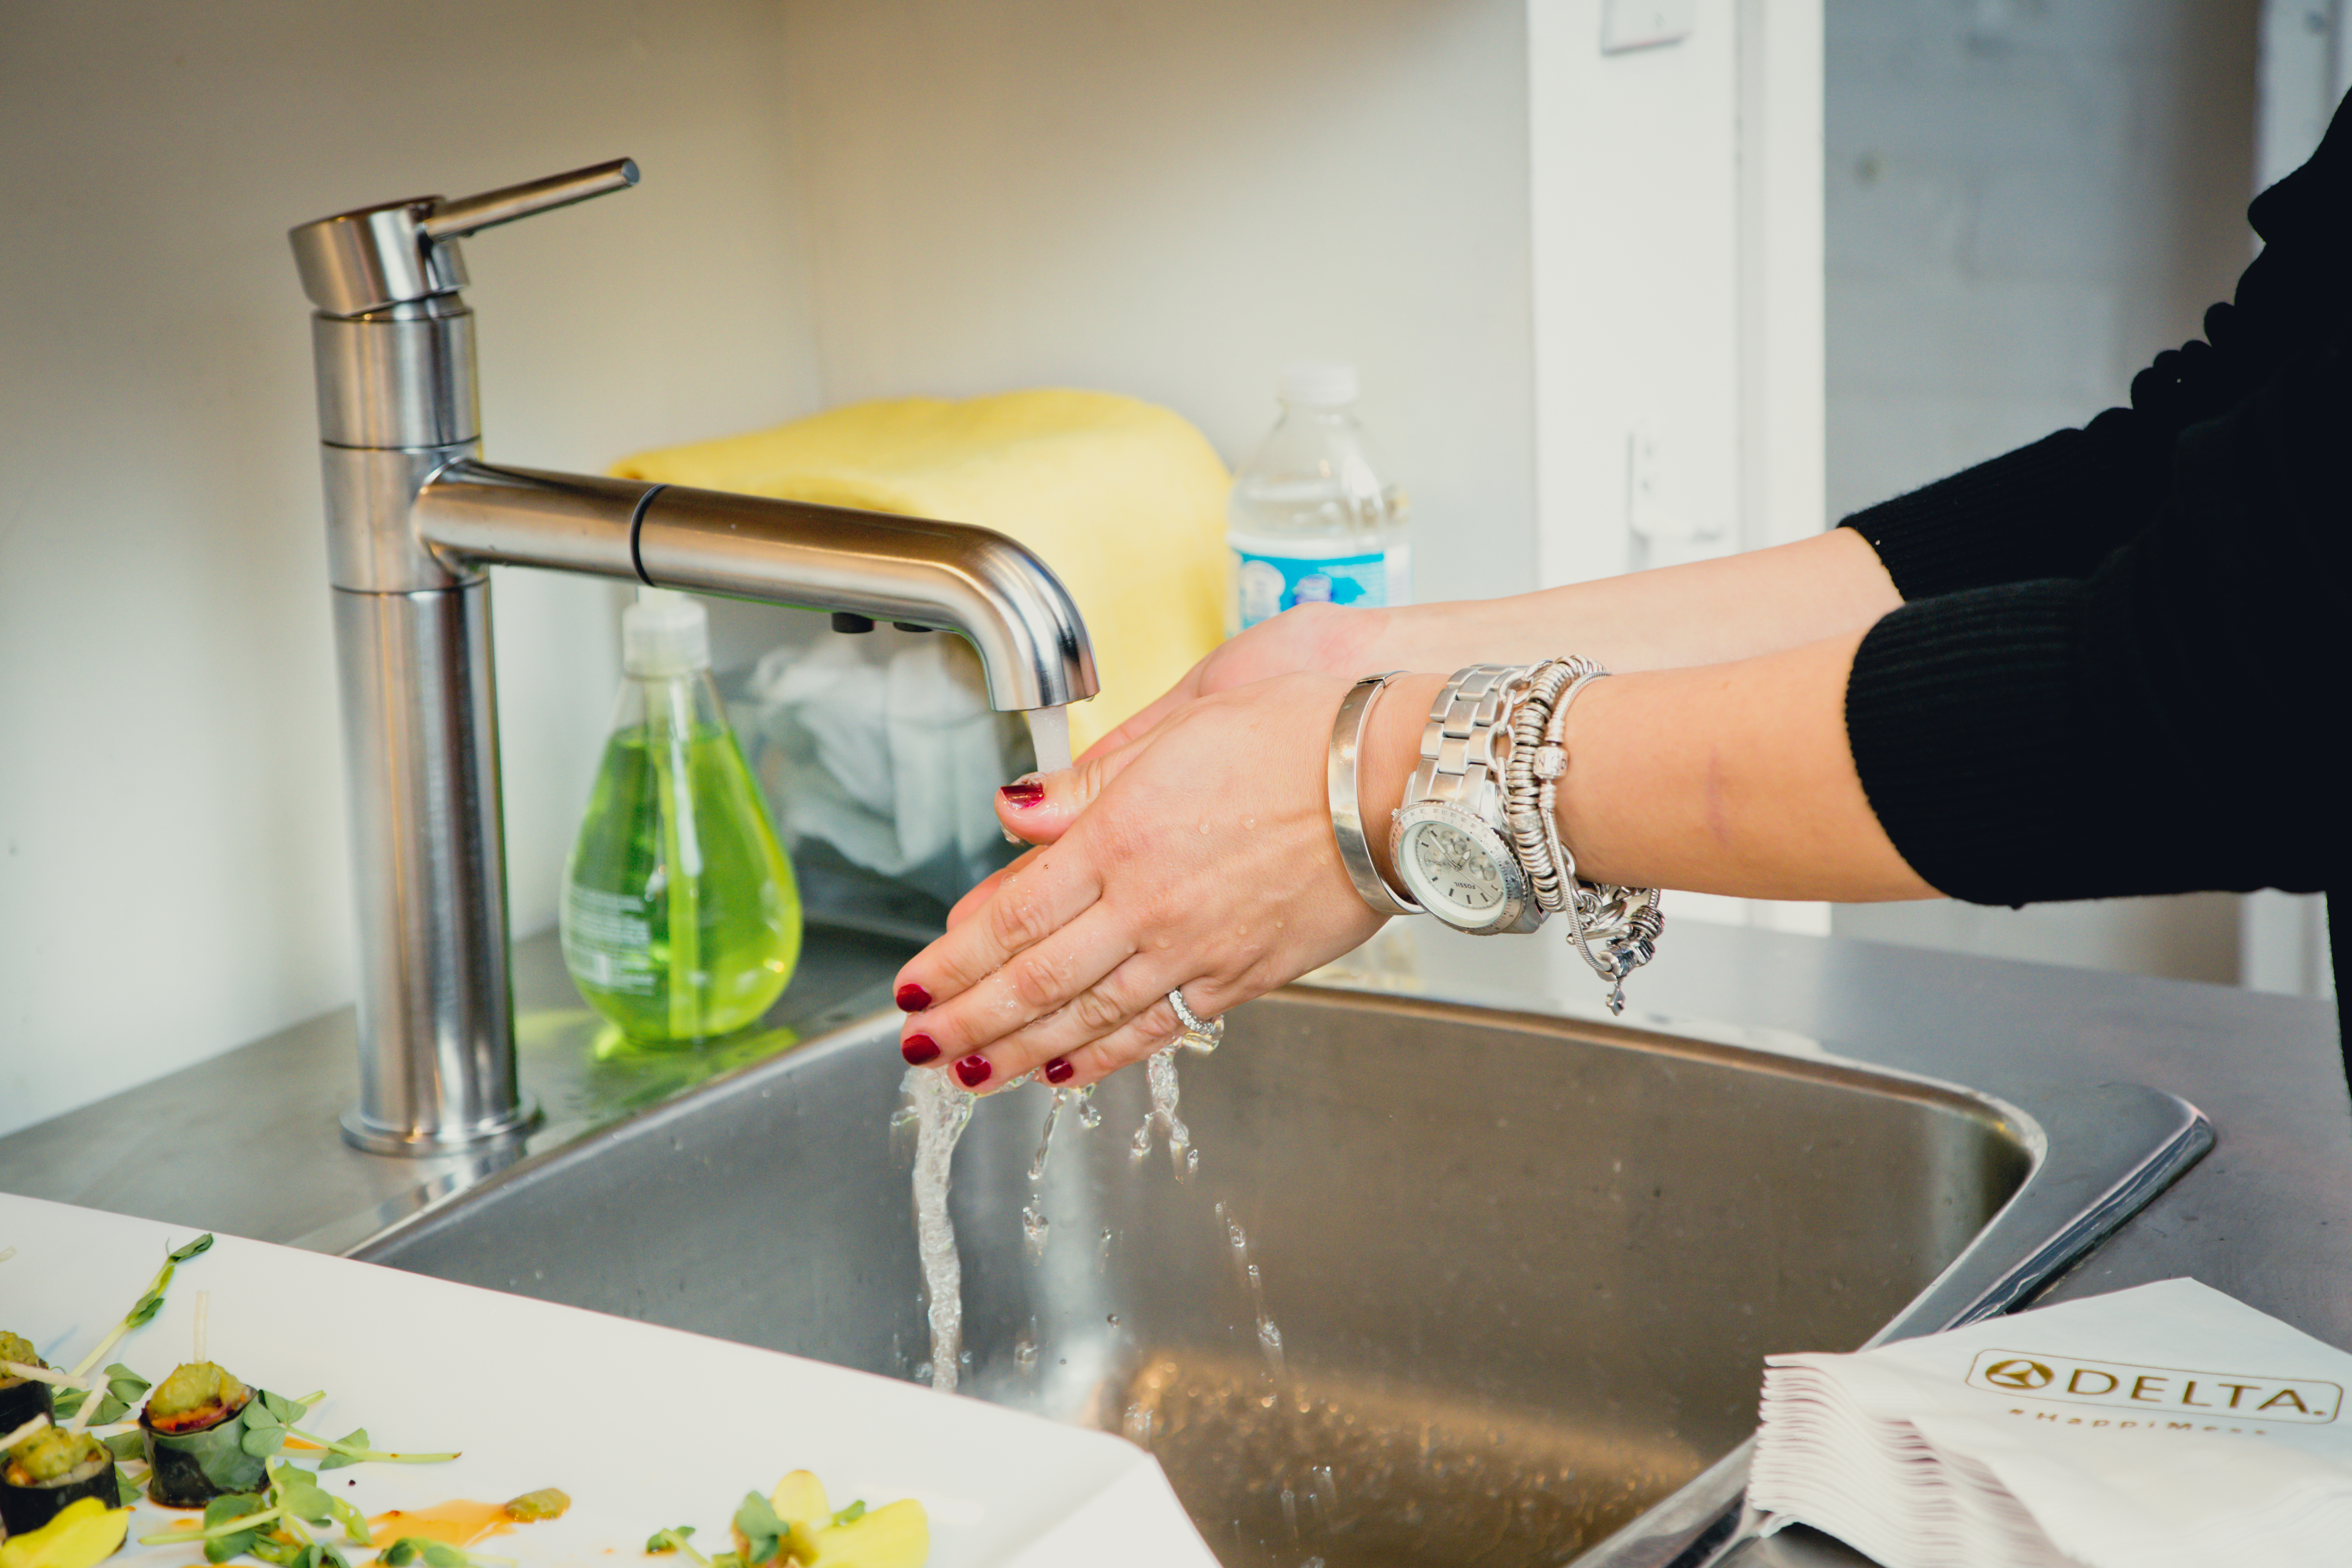
 great faucet, right?

3. We nibbled on delicious eats by the Food Dudes and talked about Delta’s collection.

DELTA067-2

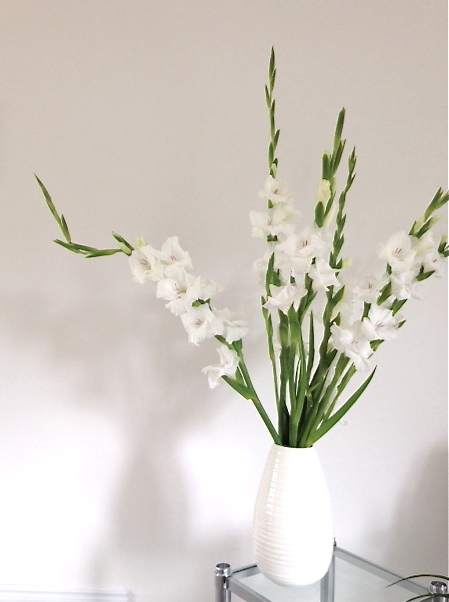
5. In addition to the painting, the clutches, the food, the drinks, and the Skittles, we filled our Instagram and Twitter feeds with photos of lovely flowers from Blush and Bloom.

DELTA056

It was a very fun evening, and completely different from my day-to-day university life. Kudos to Tiffany and Delta for bringing out our creative sides (and for showing us how magical sparkles can be!).

Have a wonderful weekend, everyone! Do let me know if you make a #HappiMess over the next couple of days!

Photo credit: Koko Photography

Uptown: To Do List Update

I haven’t posted a house update in many months. If you follow me on Instagram, you will have seen some random house photos already. Last year was full of major renovations, and so many changes happened in my once dark-burgundy home.

White-Cabana-house-1

white-on-white-on-white jewelry station

White-Cabana-house-2

teak and white in my living room

My original to do list (August 2013) was lengthy and full of major projects. Some additional items got crossed off the updated to do list (March 2014):

– remove wallpaper in basement bathroom
– install a shower in the basement bathroom
– paint touch-ups (all over)
-office organization
-office art wall
-install fire smoke alarms (again)
plan patio

Since then, I have added – and crossed off – a few more tasks:
have a garage sale (read about my garage sale with Tim)
-finish touch-up tile work in kitchen (seal grout, add missing tile, caulk again)
-install foyer tiles
magically find 2 small side tables for my living room
-find one small table to match my chaise (to replace the existing ottoman)
-upholster my two Danish teak arm chairs (seen in photo above)
clean up/organize the garage (again)
-paint basement
BBQ a lot

White-Cabana-house-3

coffee – just because

White-Cabana-house-4

I’m starting to organize my not-so-pretty-but-oh-so-useful garage supplies

Renos have slowed down slightly over the summer as there weren’t immediate changes that needed to be made. My basement (storage central) got cleared out a bit after my recent garage sale. I have had the paint (thanks, CIL) for many months, and I’m itching to break it open and start slathering white on the dark walls. I could do a major bathroom/laundry renovation down there, but I honestly don’t know if this is the year that I’m going to do it. Please hold. I have also had my marble foyer tiles stacked neatly for months, but I haven’t found the time or energy to focus on installing them in my foyer. Soon, yes?

White-Cabana-house-5

Ah, flowers, they’re so pretty (thanks, Anita)! They almost make me forget about the DIY to do lists that are waiting for me!

DIY: How to Paint an Air Conditioner Unit

Seeing all the rust on my air conditioner unit, I really just wanted to bite the bullet and buy a shiny new one. But thinking about my bank account, I quickly realized that I didn’t want to spend a fortune on a new unit when mine, although rusty, worked perfectly fine. A couple of weeks ago, I bought a couple of cans of spray paint (I used Rustoleum), read this article sent to me by Hogg (thanks!), and got to work.

White-Cabana-air-conditioner-paint-diy-1_2

before: I muted the colours in this photo, and it’s still disgusting

White-Cabana-air-conditioner-paint-diy-2

before: the rust was horrible, the muted photo only provides a glimpse into the condition of the unit (this is perhaps the ugliest photo I’ve ever shared on my blog)

White-Cabana-air-conditioner-paint-diy-4_2

during: one coat of paint

White-Cabana-air-conditioner-paint-diy-9

after: rust has disappeared!

White-Cabana-air-conditioner-paint-diy-7

after: this looks like a brand new air conditioner

Here’s what I did:

1. I cleaned and scrubbed the unit with a CLR + water mixture. I then rinsed it off*.

2. While the unit was drying, I taped plastic bags on the wall surround and around all the pipes. I also unscrewed the top grate so I could cover the fans with plastic, and I weaved plastic in between the grate and the filter/fan/unit**.

3. When the unit was dry, I sprayed two coats of Rustoleum Tremclad rust paint*** (letting the paint dry in between coats) all over the unit and the rusty metal bars that hold it up.

4. When everything was dry, I removed all the plastic, and screwed the top grate back on. Done.

The project took about 3 hours from start to finish. I could have put on a 3rd coat of paint for fun, but I was too lazy (2 coats covered very well). I feel like I have a brand new unit, and the side of my house now looks so much more attractive!

* I would recommend scrubbing with a wire brush. I didn’t have one, so it took me a bit longer to scrub and chip the old rusty bits off the unit.

** I covered the fan and the filter parts with plastic, but I’m not entirely certain this was necessary.

*** I didn’t paint the unit white (big shock, right?). Instead, I chose a colour that matched the grout in between the bricks.

In the Kitchen: Making Pasta (again)

Remember when I first attempted making fresh pasta with my KitchenAid stand mixer and pasta attachments? I started with the recipe that was in the KitchenAid recipe book. I failed. It was horrible. I then tried out my mom’s very vague recipe and it worked perfectly. Well, some of my family members thought I shouldn’t have been so harsh on the KitchenAid recipe and that, surely, it was my fault and I did something wrong. (I followed the recipe exactly, but noone seemed to want to take my side.) Anyway, when my parents were over last weekend, I tried the KA recipe again (under my mom’s supervision). The recipe calls for: 4 large eggs, 3.5 cups all-purpose flour, and 1 tbsp water. My mom suggested that I reduce the amount of flour by 1/2 a cup. So I did. I followed the exact recipe but I only used 3 cups of flour. I let the stand mixer do its job, and me and my mom watched over the bowl. I could tell something wasn’t right. After a bit of mixing, I dumped the dough out onto the counter and I knew it wasn’t right. It didn’t feel like it was supposed to feel. My mom was pretty surprised (“but you followed the recipe, you reduced the flour”, she said). At this point, I added a bit more water, then a lot more water, then more flour. It wasn’t coming together the way it should have. I gave up. I left my mom to knead the dough for maybe another 5-10 minutes. There was a lot of kneading involved. In the meantime, I started a new batch with her trusted (and very vague) recipe. It worked out perfectly. She was still kneading the original batch of dough, while I was done with my new batch. White-Cabana-pasta-1

here’s mom hard at work White-Cabana-pasta-2

here’s mom still trying to fix the broken dough, my new version is in the mixer

White-Cabana-pasta-3

dough 2.0 is done and mom is still kneading dough 1.0

I tried to measure her recipe this time and it’s something like this: – 1 egg per person – 3/4 cup of flour per egg – a bit of water (I think I may have used about 1 tbsp) – a bit of salt (I might have used 1 tsp) Dump all the ingredients into the bowl with the paddle attachment. Mix for 2 minutes. Dump the dough out onto the counter and knead for 1 minute. After Mom finally got the first version of dough to the right texture, I got to work with the pasta attachments. First, I used the flat one to stretch out long flat pieces of pasta. I set the knob on the cutter to position 1 and then worked my way to number 5. I set the mixer speed to 3 or 4 and the whole process was quick and easy. white-cabana-pasta-6white-cabana-pasta-7white-cabana-pasta-1 When all the dough had been passed through the smooth stretcher attachment, I attached the fettucini (and then the spaghetti) cutter to the mixer (quick and easy) so that I could pass the long sheets of pasta through to make the noodles. I floured the pasta sheets before passing them through the cutter. white-cabana-pasta-5white-cabana-pasta-10white-cabana-pasta-3white-cabana-pasta-4white-cabana-pasta-9 white-cabana-pasta-11 I like twisting the pasta into round spirals, but I flour the heck out of them before doing this to avoid sticky strips. The pasta (both versions) turned out very well, and it was delicious paired with fresh tomato sauce (I tried my mom’s sauce recipe, which she thought was almost as good as hers…tough crowd). In the end, neither of us are sure of the amount of ingredients that my mom used to adjust the KitchenAid dough, but if I try the recipe again, I’ll start with 2 cups of flour and add more as needed. KitchenAid sent over another version of the recipe when they heard I was in pasta-making distress (via Twitter, naturally), so I may give that one a try too.

Thanks, Mom, for your help and for snapping some great photos!

Fashion: It’s Mayhem Time

Little Mayhem‘s popularity is rising.  The dresses she creates with her mom are pretty darn cute, but this one is my favourite look.

fashion-by-mayhemFashion by Mayhem

Apparently, the day Mayhem and her mom created this ensemble, she requested “All white today. And a fabulous headpiece too.”  She just rocks that headpiece, doesn’t she?

1 2 3 4 5 6 7 8 13